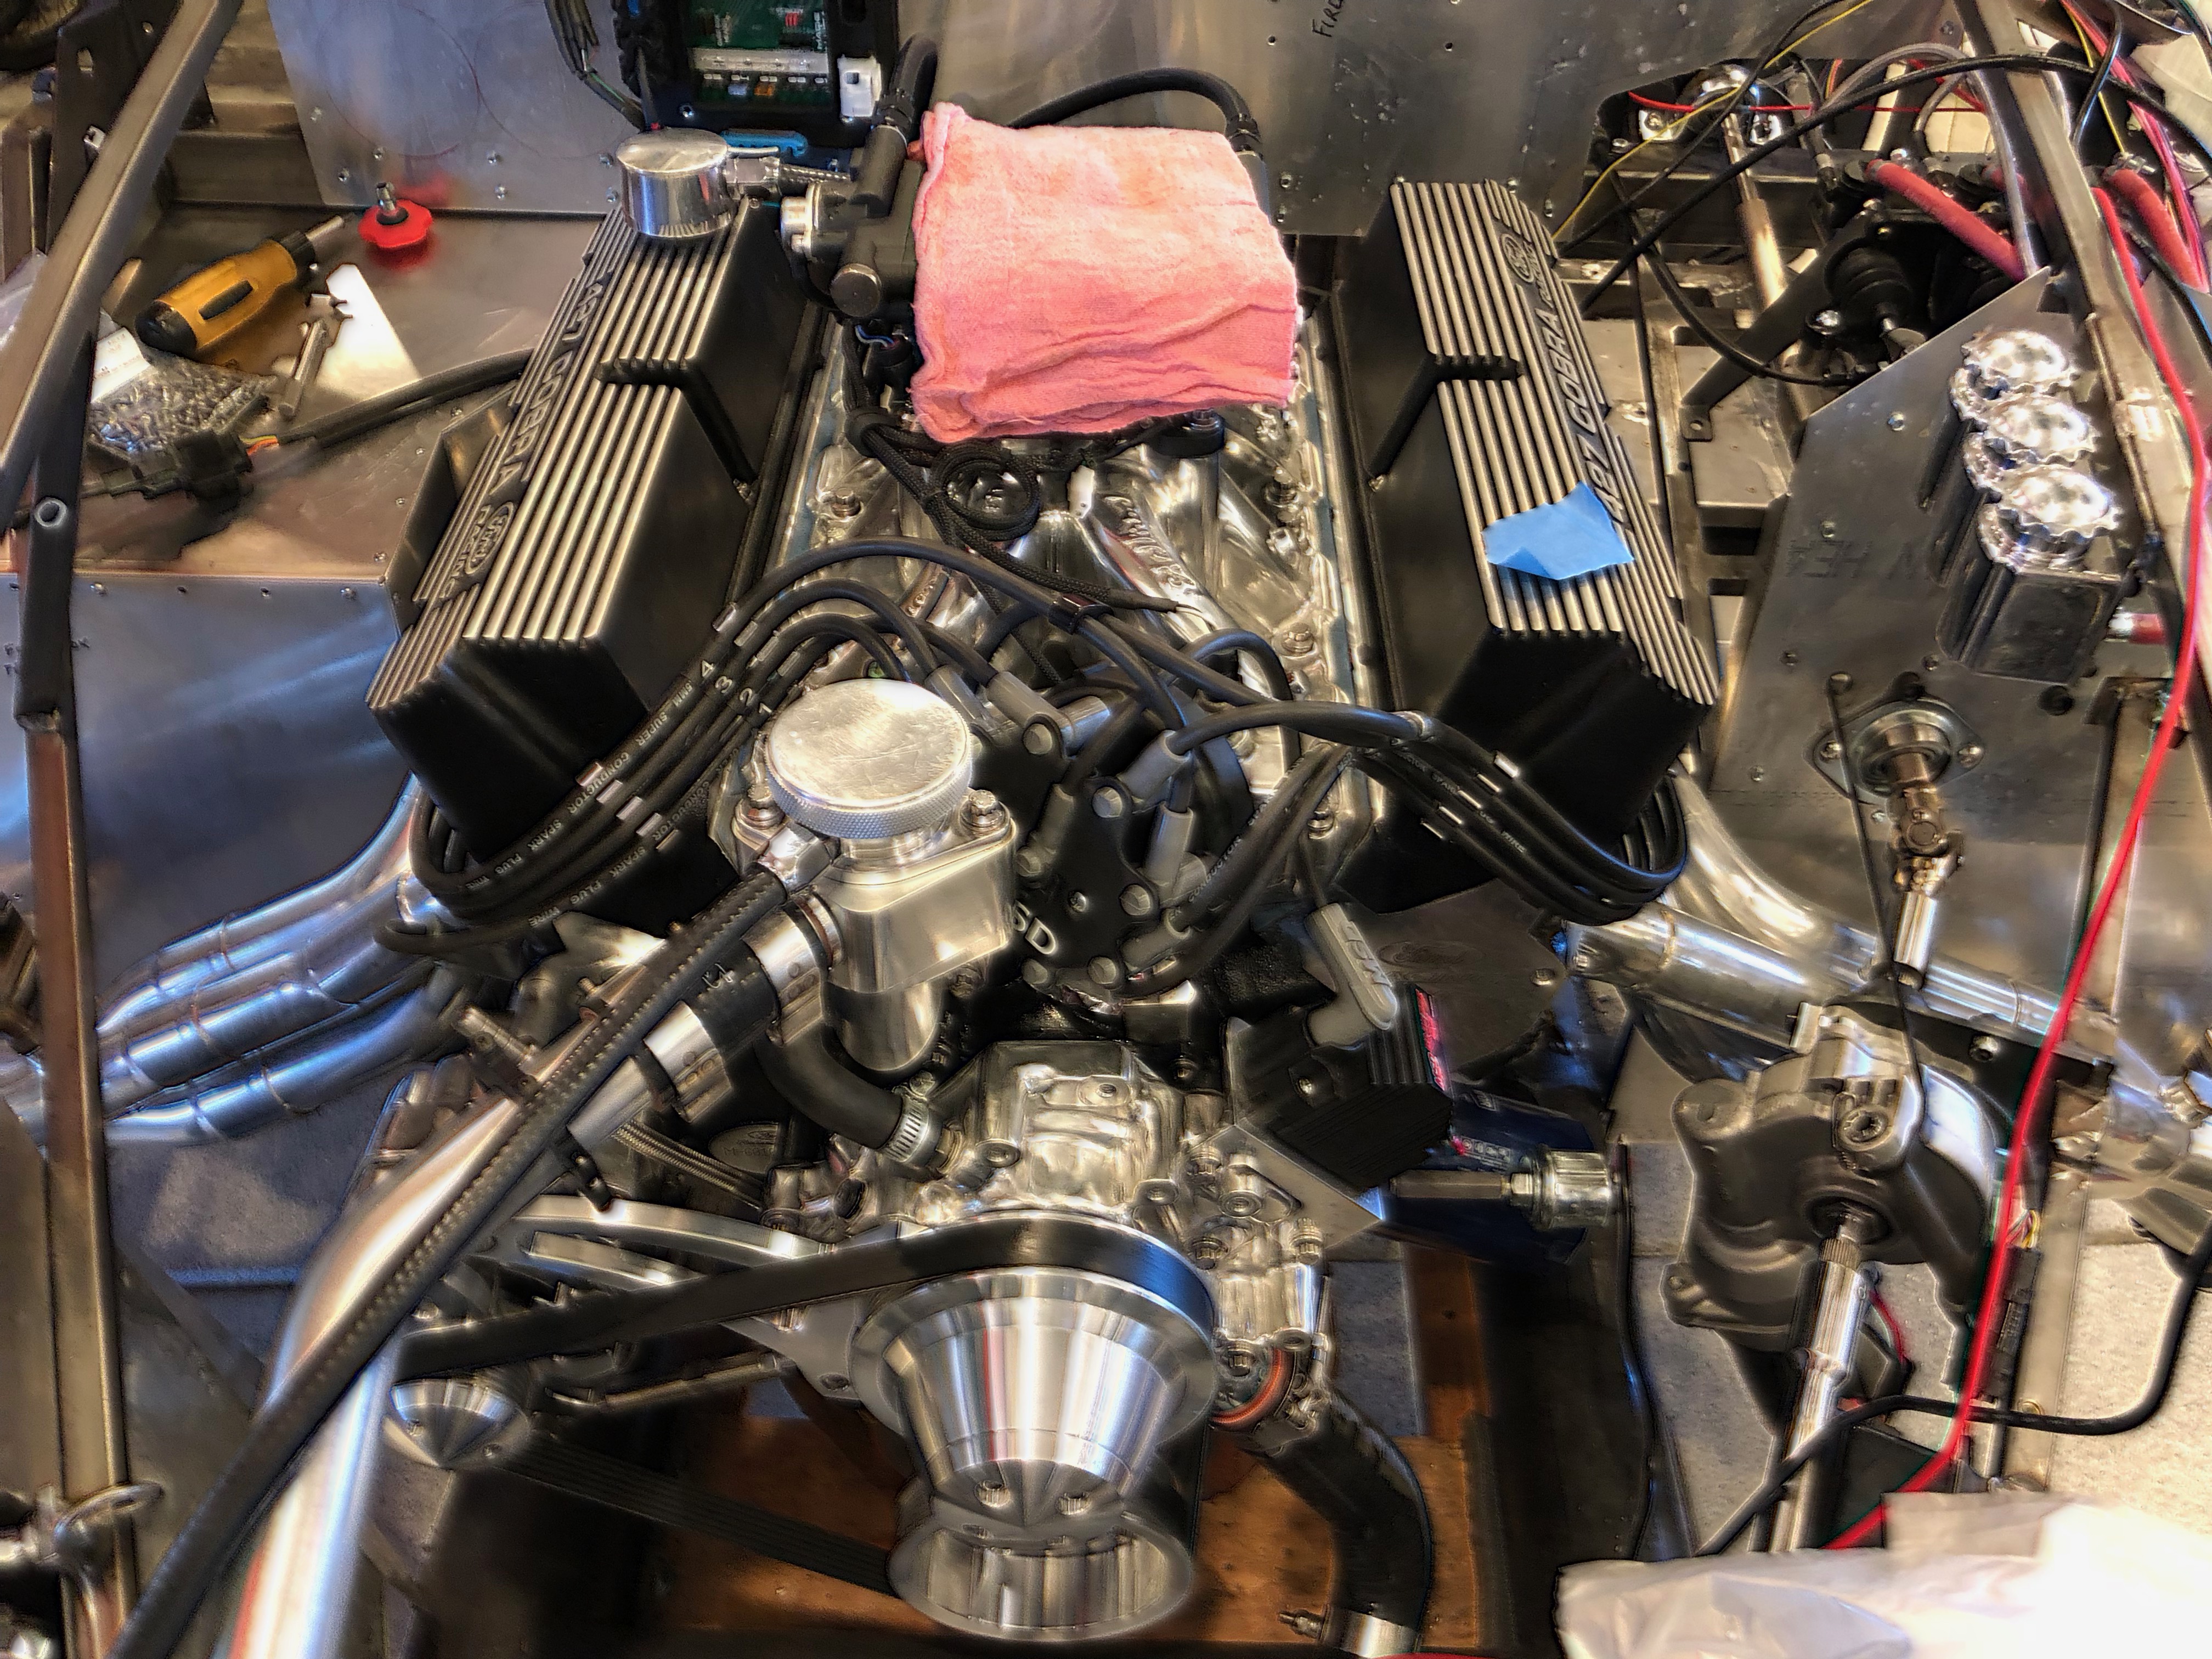
After giving the RTV a couple of days to cure, I hooked up the fuel lines and reconnected all of the electrical connectors. I fired up the engine, and unfortunately, the noise is still there. I’m really not sure where we’re going to go from here with this engine, but in the meantime, we’re going to continue building the car. The noise won’t prevent us from driving the car and testing the rest of the systems.
Reassembled Engine
Crane disassembled the lifters and found some debris in two of them that they said could have caused the noise we were hearing. The sent us a brand new set of lifters, but I haven’t had a chance to reassemble the engine until now. My dad stopped by this morning and we reassembled the upper end of the engine. The RTV needs to cure, so we can’t run the engine today, but I’m hopeful that we have resolved the noise.
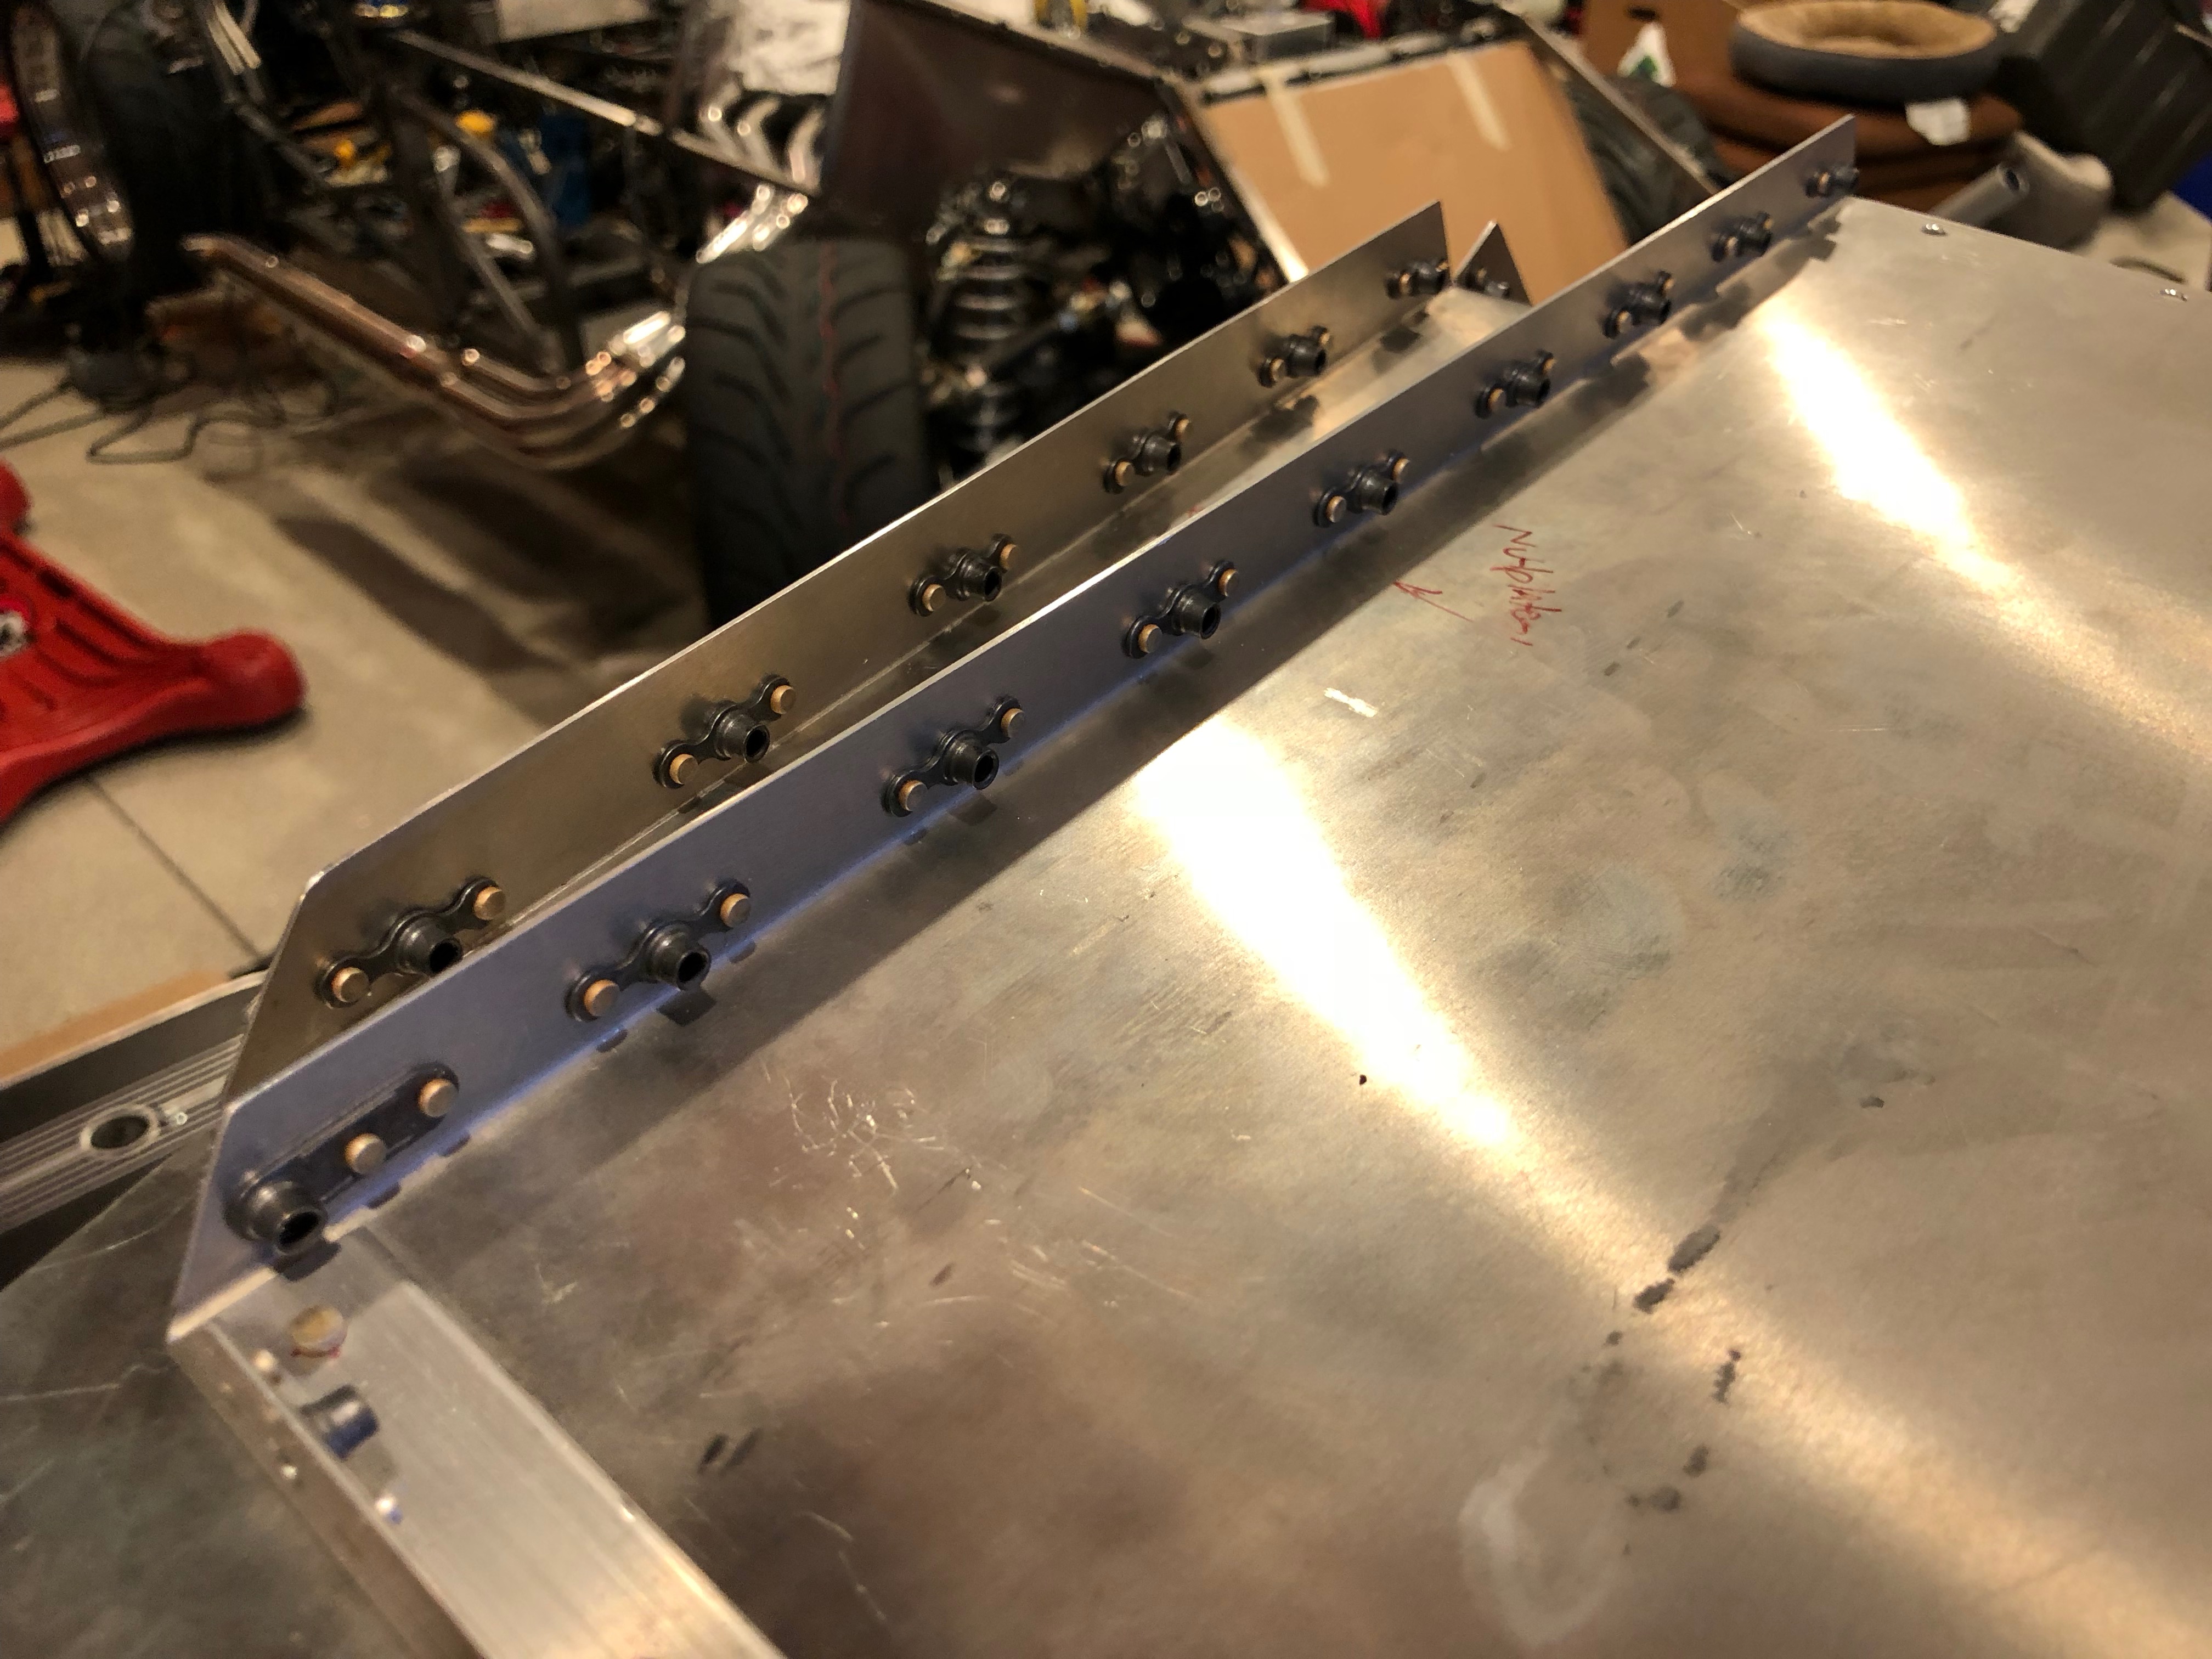
Added Nutplates to Passenger Footbox
I installed nutplates everywhere that there are aluminum to aluminum connections between the various parts of the passenger footbox. Using nutplates lets the pieces of aluminum sit tight against each other instead of being held slightly apart as would happen if I installed rivnuts.
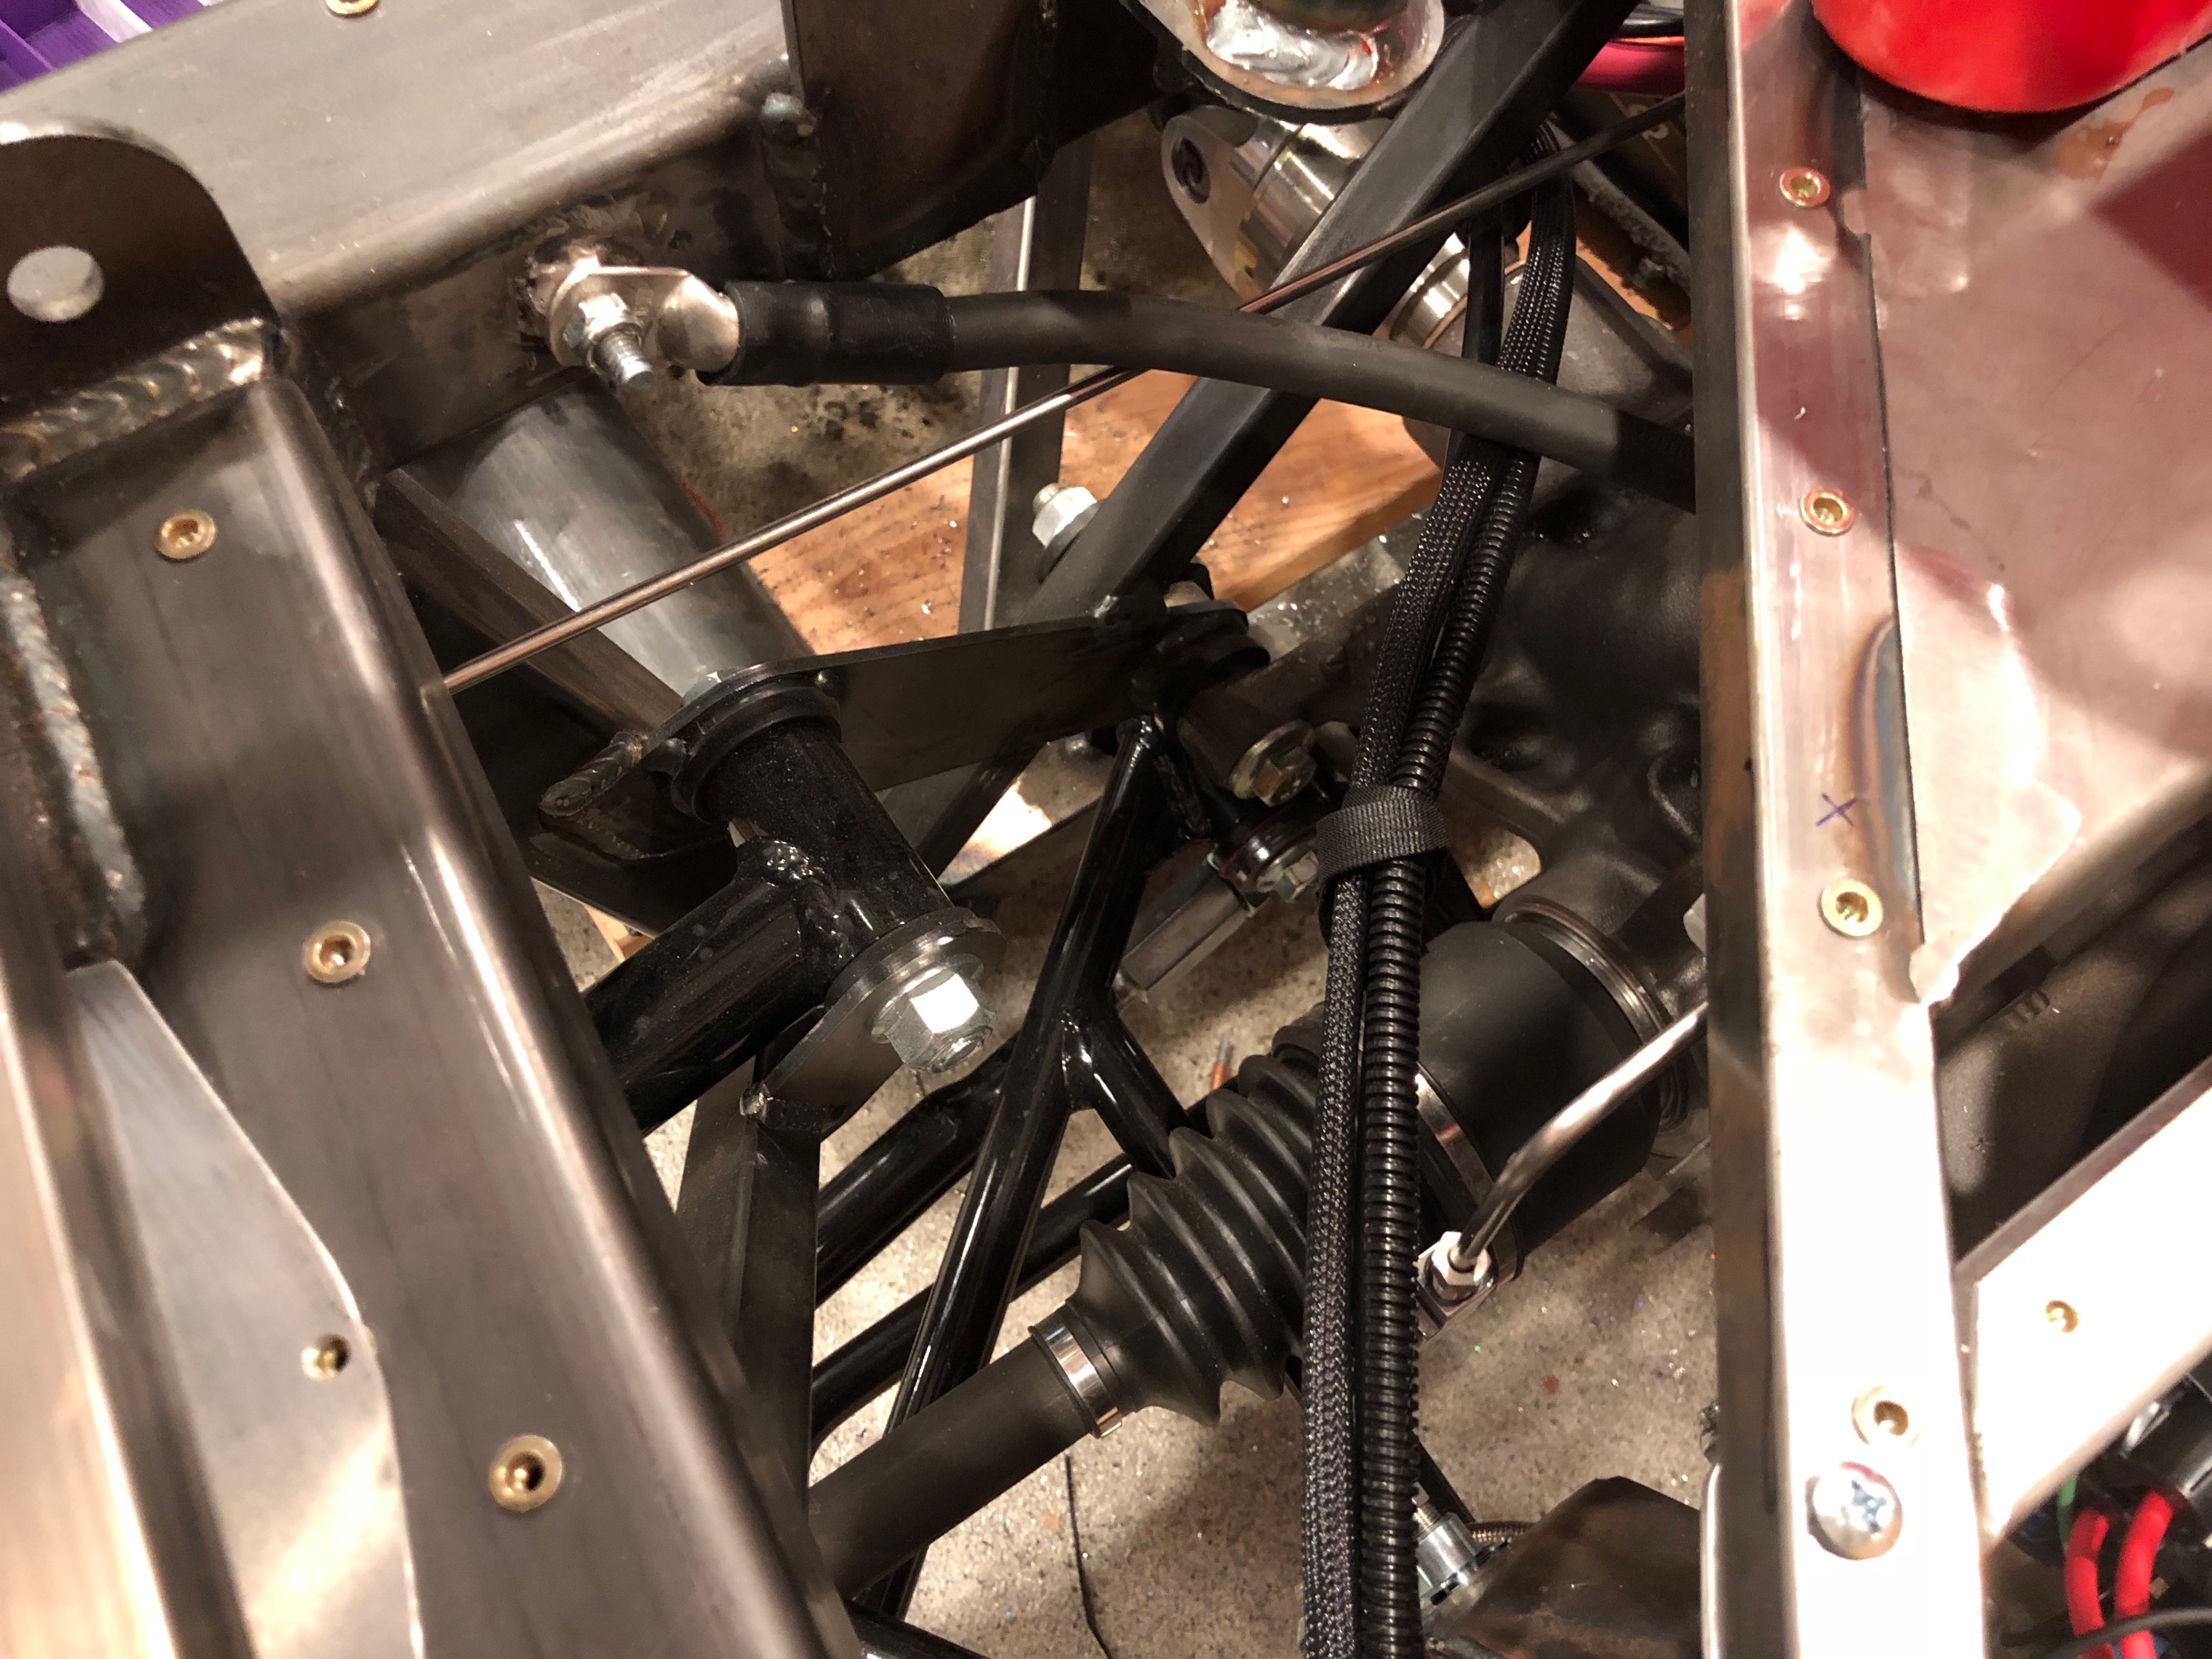
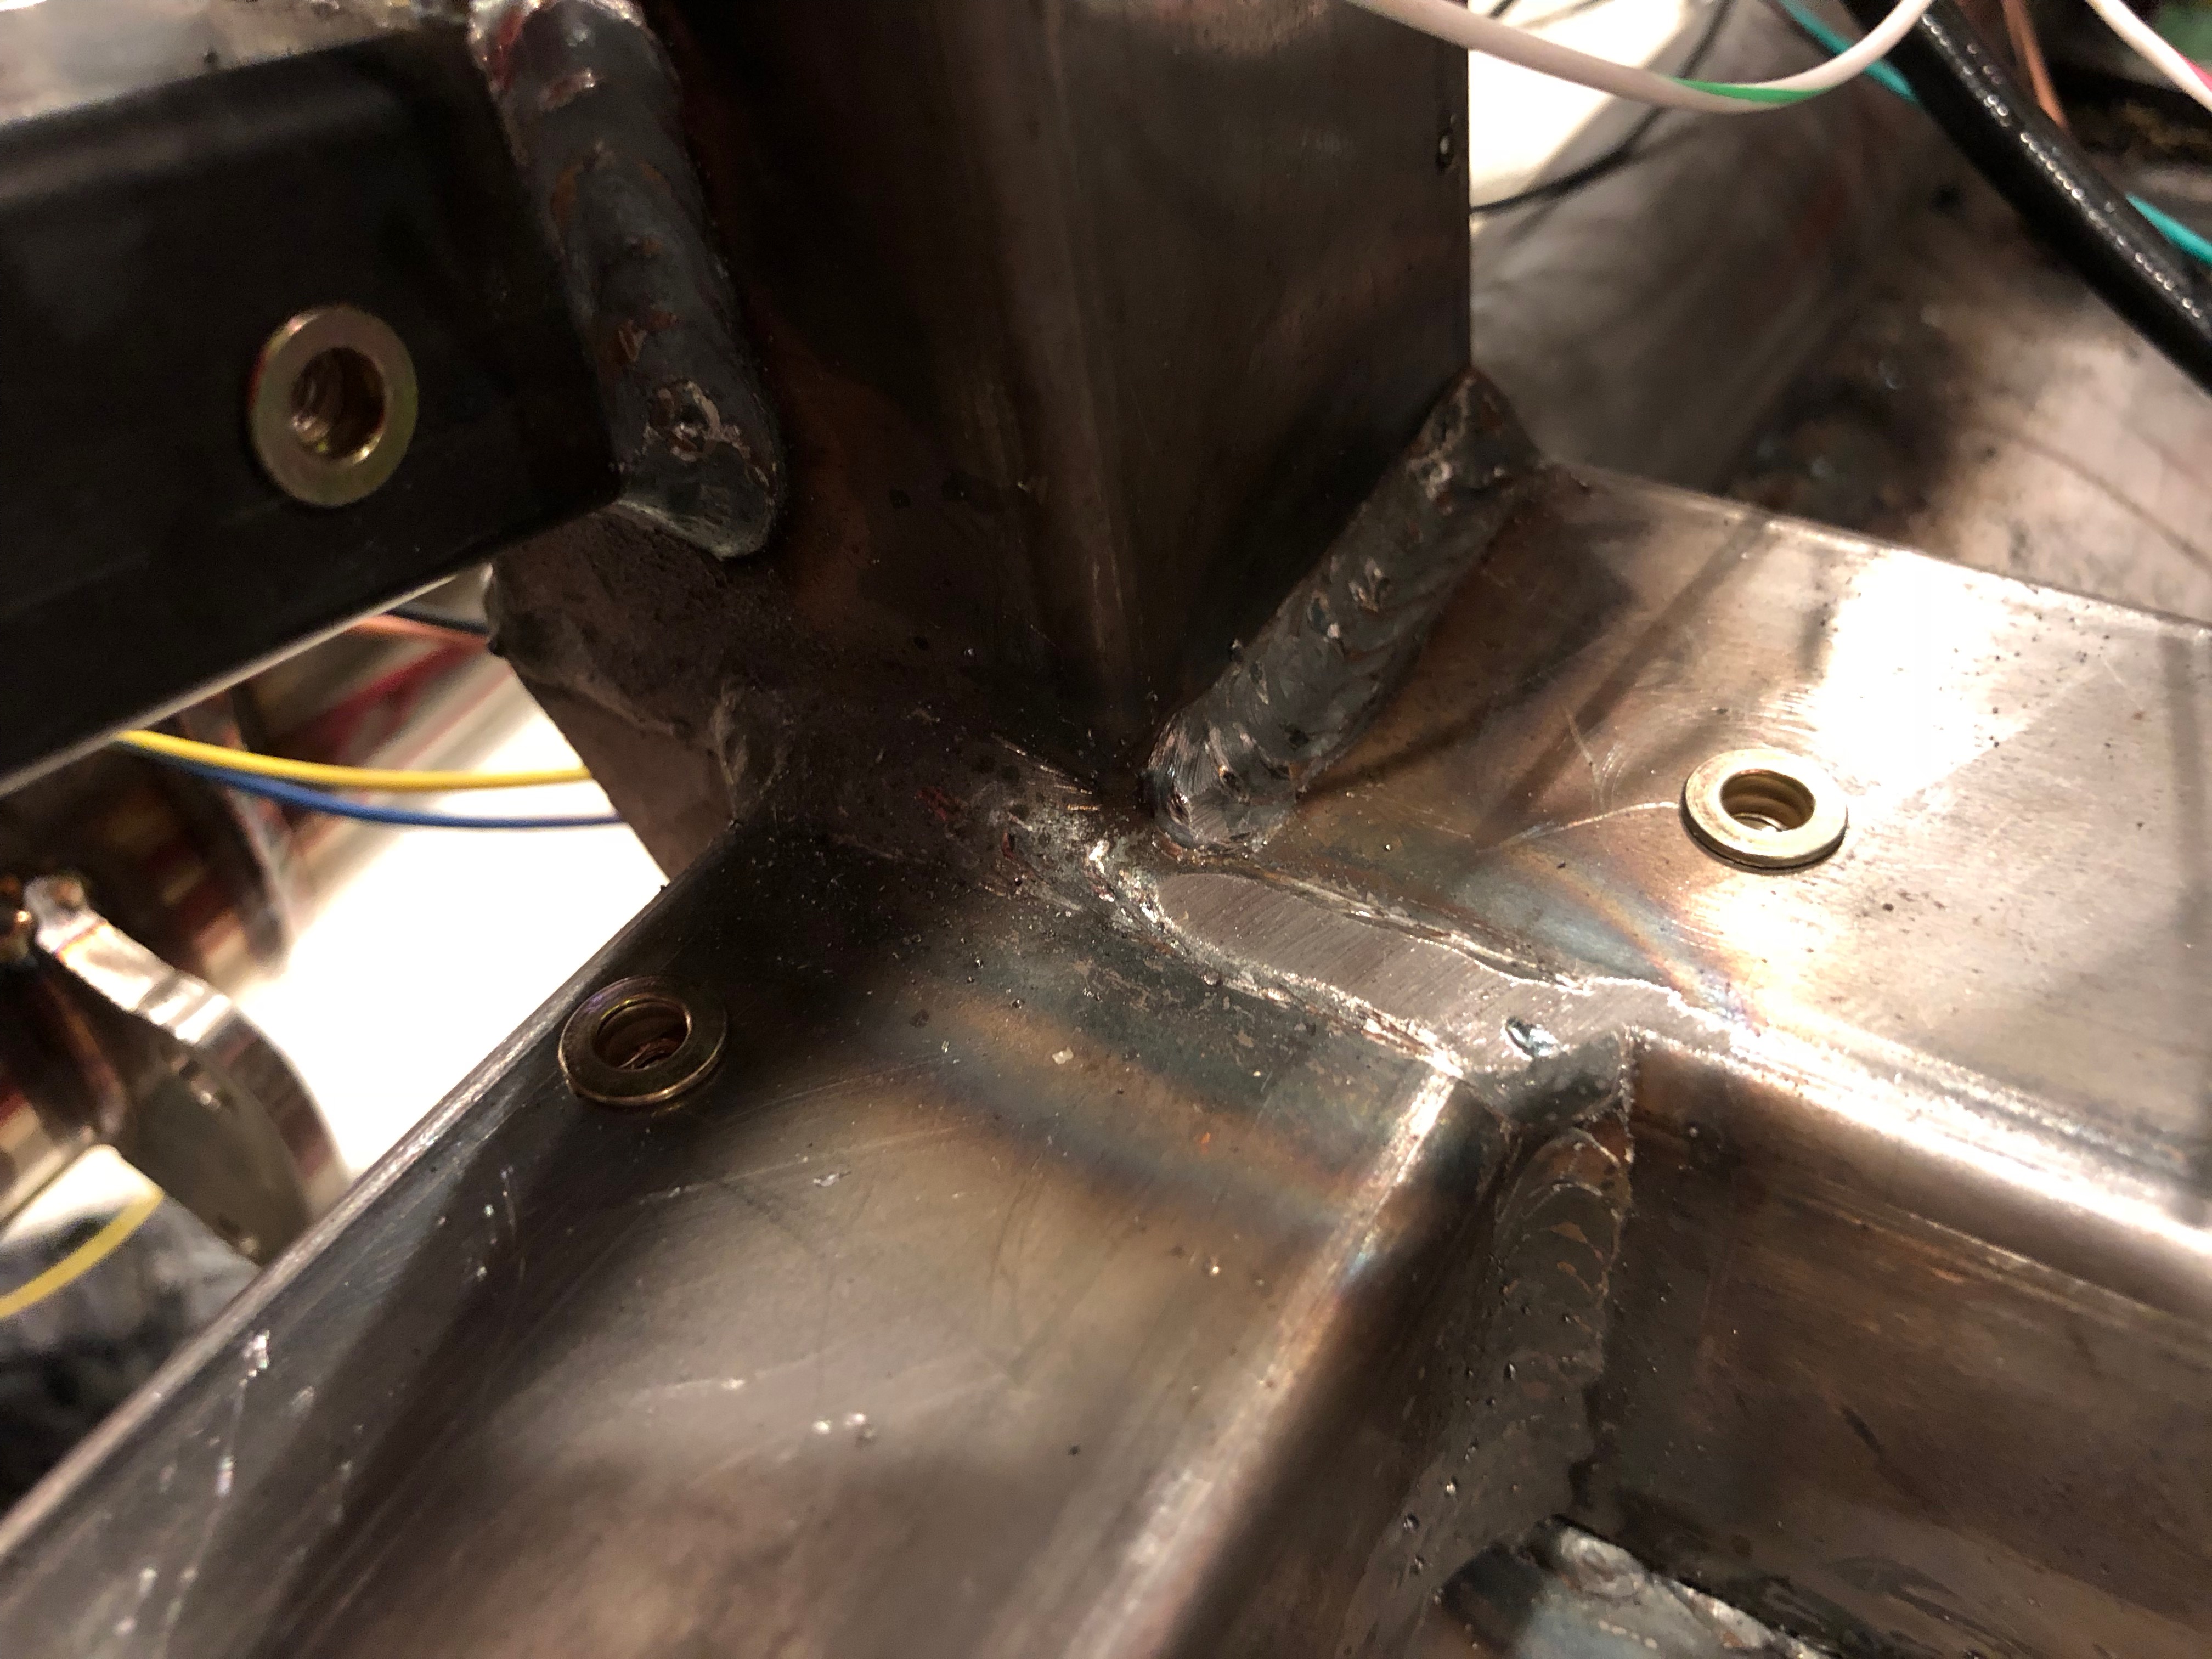
Started Fabricating Rear Brake Line
I started fabricating the rear brake line that transitions from the left 4″ chassis tube up to the tee on the left side of the chassis. If I use this piece, I’ll need to install a separate straight section from here forward to the other piece I installed here. I have a long enough piece of tubing remaining that I could make a single piece that runs from the tee forward to the other piece. It would let me avoid an extra union in the line which would reduce the chance of leaks, but it would be trickier to make a piece that long.

The tube still needs to be bent to run back along the rectangular tubing and then over to the tee near the bottom of the picture.
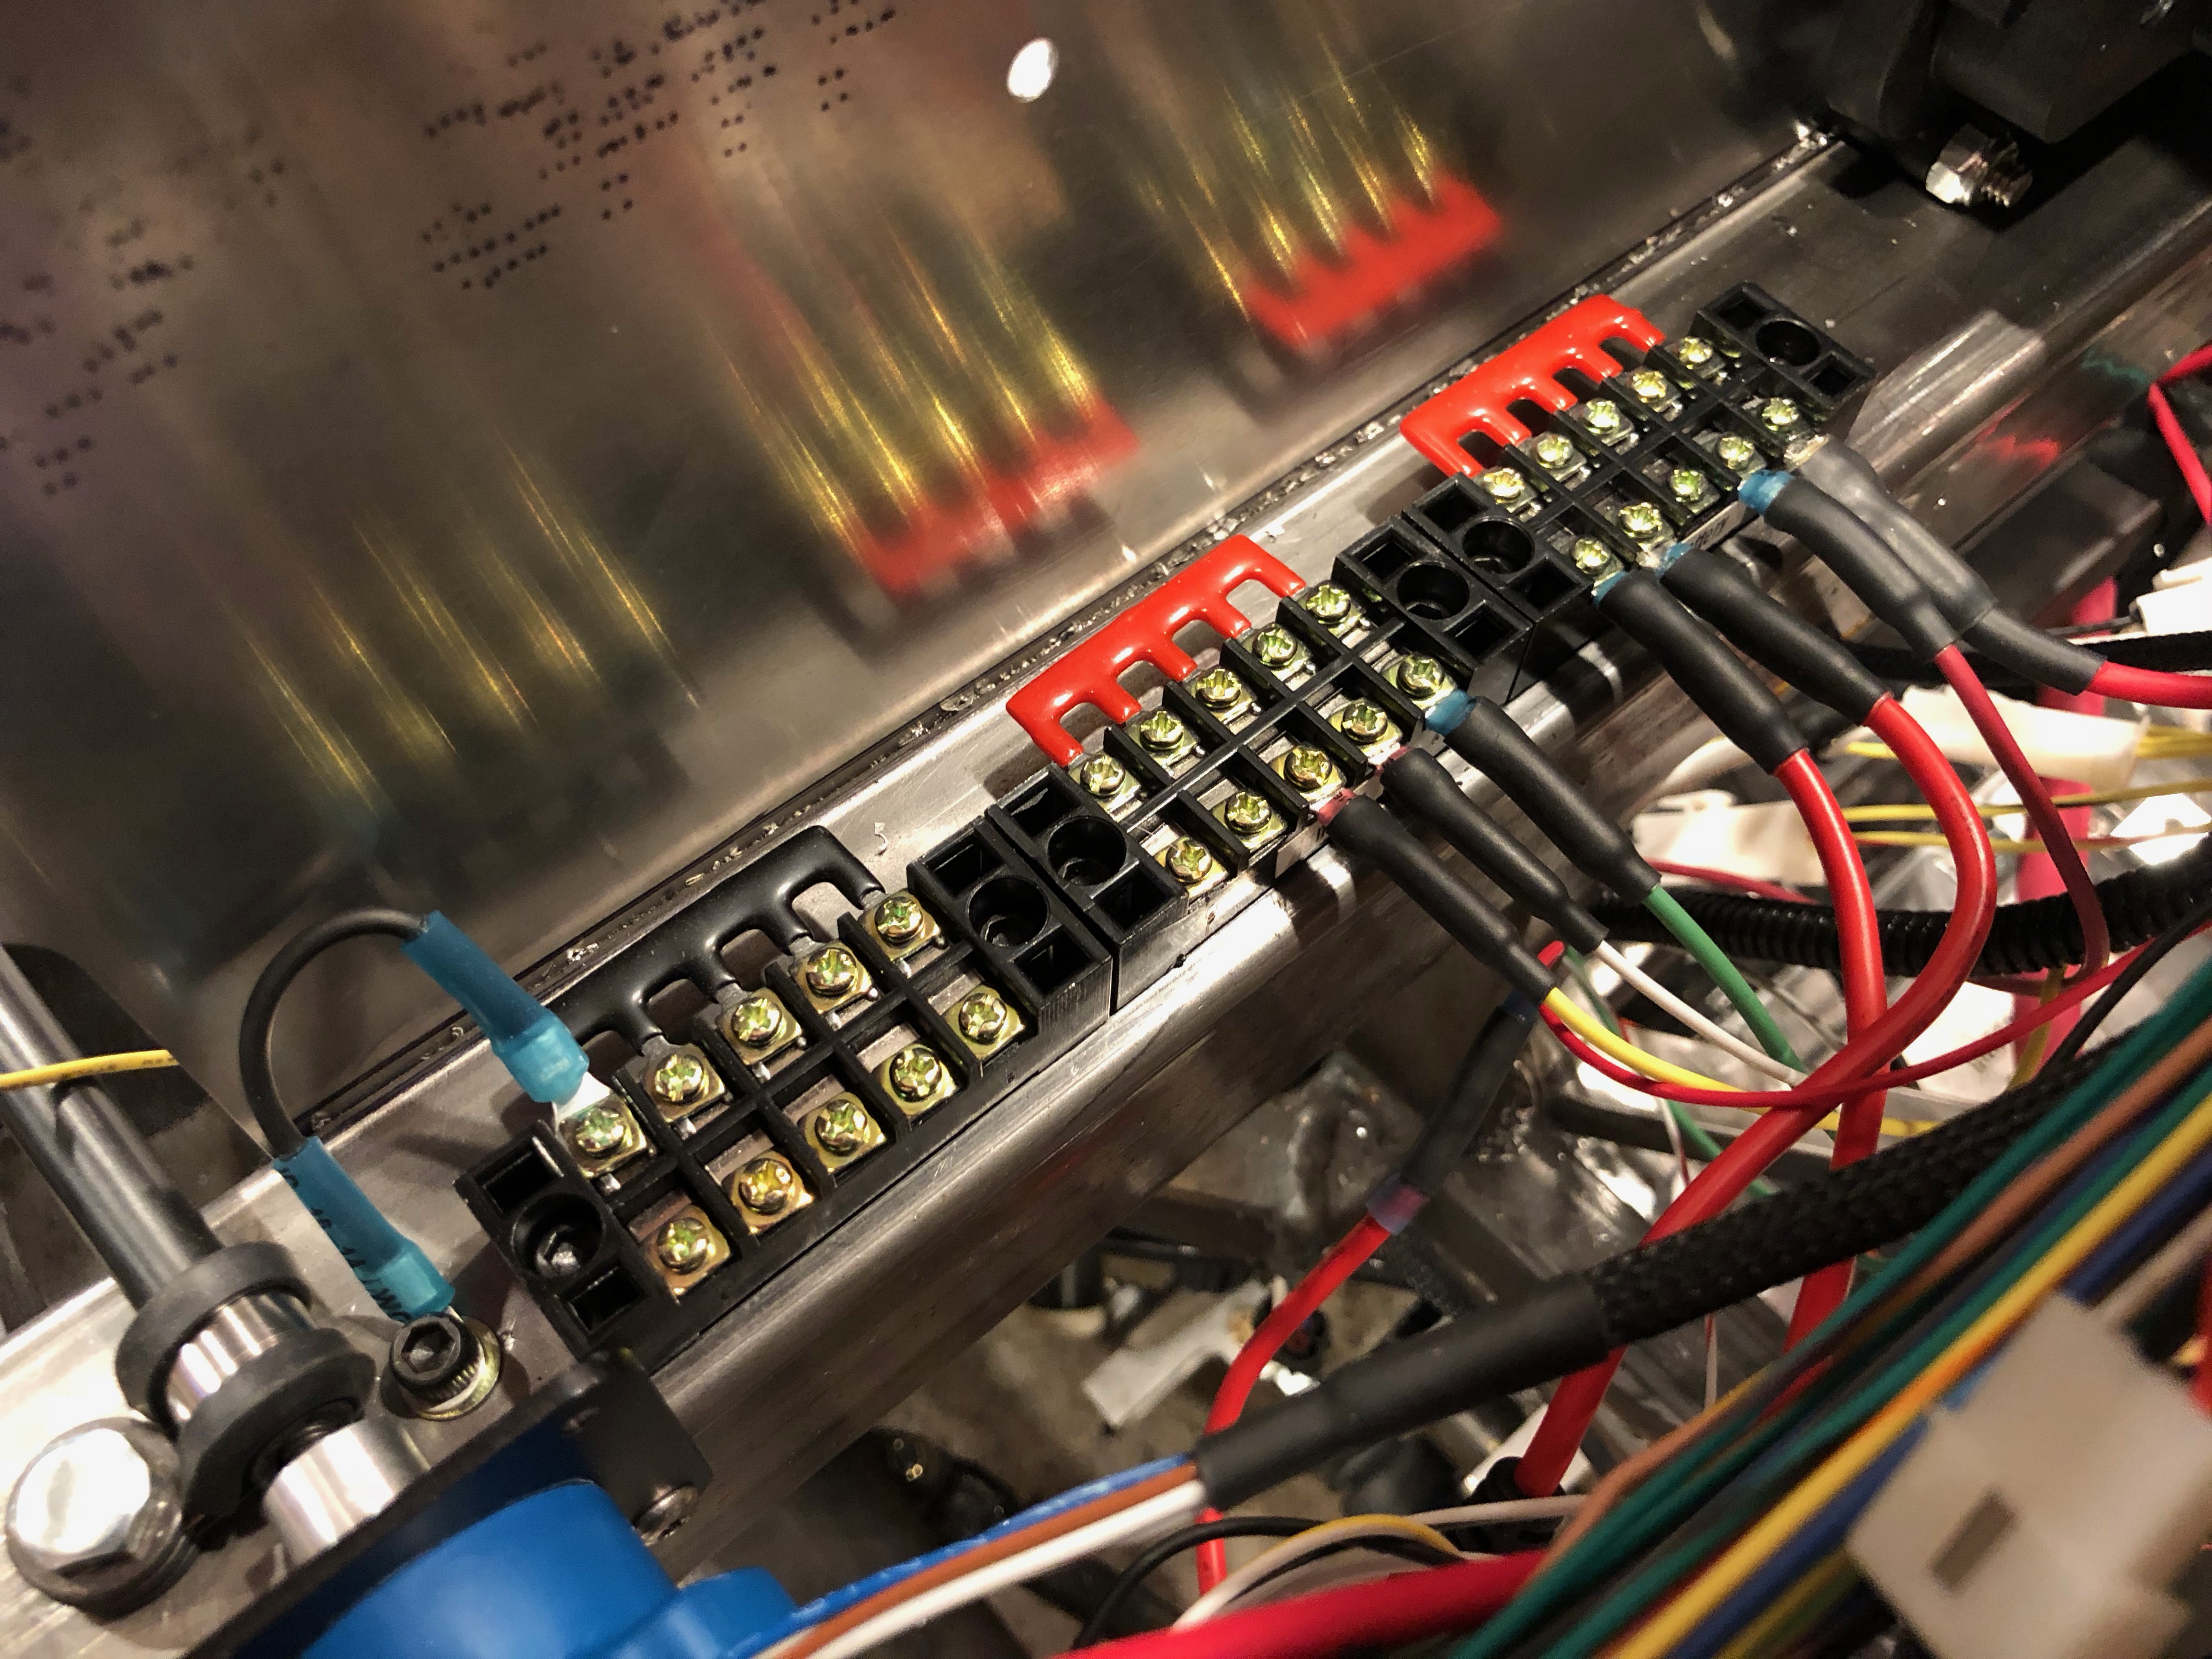
Grounding Block Behind Dash
I added an additional terminal block behind the panel for grounding various items. It’s grounded locally through the jumper wire down to the 2″x2″ chassis member.
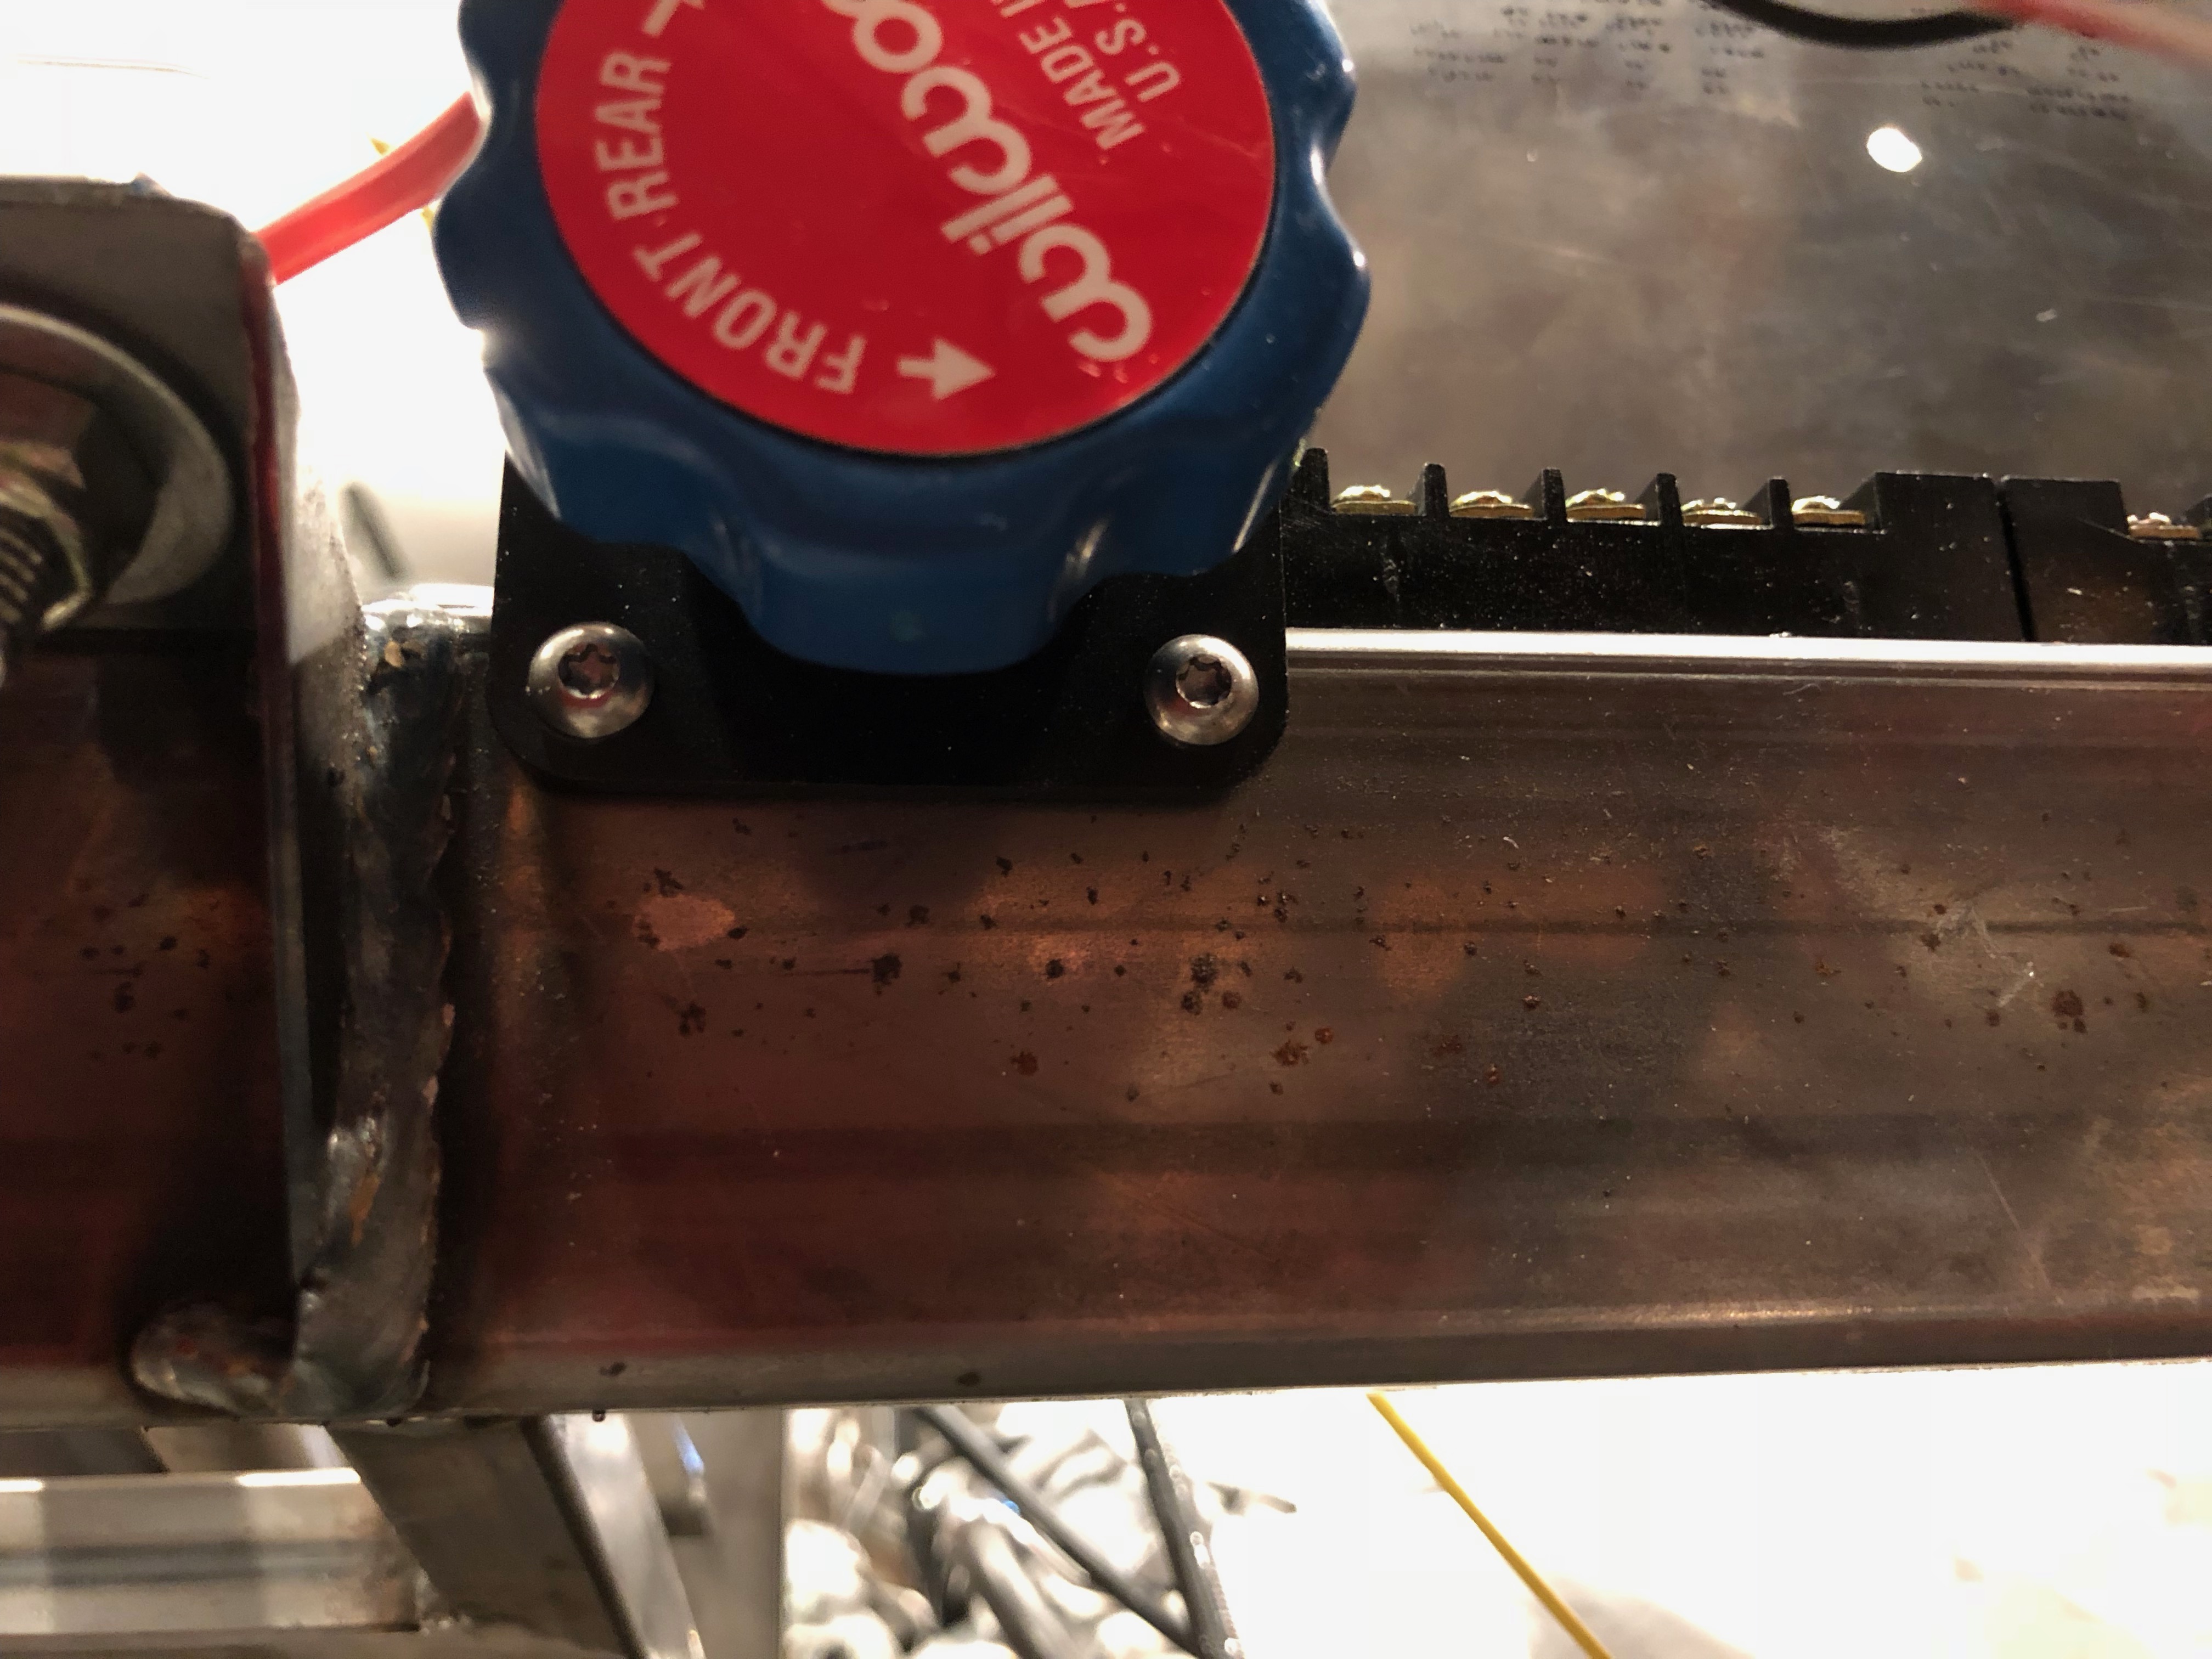
I had to remove the brake biasing knob to install the rivnut for the grounding wire.
While I had the knob out, I installed a couple of 8-32 rivnuts and used some of the torx-drive screws. I had previously used some sheet metal screws, but I’m trying to eliminate all of them.
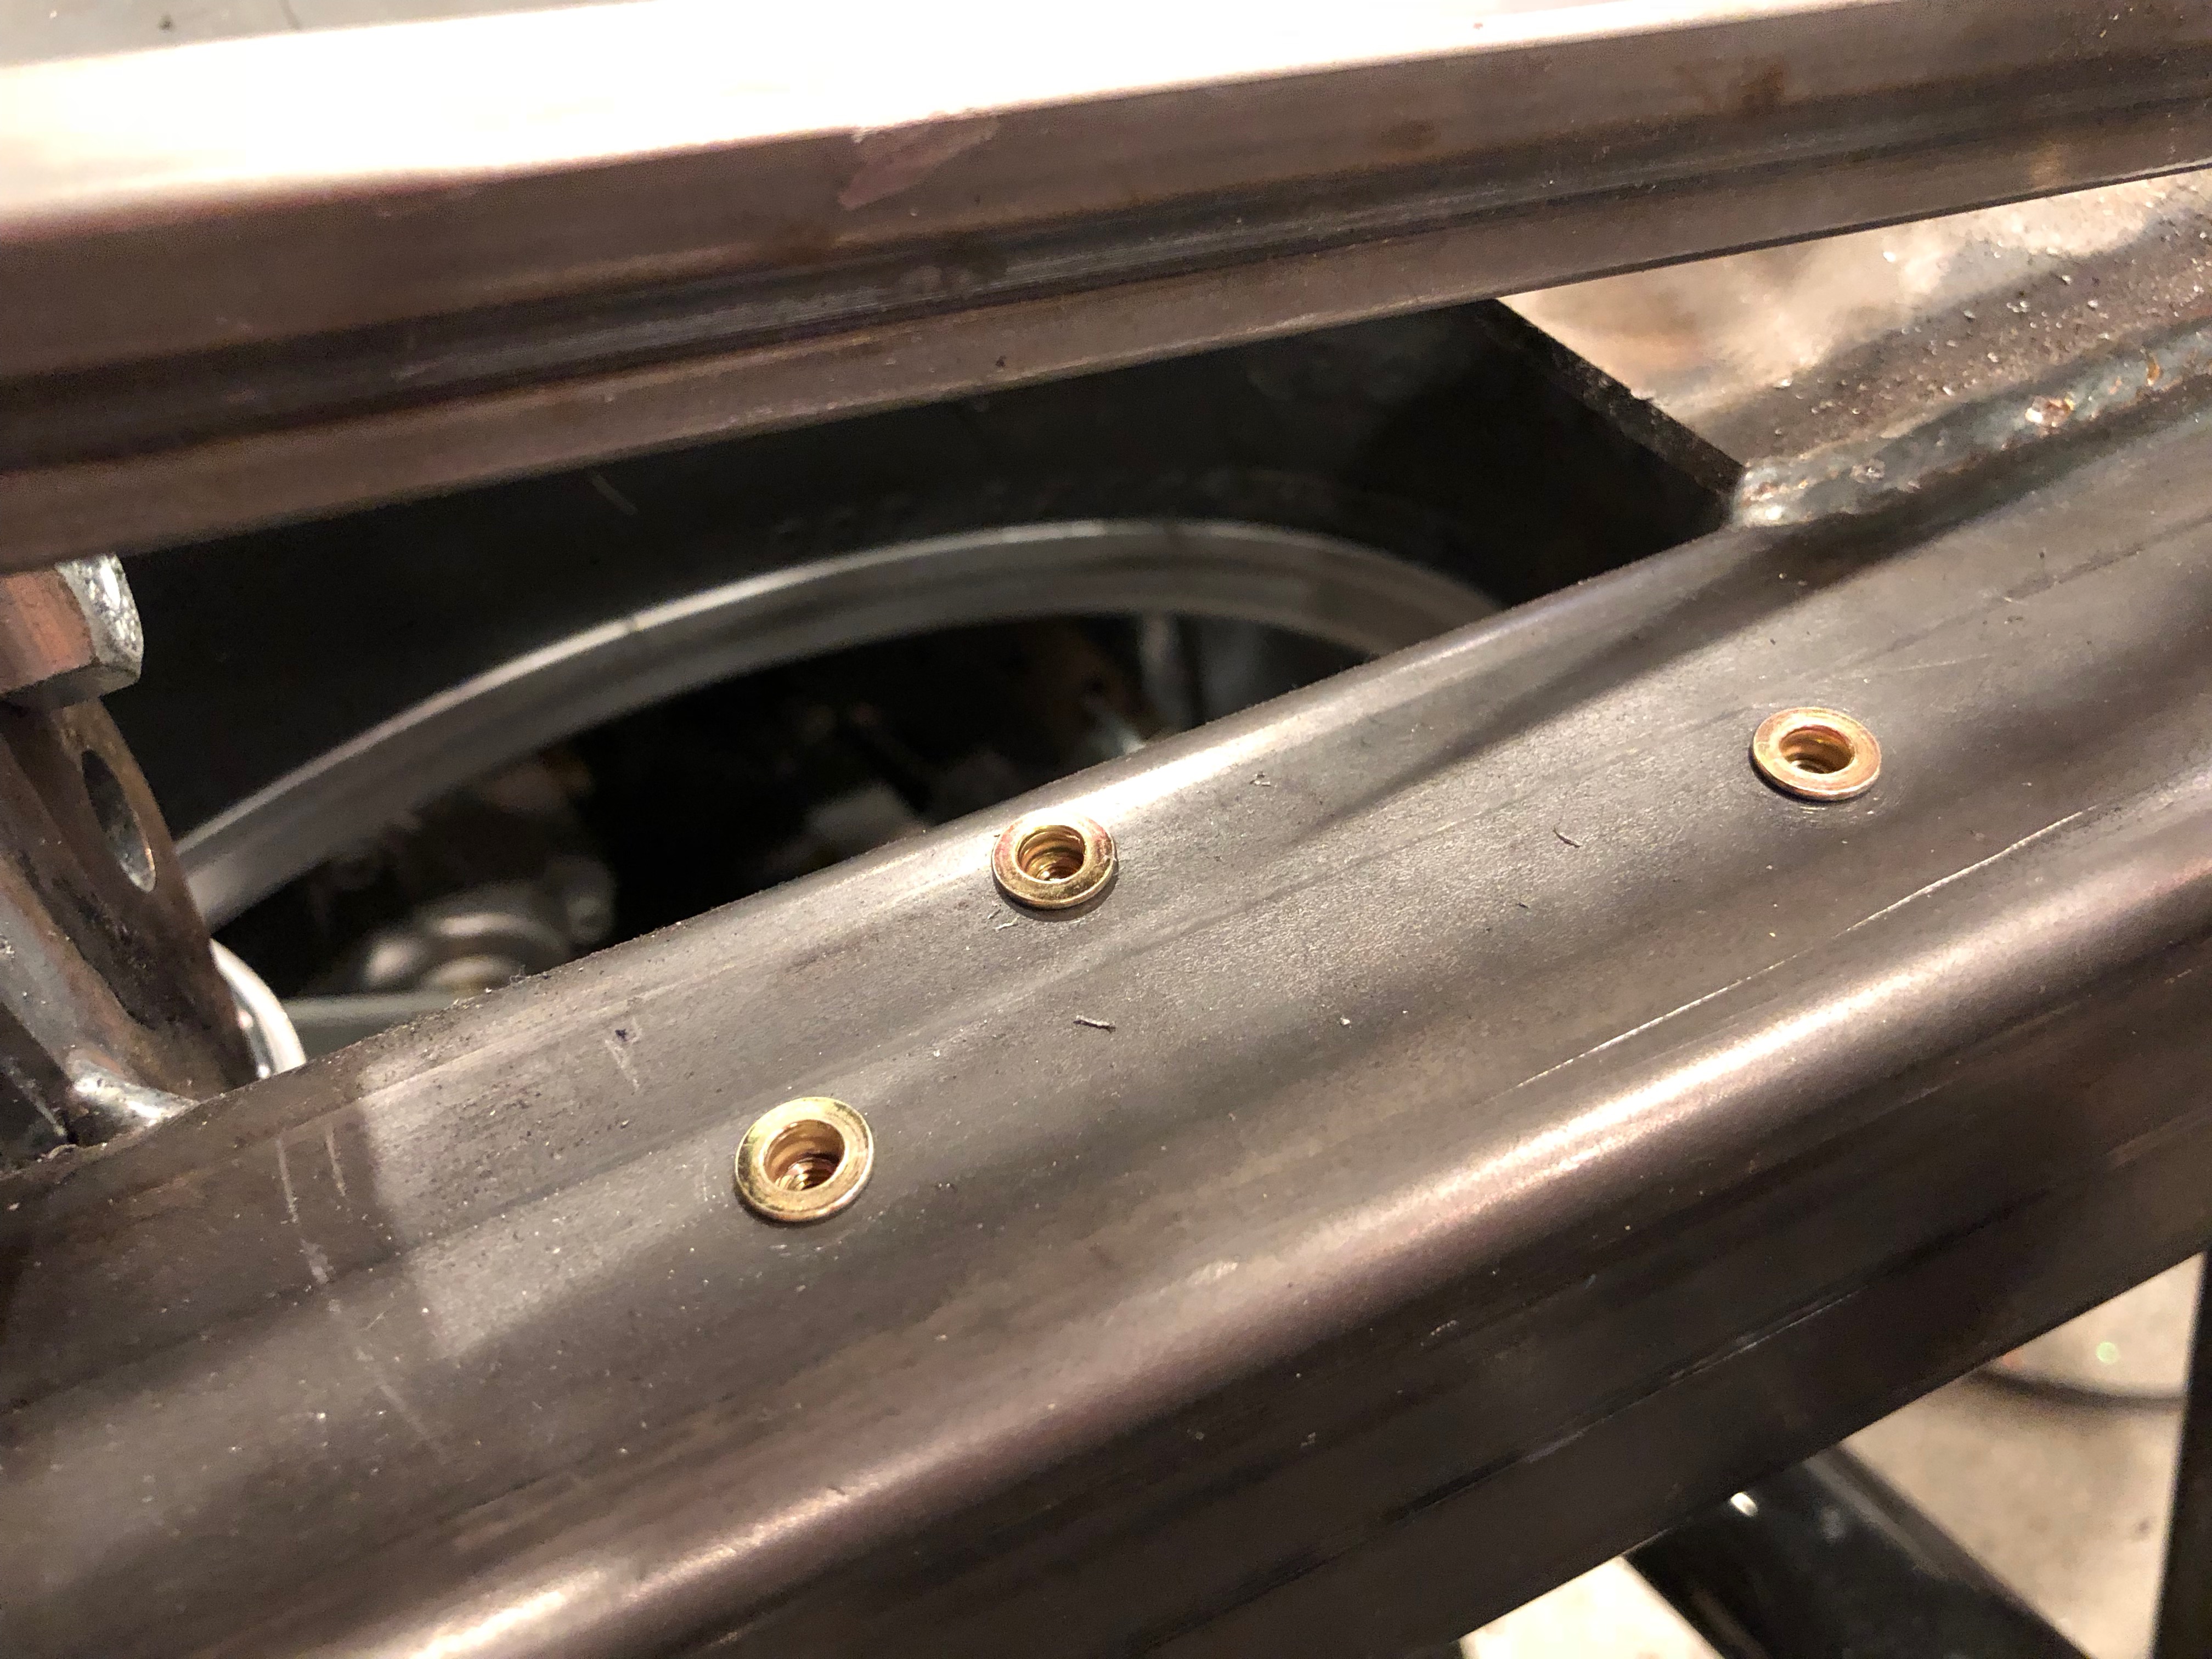
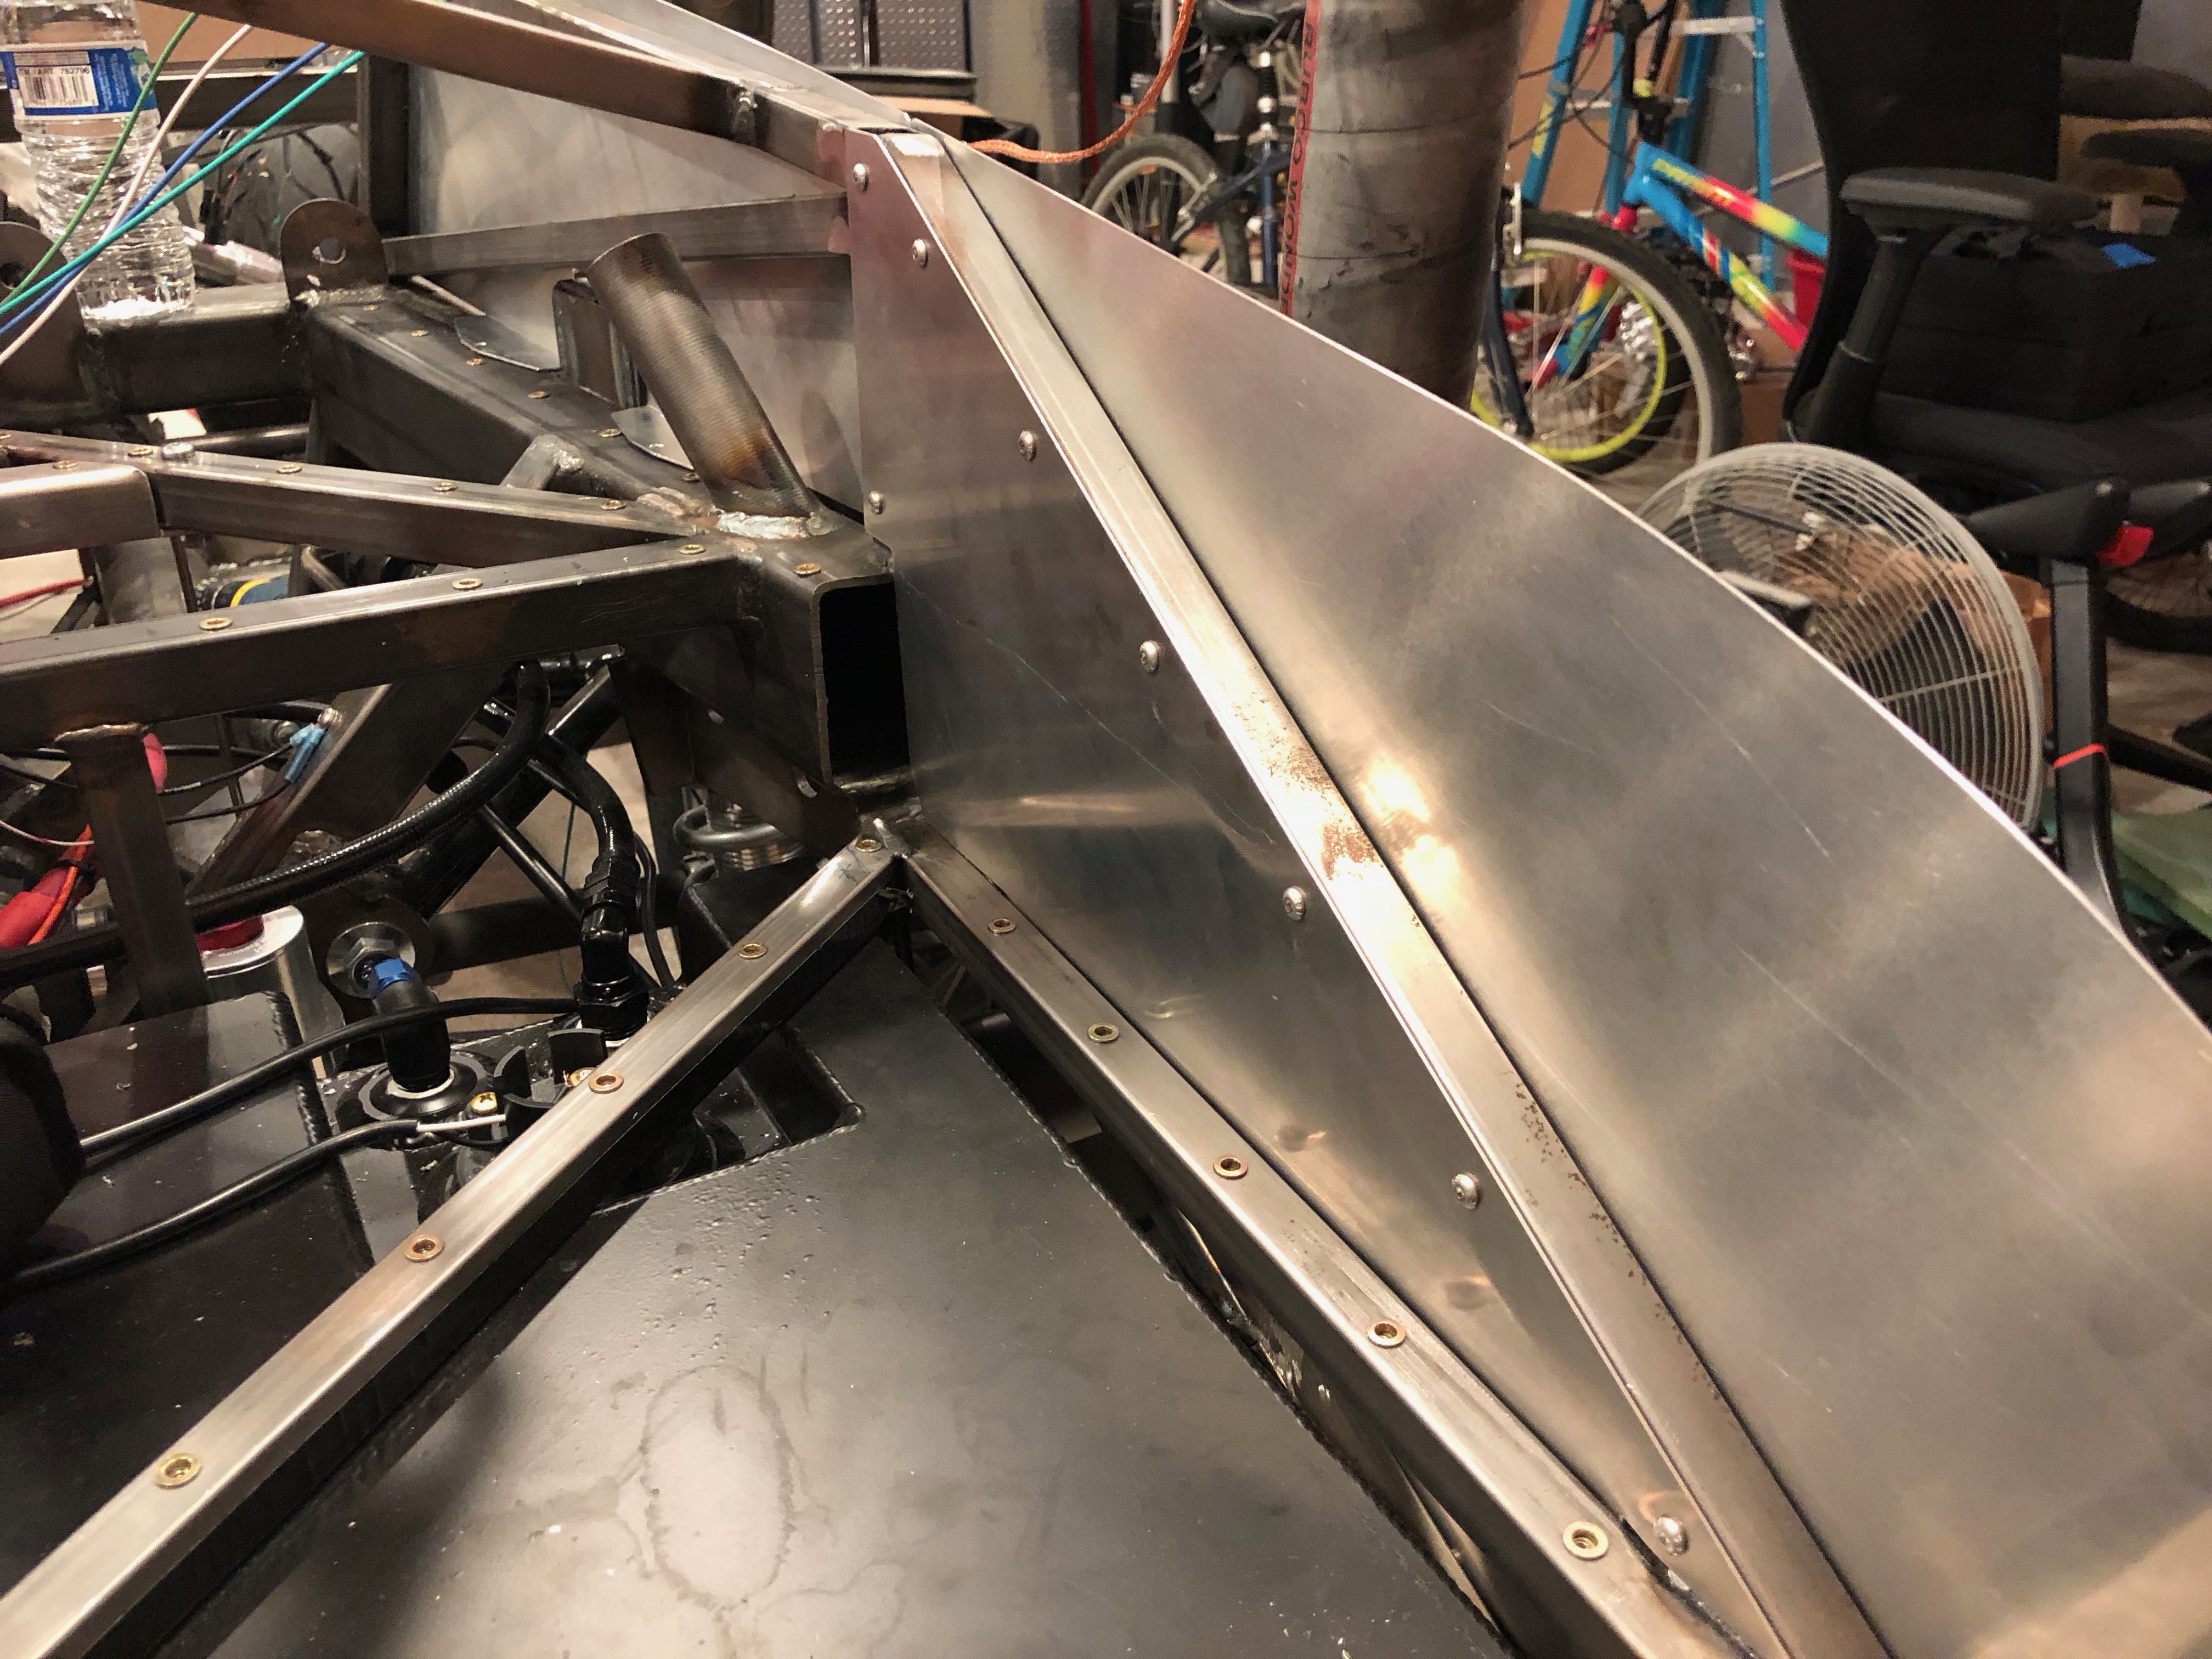
Installed Bottom Angles on Passenger Footbox Walls
I’ve been sick on and off the past couple of weeks and work has been keeping me rather busy, so I haven’t had much time to work on the car recently. I really wanted to wrap up the passenger footbox though since I can’t reinstall the fuel lines until that’s done.
Since I had to cut the flanges off of the bottom of the inside and front walls of the passenger footbox when I installed the steel floor pans, I needed to fabricate new flanges. I could have bent some 0.040″ aluminum sheet, but I had some 0.063″ aluminum angle laying around, so I decided to use that. I countersunk and flush-riveted the angles to the skins and installed nutplates to the lower flanges. This use the same 8-32 torx-drive, button-head screws we’re using everywhere else for the aluminum panel attachment.

Replaced #8 Screws and Zip-Tie Bases
I ordered a pack of 50 of these stainless steel zip-tie bases. I had been using some white plastic mounts, but they’re not particularly strong and will likely become brittle over time. Since we’re not quite as weight-conscious with the car as we were with the plane, I don’t mind the few extra ounces these will add for a much more durable mount.
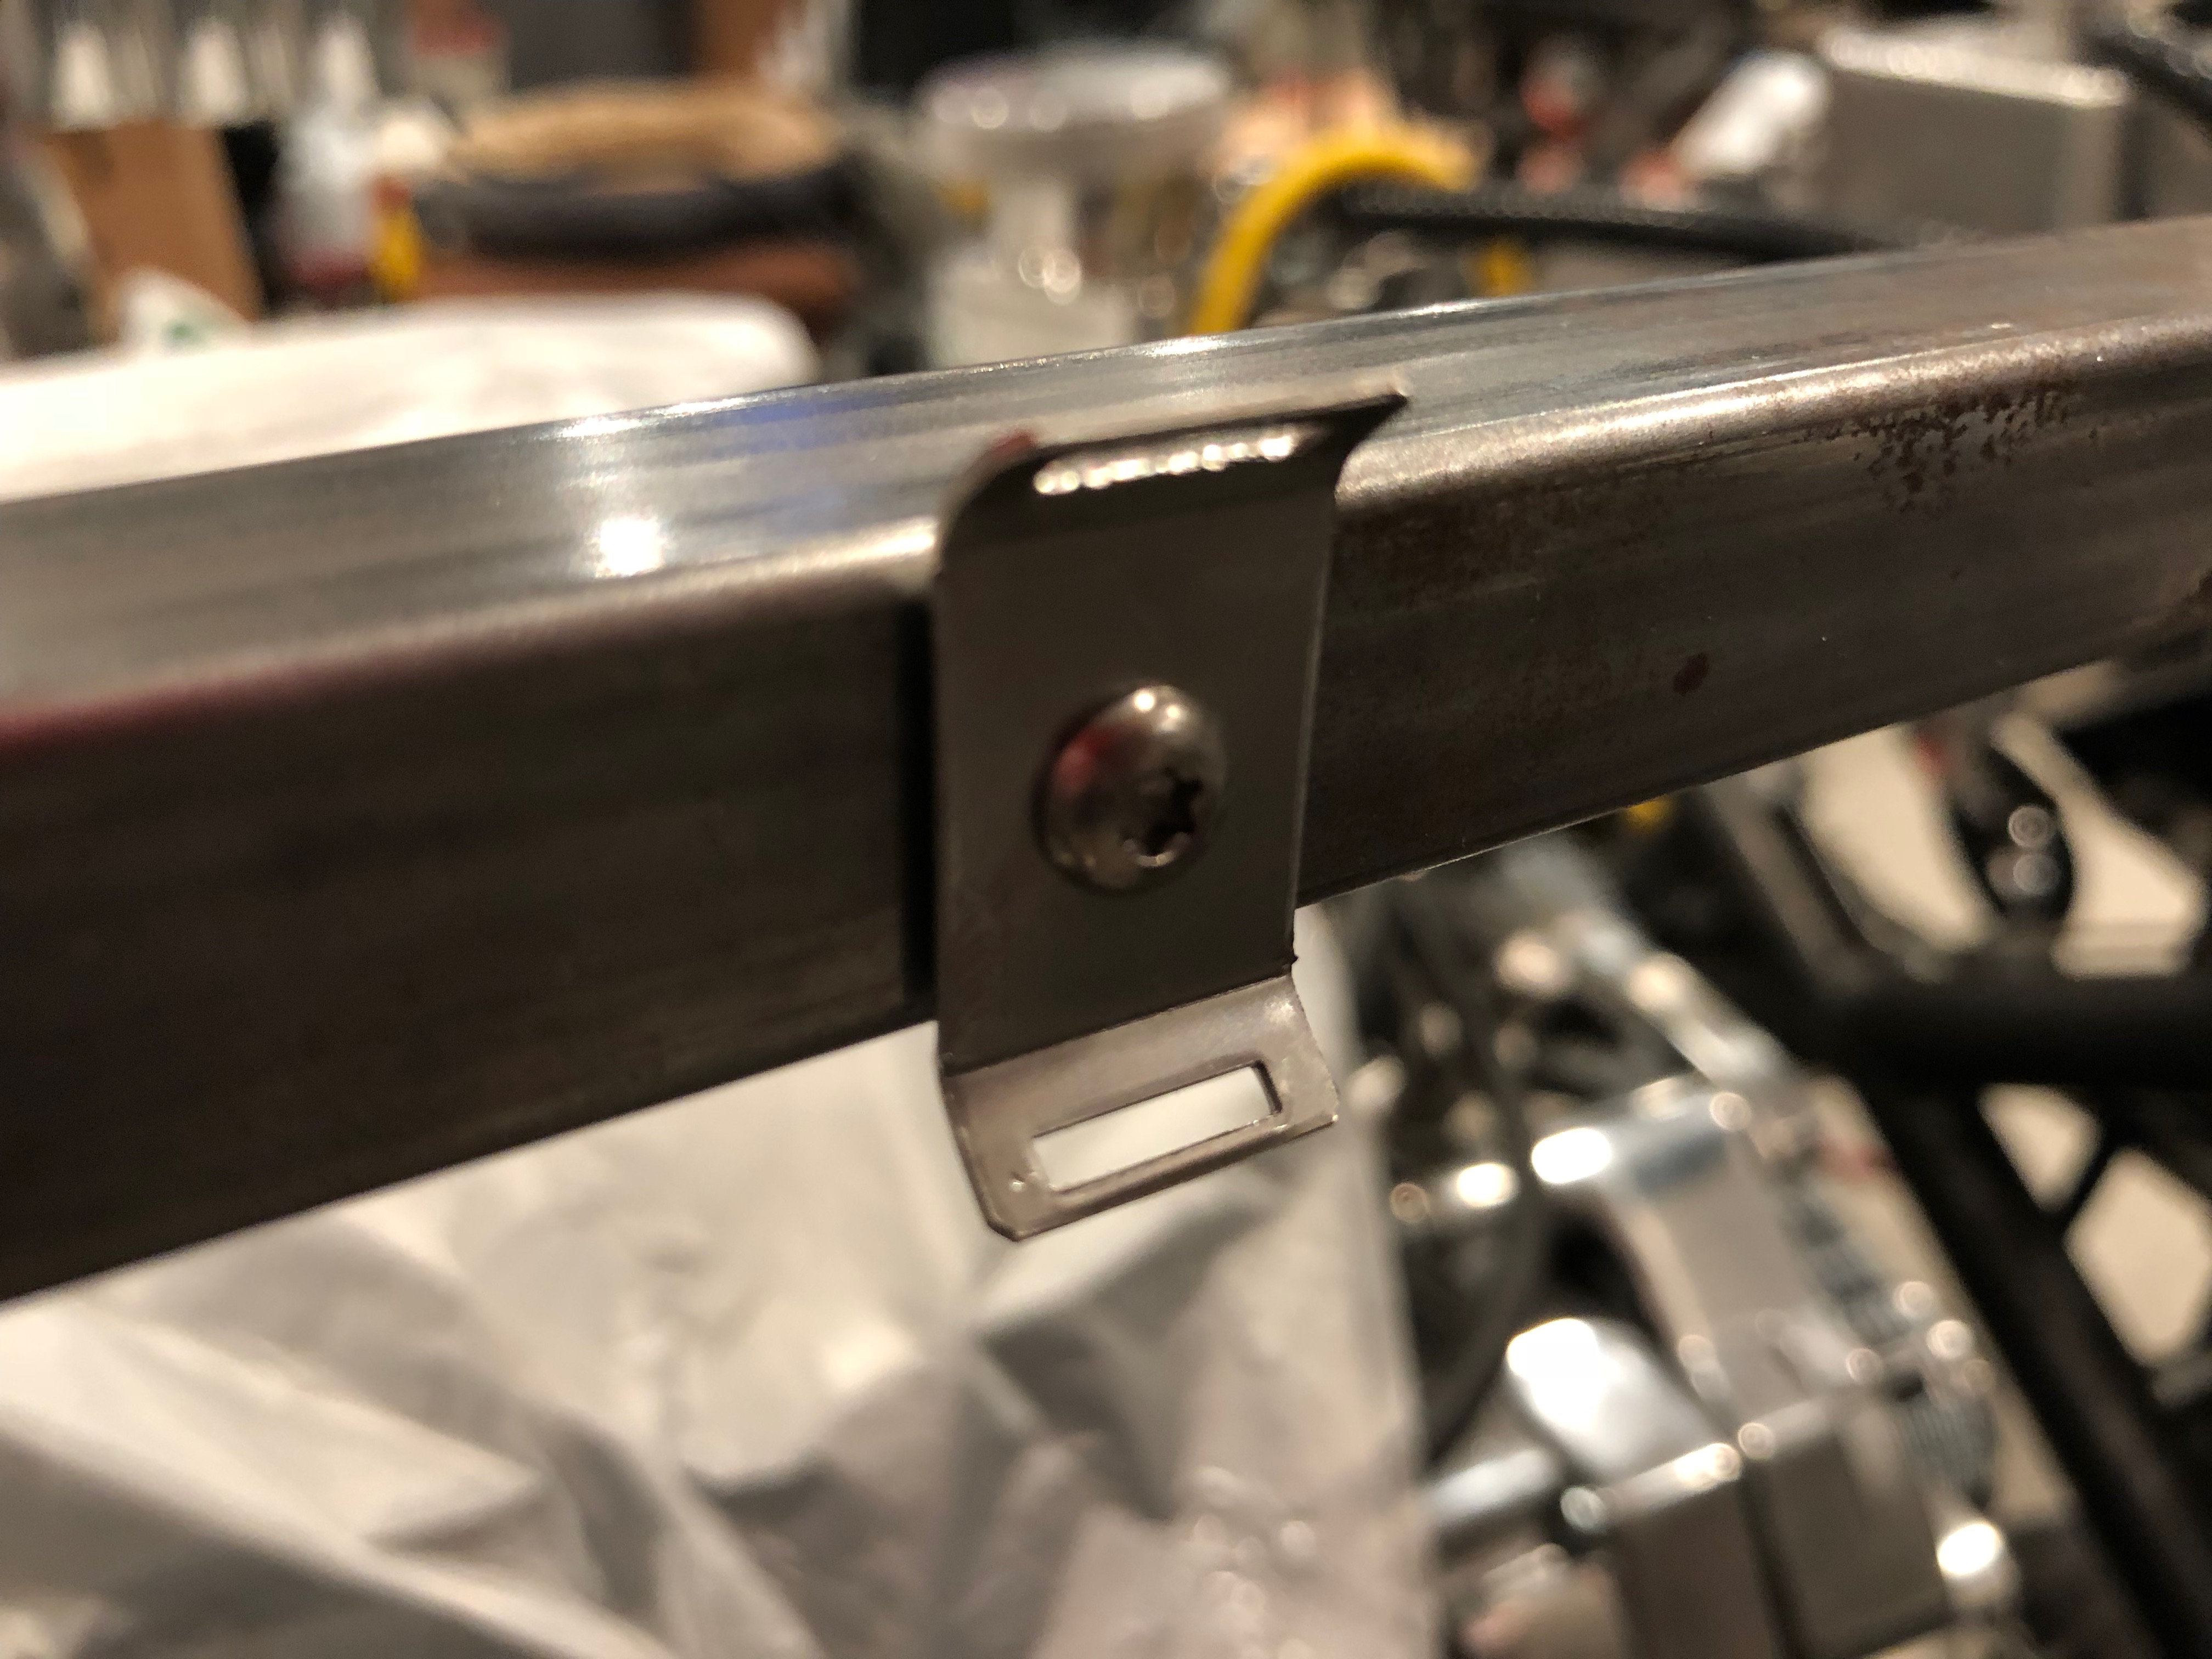
I also swapped all of the screws that hold on the chassis aluminum with some torx-drive stainless screws. I’m really glad I removed all of the hex-drive stainless screws because I stripped about a half-dozen more just in the process of removing them (out of about 50 screws). The torx-drive screws are virtually impossible to strip.

11th Annual Huntington Beach Cruise-In
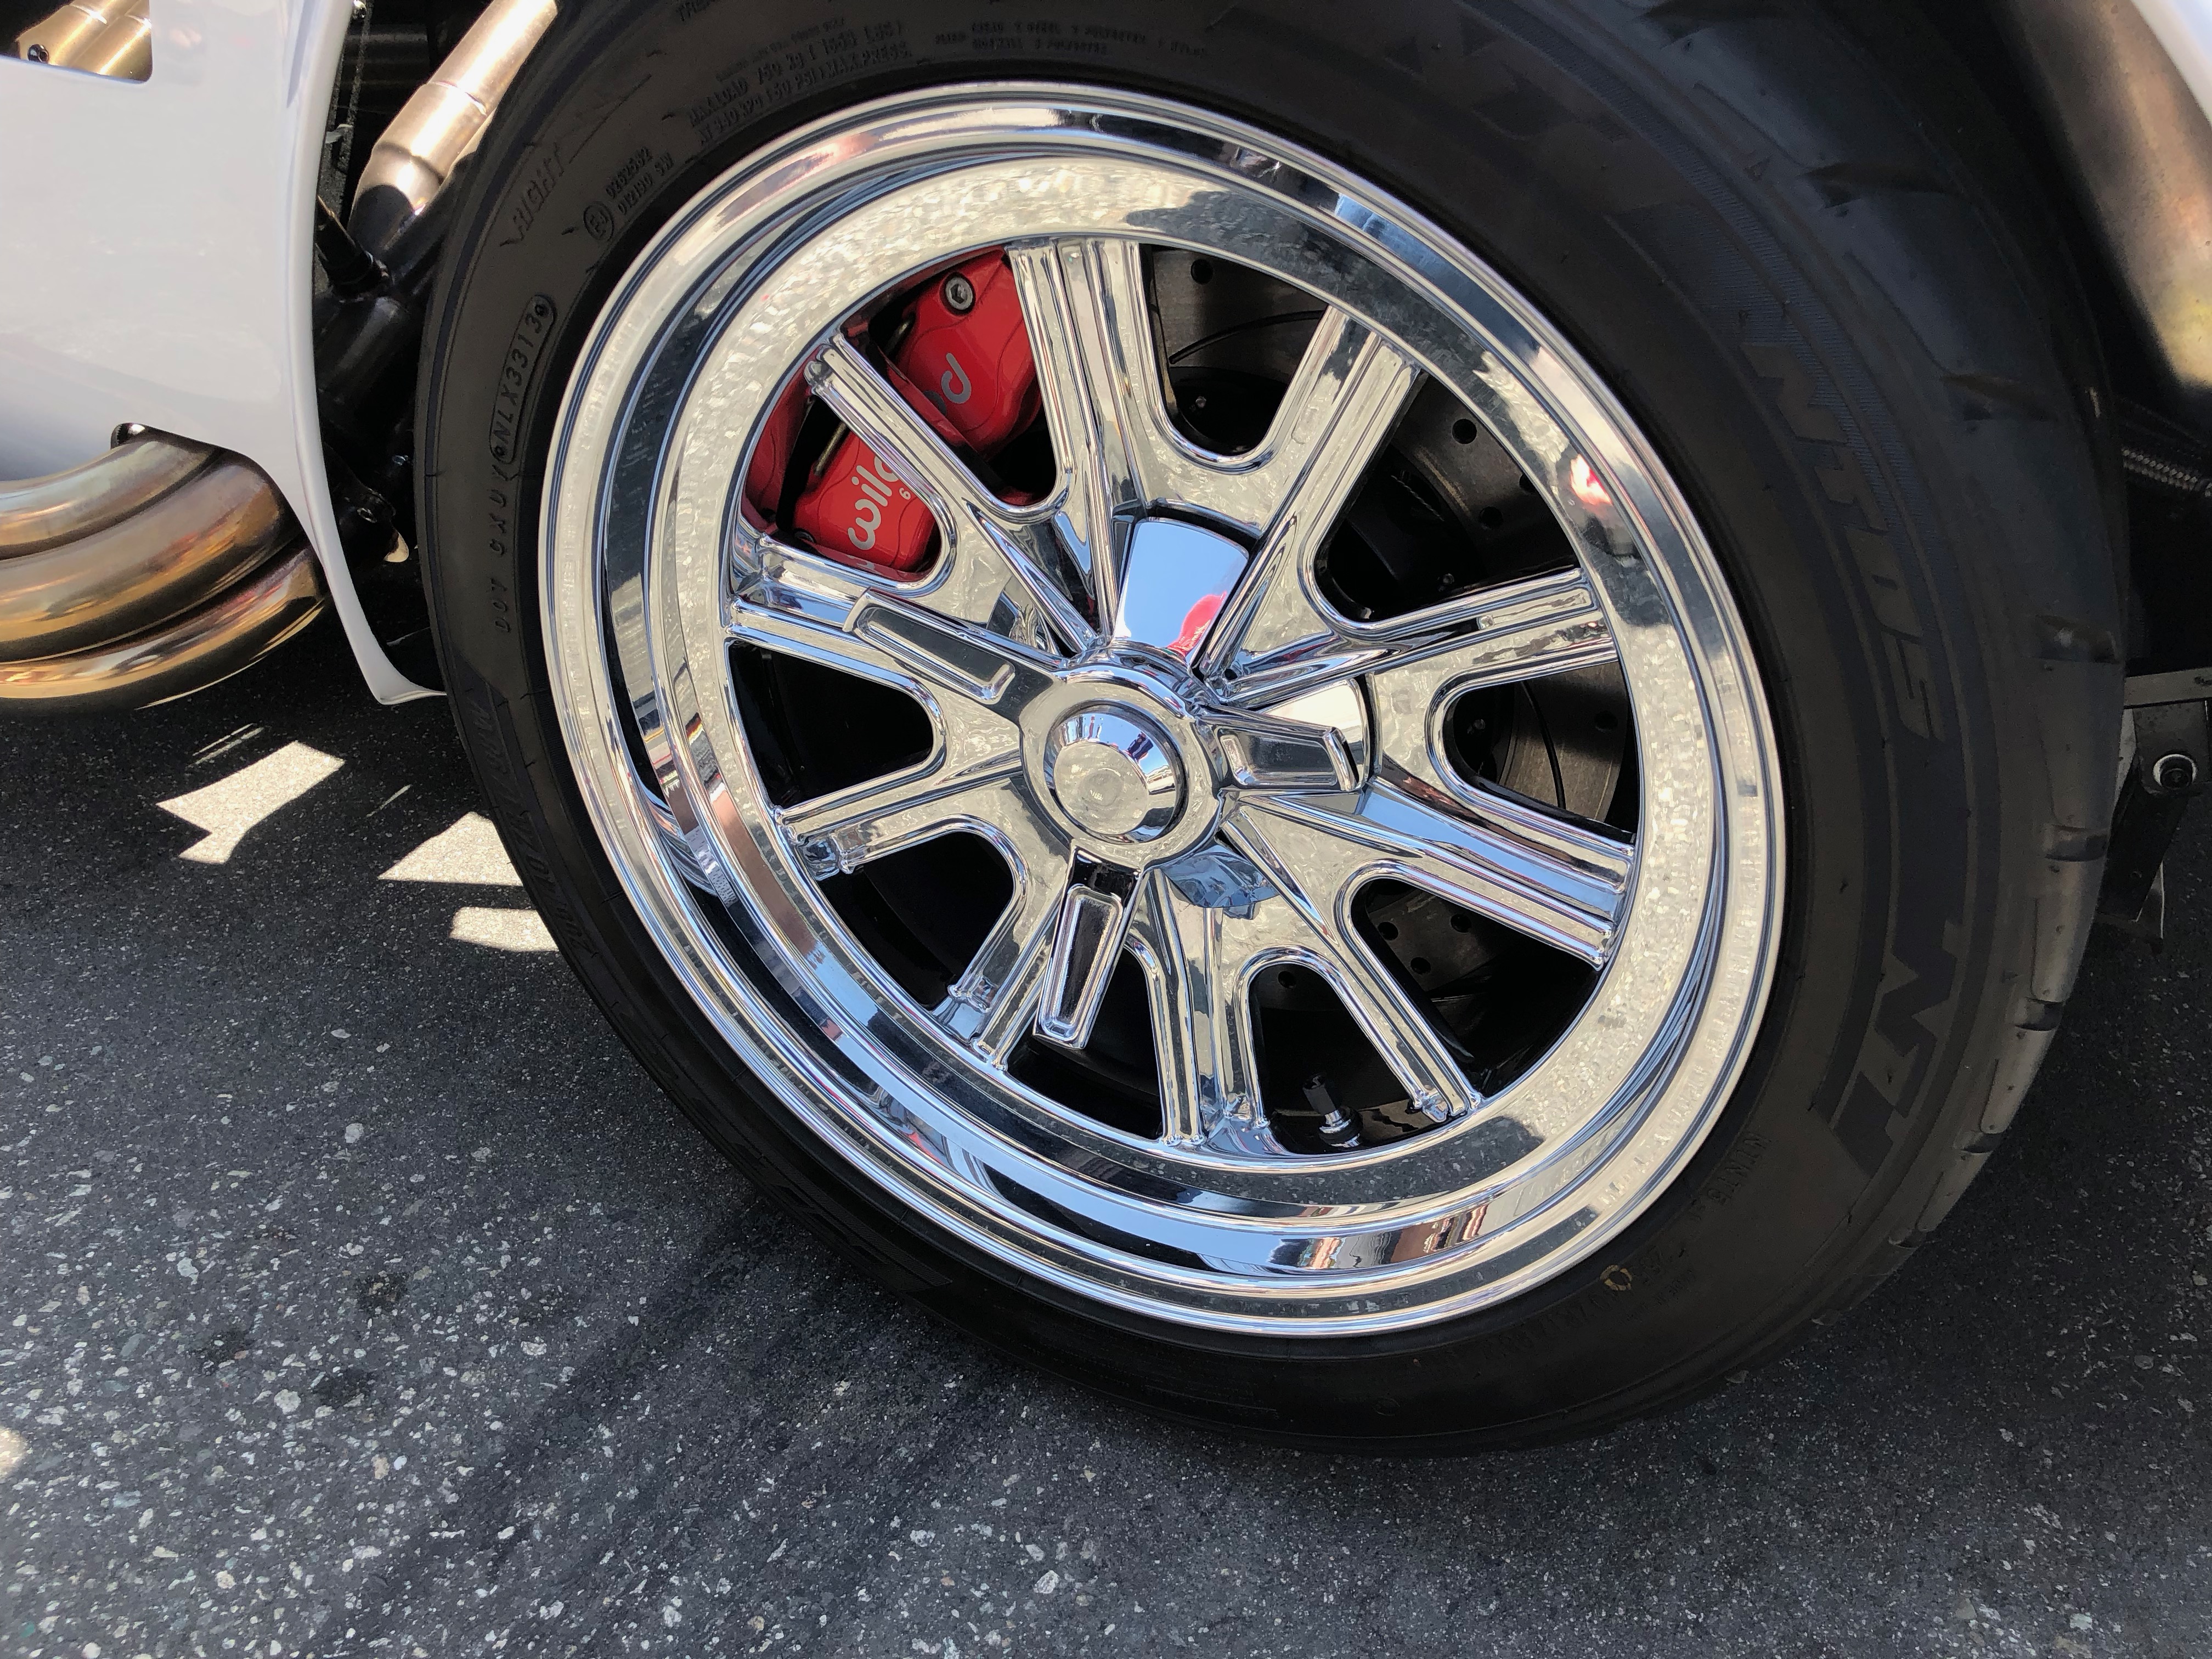
I flew the family down in our Bonanza to the 11th annual Huntington Beach Cruise-In. There were a ton of beautiful cars there and we spent quite a bit of time talking to many of the owners. One of the more impressive Cobras at the show was Saul Sotelo’s Mk4. It has a number of custom features which we really liked. It has the Lucas headlights which we will be using. It also has billet aluminum quick jacks and some custom aero work.

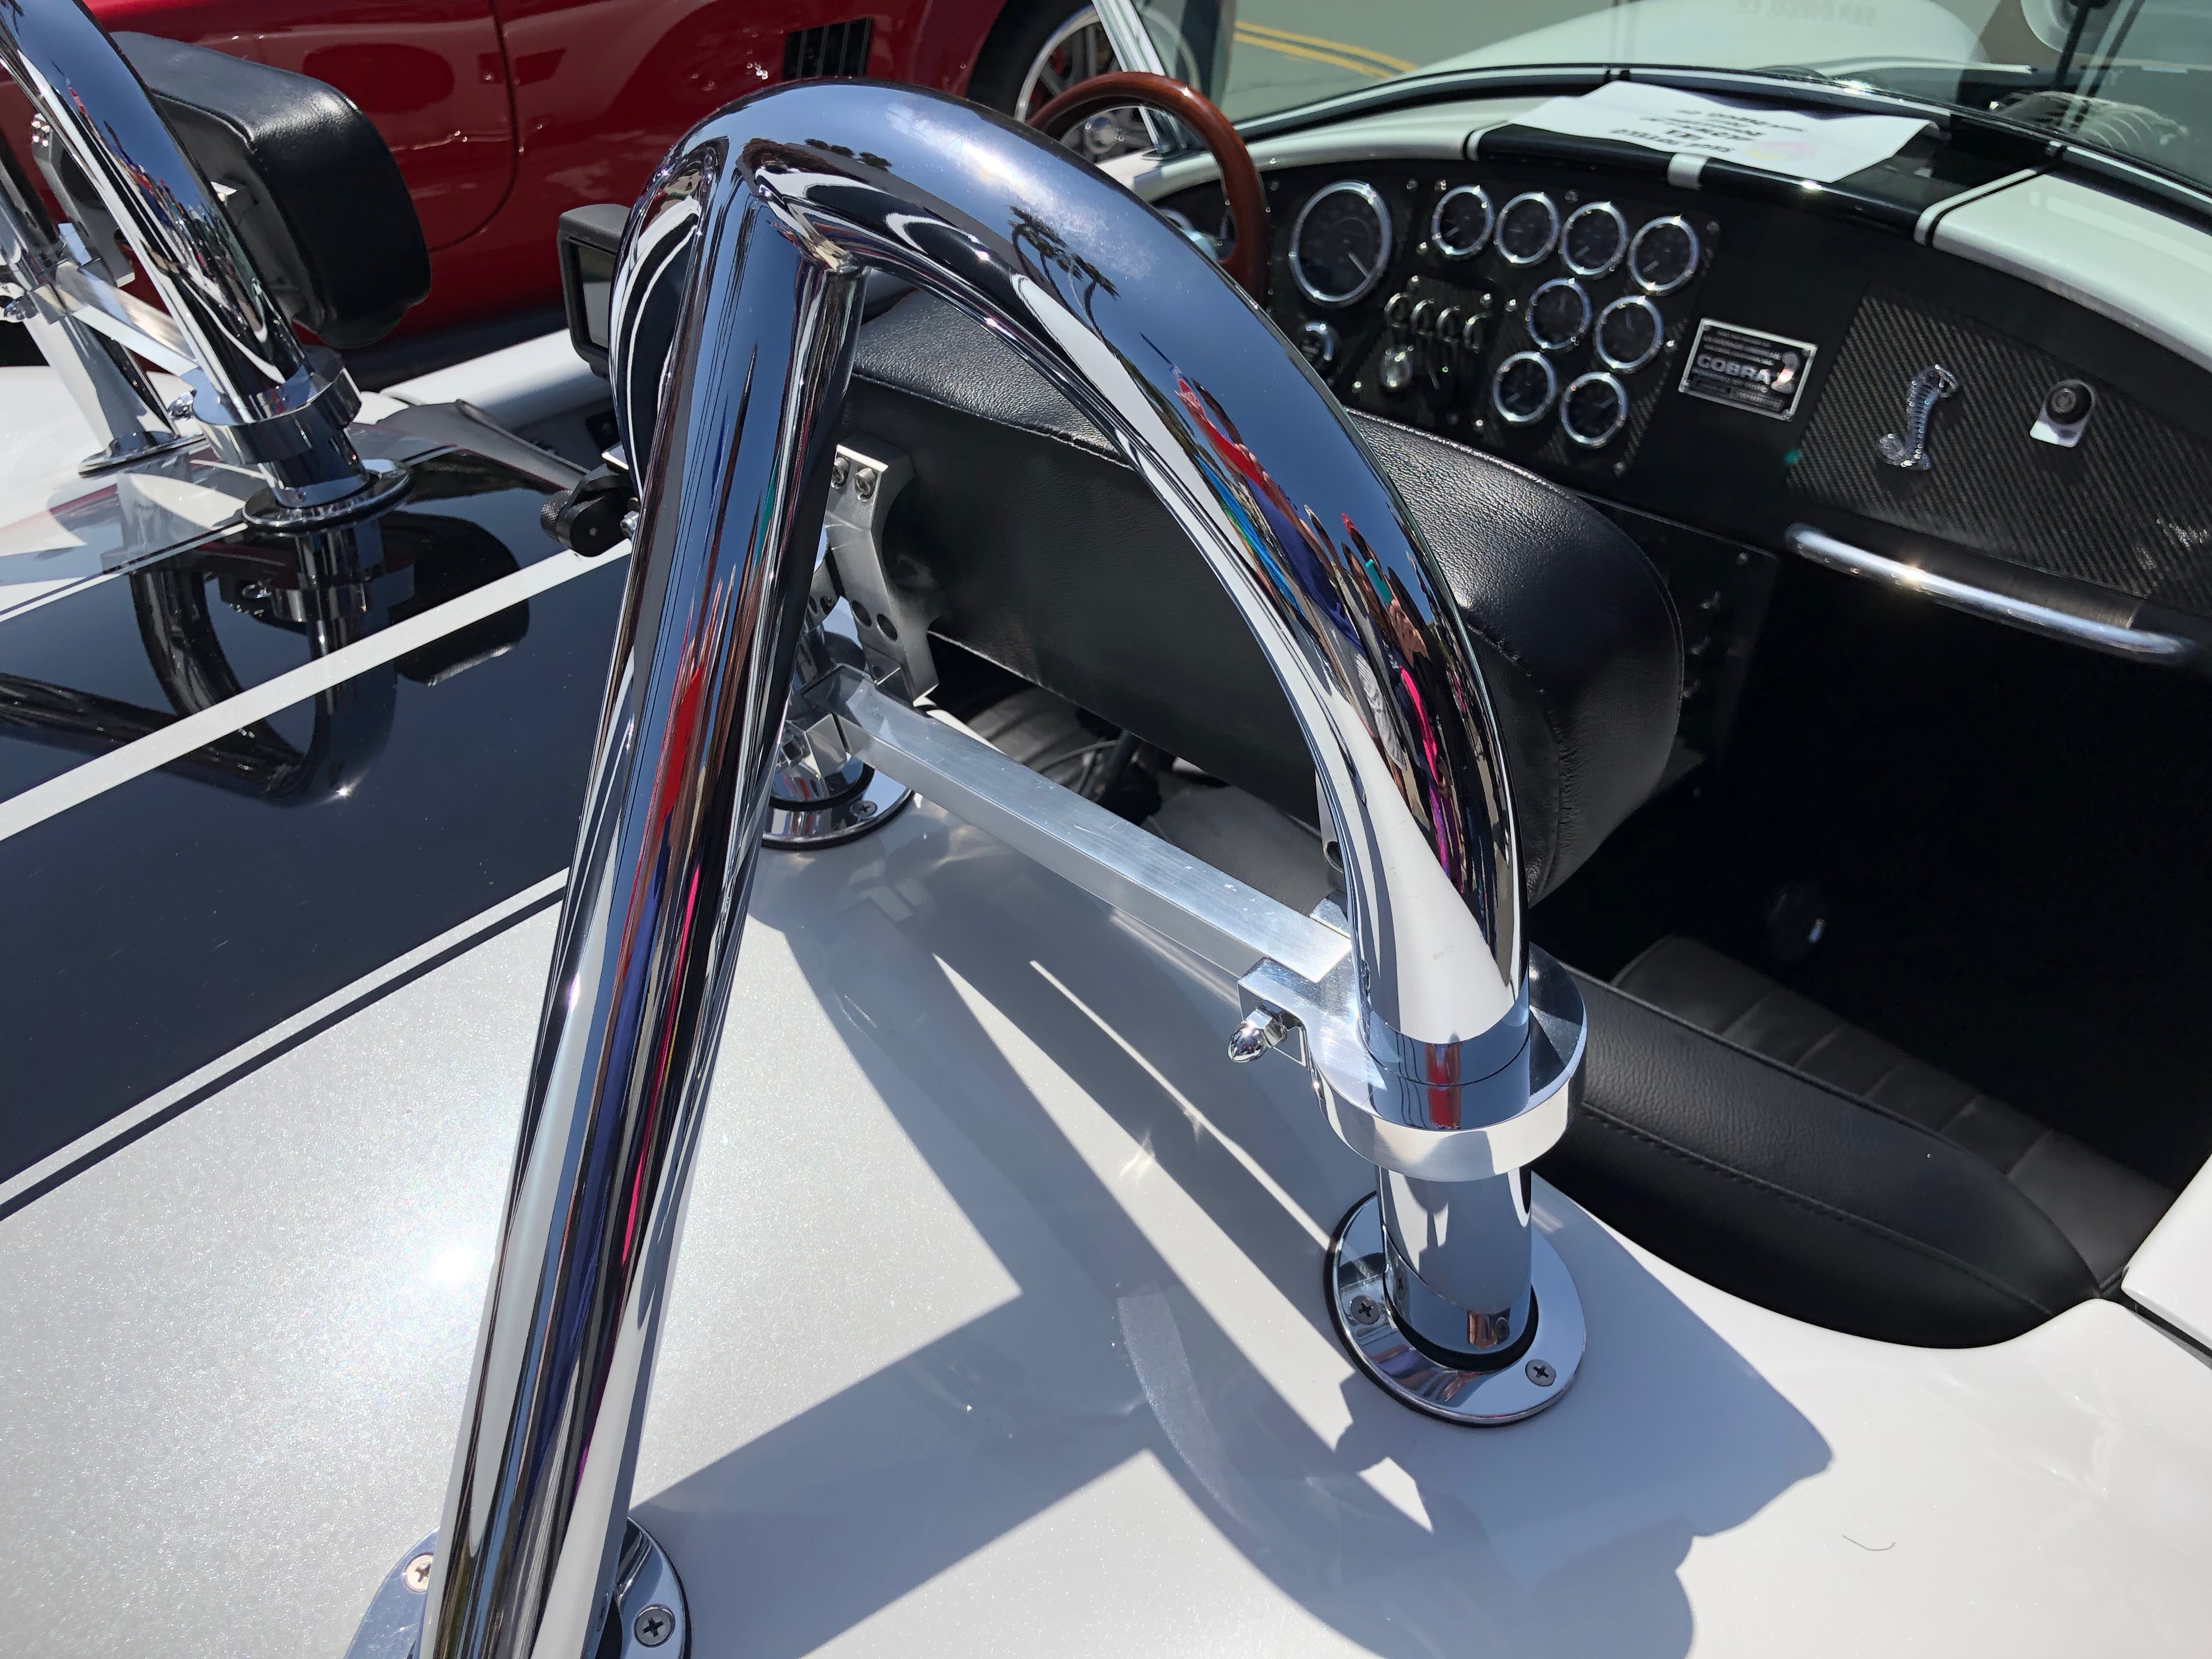
Jenn really likes the look of the chromed wheels, so I think there’s a good chance we’ll be doing that to our wheels. These are 17″ wheels like ours.
He also used Breeze Automotive’s 1.75″ rollbars which we both like much better than Factory Five’s current 1.5″ or early model 2″ tubes. Unfortunately, Breeze doesn’t have these in stock right now due to supplier issues. Hopefully, they’ll get those resolved soon. He also had some slick headrests that mounted to the rollbars. We like the idea of having headrests but will probably need something adjustable since our seats are adjustable.
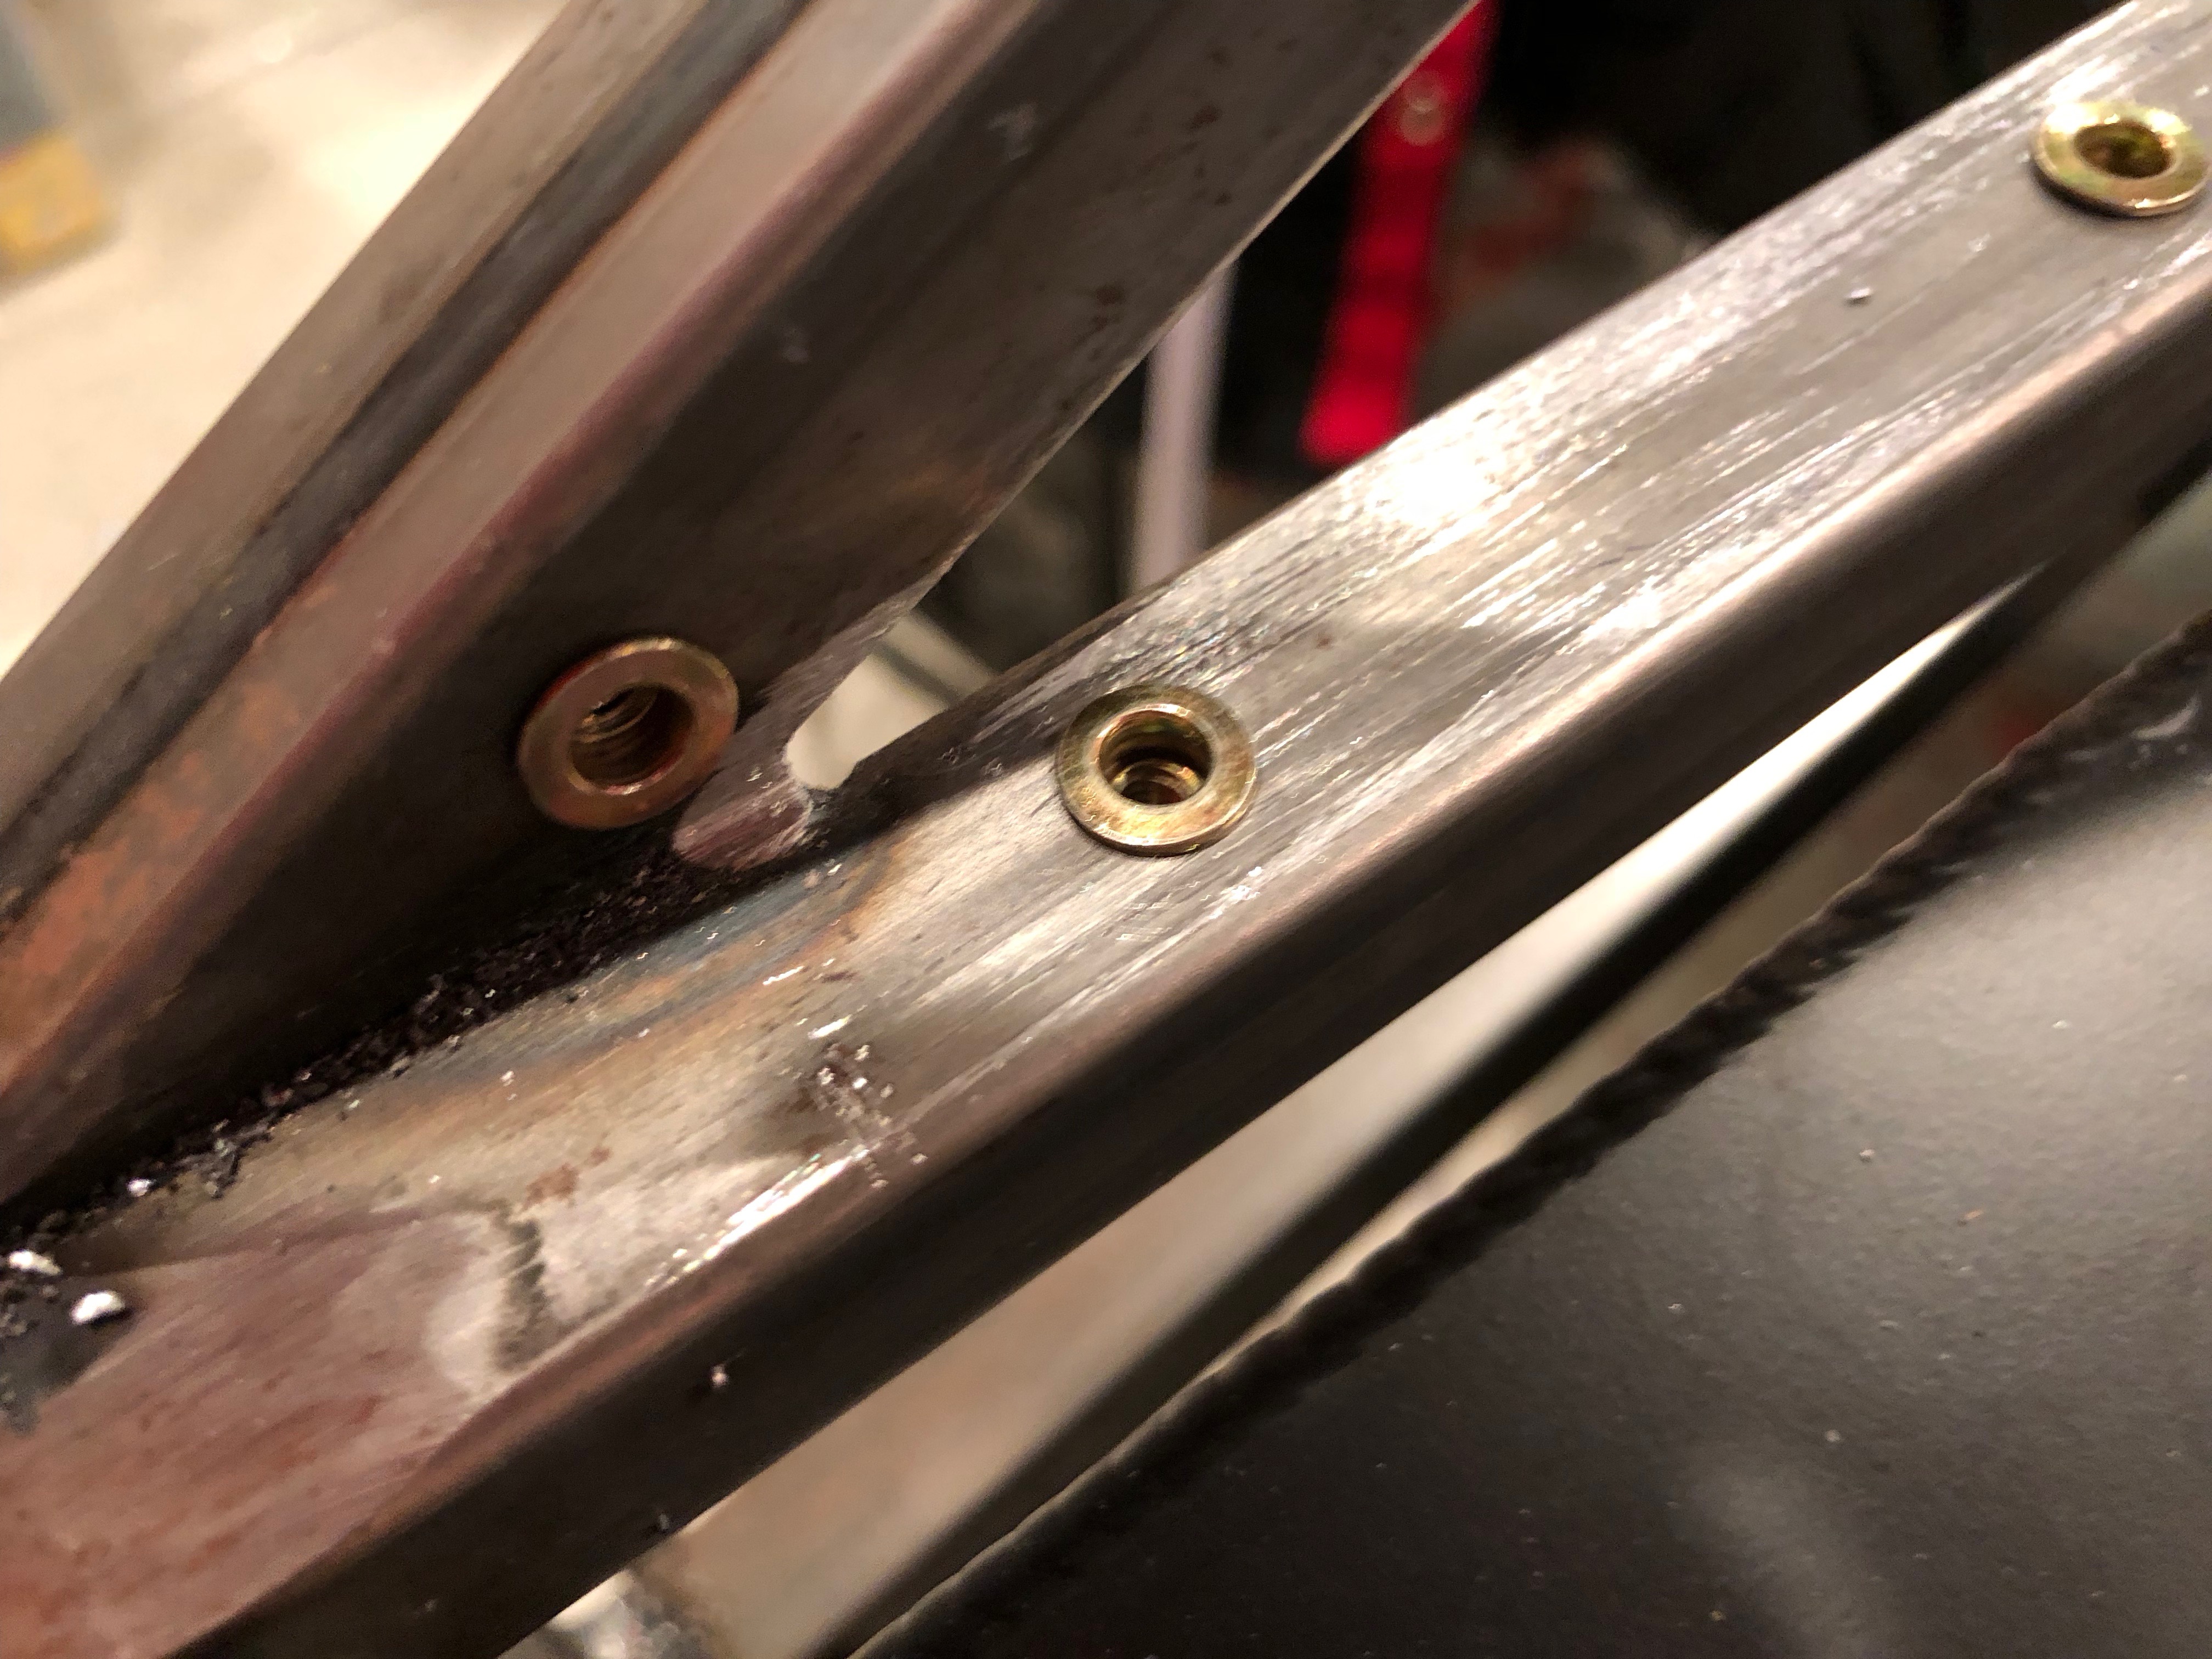
Installing Chassis Panels
With the chassis rivnut basically complete, I started installing the chassis panels that don’t get in the way of anything else. The inner and outer trunk side panels won’t interfere with any future work, so I went ahead and installed these. I’m attaching the panels with button-head 8-32 screws which have a fairly low profile like the pop rivets would have had.
I ordered a bunch of stainless steel socket head screws, but they use a fairly small 3/32″ drive which is fairly easy to strip. I stripped three of them just on these four panels. I’m probably going to replace all of these small 8-32 button head screws with torx head screws which I use extensively on my RV-7. They’re virtually impossible to strip.
Finished Existing Chassis Rivnuts
I went around the car and wrapped up all of the chassis rivnuts that were too close to other structure for me to use my Astro Pneumatic Rivet Nut tool. All of the rivets on the outer seat floor (like the one on the lower left here) were too close to the side structure.
The ones at the outer edge of the trunk were up against an adjacent piece of tubing.
There were also a couple on the upper trunk floor that were too near the outer edge and couldn’t be reached with the other tool. The tool I used to set all of these is a wedge-type hand tool. It’s much more time consuming, but I was able to set about 40 in about an hour and a half. Just like the Astro tool, it’s also possible to break if you apply too much torque, but it just uses screws so they’re inexpensive to replace.