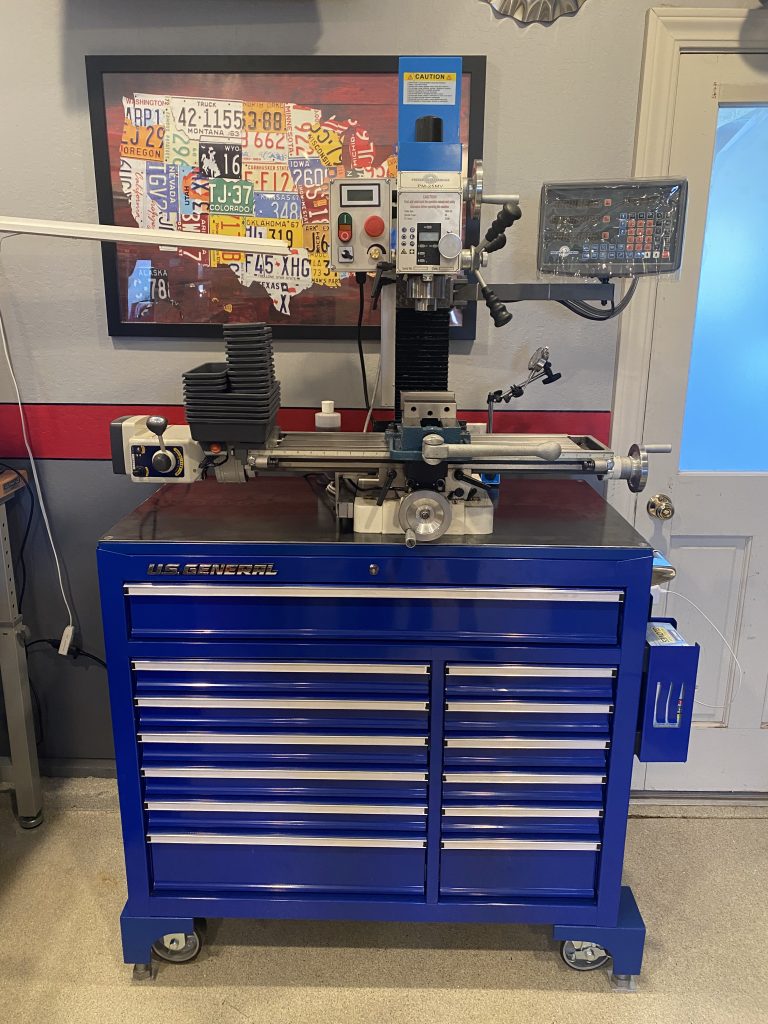
Installed Mill and Lathe in the Shop

In preparation for resuming work on the car, I wanted to improve the tooling I have for metal work. I was fortunate to have a friend give me a Precision Matthews PM-25MV bench top mill he was no longer using. I added a couple of upgrades to the mill including a power feed on the x-axis and a quill stop and quill lock (not pictured).

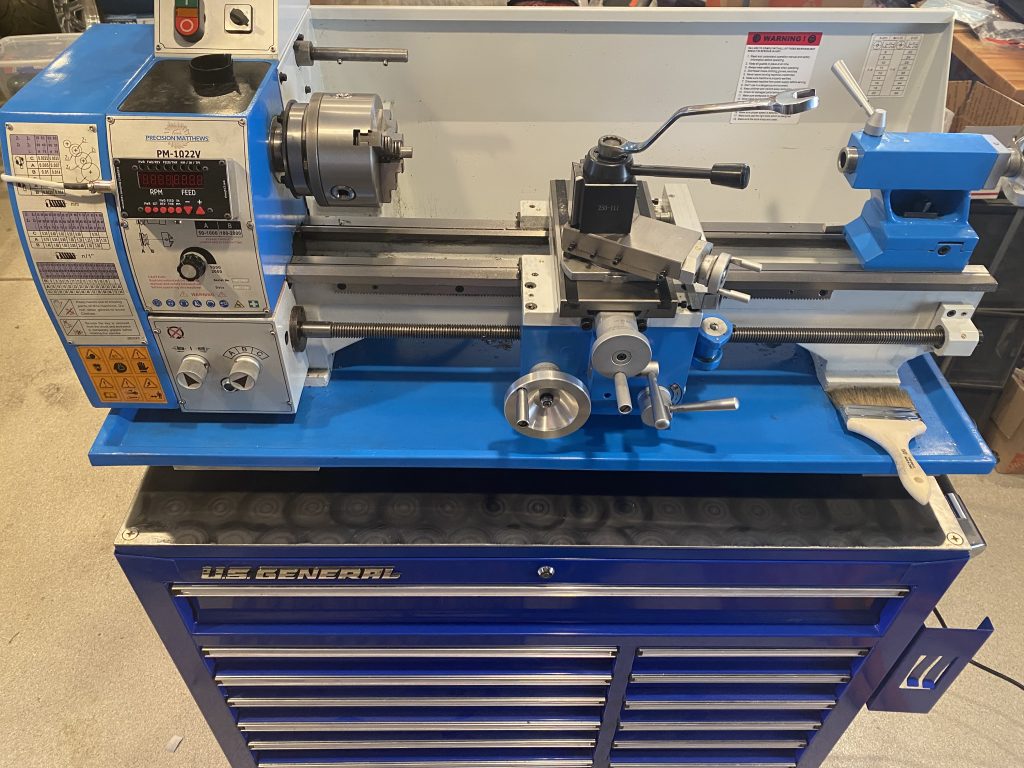
I also decided to add a lathe to the shop since I’ve already needed a lathe for a few tasks on the car. I don’t have a ton of space, so I picked up a Precision Matthews PM-1022V lathe and mounted it on an identical tool box.

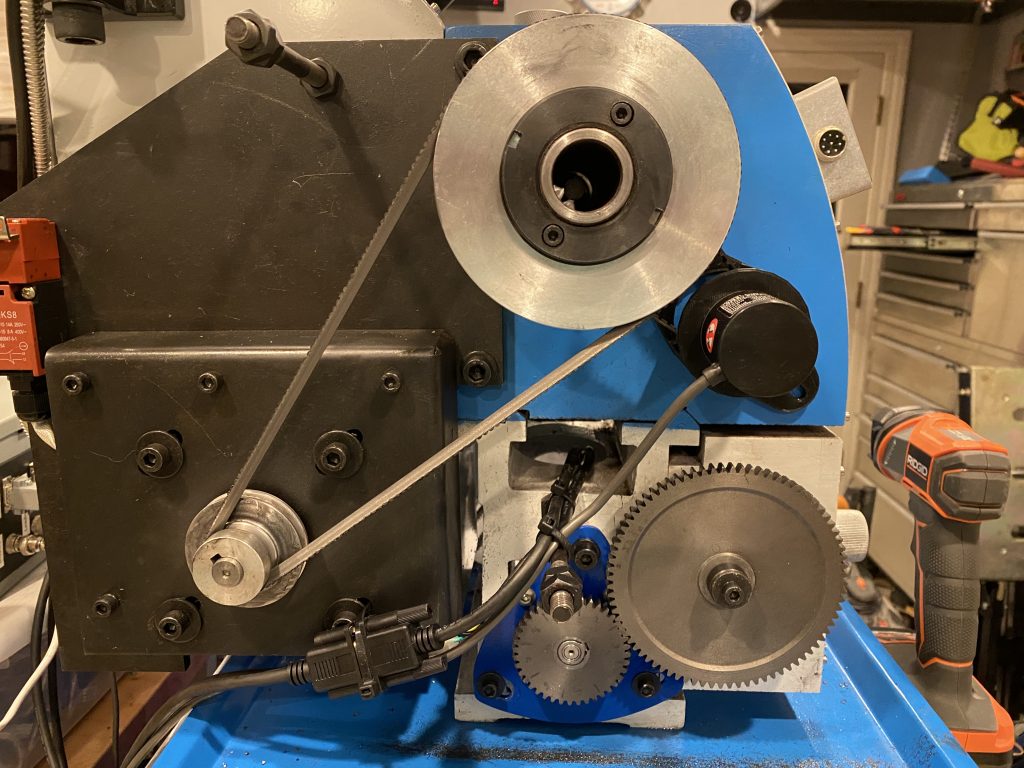
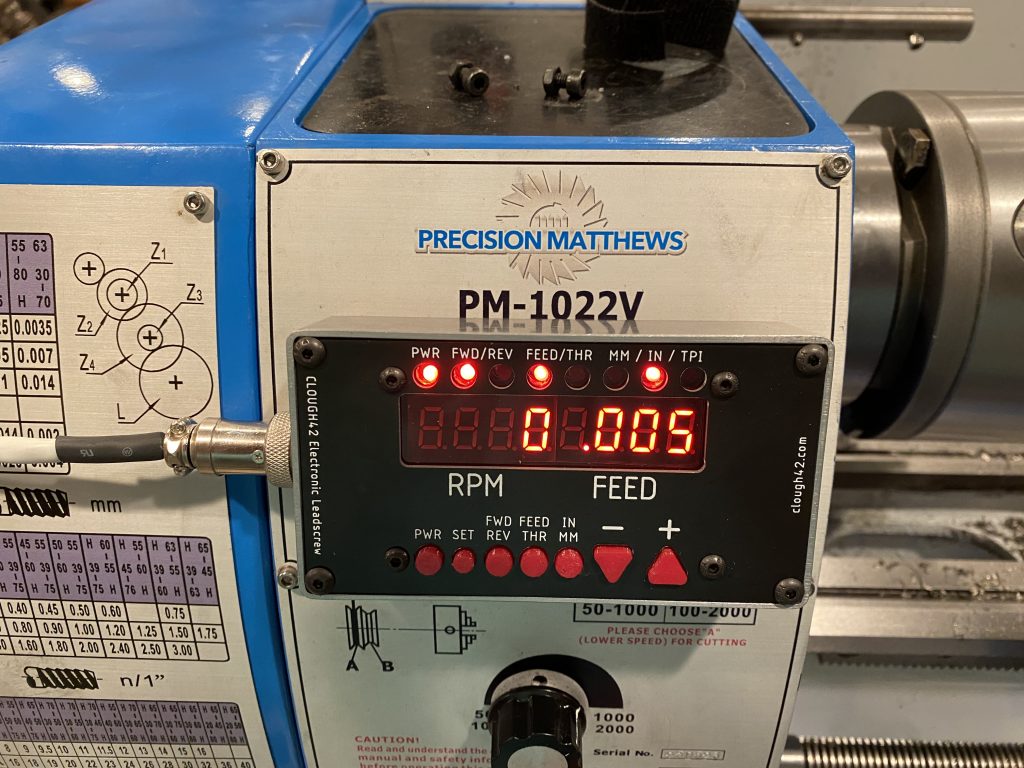
These small lathes have relatively simple gearboxes, so they use a set of change gears that must be swapped to change the feed rate or for any threading operation. I didn’t like the thought of having to mess with that, so I installed an electronic lead screw. This was designed by James Clough but requires a custom installation on each machine. It uses an optical encoder to read the spindle position and then a microcontroller controls a servo to drive the leadscrew.

This lets you switch between forward/reverse, feeding/threading, and inch/mm units at the touch of a button and change the feed rate on the fly as well as simply selecting the threading pitch on the screen (for both SAE and metric threads). This should be a nice upgrade for this little lathe.

Hung Flags

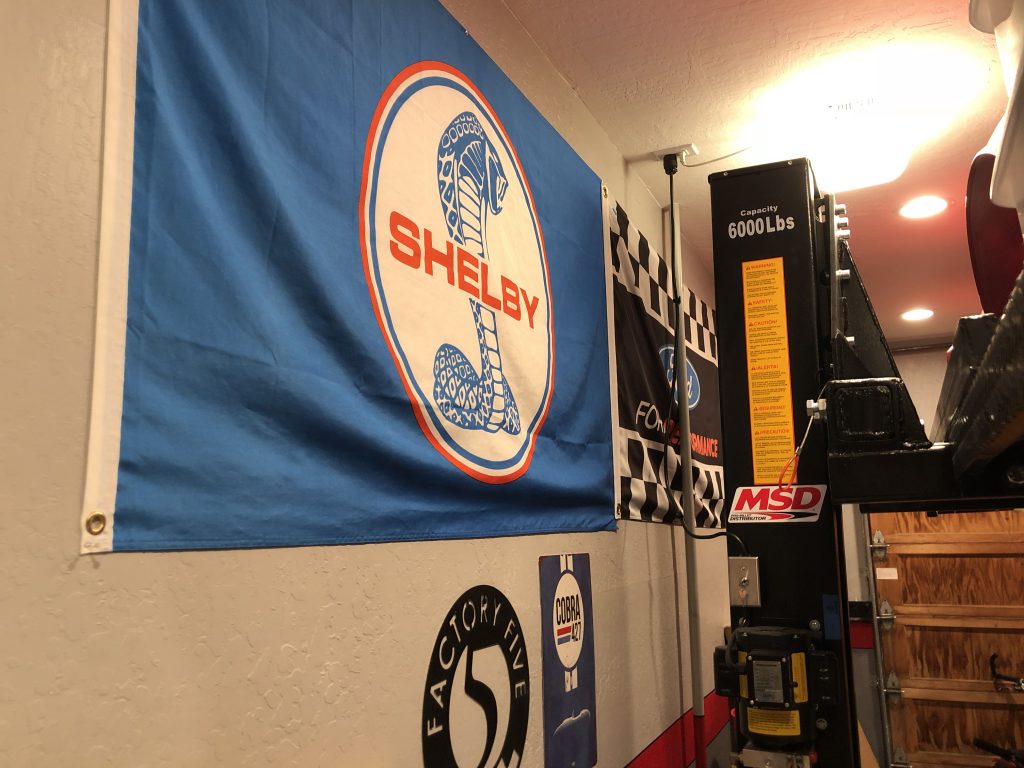
We’ve had a few flags that I’ve been meaning to put up in the shop, but I needed to move the other wall art, so I kept putting it off. I decided to tackle that today, so I pulled the old decorations off the wall, patched a painted the wall and hung up the flags. The Shelby Cobra flag has the preeminent spot. Partially hidden behind the lift and gas pipe is a Ford Performance flag.

On the other side of the lift, we have our Porsche flag.

Installed Shop Fan

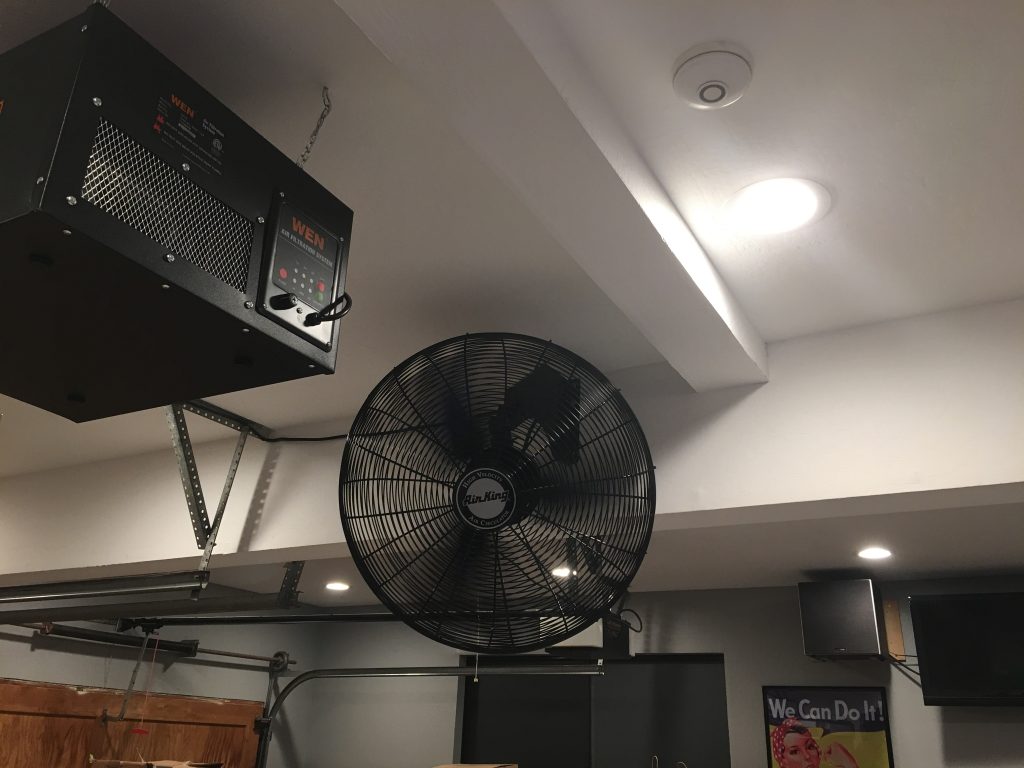
I ordered this fan well over a month ago and it finally arrived. This is an Air King 99539, industrial grade, quiet oscillating fan. We have these at the gym at work and they move a serious amount of air at high speed but are almost silent at low speed.

I was originally going to mount this high up on the wall behind the lift, but after storing the car up there, I realized it would block most of the airflow. There are really no other good spots on the wall though, so I started considering other options. After briefly considering mounting it to the ceiling, we decided to mount it to the side of one of the beams. It oscillates through 90º, so it will do a great job of moving air through the two bays of the garage that we’re going to use as a shop.

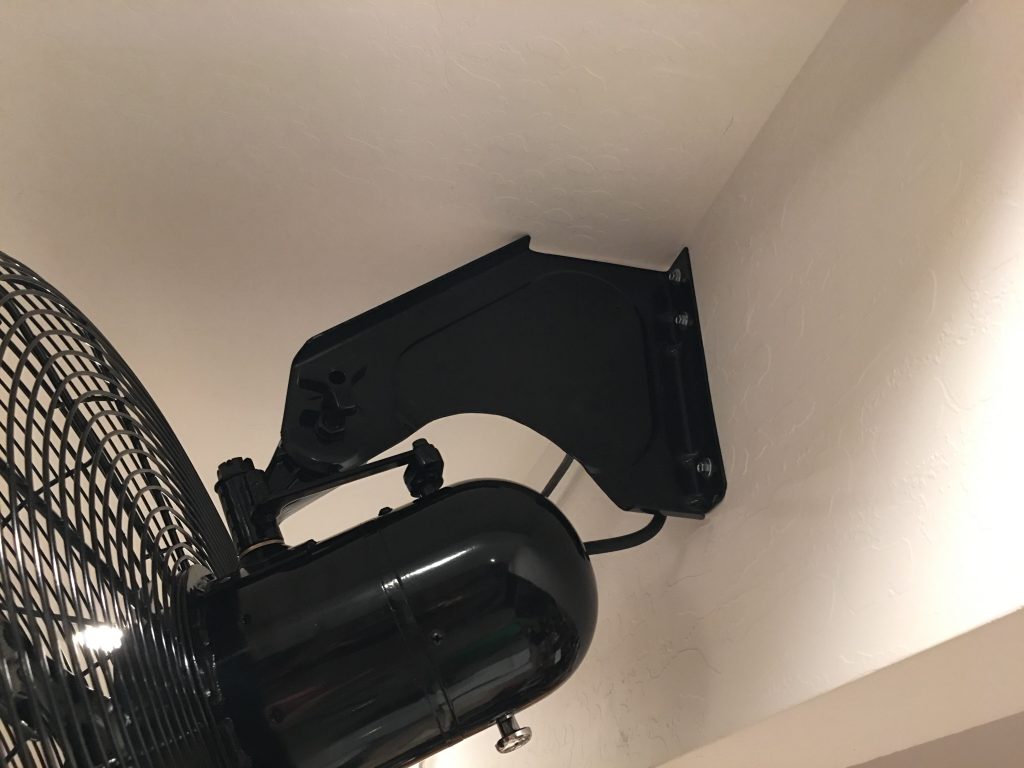
The fan is designed to sit on top of this mounting bracket, but I flipped it upside down and modified it to work in this orientation. I made the curved cutout at the bottom to allow the fan to still tilt down even though it’s upside down and cut off the top to allow it to slide almost all the way to the ceiling. This raises it up enough so that it’s several inches above my head, but it still won’t hit the ceiling.

My only concern with mounting it upside down is the transmission that drives the oscillating feature. I don’t know how it’s lubricated (or even whether it is lubricated). There is a possibility that there is oil in the transmission and it won’t get sufficient lubrication while inverted. Time will tell.

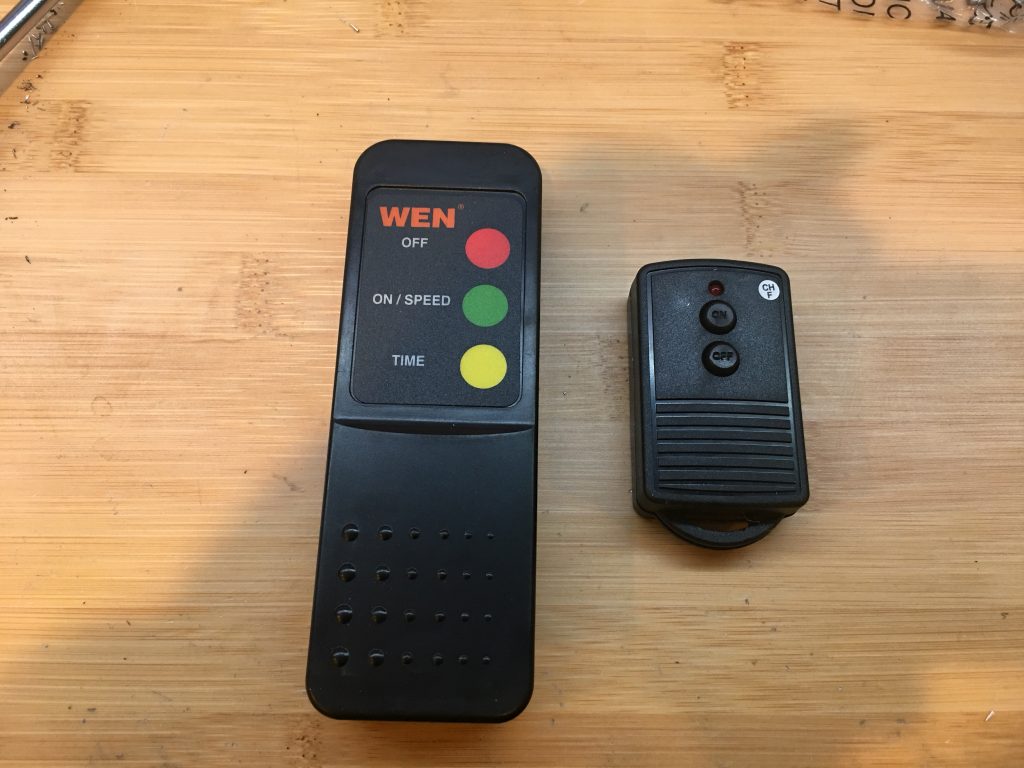
I hooked it to a remote (on the right), so now I can control both the air filter and the fan remotely. These are mostly for Jenn though since I can easily reach both.

Sealed Garage Doors and Organized Garage

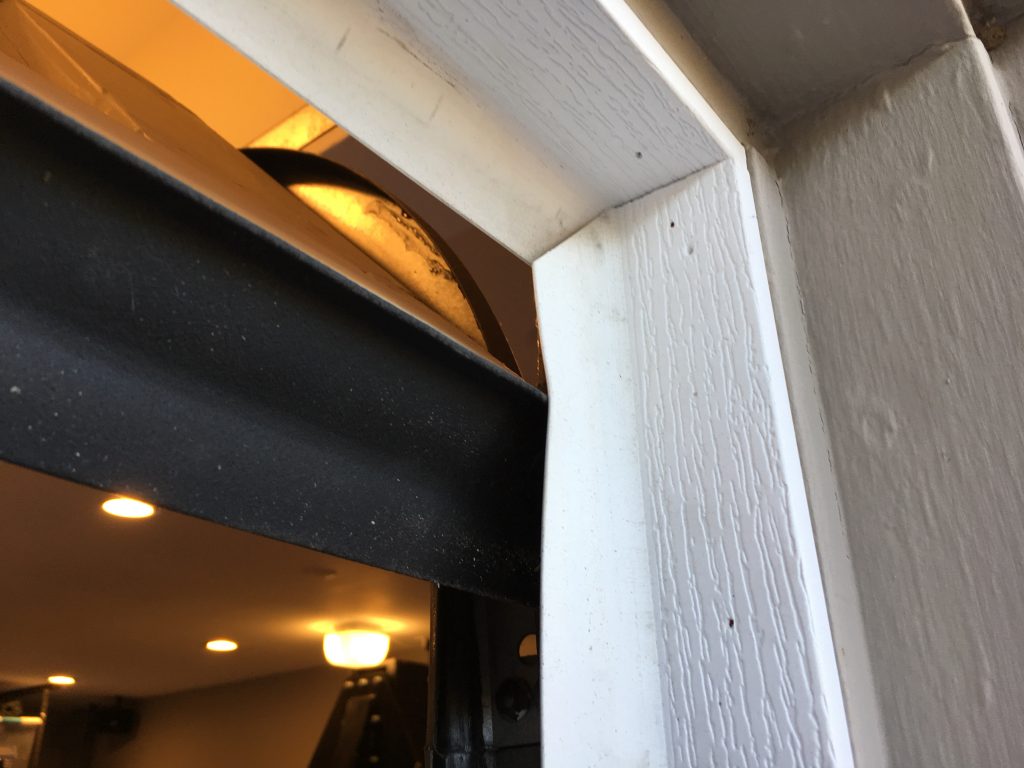
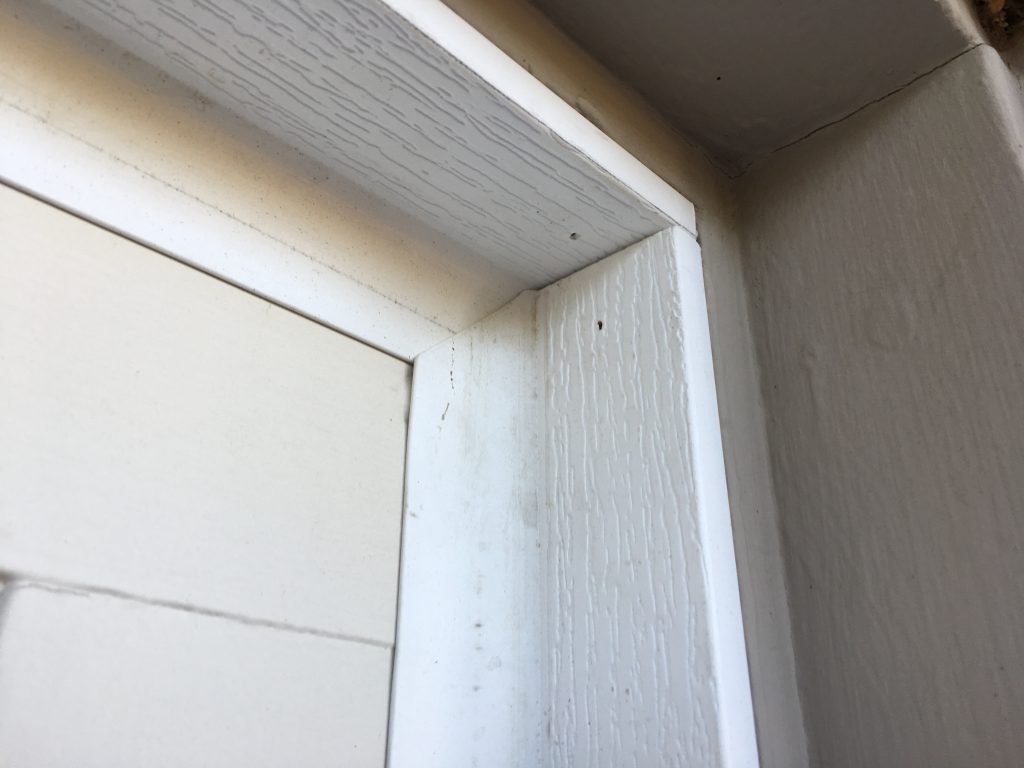
With three single garage doors and two side doors, none of which sealed very well, our garage has always been pretty drafty. I pulled the old bottom seals several weeks ago when we had our floors done since they were pretty dry rotted. I installed new rubber bottom seals and flexible vinyl side and top seals.

Wth the doors shut, the doors are pretty well sealed now. Hopefully the garage temperature will not swing up and down quite as much as it has in the past.

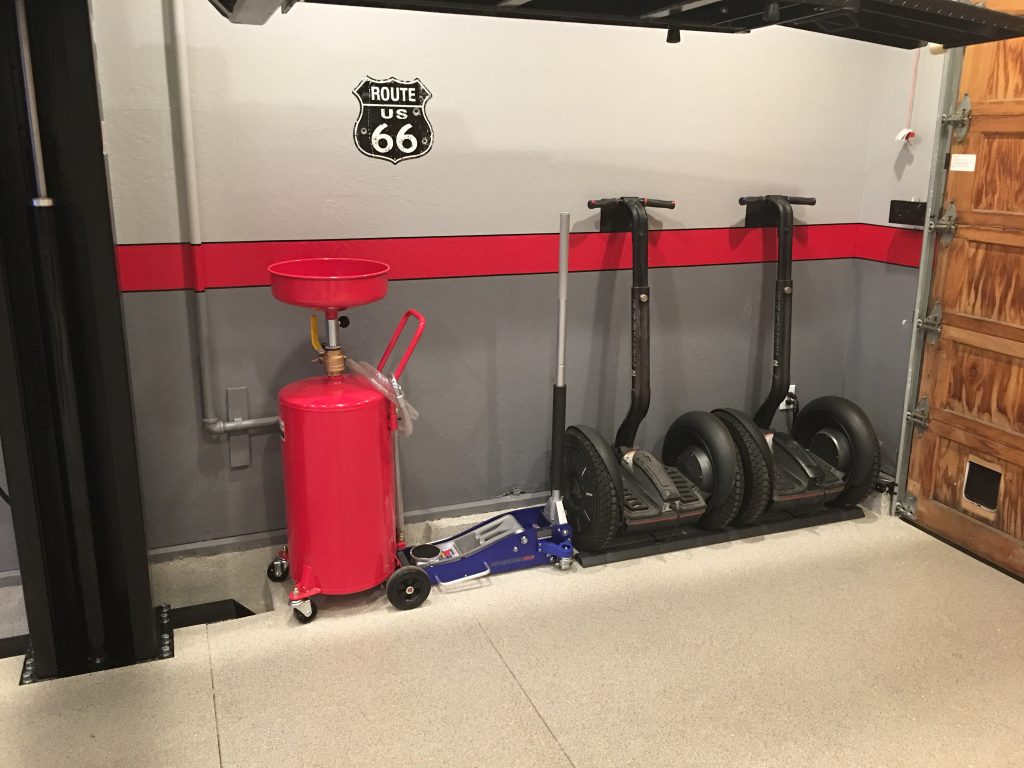
I added some Segway parking along the side of the garage by the lift. It’s also a convenient place to store some shop tools.

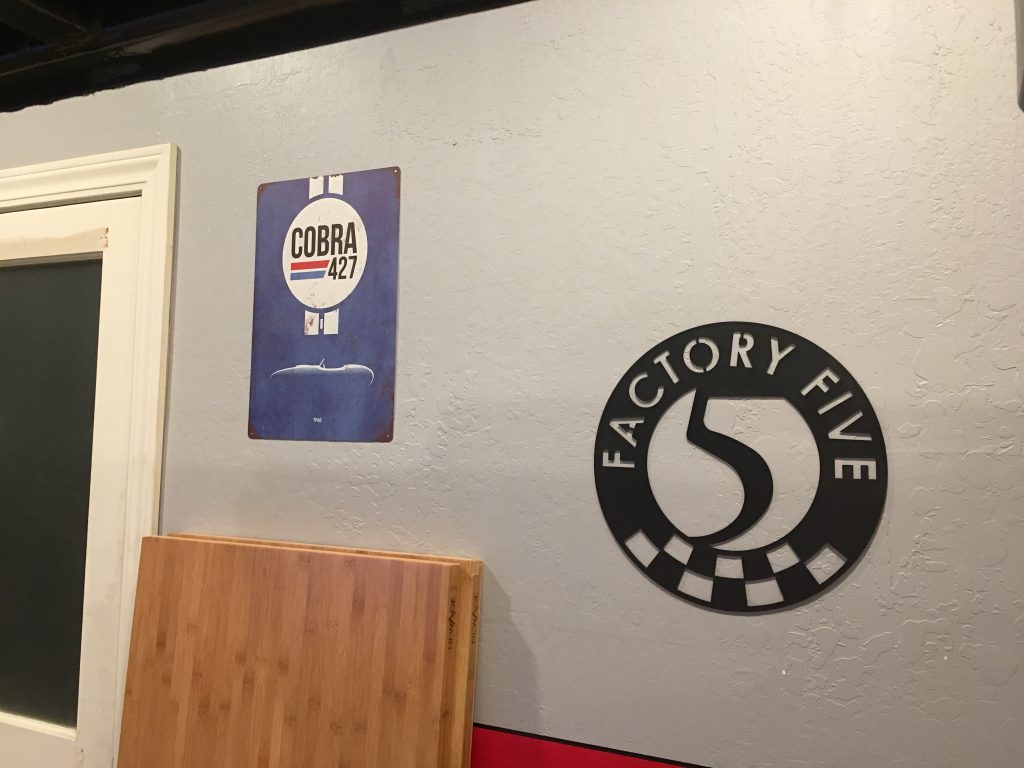
I also hung up some garage decor. I found a nice vintage 427 Cobra sign and ordered a 15″ steel Factory Five logo which I painted flat black.

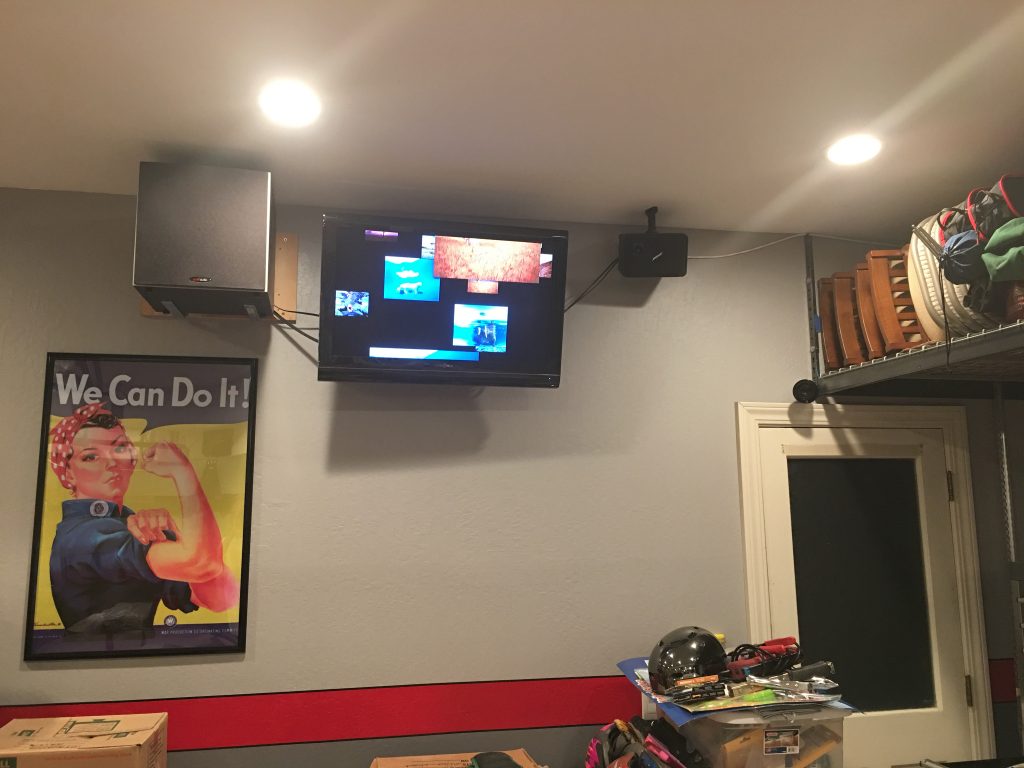
Jenn also wanted a Rosie the Riveter poster, so we hung that up on the opposite end of the garage.

First Lift of a Car

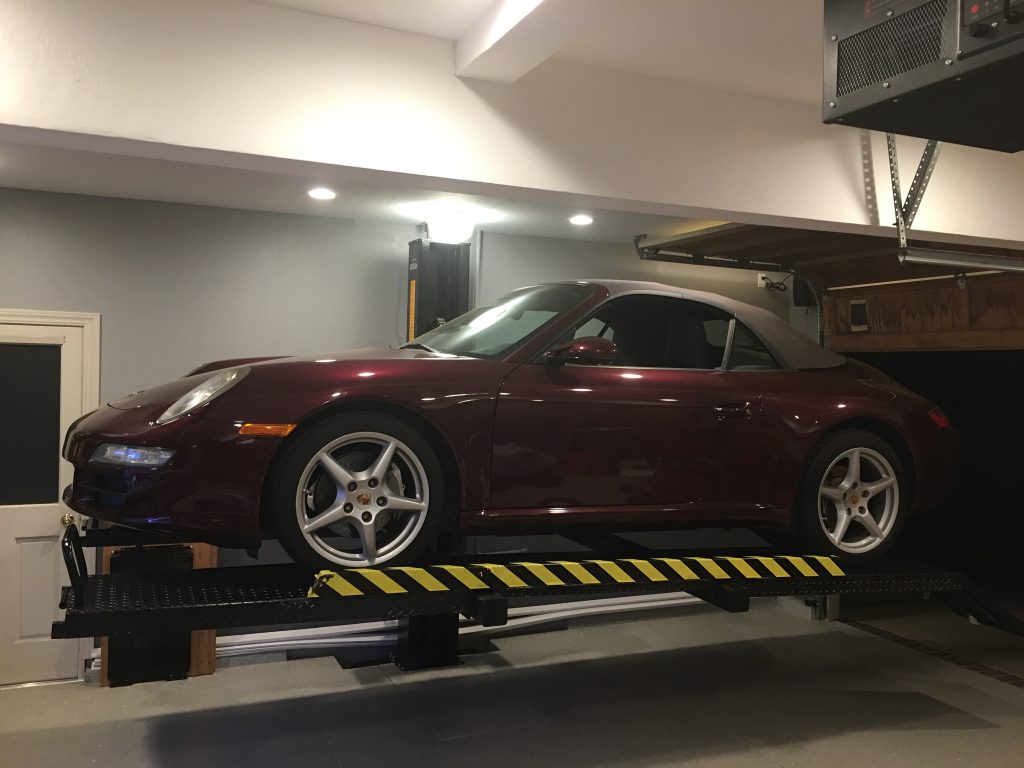
I’ve been spending a lot of time over the last week continuing to unpack and organize the shop (nothing worth posting about). Today’s goal was to get everything out from under the lift, clean off the lift and try lifting a car for the first time.

It took nearly the entire day, but at 11pm, we were finally able to lift a car for the first time. I still need to do some adjustment of the ramps (you can see the right side of the lift is a little lower than the left), but the lift works great. I shook the car fairly hard when it was up on the lift to make sure everything seems solid.

Miscellaneous Shop Setup

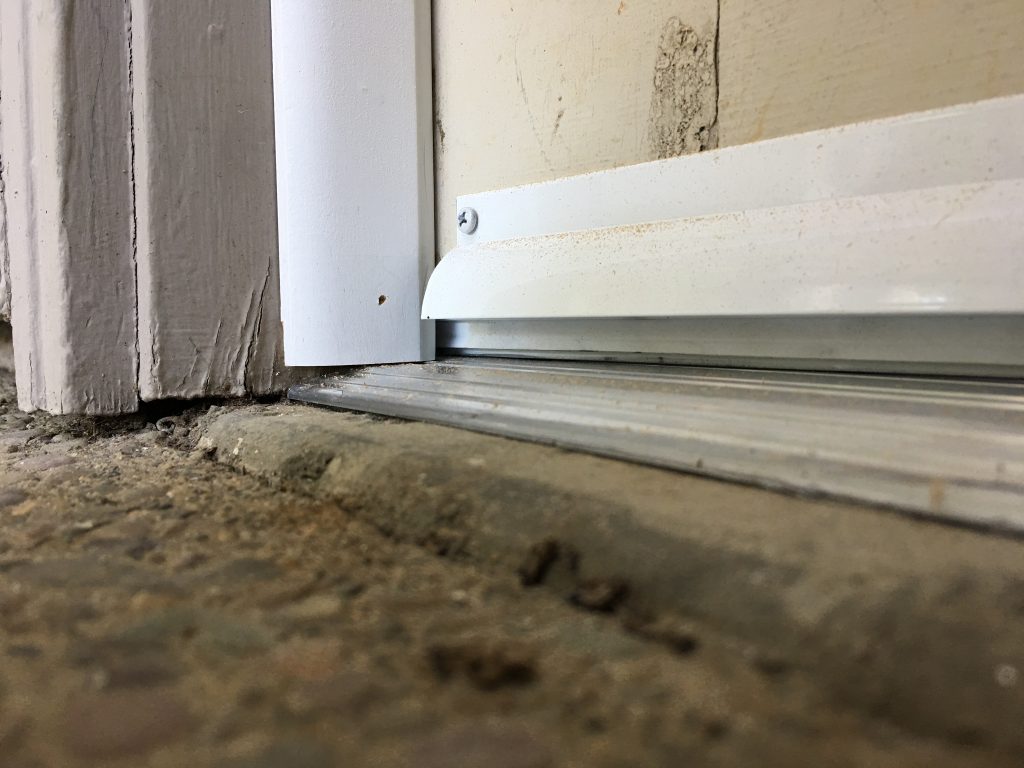
Our garage has always been drafty. This causes it to cool off pretty rapidly in the winter and heat up pretty fast in the summer. Despite the fact that it’s not insulated, stopping the drafts should help stabilize the temperature somewhat. We have two side doors at each end of the garage. I added new aluminum thresholds and bottom door sweeps as well as weatherstripping around the perimeter.

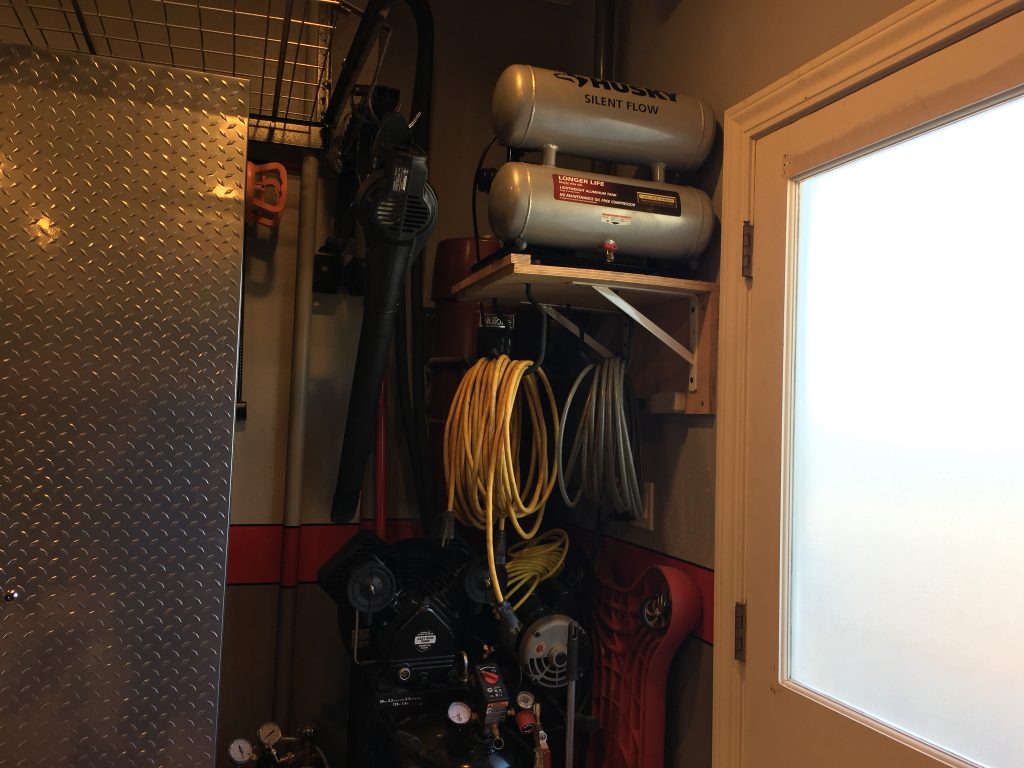
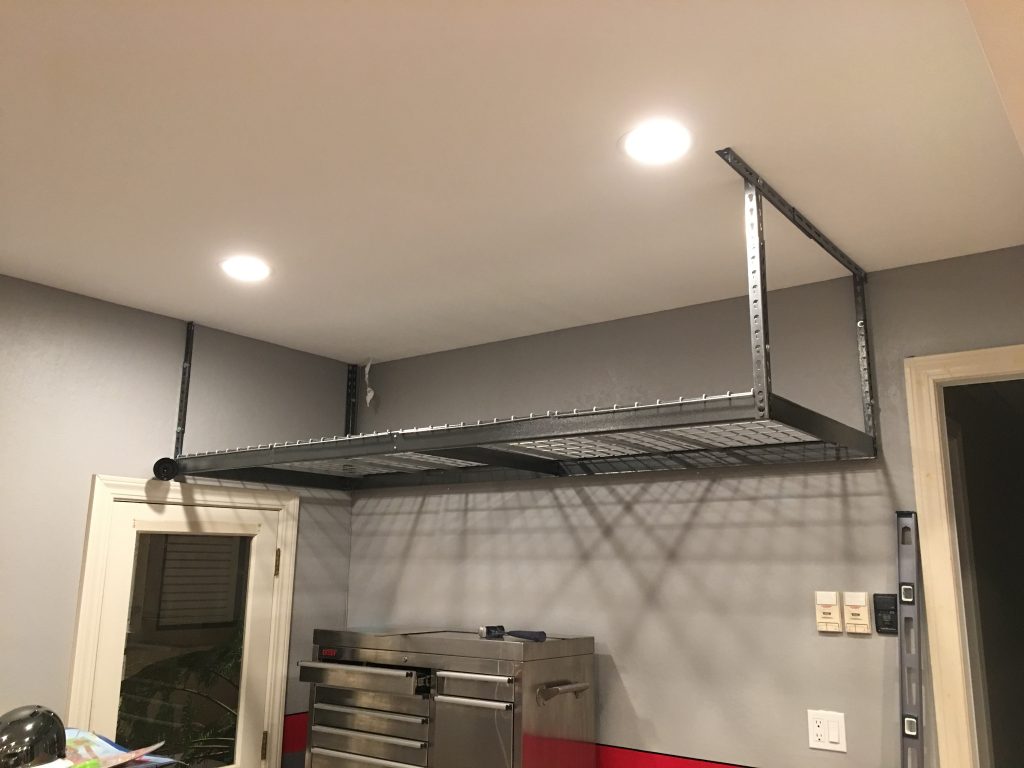
I installed a shelf above my primary air compressor for my portable unit and added some hooks underneath to keep air hoses and extension cords organized.

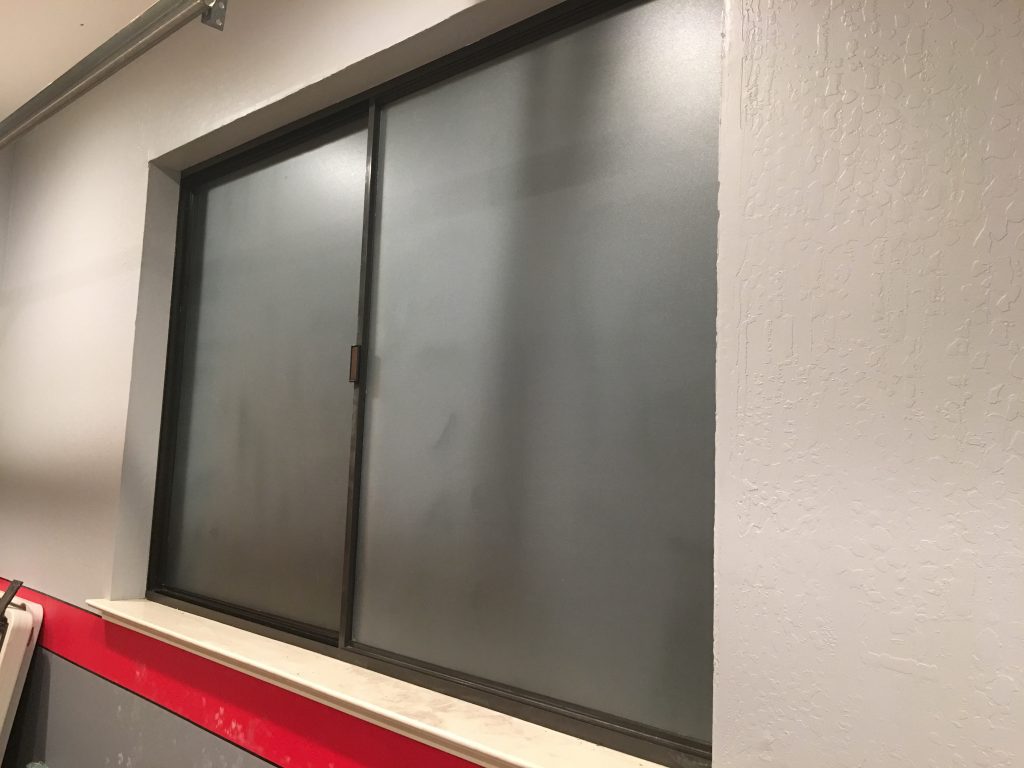
We have several windows in the garage; two in the side doors and this one adjacent to our front walk. They originally had blinds, but they were pretty beat up so we tossed them. We didn’t like leaving them clear though, so I added some frosted film to the windows so we have some privacy.

Engine Stand Stabilizers and Air Cleaner

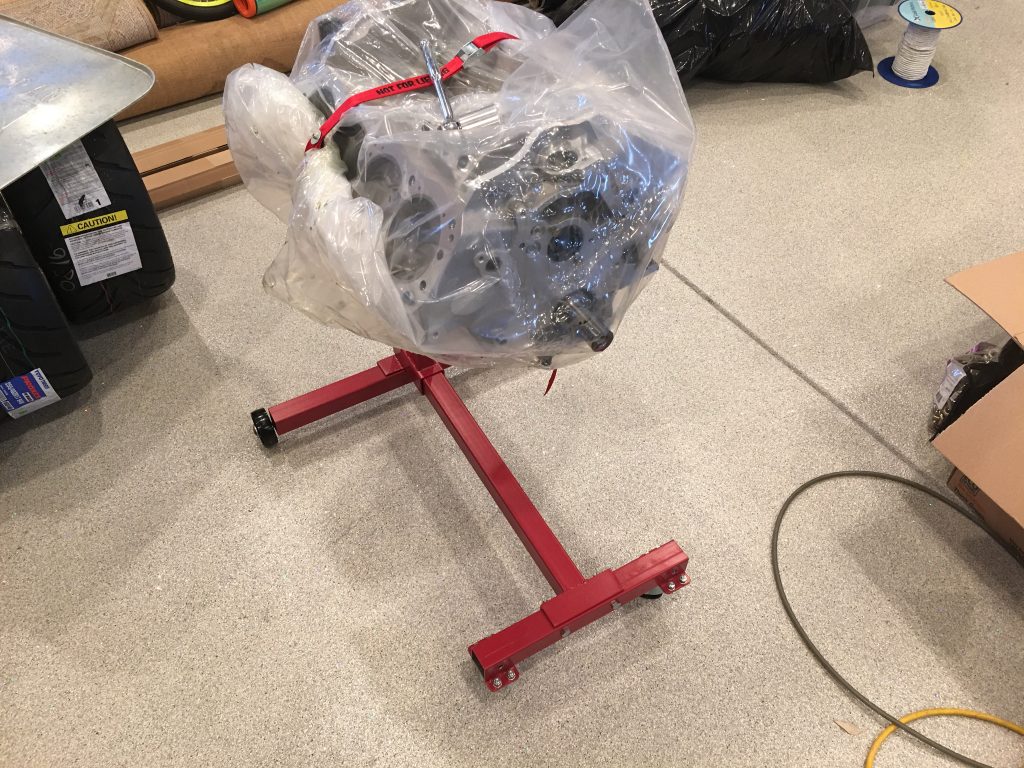
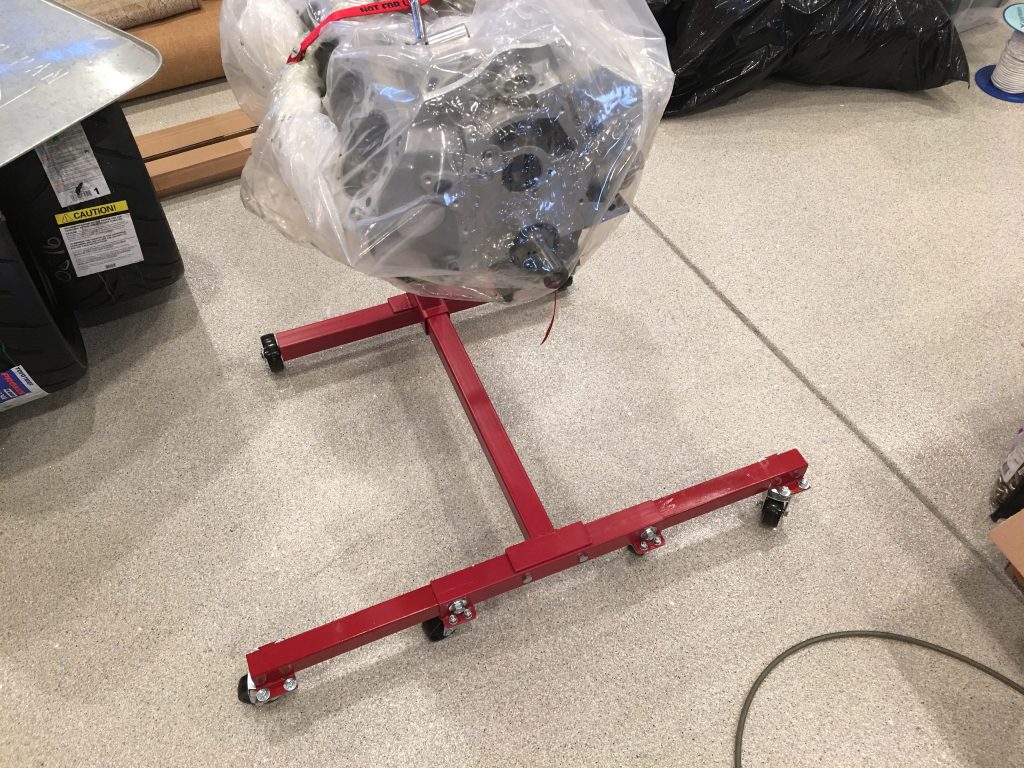
Harbor Freight carries three engine stands. The cheapest only has a single caster under the front leg, but I was really concerned about how easily it could tip over, especially since we live in earthquake country. Their top of the line engine stand has really wide legs and even folds up, but it turns out that the legs of the engine stand will interfere with the legs of the shop crane. This is the middle of the line engine stand. There won’t be any interference with the shop crane, but I was still a little concerned about how stable it would be in an earthquake.

To make it more stable, I fabricated some extensions for the front legs using some scrap steel tubing and plate. These can easily be unbolted when I need to use the shop crane to pull the engine off the stand.

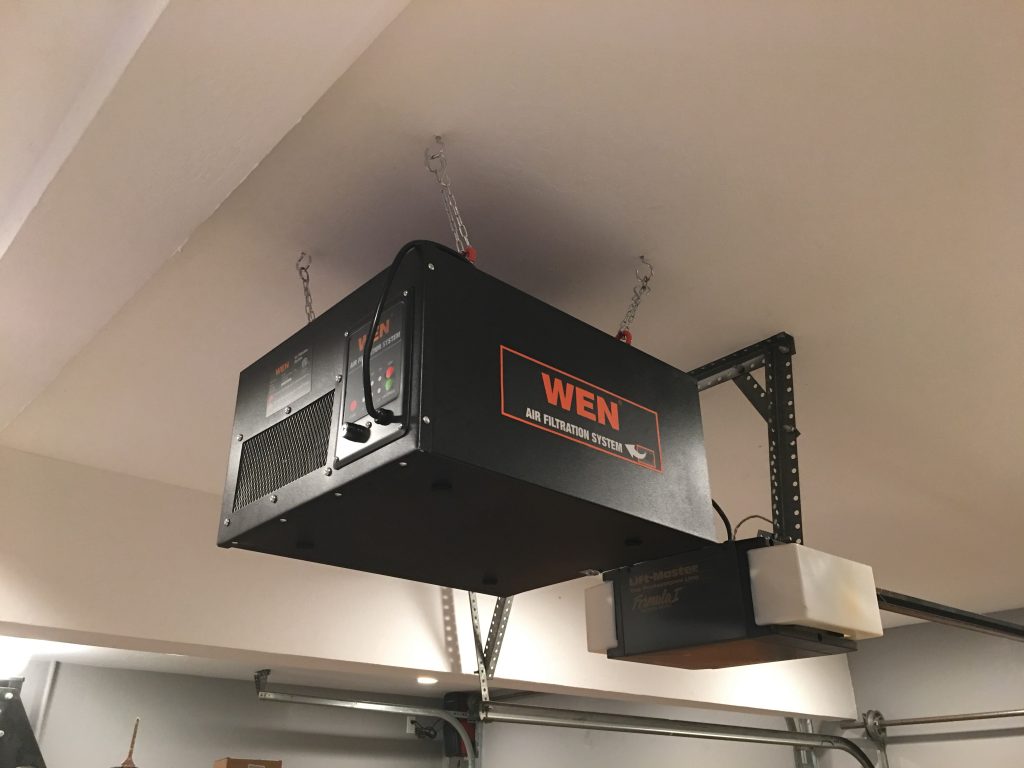
I also picked up a ceiling mounted air filtration system and installed it in the center garage bay. This should help keep the dust down in the garage while working on the project and hopefully keep dust off the cars down the road when the project is done.

Installed TV and Speakers

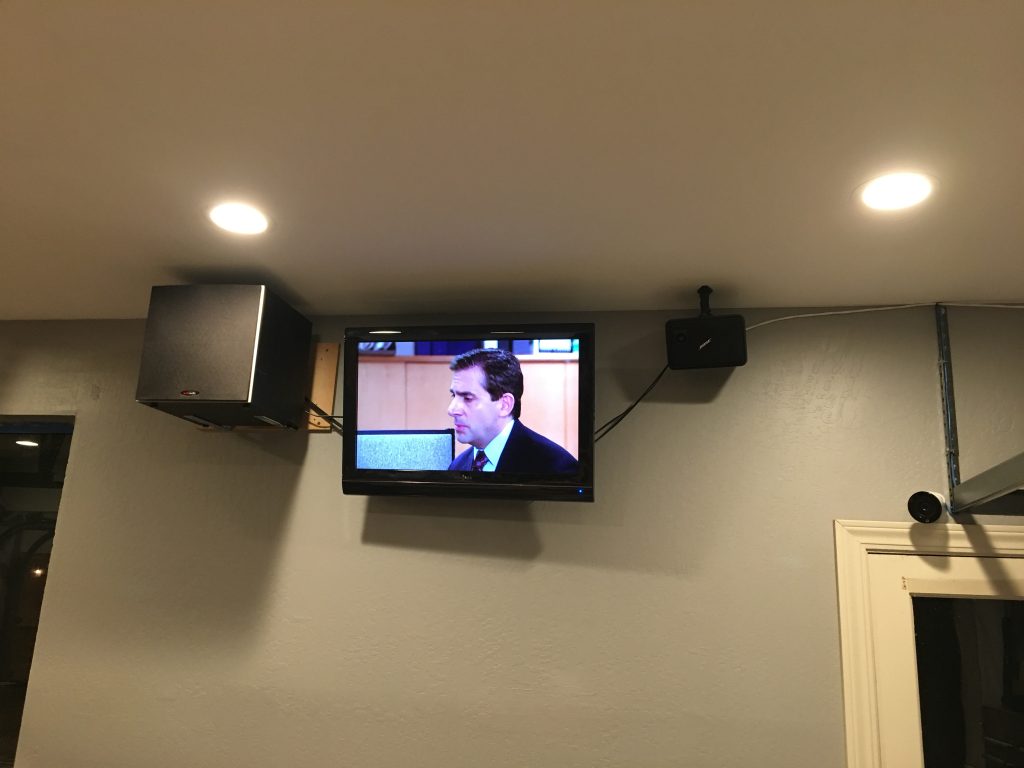
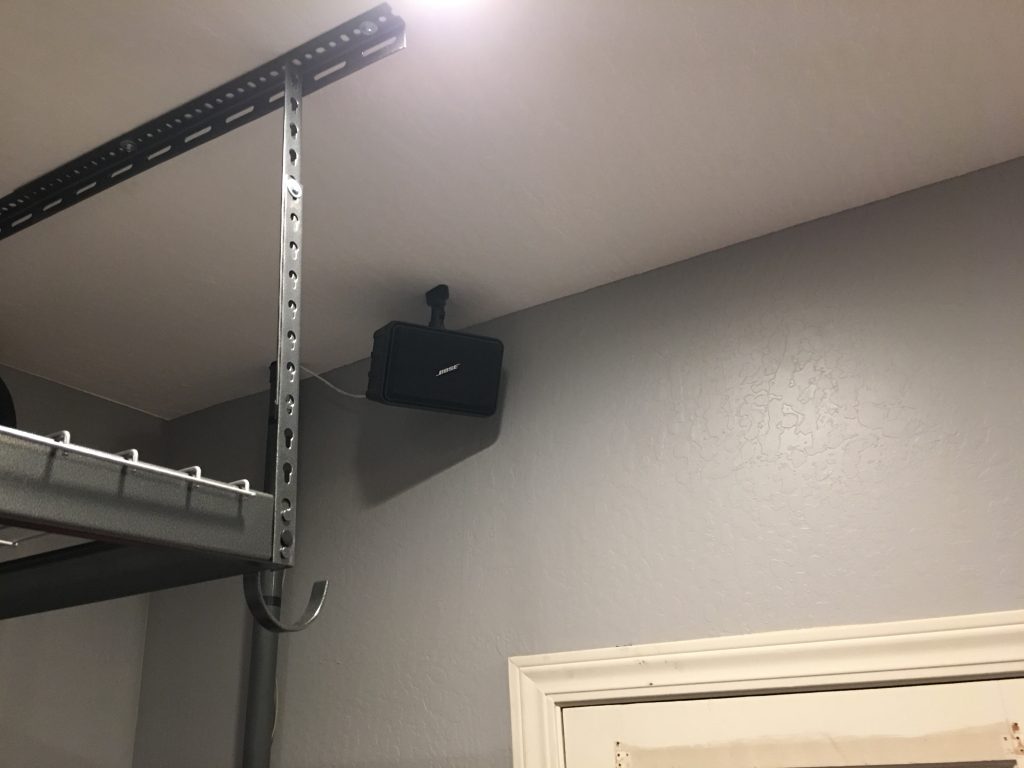
No shop is complete without a TV and stereo. Jenn didn’t want to spend the money on a TV for the garage, but my dad and stepmom gave us an old TV they weren’t using. I hooked it up to a pair of Bose powered speakers that I’ve had since I was in college and a Polk Audio powered subwoofer that I inherited. Behind the TV is an AppleTV so that the garage speakers are another AirPlay zone in our house.

The other speaker is at the opposite end of the garage. Despite the small size, these speakers (plus the sub) really fill the garage with sound.

Repaired Tool Chest

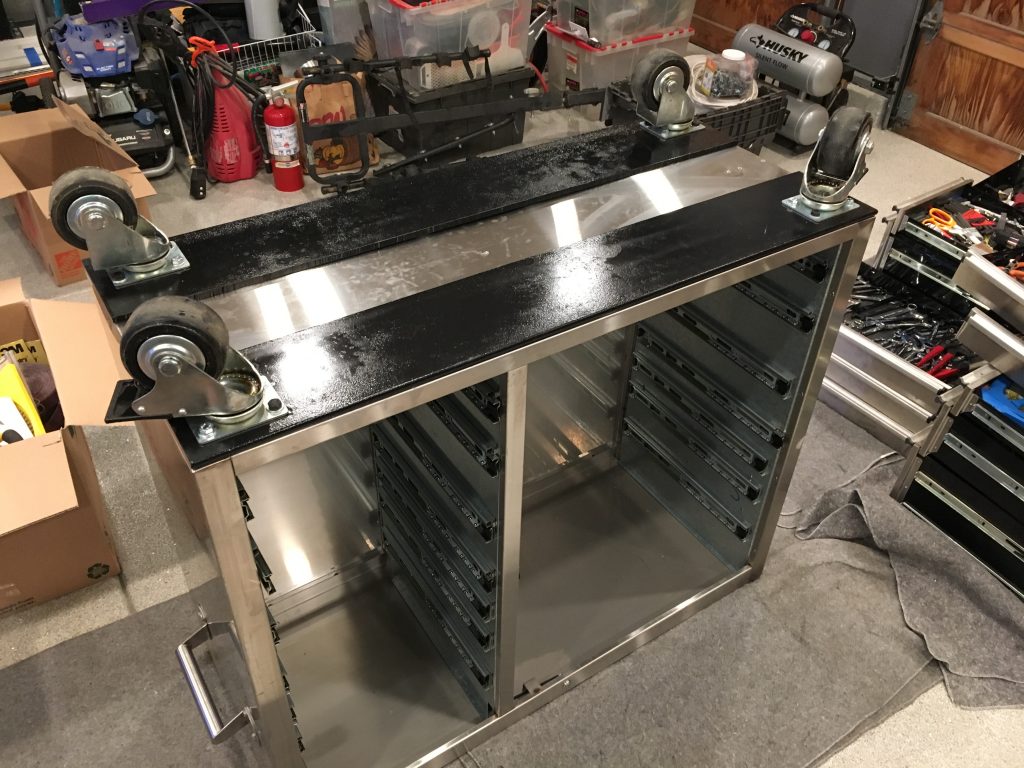
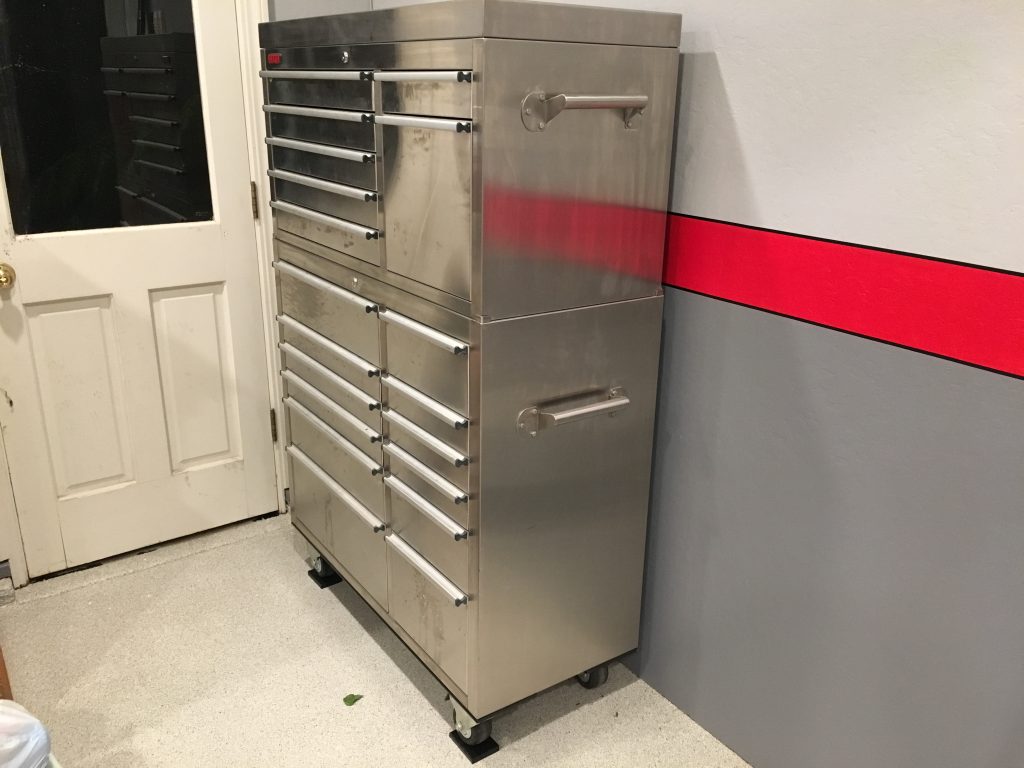
Apparently I exceeded the weight limit of my tool chest which caused the bottom panel to bend. The casters just bolt into the sheet metal with a thin reinforcement piece riveted internally. I pounded them out once before, but the weakened sheet metal just bent again. To repair it, I picked up some scrap 3/8″ steel plate and match drilled it to the base. I then bolted the casters through the plate to the case. I don’t think I’ll have any issues with this anymore.

I moved the tool chest into the corner. The floor here isn’t close to level, so I put some pieces of scrap 1/2″ thick steel plate under the front wheels and reinstalled all of the drawers.