Added Nutplates to Passenger Footbox

I installed nutplates everywhere that there are aluminum to aluminum connections between the various parts of the passenger footbox. Using nutplates lets the pieces of aluminum sit tight against each other instead of being held slightly apart as would happen if I installed rivnuts.

Started Fabricating Rear Brake Line

I started fabricating the rear brake line that transitions from the left 4″ chassis tube up to the tee on the left side of the chassis. If I use this piece, I’ll need to install a separate straight section from here forward to the other piece I installed here. I have a long enough piece of tubing remaining that I could make a single piece that runs from the tee forward to the other piece. It would let me avoid an extra union in the line which would reduce the chance of leaks, but it would be trickier to make a piece that long.

The tube still needs to be bent to run back along the rectangular tubing and then over to the tee near the bottom of the picture.

Grounding Block Behind Dash

I added an additional terminal block behind the panel for grounding various items. It’s grounded locally through the jumper wire down to the 2″x2″ chassis member.

I had to remove the brake biasing knob to install the rivnut for the grounding wire.

While I had the knob out, I installed a couple of 8-32 rivnuts and used some of the torx-drive screws. I had previously used some sheet metal screws, but I’m trying to eliminate all of them.

Installed Bottom Angles on Passenger Footbox Walls

I’ve been sick on and off the past couple of weeks and work has been keeping me rather busy, so I haven’t had much time to work on the car recently. I really wanted to wrap up the passenger footbox though since I can’t reinstall the fuel lines until that’s done.

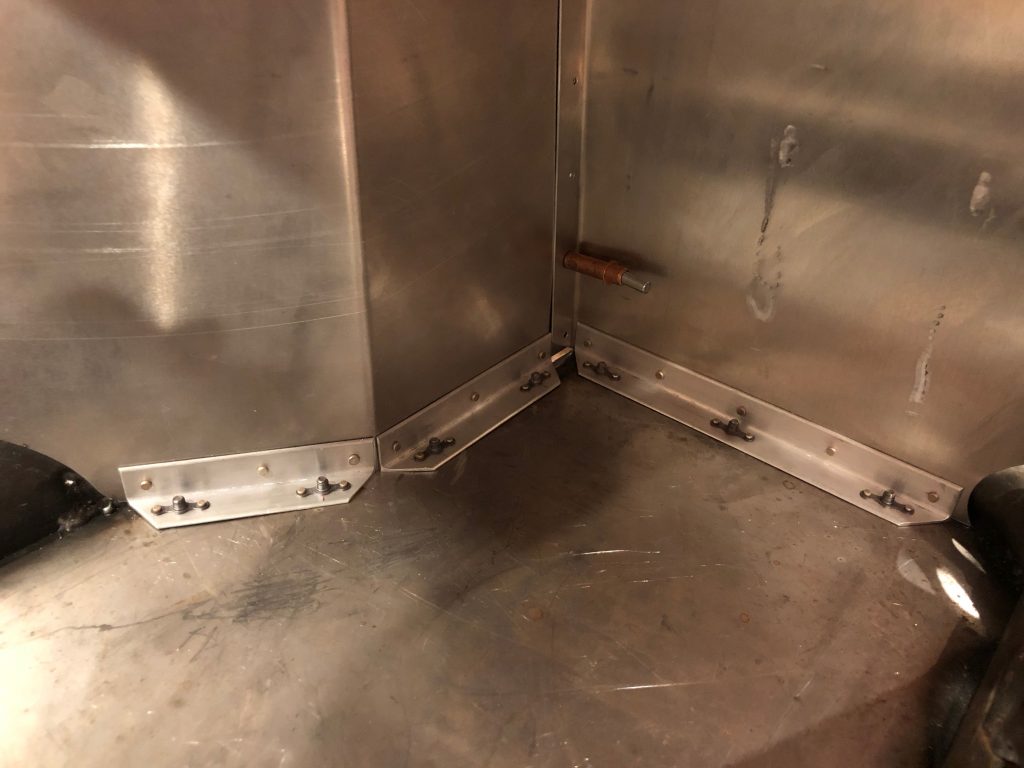
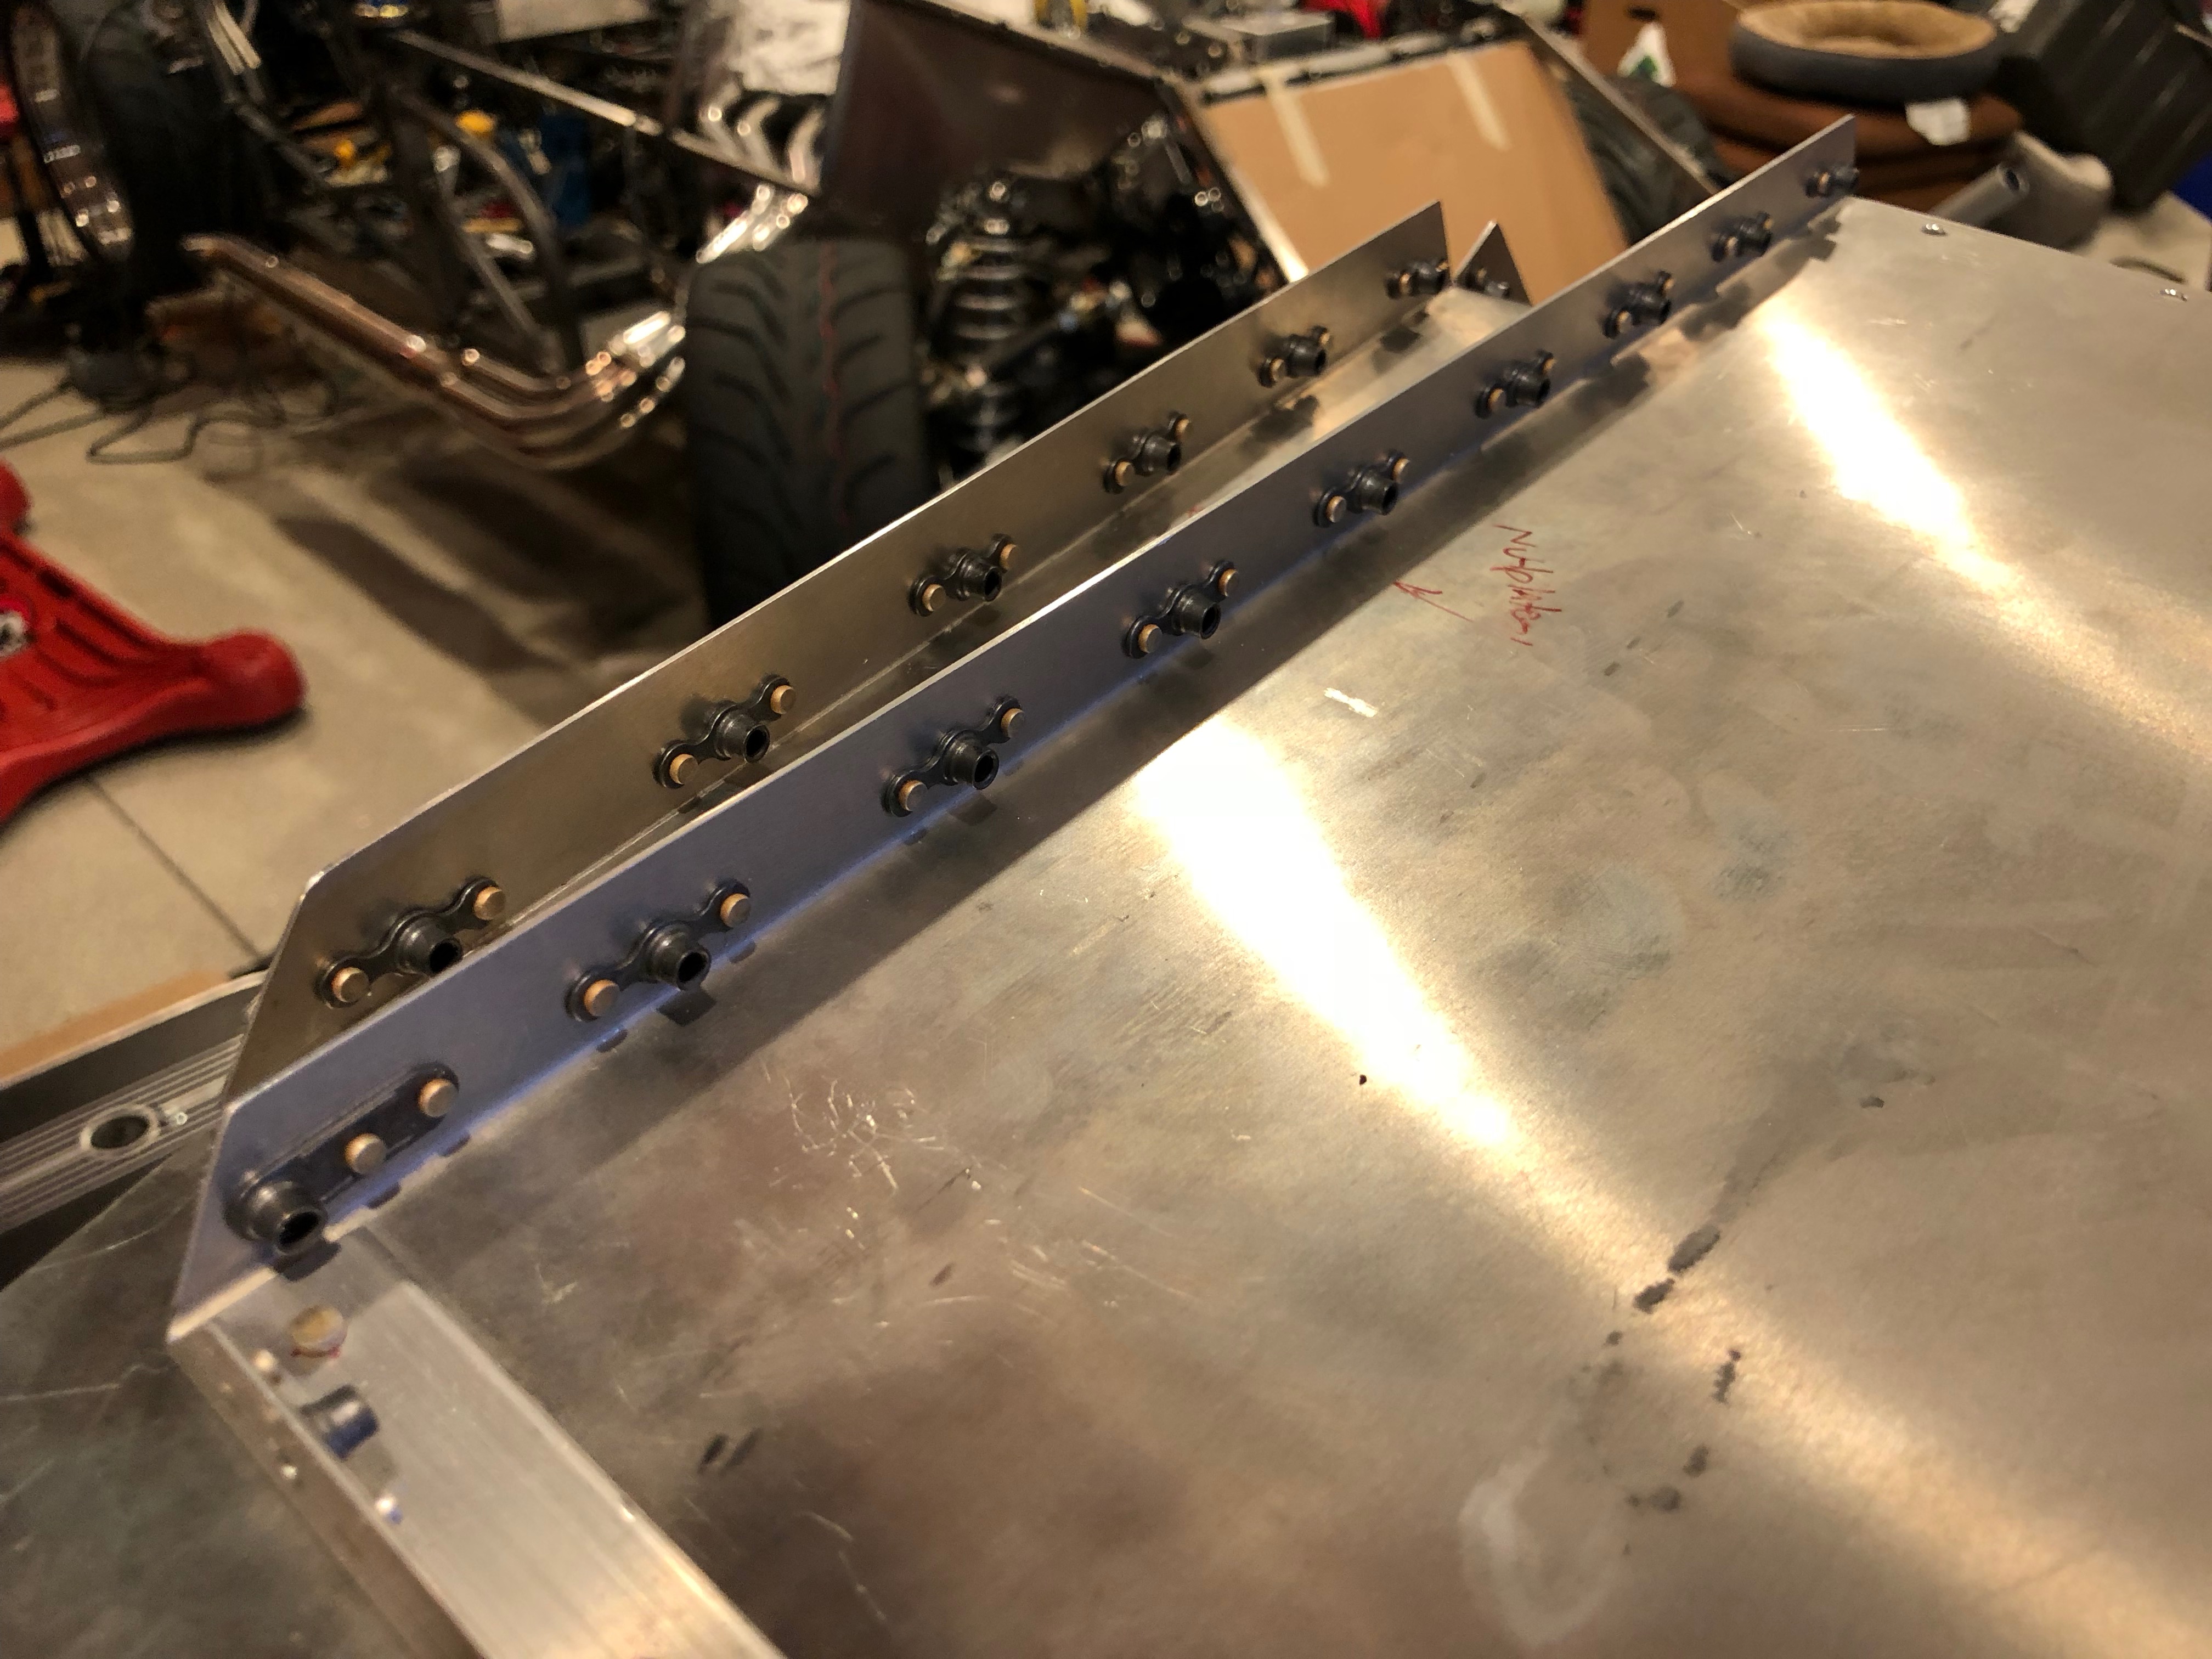
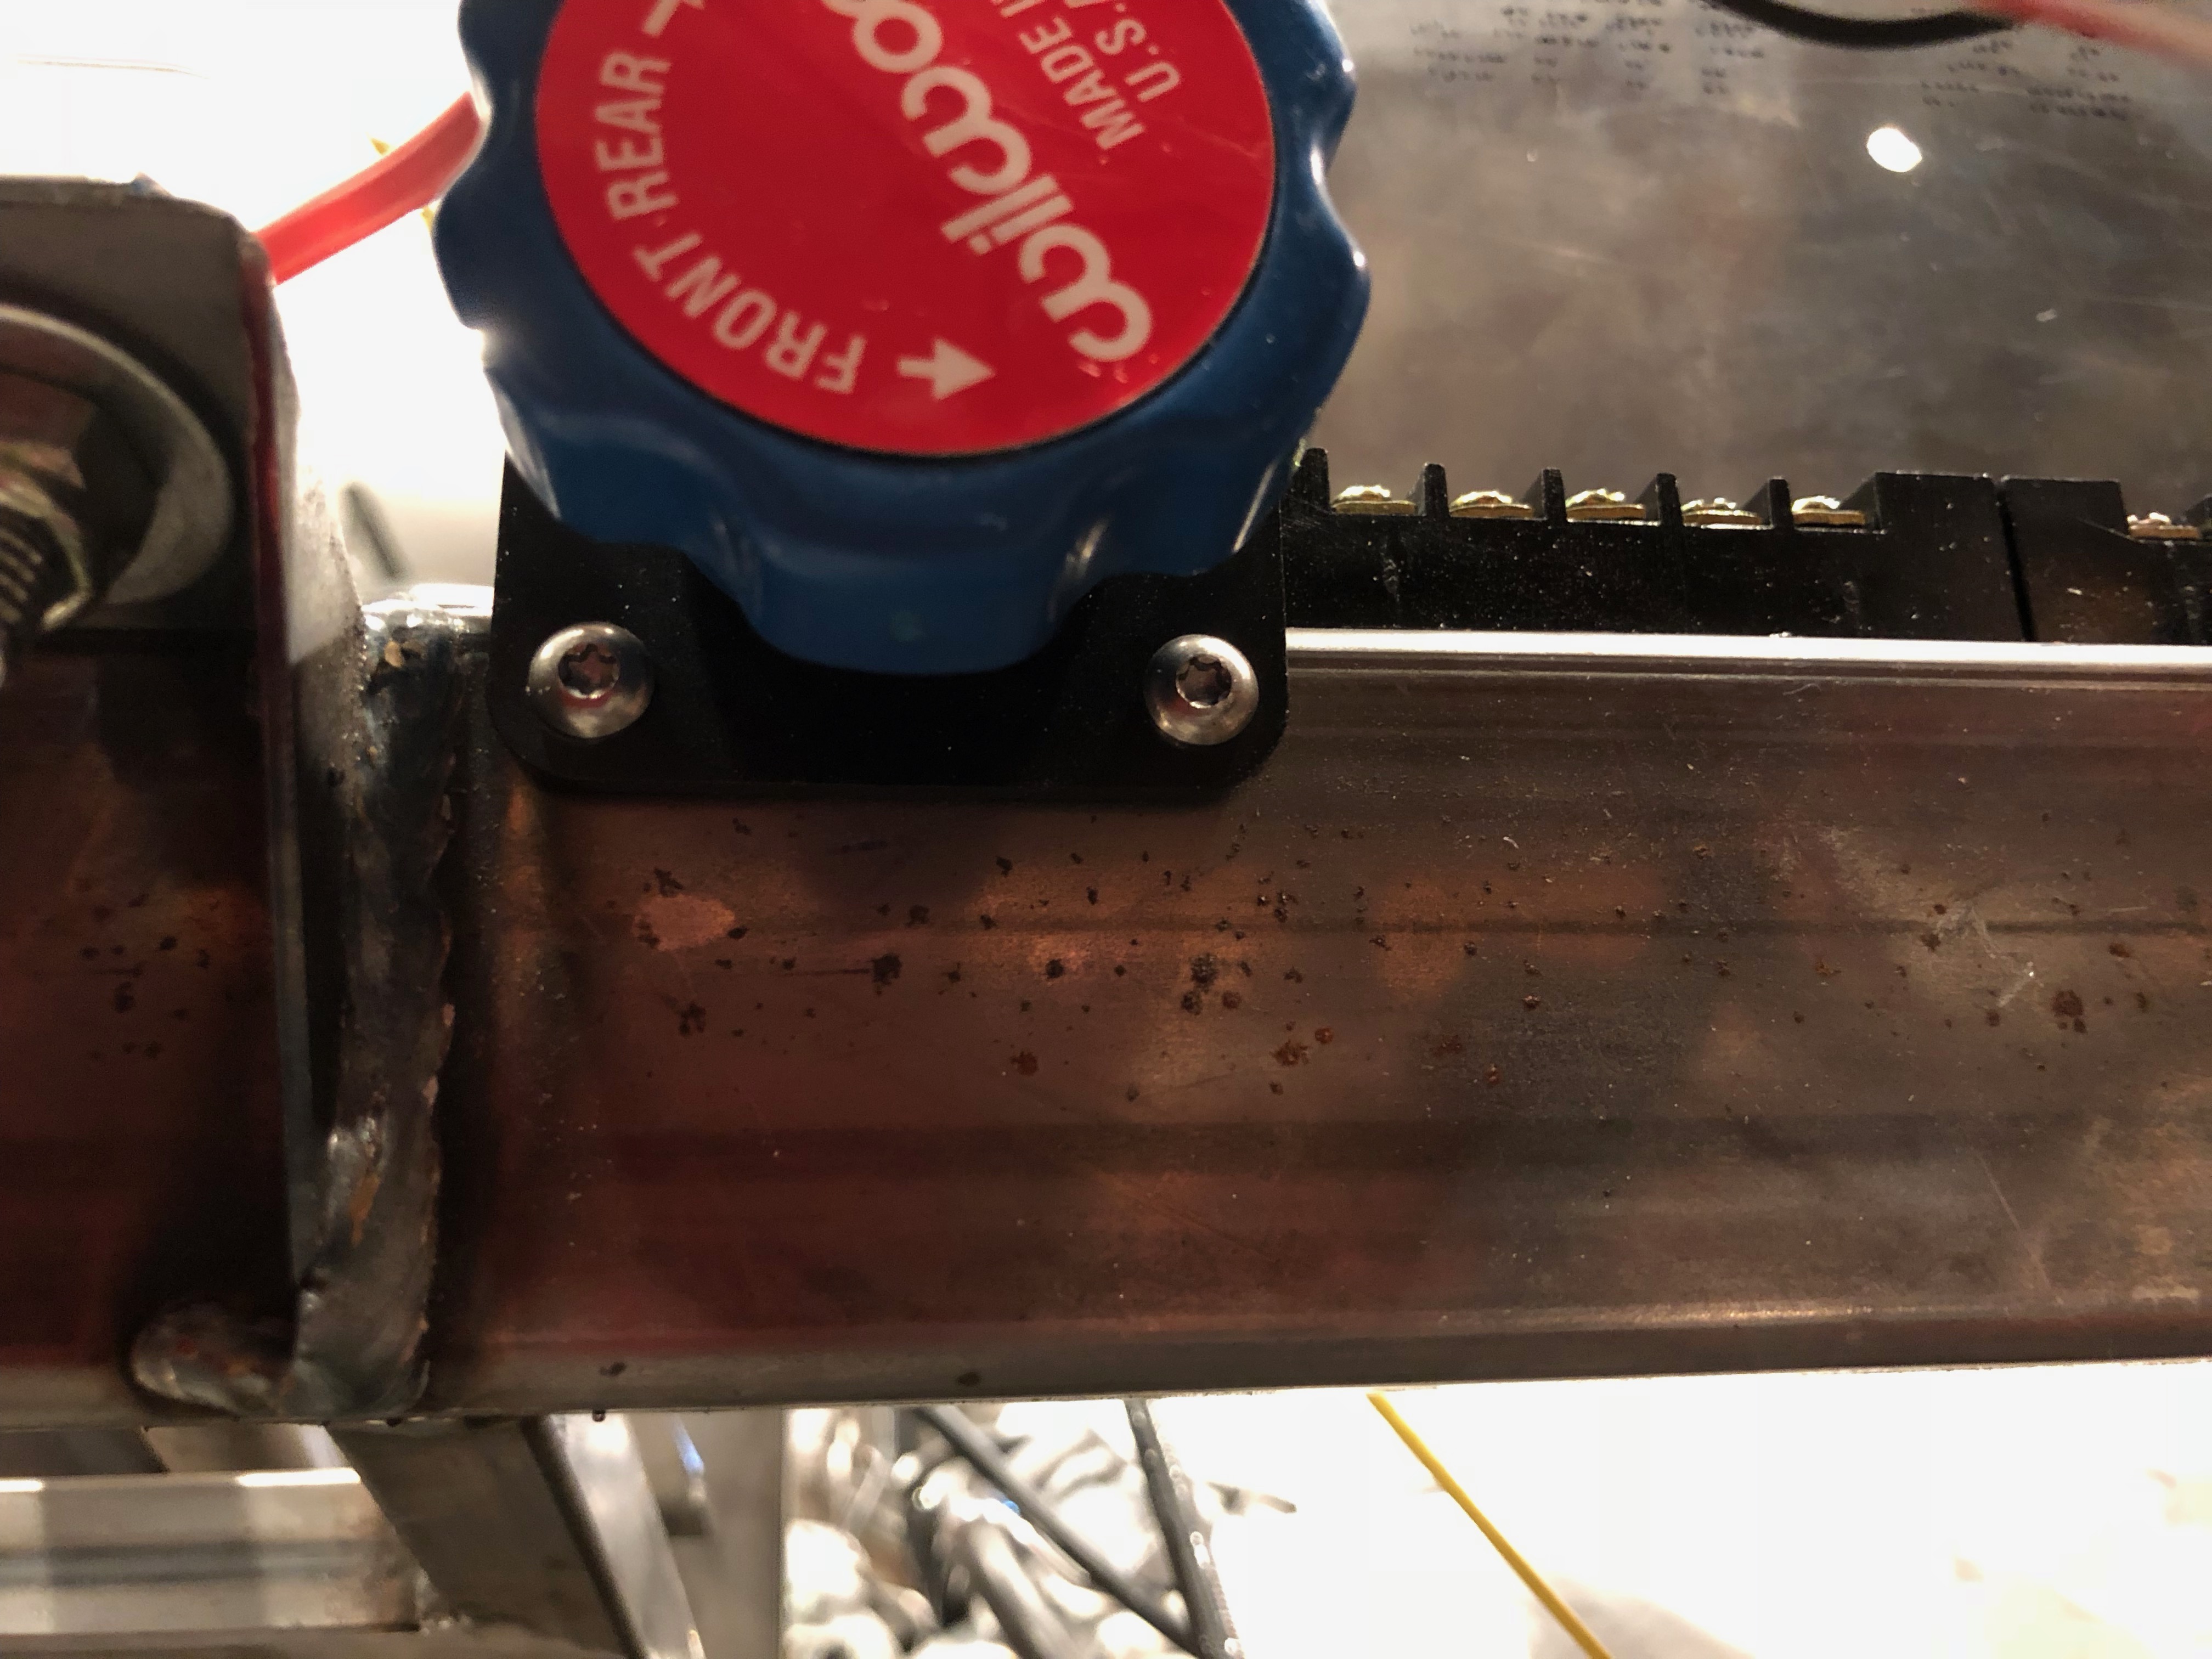
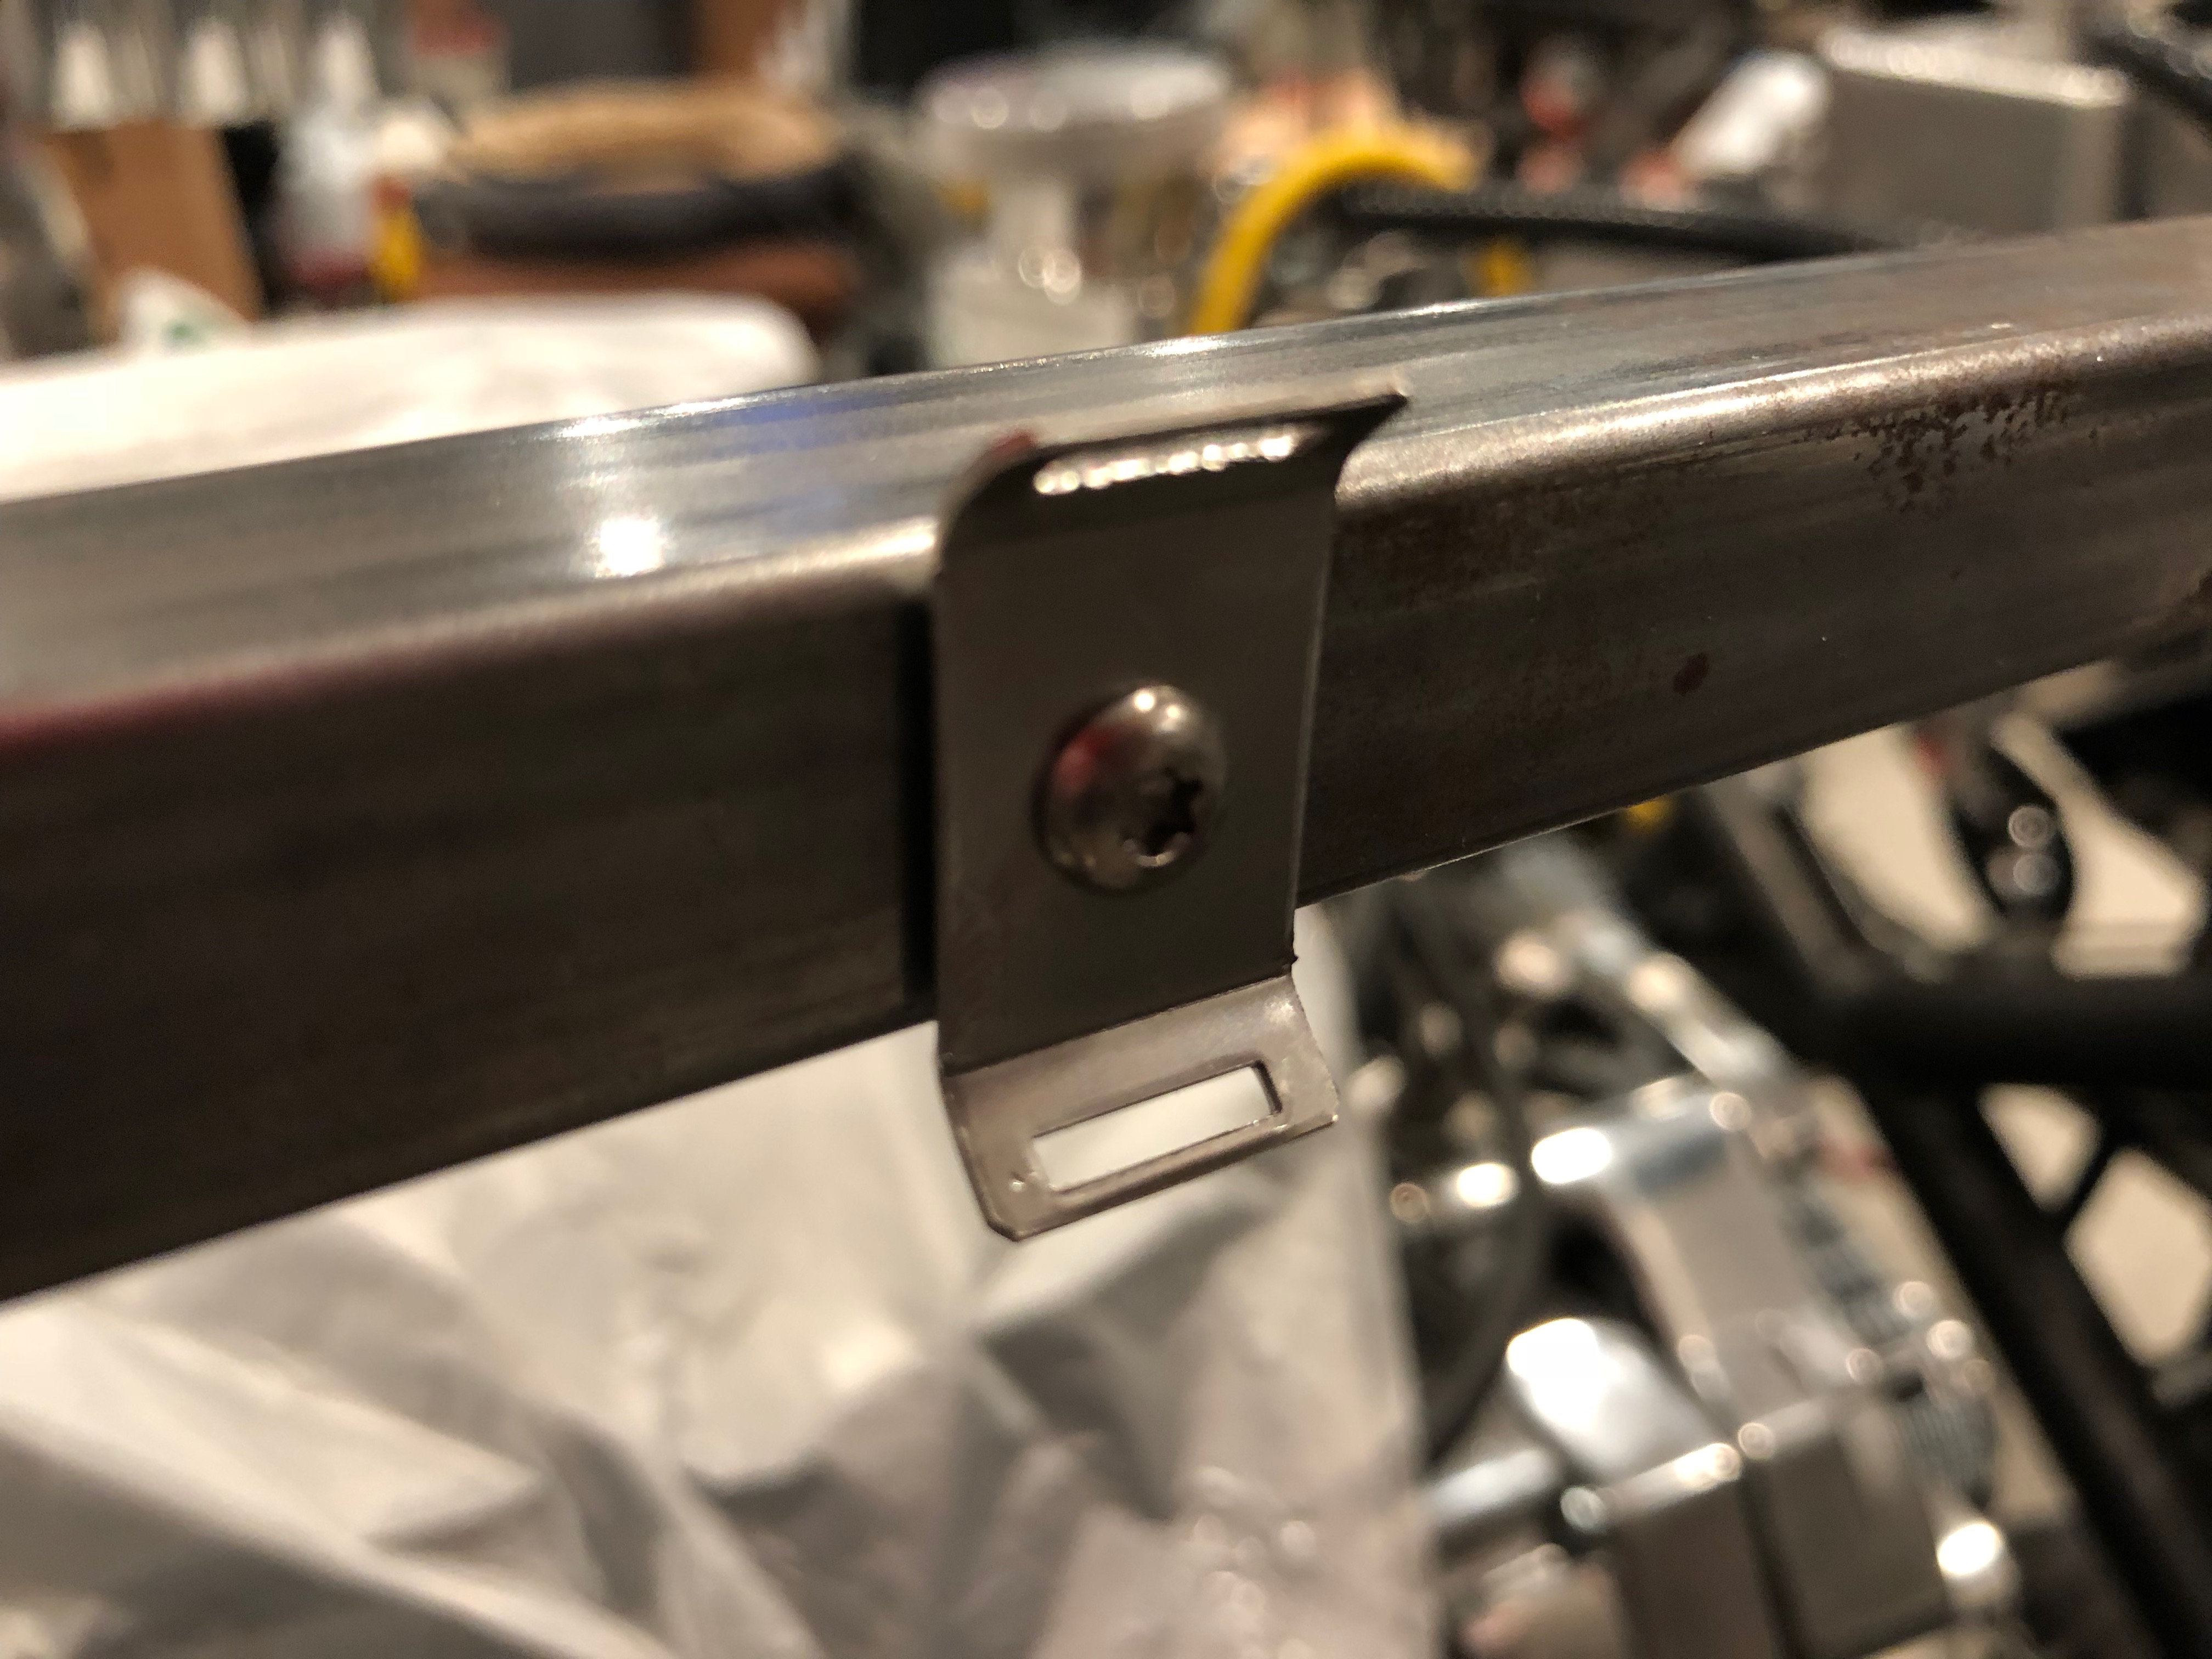
Since I had to cut the flanges off of the bottom of the inside and front walls of the passenger footbox when I installed the steel floor pans, I needed to fabricate new flanges. I could have bent some 0.040″ aluminum sheet, but I had some 0.063″ aluminum angle laying around, so I decided to use that. I countersunk and flush-riveted the angles to the skins and installed nutplates to the lower flanges. This use the same 8-32 torx-drive, button-head screws we’re using everywhere else for the aluminum panel attachment.

Replaced #8 Screws and Zip-Tie Bases

I ordered a pack of 50 of these stainless steel zip-tie bases. I had been using some white plastic mounts, but they’re not particularly strong and will likely become brittle over time. Since we’re not quite as weight-conscious with the car as we were with the plane, I don’t mind the few extra ounces these will add for a much more durable mount.

I also swapped all of the screws that hold on the chassis aluminum with some torx-drive stainless screws. I’m really glad I removed all of the hex-drive stainless screws because I stripped about a half-dozen more just in the process of removing them (out of about 50 screws). The torx-drive screws are virtually impossible to strip.