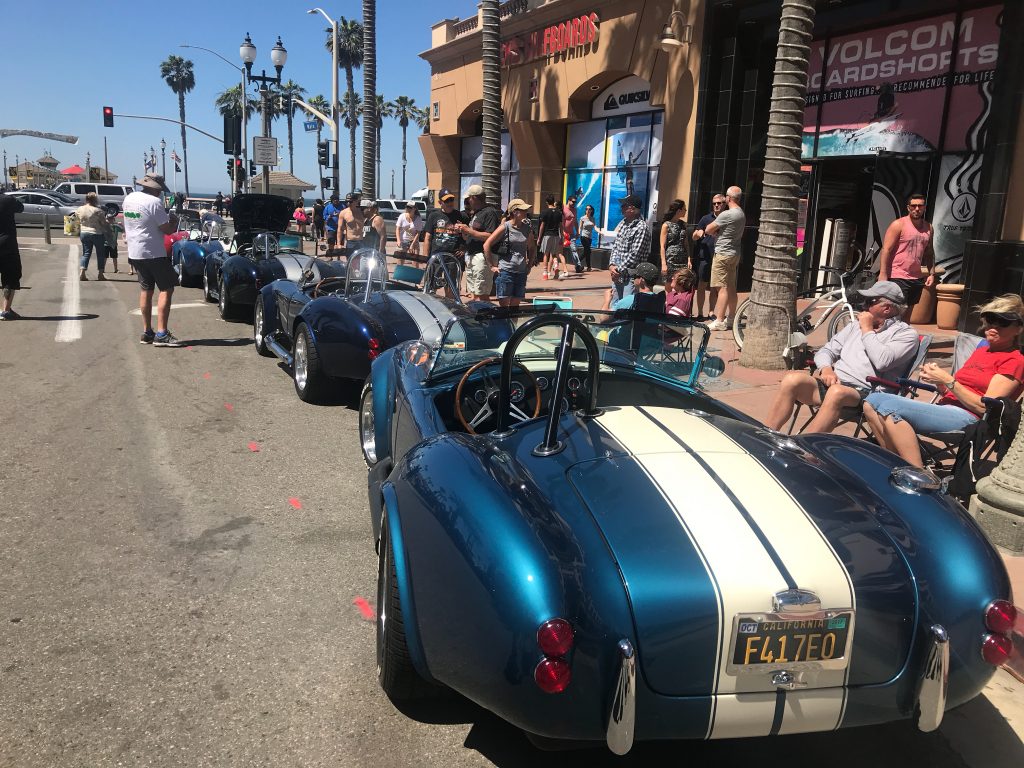
10th Annual Factory Five Huntington Beach Cruise-In

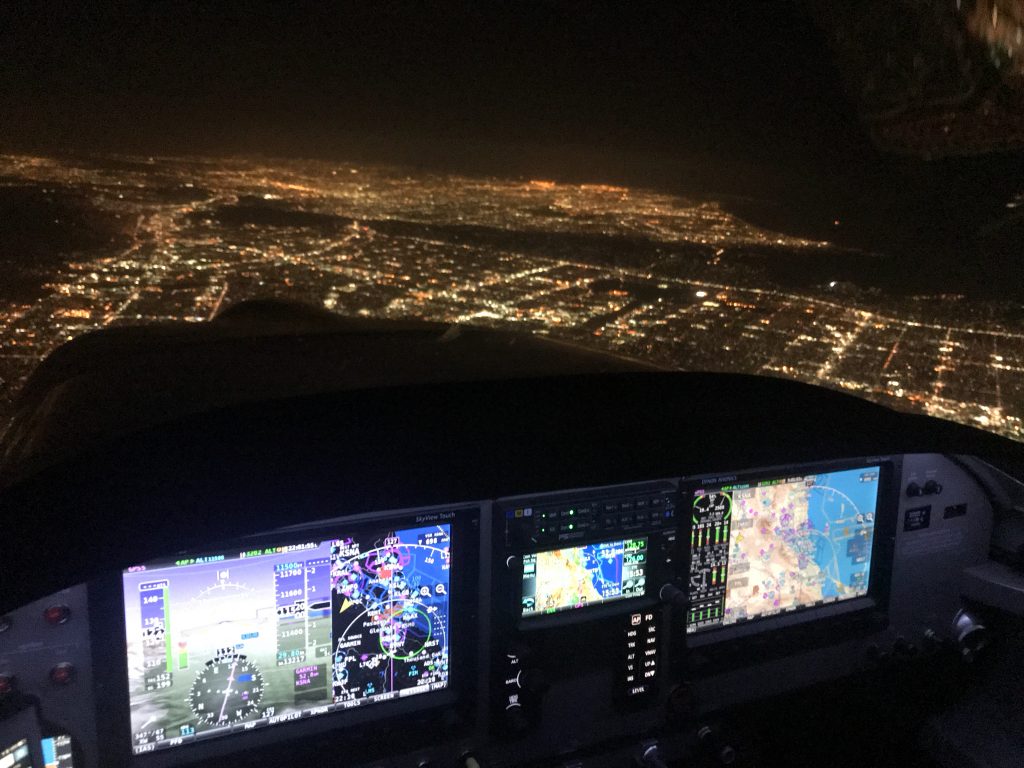
My son and I flew down in the plane I built to meet my wife and daughter in Huntington Beach for Factory Five’s Cruise-In. We flew down the night before under clear skies. I grabbed this picture as we entered the L.A. basin.

We spent the entire day at the cruise-in and got to check out every car in some detail and talk to a number of owners. We got a ton of good ideas and are more certain than ever about the decisions that we’re making.

Epoxy Floor

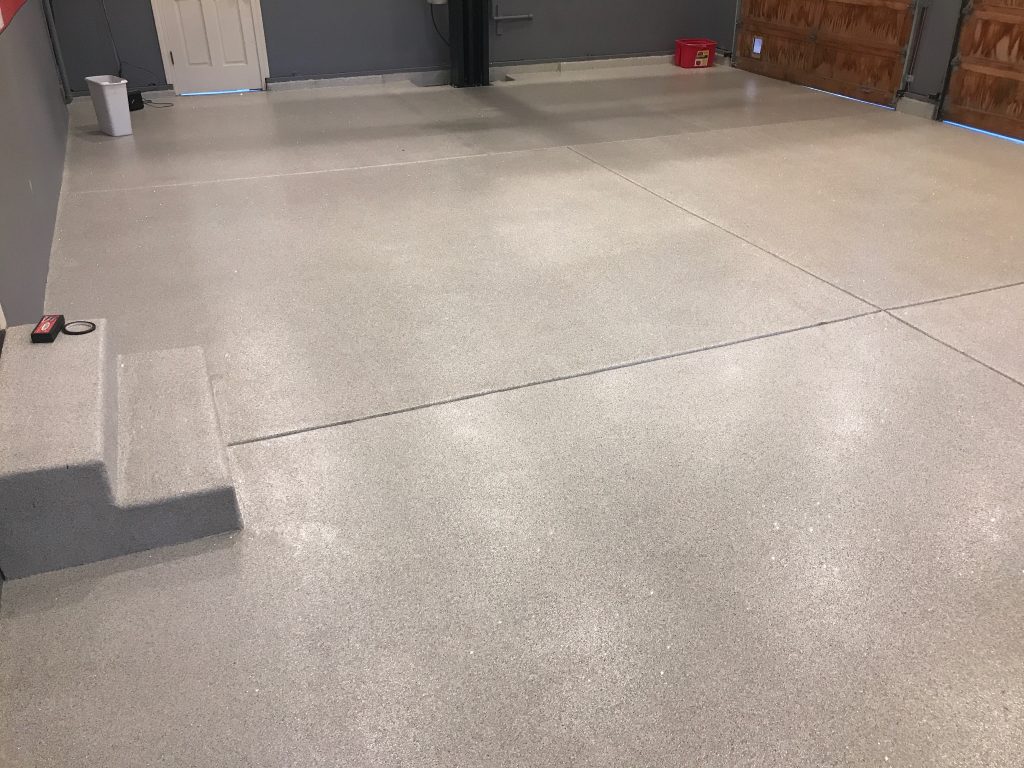
I had a local epoxy company install a 100% solids epoxy floor. I’m super happy with how this turned out.

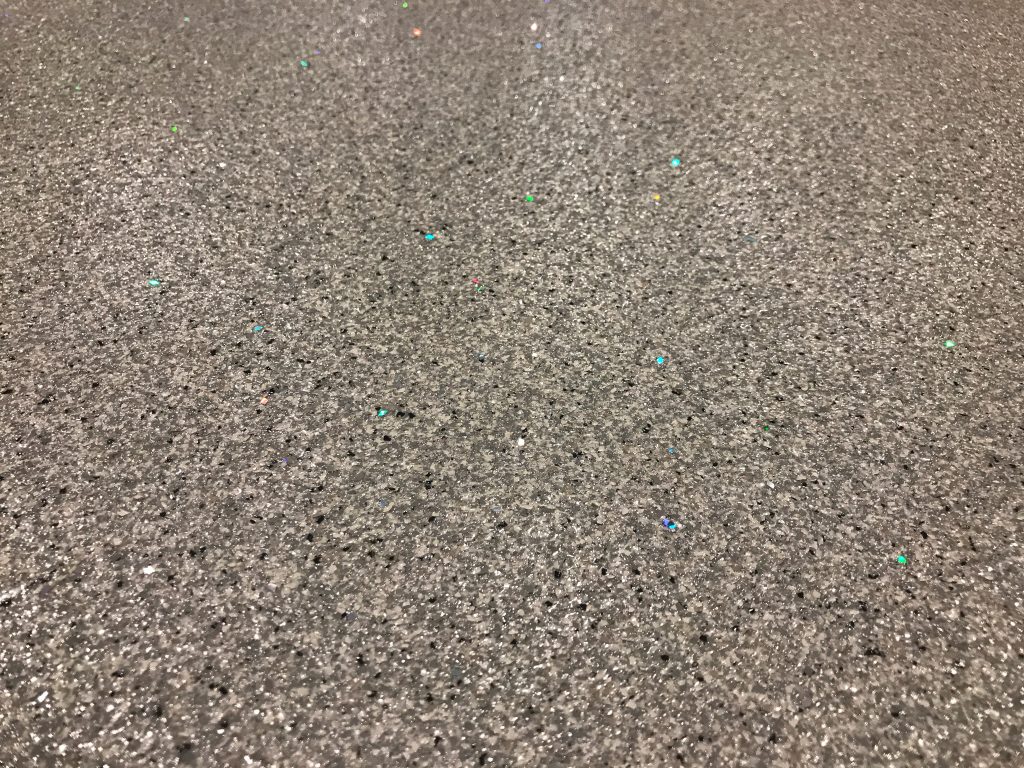
Here’s a closeup. You can see that there is 100% coverage of the epoxy chips and we added some refractive chips that produce small specks of color across the surface. Everyone who’s seen it loves it.


Fabricated Cover Plate For Lift Base

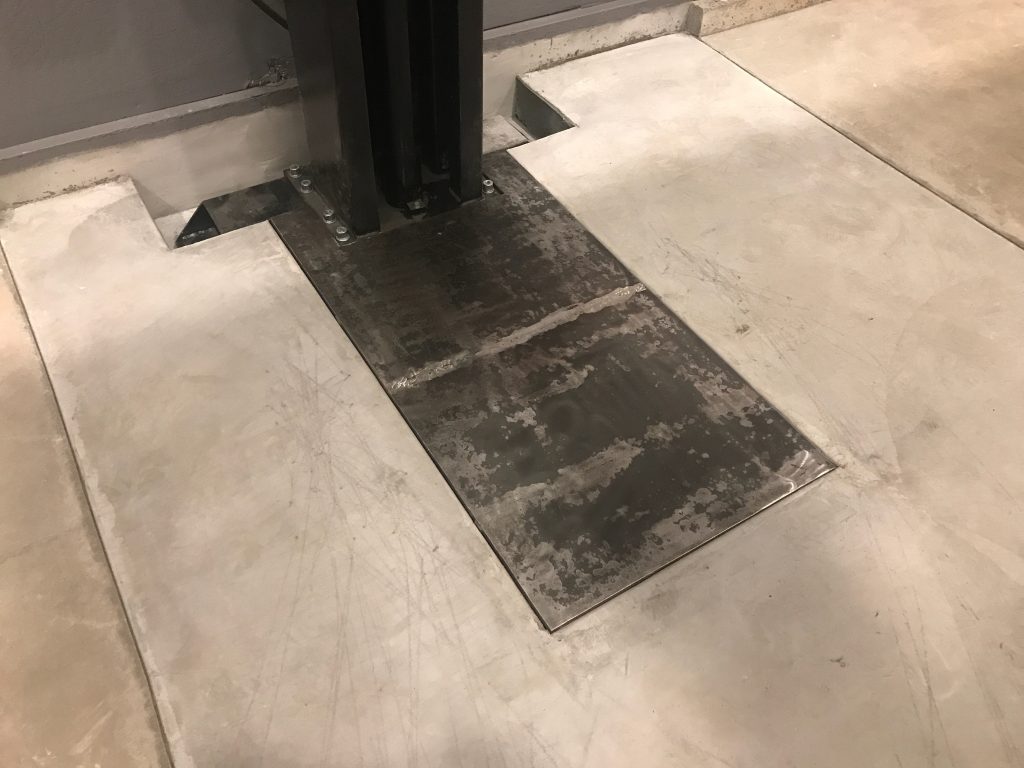
I fabricated a cover plate for the lift base. This is made out of 1/2″ thick steel, so cutting it to fit the hole and surround the lift column took several hours with a grinder. It took several more hours to weld on supports underneath and shim it to be flush with the concrete. It’s absolutely rock solid now.

Garage Wiring

The installer came out and finished up the new side garage door opener. Despite my request to watch the new paint, he managed to get his grubby hands all over the walls and ceiling, so I’ll have to clean and probably touch up the paint.
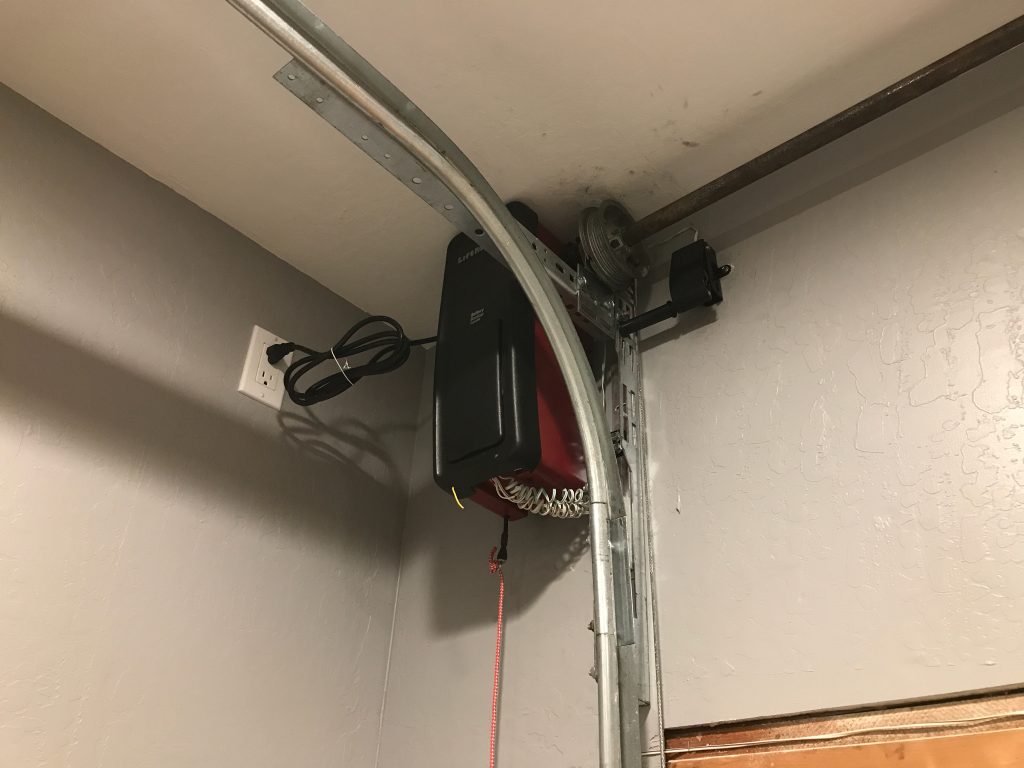
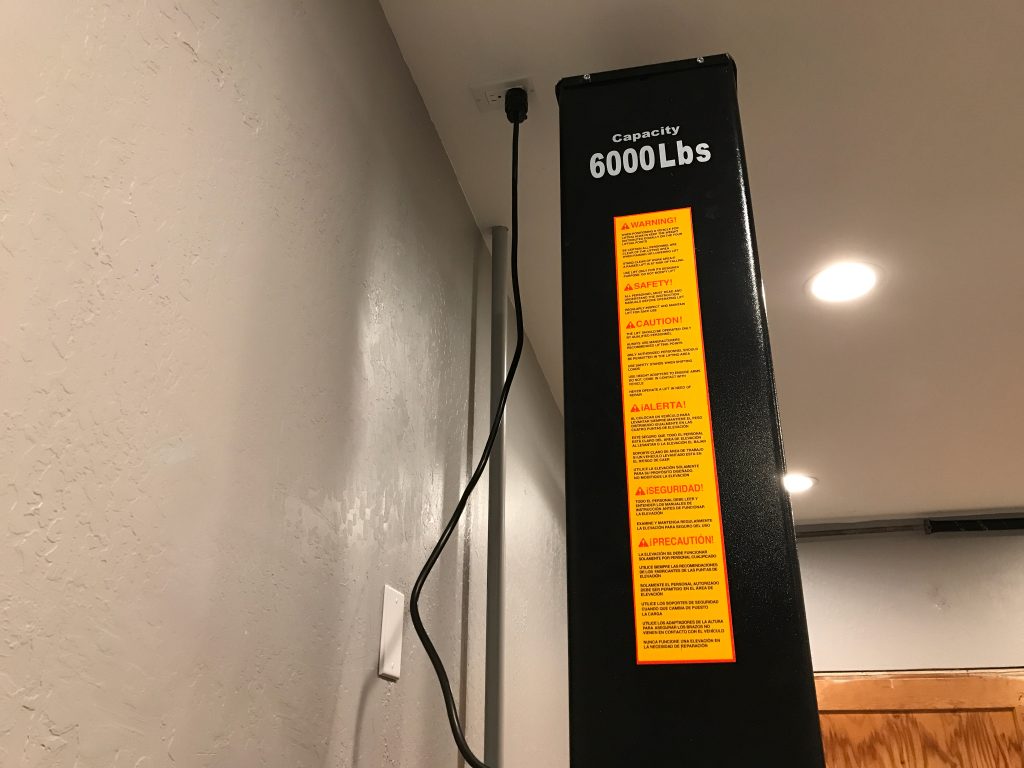
We tried a couple of times to fish a wire down the wall to the outlet behind the lift, but since this is an outside wall, I can’t get close enough to the top of the wall to make it work. We ended up installing a new 20A circuit in the ceiling and running it back to the subpanel.
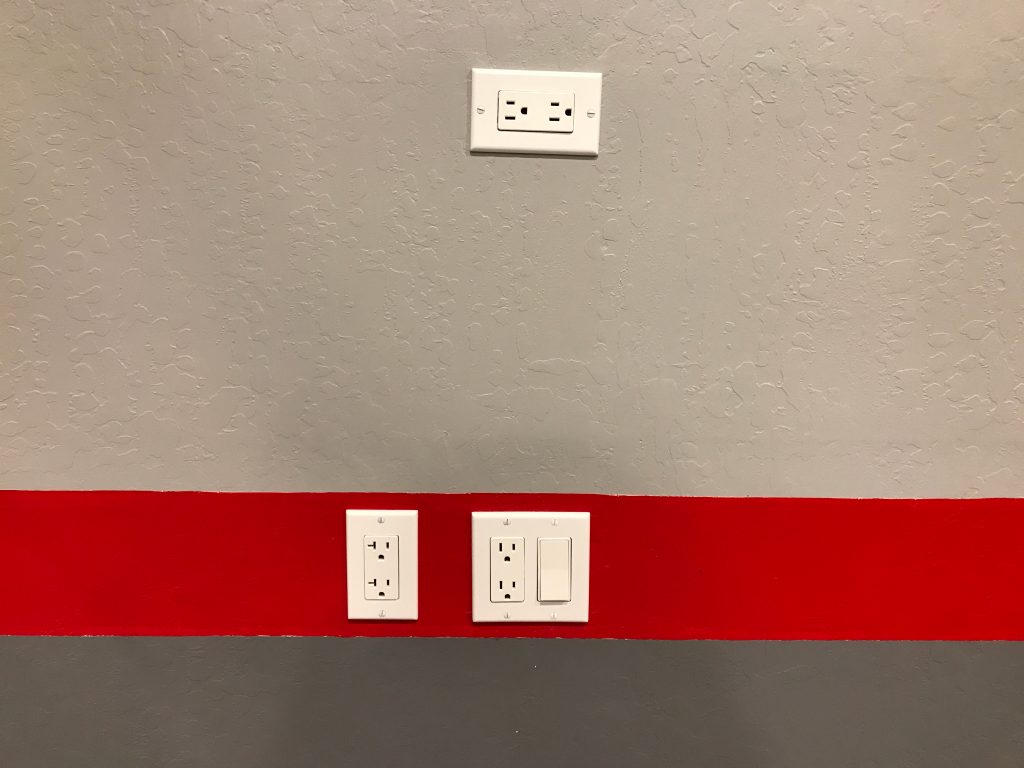
I also added a new 20A circuit in the wall and ran this back to the subpanel so I have a dedicated 20A circuit with nothing else on it. I picked up a Hobart 140 welder to use on the project, and it needs a dedicated circuit to avoid blowing the breaker.

I also jumpered from the switch up to the horizontal outlet at the top. The undercabinet lights will plug in here so that they can be controlled by the switch.
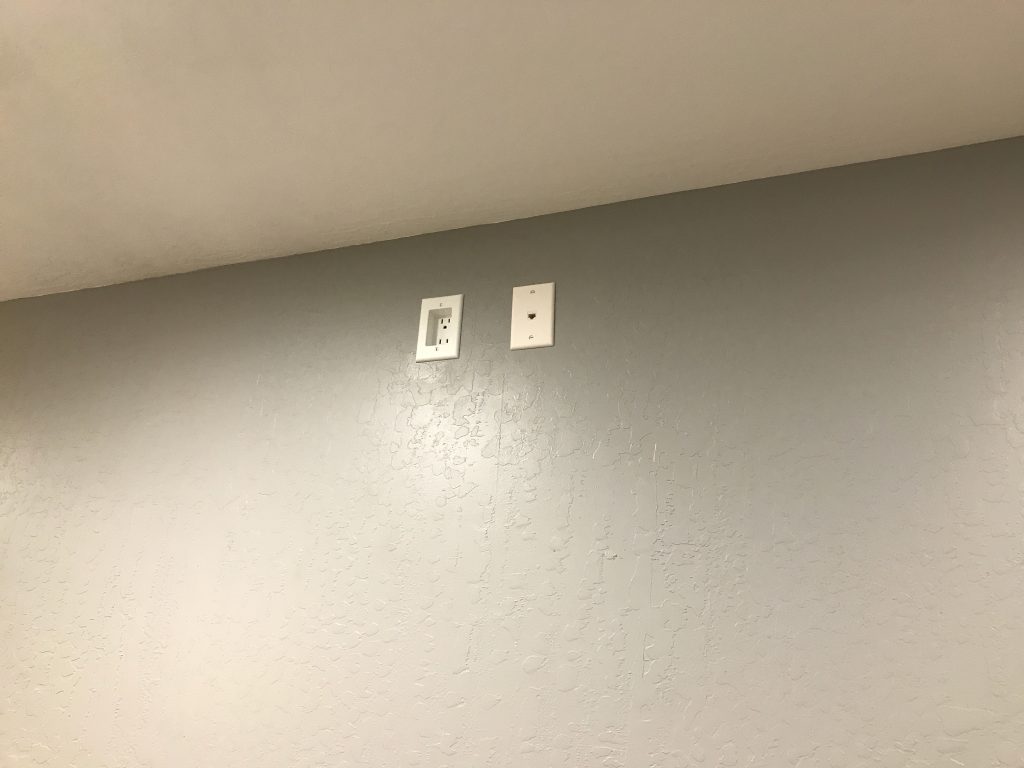
I also added a new outlet and ethernet jack at the top of one of the walls for the TV that will be installed here. My dad gave me an old flat panel TV he no longer needs that we’ll use until we upgrade one of the TVs in the house.
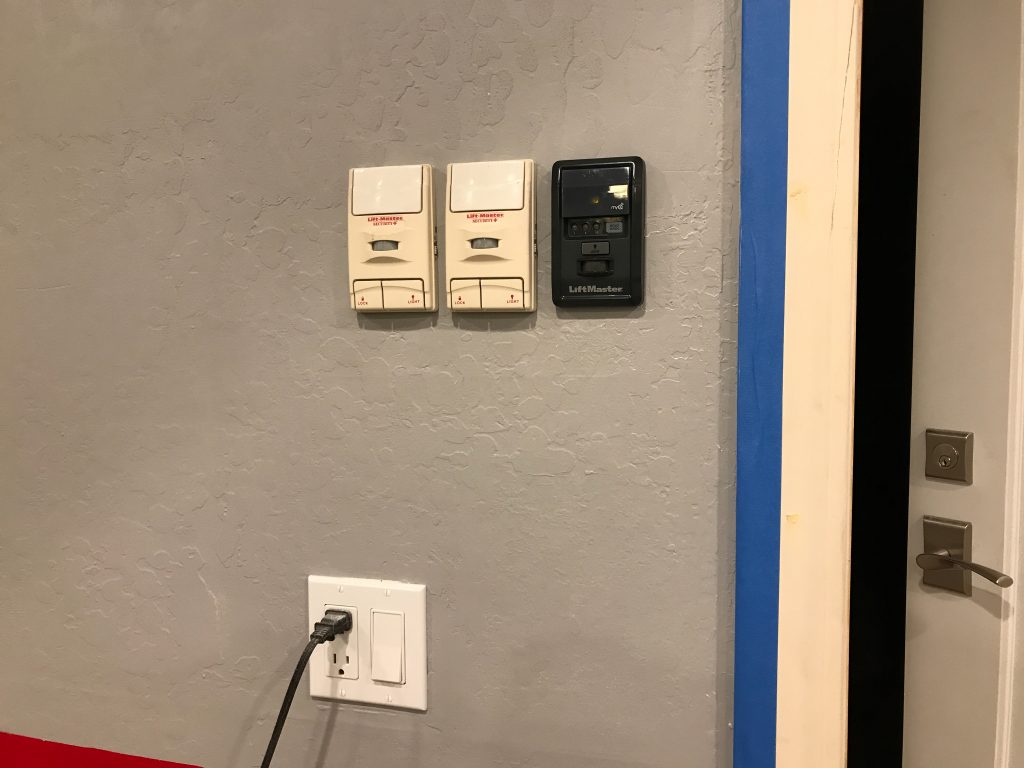
The old wall controls for the garage doors had the wires just stapled to the drywall. They ran up the wall and then rather haphazardly across the ceiling to the openers. Since we’re trying to make the garage look pretty nice, I decided to run the control wires through the attic. The installation looks so much cleaner this way.
Added Key Switch to Car Lift

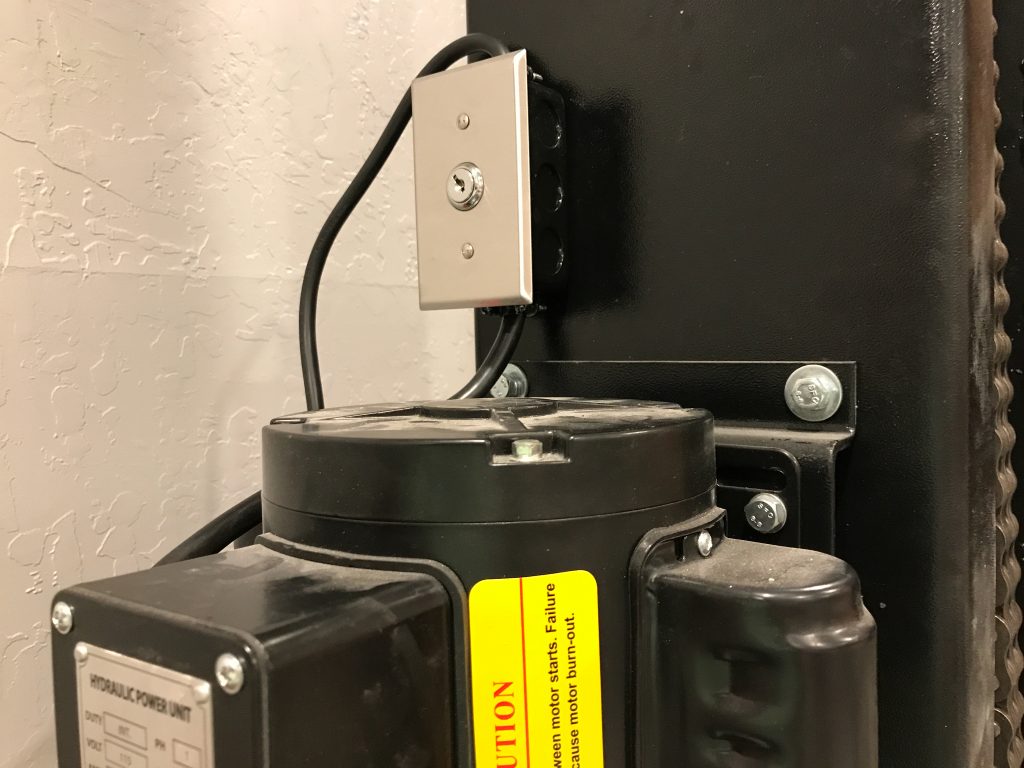
I added a key switch to the car lift so that we can cut power to the lift when we aren’t around. With young kids in the house and especially their friends around, we really want to be able to prevent the lift from moving. After raising the lift and then setting it down on the mechanical stop, you have to raise the lift slightly to release the safety catch. With the power off, you can’t pull the safety catch, so there’s no way to move the lift up or down.

Painted Garage

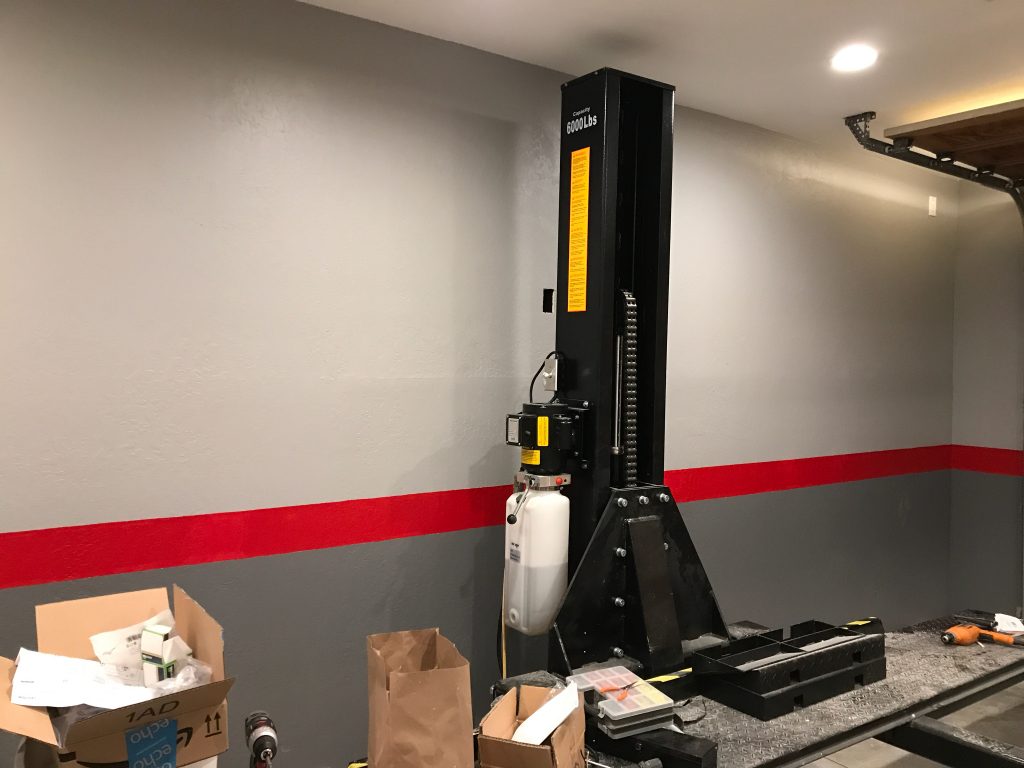
I finished painting the garage this weekend. I sprayed the ceiling white and then painted the walls a two-tone gray with a red stripe down the middle. I’ll be adding some vinyl pinstriping at the top and bottom of the red stripe. Hopefully the vinyl will stick to the walls well enough.

You can also just see the new outlet I added at the far upper right of the wall for the new side opener that will be installed on Tuesday.

Finalized Engine Plans

After visiting an engine builder last month and learning a bunch about how these engines are assembled, I began thinking that it would be more fun and a lot more educational to build the engine ourselves. My dad built a few engines back in his hot rodding days and offered to help with the research and assembly.

After several weeks of research by my dad and I, we’ve settled on an aluminum Ford 351W based 427. This engine should give us around 500 lb-ft of torque and about 550hp. Here is what I think will be the final parts list.

Block

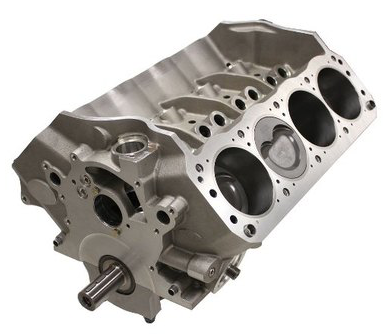
  • Ford Performance 427 Aluminum Short Block Assembly (M-6009-427A)
    • This is a 351W based aluminum casting with siamese cylinders, bored to 4.125″ and stroked to 4″. It comes with SCAT forged crank, SCAT forged H-beam connecting rods and Mahle forged pistons.

Intake

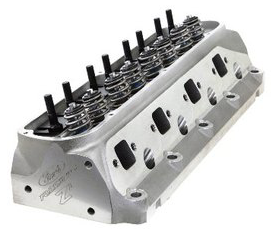
  • Ford Performance Z2 Cylinder Heads (M-6049-Z2)

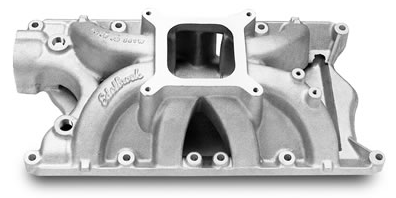
  • Edelbrock Victor Jr. Intake Manifold (2981)

Valvetrain

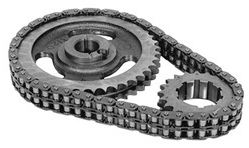
  • Ford Performance Timing Chain Set (M-6268-A302)

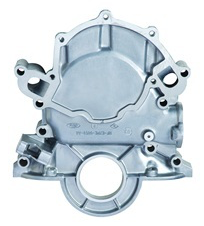
  • Ford Performance Timing Chain Cover (M-6059-D351)

  • Crane Hydraulic Roller Camshaft (TBD)
  • Crane Hydraulic Roller Lifters (36532-16)
  • Crane Pushrods (TBD)
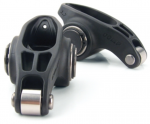
  • COMP Cams  Ultra Pro Magnum Rocker Arms (1632-16)

Oil System

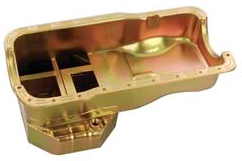
  • Milodon Road Race Pan with Windage Tray (31630, 32215, 81167)

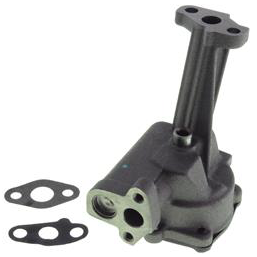
  • Melling Oil Pump (M83)

  • Milodon Oil Pump Pickup (18505)

  • ARP Oil Pump Driveshaft (154-7901)
  • Milodon Oil Dipstick (22030)

Accessories

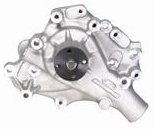
  • Ford Performance Water Pump (M-8501-F351)

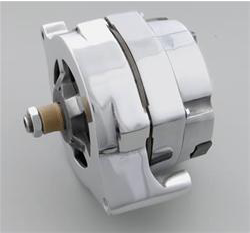
  • March Performance Alternator (P560)

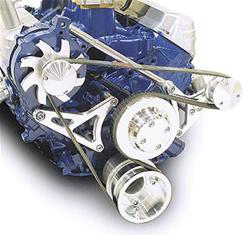
  • March Performance Pulley Set (30305)

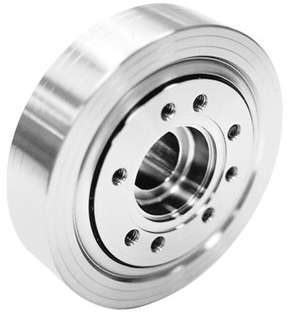
  • Ford Performance Crankshaft Damper (M-6316-D302)

  • Milodon Timing Pointer (65782)

  • Powermaster Mastertorque Starter (9604)

Fuel System

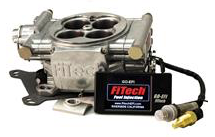
  • FiTech Go EFI 4 600HP Self-Tuning Fuel Injection System (30001)

  • Summit Racing Fuel Pump Block-Off Plate (420004)

Ignition System

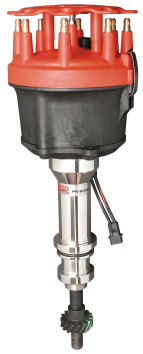
  • MSD Pro-Billet Distributor (85805)

  • MSD Blaster TFI Coil (8227)
  • MSD 8.5mm Super Conductor Spark Plug Wire Set (31189)

Bolts & Gaskets

  • All ARP 12pt Stainless Bolts (554-9503, 154-1001, 150-6902, 450-3101, 150-2501, 454-1903)
  • Ford Performance Cylinder Head Gaskets (M-6051-R351)
  • Ford Performance Intake Manifold Baskets (M-9439-A50)
  • Ford Performance Oil Pan Gasket (M-6710-A351)
  • Fel-Pro Exhaust Header Gaskets (1487)
  • Fel-Pro Water Pump Gasket (35211)
  • Fel-Pro Water Neck Gasket (35440)