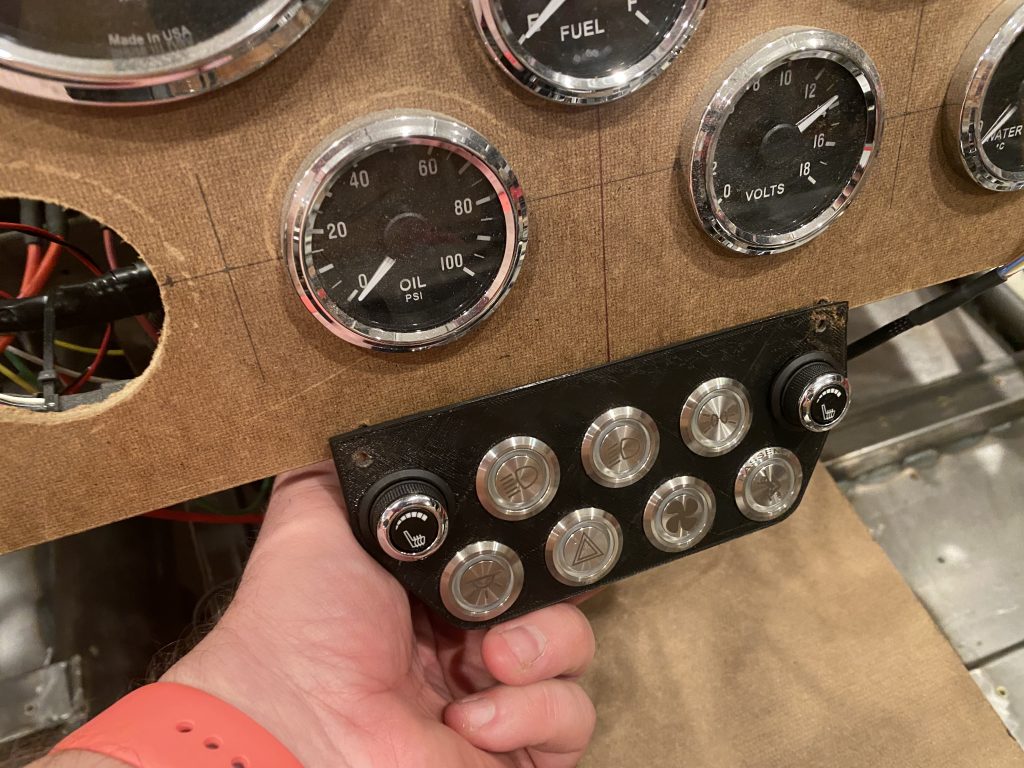
I 3D printed a prototype button panel. Ultimately, I’ll fabricate something that sits below the dash and is recessed somewhat. That will make it easily reachable, but not in the way of shifting.
The final button arrangement hasn’t been determined, but the initial layout places the seat heater controls on the top row at each end and all exterior lighting between them. Starting from the right is a button for the parking lights. The middle light will turn on the headlights (which will also turn on the parking lights if they’re off). Finally, the left button is the high/low beam toggle. I considered putting these near the steering wheel somewhere, but any location along the bottom of the dash is obscured by the steering wheel. Any higher location is easily visible, but more awkward to reach.
The bottom row has an assortment of buttons. Starting from the left, the first button is for the interior lights. These will come on automatically when the alarm is disarmed or when the car is turned off. The second button is the hazards. The third button is the fan override, and the final button is the passenger eject button.
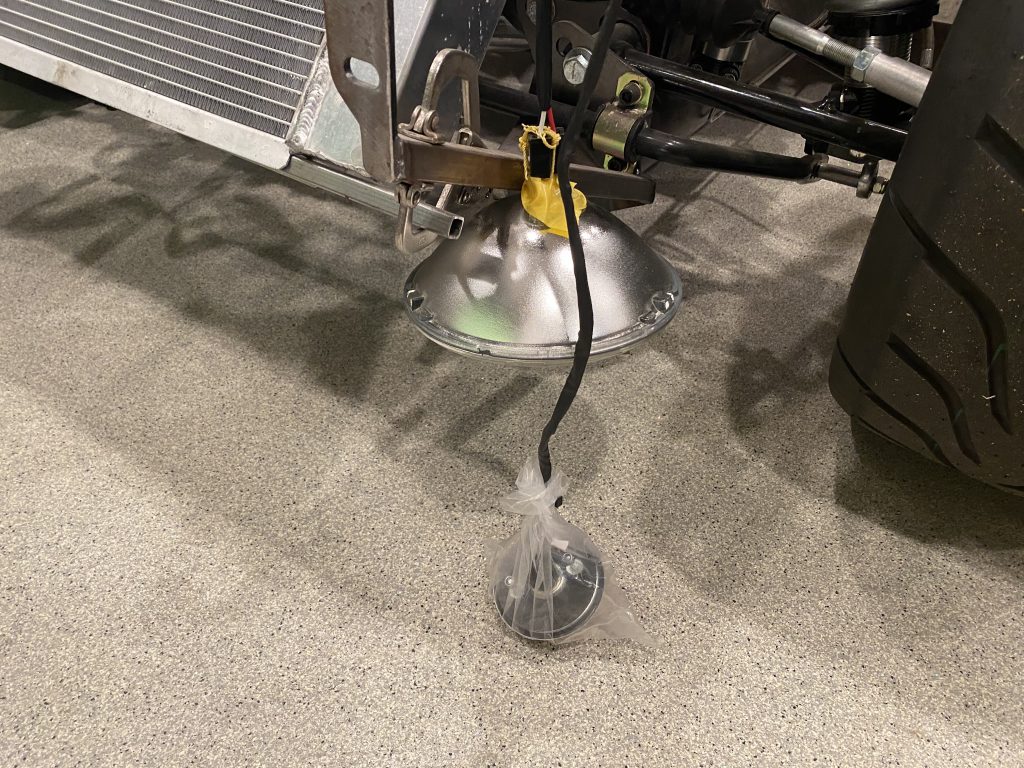
I hooked up all of the exterior lights to verify they worked, and ran into an odd behavior. When the right turn signal was turned on, it worked correctly, but when the left turn signal was turned on, both left and right turn signals flashed dimly.
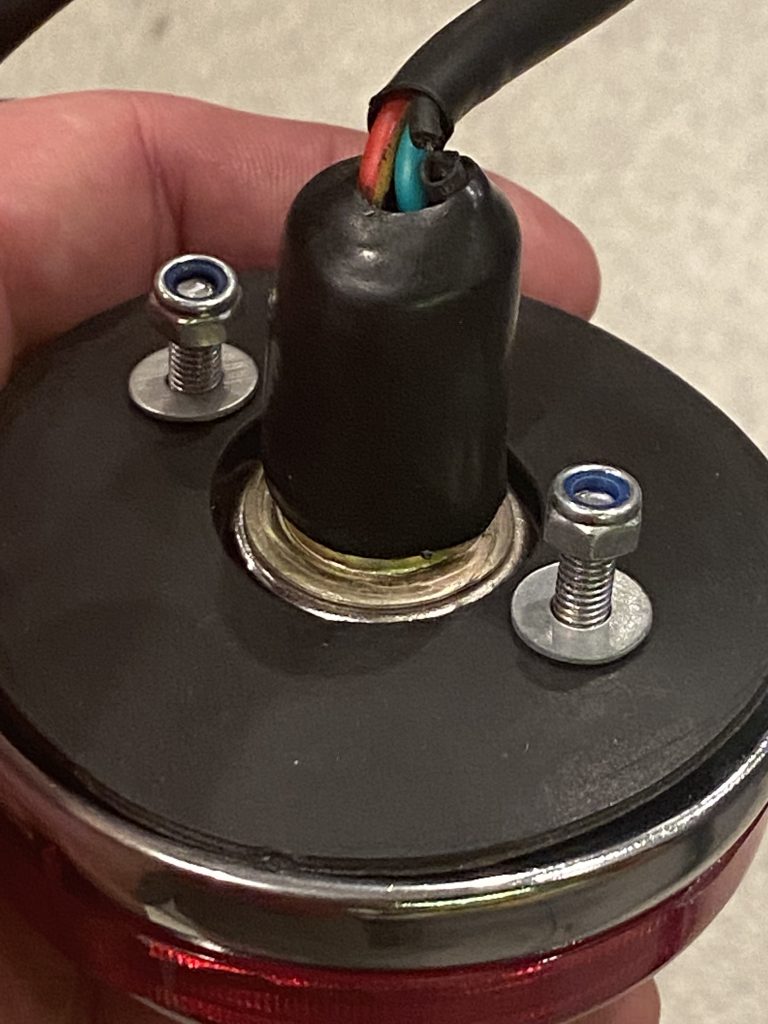
When I diagnosed the issue, I found out that one of the tail lights had a broken ground wire. This was causing power flowing into the turn signal to flow back through the brake light filament (through the shared ground in the bulb) and into the brake light of the opposite tail light. If it’s easy to fix, I’ll do that; otherwise I’ll call Factory Five to get a replacement.
Update: the wire broke right at the solder joint. I removed the heat shrink and re-soldered the ground, and everything now works correctly.


