First Drive!

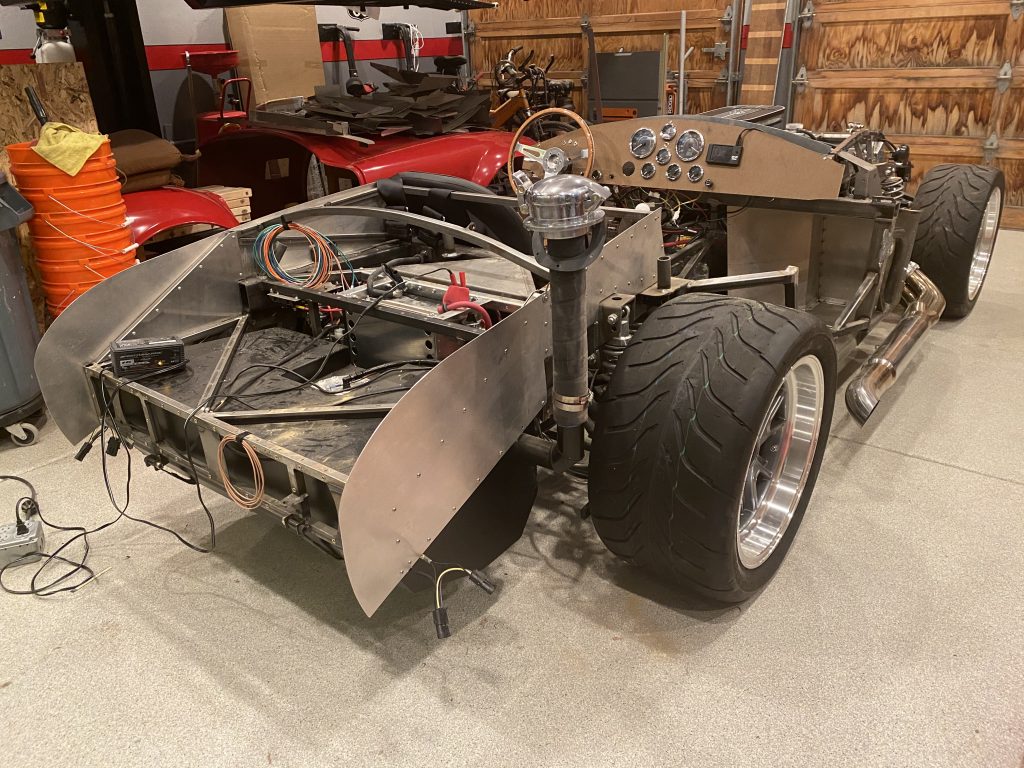
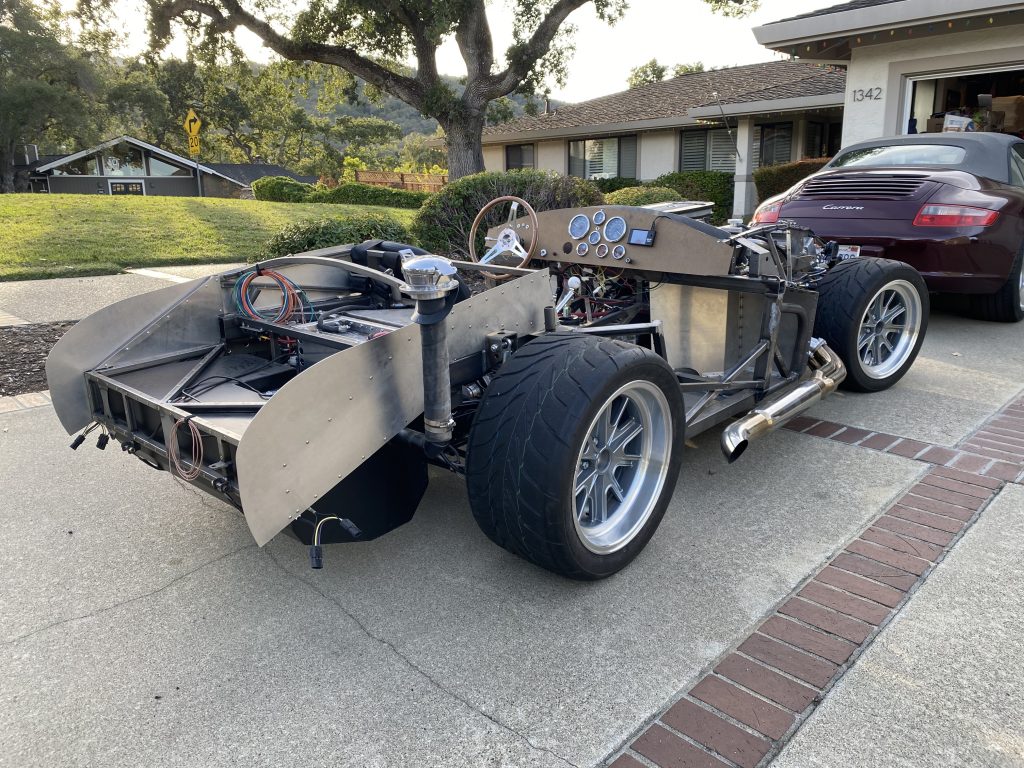
I buttoned up all the loose items on the car in preparation for taking it for its first test drive, then removed it from the dolly and sat it on the ground.

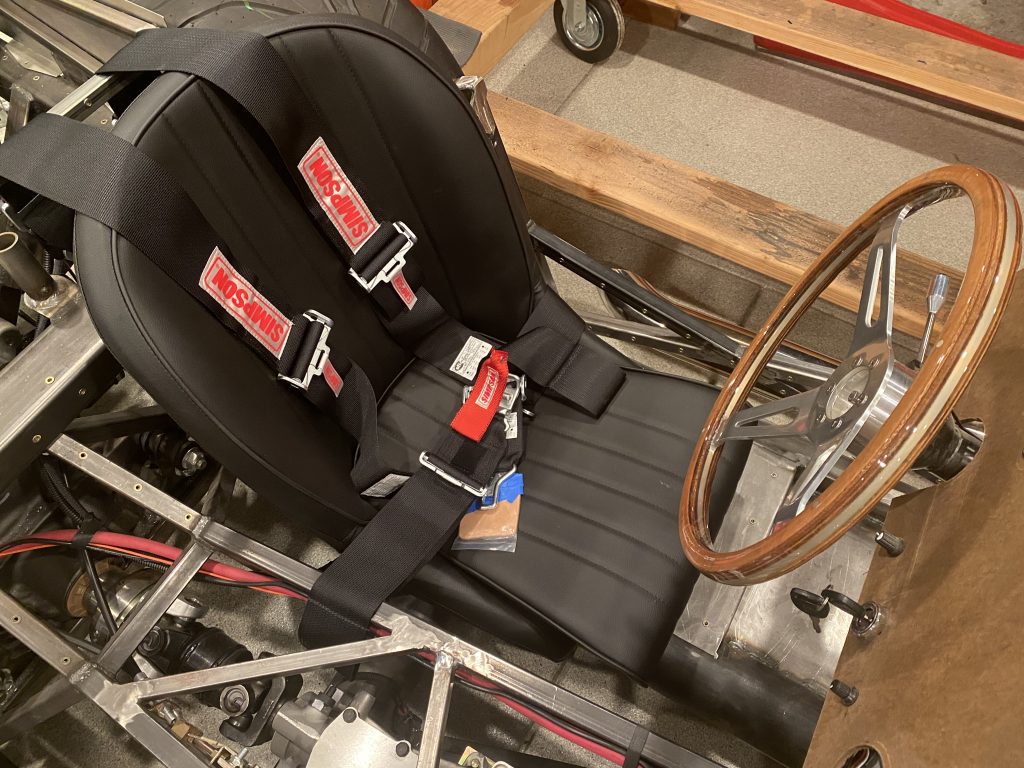
I also installed the driver’s seat, seat belts, and steering wheel.

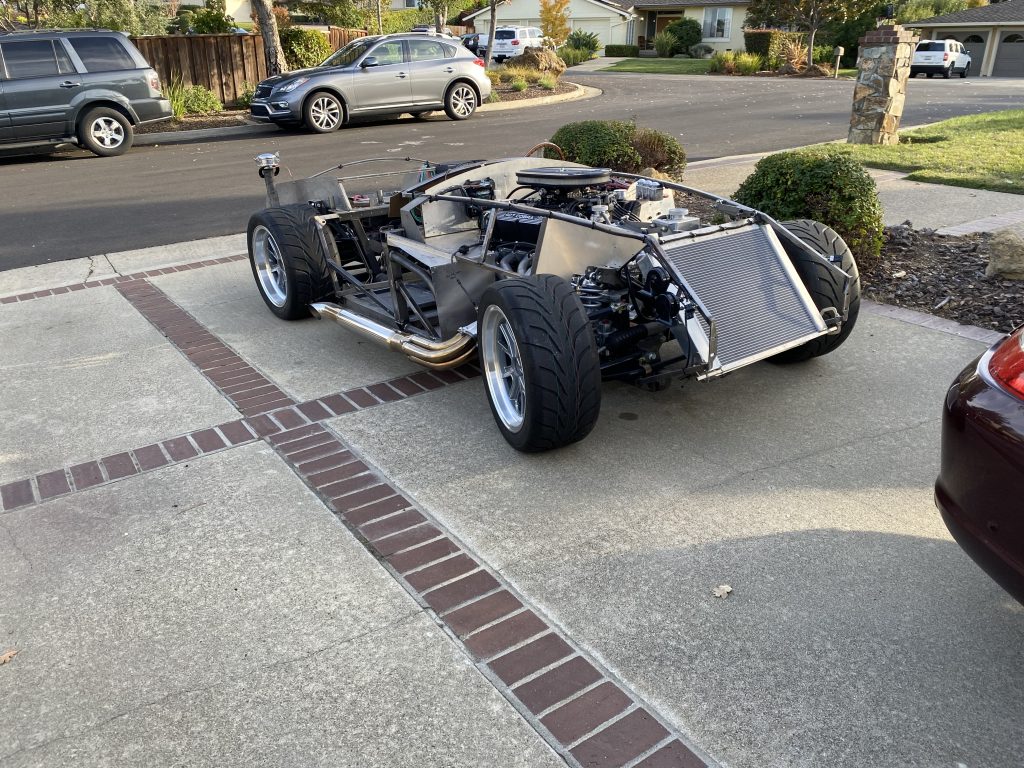
I fired up the car and pulled it out into the driveway where I immediately ran out of gas. After a quick trip to the gas station, it fired right back up.

I drove it around for a bit to test the clutch, brakes, and throttle. Everything works as expected.

It will be incredibly handy to be able to move the car under its own power to turn it around and move it between bays. Also, it will be nice to be able to pull the car into the driveway when I need to run the engine to avoid filling the garage up with exhaust.

Project on Hold

As you’ve probably noticed, the rate of updates to the blog has slowed considerably. We’re starting a home remodel, so the car is going to take a bit of a back seat to that for awhile. I hope to occasionally work on the car, but I don’t expect to make significant progress until the remodel is done.

11th Annual Huntington Beach Cruise-In

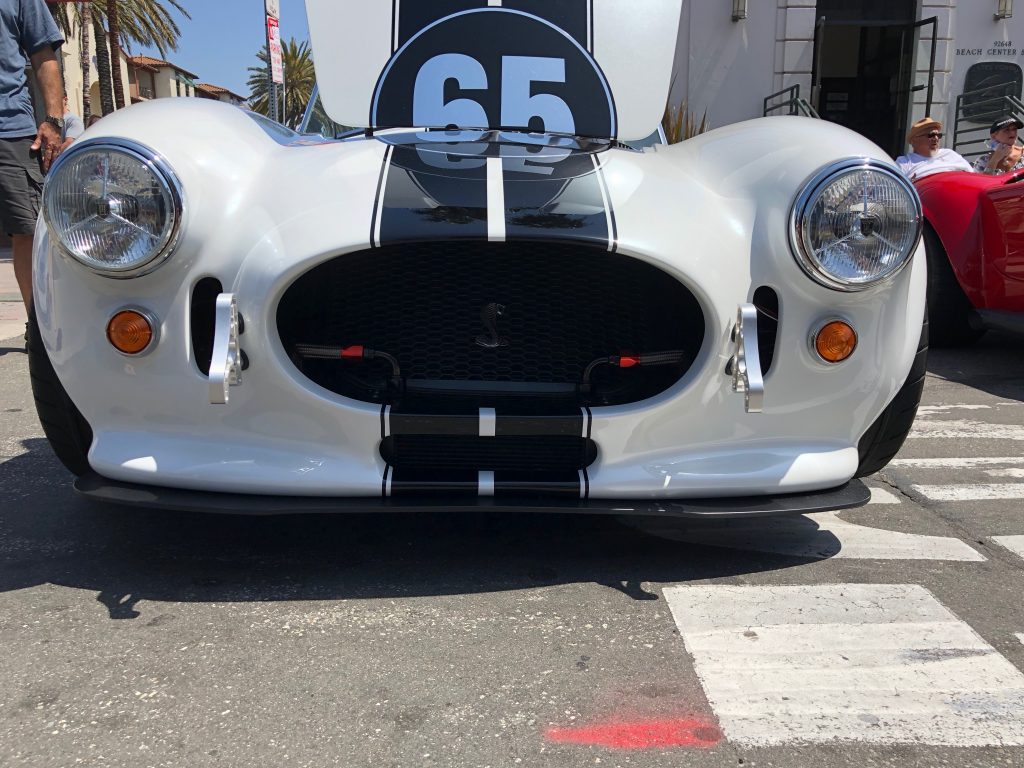
I flew the family down in our Bonanza to the 11th annual Huntington Beach Cruise-In. There were a ton of beautiful cars there and we spent quite a bit of time talking to many of the owners. One of the more impressive Cobras at the show was Saul Sotelo’s Mk4. It has a number of custom features which we really liked. It has the Lucas headlights which we will be using. It also has billet aluminum quick jacks and some custom aero work.

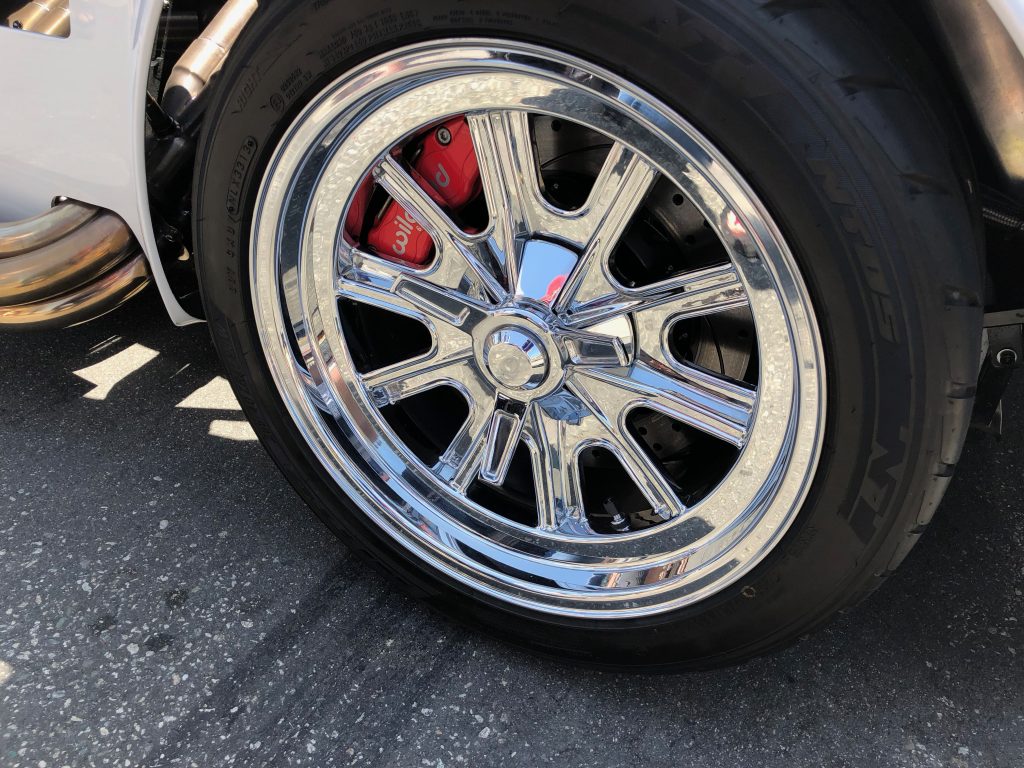
Jenn really likes the look of the chromed wheels, so I think there’s a good chance we’ll be doing that to our wheels. These are 17″ wheels like ours.

He also used Breeze Automotive’s 1.75″ rollbars which we both like much better than Factory Five’s current 1.5″ or early model 2″ tubes. Unfortunately, Breeze doesn’t have these in stock right now due to supplier issues. Hopefully, they’ll get those resolved soon. He also had some slick headrests that mounted to the rollbars. We like the idea of having headrests but will probably need something adjustable since our seats are adjustable.

Accelerator Pedal

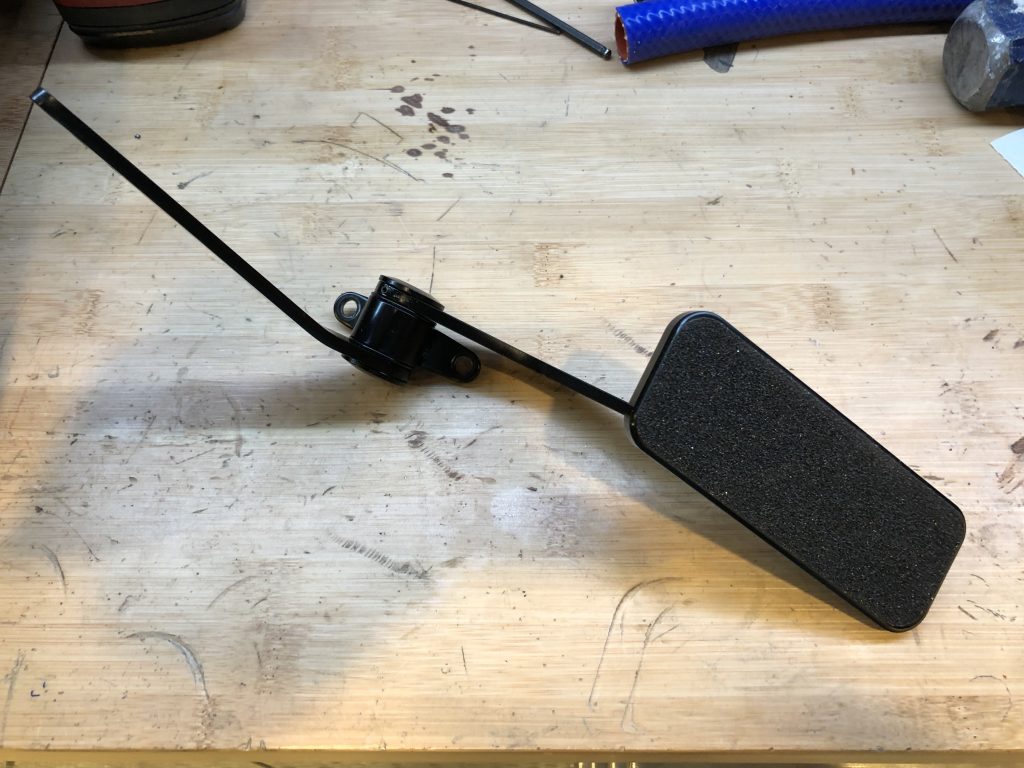
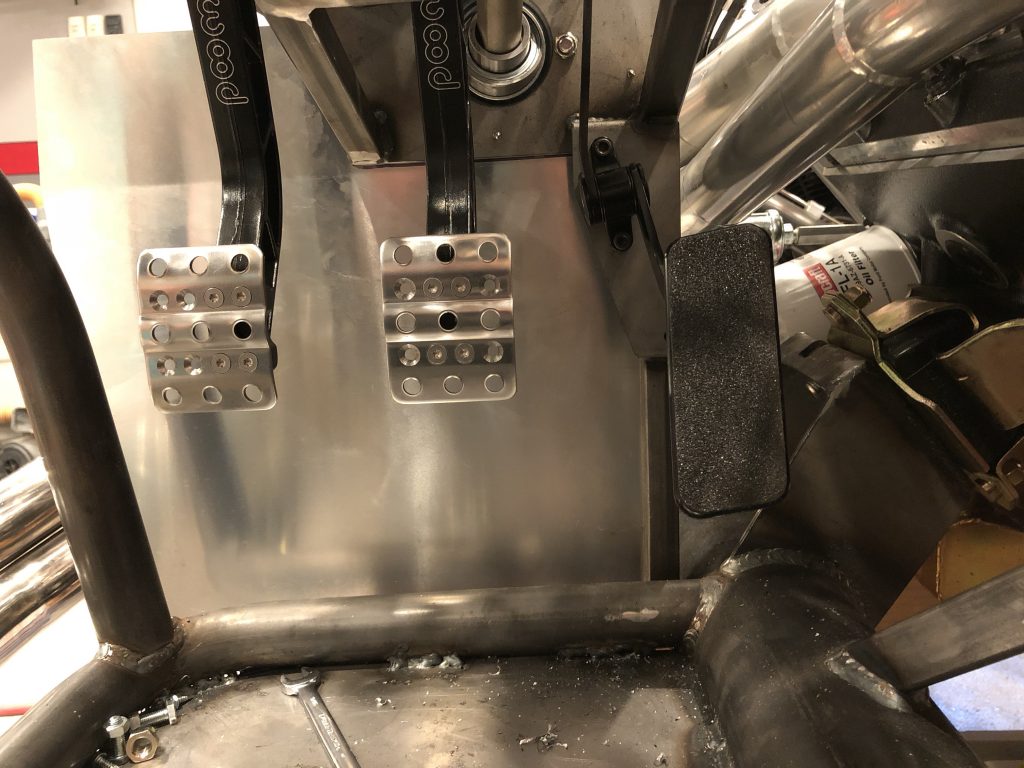
The accelerator pedal was much too close to the brake pedal, so I reversed the arms on the pivot shaft (the pedal arm was to the left of the upper arm). By reversing these, the pedal moves about 1″ to the right. This made the upper arm interfere with the steering shaft, so I put a 15-20º bend in the upper arm to put the upper end in about the same position it was when it was mounted on the other side.

I installed a couple of 1/4-2o rivnuts in the mounting plate so that I didn’t have to try and install a nut on the back side. You can see how much farther the gas pedal is to the right of the brake pedal. It was pretty each to accidentally press the brake pedal and accelerator pedal at the same time before, but now it’s pretty hard. I’m really happy with the pedal spacing now, but it does present another problem. With my foot naturally laying across the accelerator pedal, my shoe goes 2-3″ to the right of the pedal which is well under the left exhaust header.The inner footbox panel on the driver’s side doesn’t have enough room, so I’m going to need to fabricate a new one with a bump out for my shoe.

Finished Passenger Seat and Electrical System Components

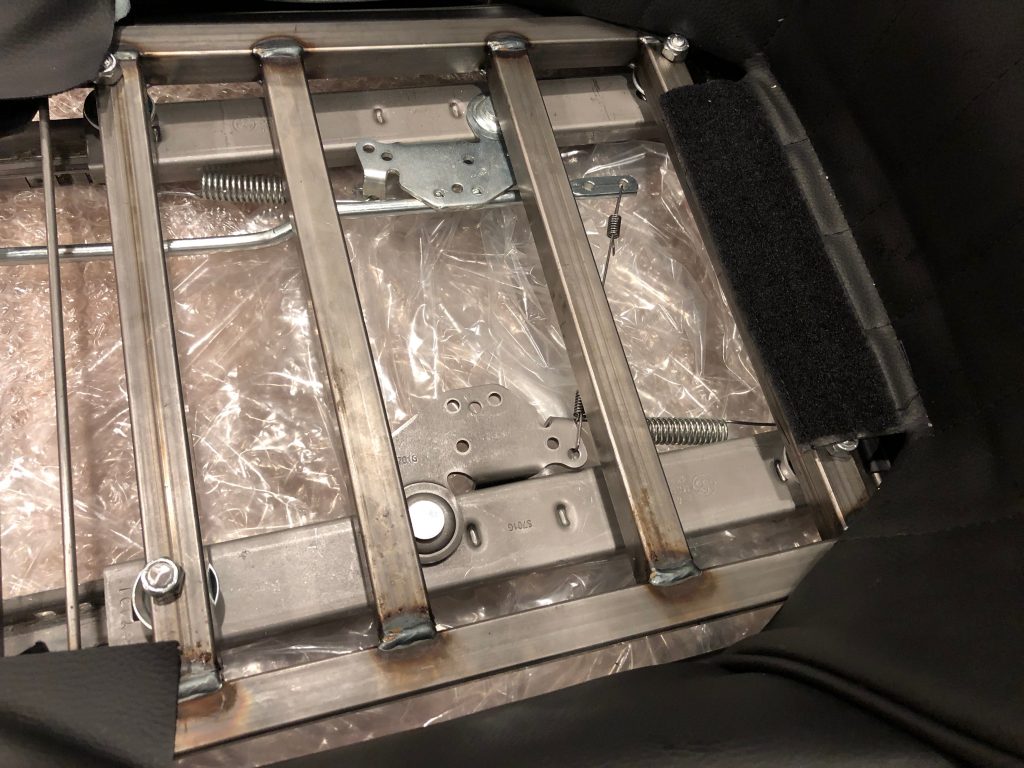
I wrapped up the passenger seat by trimming the bolts and installing the wire that connects the mechanisms on the two tracks.

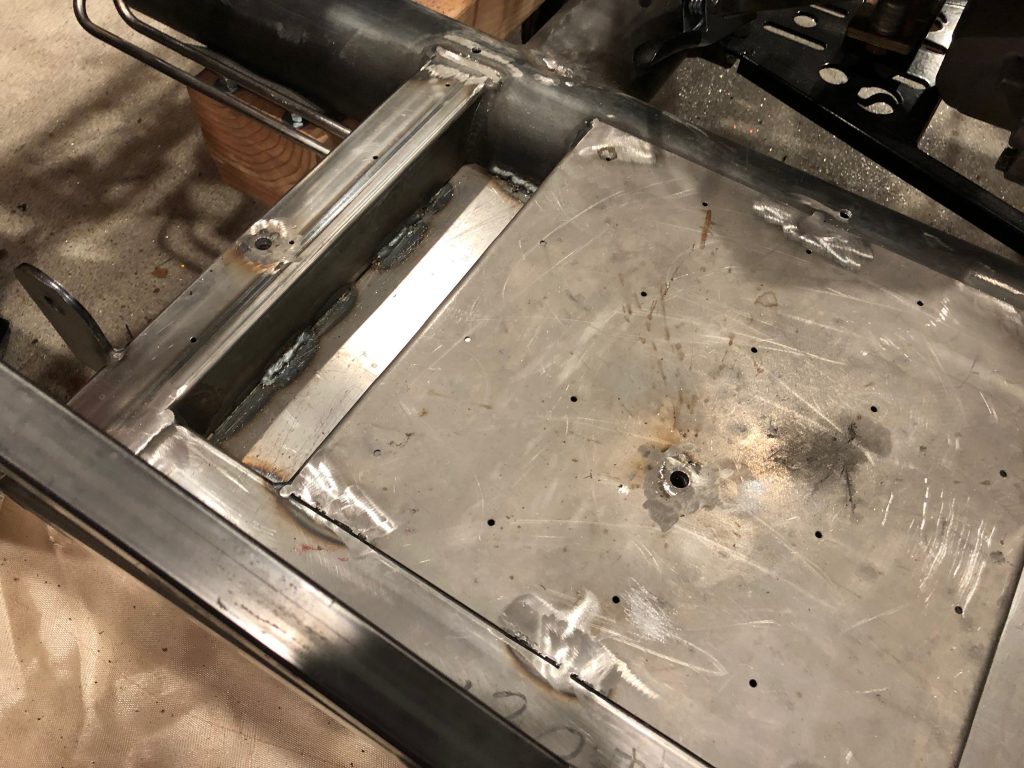
I then cut some pieces of 1/2″ steel tubing and welded them into the chassis then ground them flat.

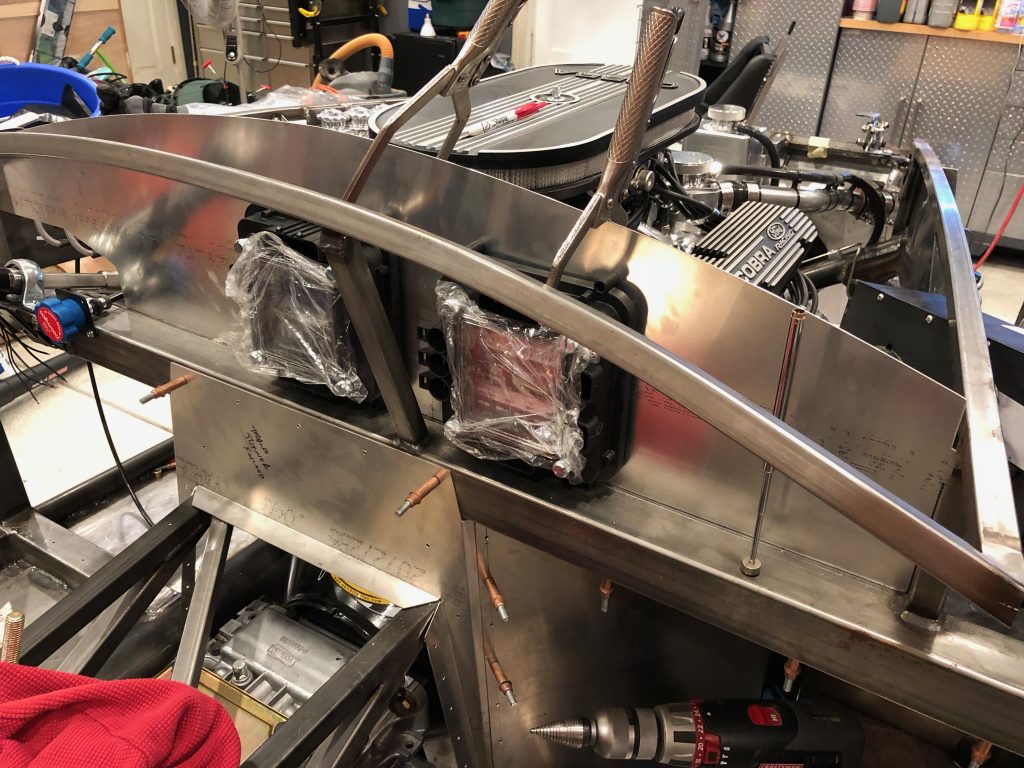
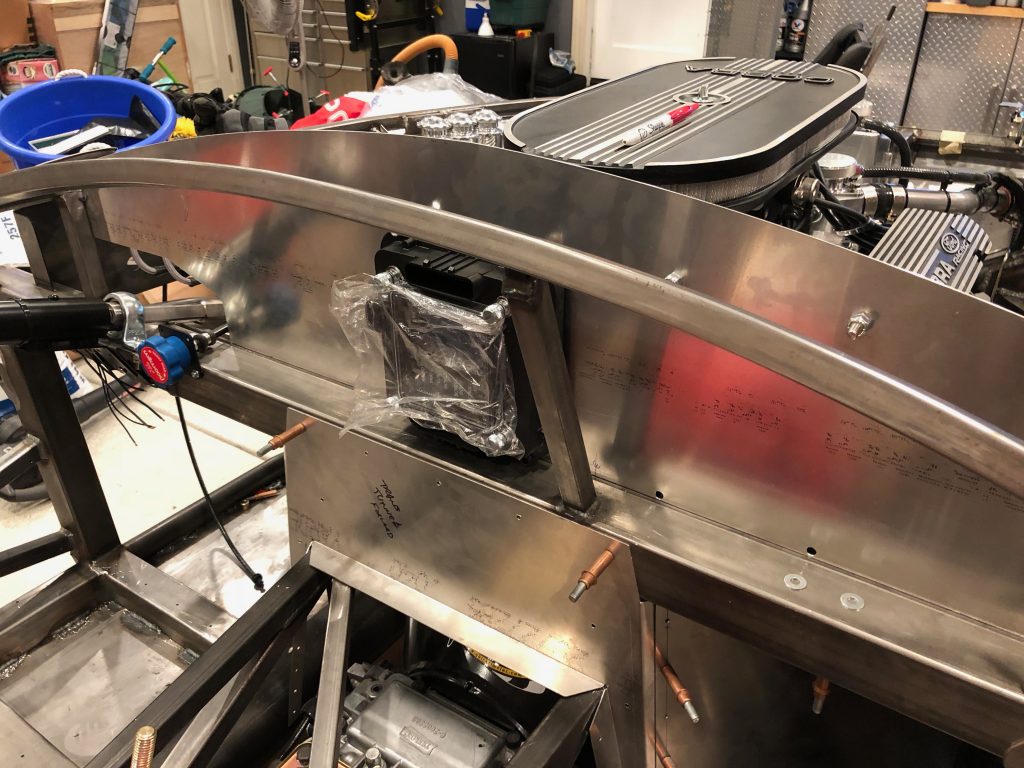
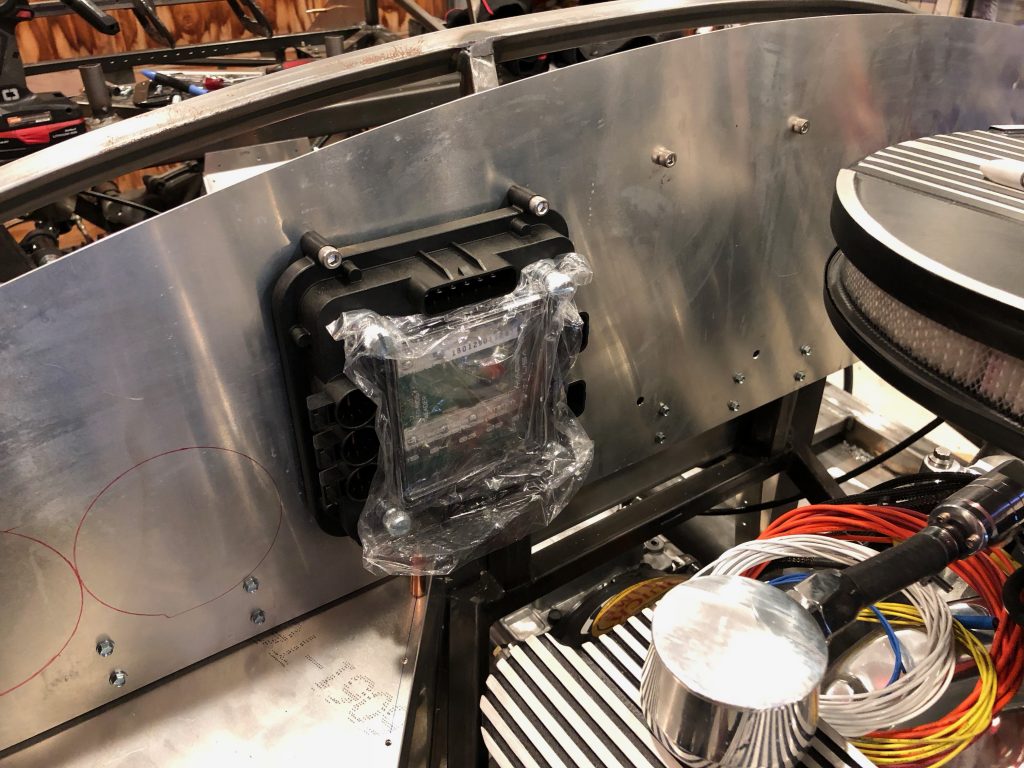
I finally determined the location for the master cell (left) and front load cell (right). The load cell will actually install on the other side of the firewall, but I’m drilling it on this side because I don’t have drill access on the other side.

After deburring the holes, I temporarily bolted the mastercell to the aft side of the firewall.

The front load cell is mounted on the right side of the firewall. This should keep it clear of the throttle mechanism on the left side and allow easy access if I ever need to access it.

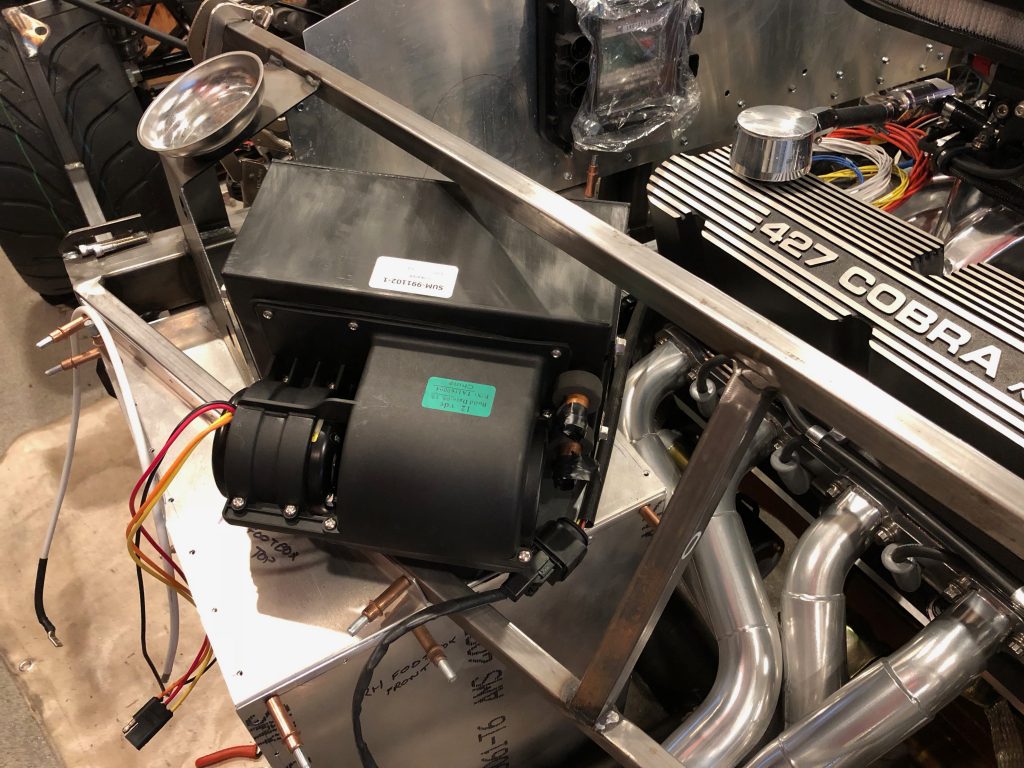
I’ve been playing with the location of the heater assembly. This is quite a bit bigger than the one Factory Five sells, so it can’t install on the firewall. I think I’m going to end up installing it at an angle as shown and then run a pair of 3″ diameter pieces of ducting from the heater to the firewall. A plenum on the other side will distribute the air to the foot boxes and defroster vents.

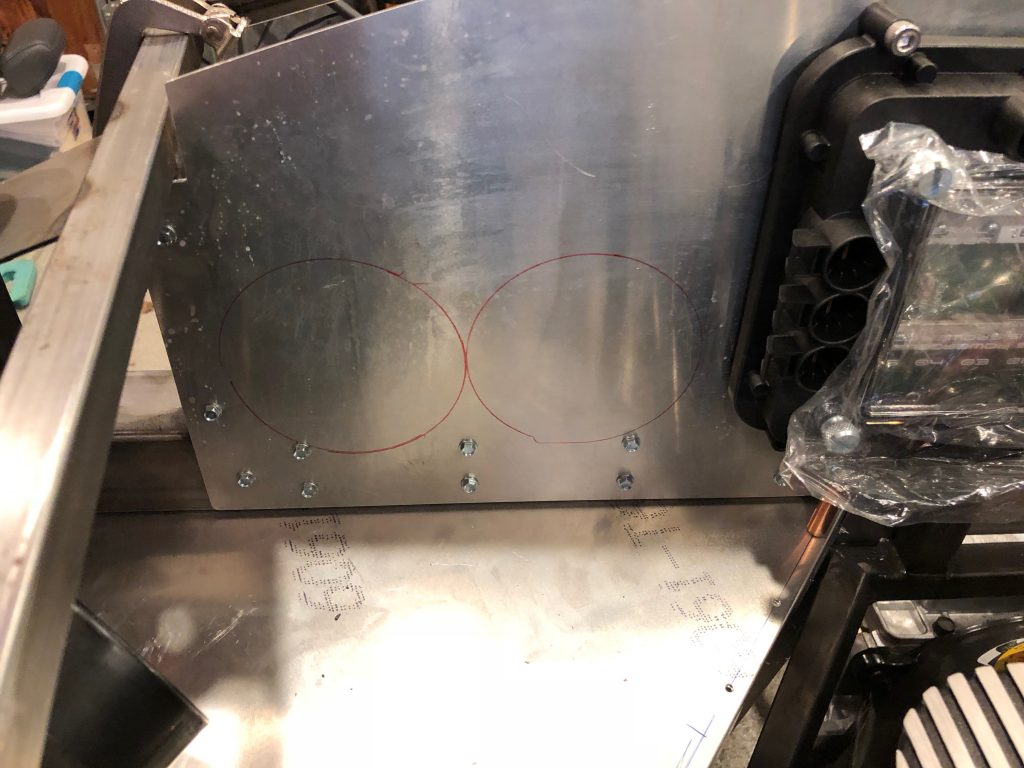
The ducting will connect to the plenum through this pair of 3″ diameter holes. There will be flanges installed to the firewall here.

Cobra Experience Museum

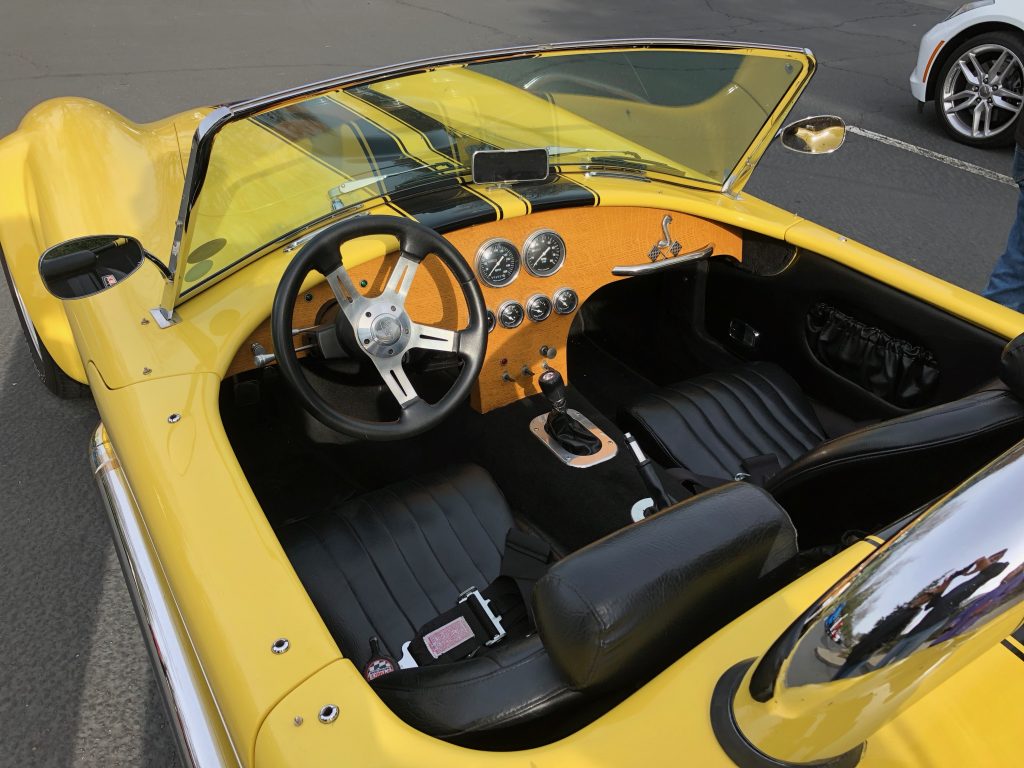
I took Jenn and the kids to the Cobra Experience museum in Martinez, CA this morning. They had a “Cars & Coffee” event in the morning with a bunch of custom cars including 4-5 Cobras. We’re considering something similar to this for our dash, so I grabbed a picture.

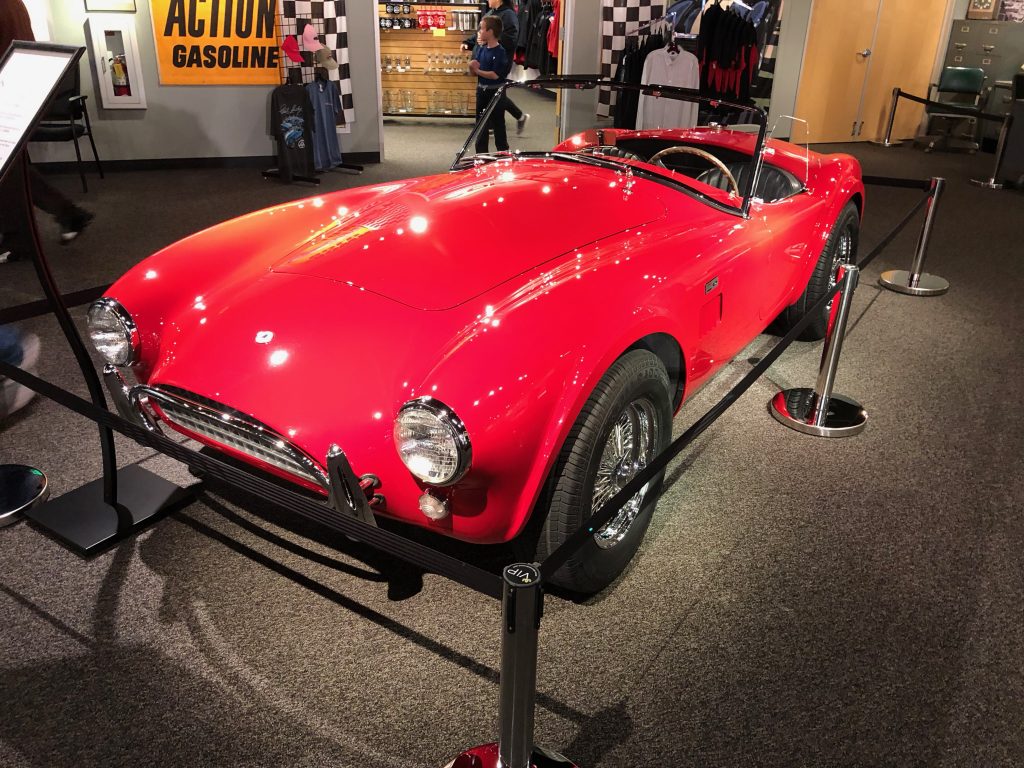
All of the cars in the Cobra Experience museum are genuine Shelby Cobras. This is an early 289 slab side Cobra; Jenn really likes the grill on this car.

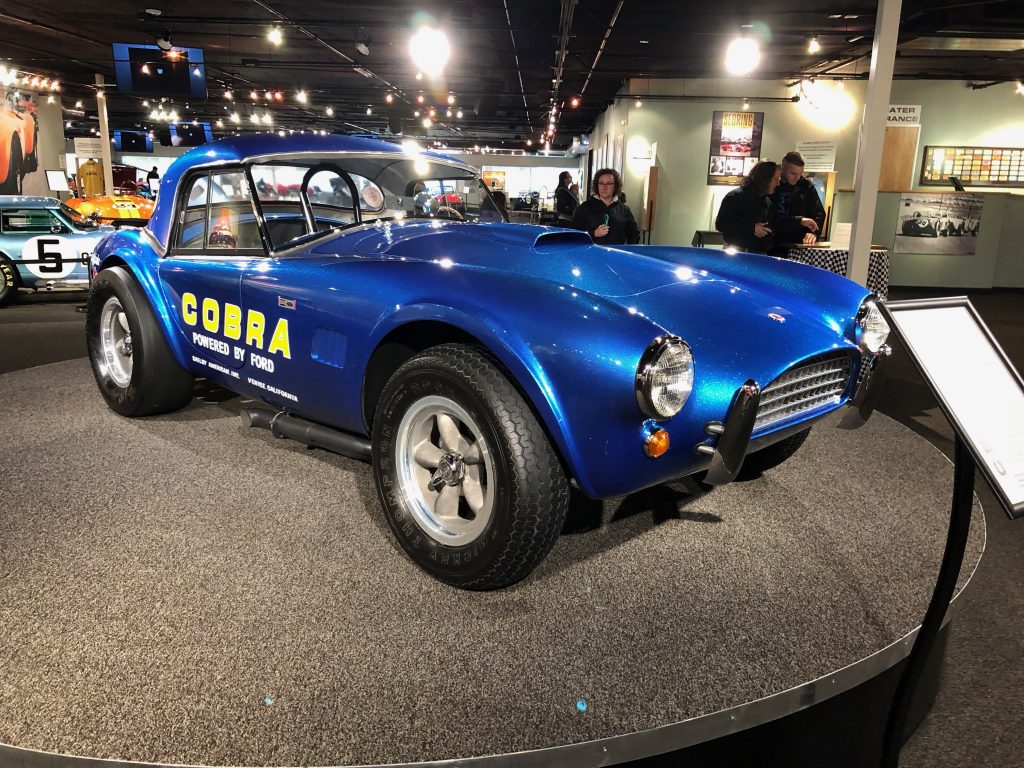
Another 289 I believe.

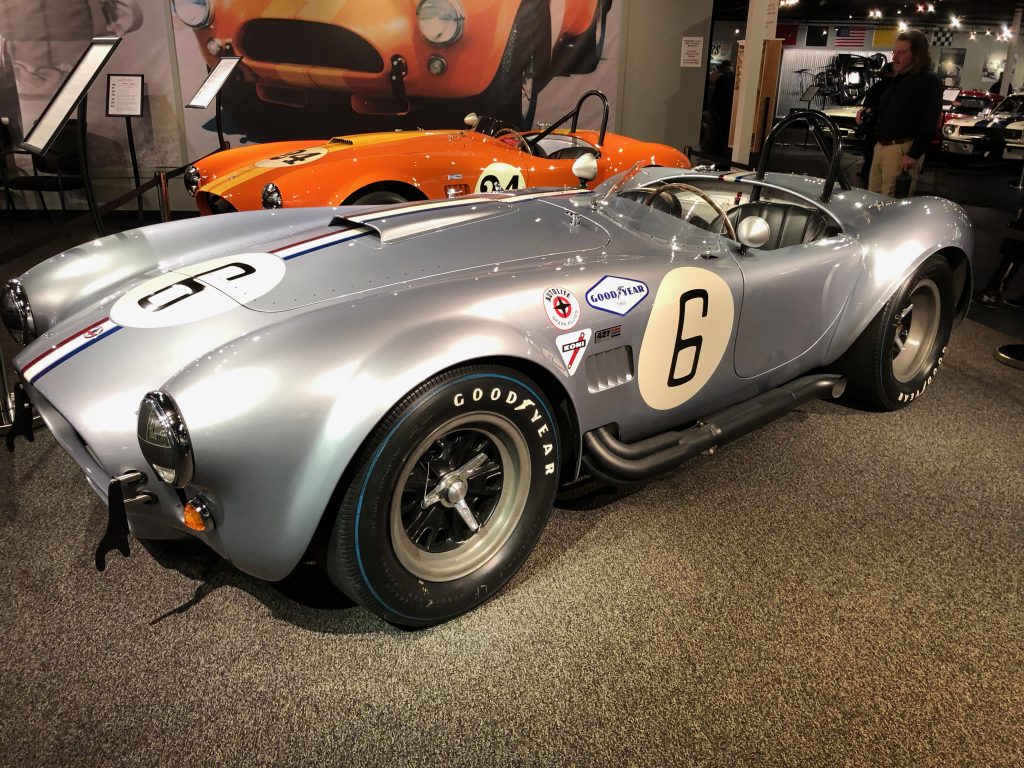
These are both 427 Cobras.

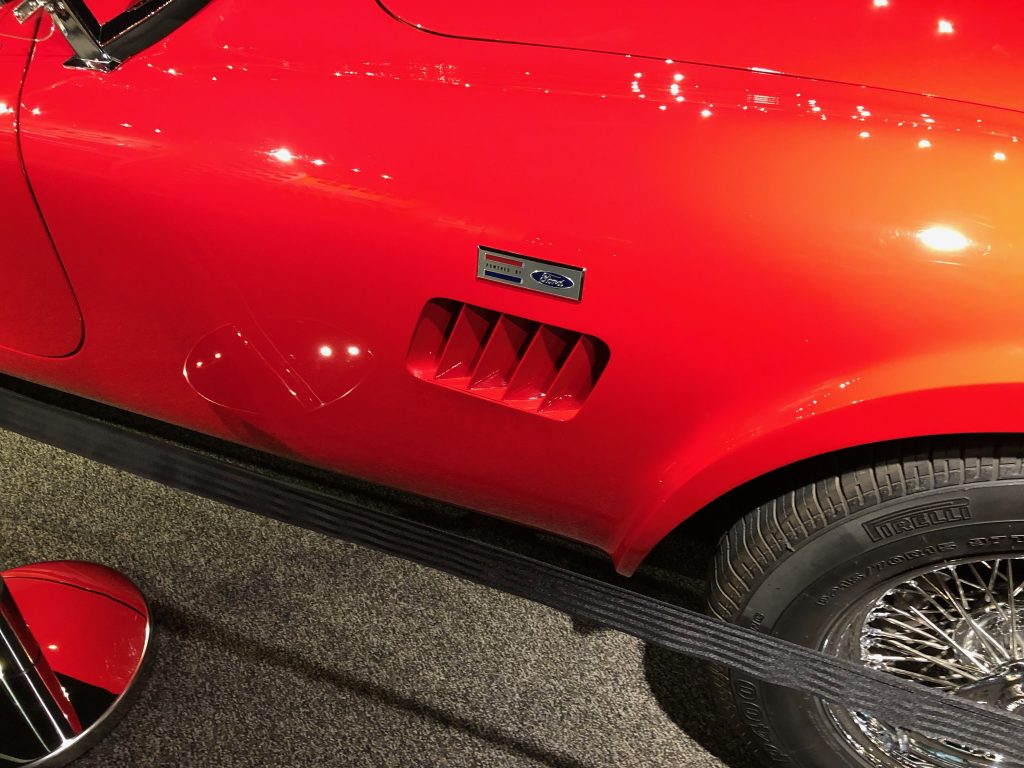
Virtually every kit Cobra I’ve seen has polished side grills, but every single Shelby Cobra in the museum had painted grills. Jenn likes the looks of these better, so we’re going to paint ours.

I thought this was amusing. 🙂

Installed Fuel Line Clamps

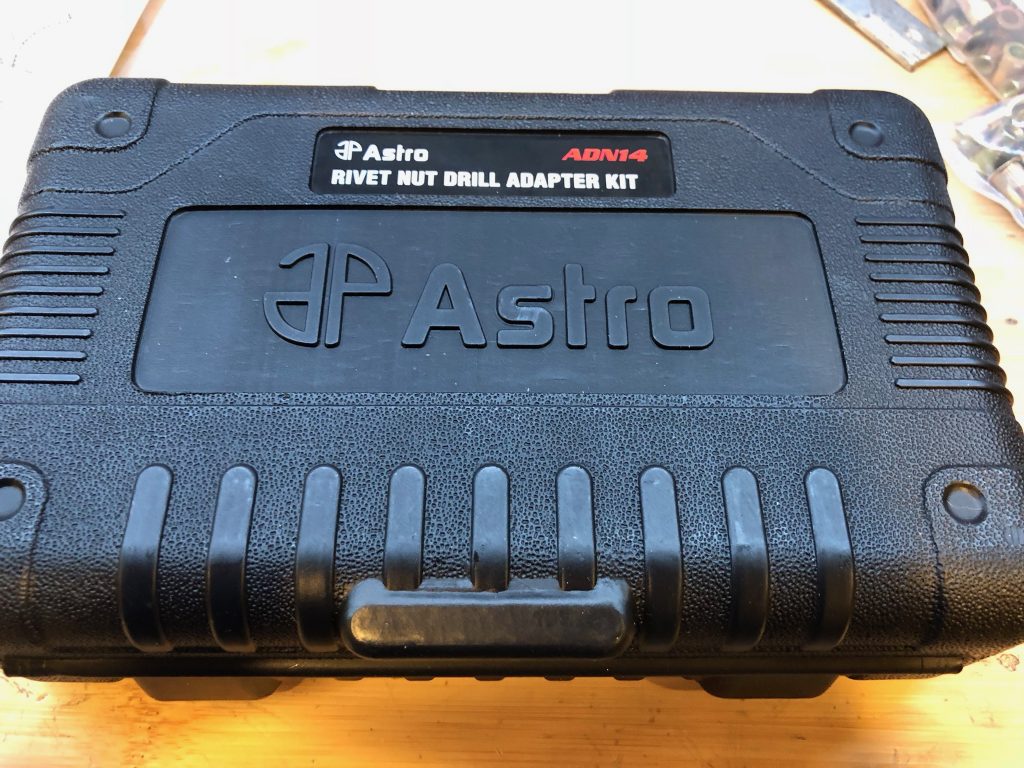
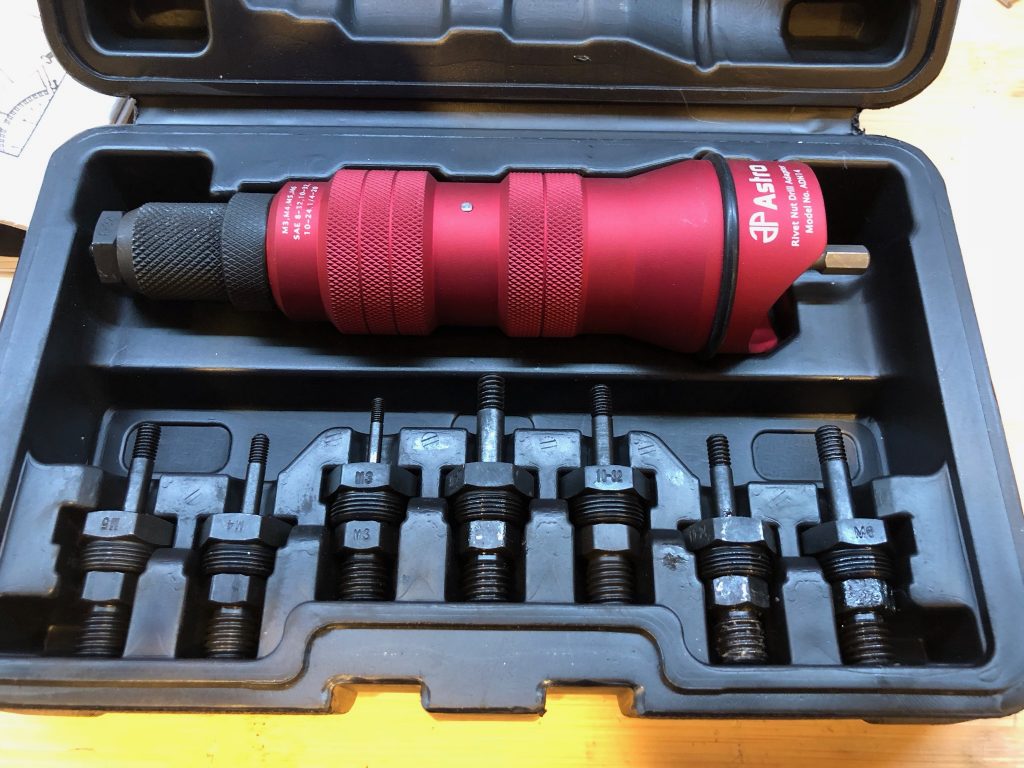
I received a new tool for Christmas from my awesome wife. I have a small hand tool that was fine for setting aluminum rivet nuts, but for the car, I really need to set steel rivet nuts and I knew that it wouldn’t do. This Astro rivet nut drill adapter is highly recommended and has great reviews online.

It’s a really nicely built tool. The body is machined from a solid block of aluminum and it has all chromoly internal components and mandrels for maximum durability. A cordless drill with a clutch is attached to the shaft on the right side and used to set the rivet nut.

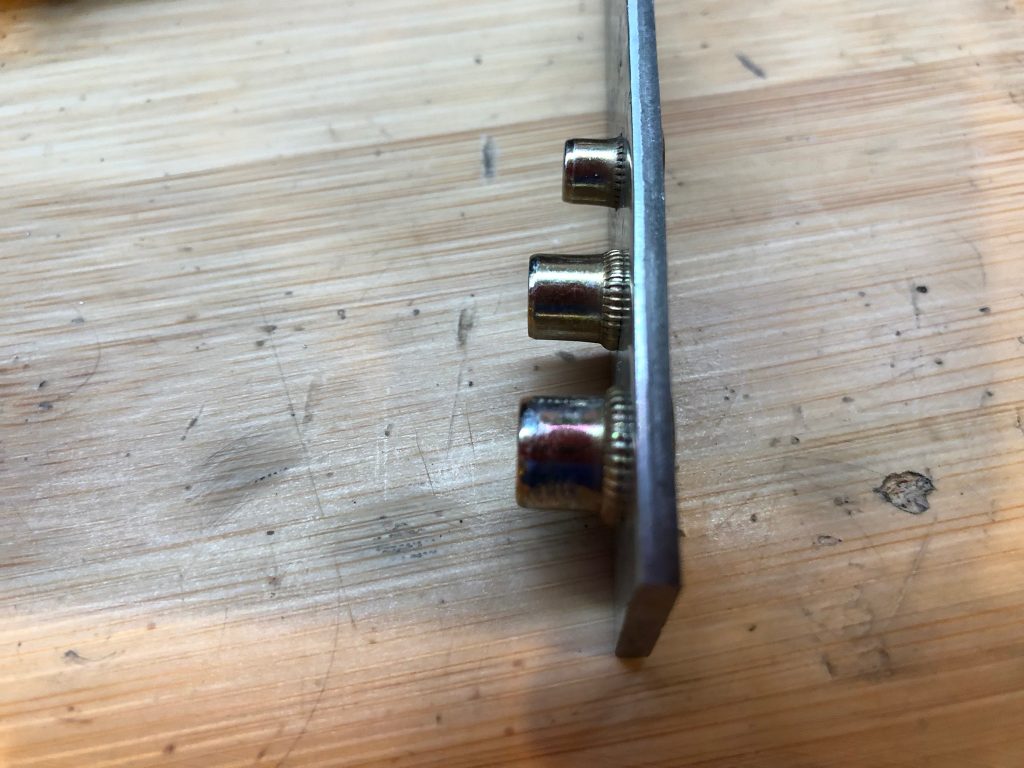
It has mandrels for 8 sizes of SAE and metric rivet nuts, but I’m only planning on using three sizes on the car 8-32, 10-24 and 1/4-20 (arranged from top to bottom). I set some samples in a piece of scrap steel to determine the correct torque setting on the drill. The 8-32 rivet nuts are a little short for this thickness of steel, but I’ll probably mostly use them in thinner metal.

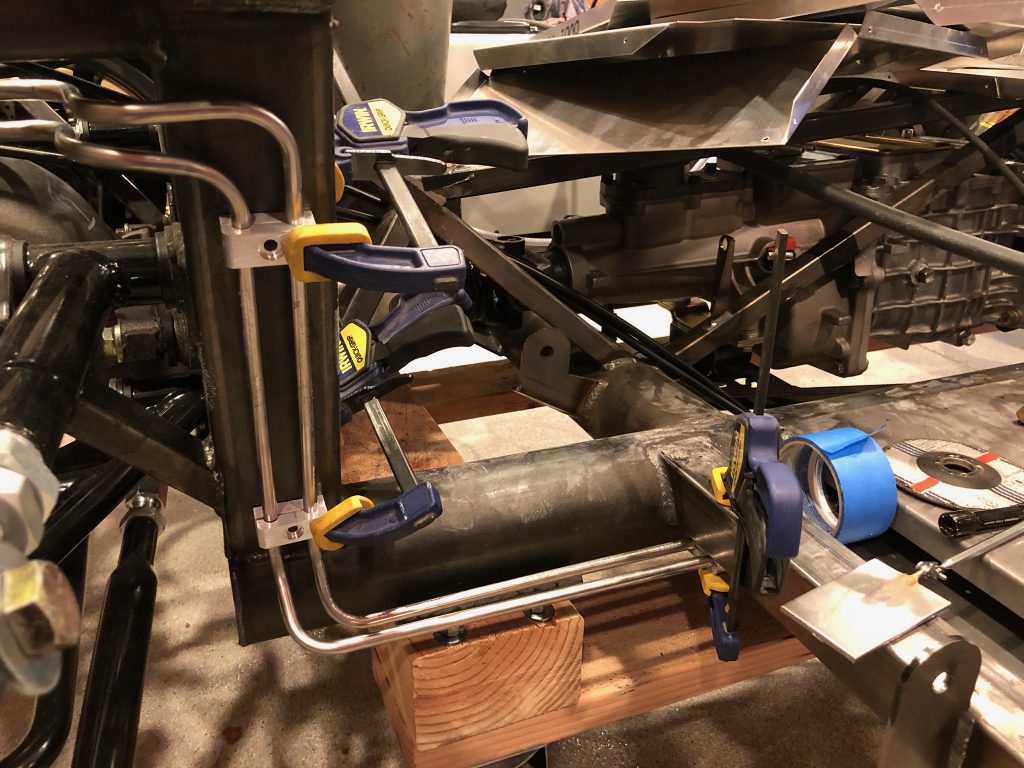
I’m using some billet aluminum clamps from Lodestone BilletWorks to secure the fuel lines to the chassis. I clamped a few on to determine where to drill for the rivet nuts.

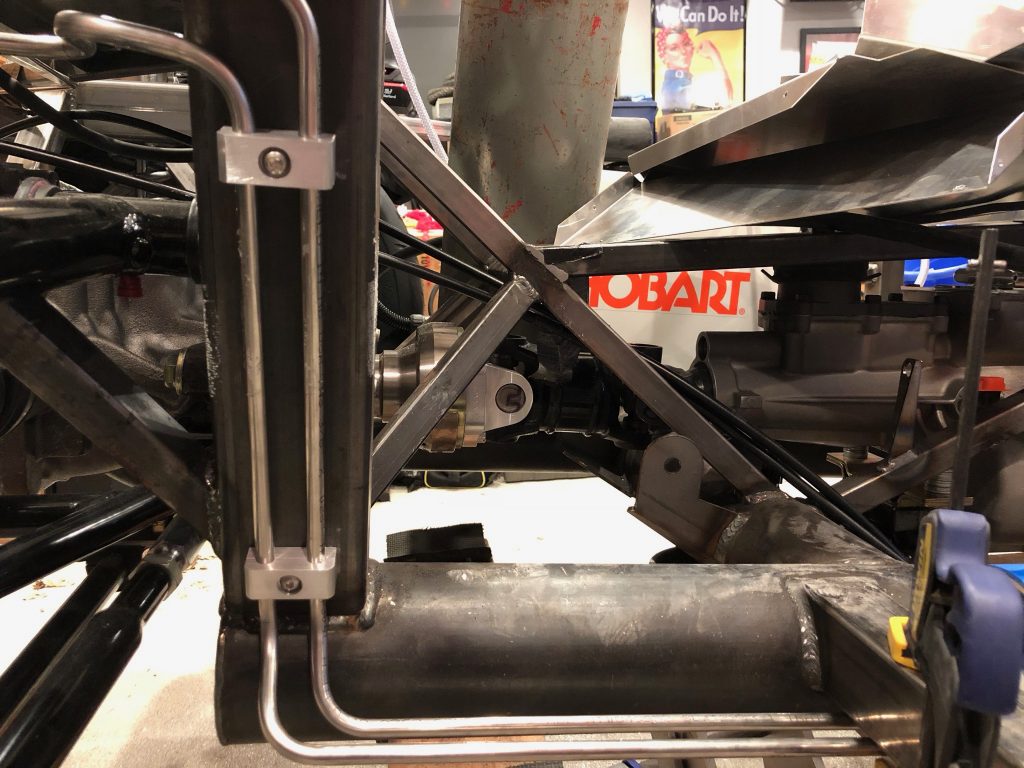
After drilling and setting a couple of rivet nuts, I secured the clamps on the vertical support so that I could determine the final position of the clamps under the passenger seat.

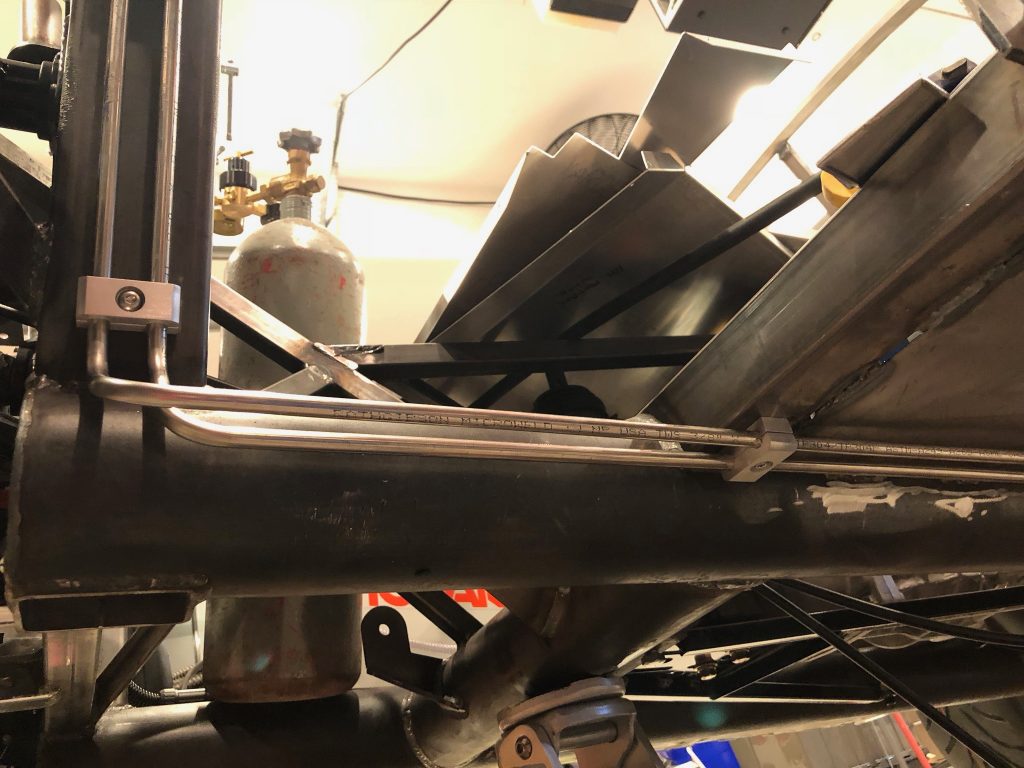
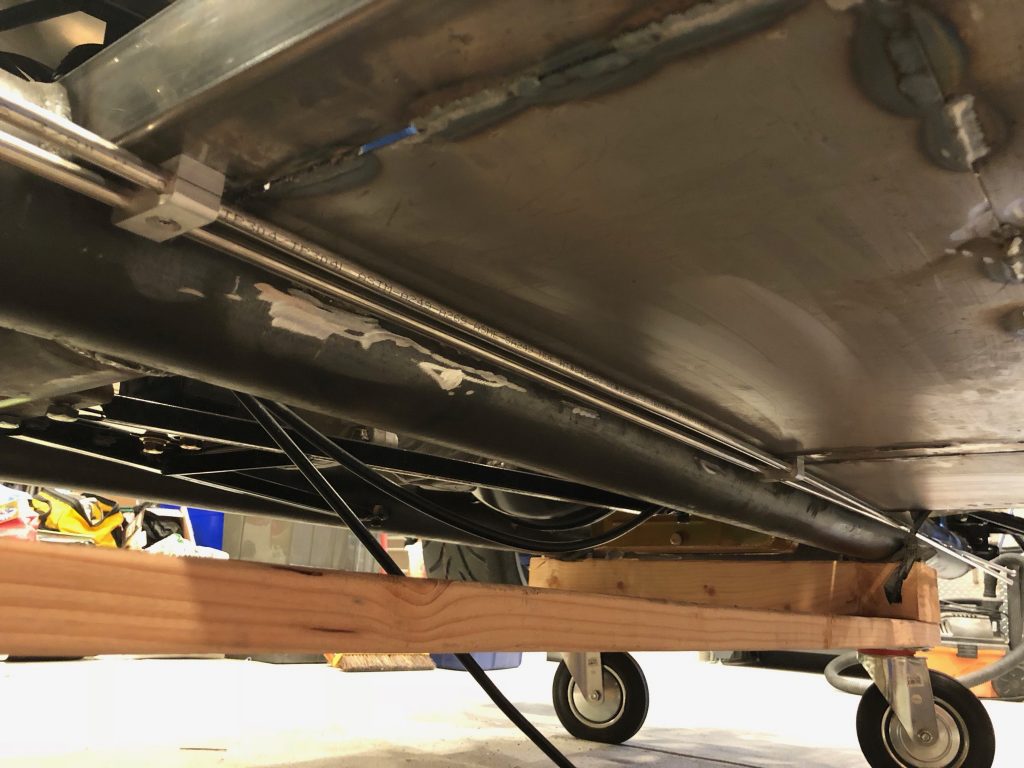
I drilled and installed a rivet nut in the horizontal tubing behind the passenger seat. I used the measurements from this hole to drill the corresponding hole in the horizontal tubing in front of the passenger seat.

I’m not sure yet whether two clamps under the passenger seat will be sufficient or if I’ll need to add an additional clamp or two. The 3/8″ stainless tubing is pretty stiff, but it sounds like other builders space them closer together (and some state regulations require it).

Minimal Progress

There has been little progress on the car over the last few weeks. Work has been busy and I’ve had a bunch of work to do on several of the other cars in our fleet. I also re-published my RV blog which has been busted for a while and we’ve been swamped with prep for the holidays.

All of that work is done now, so I should be able to start working on the car again.

Prepped Engine to Run

We have a Halloween Party at our house every year, and it’s coming up in less than two weeks. I decided it would be fun to be able to fire up the engine at the party because I’m sure many people will be interested in the party. To that end, I’m going to hook everything back up as it was at the dyno shop along with the necessary additional bits to run the engine in the car (cooling system, starter, oil pressure and coolant temperature gauges, tachometer, etc.).

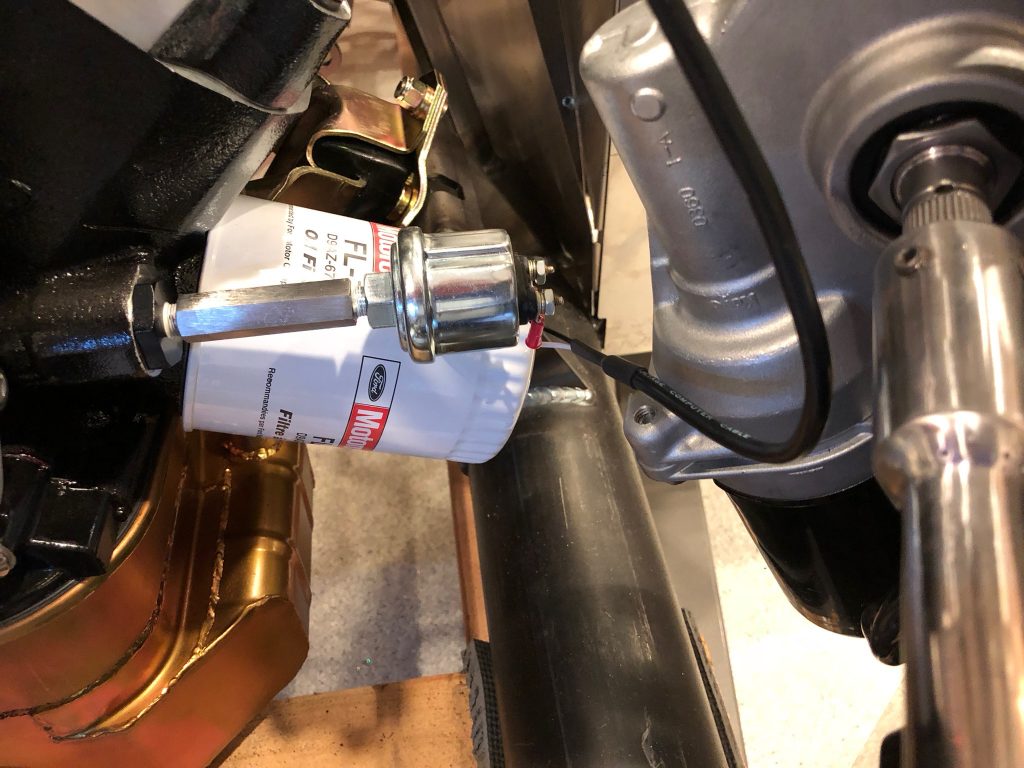
The dyno shop removed my oil pressure sender and hooked up their own hose to this extension. I reinstalled the sender and then hooked up a temporary pair of wires to drive the oil pressure gauge.
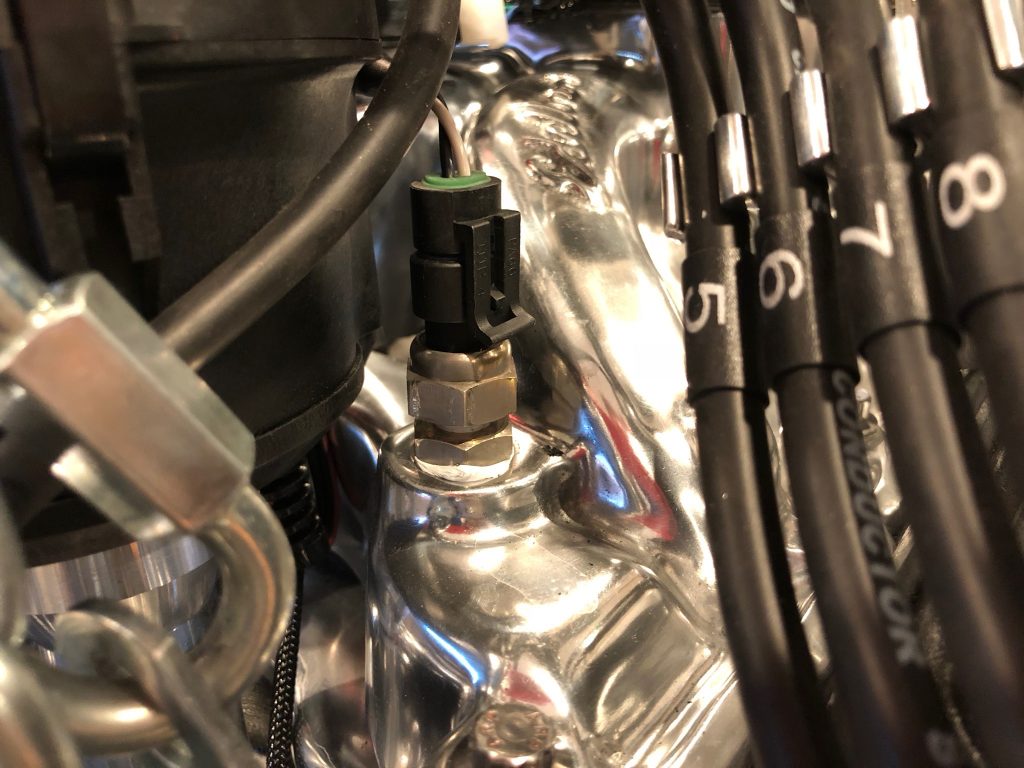
The dyno shop also installed their own coolant temperature sender, so I reinstalled my sender and hooked up the wires.
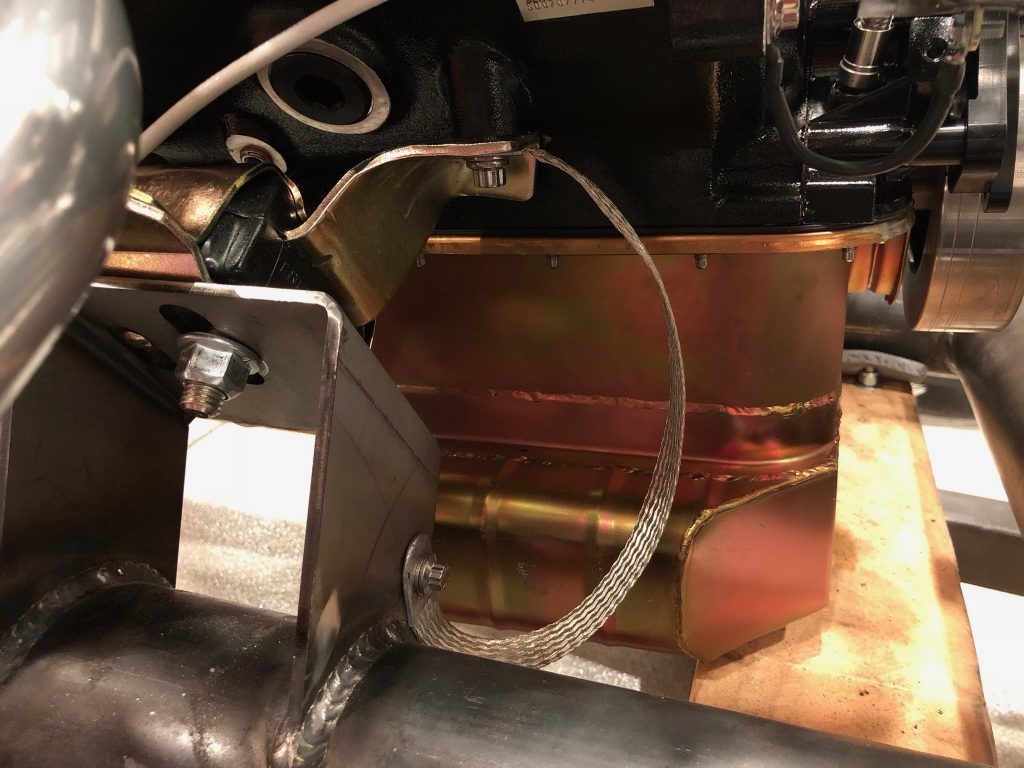
I also hooked up the engine ground strap from the right front engine mount bolts to the hole already provided in the mounting bracket.
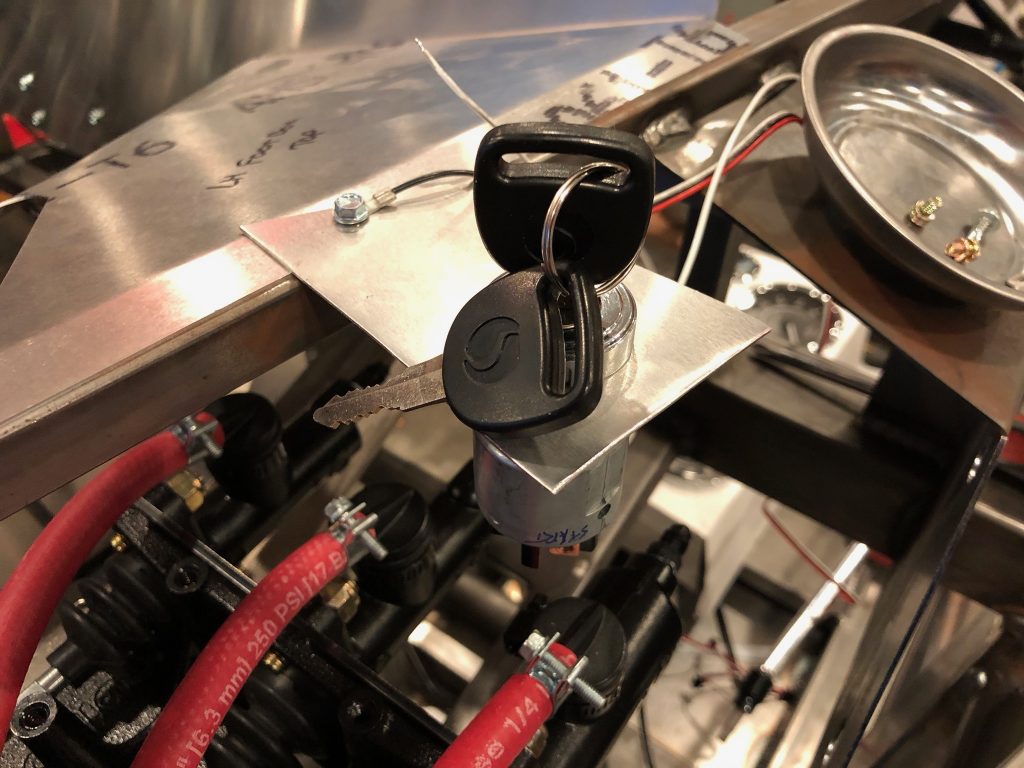
To be able to start the car, I used some scrap aluminum to temporarily hold the ignition switch. I still need to wire this, but there are only a few connections to make.
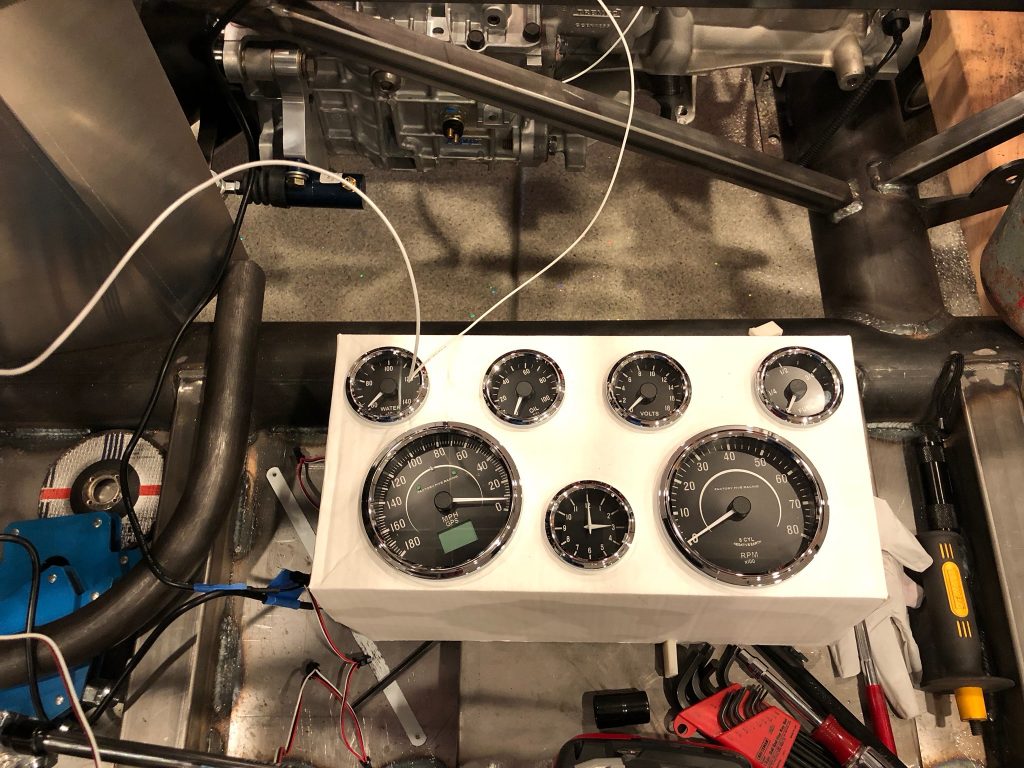
I don’t want to start the car unless I can monitor oil pressure at a minimum, but it’s minimal extra work to also hook up the coolant temperature gauge and tachometer. I had considered fabricating a larger aluminum plate to temporarily mount the gauges, but the cardboard box they came in will work just fine.
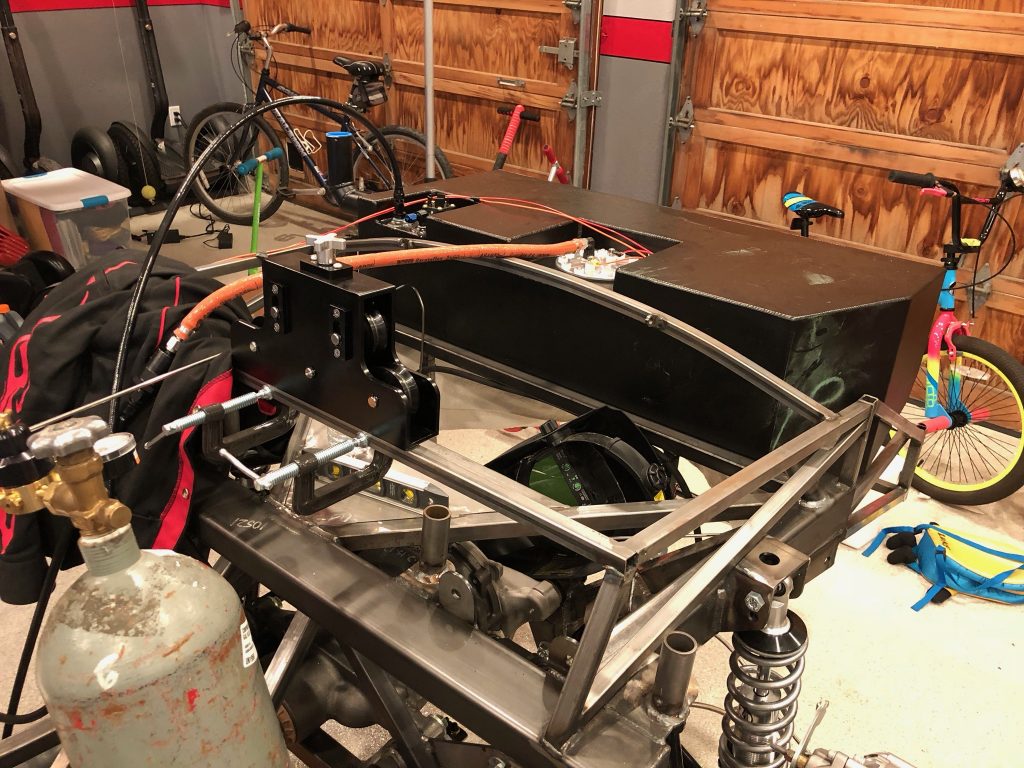
I also set the fuel tank on top of the rear part of the chassis and hooked up the fuel lines. This has 4-5 gallons of fuel in it right now, so it’s fairly heavy. I’ll probably end up burning off a good chunk of this doing some demo and tuning runs. I need to get this lighter before I start messing with mounting this in the rear of the chassis.
Loaded Engine for Trip to Dyno Shop

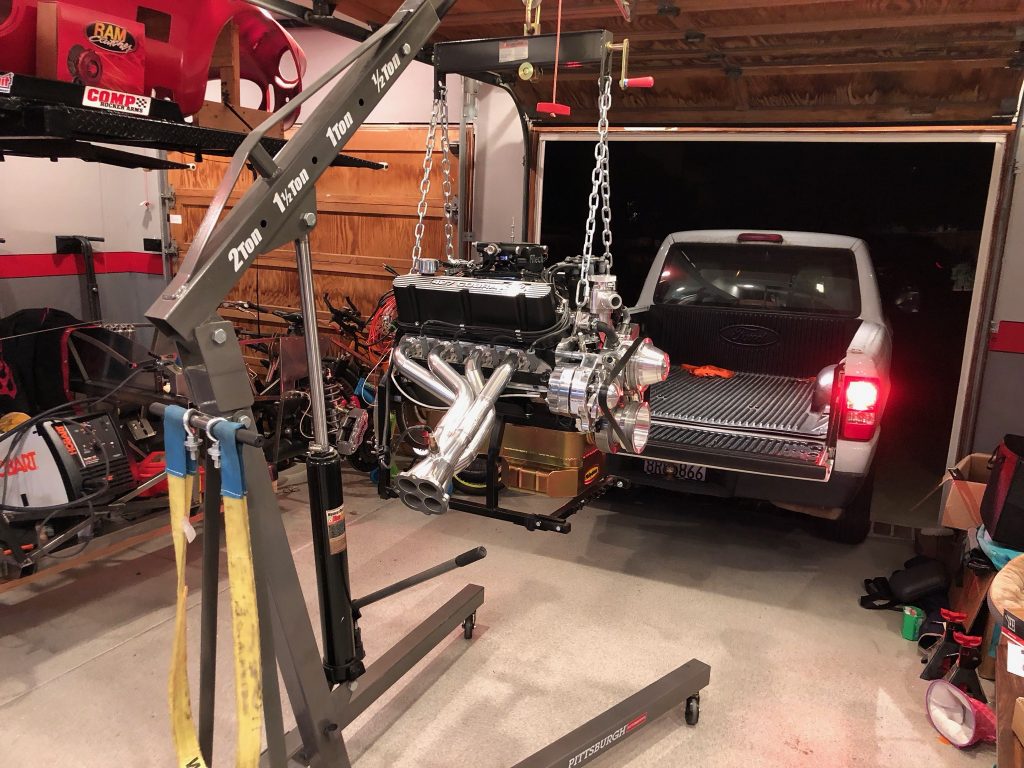
The engine is ready for the dyno shop. A buddy of mine loaned me his pickup truck which is just large enough for the engine and fuel tank. I hooked up the load leveler and raised the engine as high as the shop crane would go. This turned out to be just high enough to back the truck under the engine. My wife backed up the truck while I guided the engine into the bed.
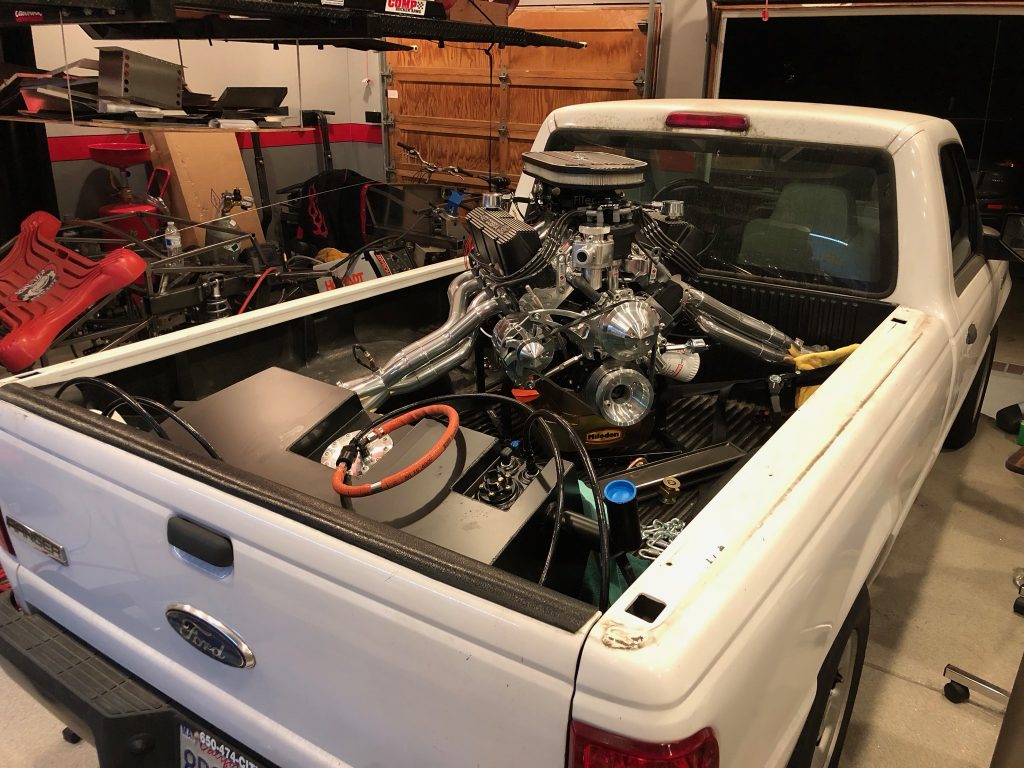
I strapped the engine in securely and loaded the rest of the items into the truck for the ride to the dyno shop tomorrow morning.