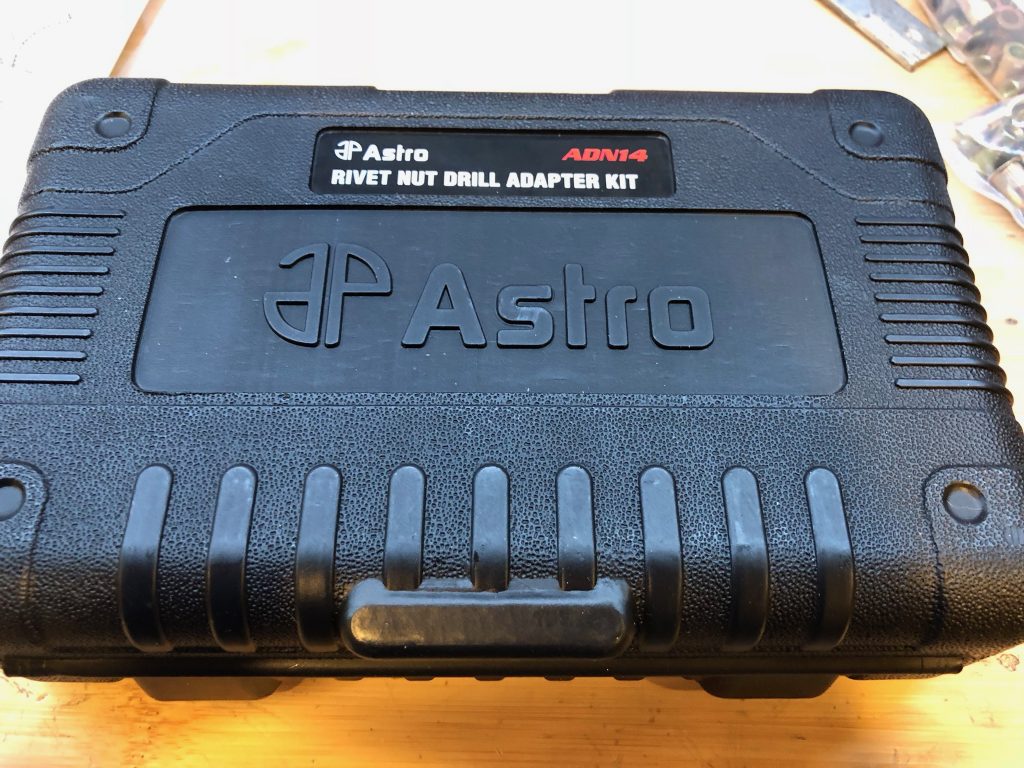
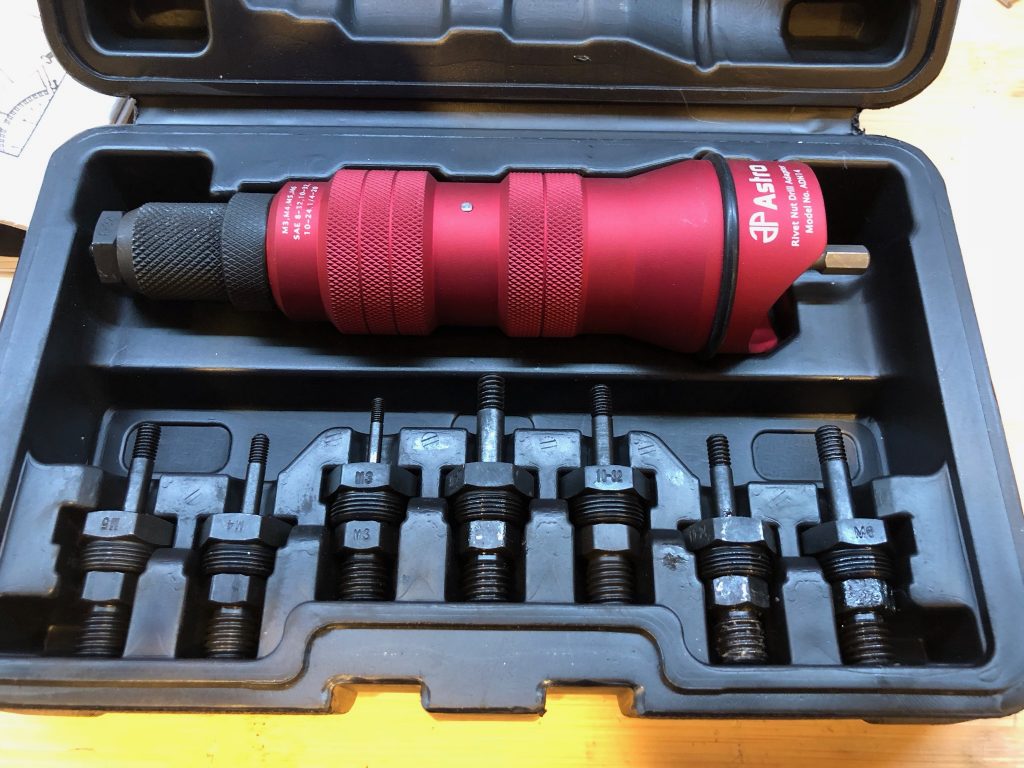
I received a new tool for Christmas from my awesome wife. I have a small hand tool that was fine for setting aluminum rivet nuts, but for the car, I really need to set steel rivet nuts and I knew that it wouldn’t do. This Astro rivet nut drill adapter is highly recommended and has great reviews online.
It’s a really nicely built tool. The body is machined from a solid block of aluminum and it has all chromoly internal components and mandrels for maximum durability. A cordless drill with a clutch is attached to the shaft on the right side and used to set the rivet nut.
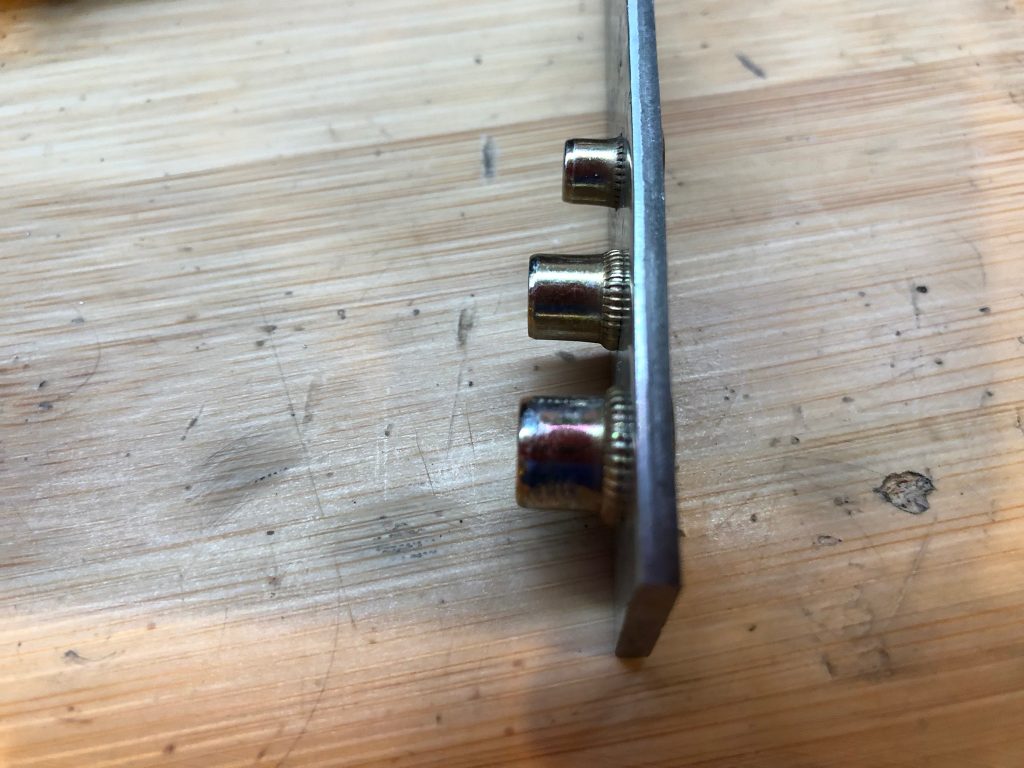
It has mandrels for 8 sizes of SAE and metric rivet nuts, but I’m only planning on using three sizes on the car 8-32, 10-24 and 1/4-20 (arranged from top to bottom). I set some samples in a piece of scrap steel to determine the correct torque setting on the drill. The 8-32 rivet nuts are a little short for this thickness of steel, but I’ll probably mostly use them in thinner metal.
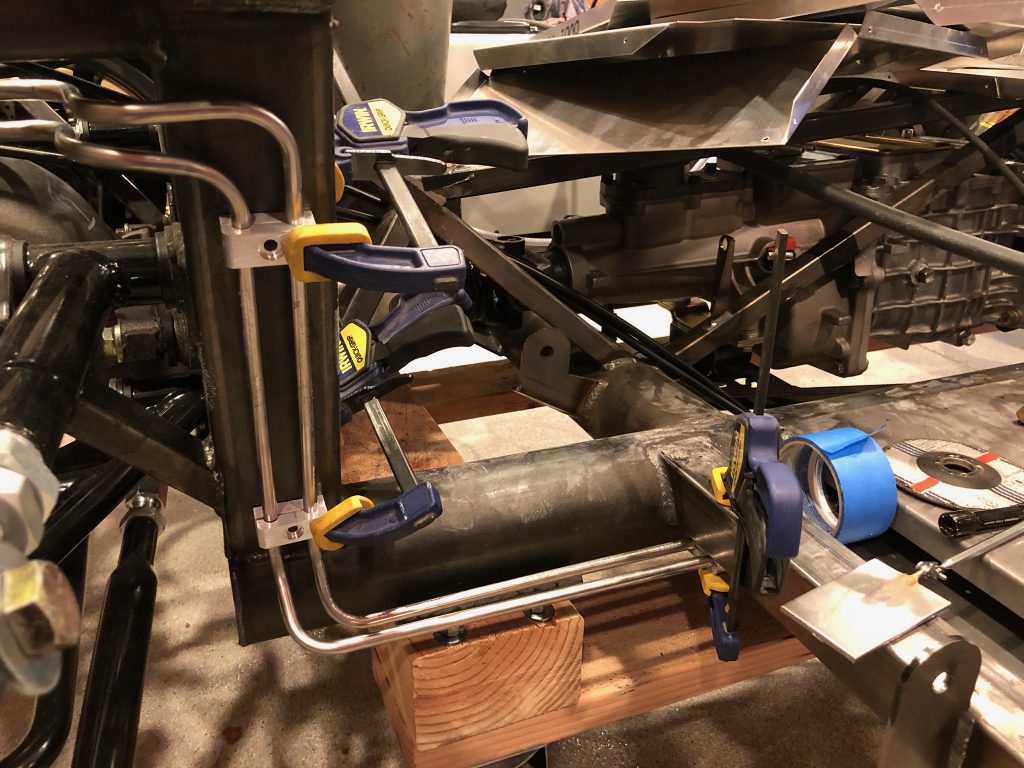
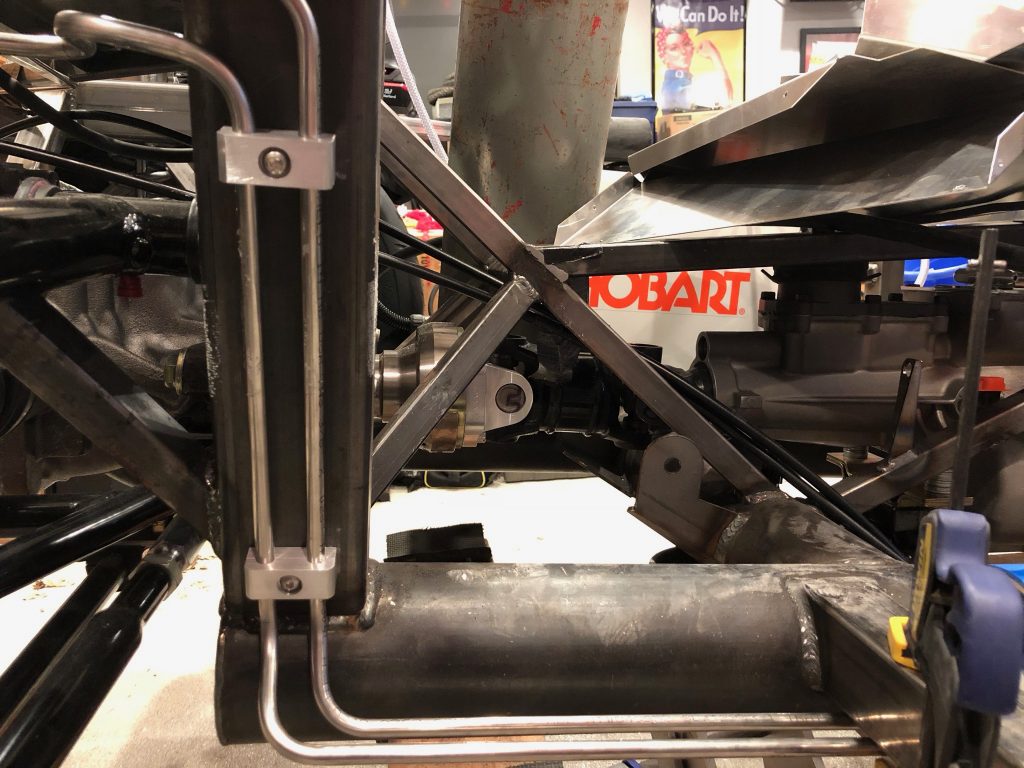
I’m using some billet aluminum clamps from Lodestone BilletWorks to secure the fuel lines to the chassis. I clamped a few on to determine where to drill for the rivet nuts.
After drilling and setting a couple of rivet nuts, I secured the clamps on the vertical support so that I could determine the final position of the clamps under the passenger seat.
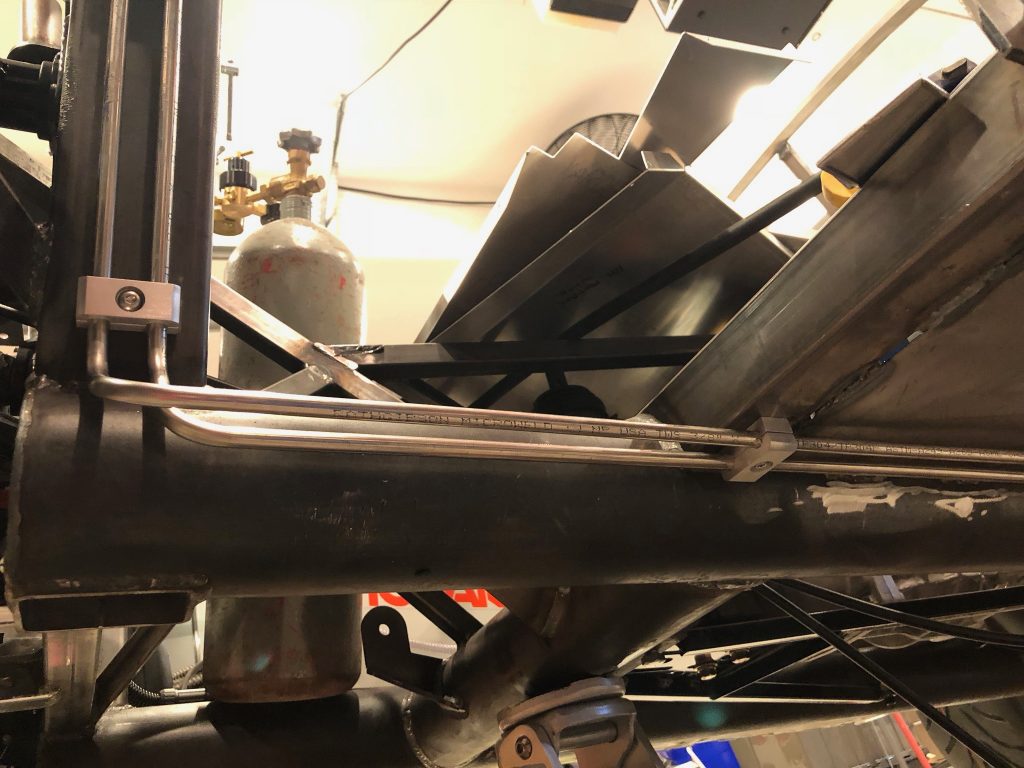
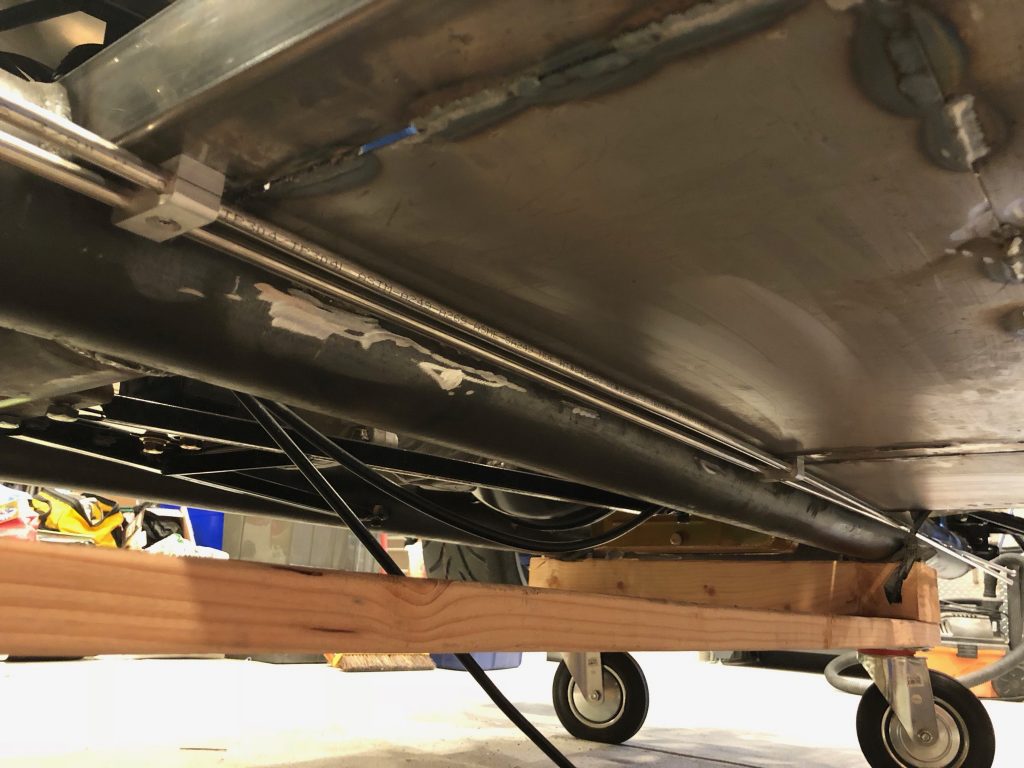
I drilled and installed a rivet nut in the horizontal tubing behind the passenger seat. I used the measurements from this hole to drill the corresponding hole in the horizontal tubing in front of the passenger seat.
I’m not sure yet whether two clamps under the passenger seat will be sufficient or if I’ll need to add an additional clamp or two. The 3/8″ stainless tubing is pretty stiff, but it sounds like other builders space them closer together (and some state regulations require it).

