Removed Firewall

I’m planning on installing a mechanical throttle linkage instead of using a throttle cable. There is a kit available, but plenty of people have fabricated their own. They typically install it to the firewall above the 2″x2″ square tubing, but that requires installing some firewall reinforcement that ties that area to the top of the square tubing. Unfortunately, I’ve already installed some electrical components in this area, so I decided to install it directly onto the 2″x2″ square tubing. To do that, I needed to get the firewall out of the way.

The firewall-to-chassis attachment is the only place on the chassis that I haven’t installed rivnuts, so I’ll do that as well while the firewall is out.

Added Nutplates to Passenger Footbox

I installed nutplates everywhere that there are aluminum to aluminum connections between the various parts of the passenger footbox. Using nutplates lets the pieces of aluminum sit tight against each other instead of being held slightly apart as would happen if I installed rivnuts.

Installed Bottom Angles on Passenger Footbox Walls

I’ve been sick on and off the past couple of weeks and work has been keeping me rather busy, so I haven’t had much time to work on the car recently. I really wanted to wrap up the passenger footbox though since I can’t reinstall the fuel lines until that’s done.

Since I had to cut the flanges off of the bottom of the inside and front walls of the passenger footbox when I installed the steel floor pans, I needed to fabricate new flanges. I could have bent some 0.040″ aluminum sheet, but I had some 0.063″ aluminum angle laying around, so I decided to use that. I countersunk and flush-riveted the angles to the skins and installed nutplates to the lower flanges. This use the same 8-32 torx-drive, button-head screws we’re using everywhere else for the aluminum panel attachment.

Replaced #8 Screws and Zip-Tie Bases

I ordered a pack of 50 of these stainless steel zip-tie bases. I had been using some white plastic mounts, but they’re not particularly strong and will likely become brittle over time. Since we’re not quite as weight-conscious with the car as we were with the plane, I don’t mind the few extra ounces these will add for a much more durable mount.

I also swapped all of the screws that hold on the chassis aluminum with some torx-drive stainless screws. I’m really glad I removed all of the hex-drive stainless screws because I stripped about a half-dozen more just in the process of removing them (out of about 50 screws). The torx-drive screws are virtually impossible to strip.

Installing Chassis Panels

With the chassis rivnut basically complete, I started installing the chassis panels that don’t get in the way of anything else. The inner and outer trunk side panels won’t interfere with any future work, so I went ahead and installed these. I’m attaching the panels with button-head 8-32 screws which have a fairly low profile like the pop rivets would have had.

I ordered a bunch of stainless steel socket head screws, but they use a fairly small 3/32″ drive which is fairly easy to strip. I stripped three of them just on these four panels. I’m probably going to replace all of these small 8-32 button head screws with torx head screws which I use extensively on my RV-7. They’re virtually impossible to strip.

Finished Existing Chassis Rivnuts

I went around the car and wrapped up all of the chassis rivnuts that were too close to other structure for me to use my Astro Pneumatic Rivet Nut tool. All of the rivets on the outer seat floor (like the one on the lower left here) were too close to the side structure.

The ones at the outer edge of the trunk were up against an adjacent piece of tubing.

There were also a couple on the upper trunk floor that were too near the outer edge and couldn’t be reached with the other tool. The tool I used to set all of these is a wedge-type hand tool. It’s much more time consuming, but I was able to set about 40 in about an hour and a half. Just like the Astro tool, it’s also possible to break if you apply too much torque, but it just uses screws so they’re inexpensive to replace.

More Chassis Rivnuts

Astro Pneumatic was nice enough to send me replacement mandrels even though they consider them consumables. I went ahead and ordered a couple of extras since I knew I had hundreds more rivnuts to install. I managed to make it through virtually every remaining rivnut on the chassis. There are only a handful left that I can’t reach with the Astro tool.

I broke one of the replacement mandrels by over-torquing the tool slightly. After that, I only used the tool with a 1/4″ drive socket wrench instead of a cordless drill. By doing that, I could pretty easily stop before the torque got too high. After that, I installed 200+ rivnuts without breaking a mandrel (more than the previous two mandrels combined).

Chassis Rivnuts & Front End Wiring

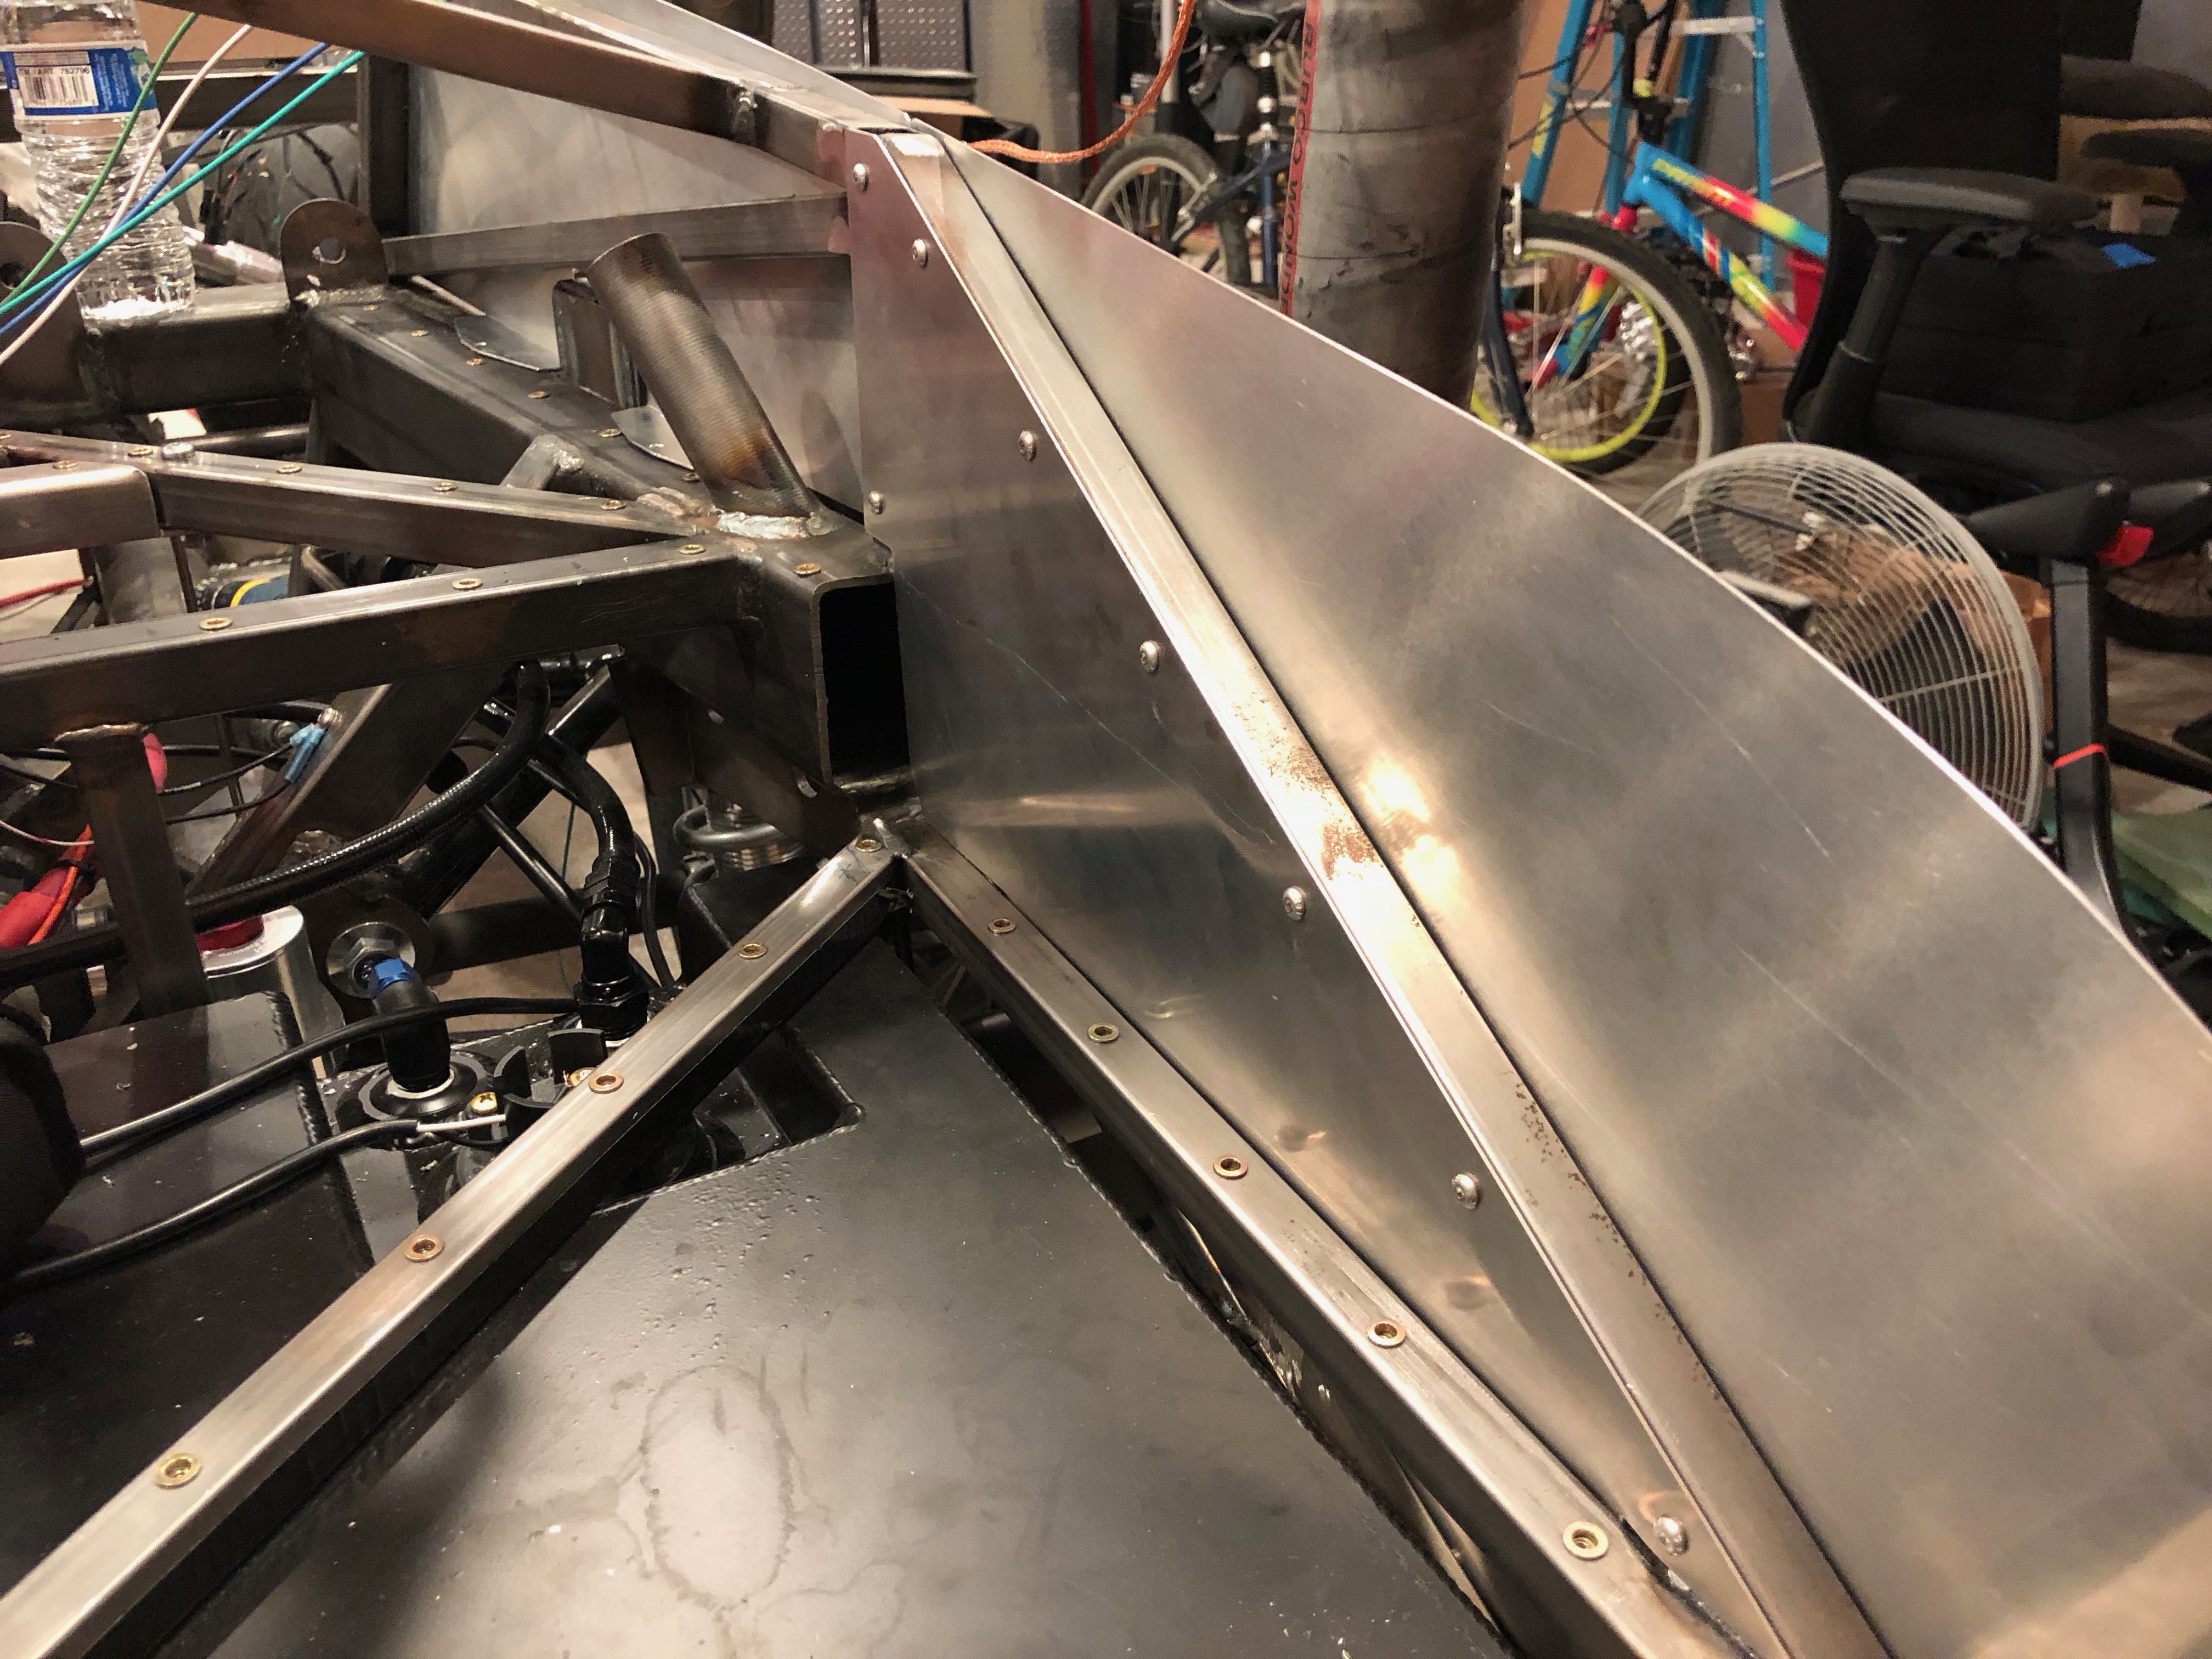
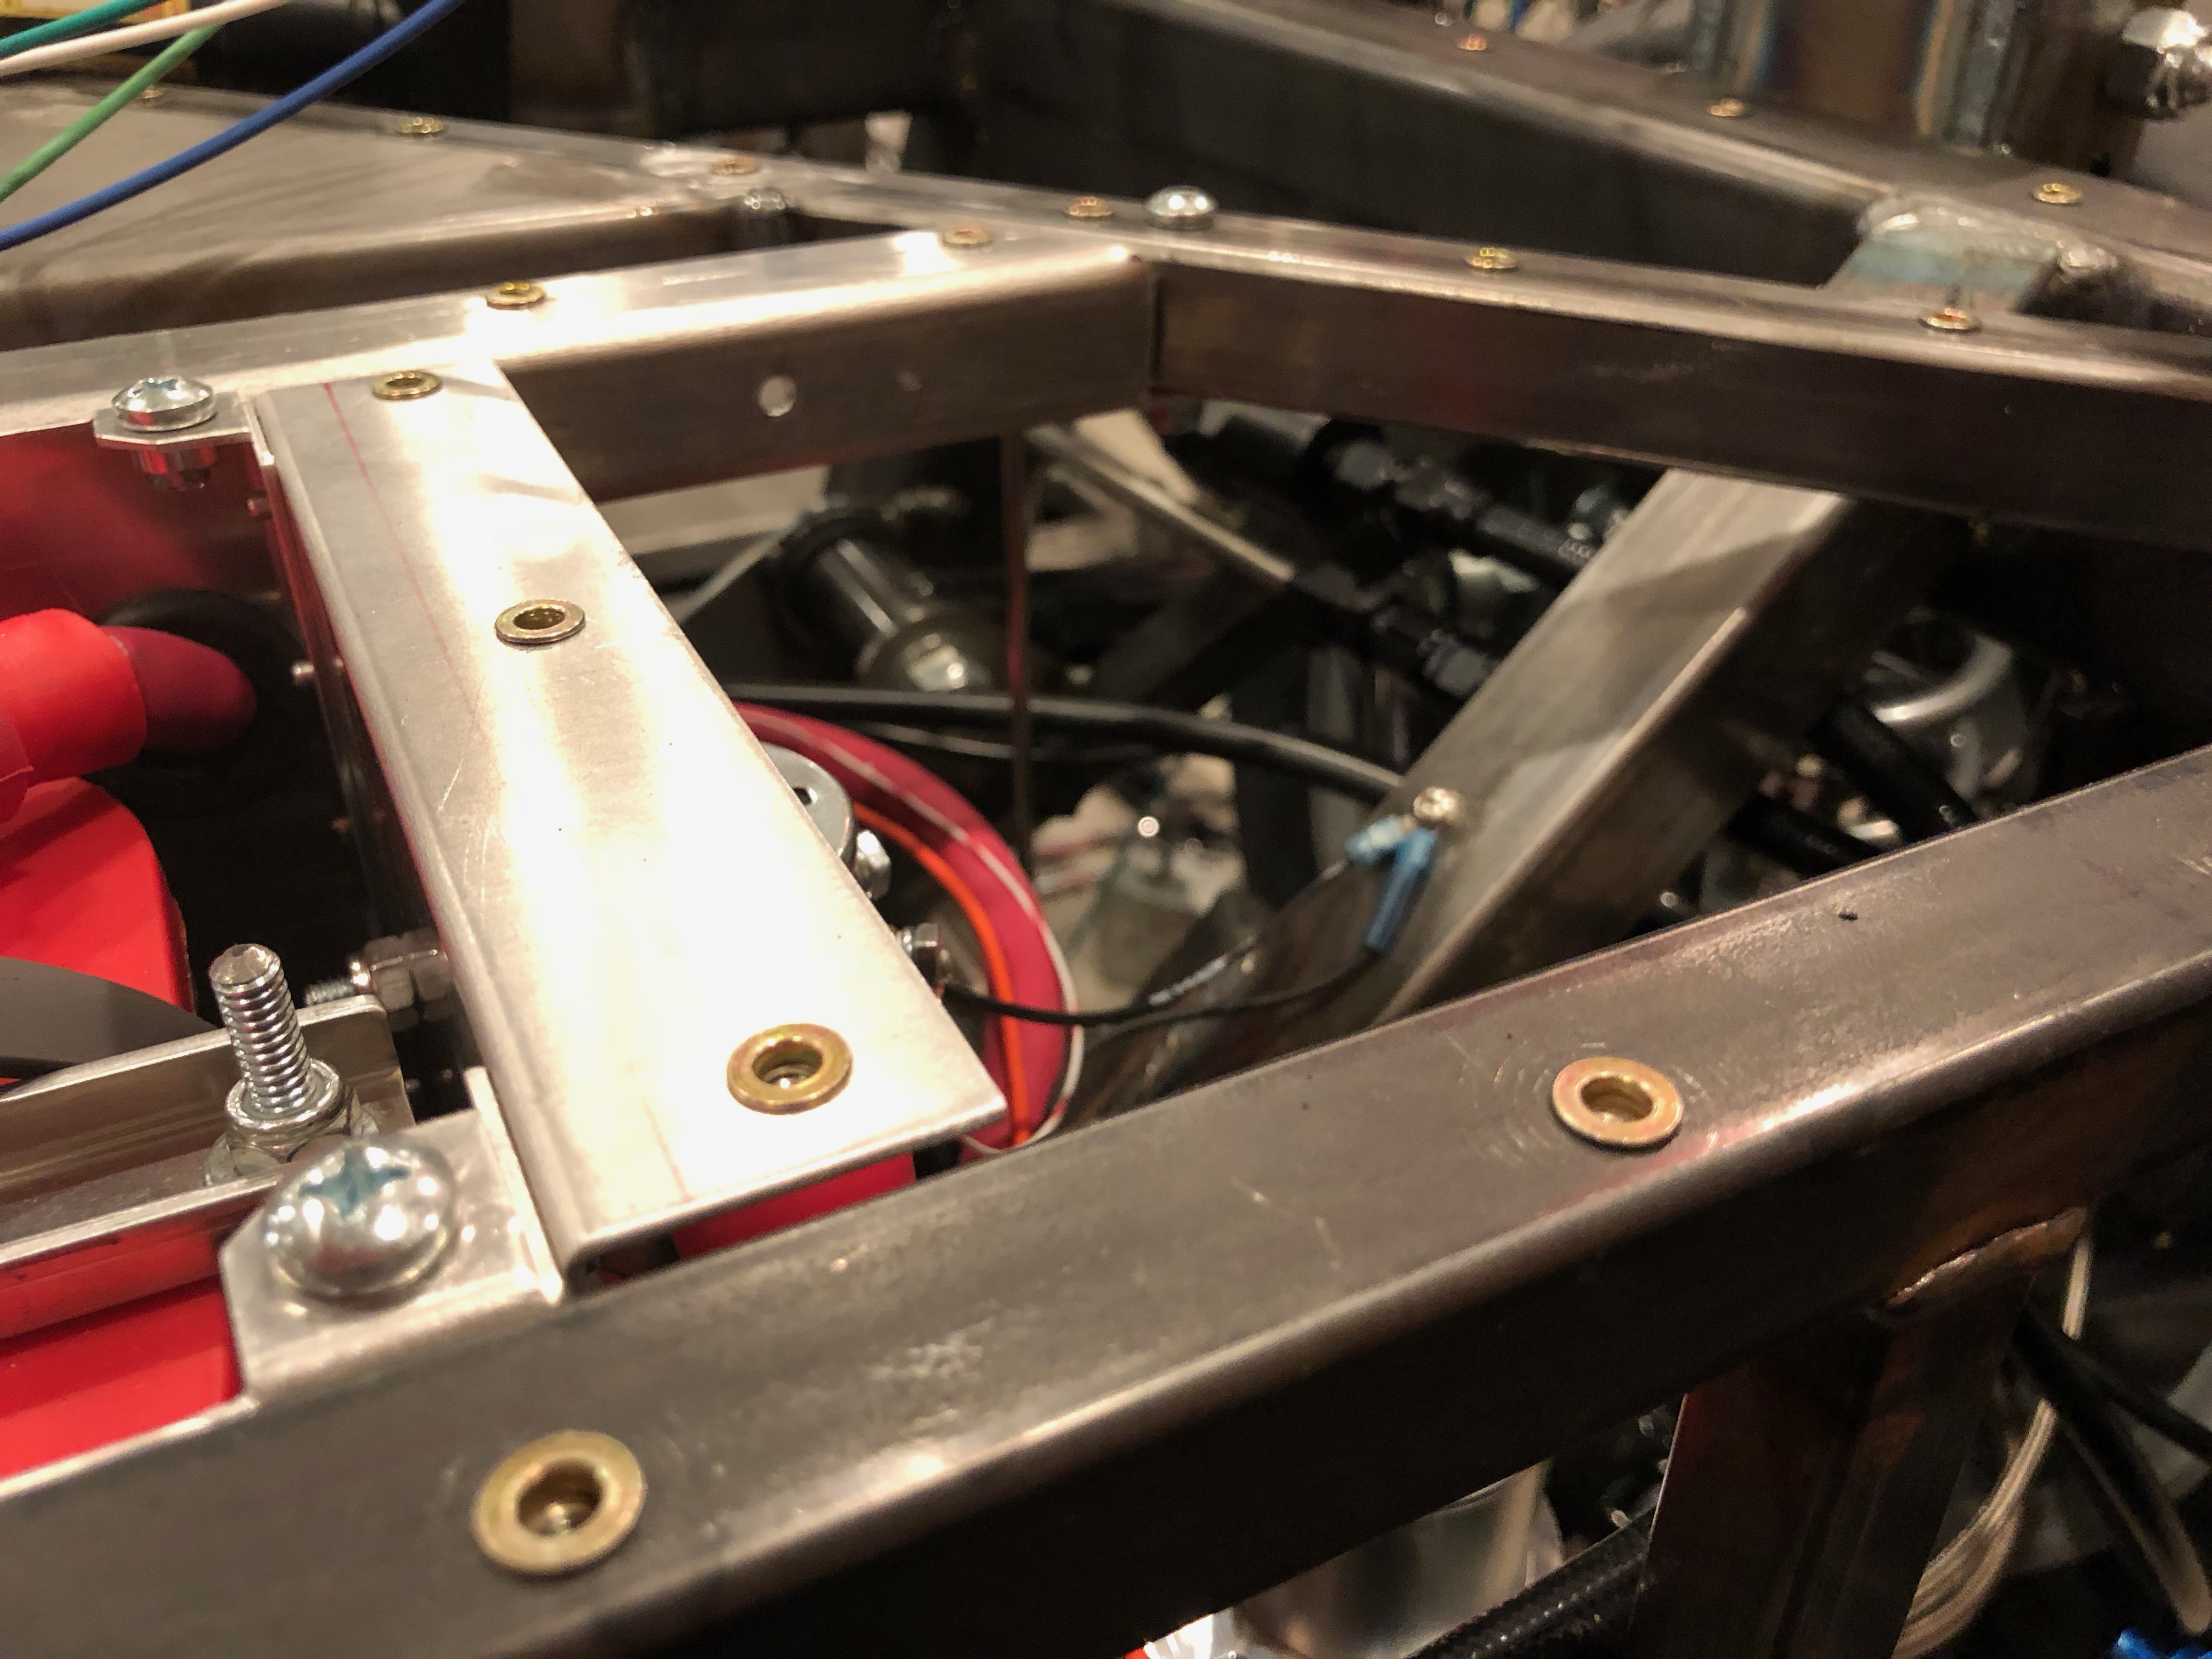
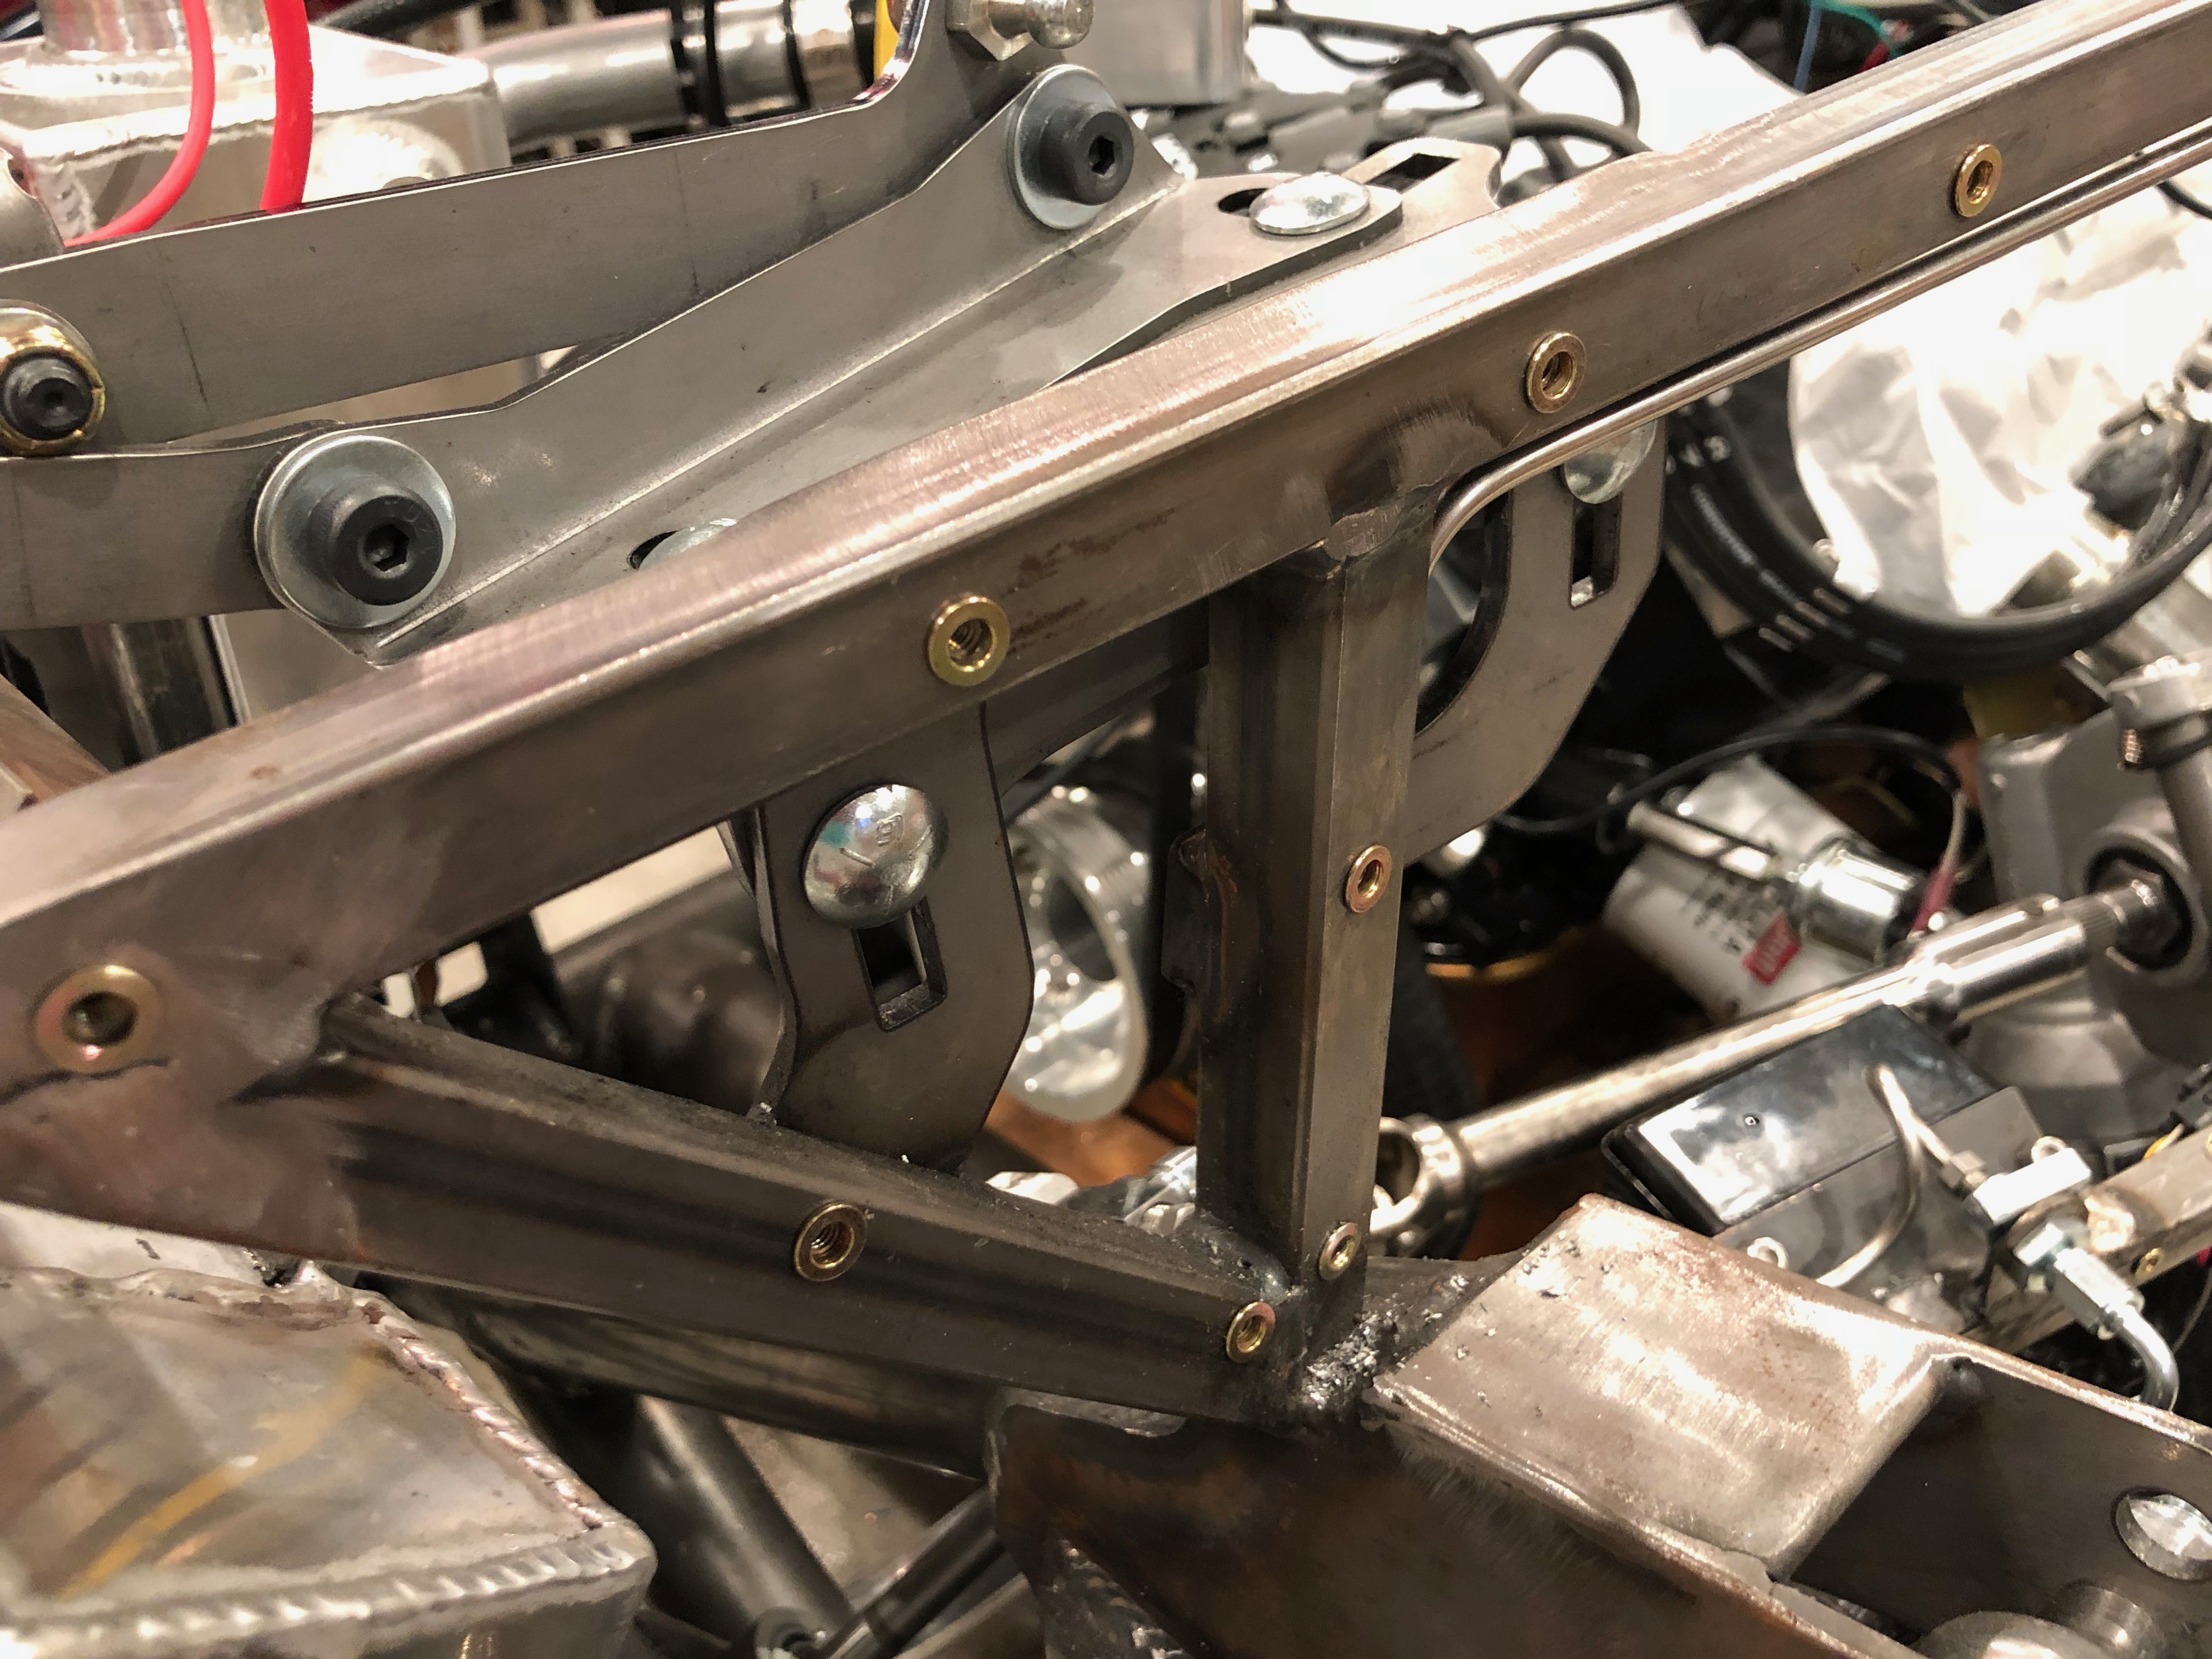
I knocked out a bunch more of the chassis rivnuts that will secure the aluminum panels. Unfortunately, the 8-32 mandrel broke after a couple hundred, so I had to stop. Astro Pneumatic has a 1 year warranty and claims they will replace any component that fails under normal use, so we’ll see if they cover this. In the mean time, I have plenty of other things to work on.

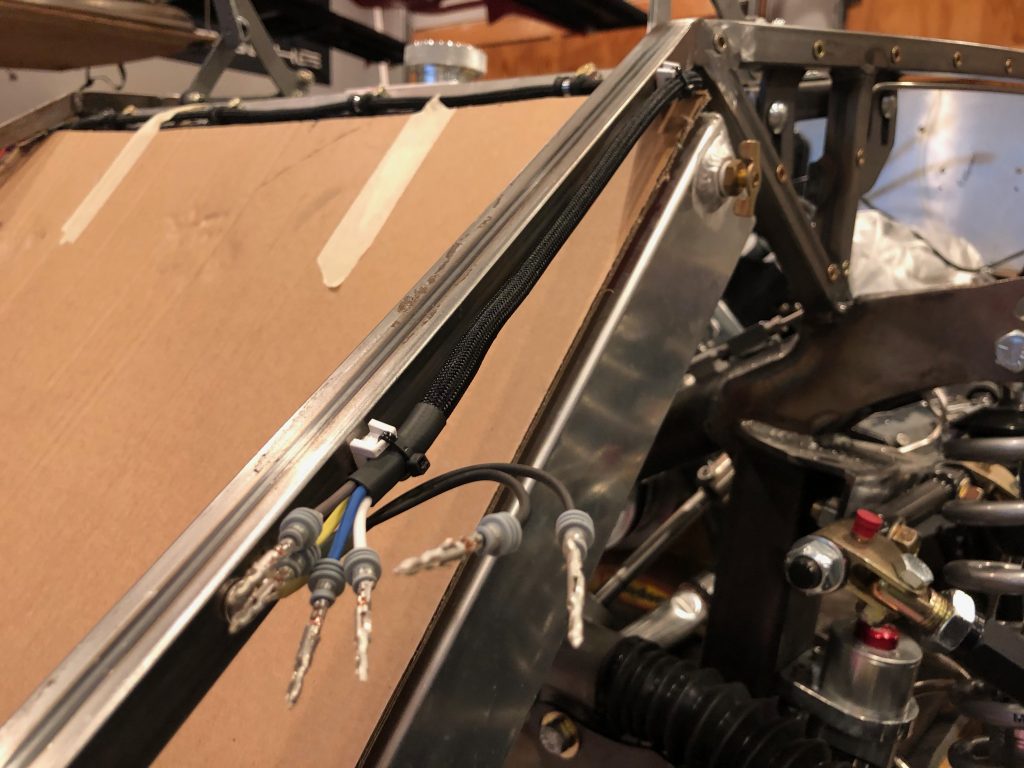
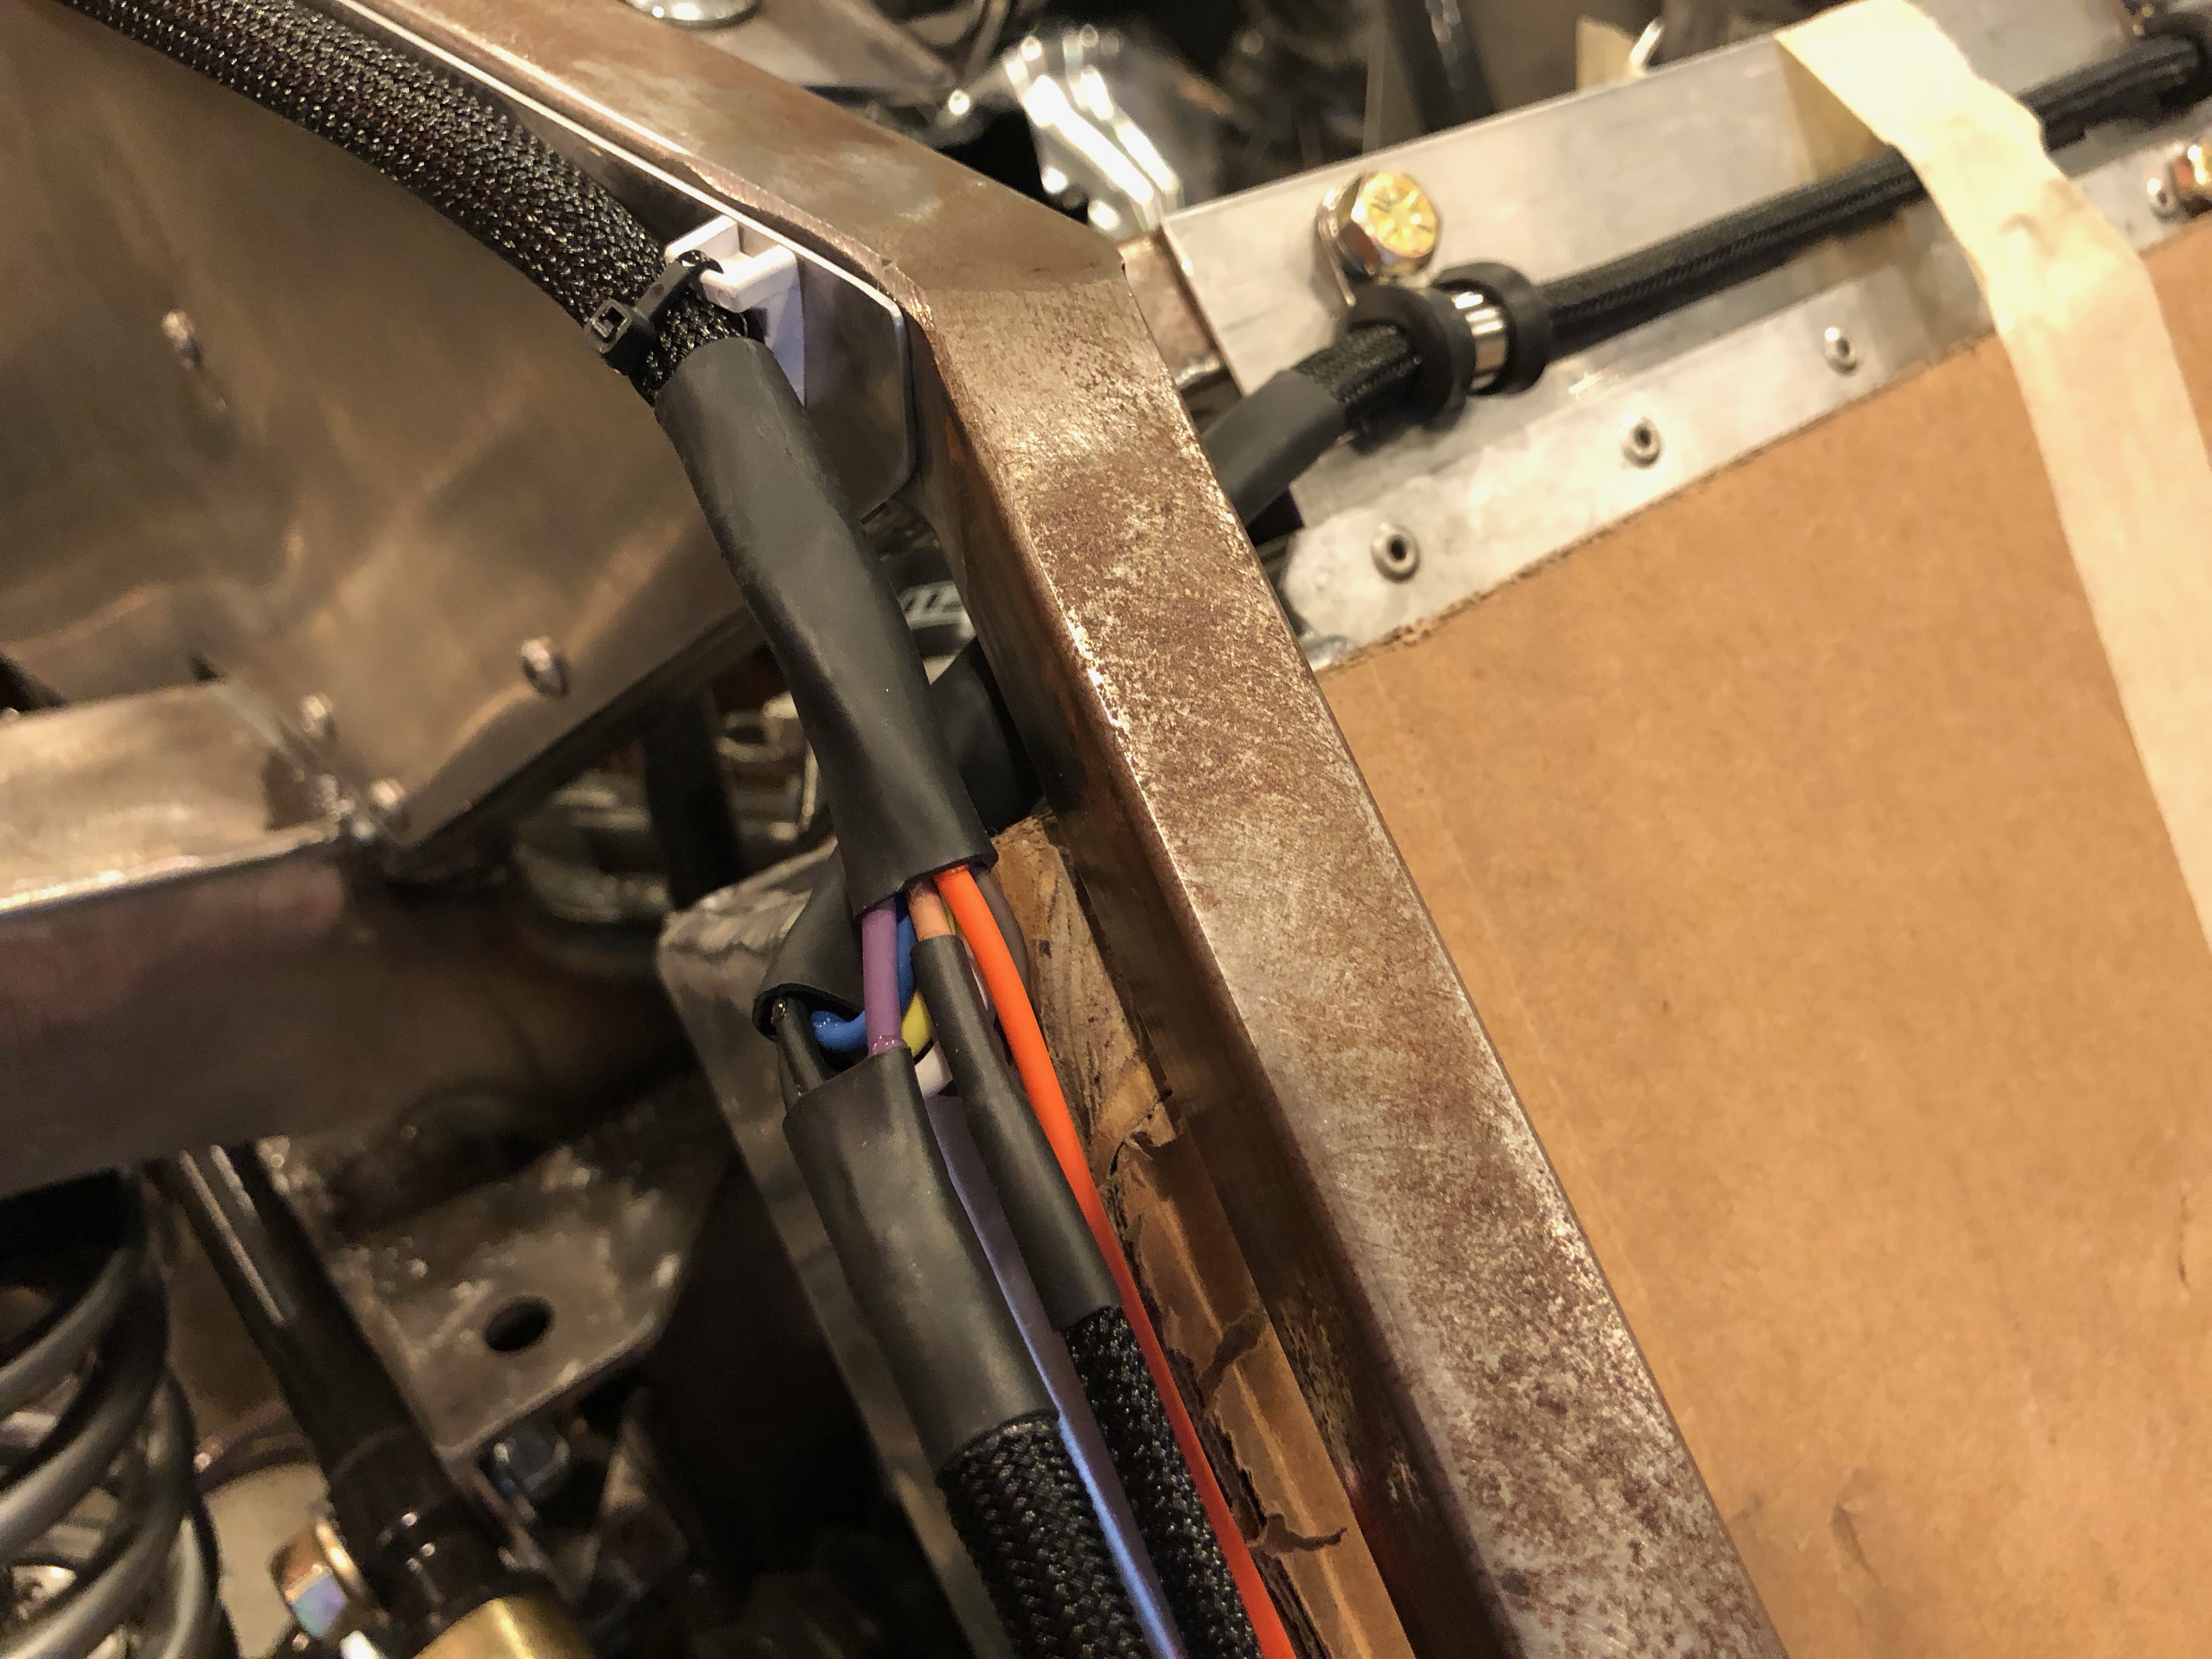
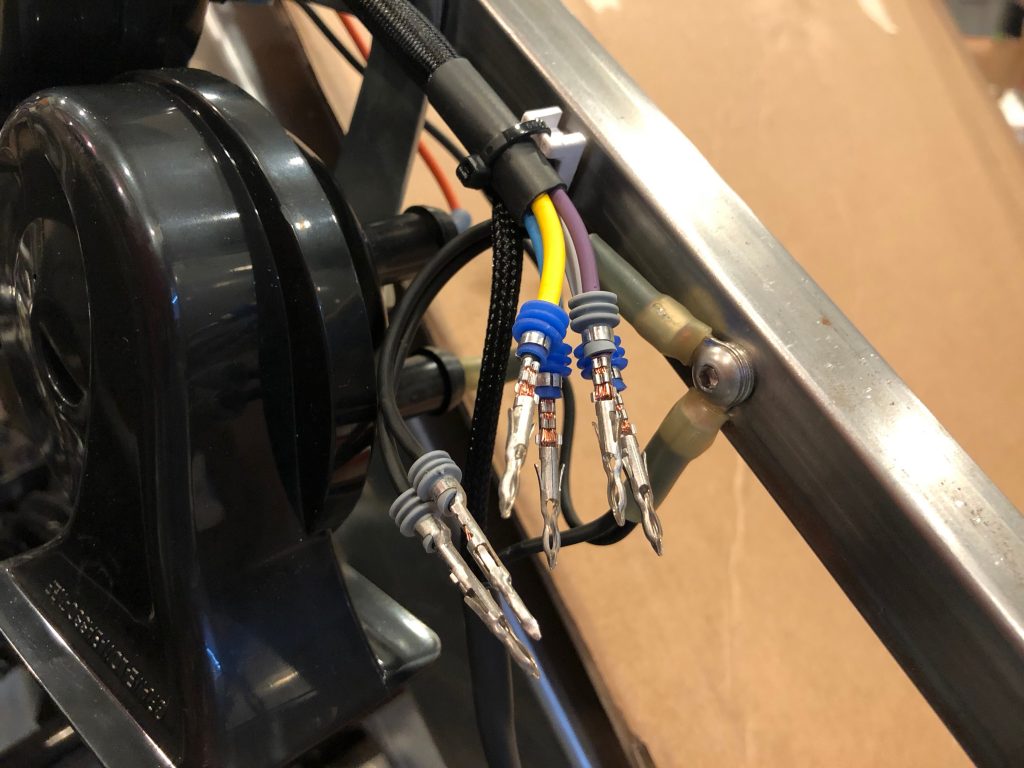
Three of the wires in the front chassis wiring harness (parking lights, low beams and high beams) need to be split and run to both the front left corner and front right corner. I stripped the insulation and used a few solder sleeves to splice into the wires. The bundle for the front left corner (which also includes the left turn signal) cuts under the chassis tubing and runs across the top edge of the radiator, secured by some adel clamps.

I ran out of three-conductor Weather Pack connectors, so I just terminated these with the appropriate plugs and seals. There will be two connectors here: one connector for the headlights with a ground wire, low and high beam wires, and another connector for the indicator light with a ground wire, parking light, and right turn signal.

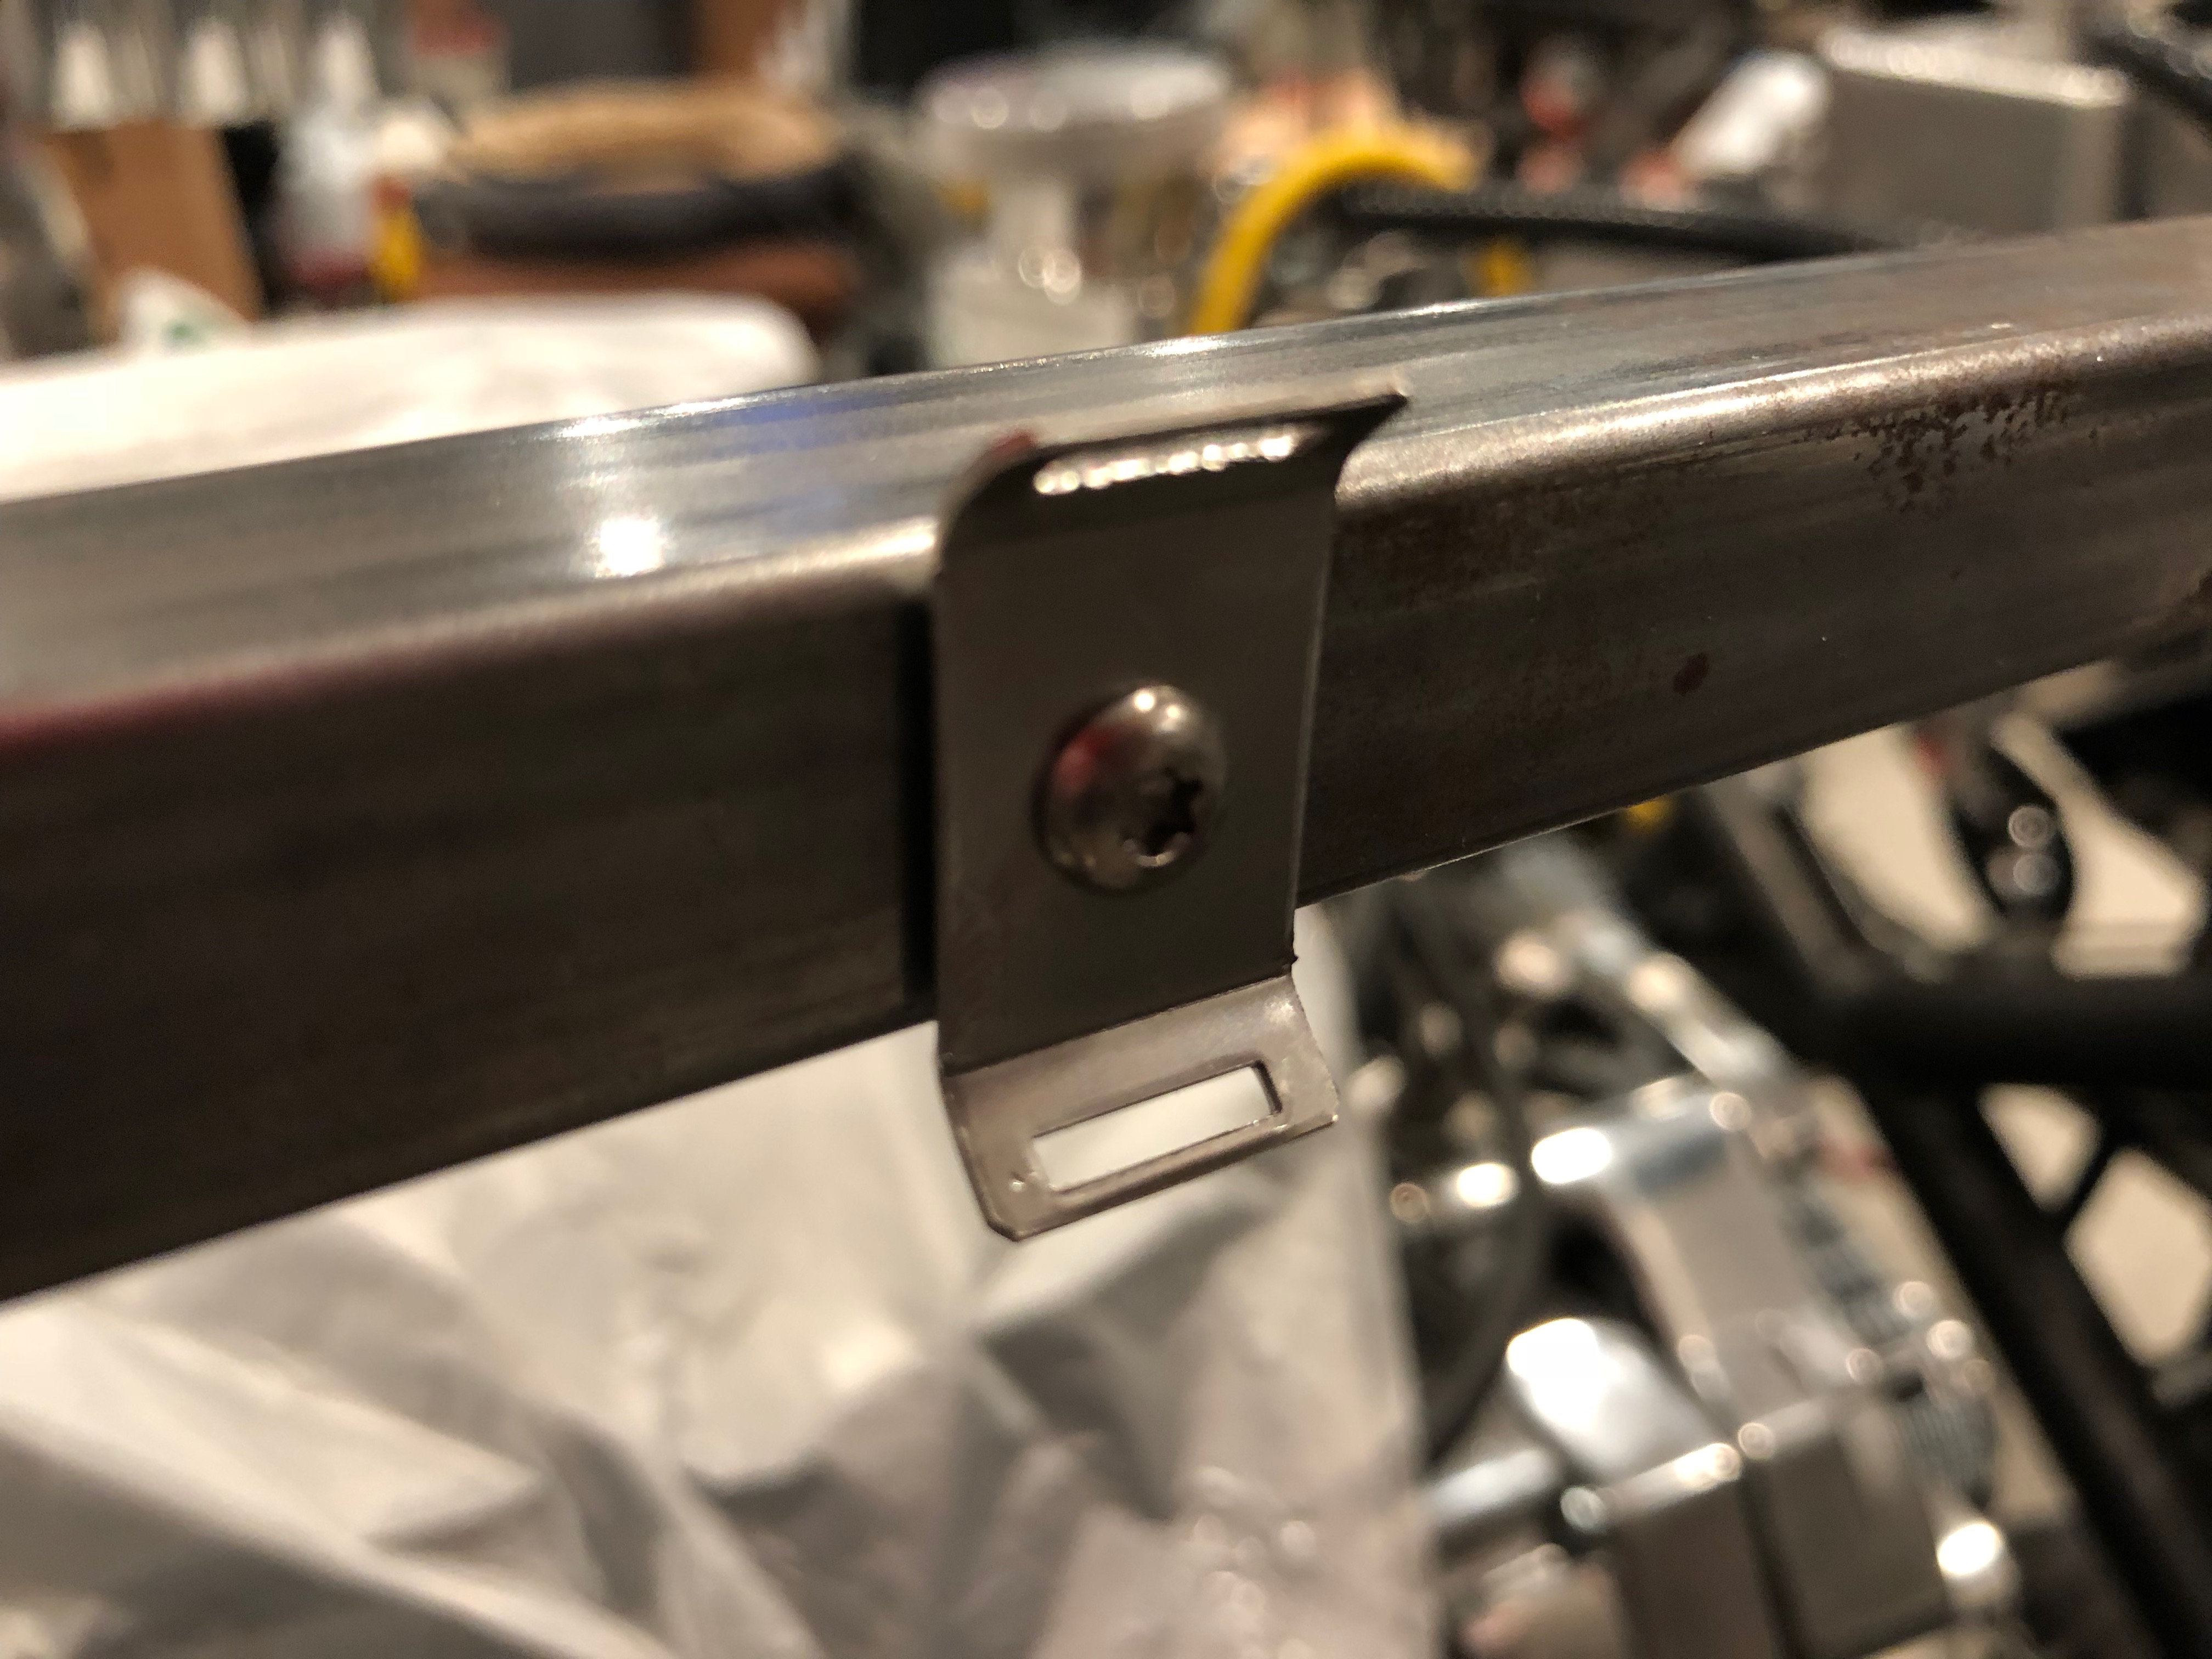
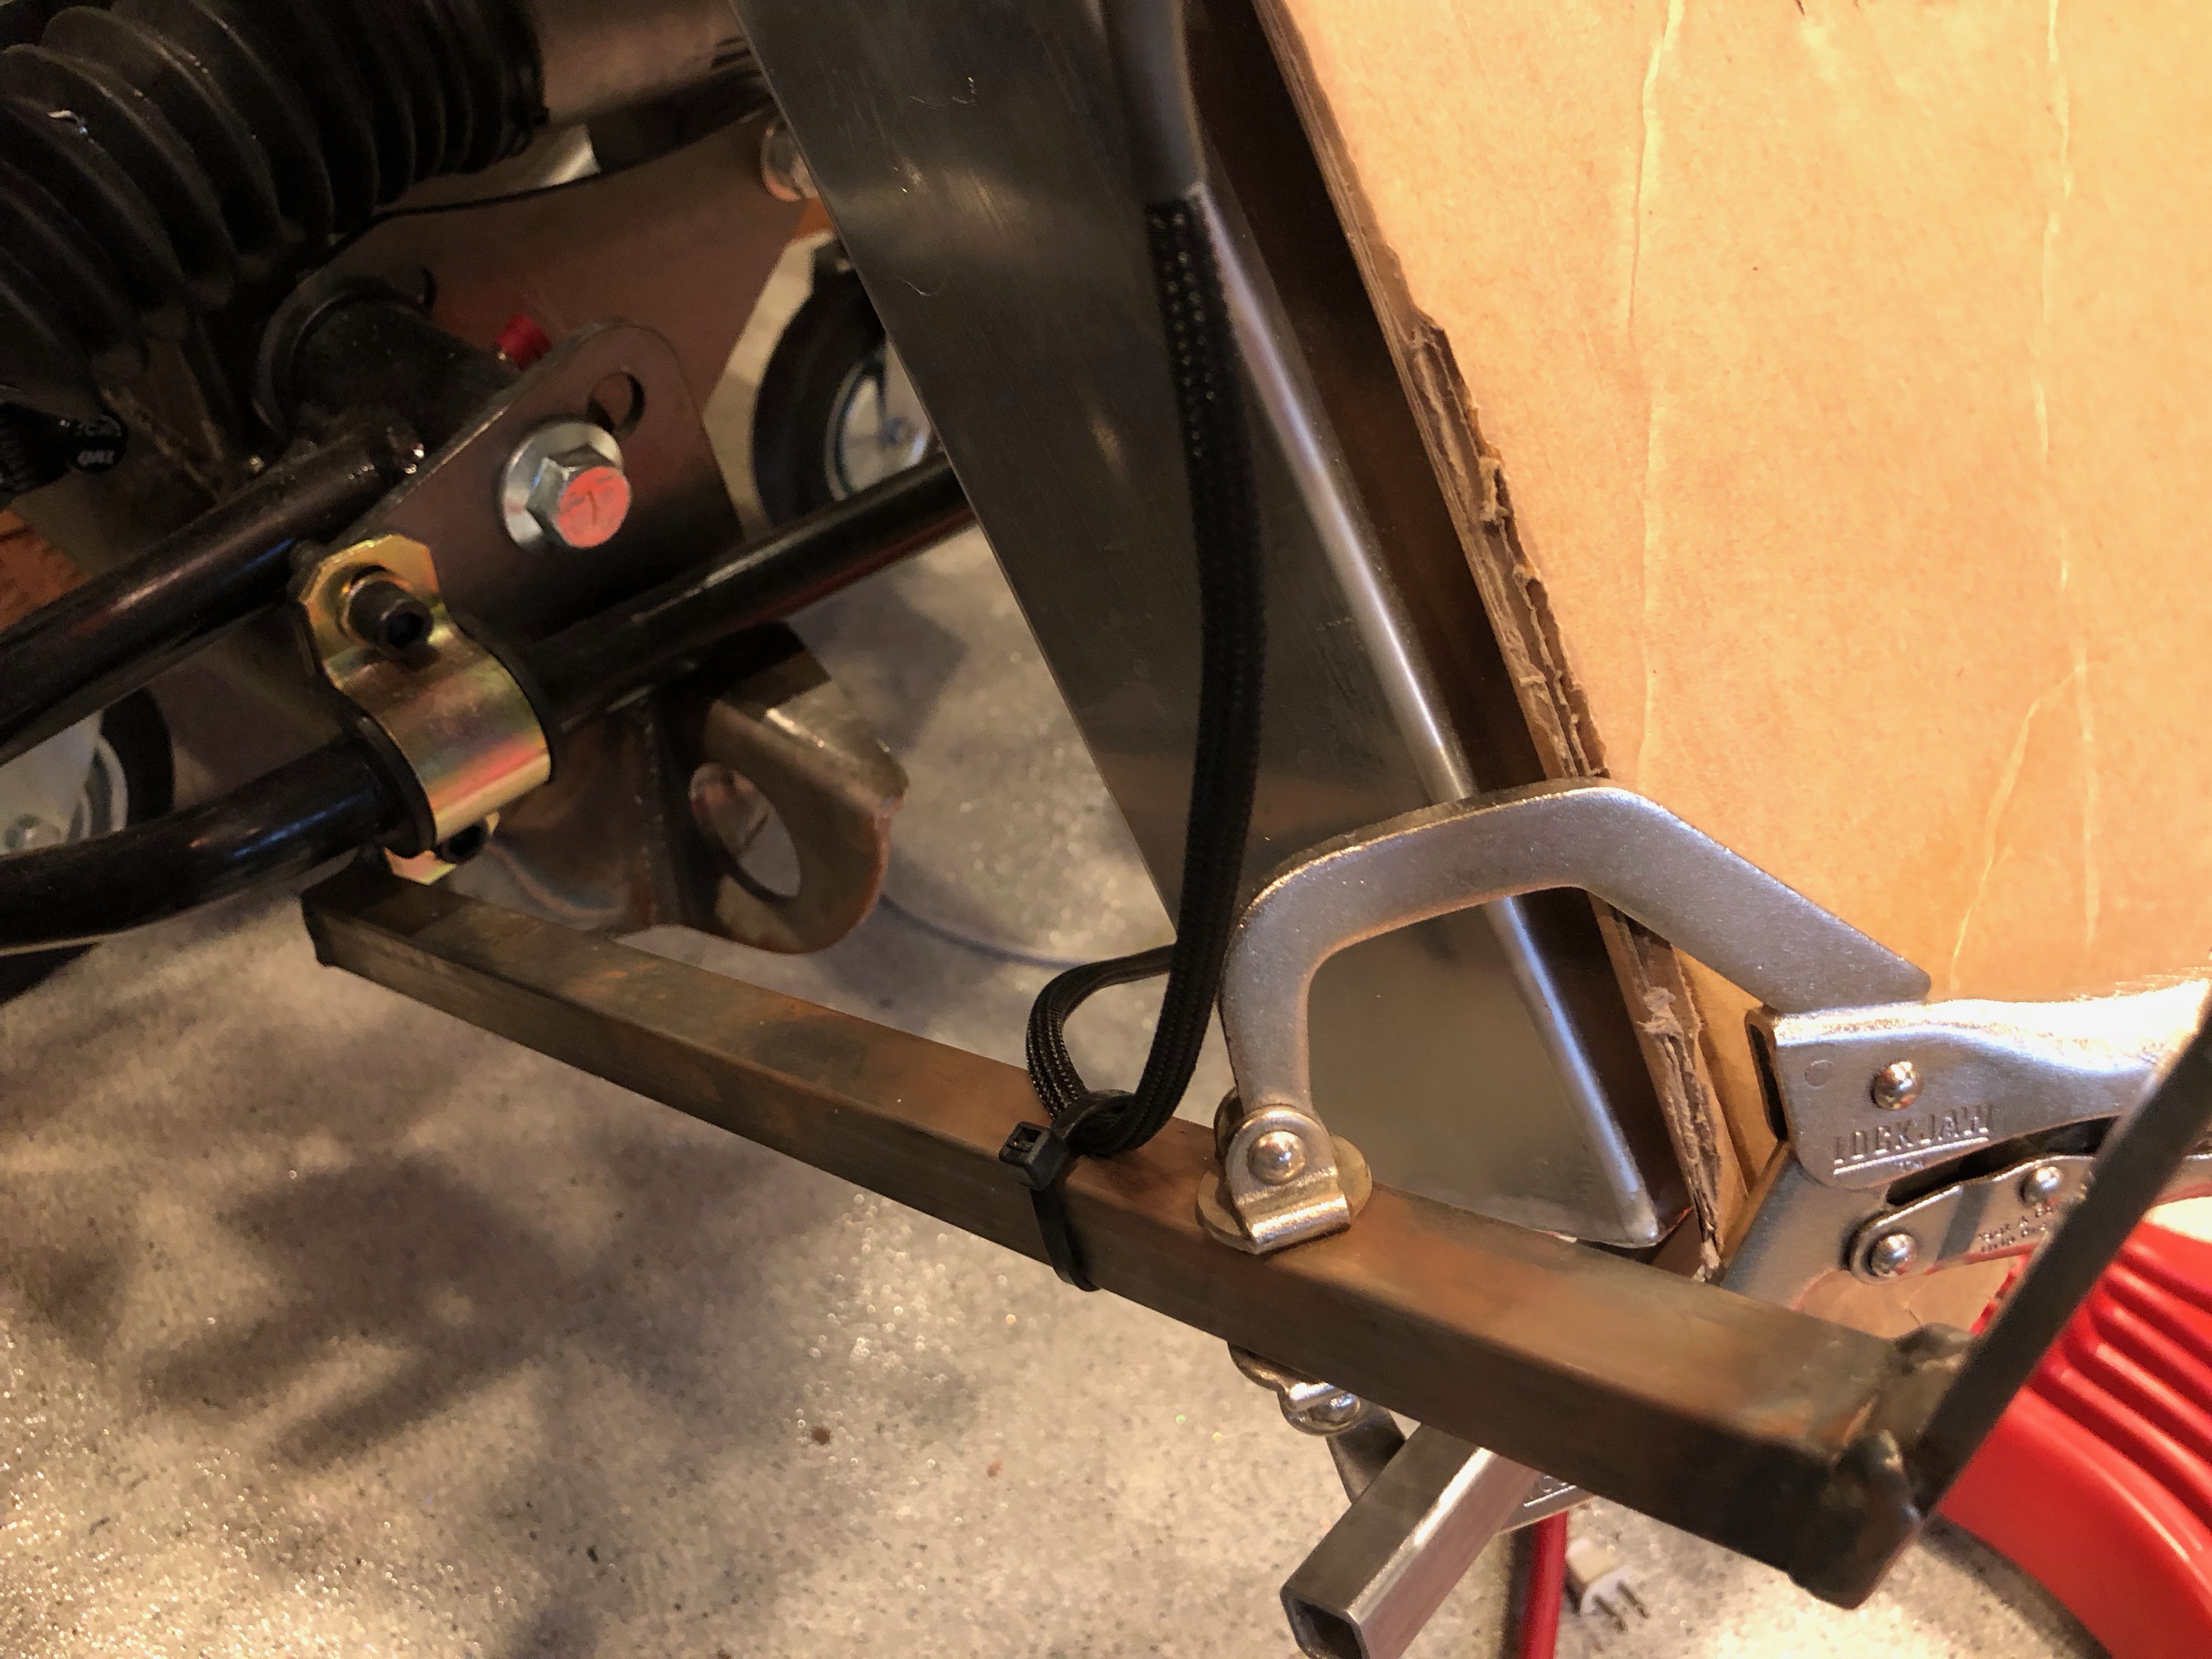
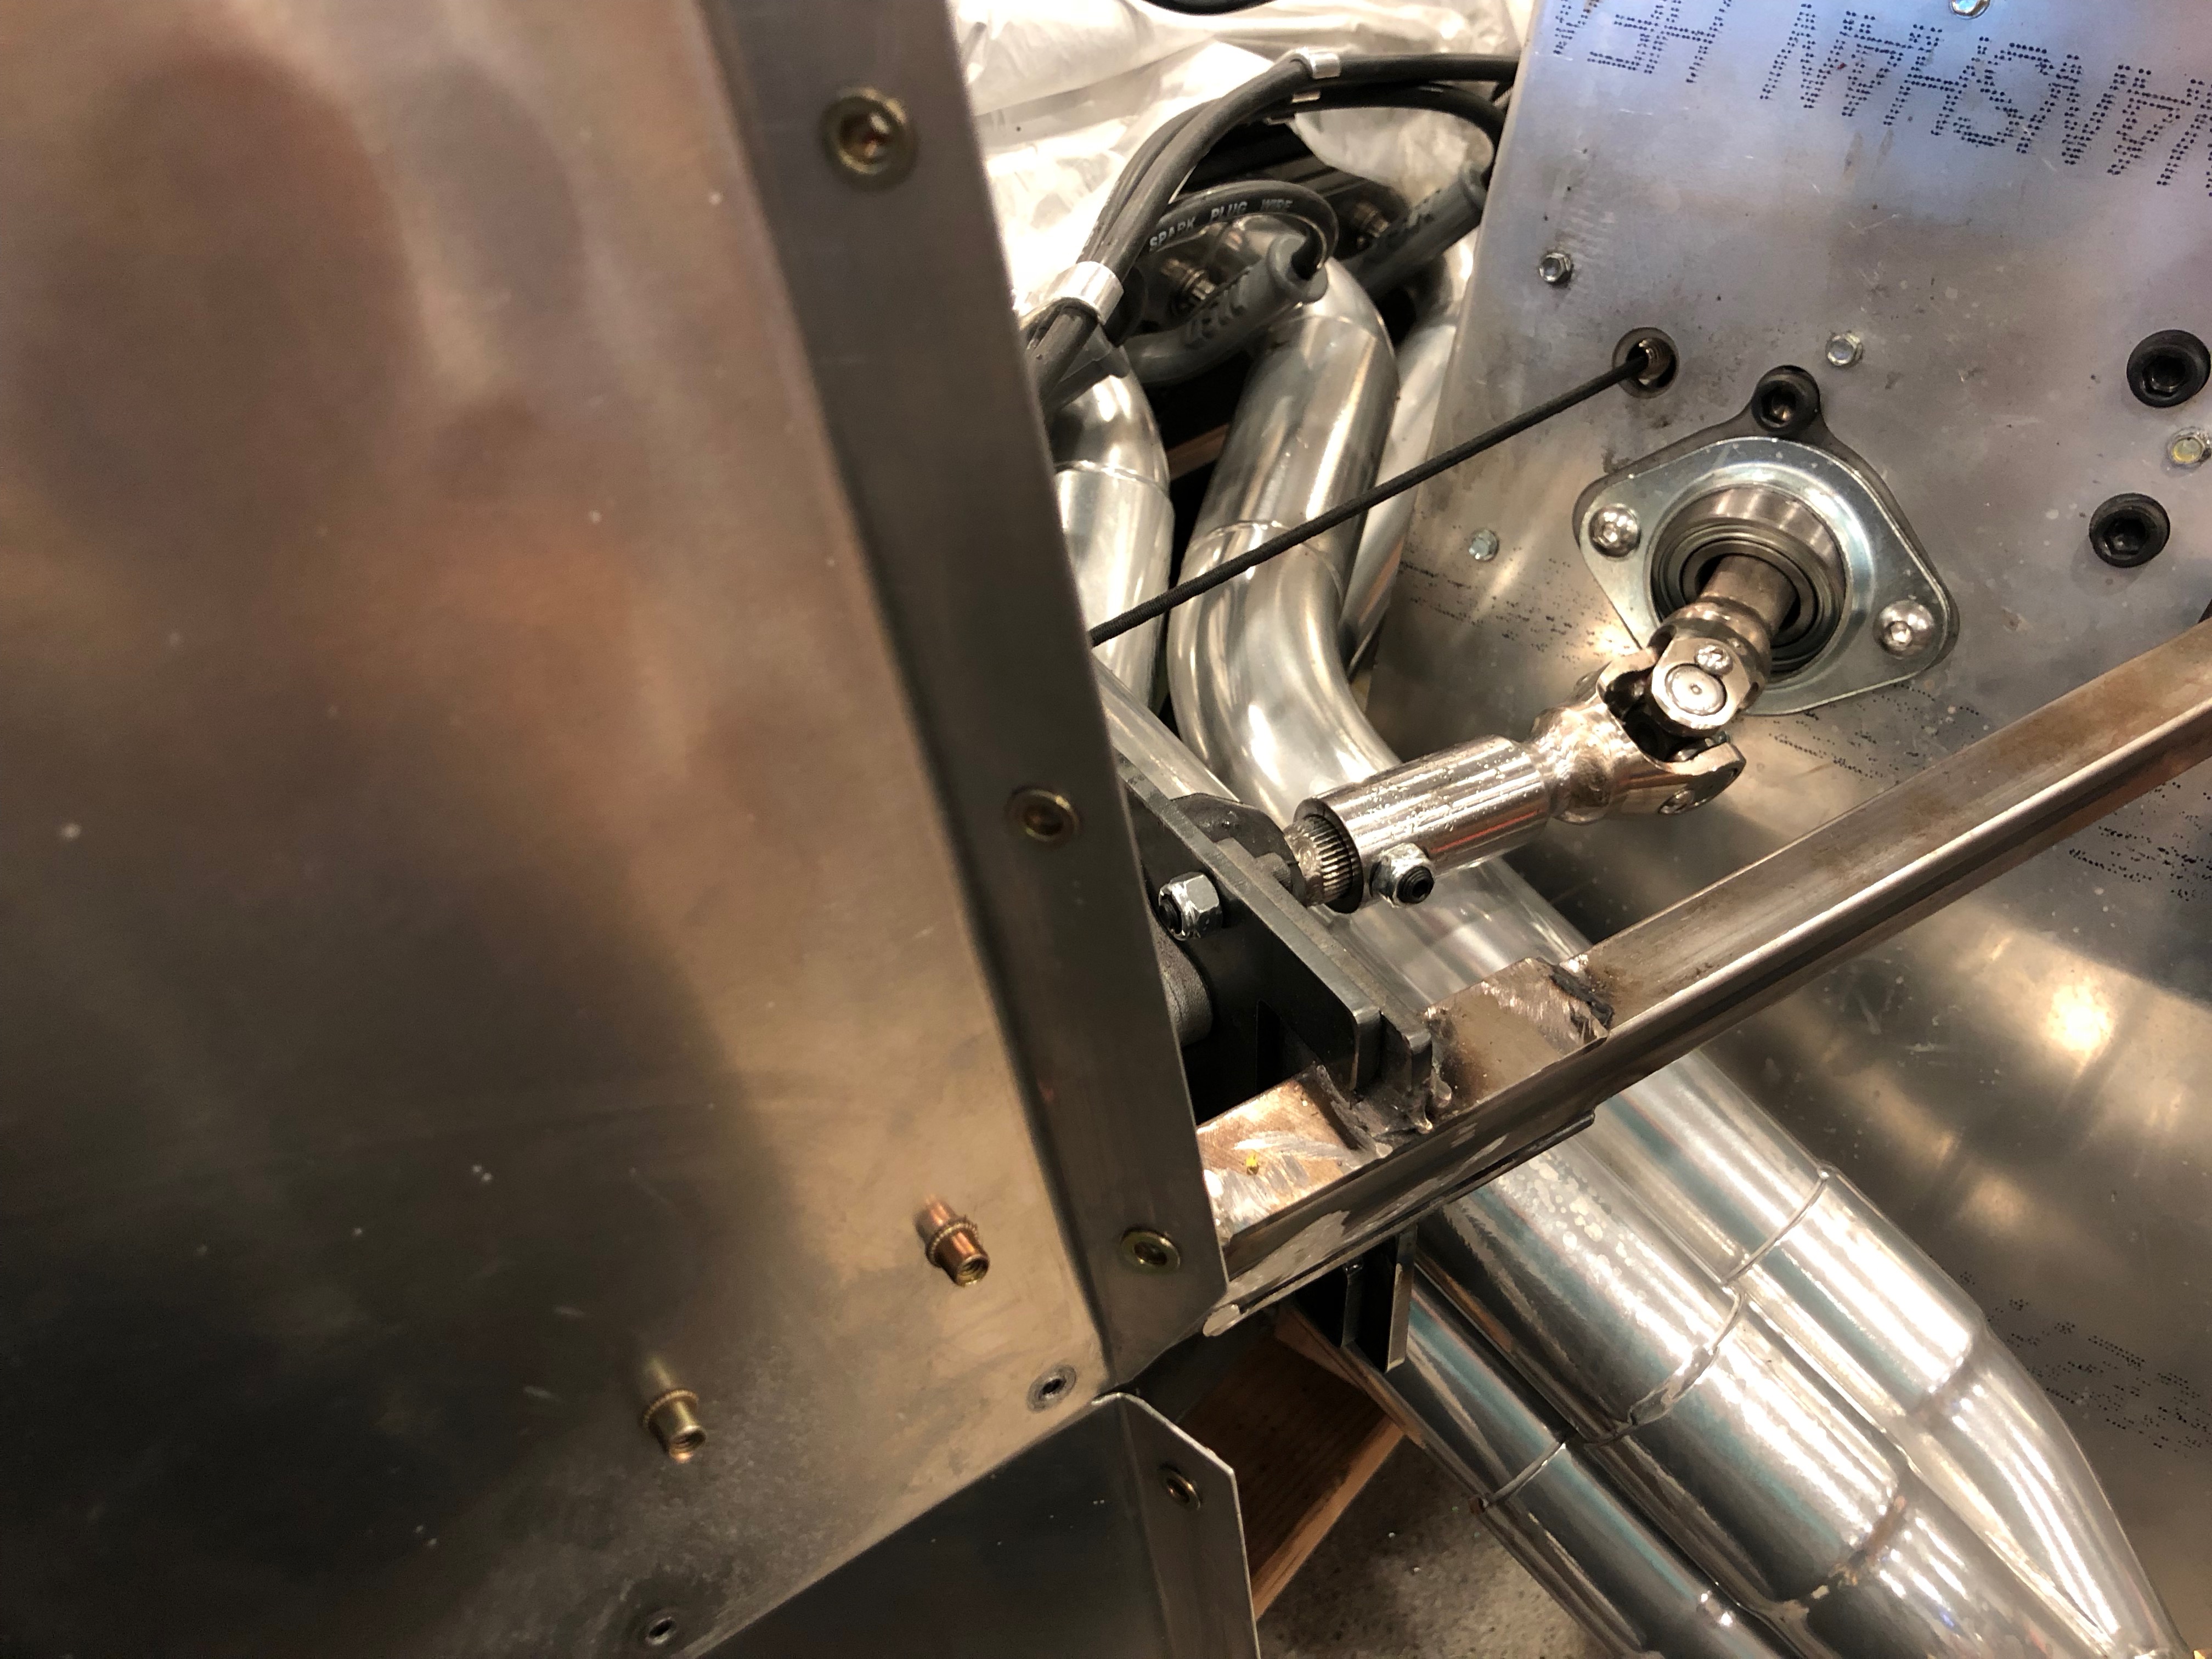
Another pair of wires drop down to the lower chassis tubing for the fan wiring. There will be a rivnut and zip-tie mounting block installed here, but it’s just zip-tied for now.

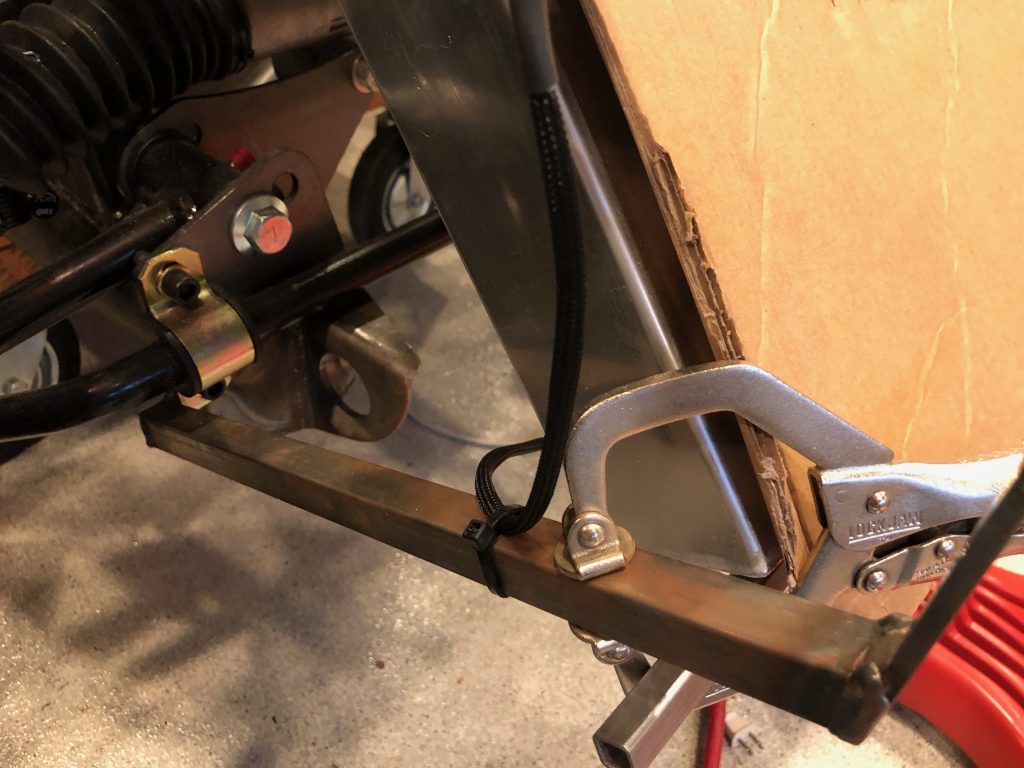
From there, it runs across to the fan. There will be a couple more attachment points across the lower edge of the fan shroud to secure this cable.

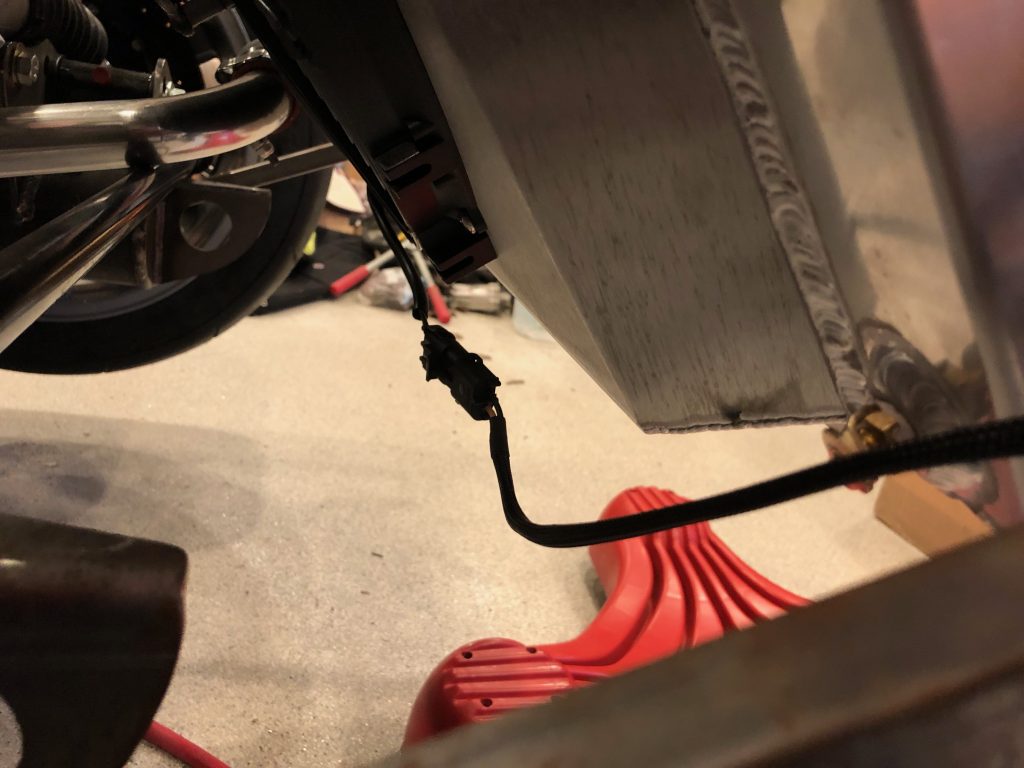
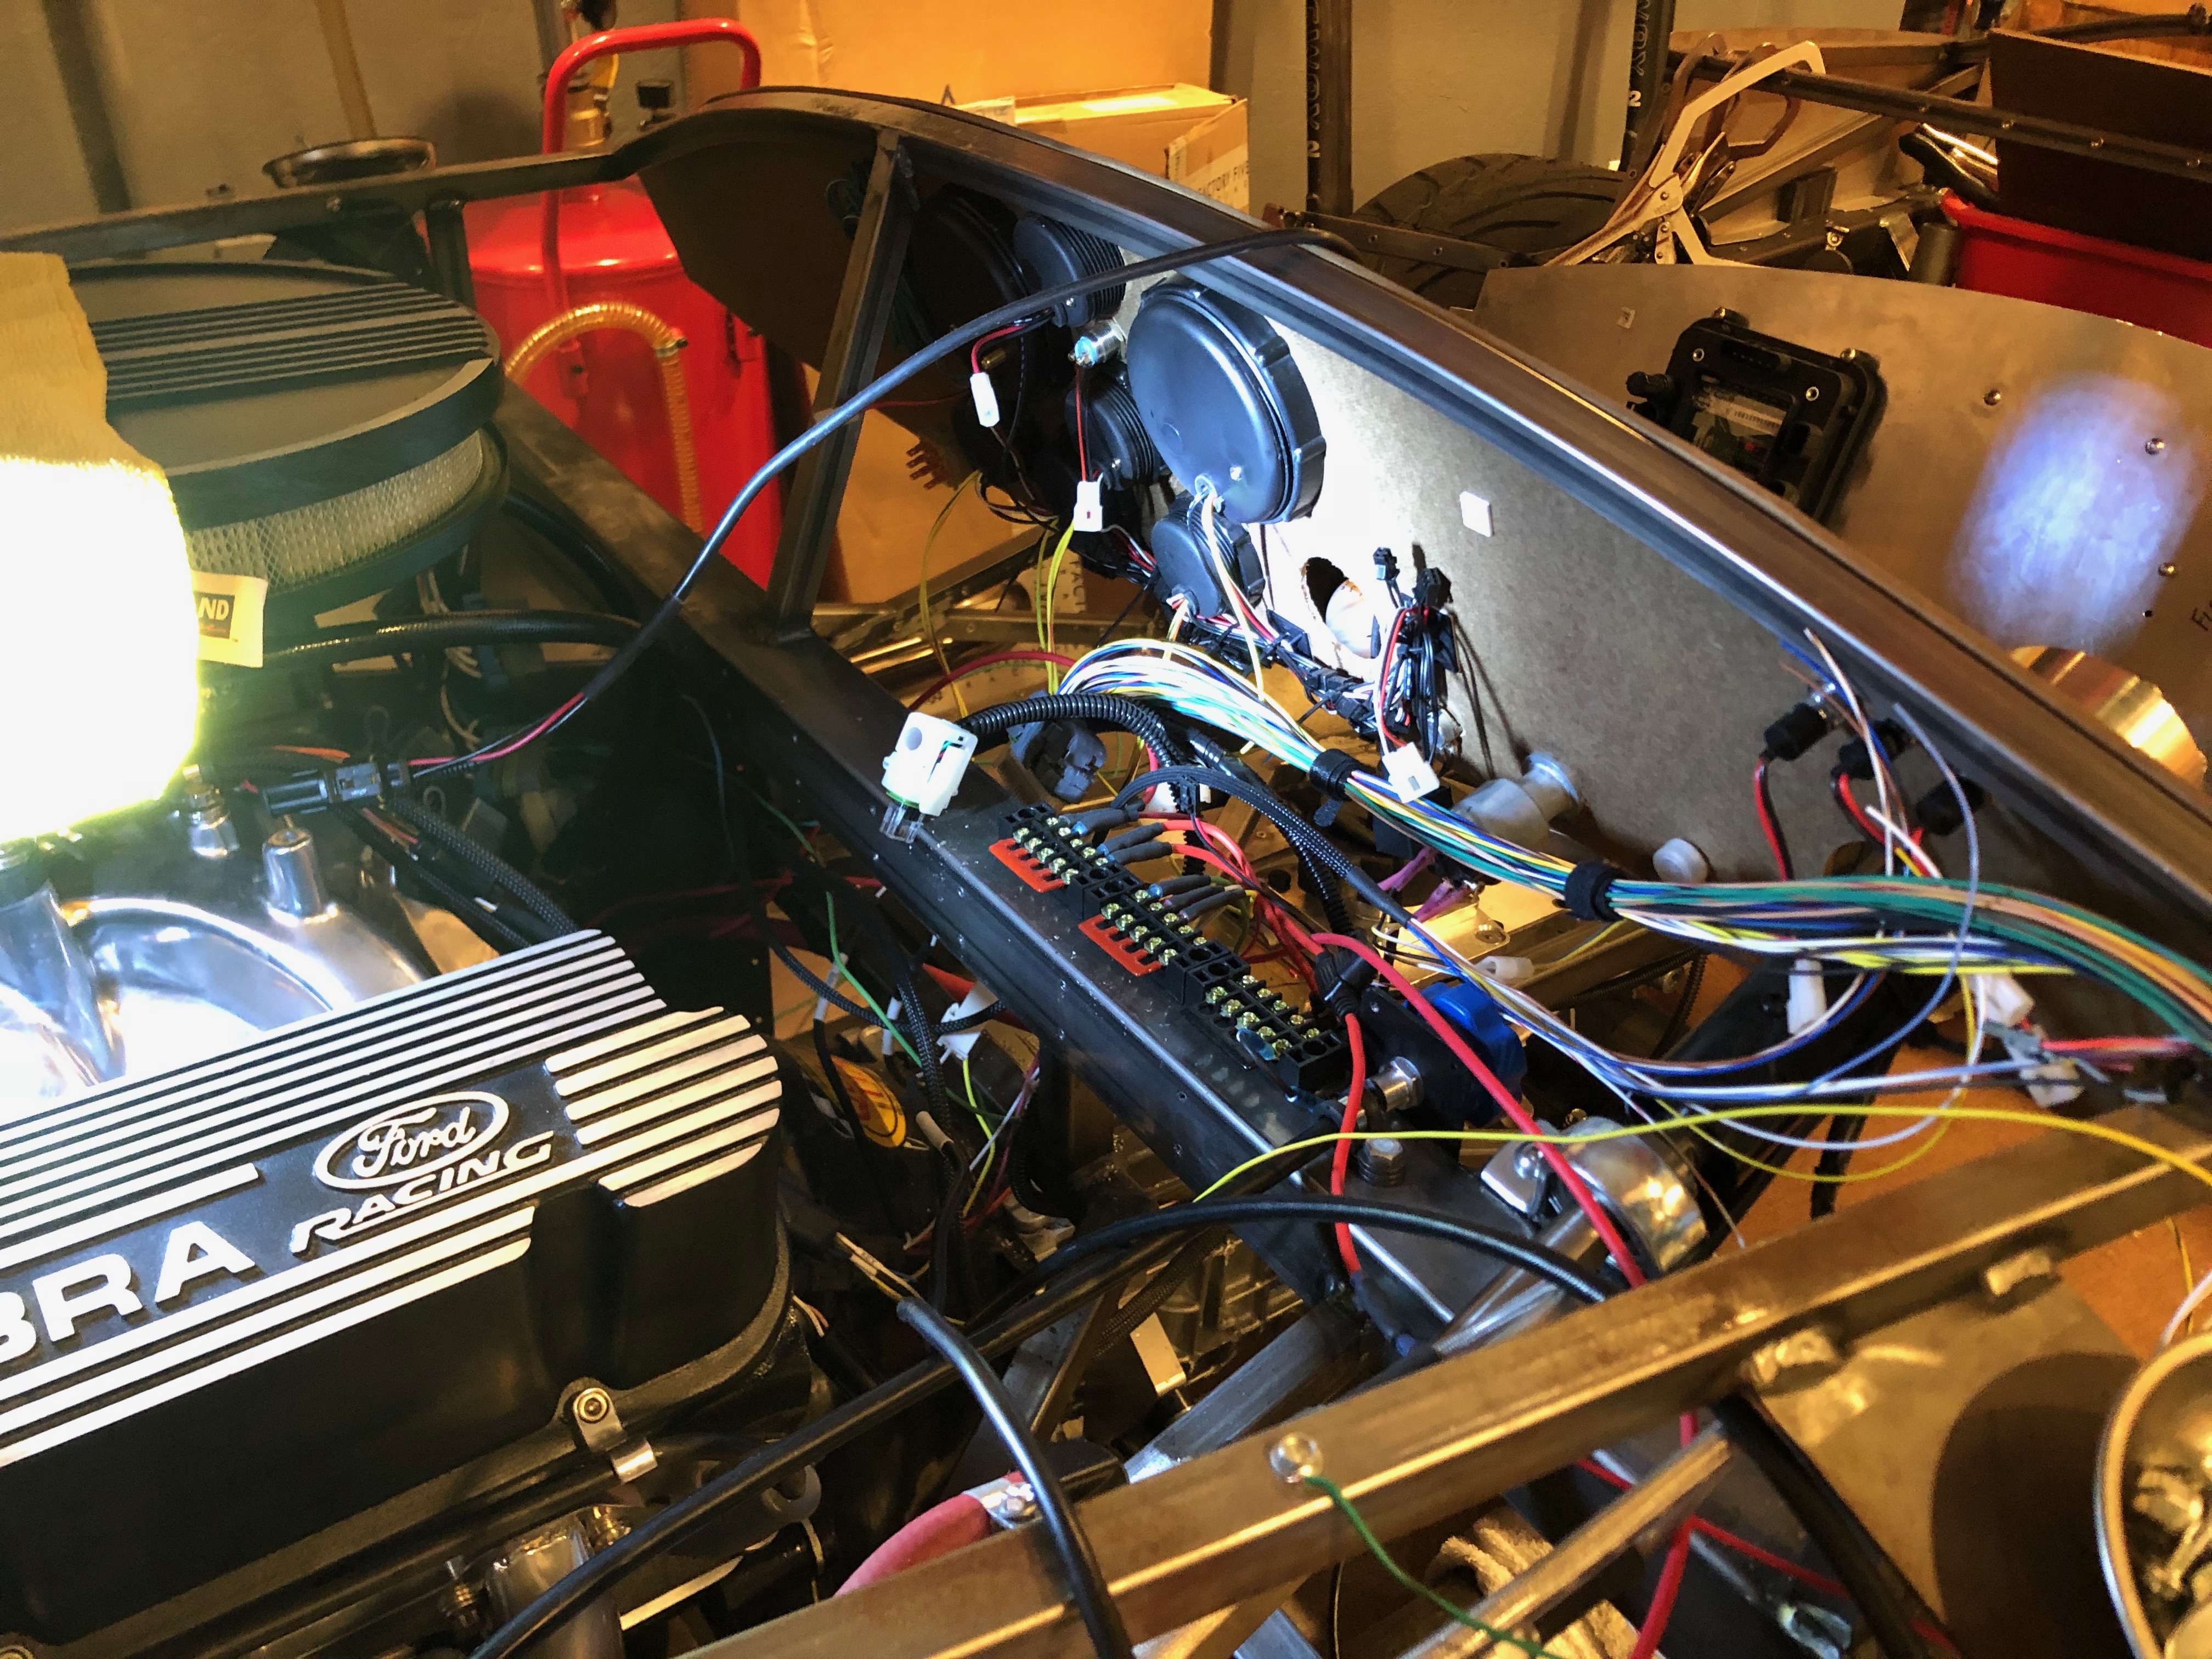
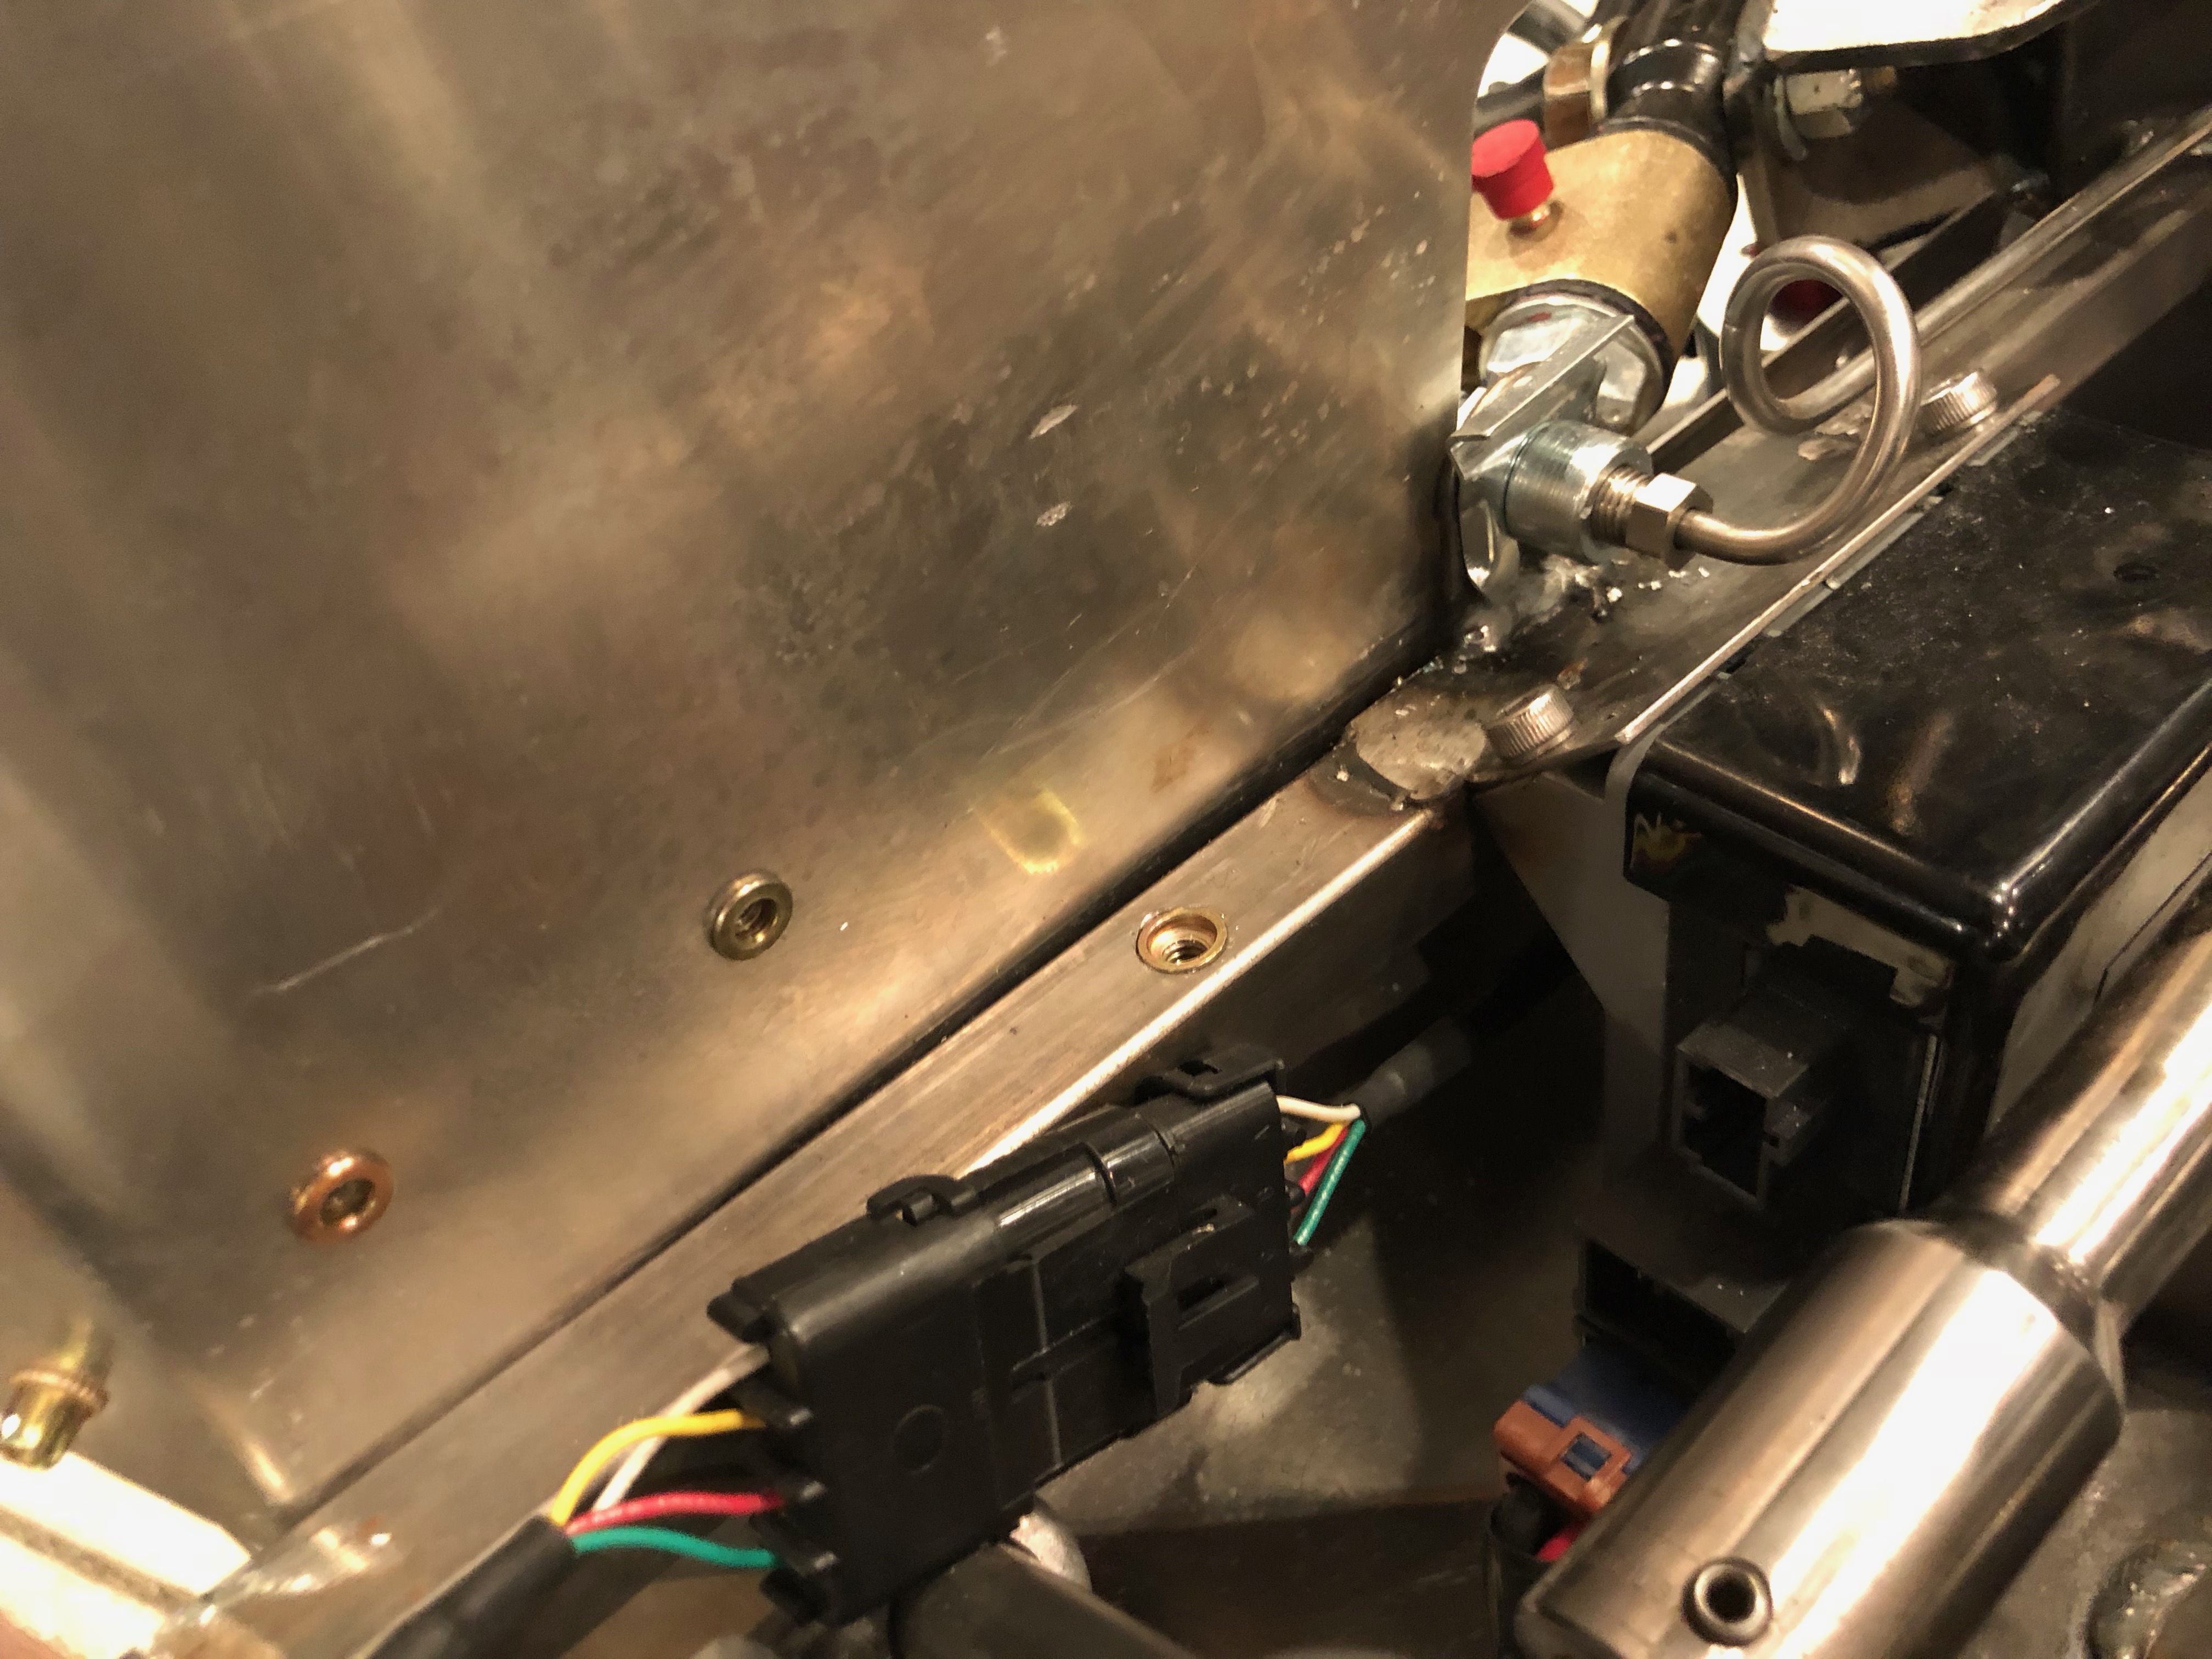
The cable that cuts across the top of the radiator runs down the left chassis member and terminates in a similar set of six wires. The two ground wires are secured to the chassis with a screw behind the bundle of four terminals to the left.

Adding Rivnuts for Panel Attachment

Since we’re going to completely disassemble the car before final assembly so that we can finish the chassis, we’ve been temporarily attaching all of the aluminum panels with sheet metal screws. We had been planning on riveting the panels on during final assembly, but if we ever need to remove the panels, we’d have to drill out the rivets. I don’t know how likely that is, but I’m really trying to plan for any possible future maintenance. To that end, we decided to attach all panels with screws.

I started drilling out the attachment holes and installing rivnuts. I haven’t counted how many of these I’ll need, but I’ve used up the first 100 I ordered and I’m a long way from being done. I’m guessing there are close to 500 over the whole car.

Added Rivnuts to F-Panels

The f-panels have flanges on the rear edge that will attach to the panels that close off the rear of the front wheel wells. Most people rivet these panels on, but apparently they interfere with getting the body on and off, so some people recommend making them removable. I drilled a series of holes and added rivnuts to them so that I will be able to attach the panels with screws.

I also added a couple of rivnuts to the inside of the left f-panel to attach the control box for the electric power steering. You can also see a rivnut in the chassis that will be the grounding point for the electric power steering system.