Overhead Storage Racks

I installed the first of three overhead storage racks along the back wall. This one is 2’x8′ since it has to clear the attic stairs, but the ones in the other two bays will be 3’x8′ to give us a little more storage room. The other two are still on their way, so I’ll have to get to those next week.

Installed Garage Cabinets

My dad and his friend came over and helped me install the new garage cabinets. These are really well built and very solid, and will be a great addition to the garage.

I added a couple of long power strips to the wall above the work bench. I had to open these up and rewire them so that they’re connected together and the cord is super short. I also mounted one of the Craftsman C3 chargers on the wall to the far right.

Epoxy Floor

I had a local epoxy company install a 100% solids epoxy floor. I’m super happy with how this turned out.

Here’s a closeup. You can see that there is 100% coverage of the epoxy chips and we added some refractive chips that produce small specks of color across the surface. Everyone who’s seen it loves it.


Fabricated Cover Plate For Lift Base

I fabricated a cover plate for the lift base. This is made out of 1/2″ thick steel, so cutting it to fit the hole and surround the lift column took several hours with a grinder. It took several more hours to weld on supports underneath and shim it to be flush with the concrete. It’s absolutely rock solid now.

Garage Wiring

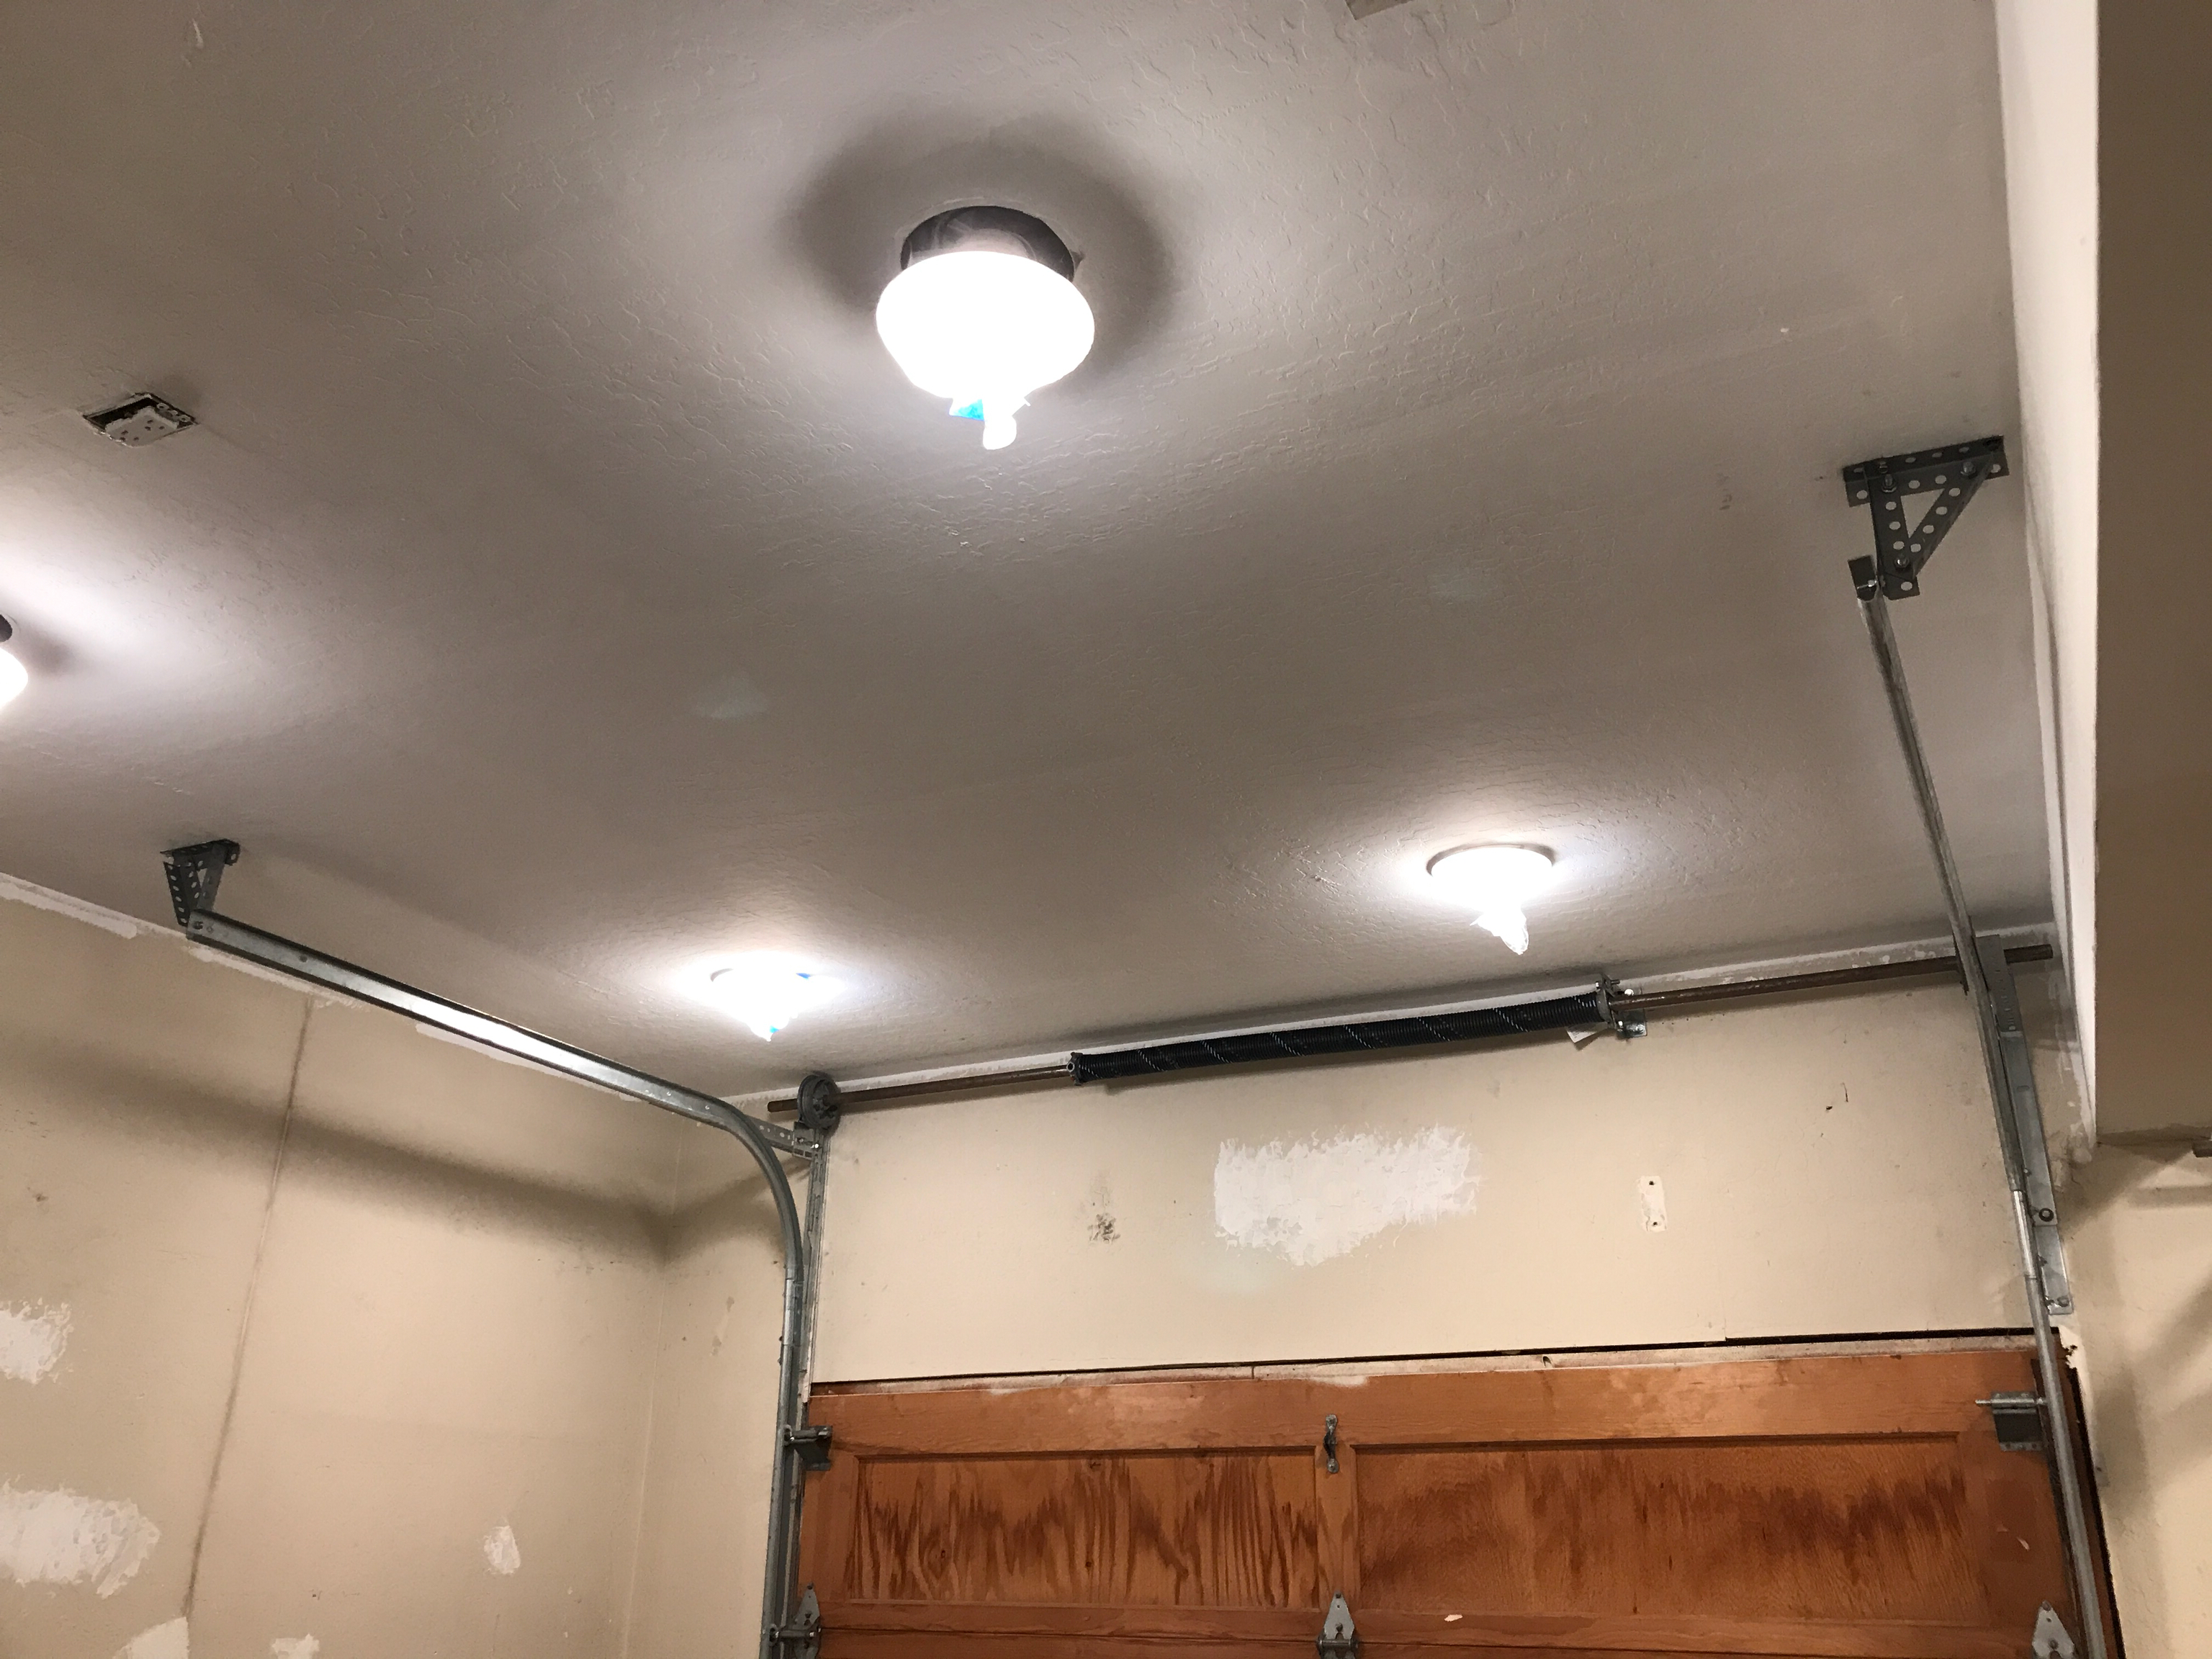
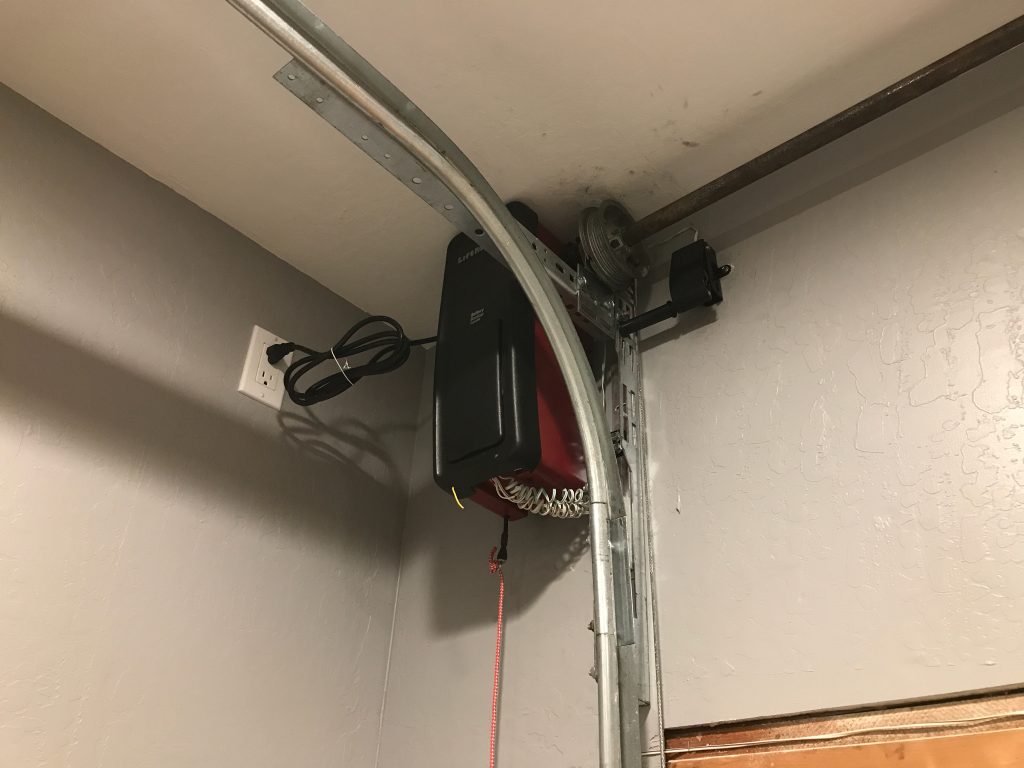
The installer came out and finished up the new side garage door opener. Despite my request to watch the new paint, he managed to get his grubby hands all over the walls and ceiling, so I’ll have to clean and probably touch up the paint.

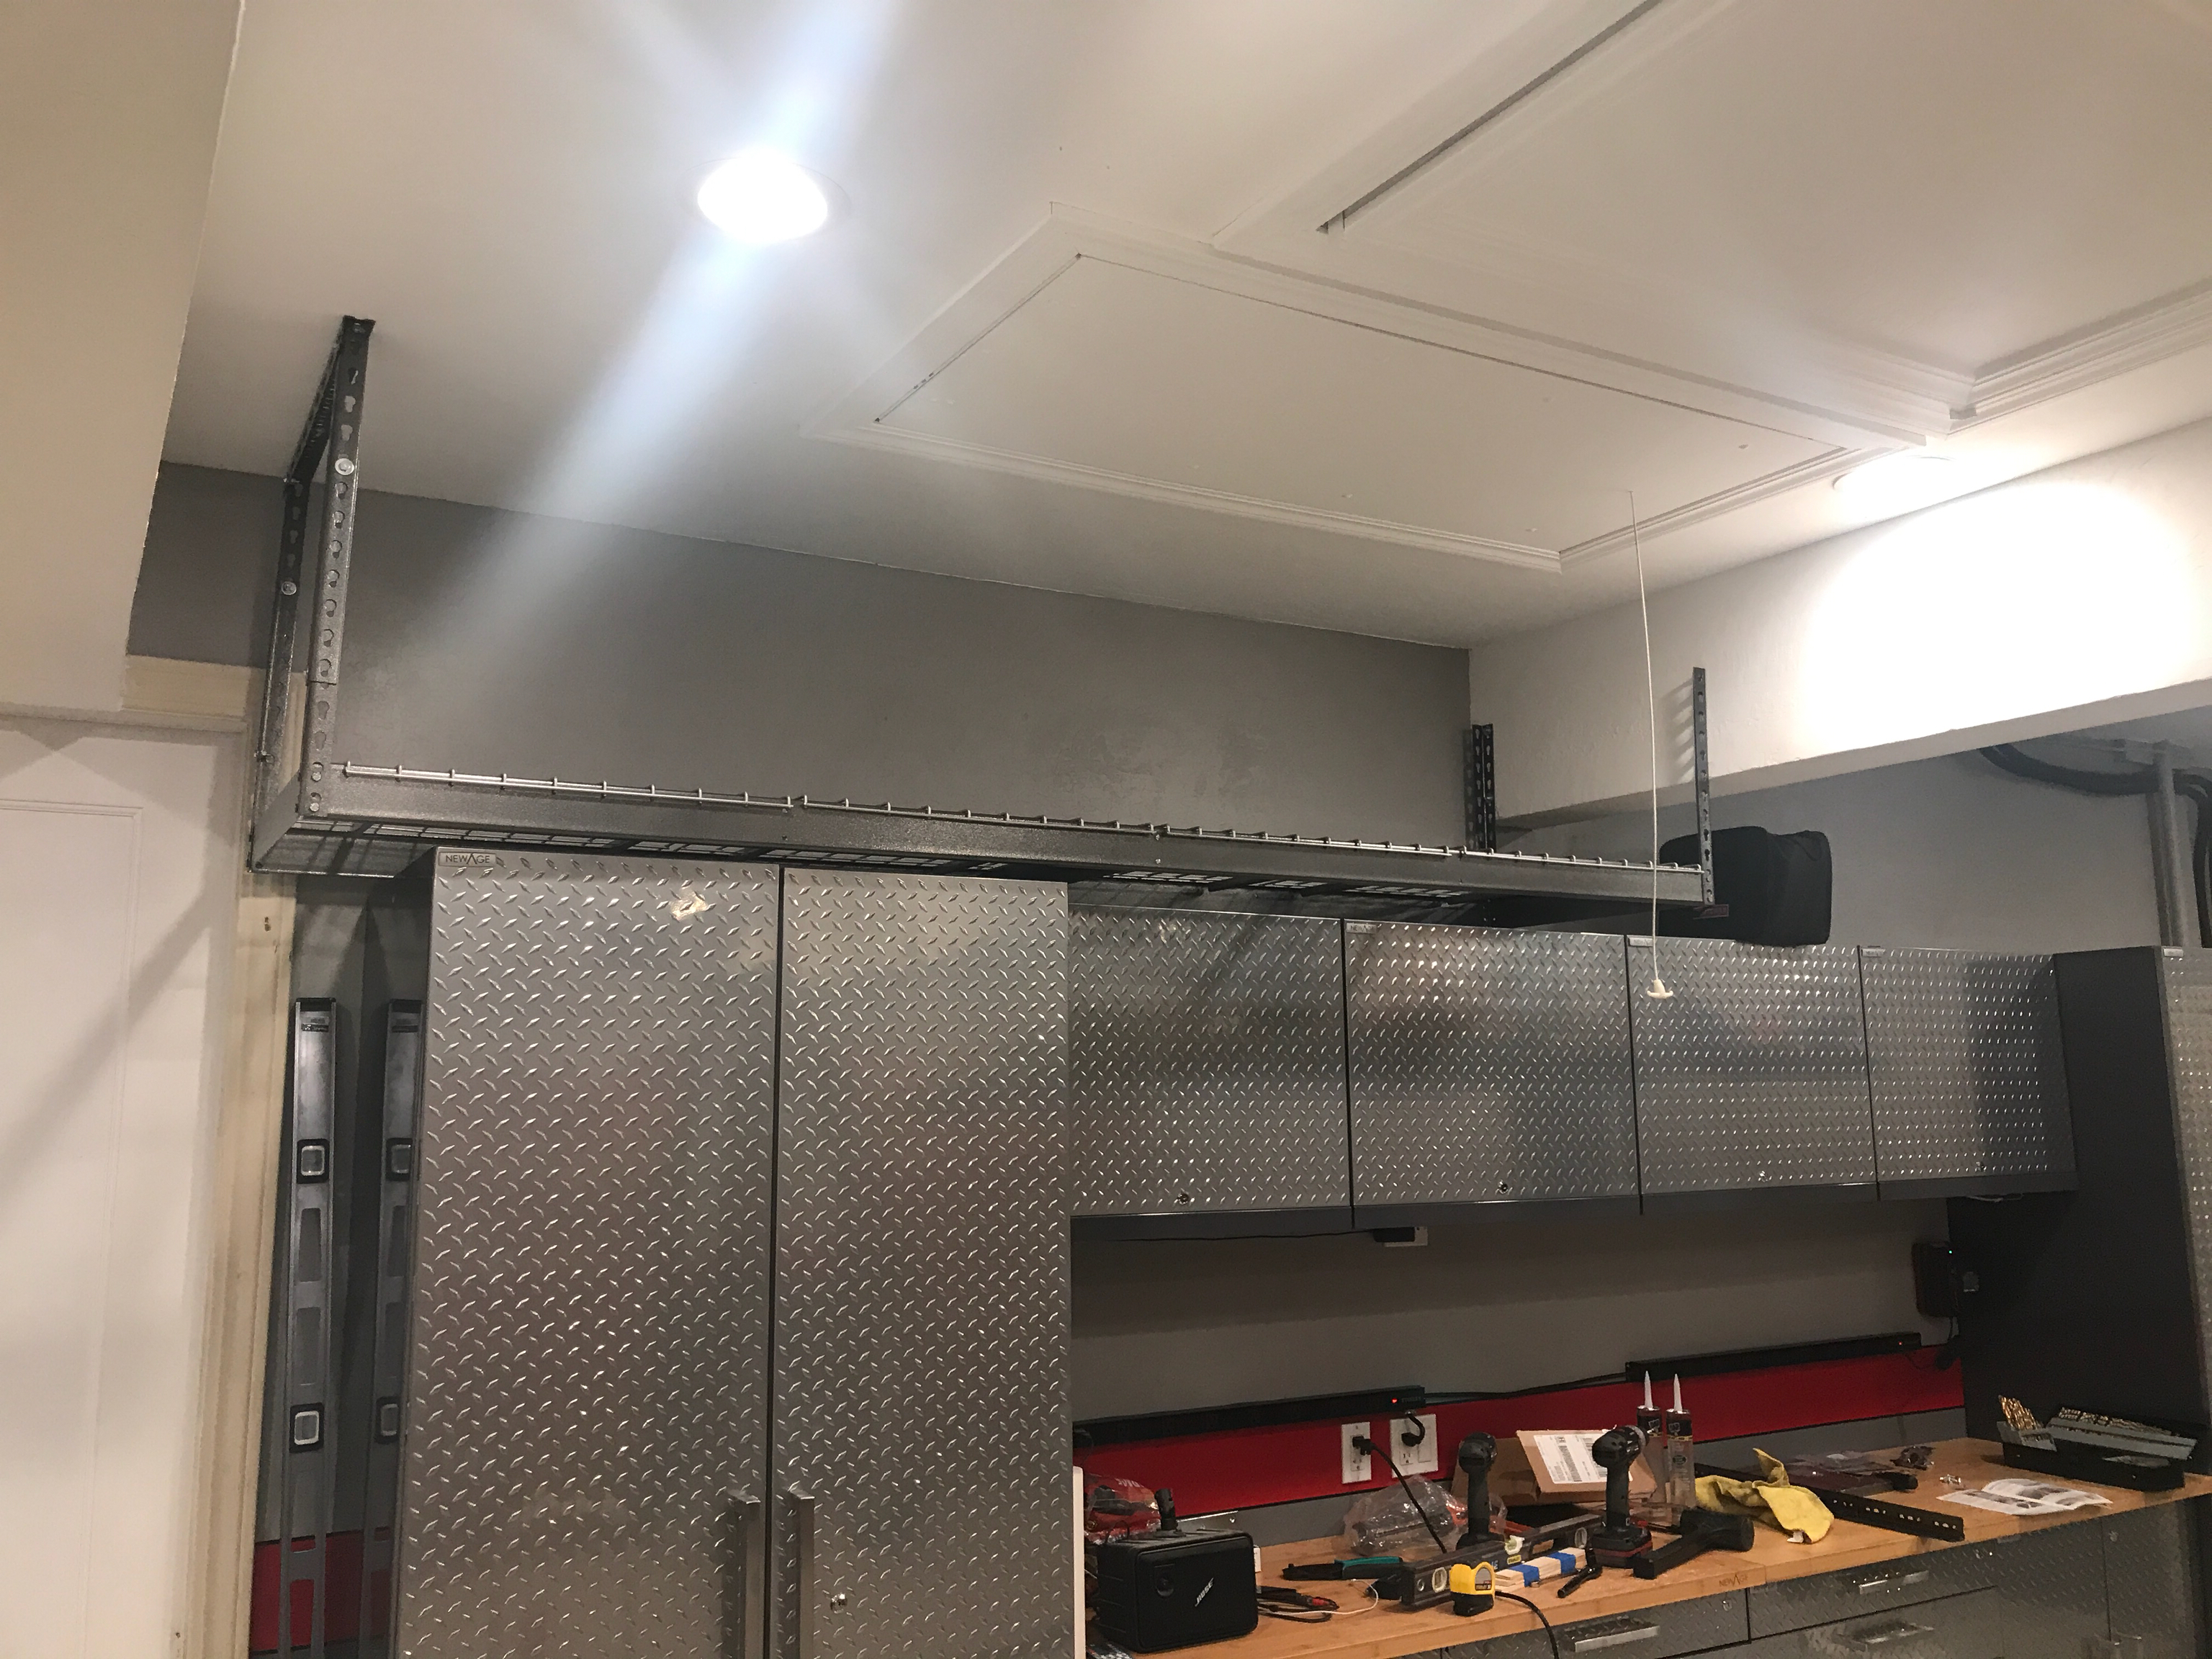
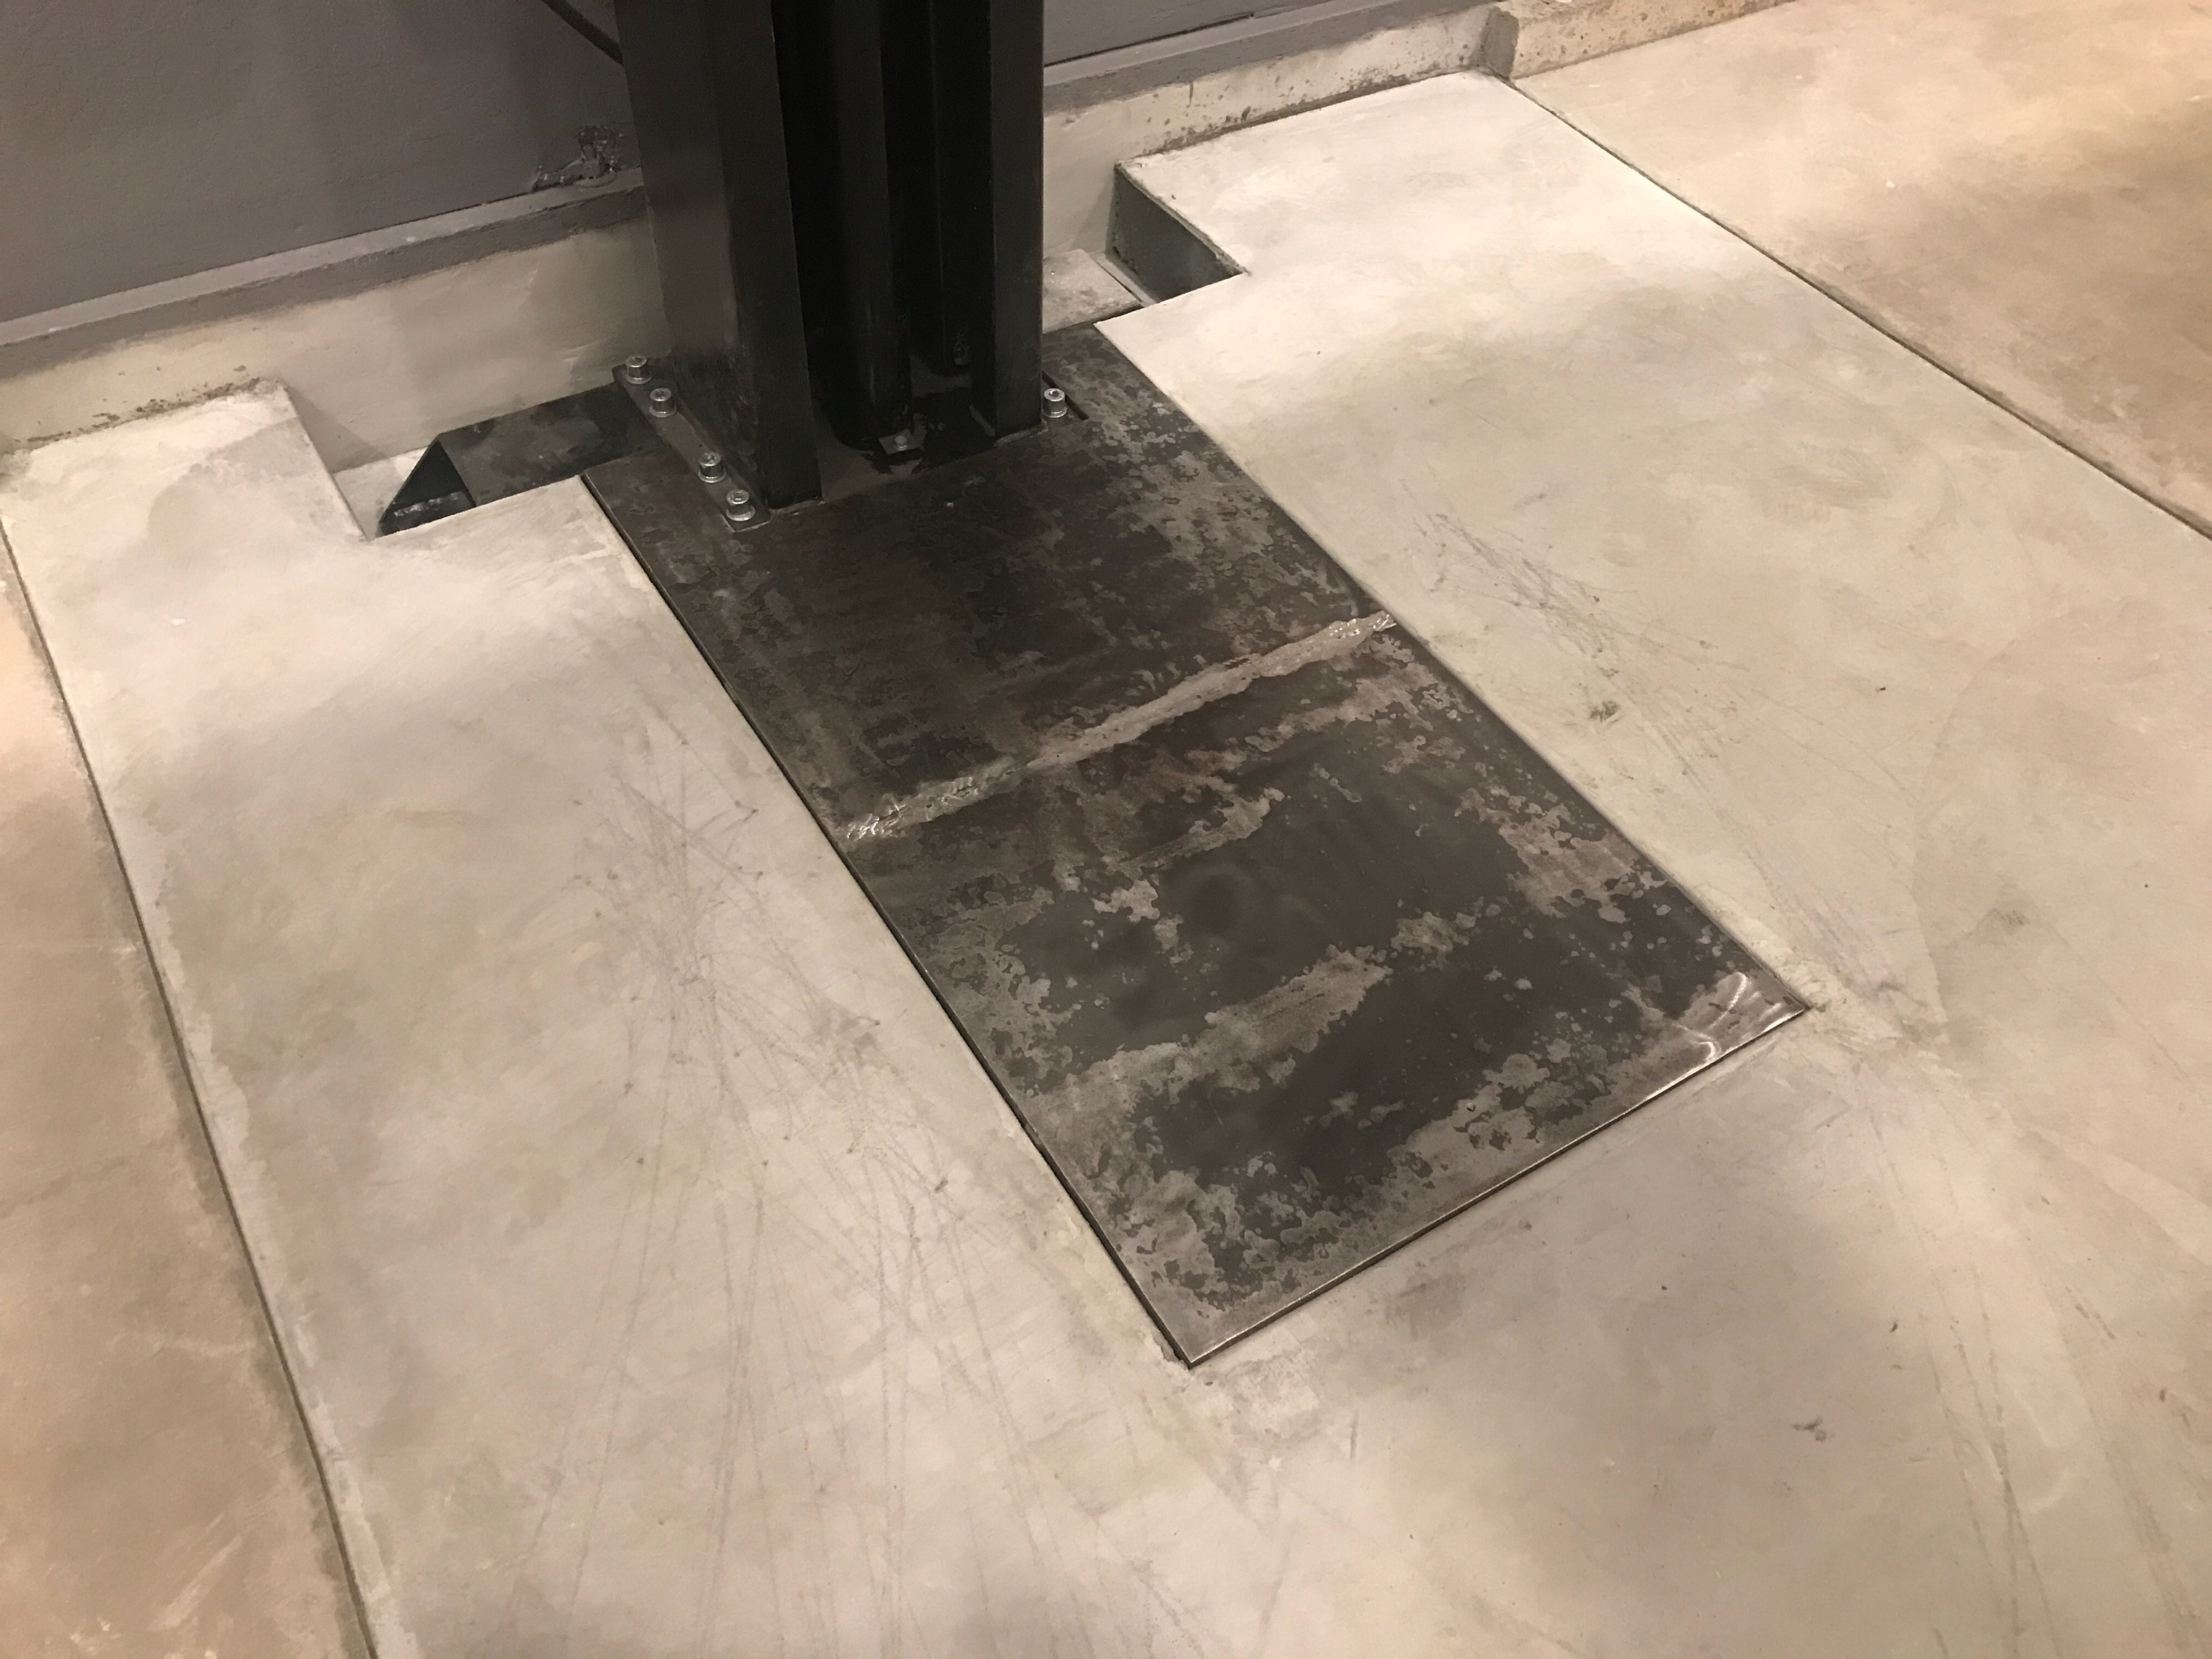
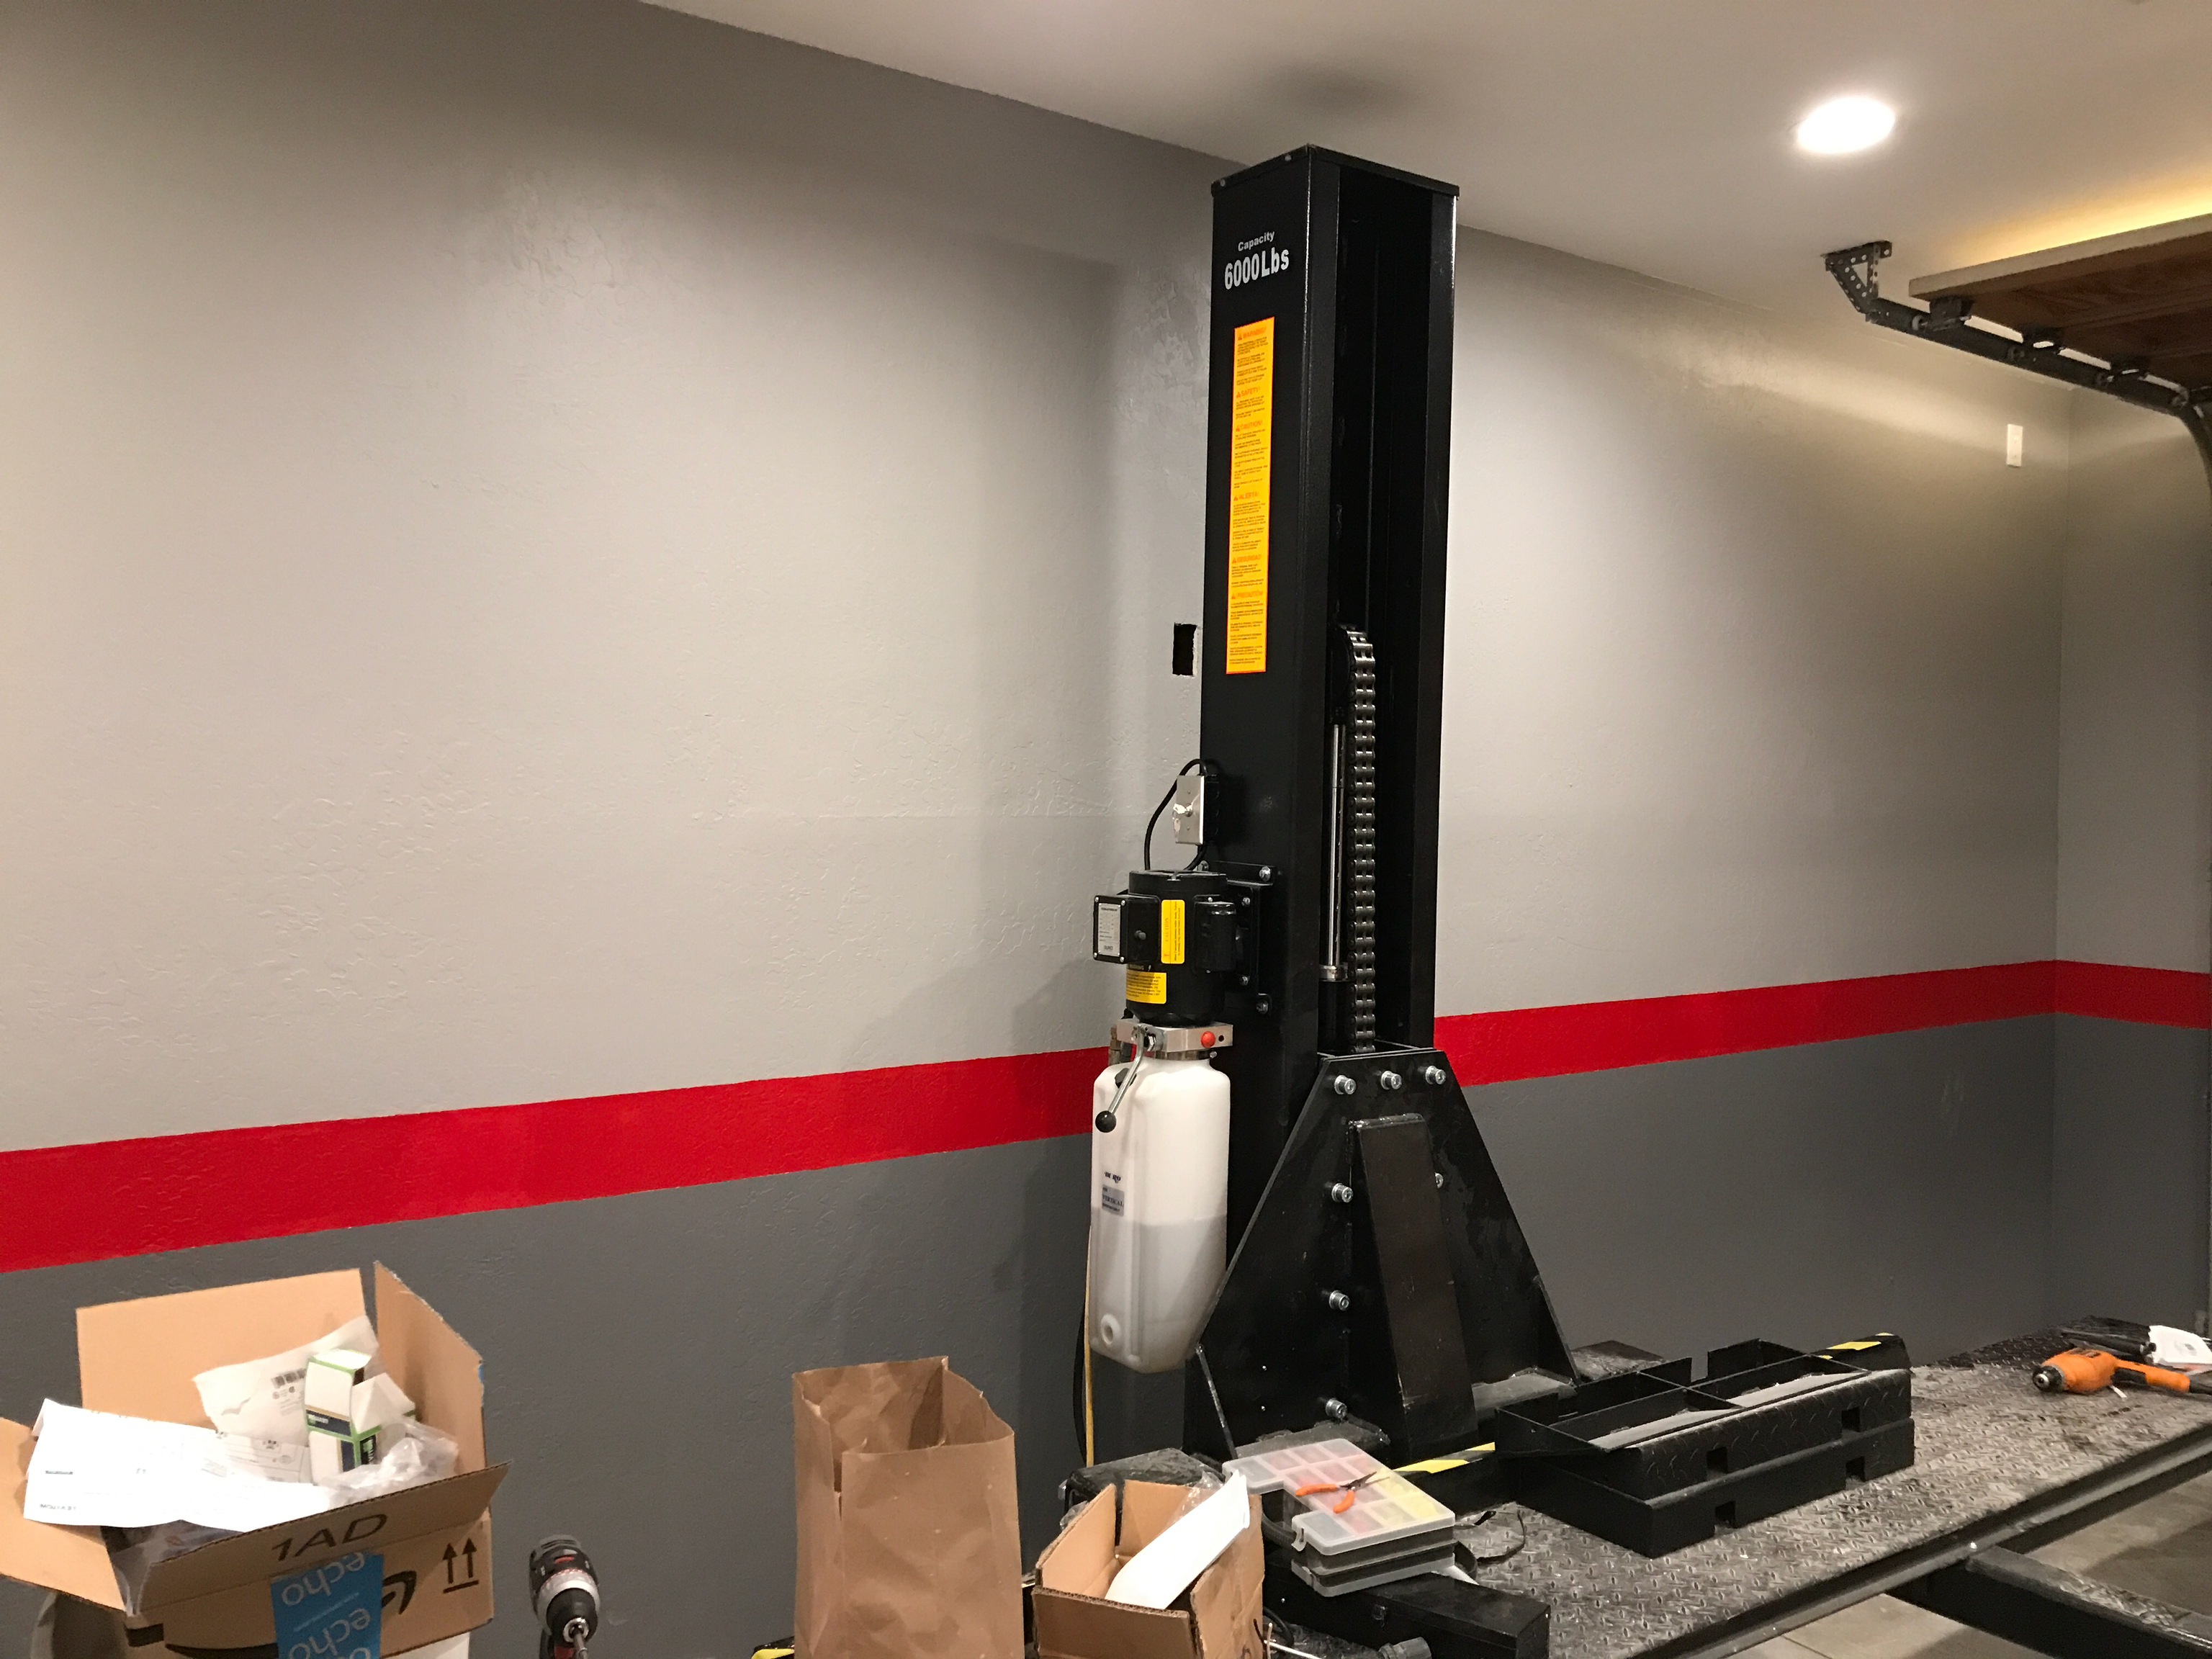
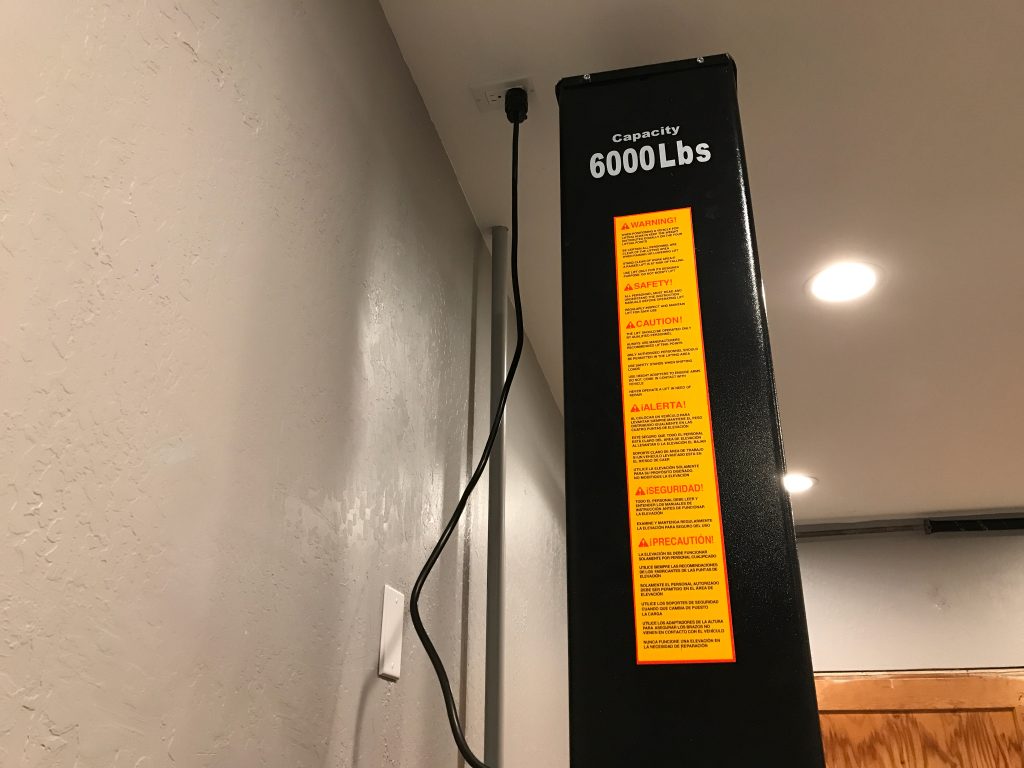
We tried a couple of times to fish a wire down the wall to the outlet behind the lift, but since this is an outside wall, I can’t get close enough to the top of the wall to make it work. We ended up installing a new 20A circuit in the ceiling and running it back to the subpanel.

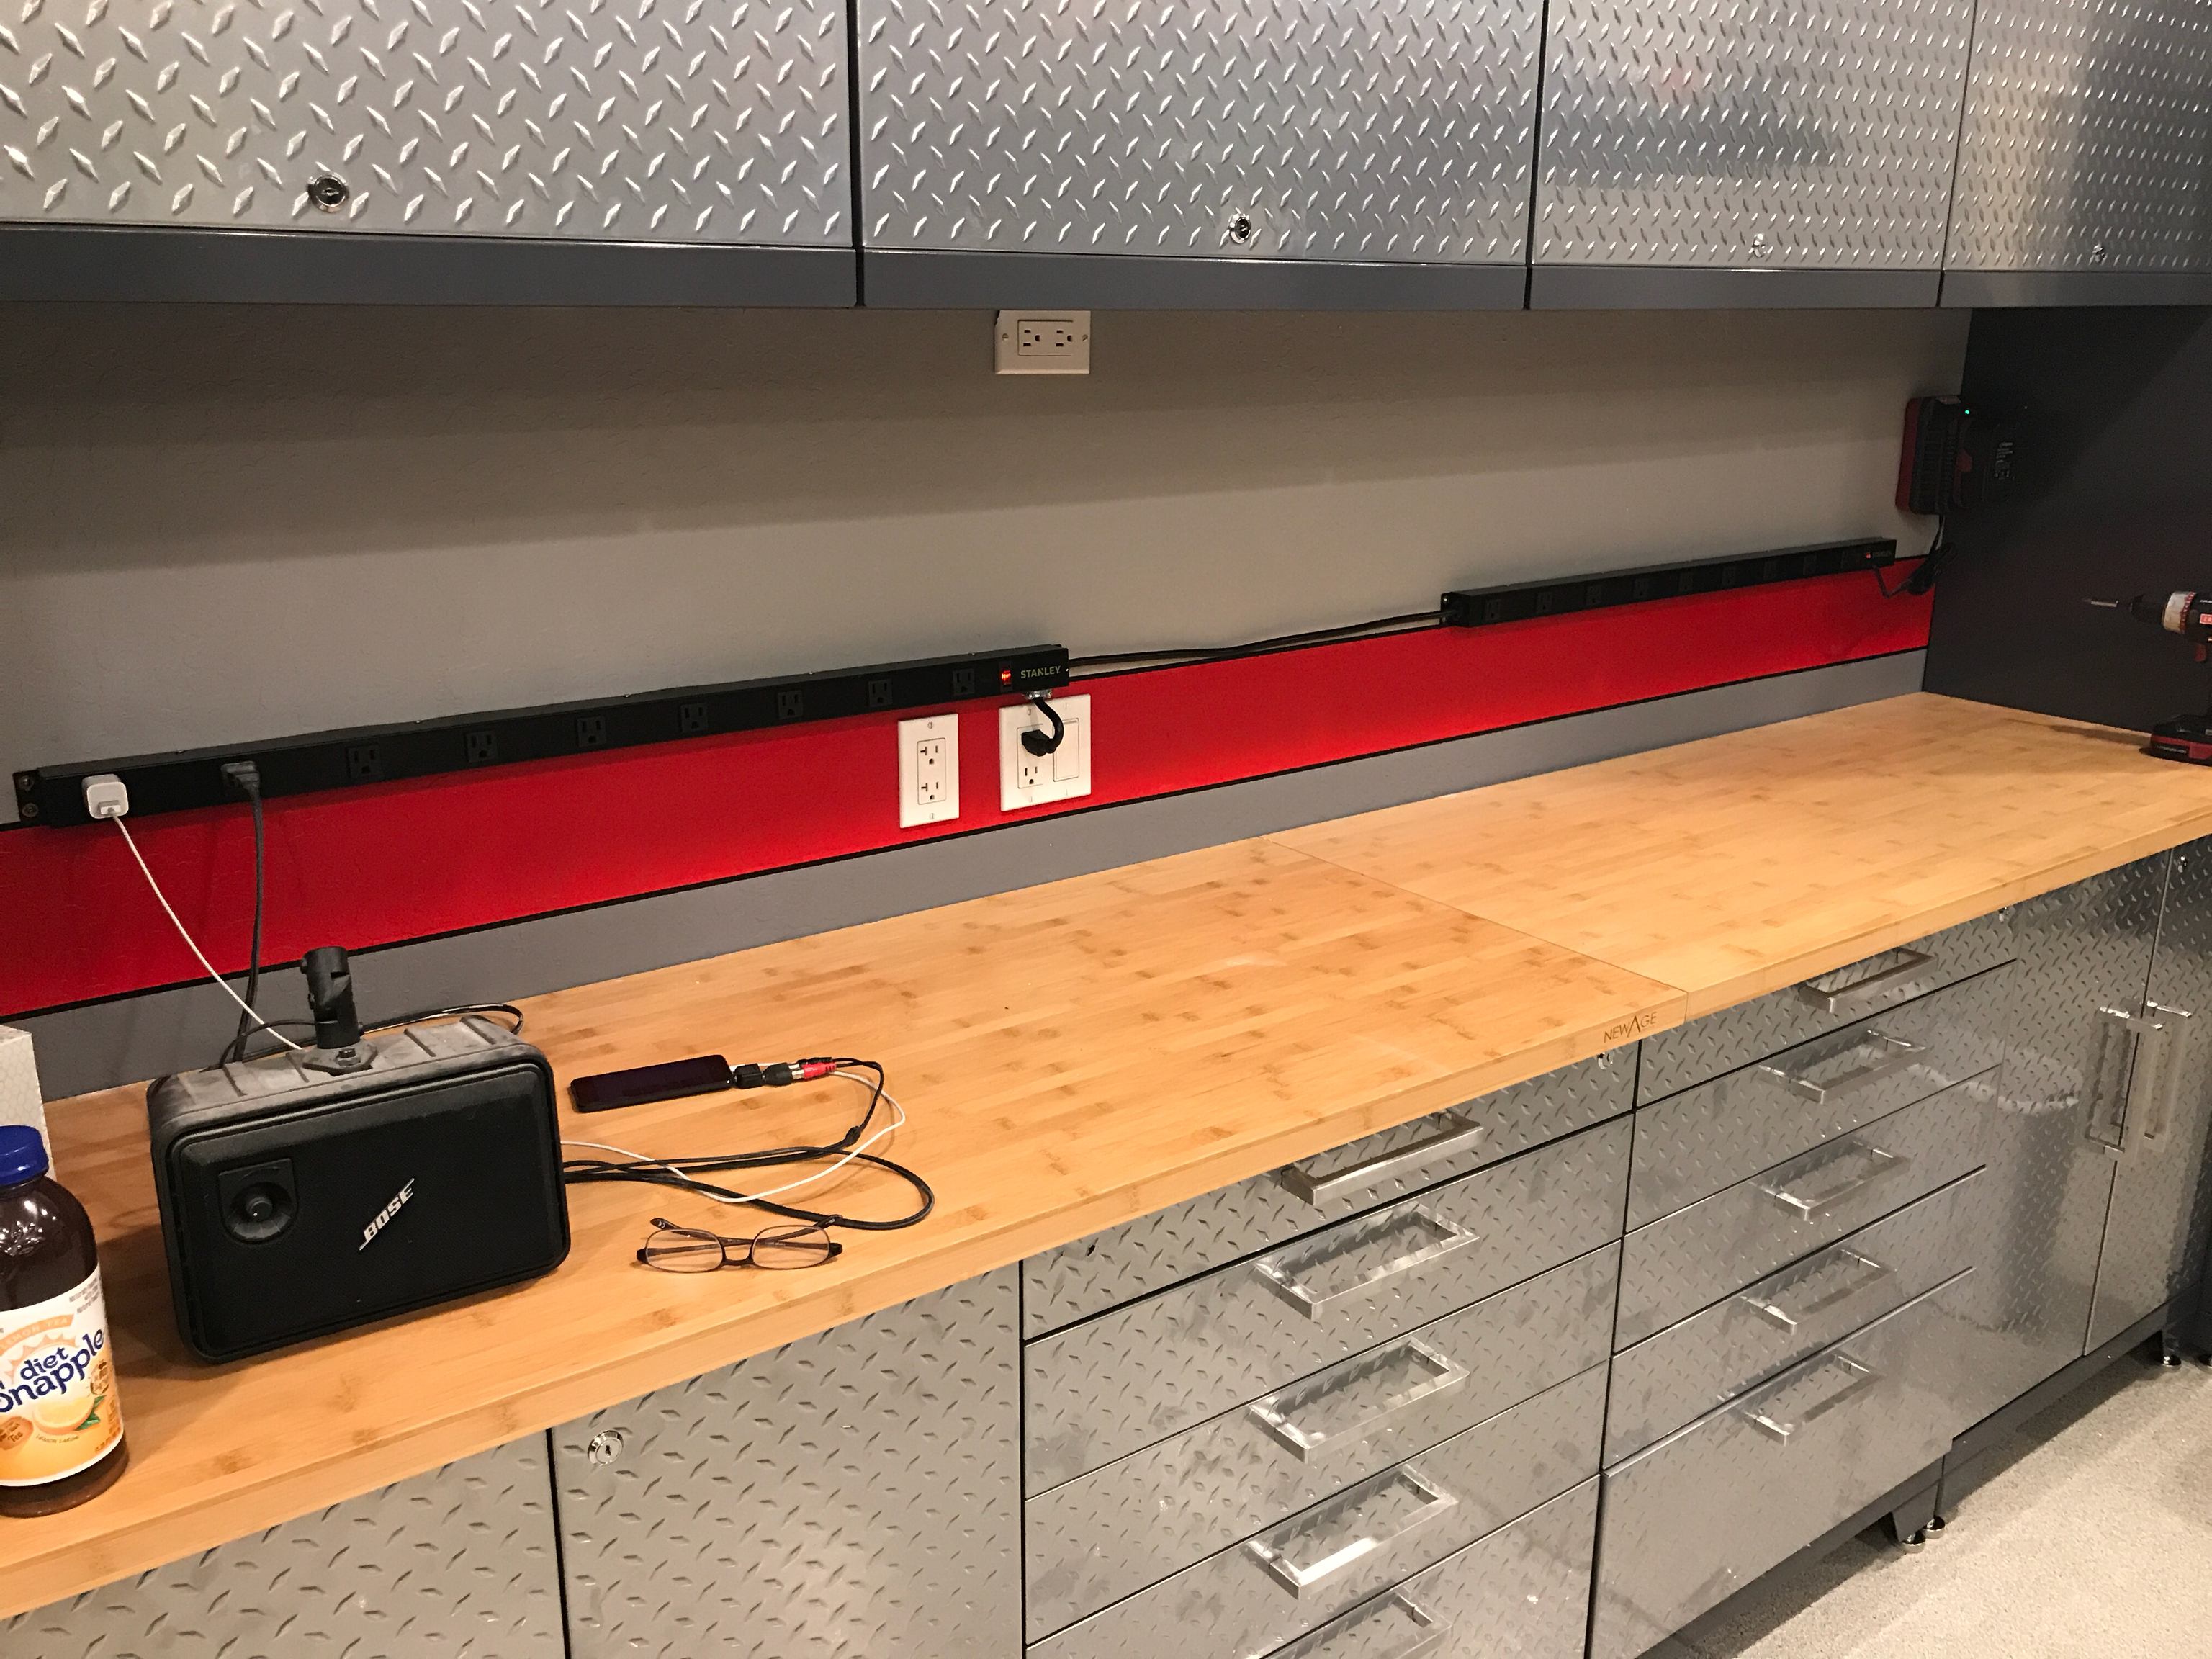
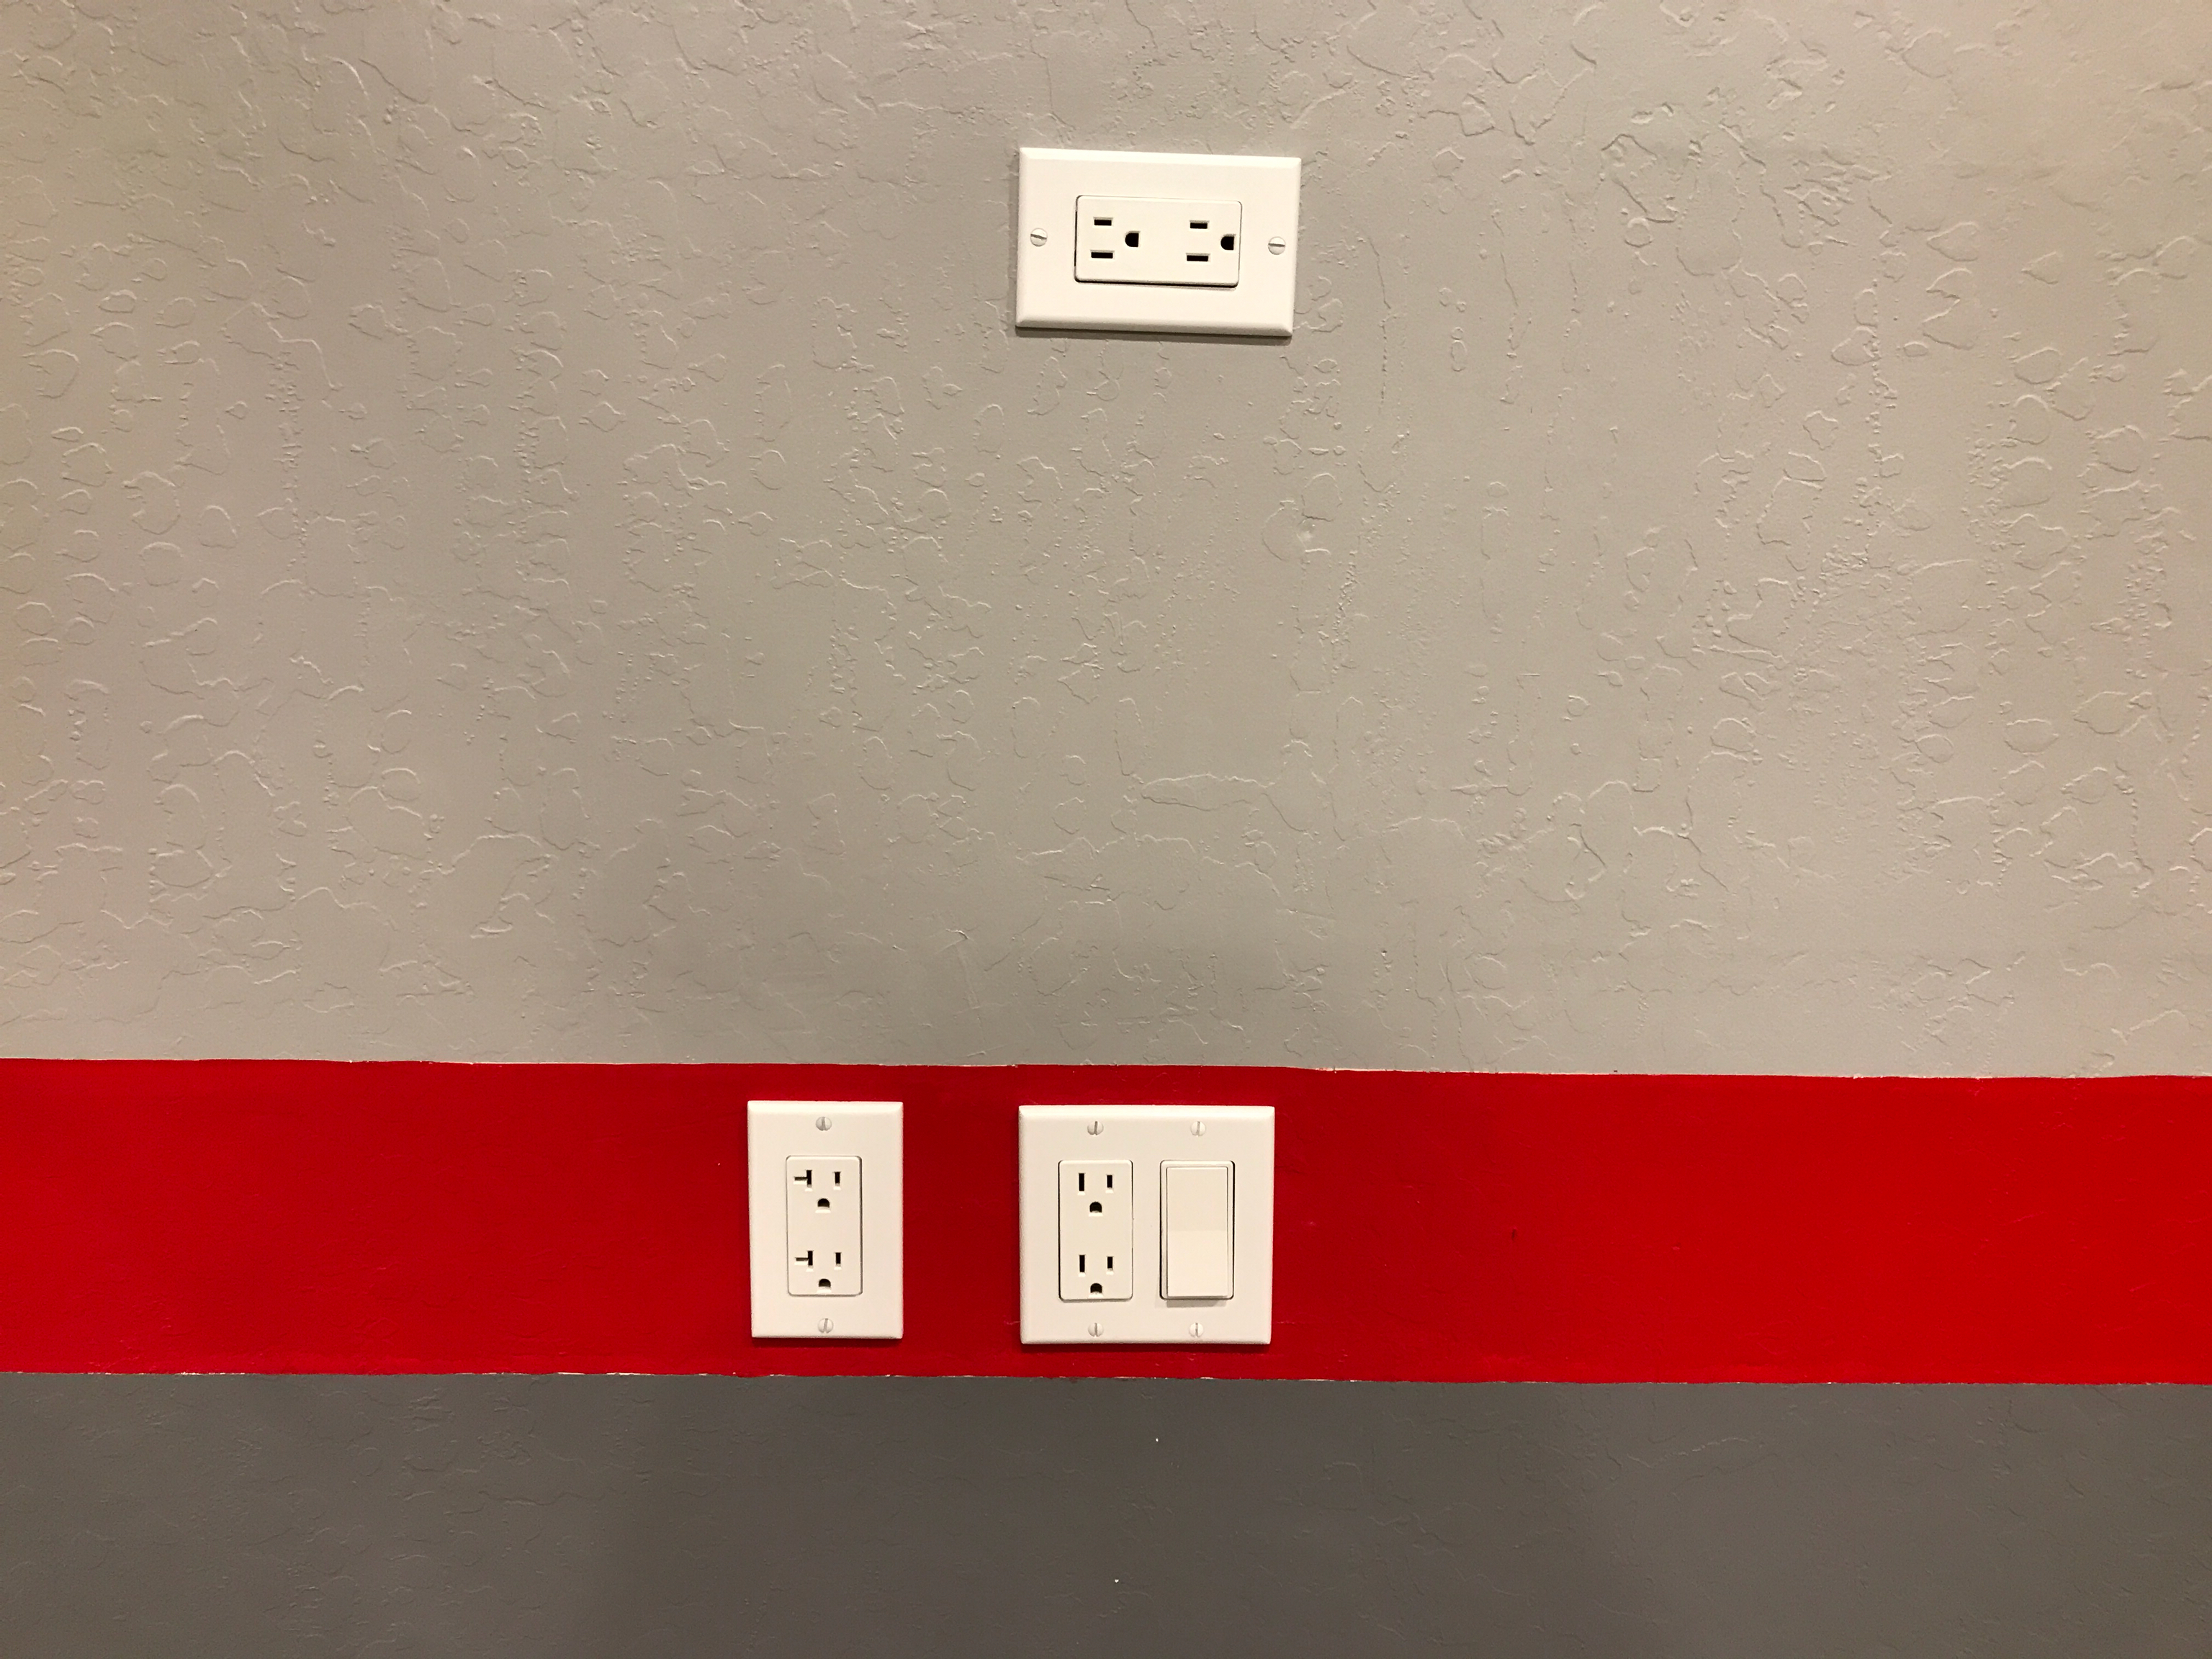
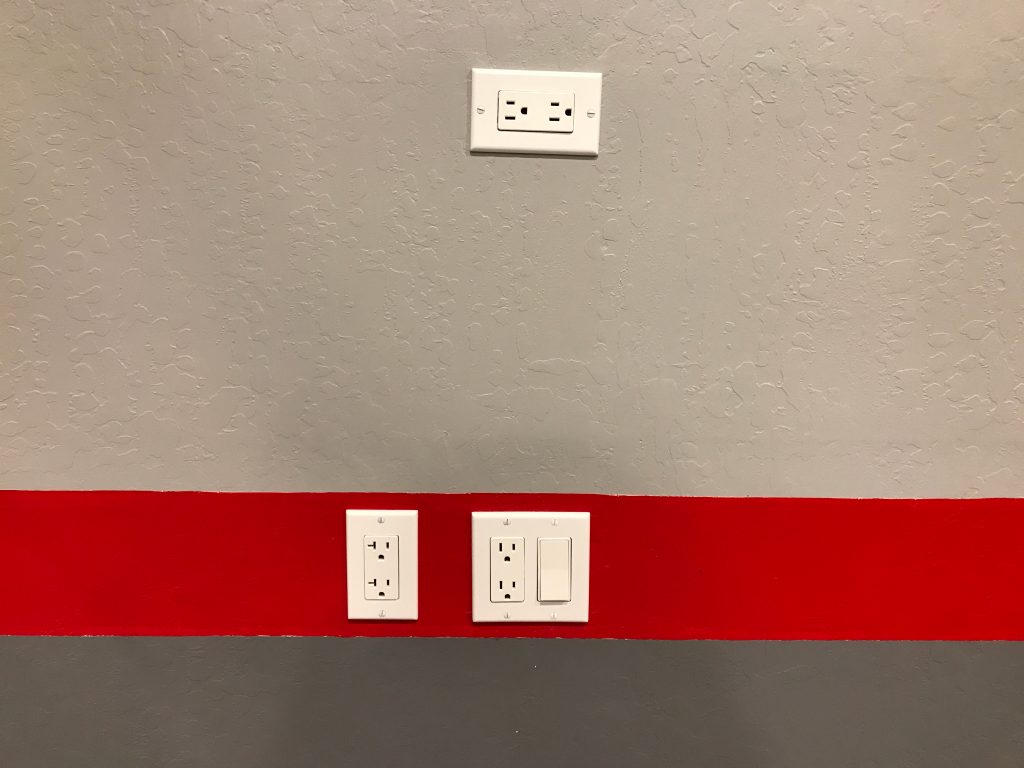
I also added a new 20A circuit in the wall and ran this back to the subpanel so I have a dedicated 20A circuit with nothing else on it. I picked up a Hobart 140 welder to use on the project, and it needs a dedicated circuit to avoid blowing the breaker.

I also jumpered from the switch up to the horizontal outlet at the top. The undercabinet lights will plug in here so that they can be controlled by the switch.

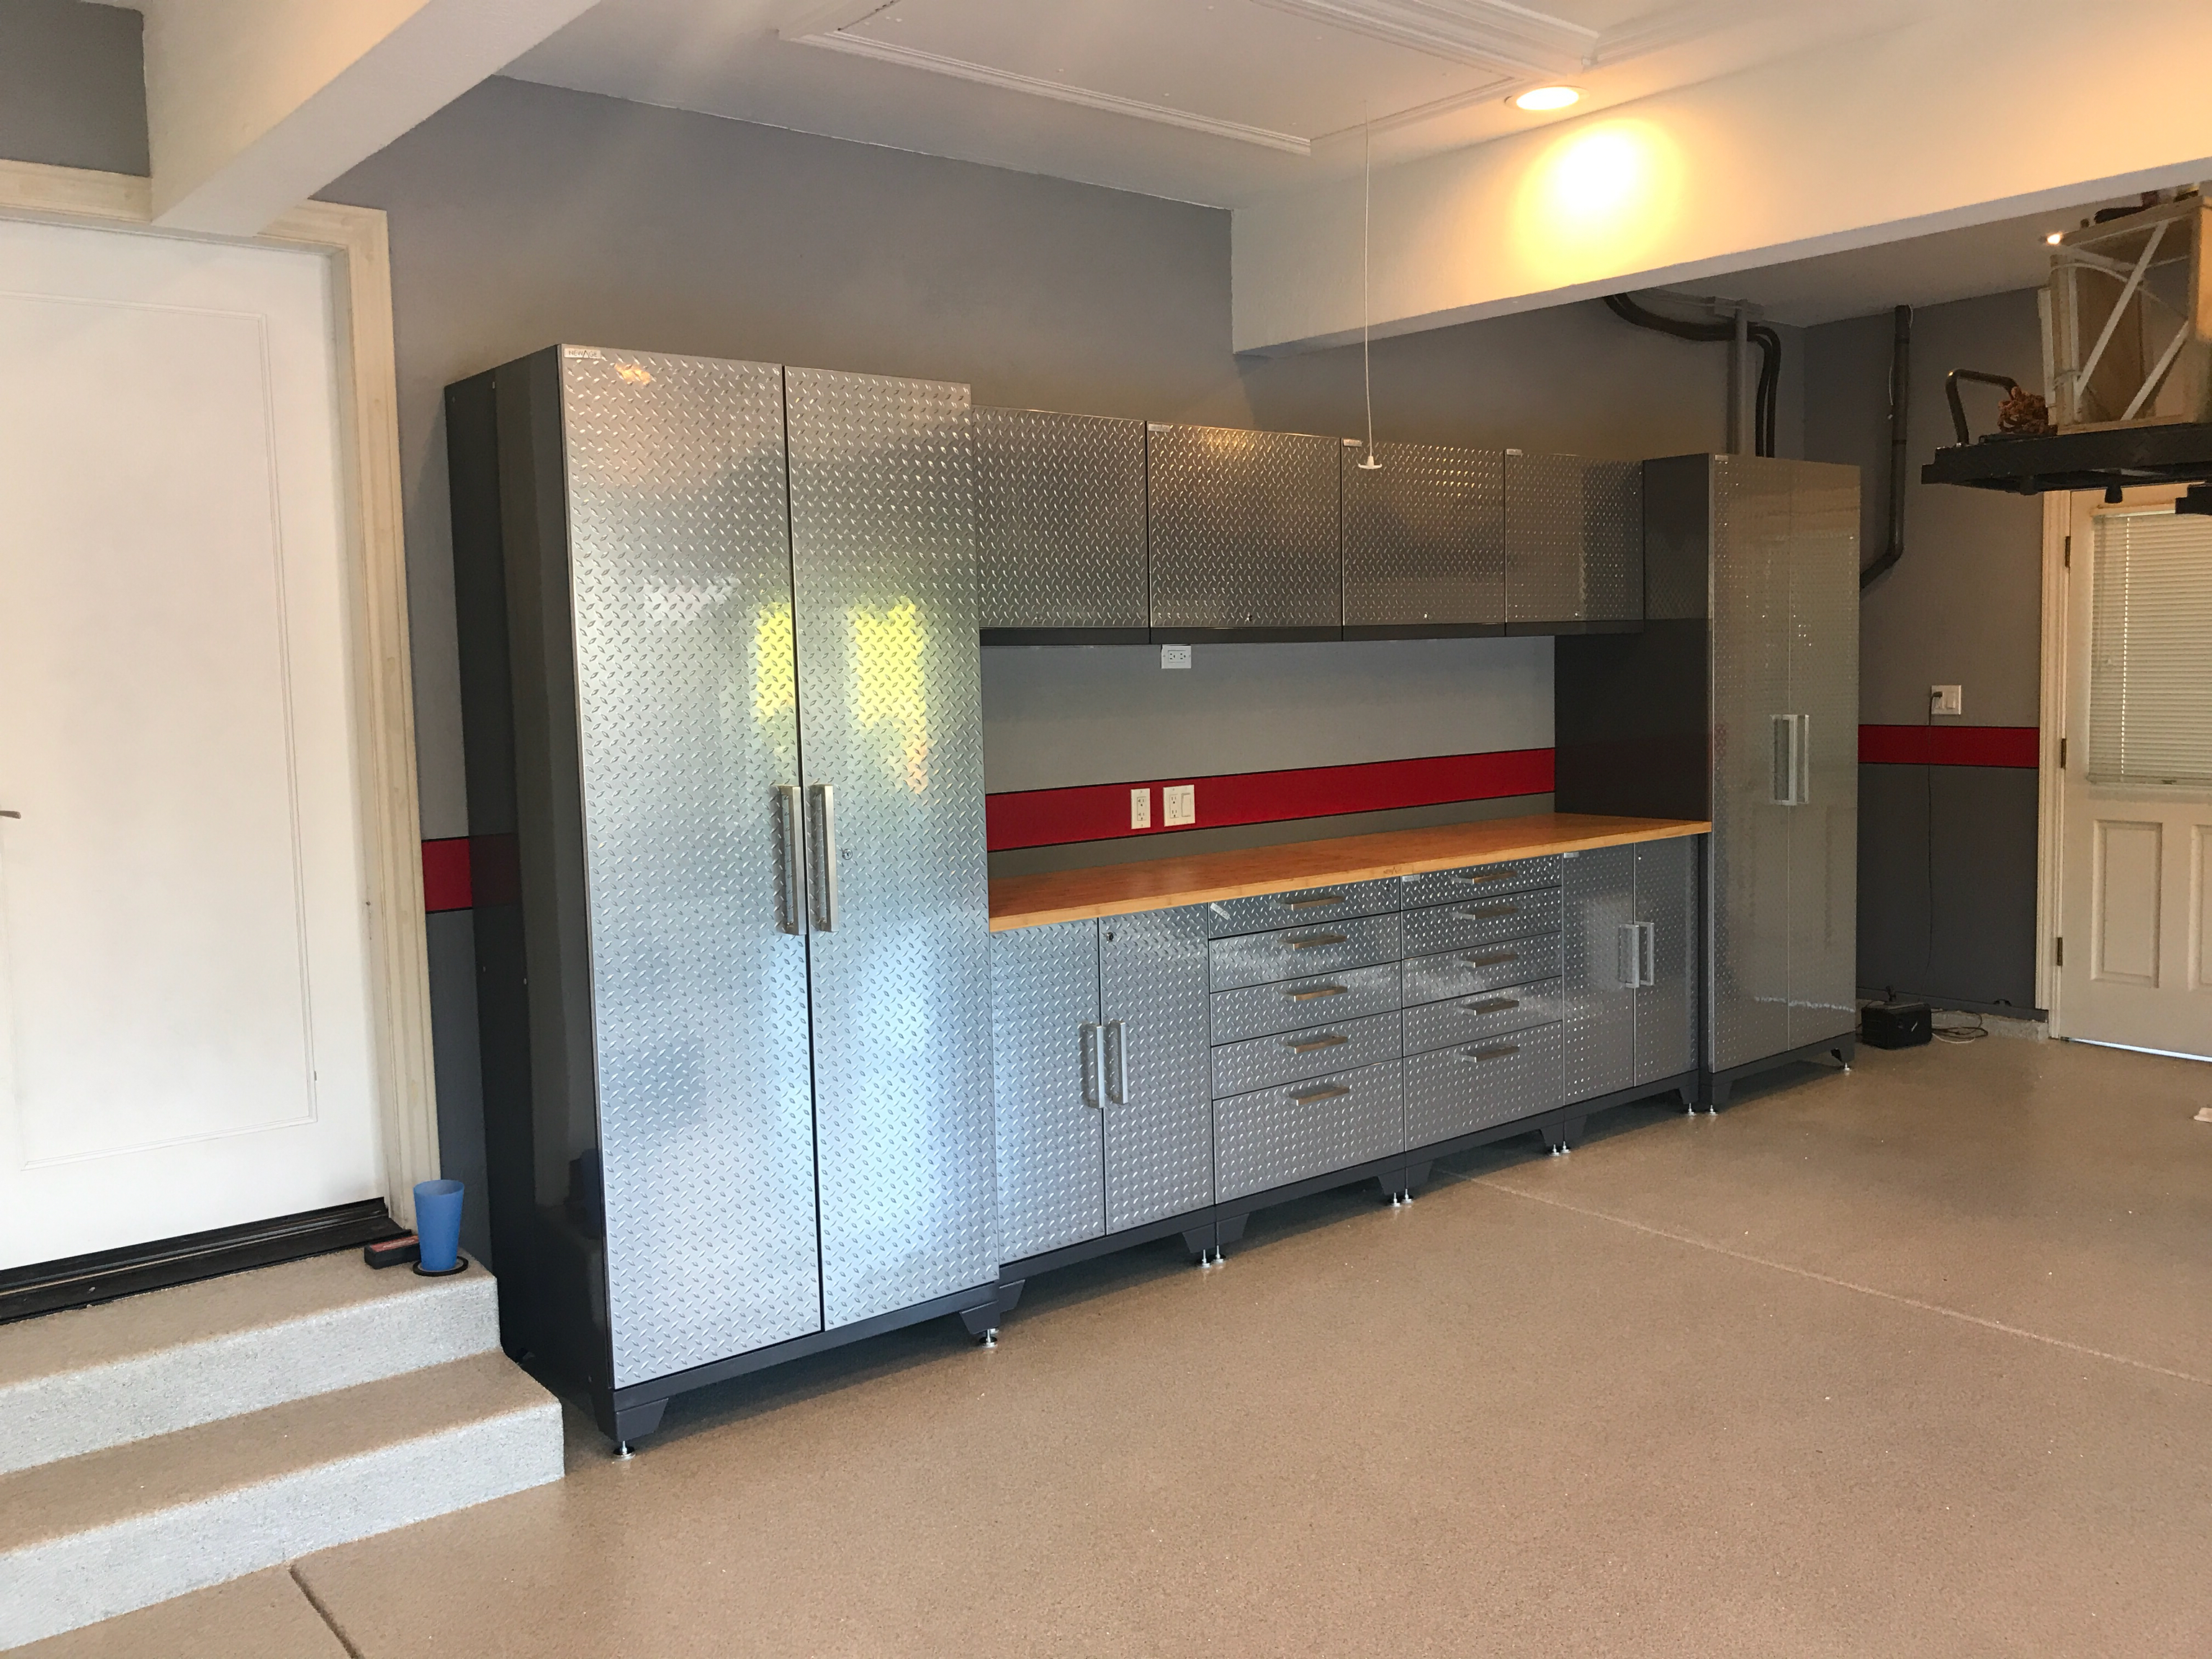
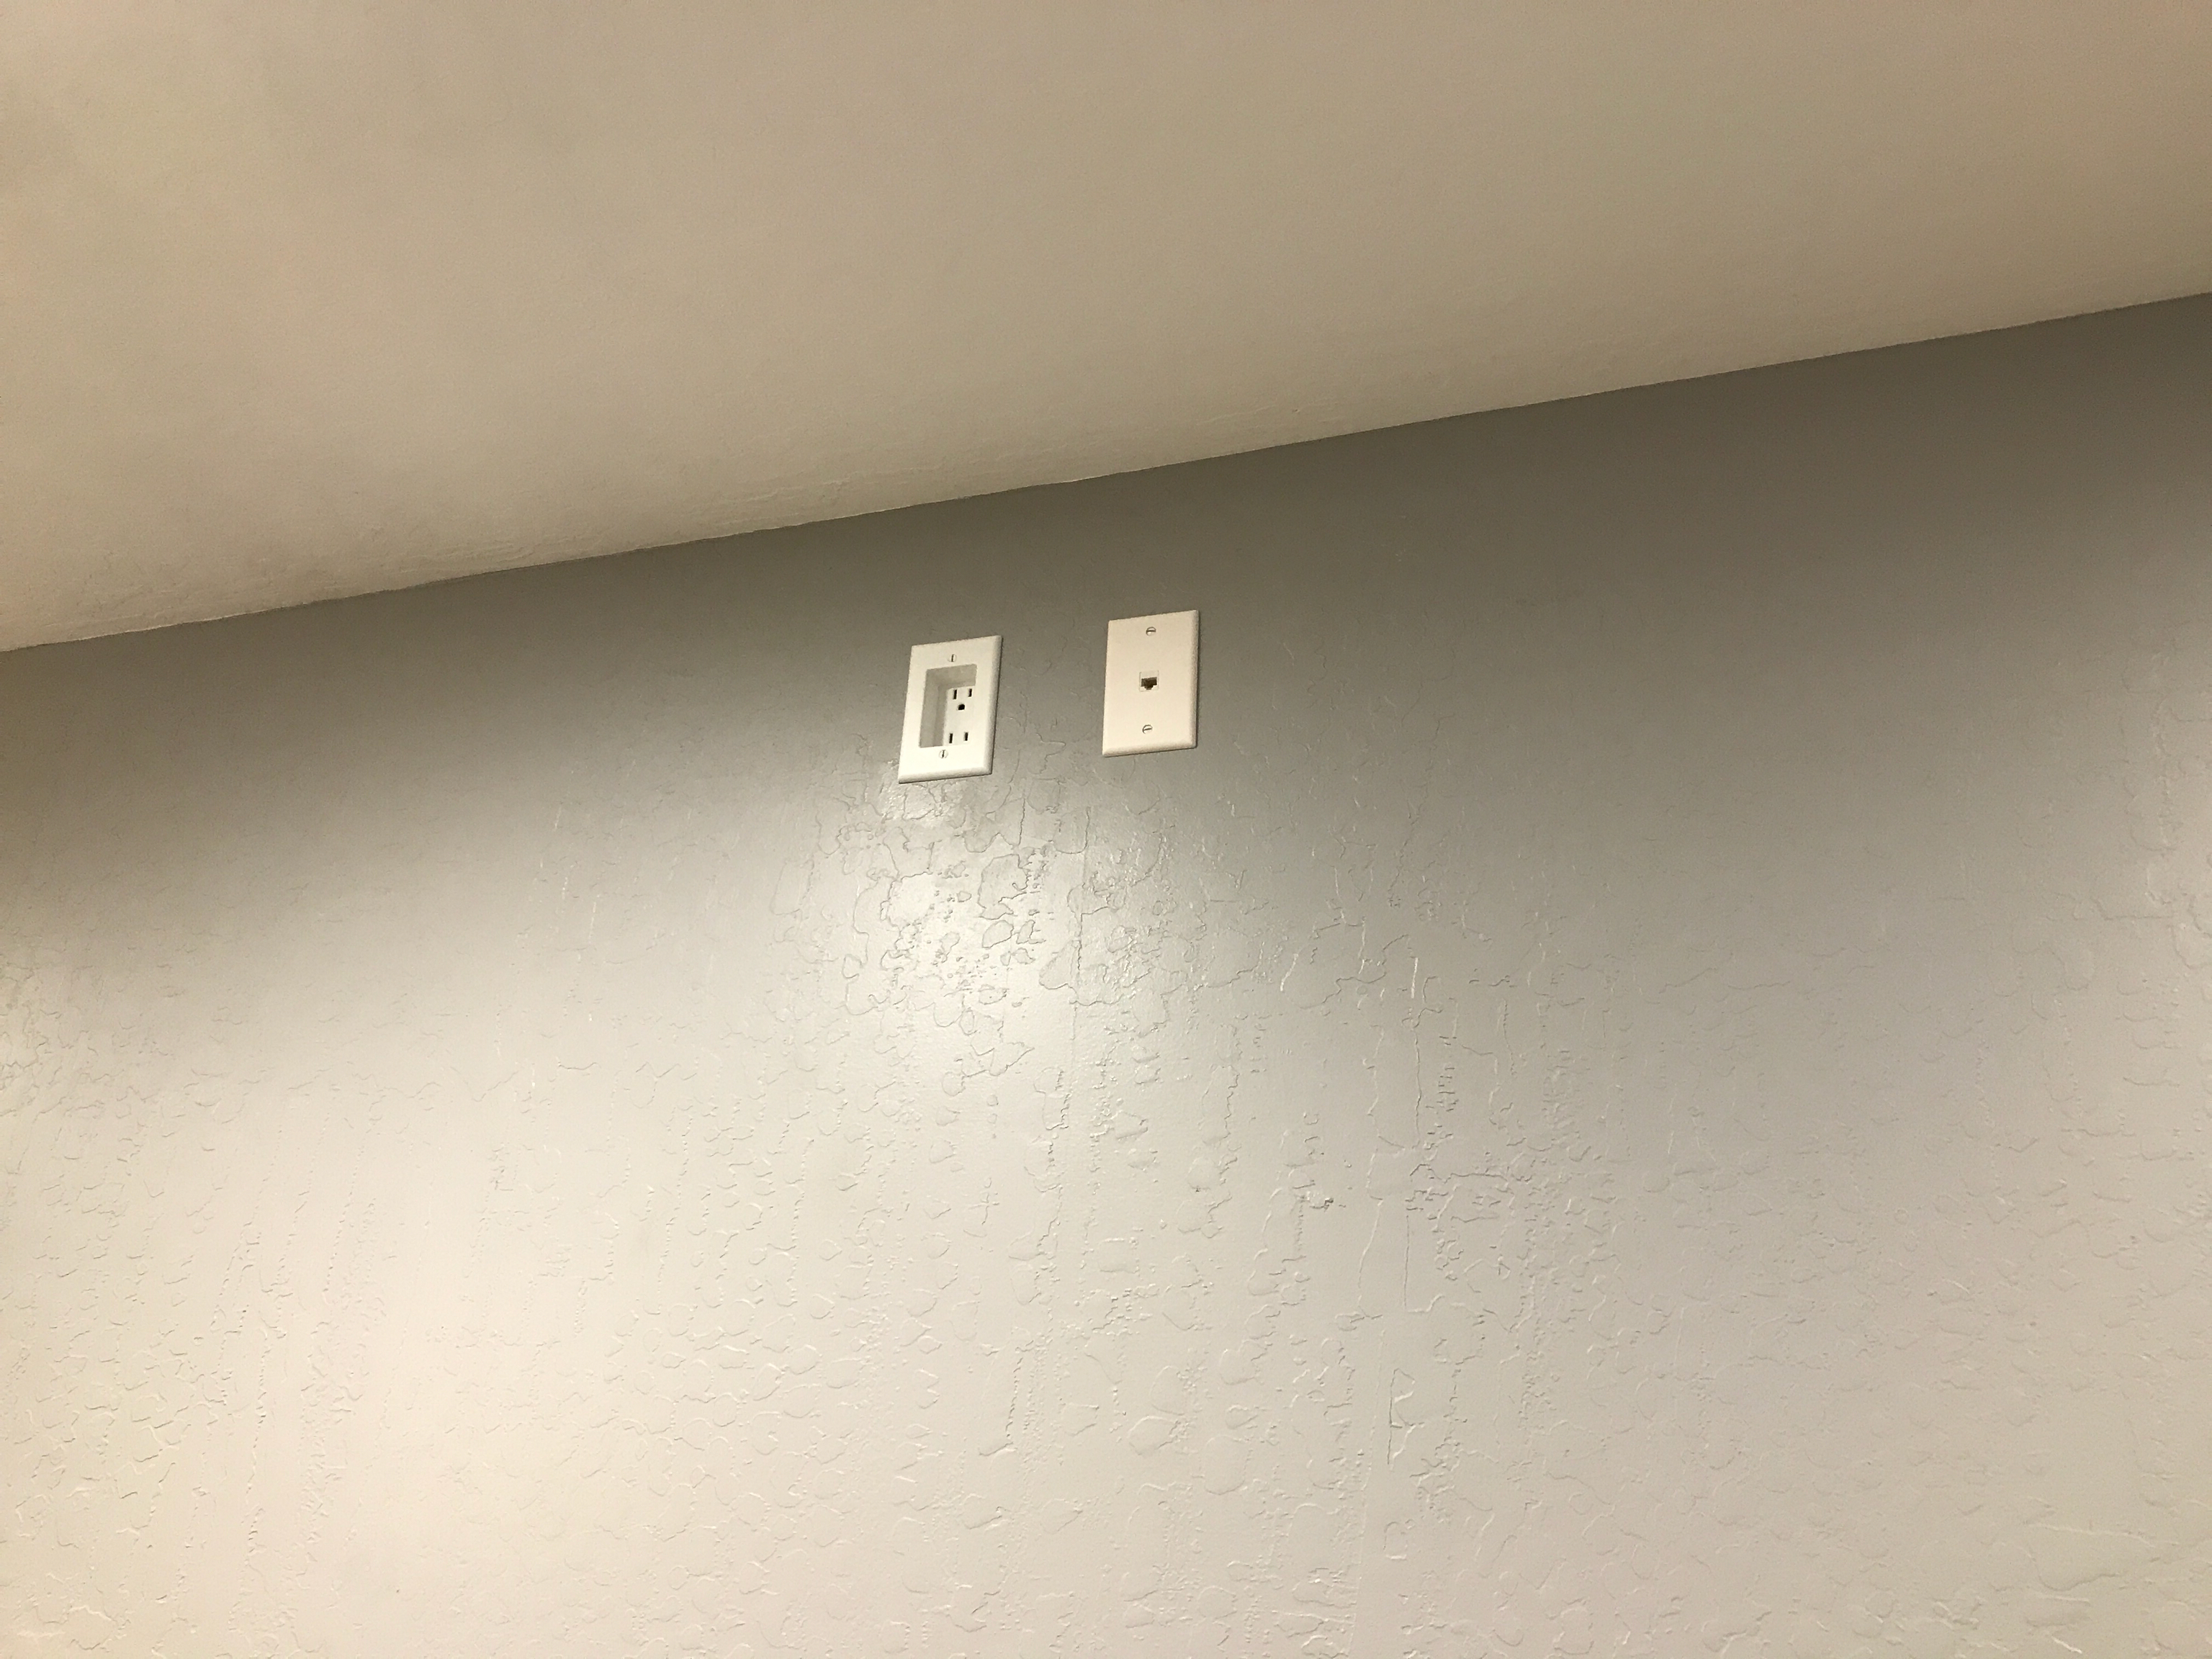
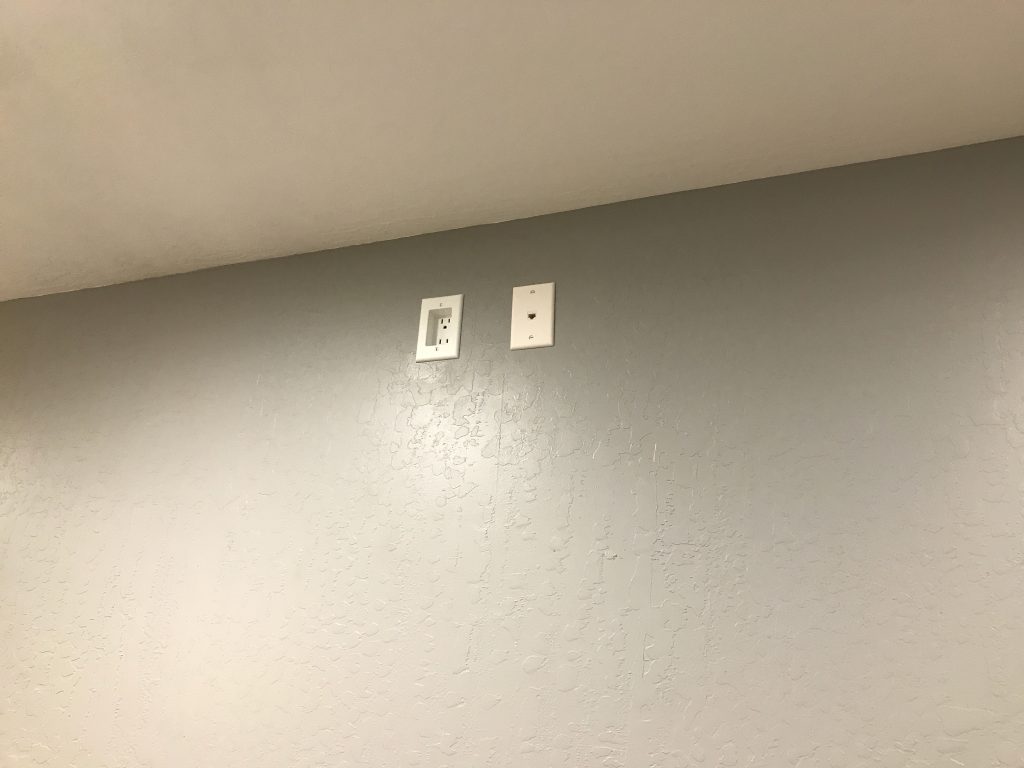
I also added a new outlet and ethernet jack at the top of one of the walls for the TV that will be installed here. My dad gave me an old flat panel TV he no longer needs that we’ll use until we upgrade one of the TVs in the house.

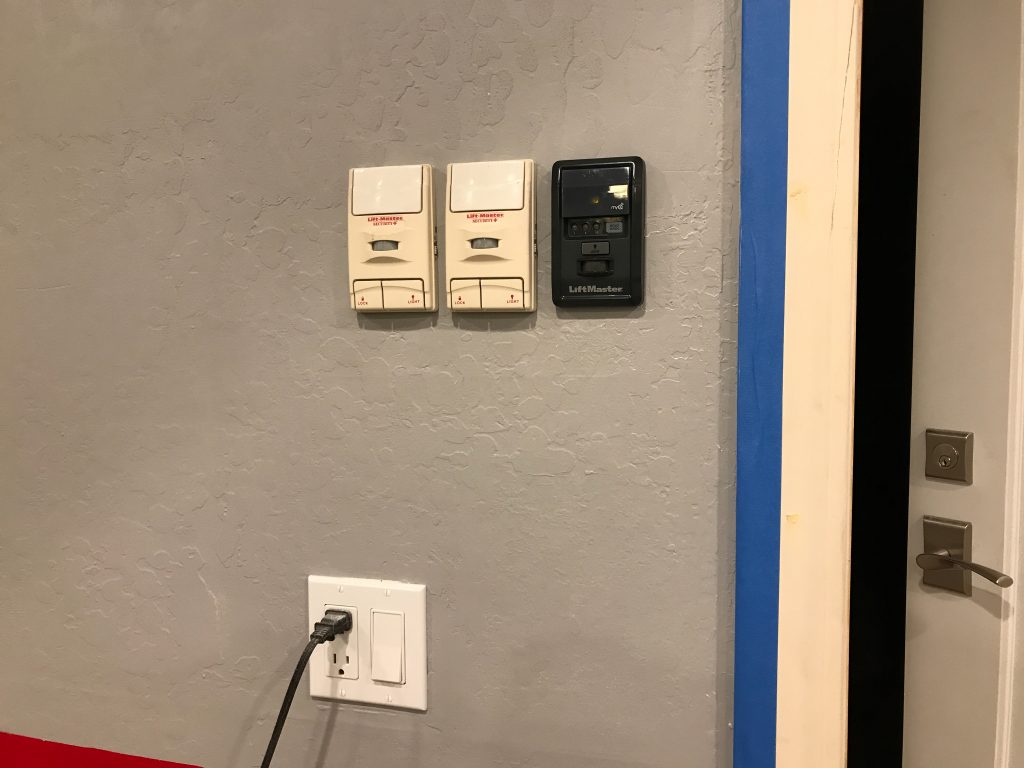
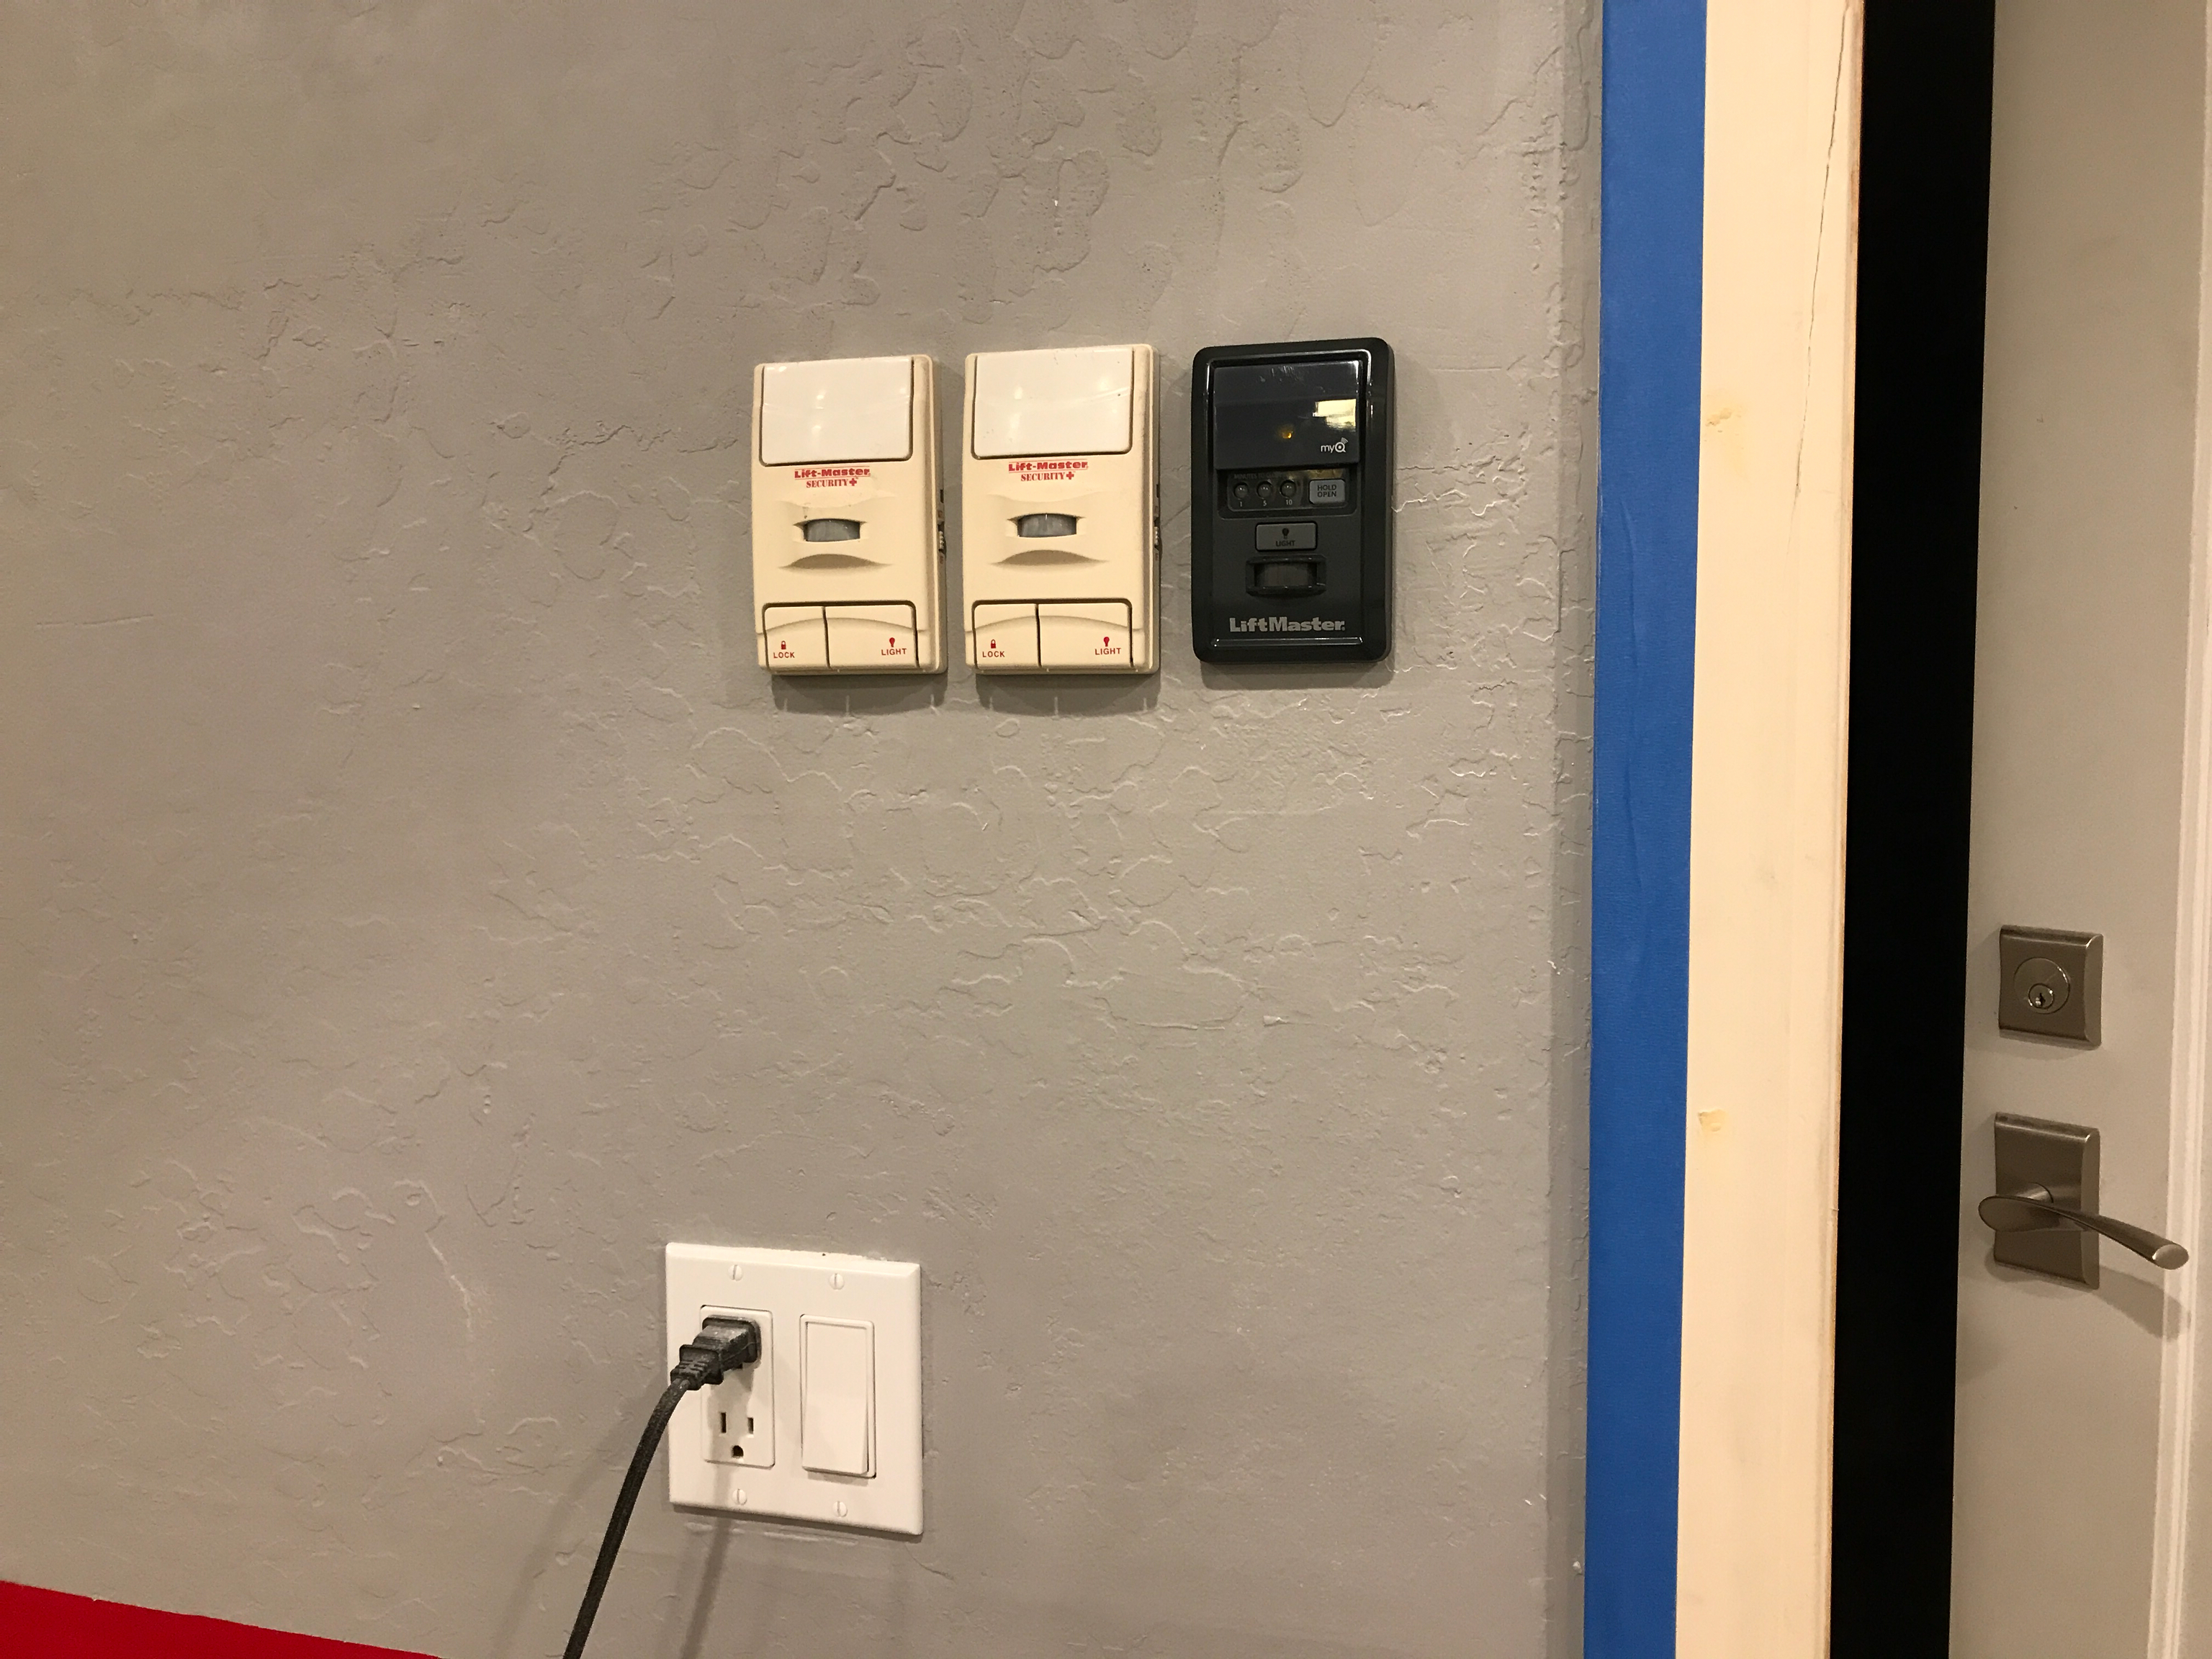
The old wall controls for the garage doors had the wires just stapled to the drywall. They ran up the wall and then rather haphazardly across the ceiling to the openers. Since we’re trying to make the garage look pretty nice, I decided to run the control wires through the attic. The installation looks so much cleaner this way.

Added Key Switch to Car Lift

I added a key switch to the car lift so that we can cut power to the lift when we aren’t around. With young kids in the house and especially their friends around, we really want to be able to prevent the lift from moving. After raising the lift and then setting it down on the mechanical stop, you have to raise the lift slightly to release the safety catch. With the power off, you can’t pull the safety catch, so there’s no way to move the lift up or down.

Painted Garage

I finished painting the garage this weekend. I sprayed the ceiling white and then painted the walls a two-tone gray with a red stripe down the middle. I’ll be adding some vinyl pinstriping at the top and bottom of the red stripe. Hopefully the vinyl will stick to the walls well enough.

You can also just see the new outlet I added at the far upper right of the wall for the new side opener that will be installed on Tuesday.

Poured Final Slab and Stairs

I had the concrete company come back out this morning and pour a new slab that sits flush with our garage floor and surrounds the lift’s baseplate. This slab has rebar ties to the rest of the garage floor slab so it should remain flush with it even if there is some movement.

They built a form around the base that I still need to remove. I’ll add a steel plate over the lift base that will sit flush with the floor to make it easy to move around on creepers and stools. The removable plate will also make it easy to remove the lift if we ever move or decide we don’t want it. I’ll have the floor and steel plate covered in epoxy once the concrete cures in 28 days. It should be mostly invisible once done.

While they were out, I had them pour new steps to the door into the house. There was a single, slightly rickety wooden step here before which meant that you had to step over the door threshold and immediately down one step when coming out into the garage. I had them pour the new step flush with the door threshold to avoid this. The steps come out 24″ which will exactly match our new cabinets that will be installed along this wall.

Retracked Garage Door

I had the garage door retracked to be a high-lift. It now runs within a couple of inches of the ceiling and doesn’t come back as far. This should easily clear any car on the lift. Unfortunately, someone stole the garage door opener out of the back of the installer’s truck when he stopped for coffee, so I’ll have to wait until a replacement shows up before we can operate it.

Anchored Lift to New Slab

I moved the lift into final position using a bottle jack horizontally to slide the base around. Since it’s recessed in a hole, there were convenient edges all the way around to push against. I centered the ramps in the garage door opening and adjusted it from front to back to that it was easy to walk around both ends of the lift. It ended up within 1/8″ from where I marked its position on the slab from the measurements I took from the 3D modeling I did.

I used Simpson Strong Bolt 2 anchors that are 6″ long instead of the 4″ anchors that came with the lift. These will have far greater holding power.