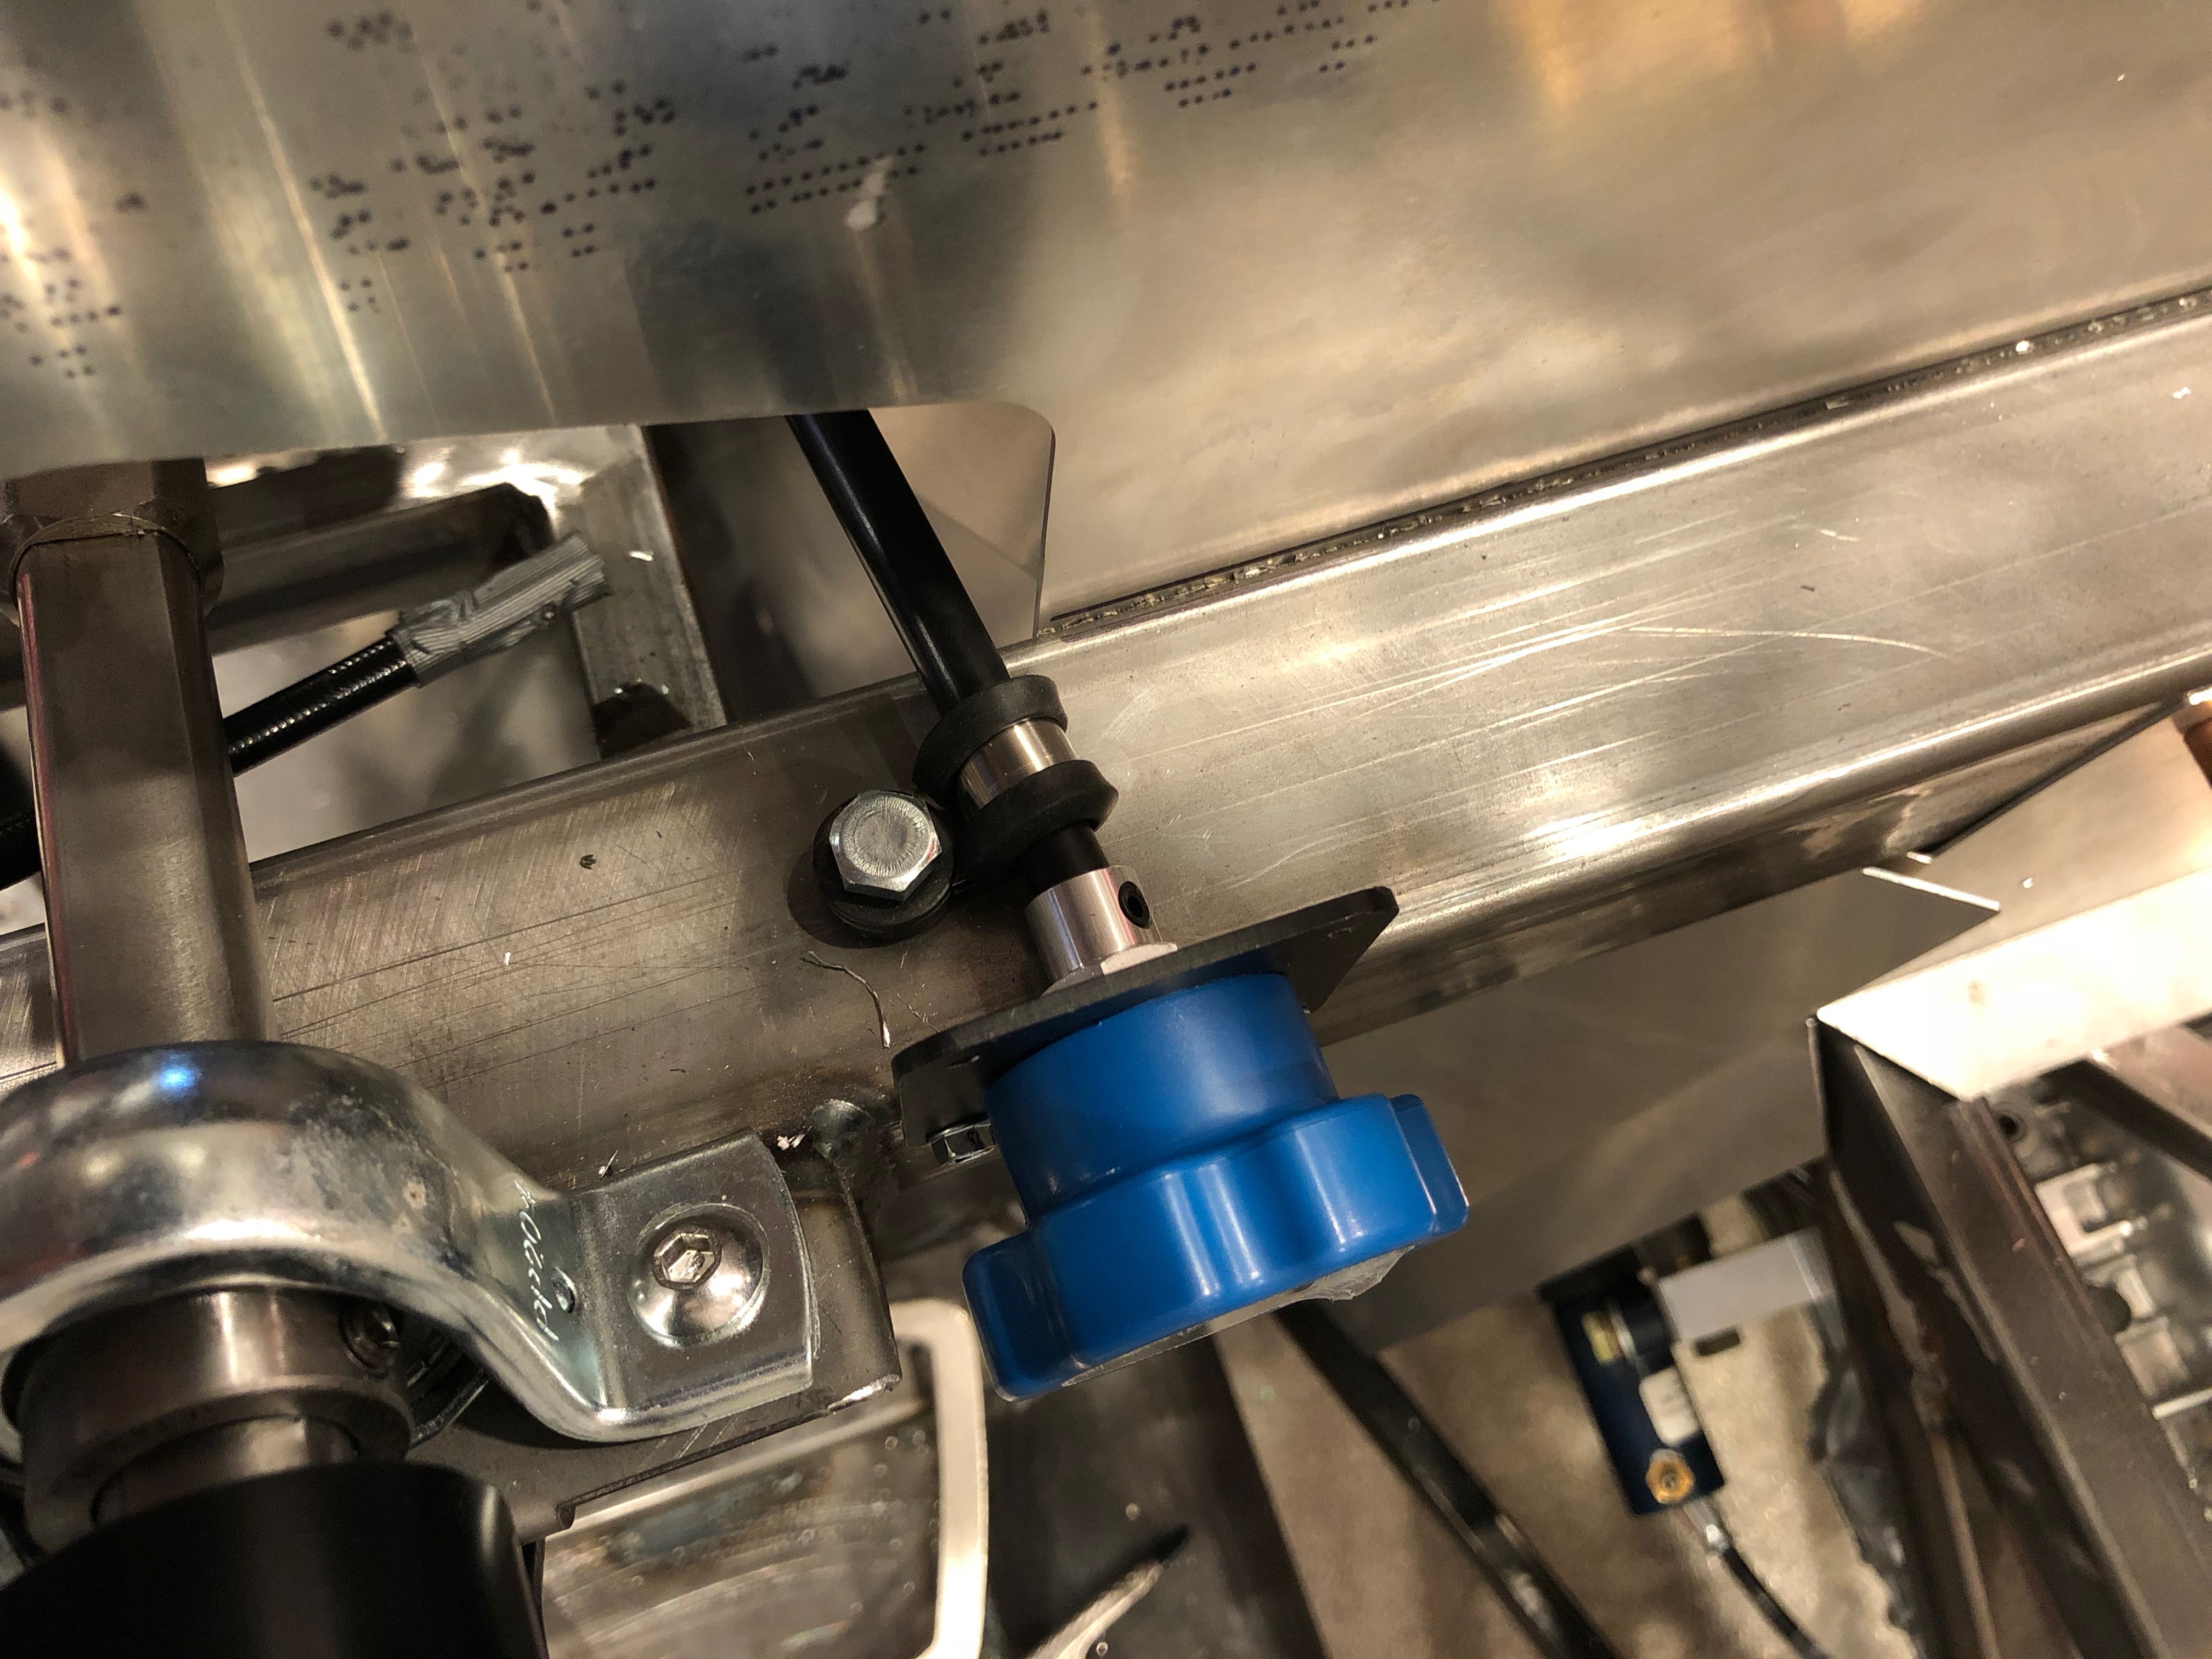
With the final location of the adjustment mechanism determined, I drilled the upper hole and installed a riv-nut. I then taped the ends of the cable and cut off the excess. I’ll replace the tape with a different cable termination during final reassembly.

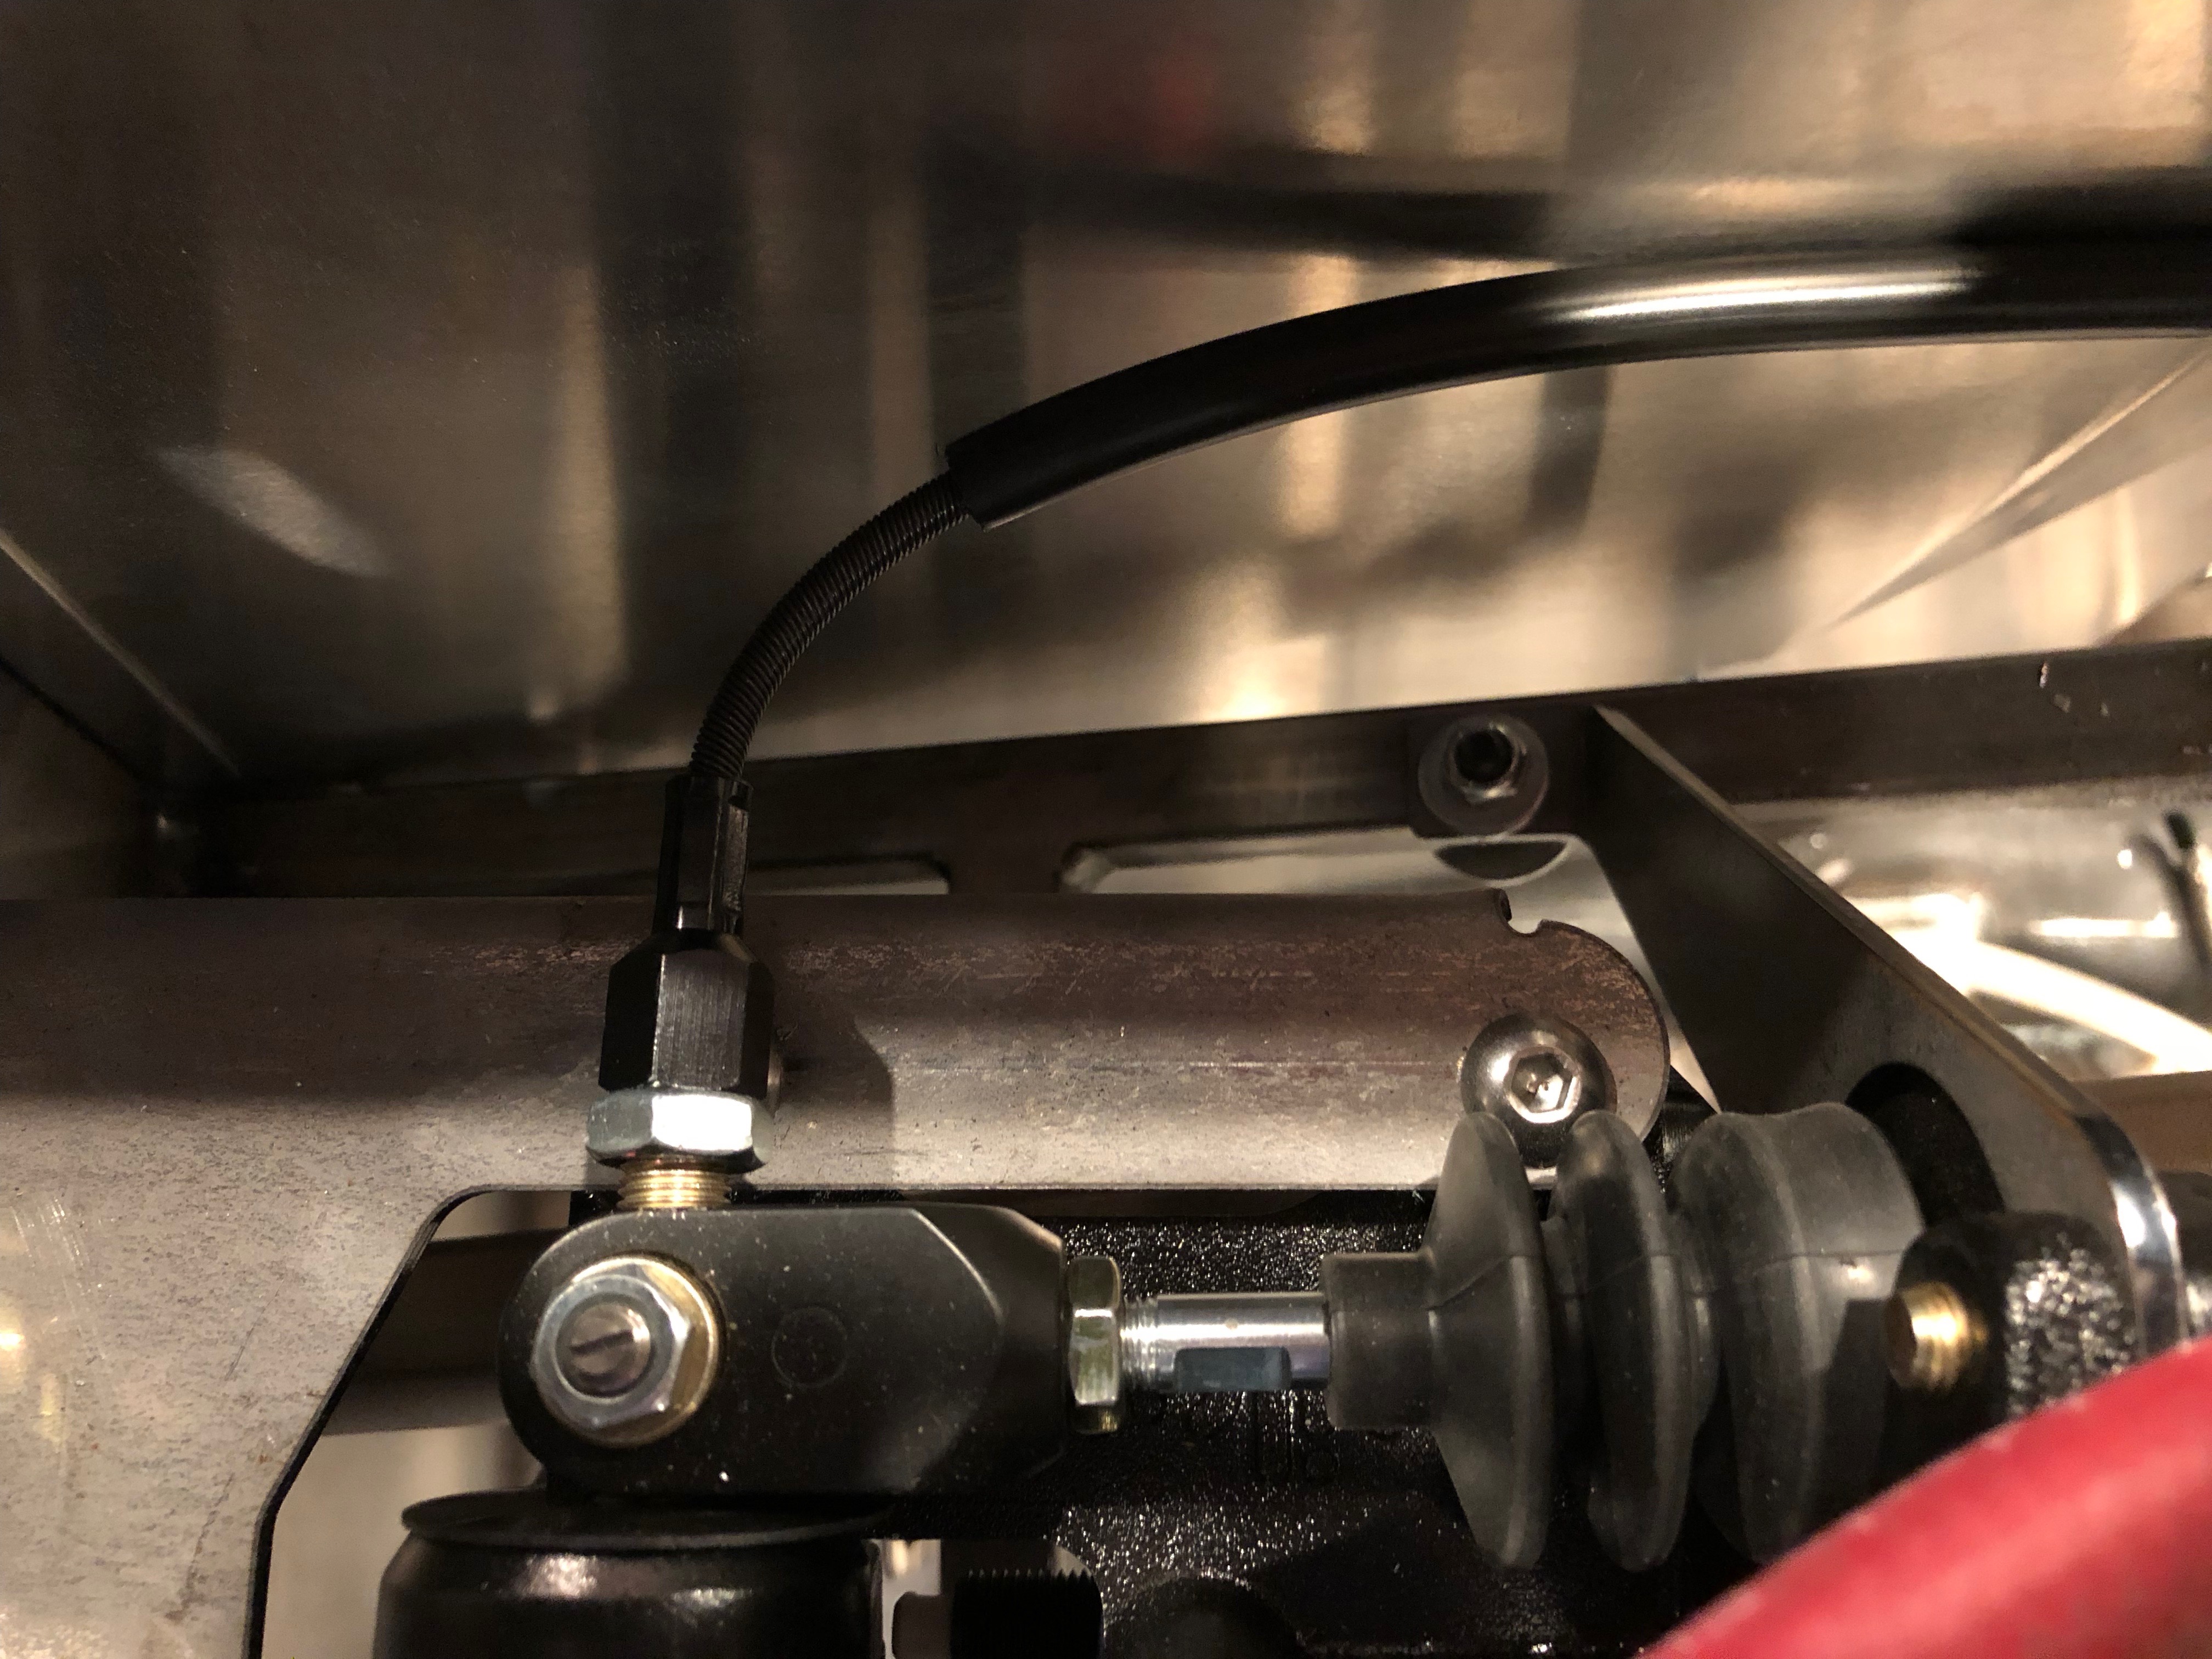
The cables exit the adjuster very close to the driveshaft. I want to add additional support for the cables to ensure they’ll never make contact with the driveshaft.
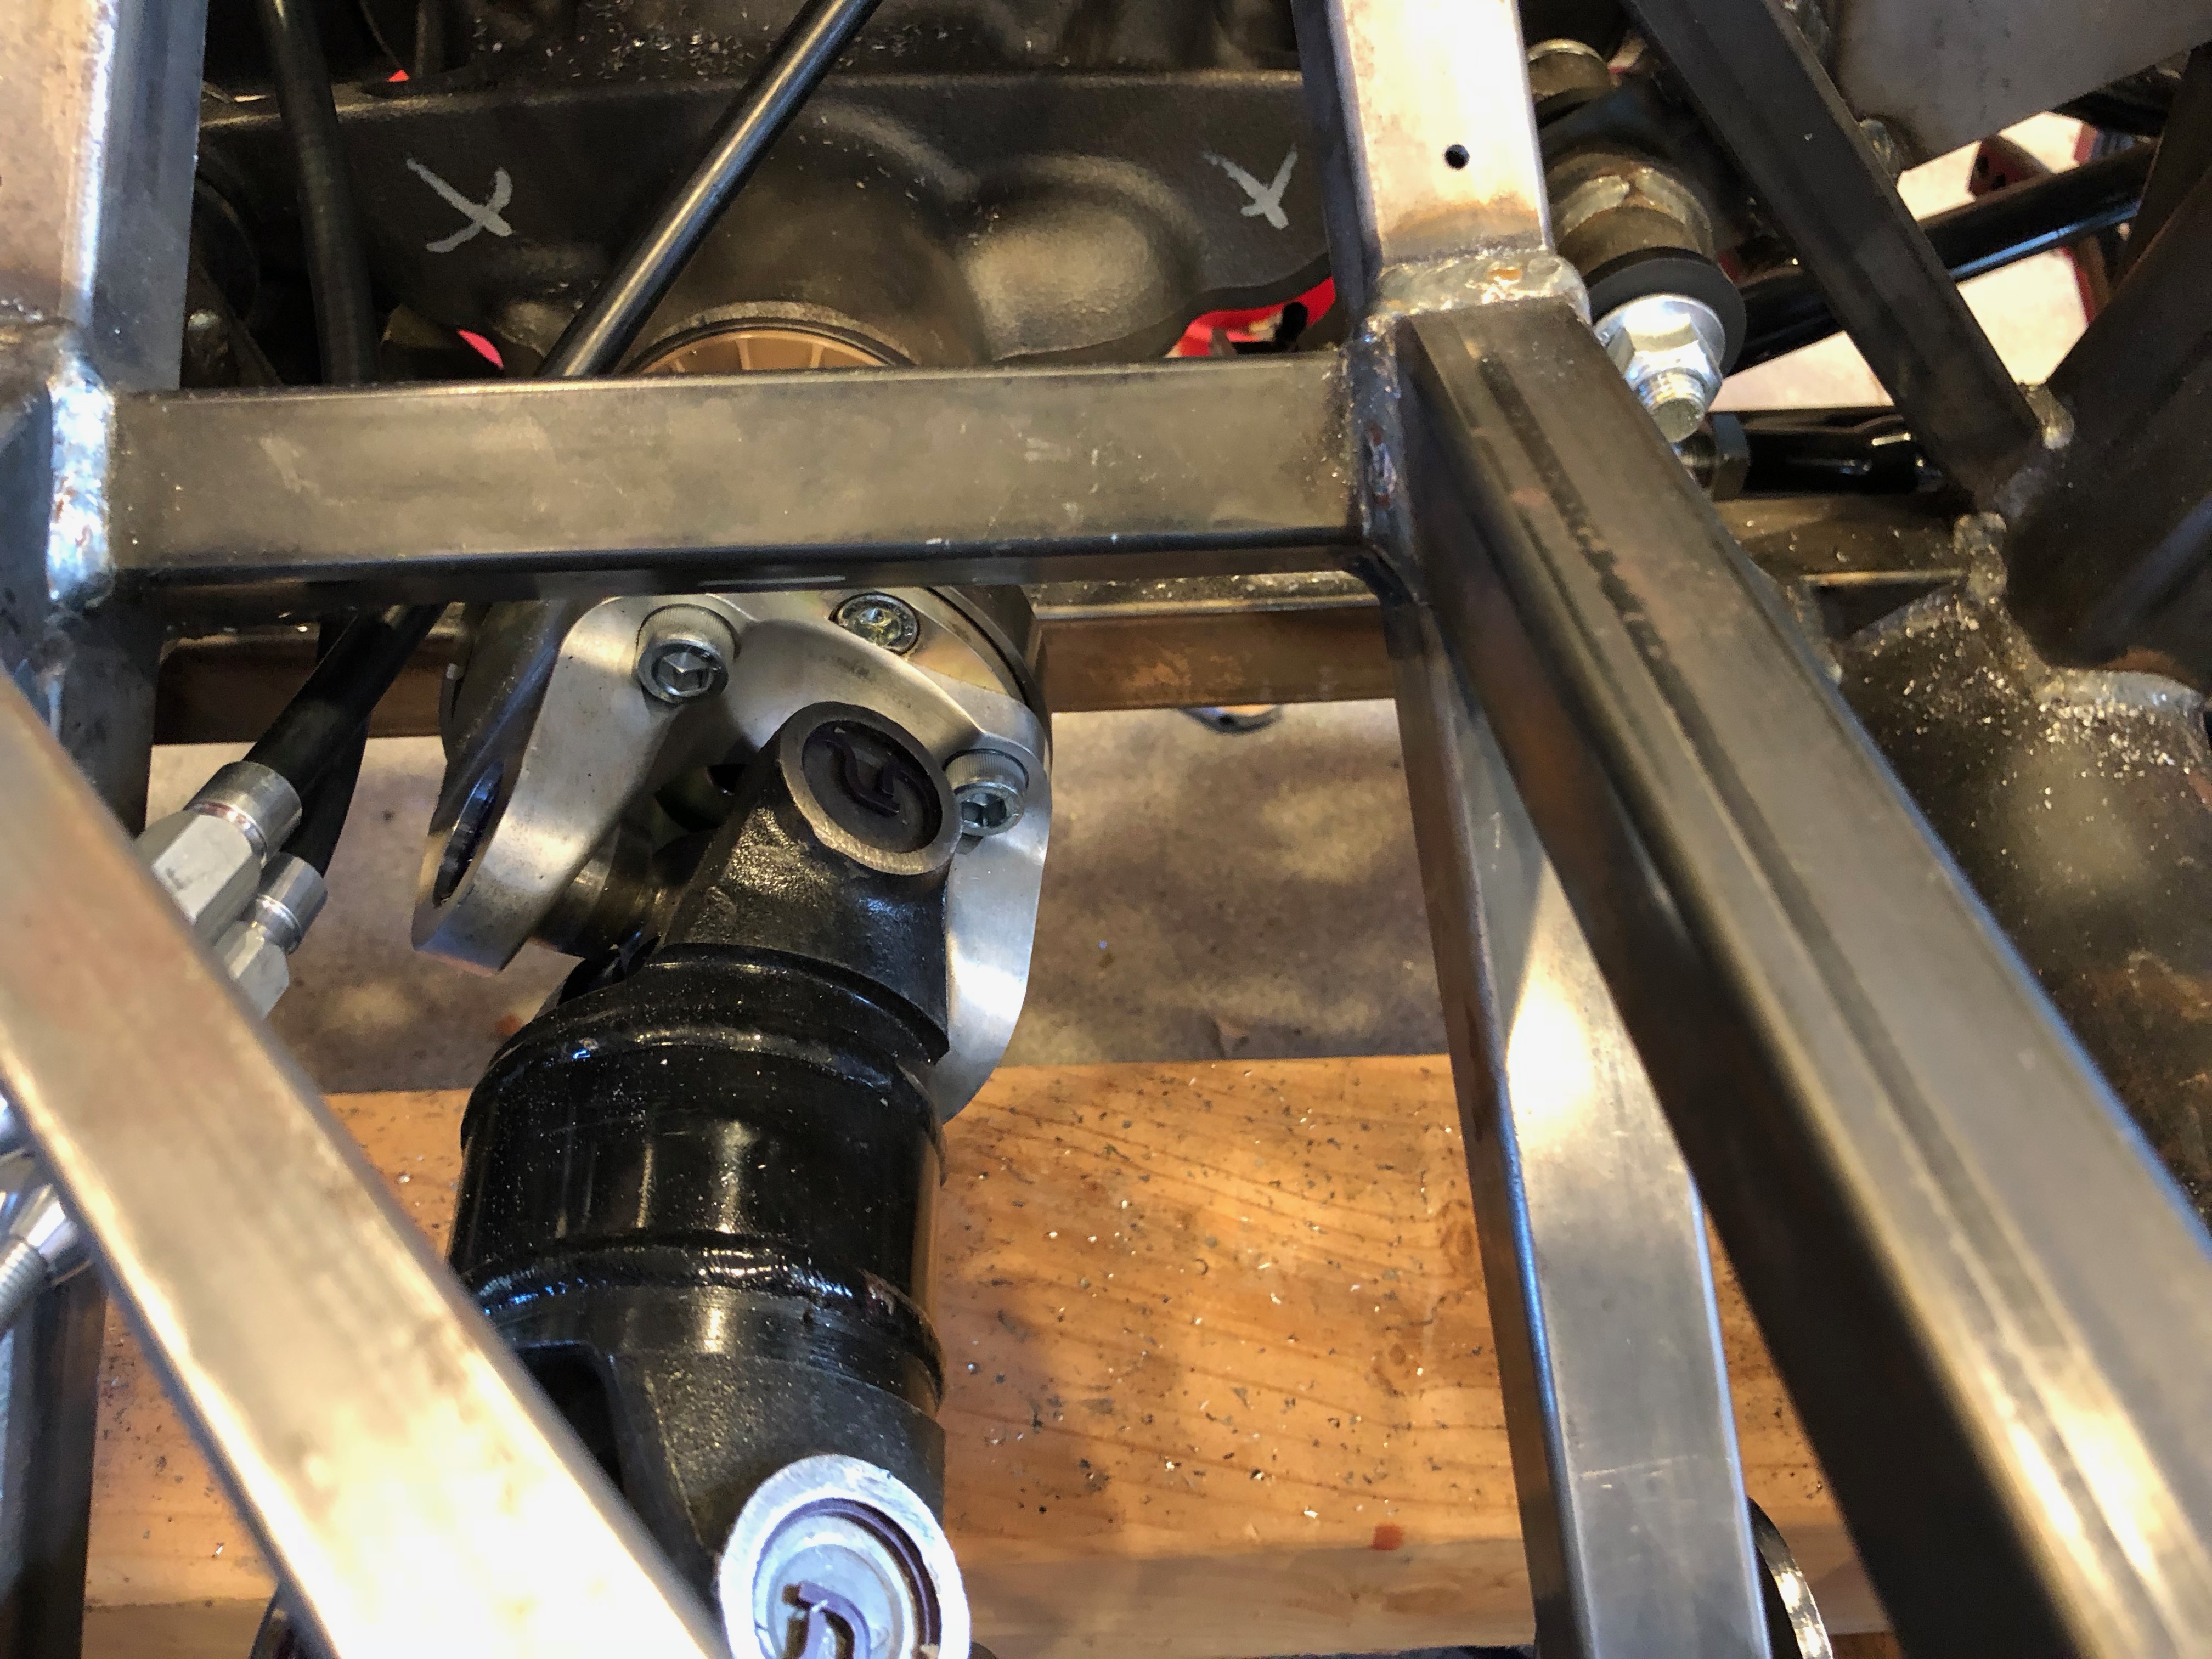
I added a couple of adel clamps above the differential to ensure the cables can’t drop and come in contact with the driveshaft. There’s now no way to even flex the cable enough to contact the driveshaft.

With the shifter and parking brake in place, I trimmed and reinstalled the old cross member in the top of the transmission tunnel.
Here’s the finished transmission tunnel. I couldn’t weld the underside, but I’ll take care of that when the chassis is bare again.
I trimmed 1/2″ from the pushrods of each master cylinder. You can see that the jam nuts are nearly bottomed out on the shafts.
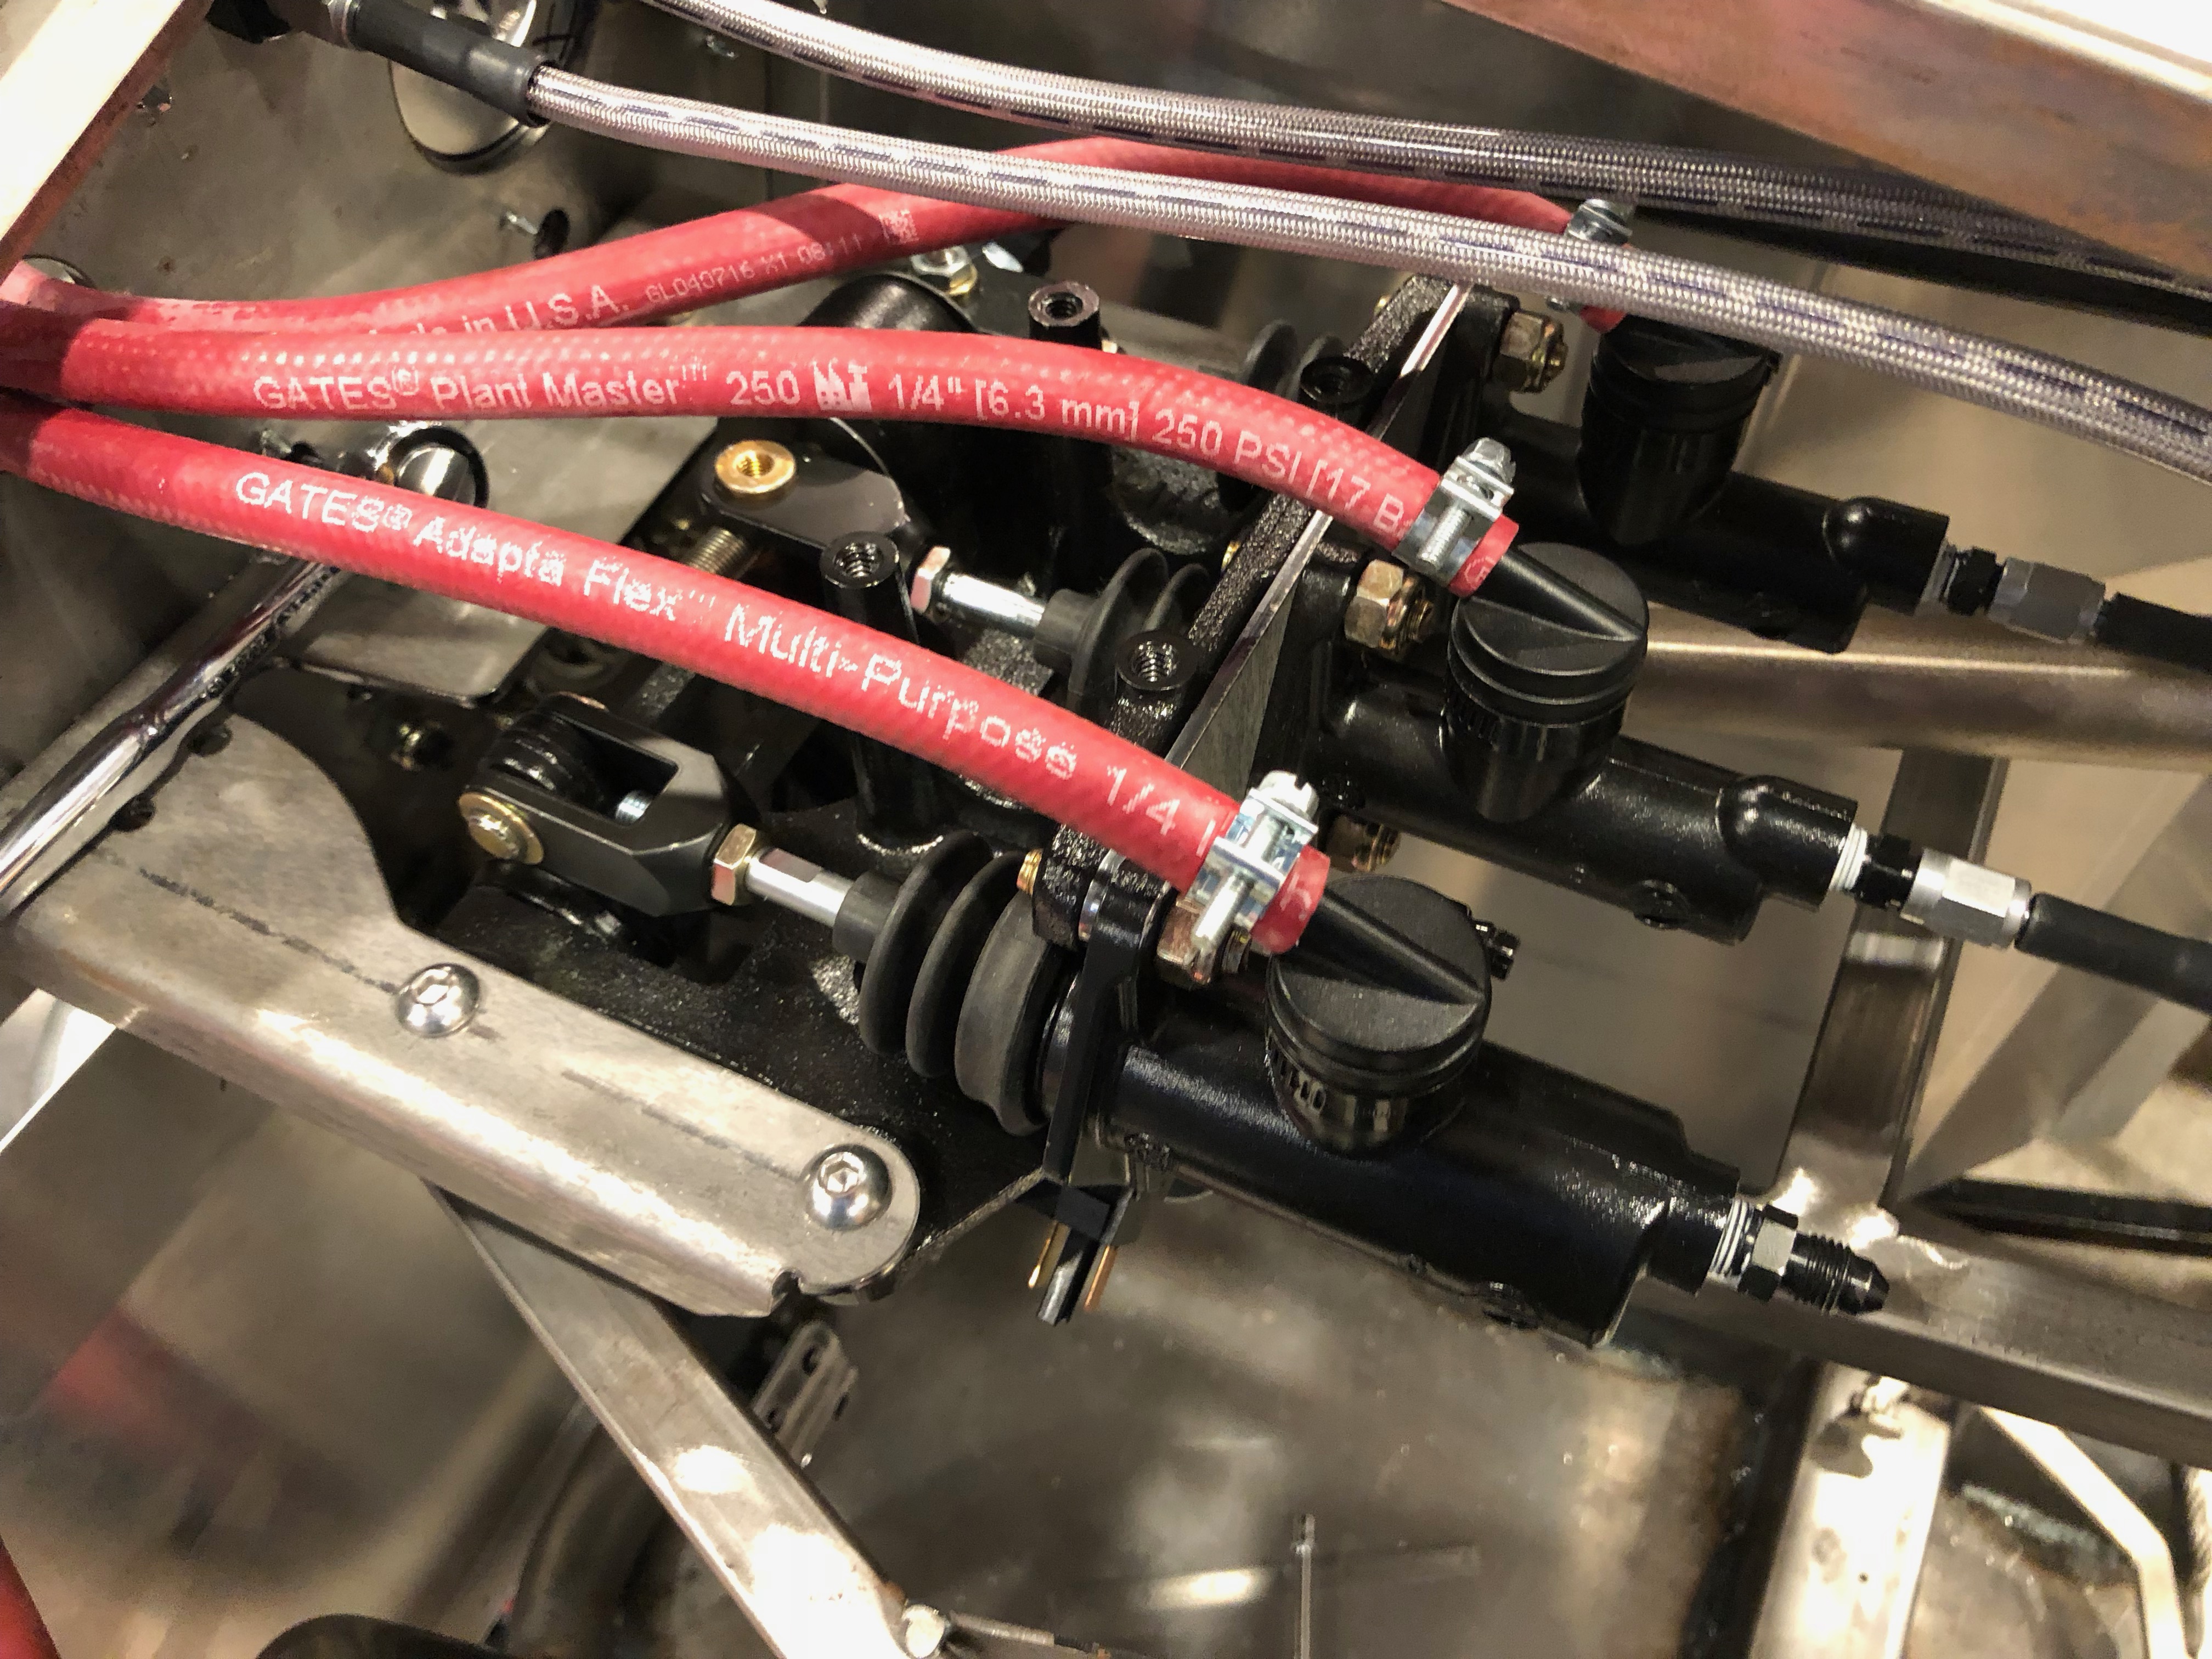
This moves the pedals forward another 2″ or so. They now sit about 5.75″ forward of the firewall. If this isn’t sufficient clearance, there’s plenty of adjustment to move them farther away from the firewall.
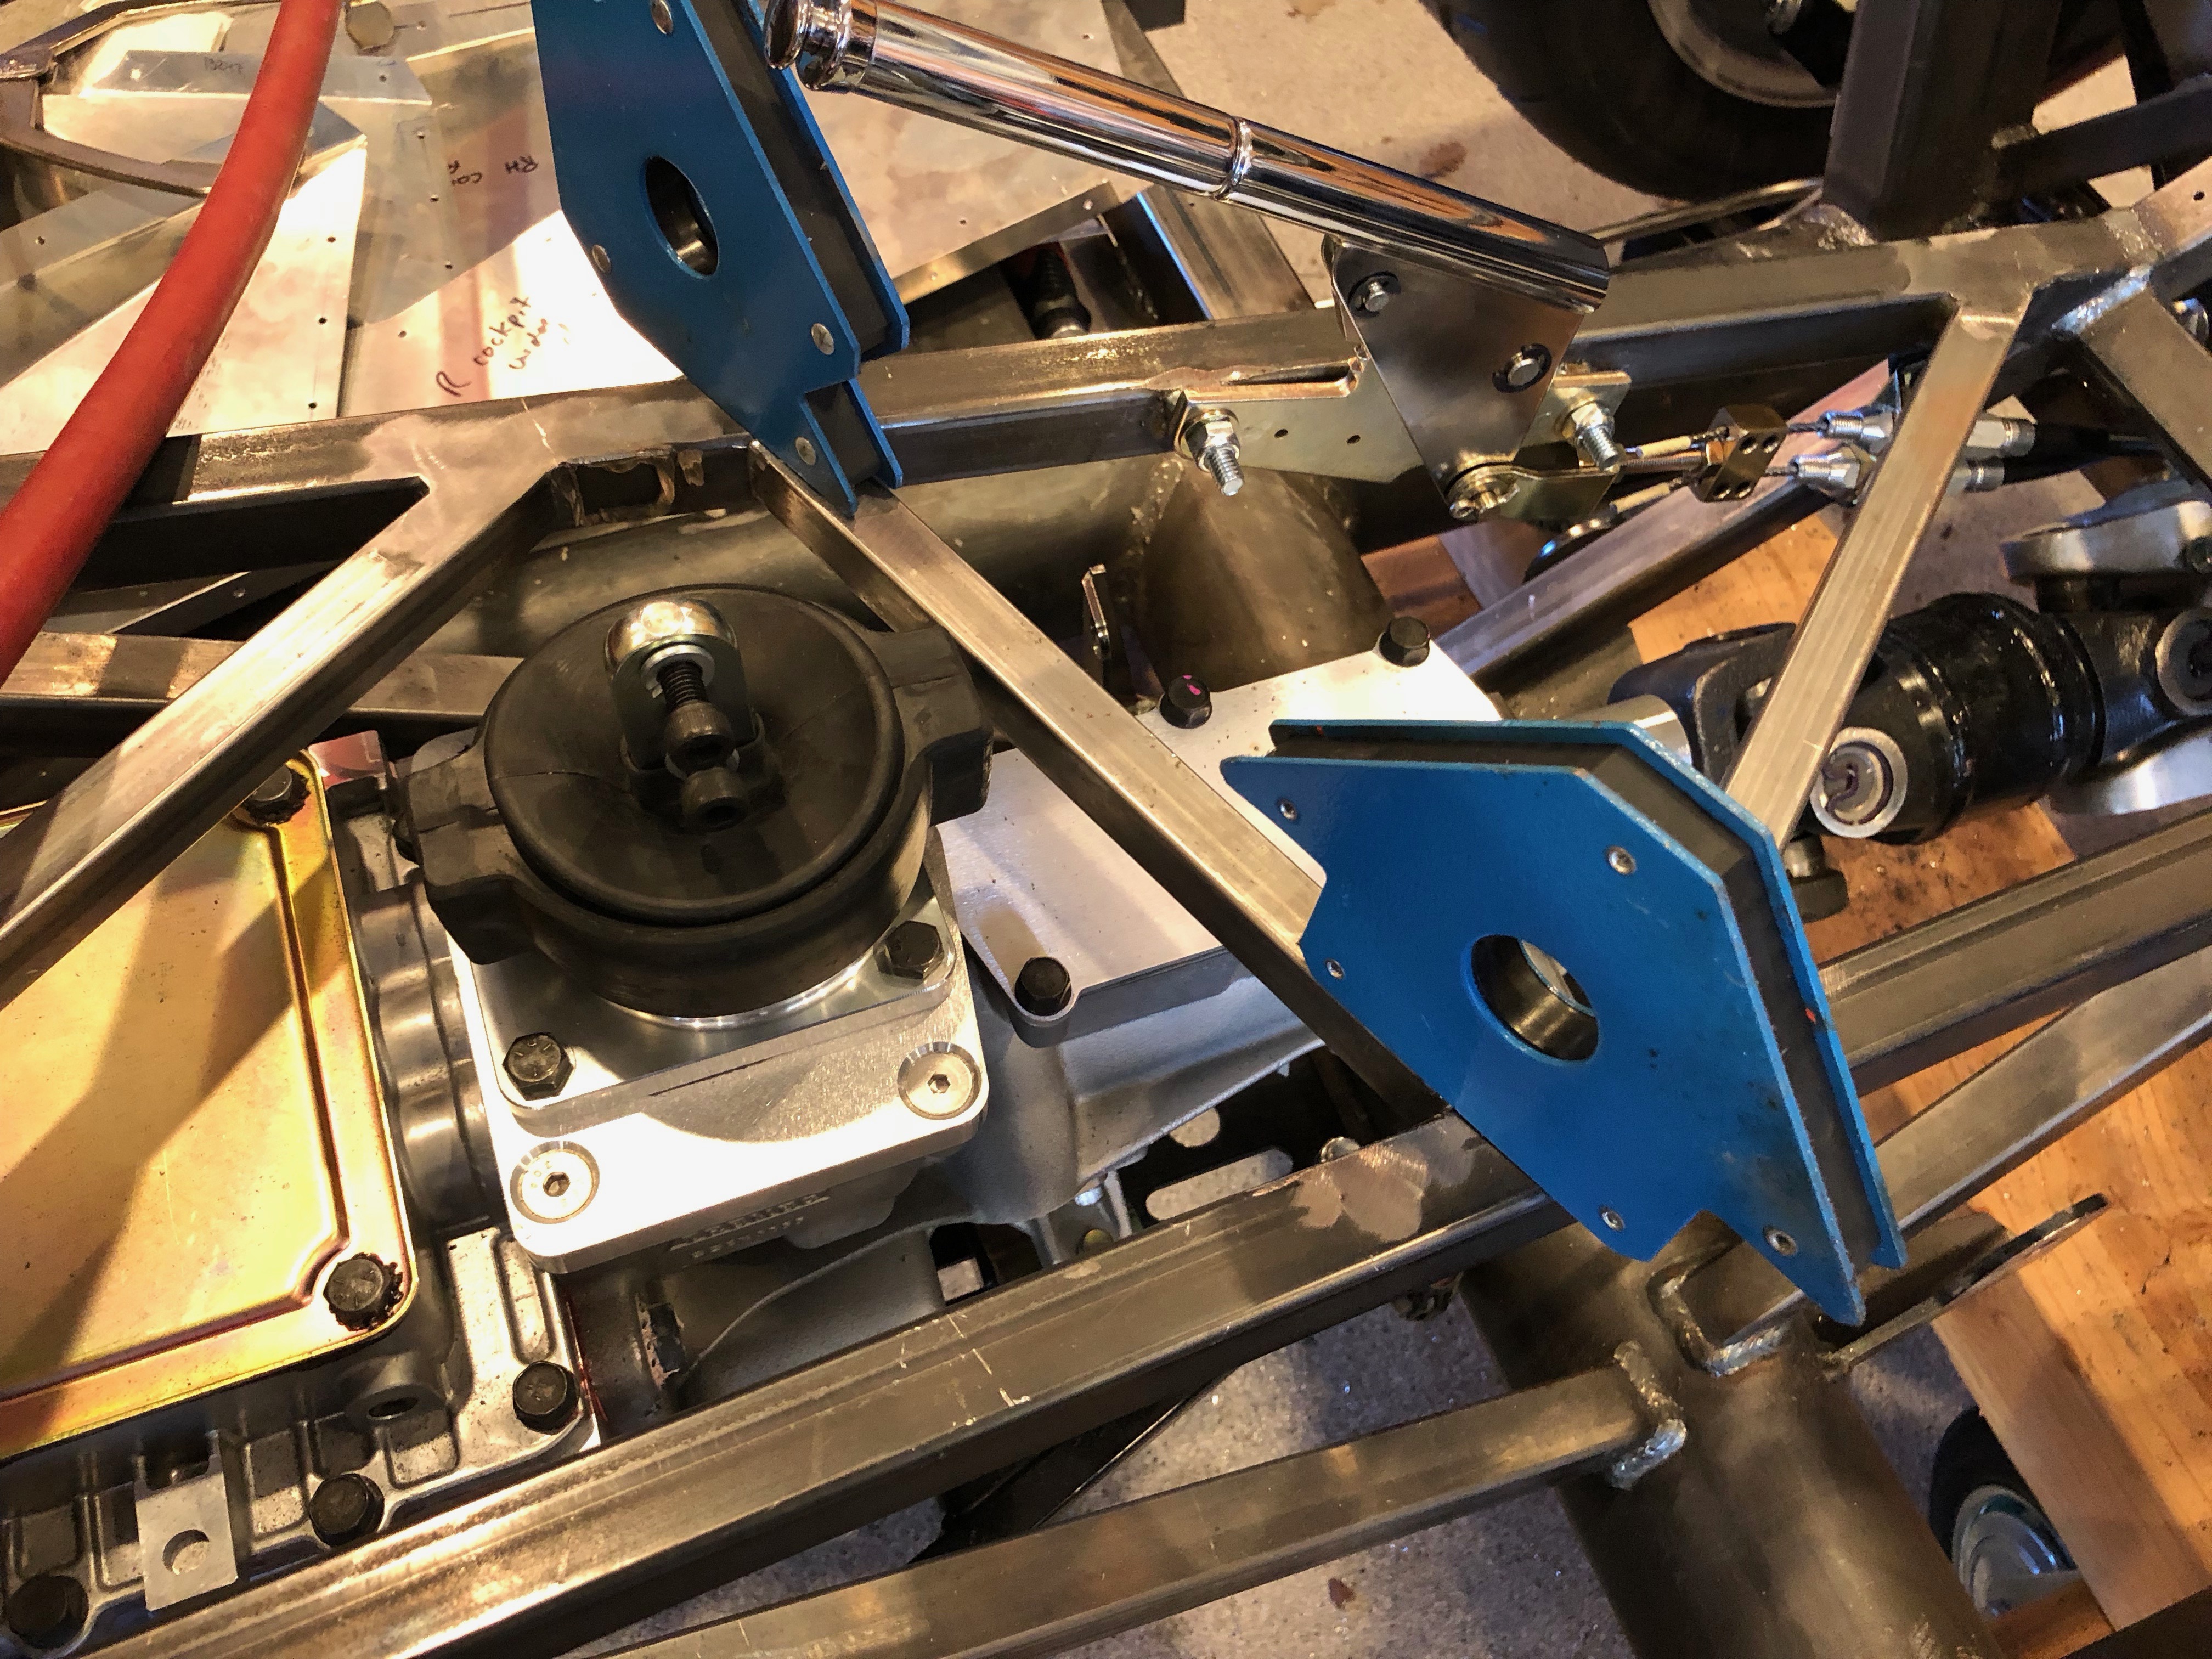
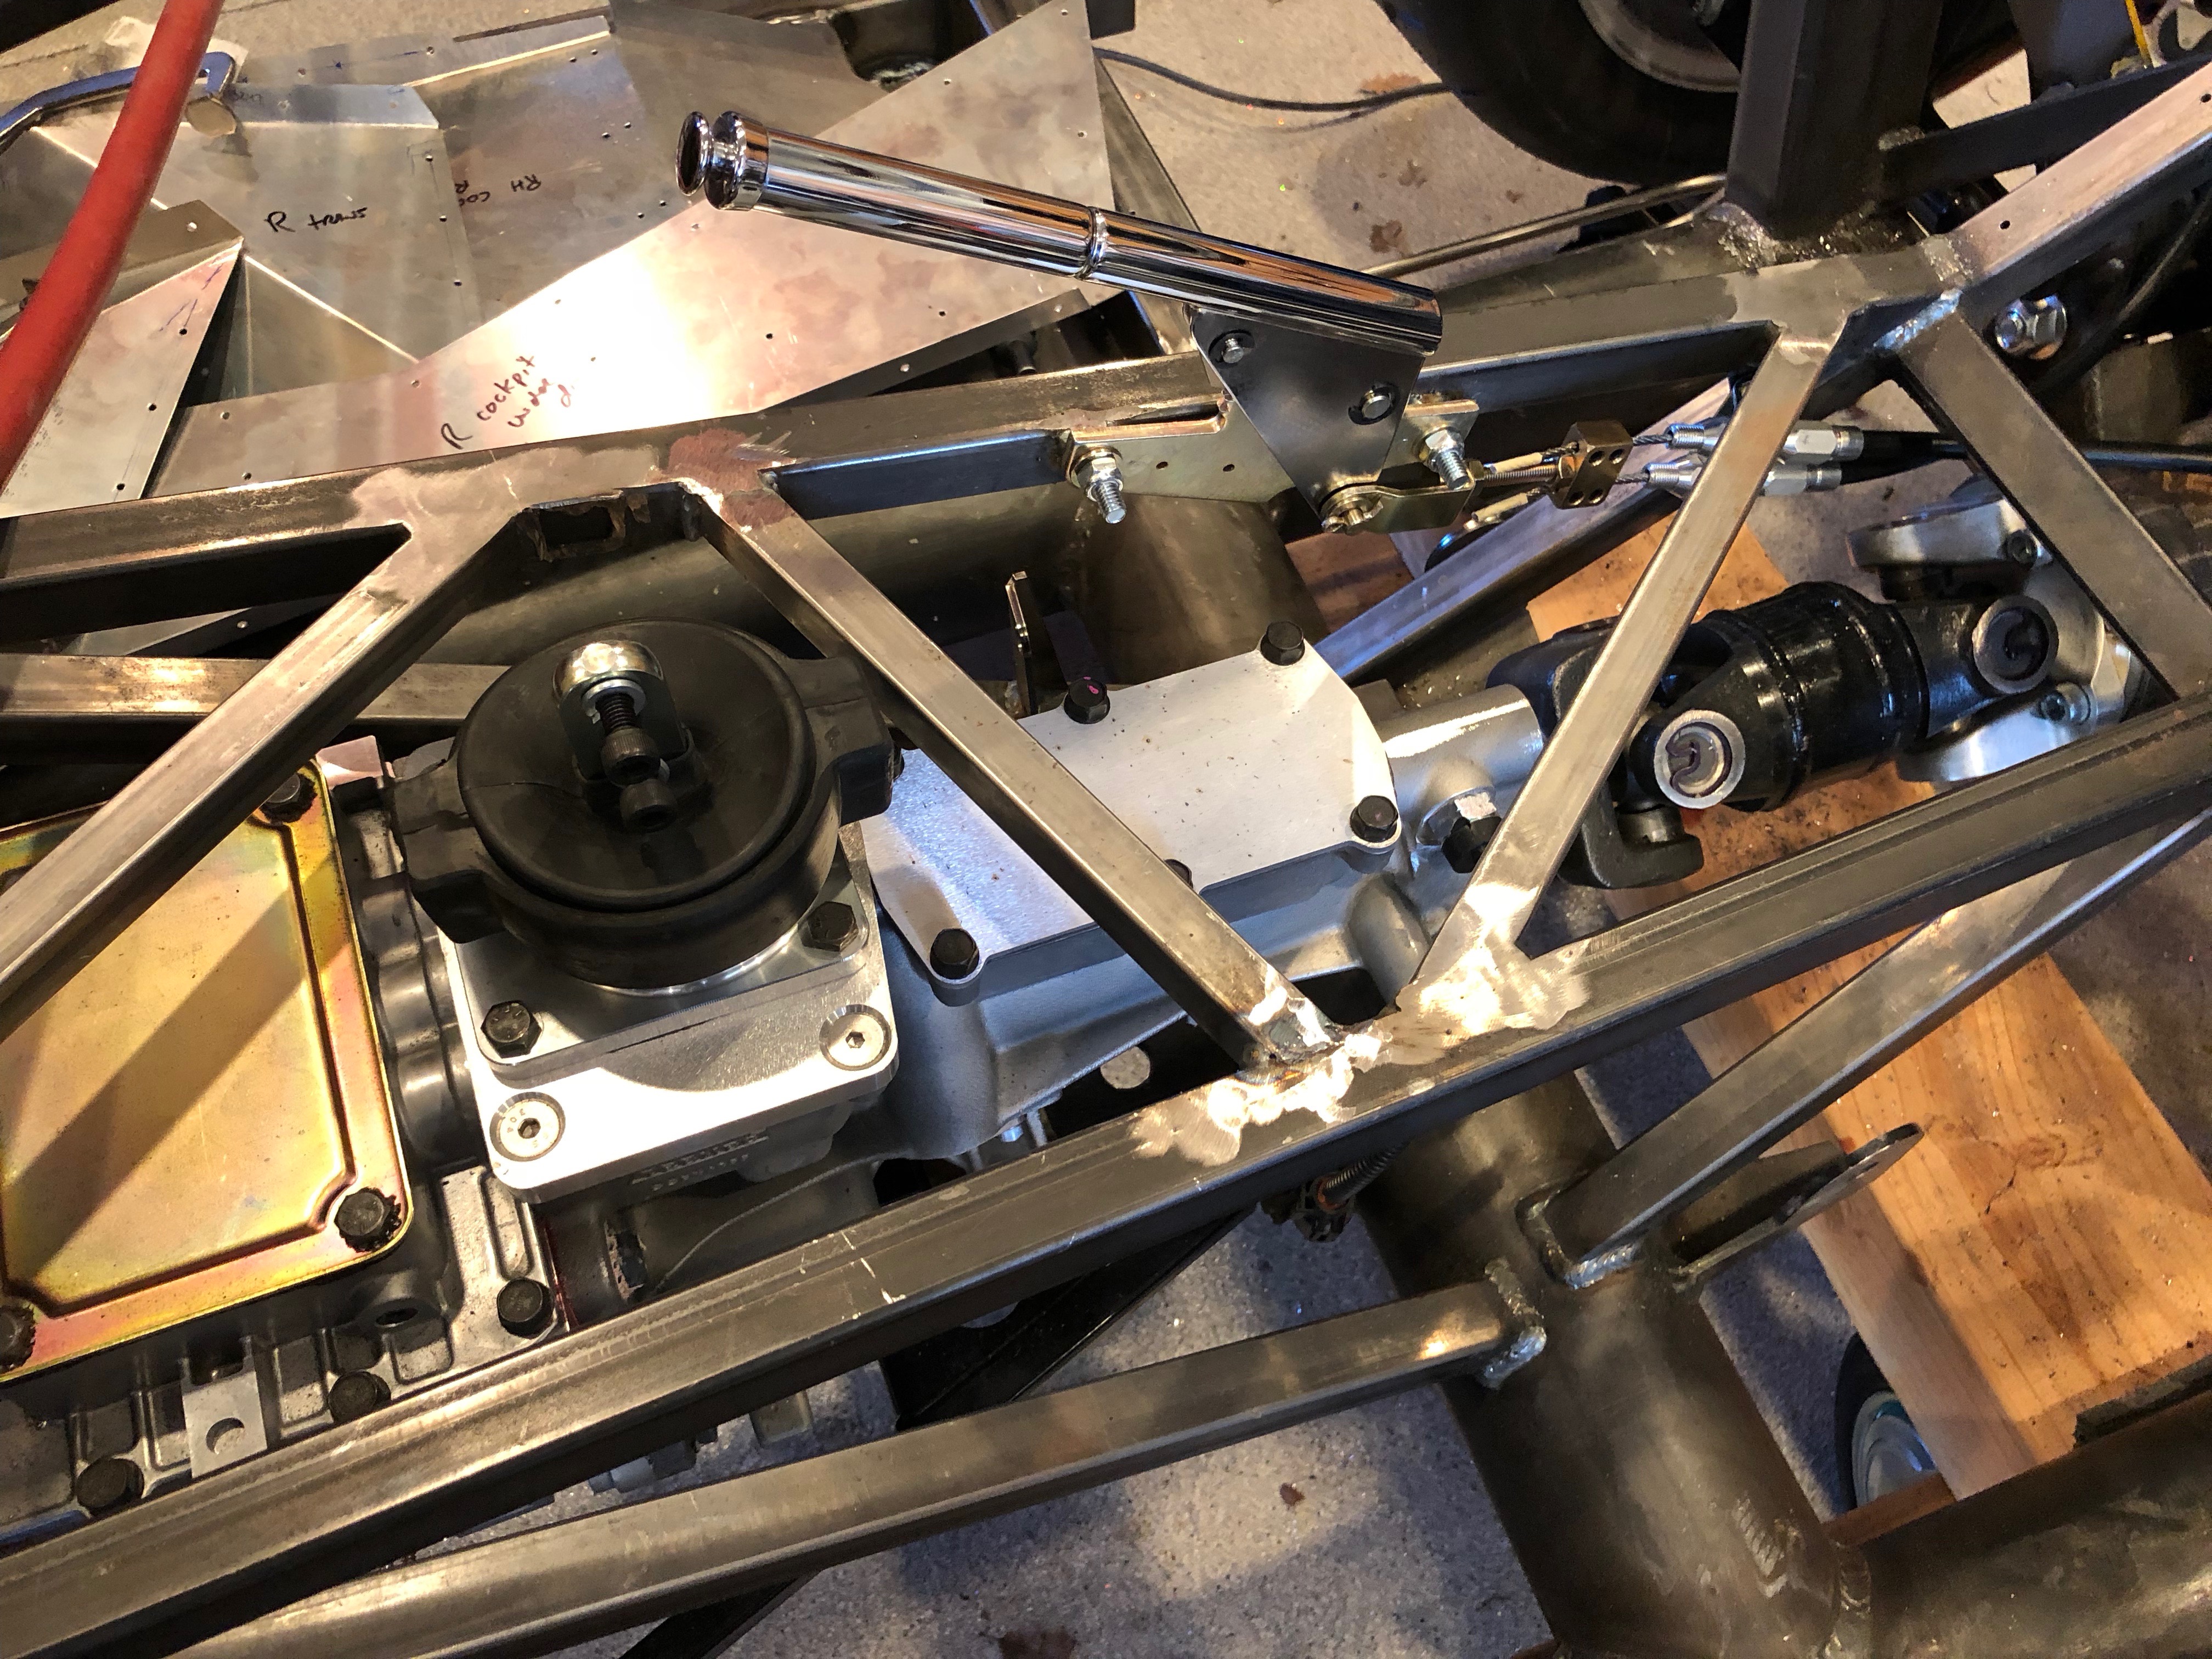
I then installed the adjustment cable. I left a section without the housing to allow a tighter bend radius. I was worried that this was going to be too tight of a bend and that I was going to have to go through the sidewall of the footbox and into the engine compartment, but this works very well.
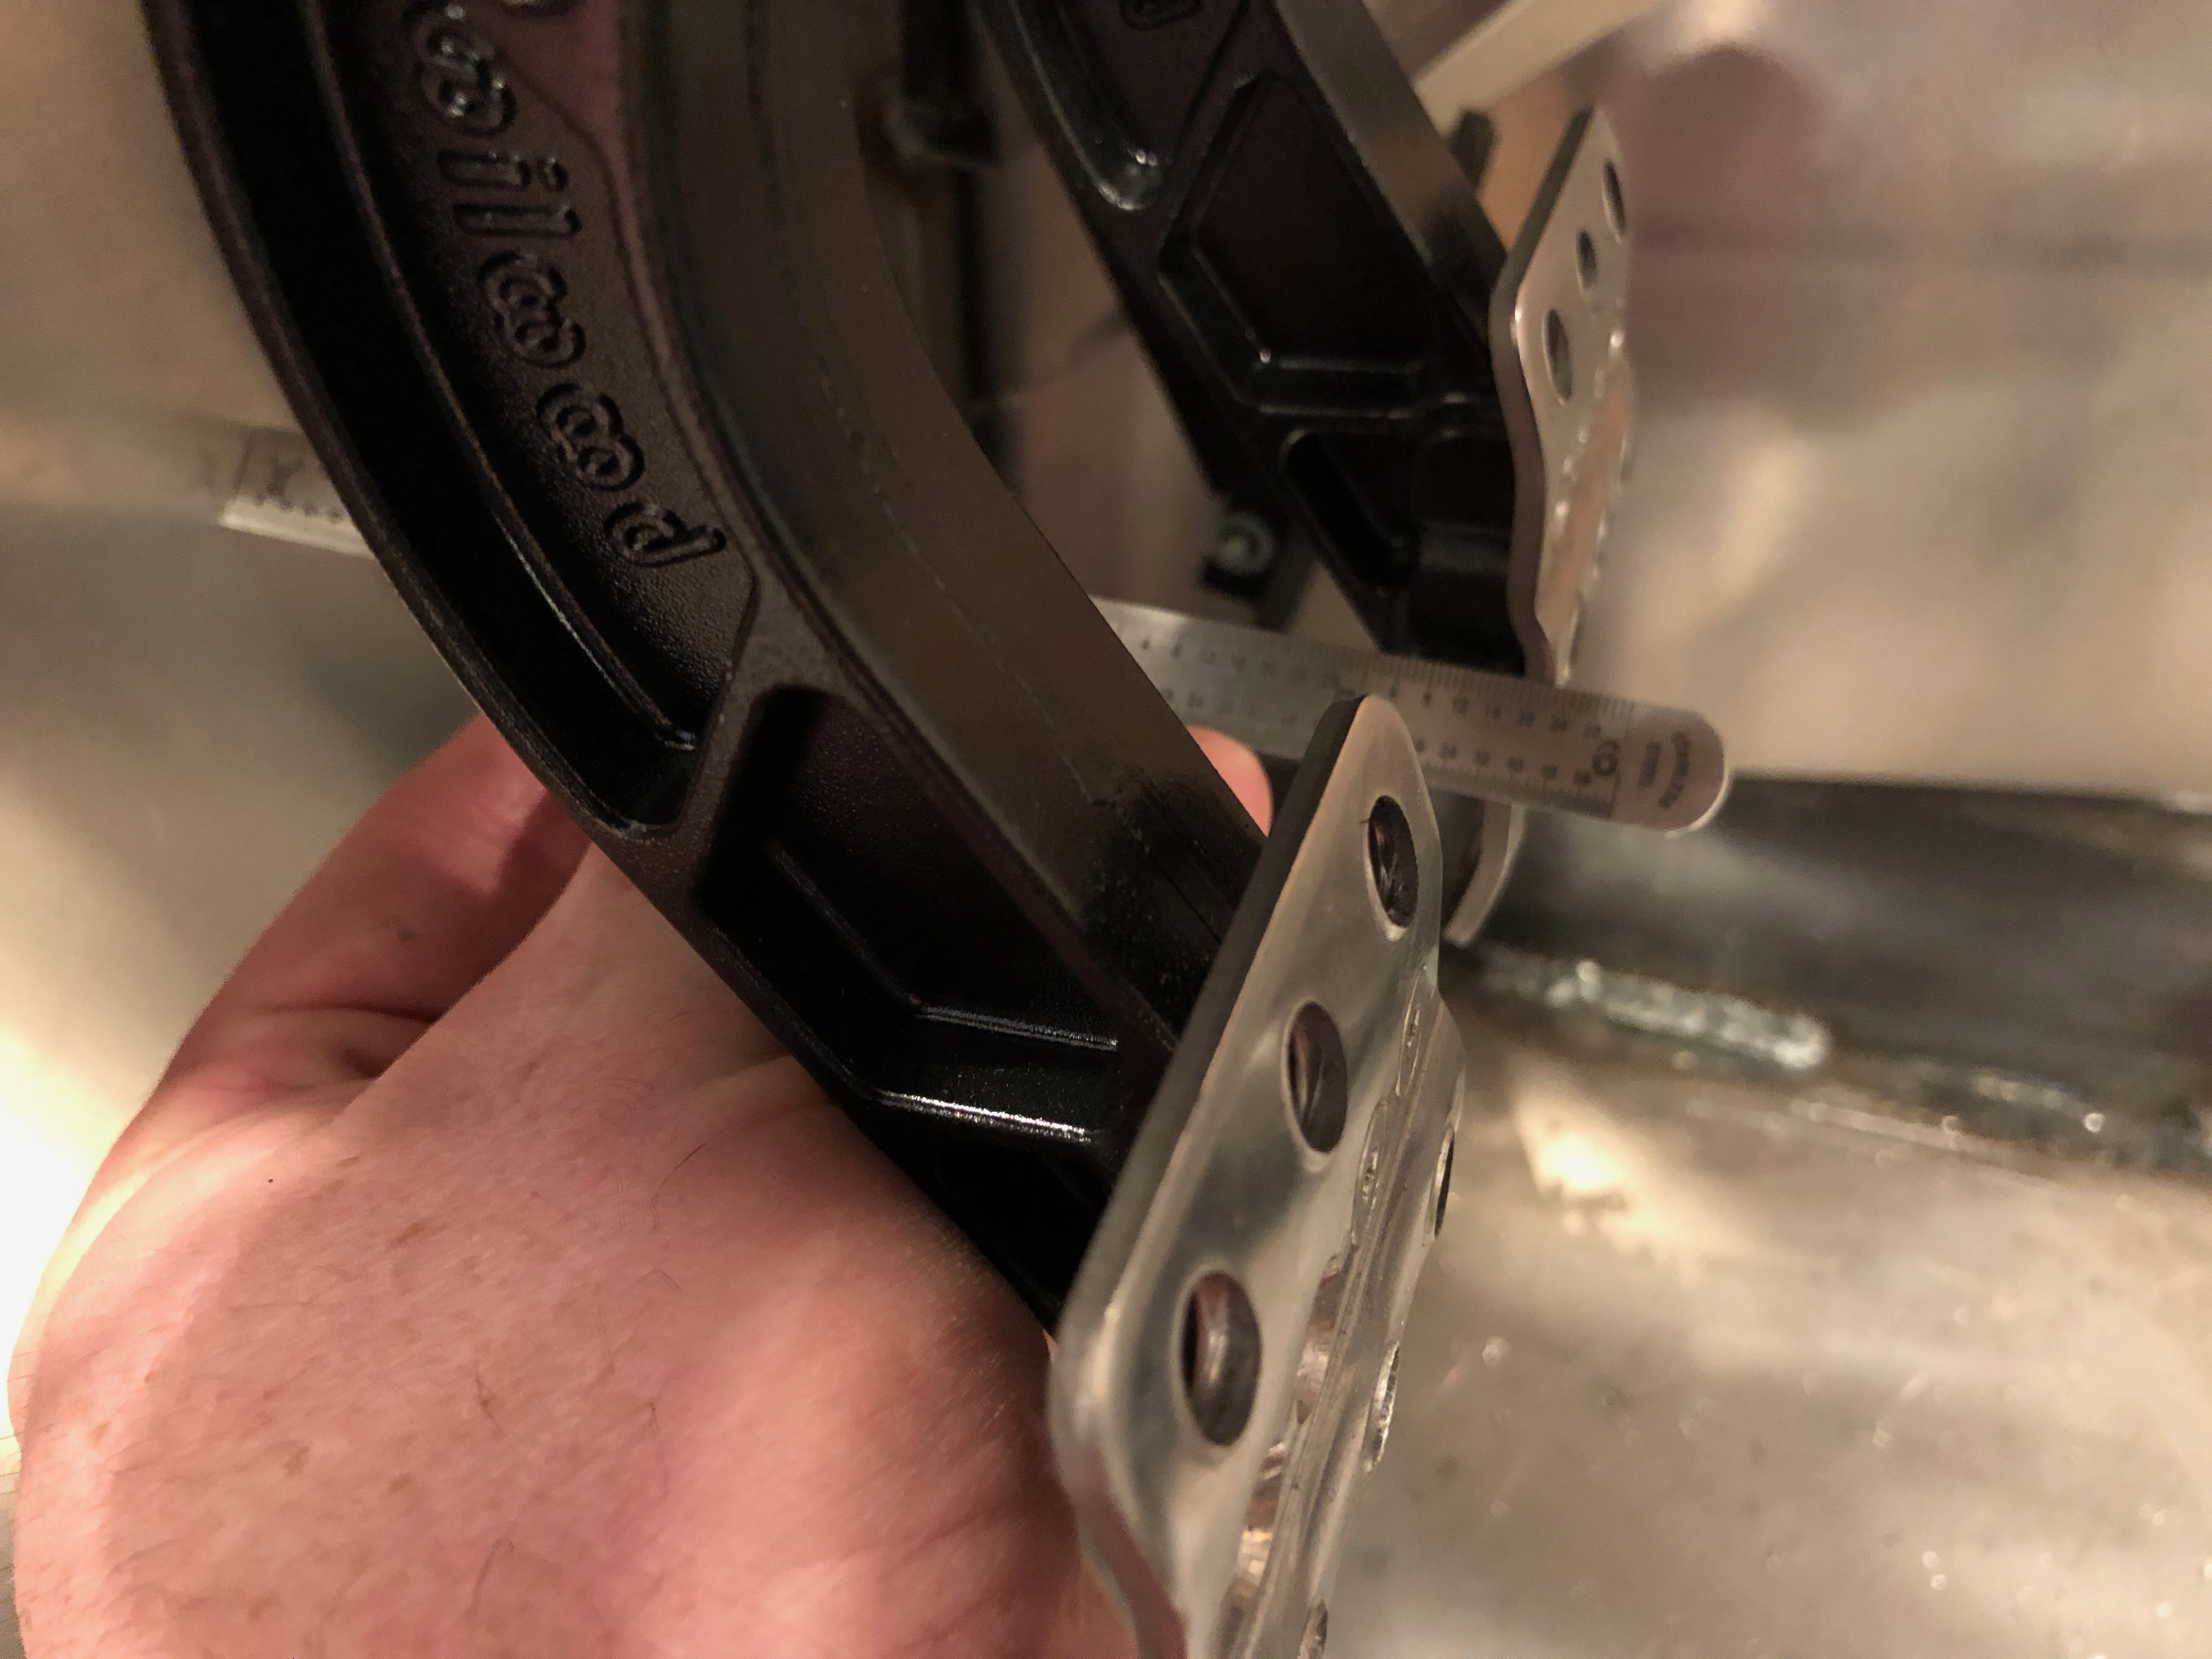
I installed the other end just to the right of the steering shaft. I could only drill through the lower two holes, so I added an adel clamp to further secure the assembly. It’s plenty rigid, especially for the infrequent use this will see.
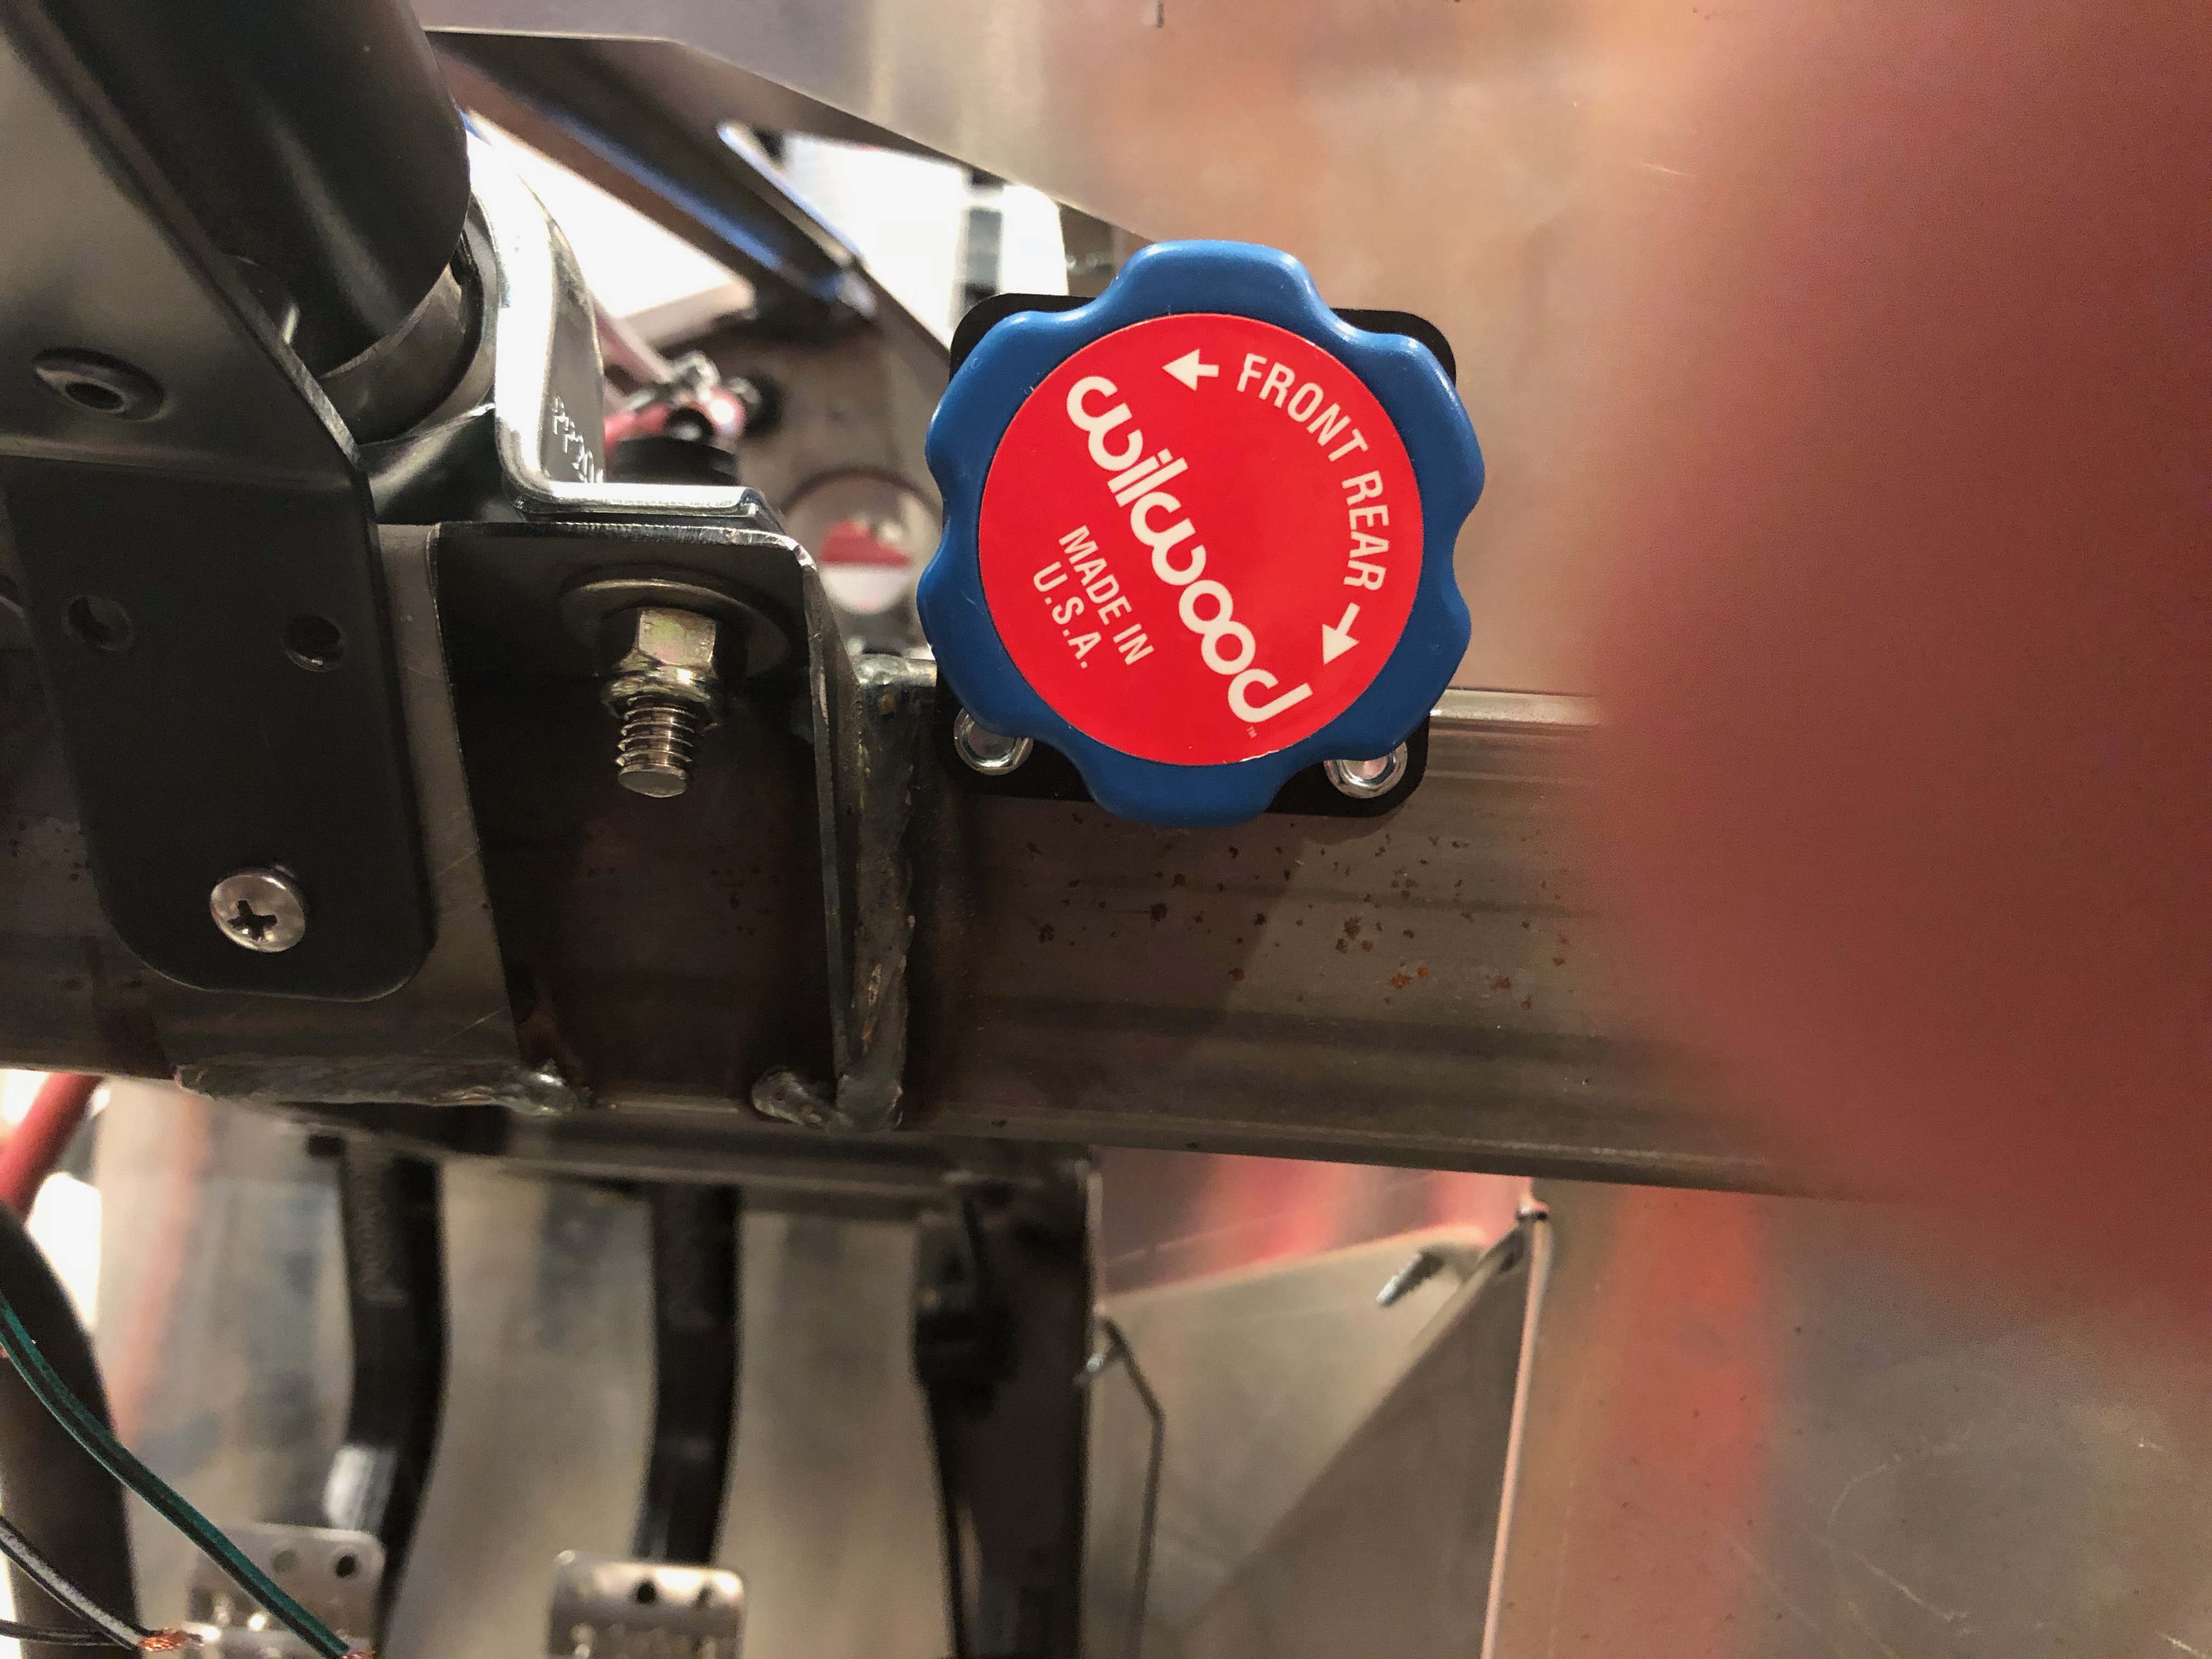
Finally, I installed the appropriate label to mark the direction of rotation necessary to achieve the desired biasing. I won’t be able to see the label from the seat, but it’s pretty easy to remember that right is rear.