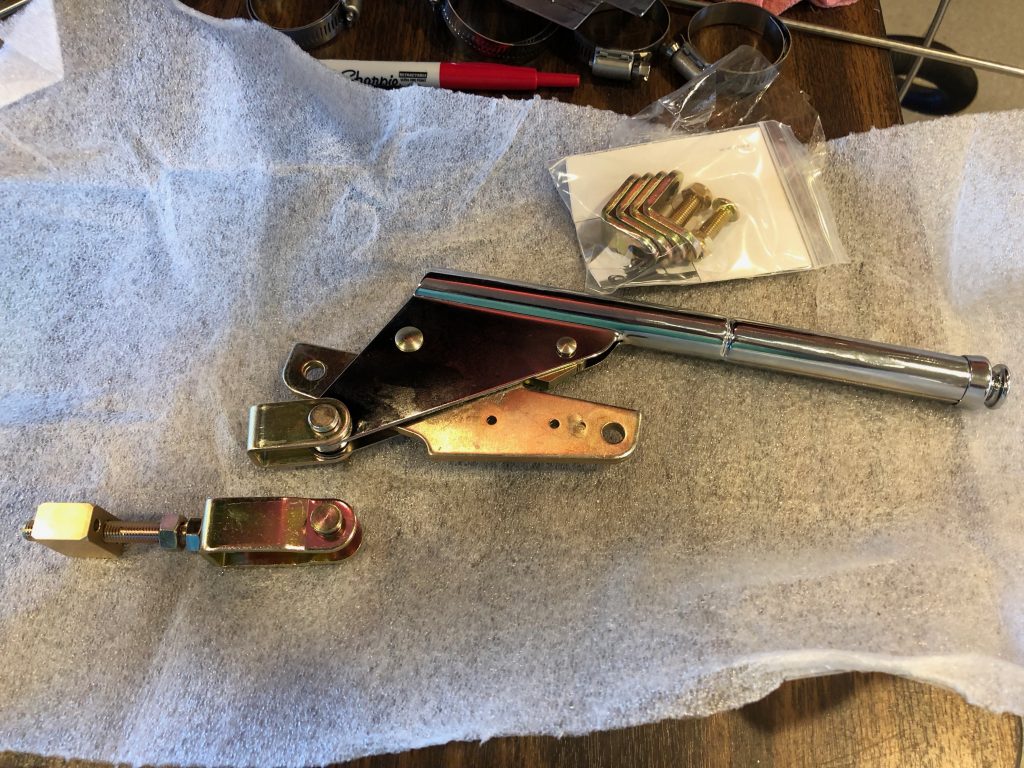
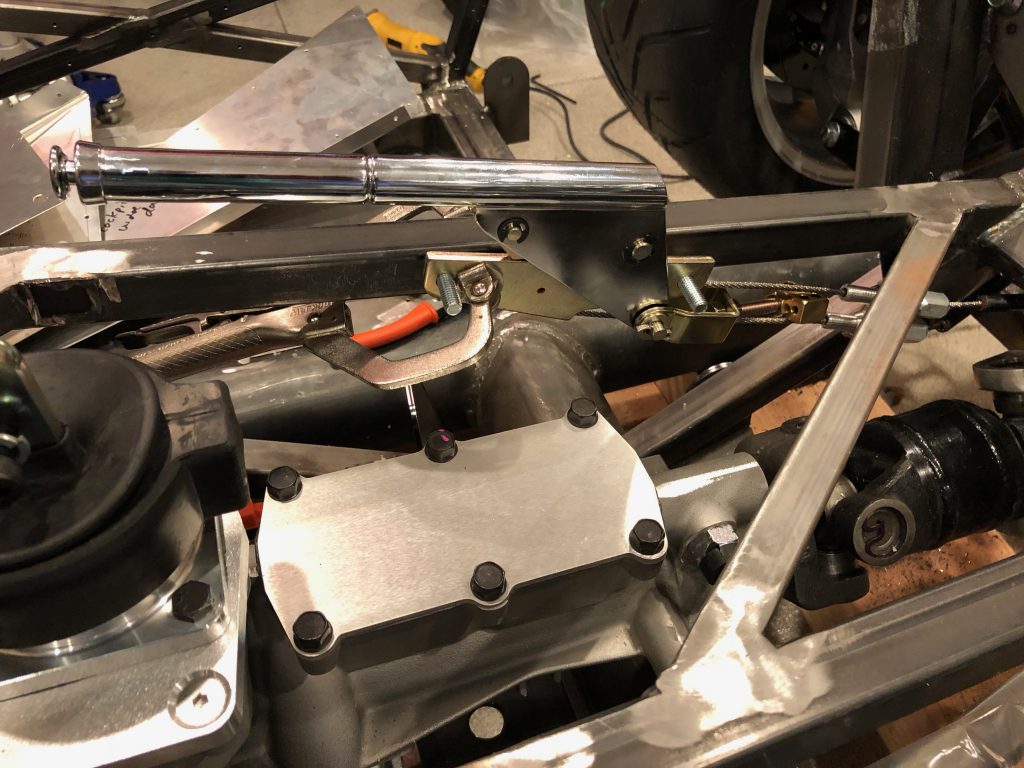
I’ve been holding off on installing the parking brake until the gear shift was relocated. With the gear shift in its final location, I can now determine the final location of the parking brake lever. I picked up a Lokar hand brake from Summit Racing to replace the unit from Factory Five. It came preinstalled with a simple bracket, but the Wilwood universal parking brake cable kit came with the adjustable bracket shown at the bottom left. It was a simple matter to swap this bracket out.
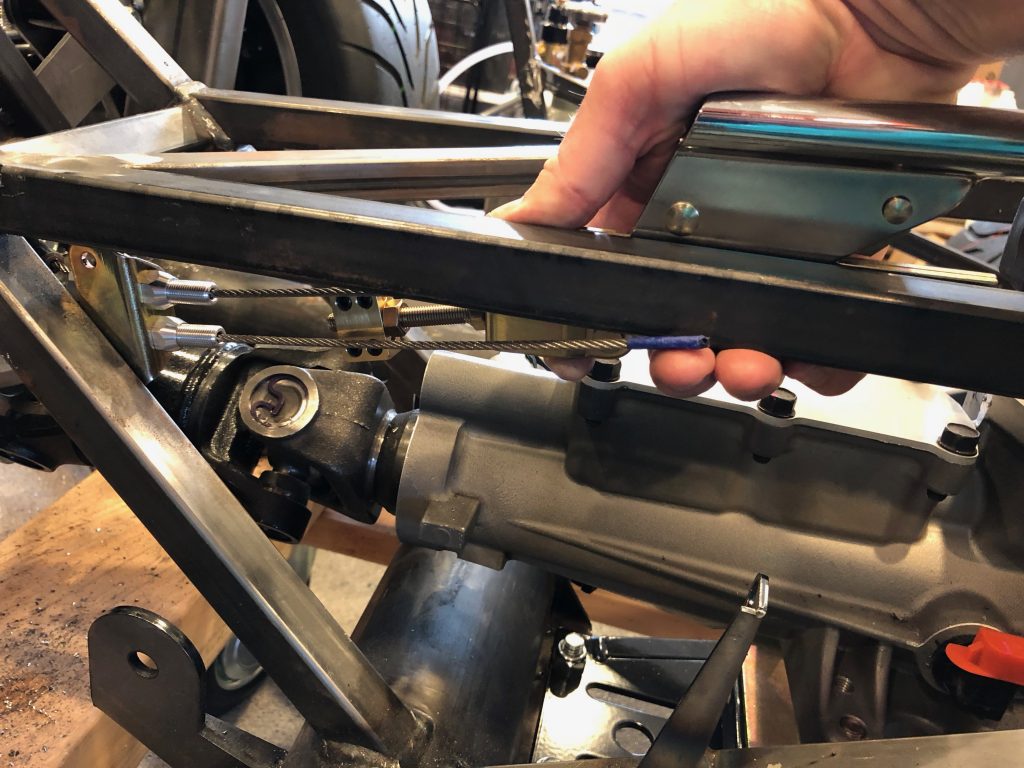
I temporarily positioned the parking brake handle and the adjustment mechanism that secures the end of the cable sheath.
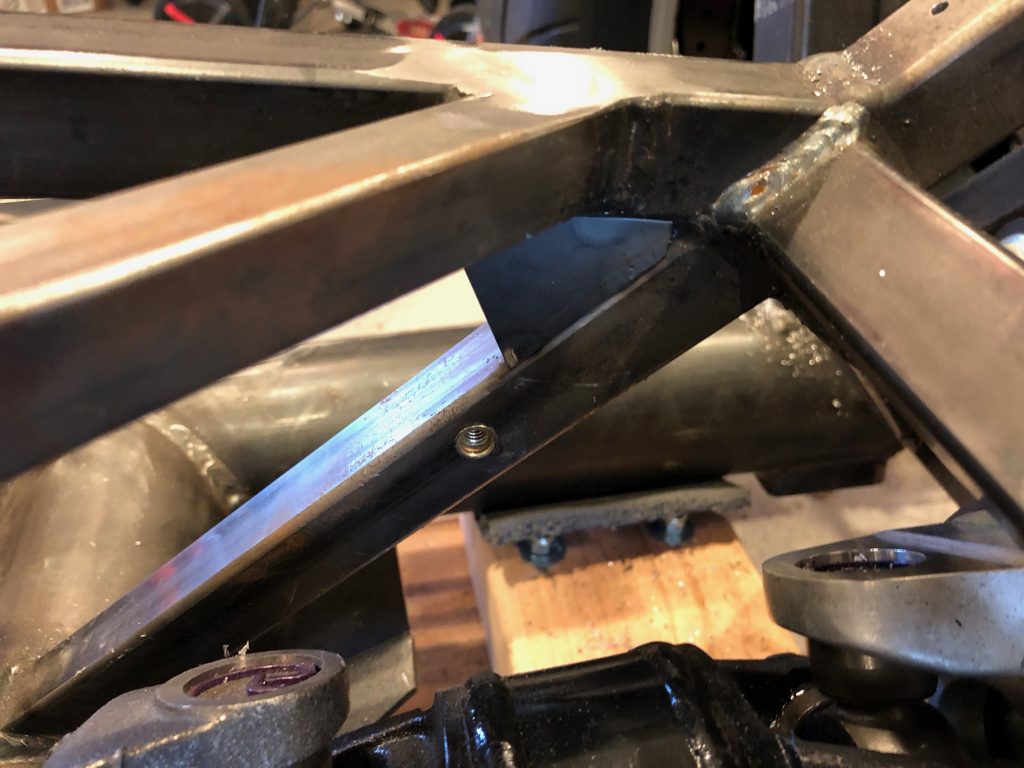
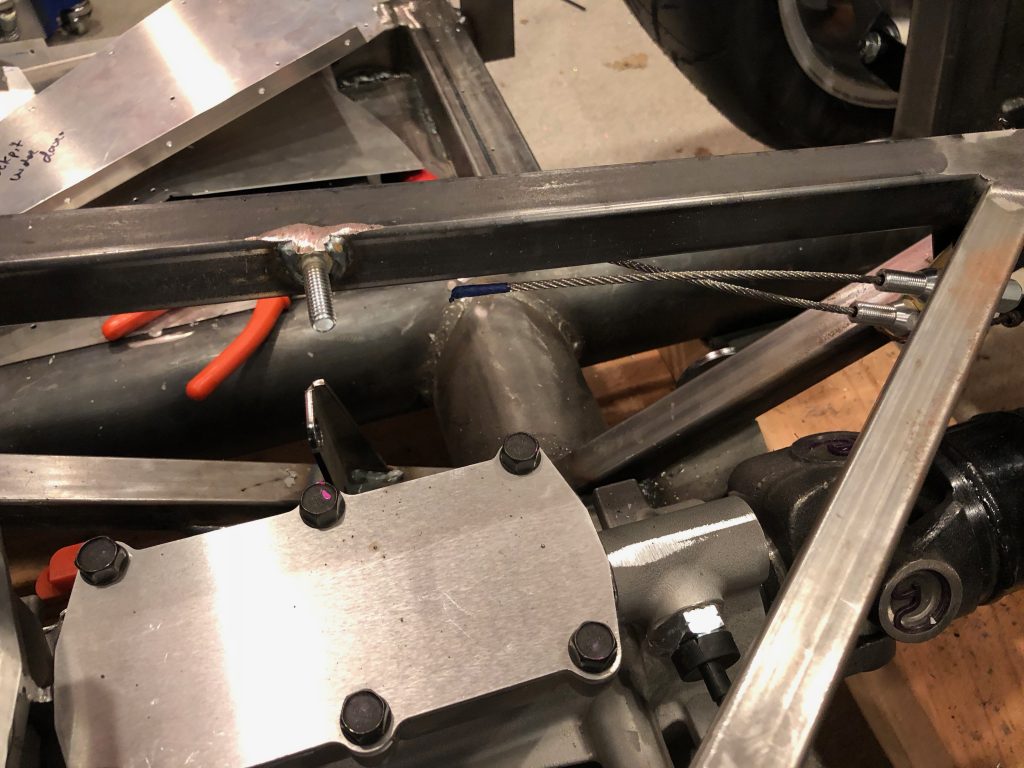
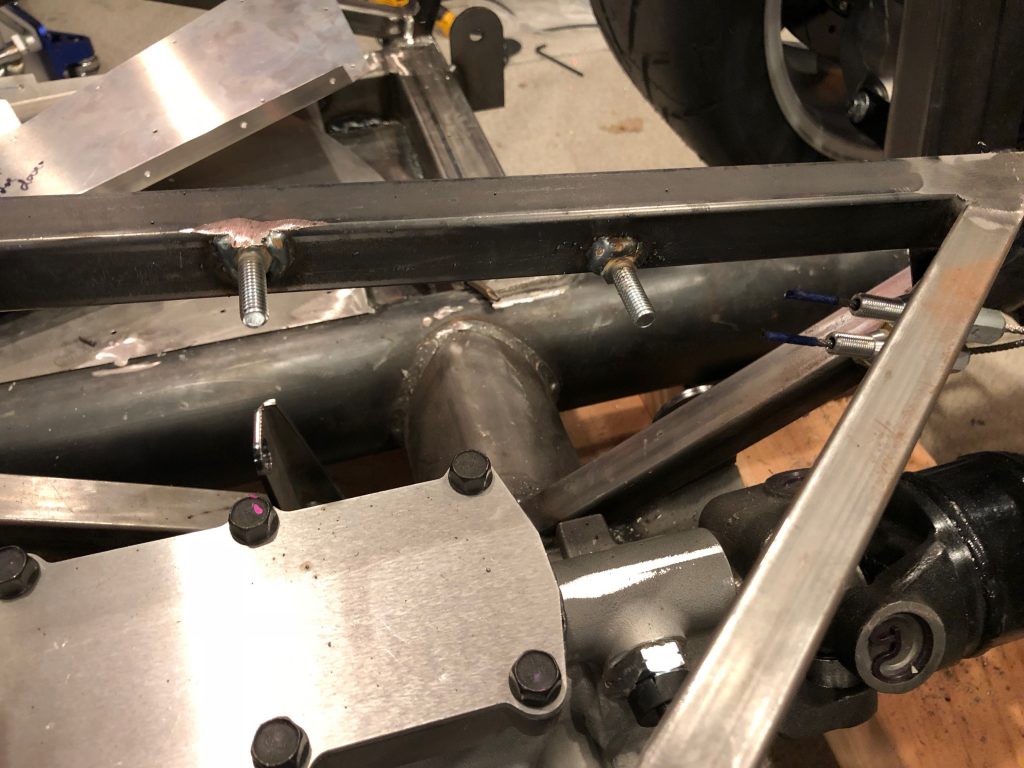
The adjustment mechanism will be bolted to the side of the tubing at the aft end of the transmission tunnel. Because of the angle of the tubing, only one of the two bolts will land on a piece of tubing, so I welded in a piece of thin plate steel.
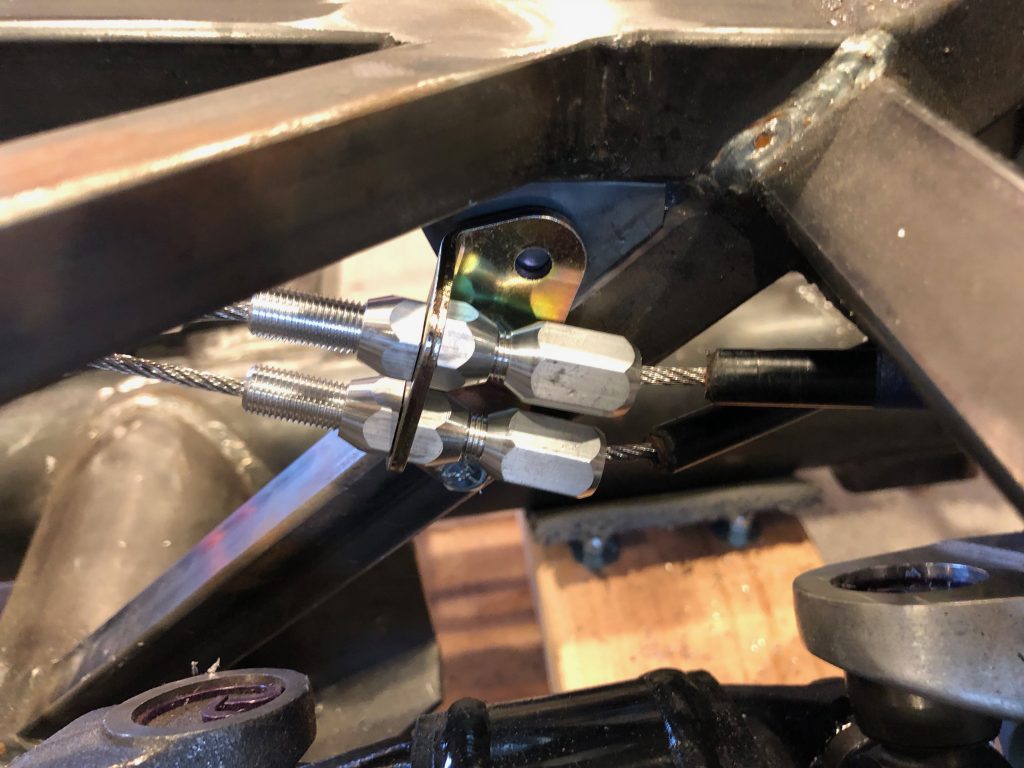
This is approximately the angle that the adjustment mechanism will sit at. I’ll drill and install a rivnut for the upper bolt once I determine the final angle of the adjustment mechanism.
I temporarily clamped the parking brake in to see what kind of clearance I’d end up with between the gear shift and parking brake handle. This looks like it is going to work out well. The final check is to see how comfortable this is to pull when sitting in the car.
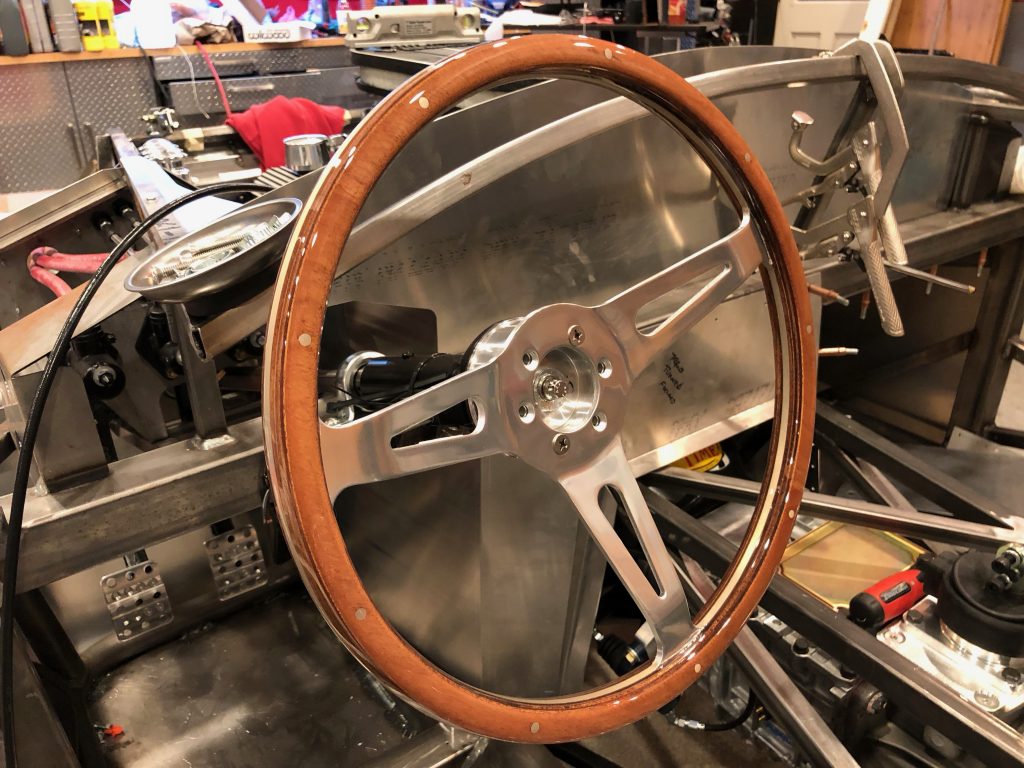
I temporarily installed the steering wheel while I was at it so that we could determine a comfortable seating position.
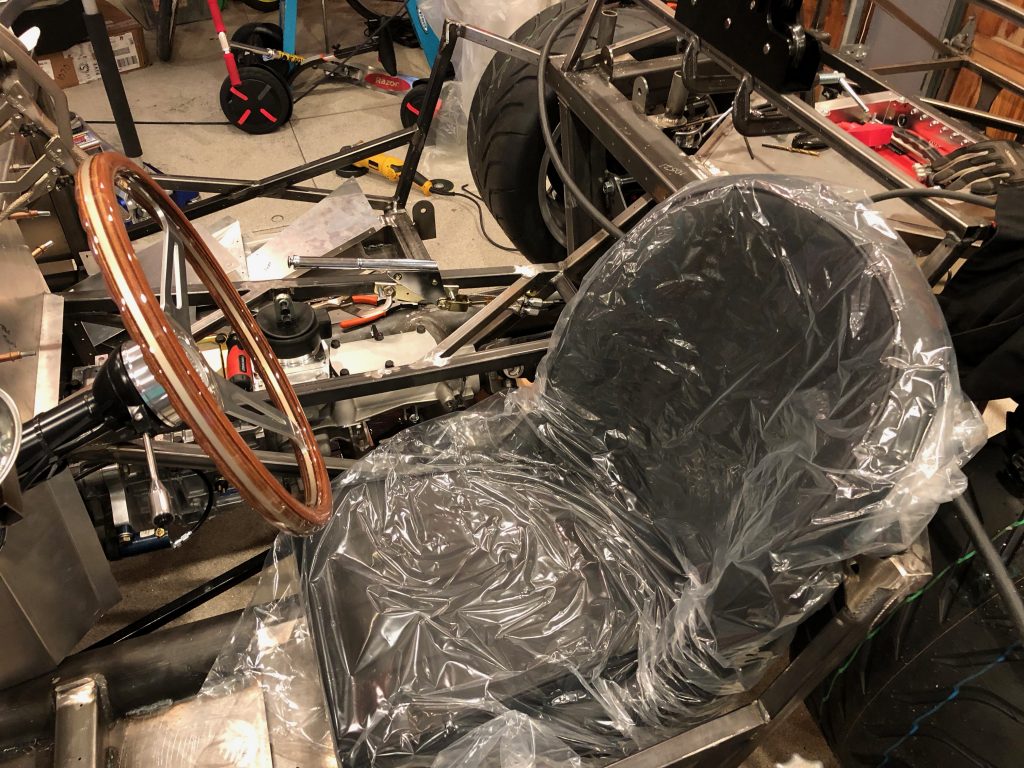
I sat one of the seats in the driver’s side of the cockpit and Jenn and I both got in to evaluate the position of the parking brake, gear shift lever, steering wheel and pedals. It looks like the parking brake location is going to work out great. Even with the mid-shift, we also determined that we want a gear shift lever that tilts forward slightly to put the shifter in a more natural position.One unfortunate discovery is that our plan for a dash that curves down to intersect the transmission tunnel won’t work because it will push my knee into the side of the steering wheel. It looks like we’re going to go back to the stock dash panel (though we’ll order a blank so that we can lay out the gauges where we want them.
One unfortunate discovery is that our plan for a dash that curves down to intersect the transmission tunnel won’t work because it will push my knee into the side of the steering wheel. It looks like we’re going to go back to the stock dash panel (though we’ll order a blank so that we can lay out the gauges where we want them.
Finally, we determined that the pedals need to move forward a bit. This is a fairly common tall-guy mod, so it shouldn’t introduce any problems.
With the final location of the parking brake determined, I welded on the forward bolt.
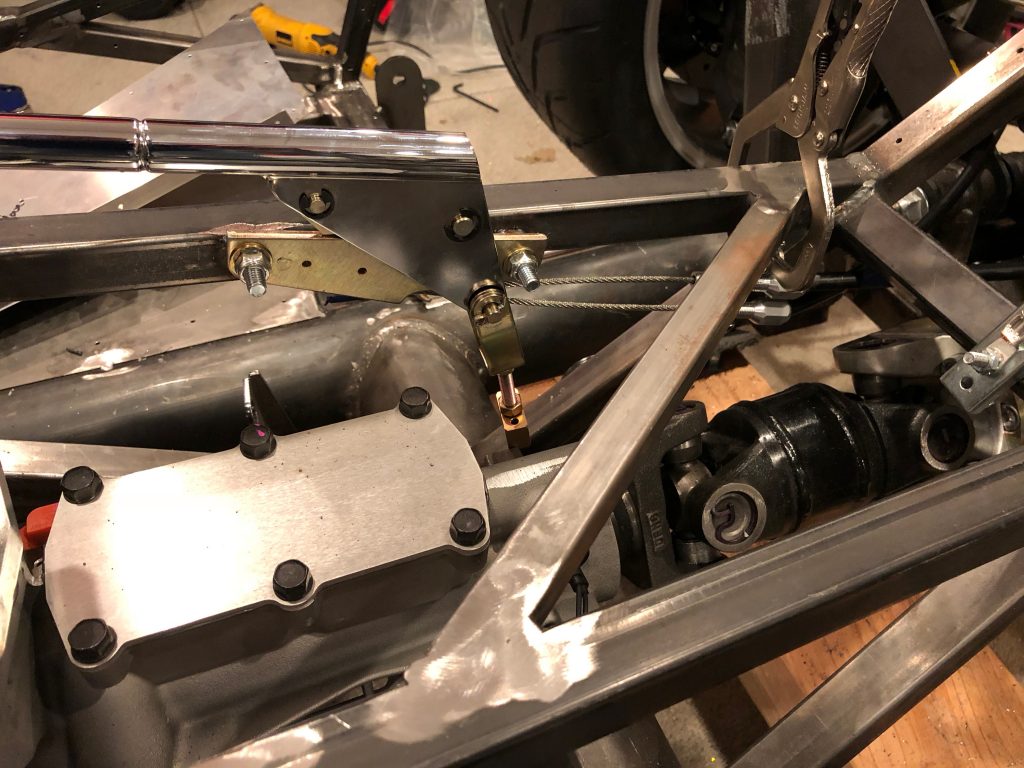
I then installed the parking brake and clamped the rear bolt in position before welding it as well.
I then bolted the parking brake in place so that I could make the final determination of how long to cut the parking brake cables and the angle of the adjustment bracket.
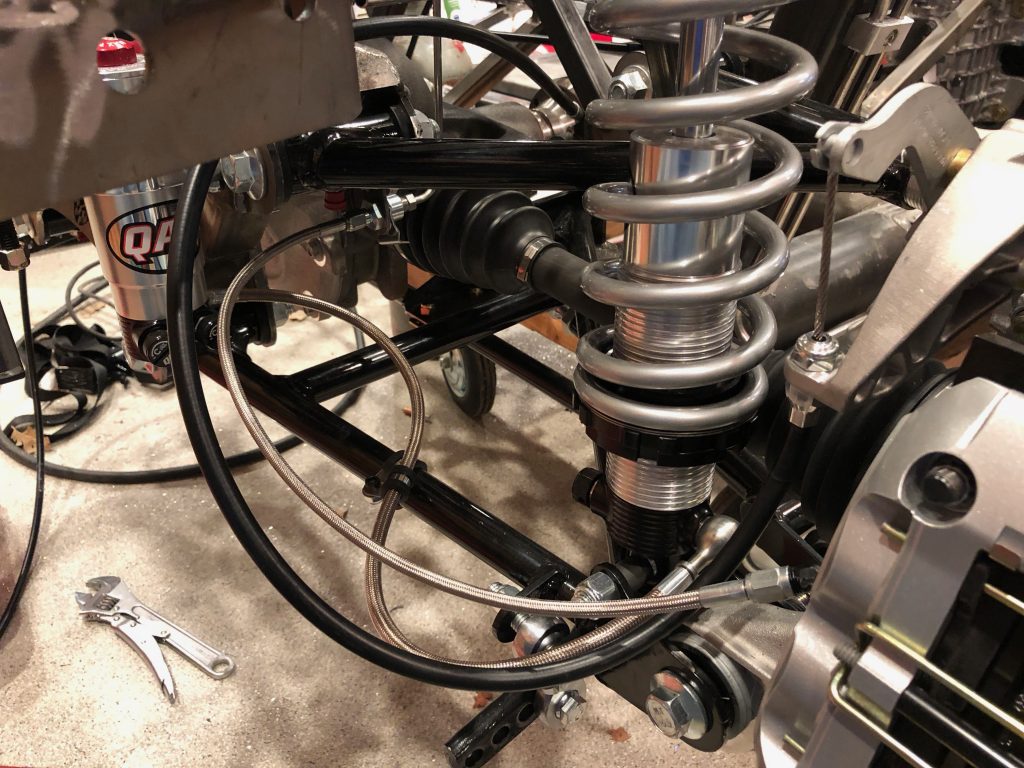
I re-routed the parking brake cable from the caliper.
It now routes under the aft diagonal chassis member where I installed a 1/4-20 rivnut and an adel clamp.
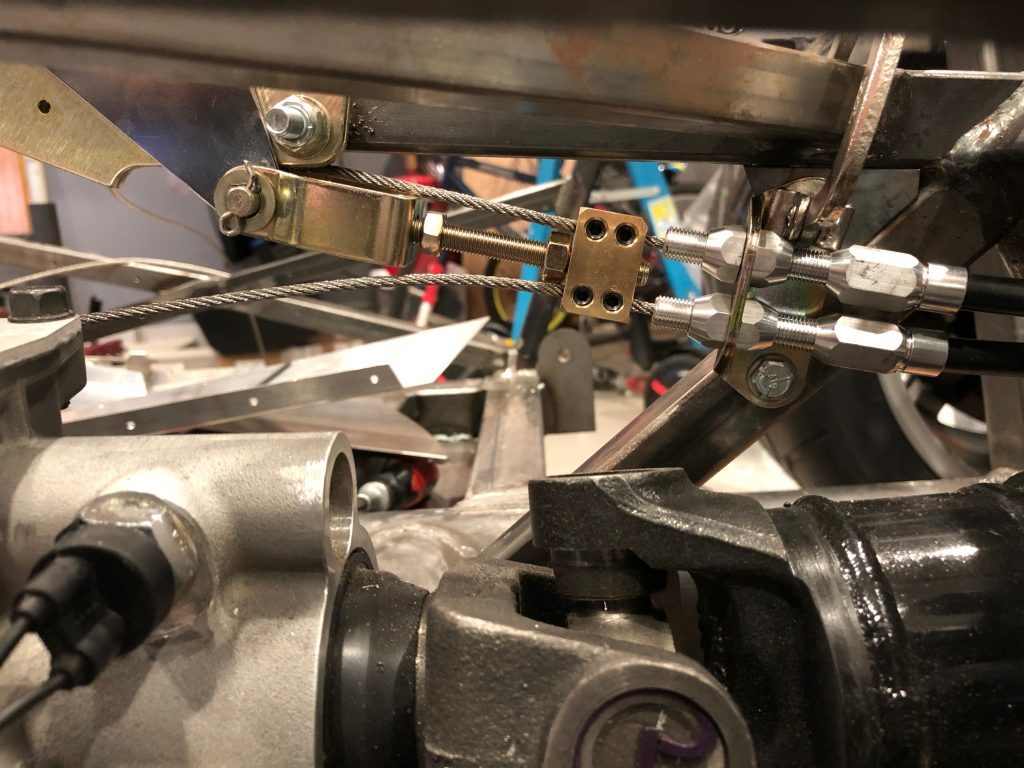
After trimming the cable sheaths to length, I ran the cables through the block and tightened down the set screws. I test the parking brake and it locks the wheel securly at about the halfway point in the pull. I have plenty of adjustment if the cable stretches over time.

