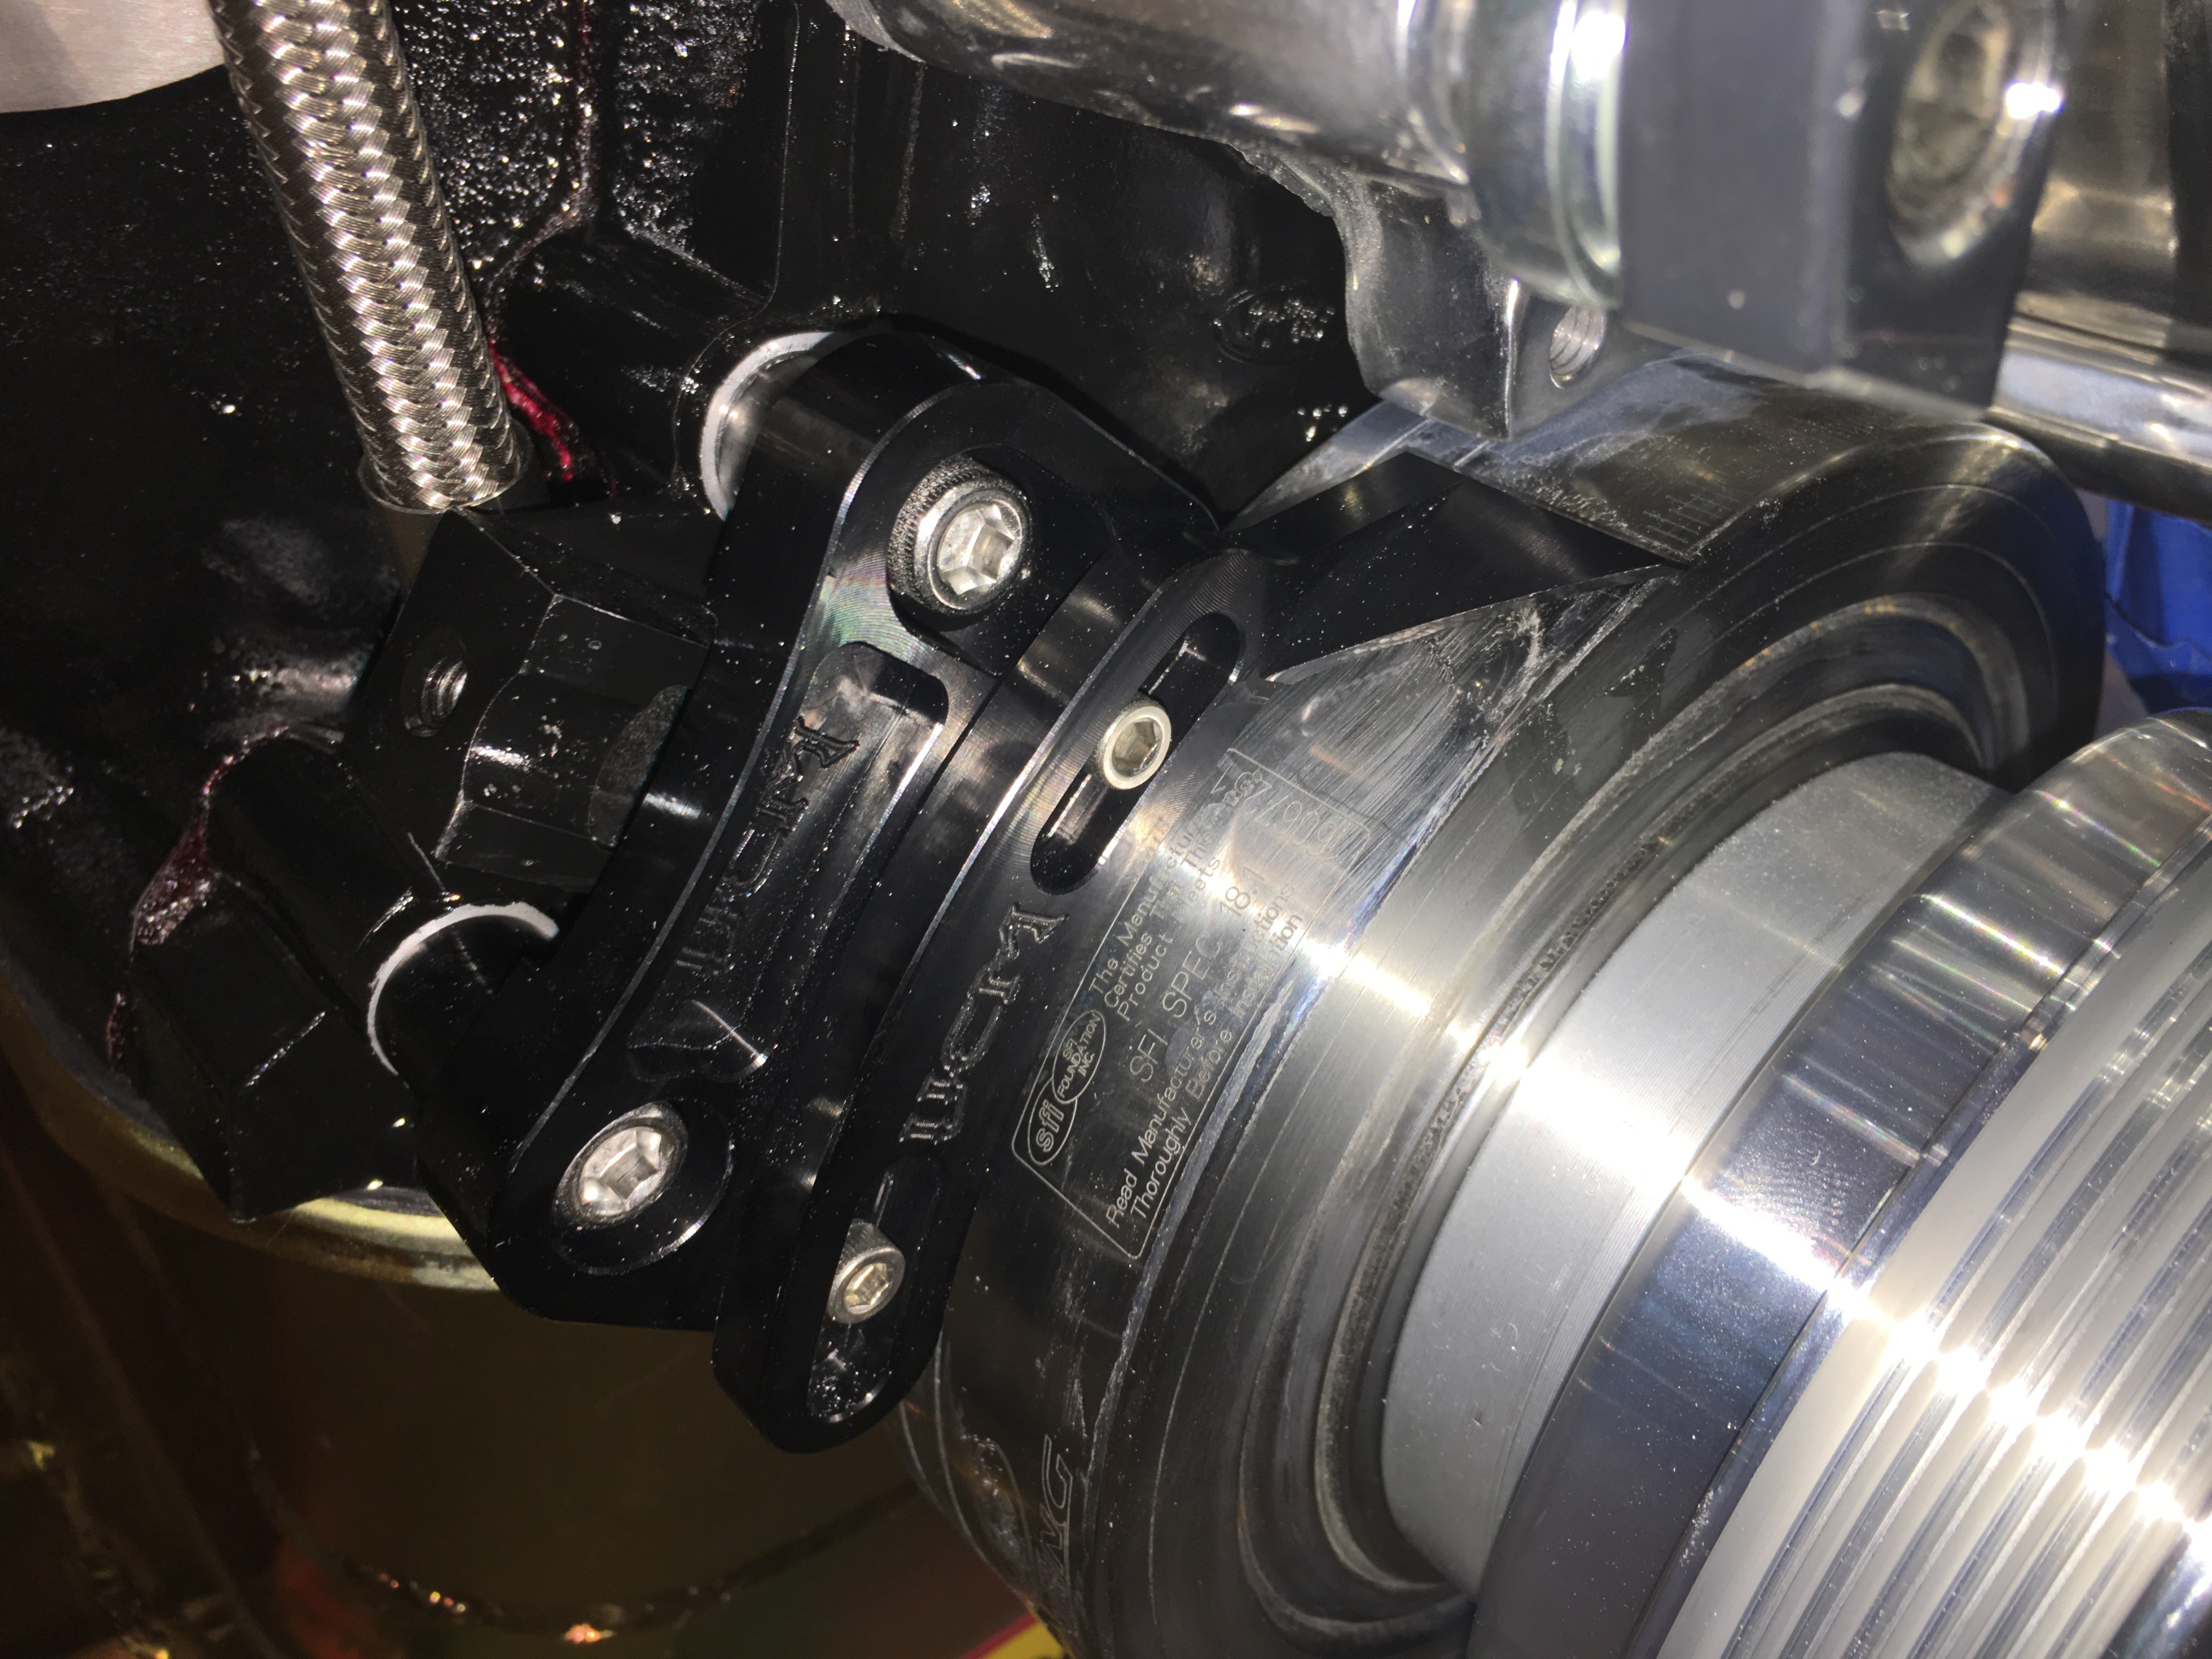
I installed the EPS brackets and tacked the two pieces of the bracket together and tacked it to the chassis. I’ll finish welding this after pulling the steering linkage off and unscrewing the aluminum F panel.
With the steering linking all bolted into its final location, I tacked the upper coupler to the steering shaft.
I also tacked the lower coupler.
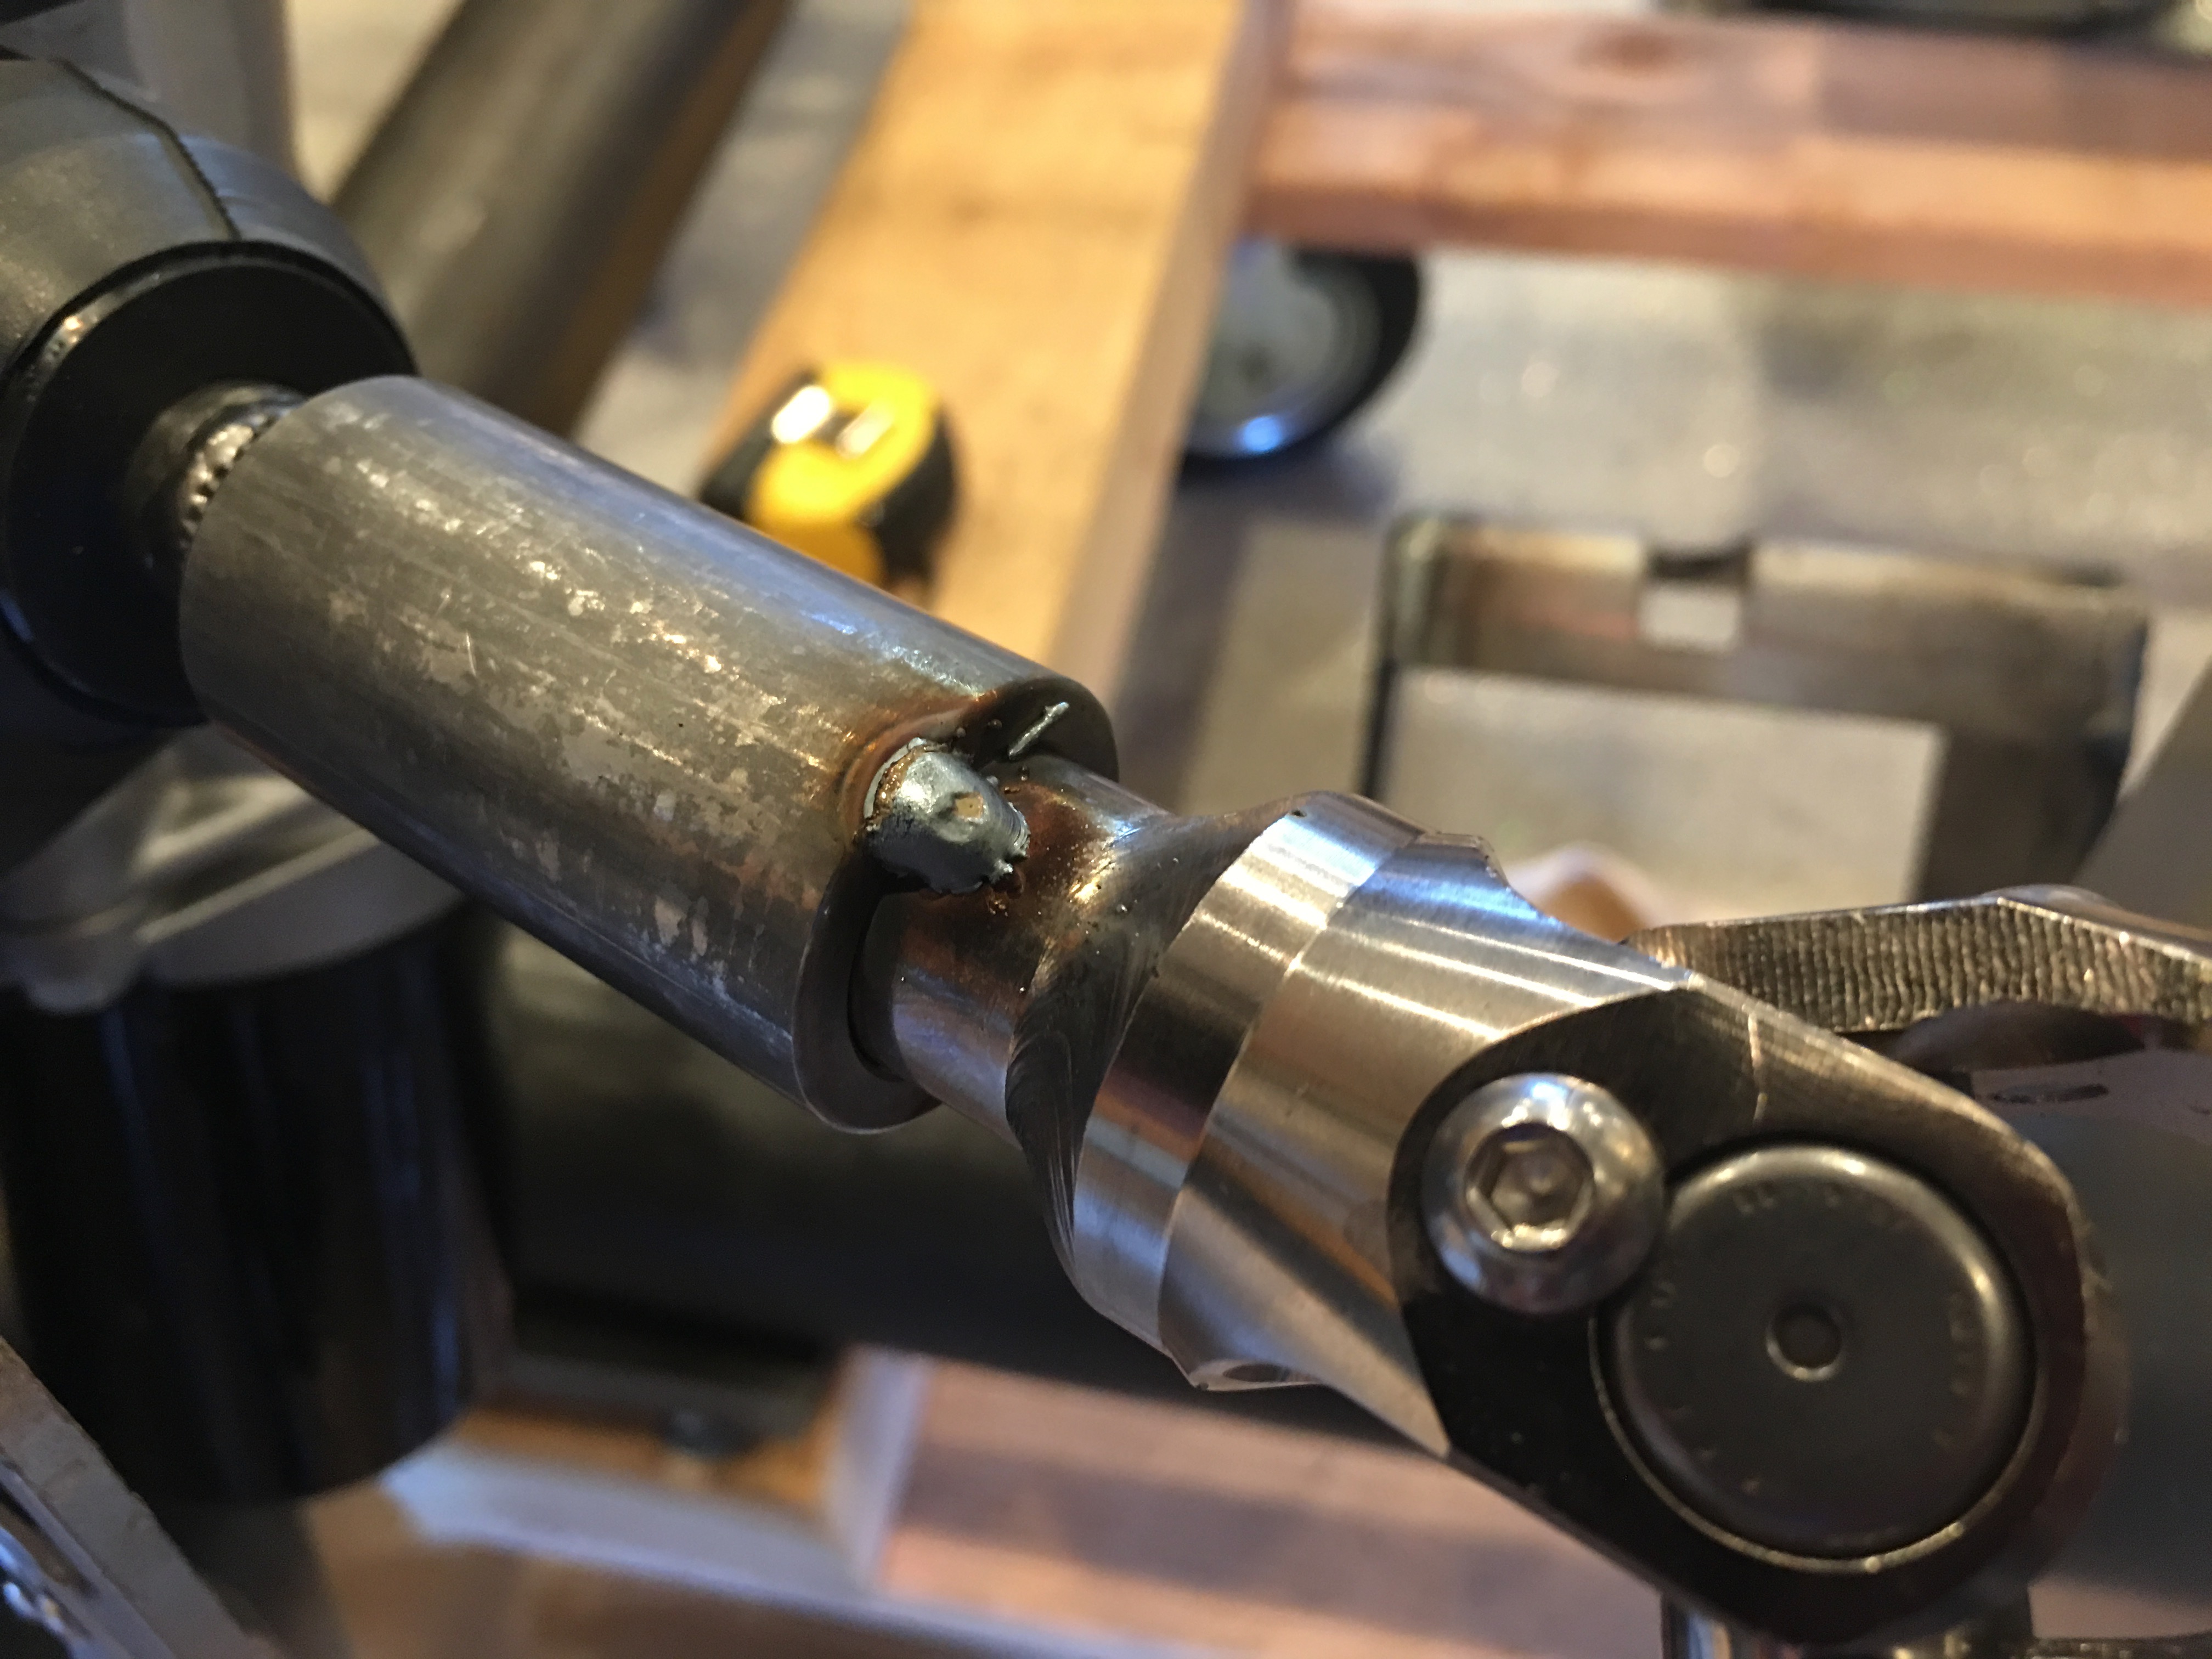
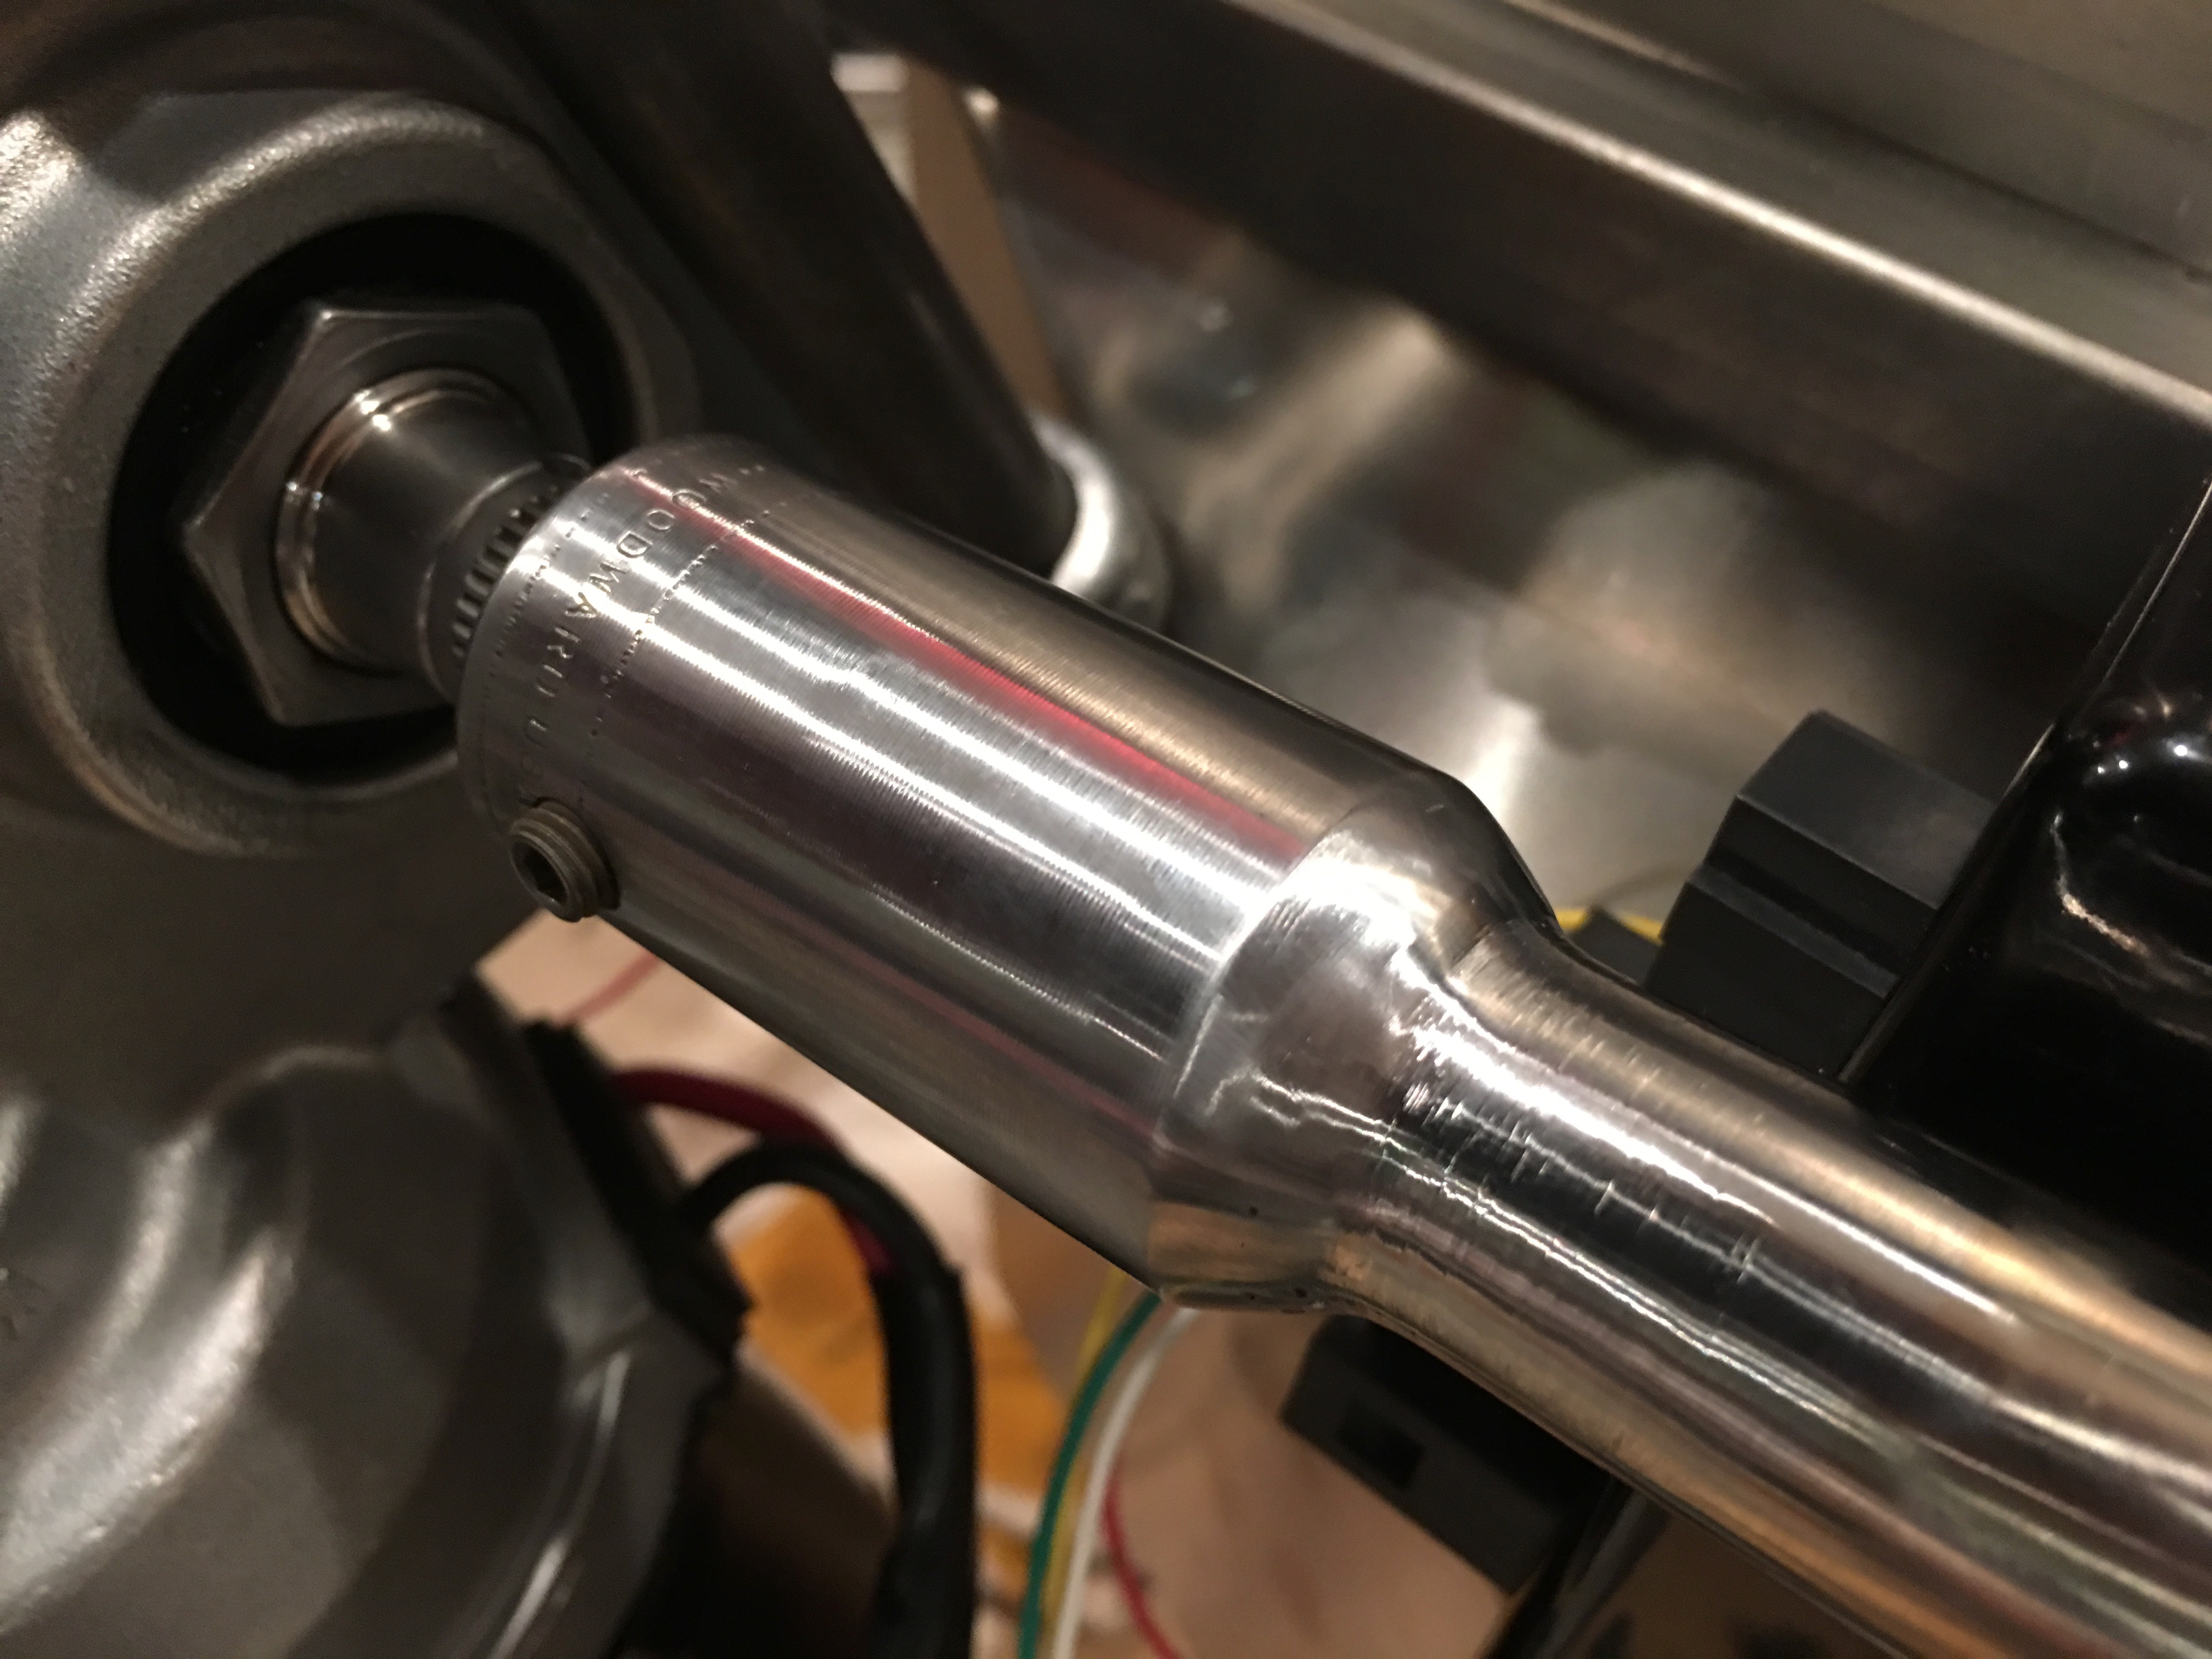
I then TIG welded the couplers all the way around and ground everything smooth. Here’s the upper coupler.

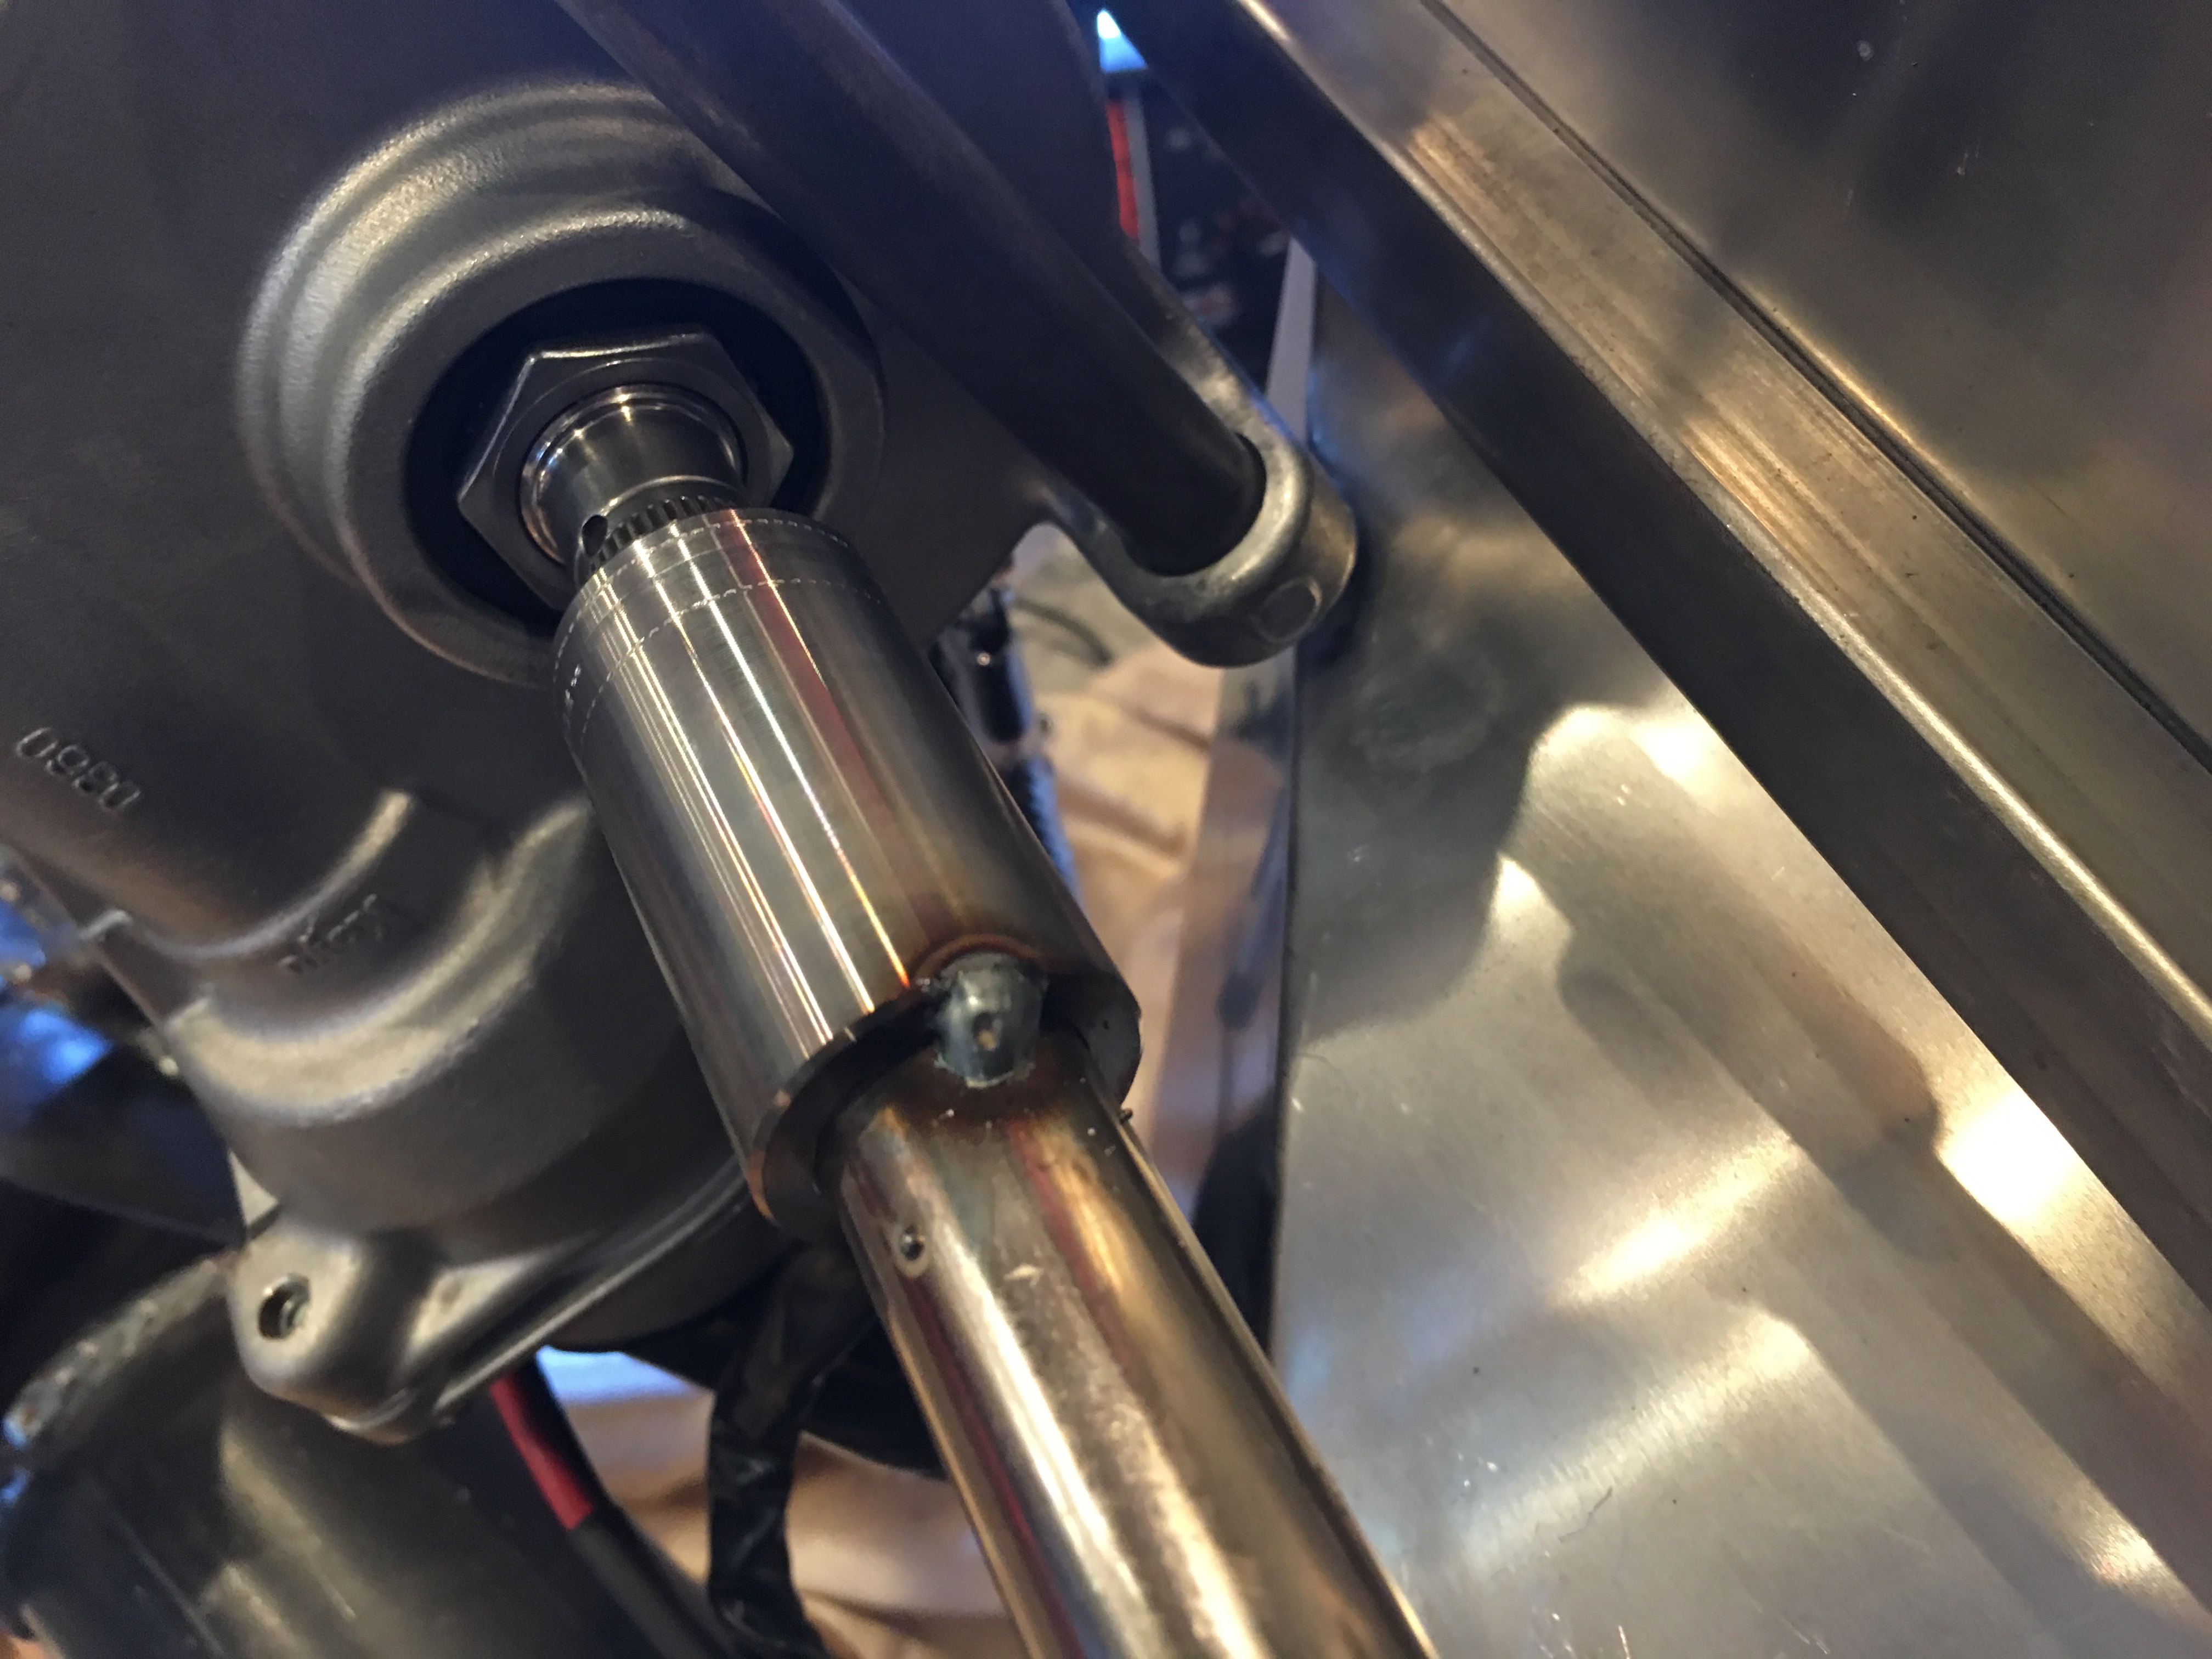
And here’s the lower coupler. I may have these chromed after the chassis comes apart for finishing.
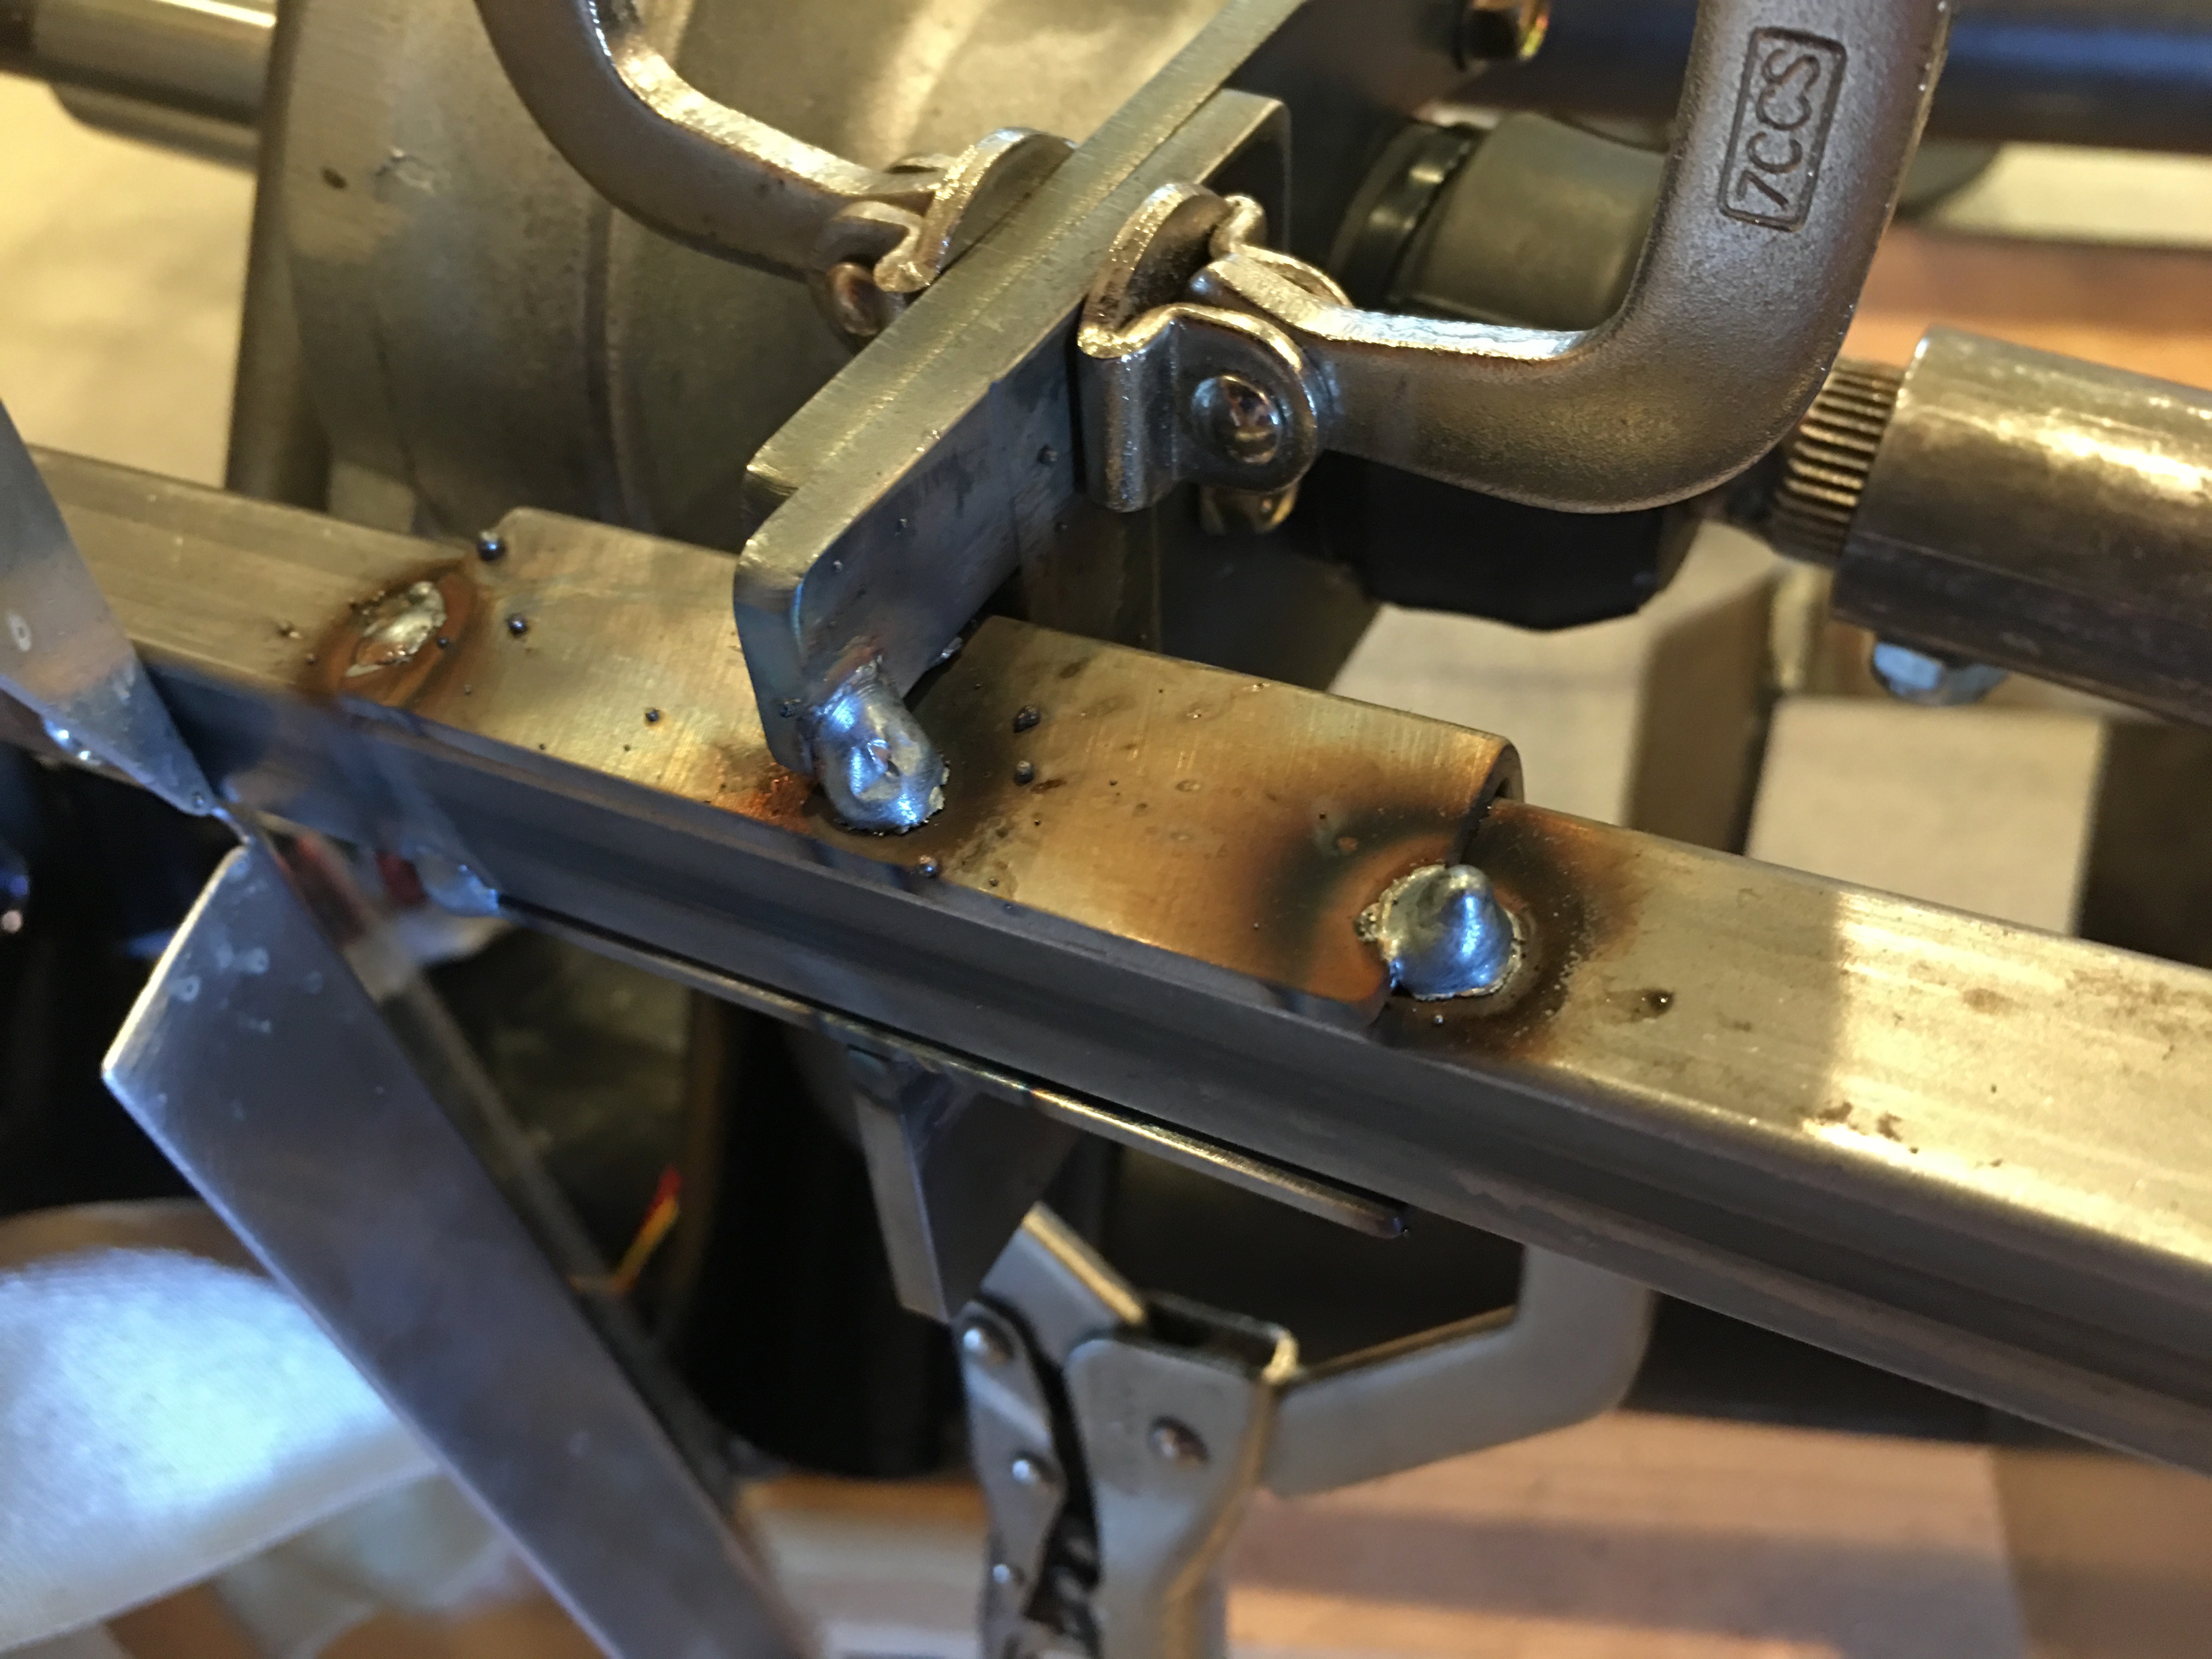
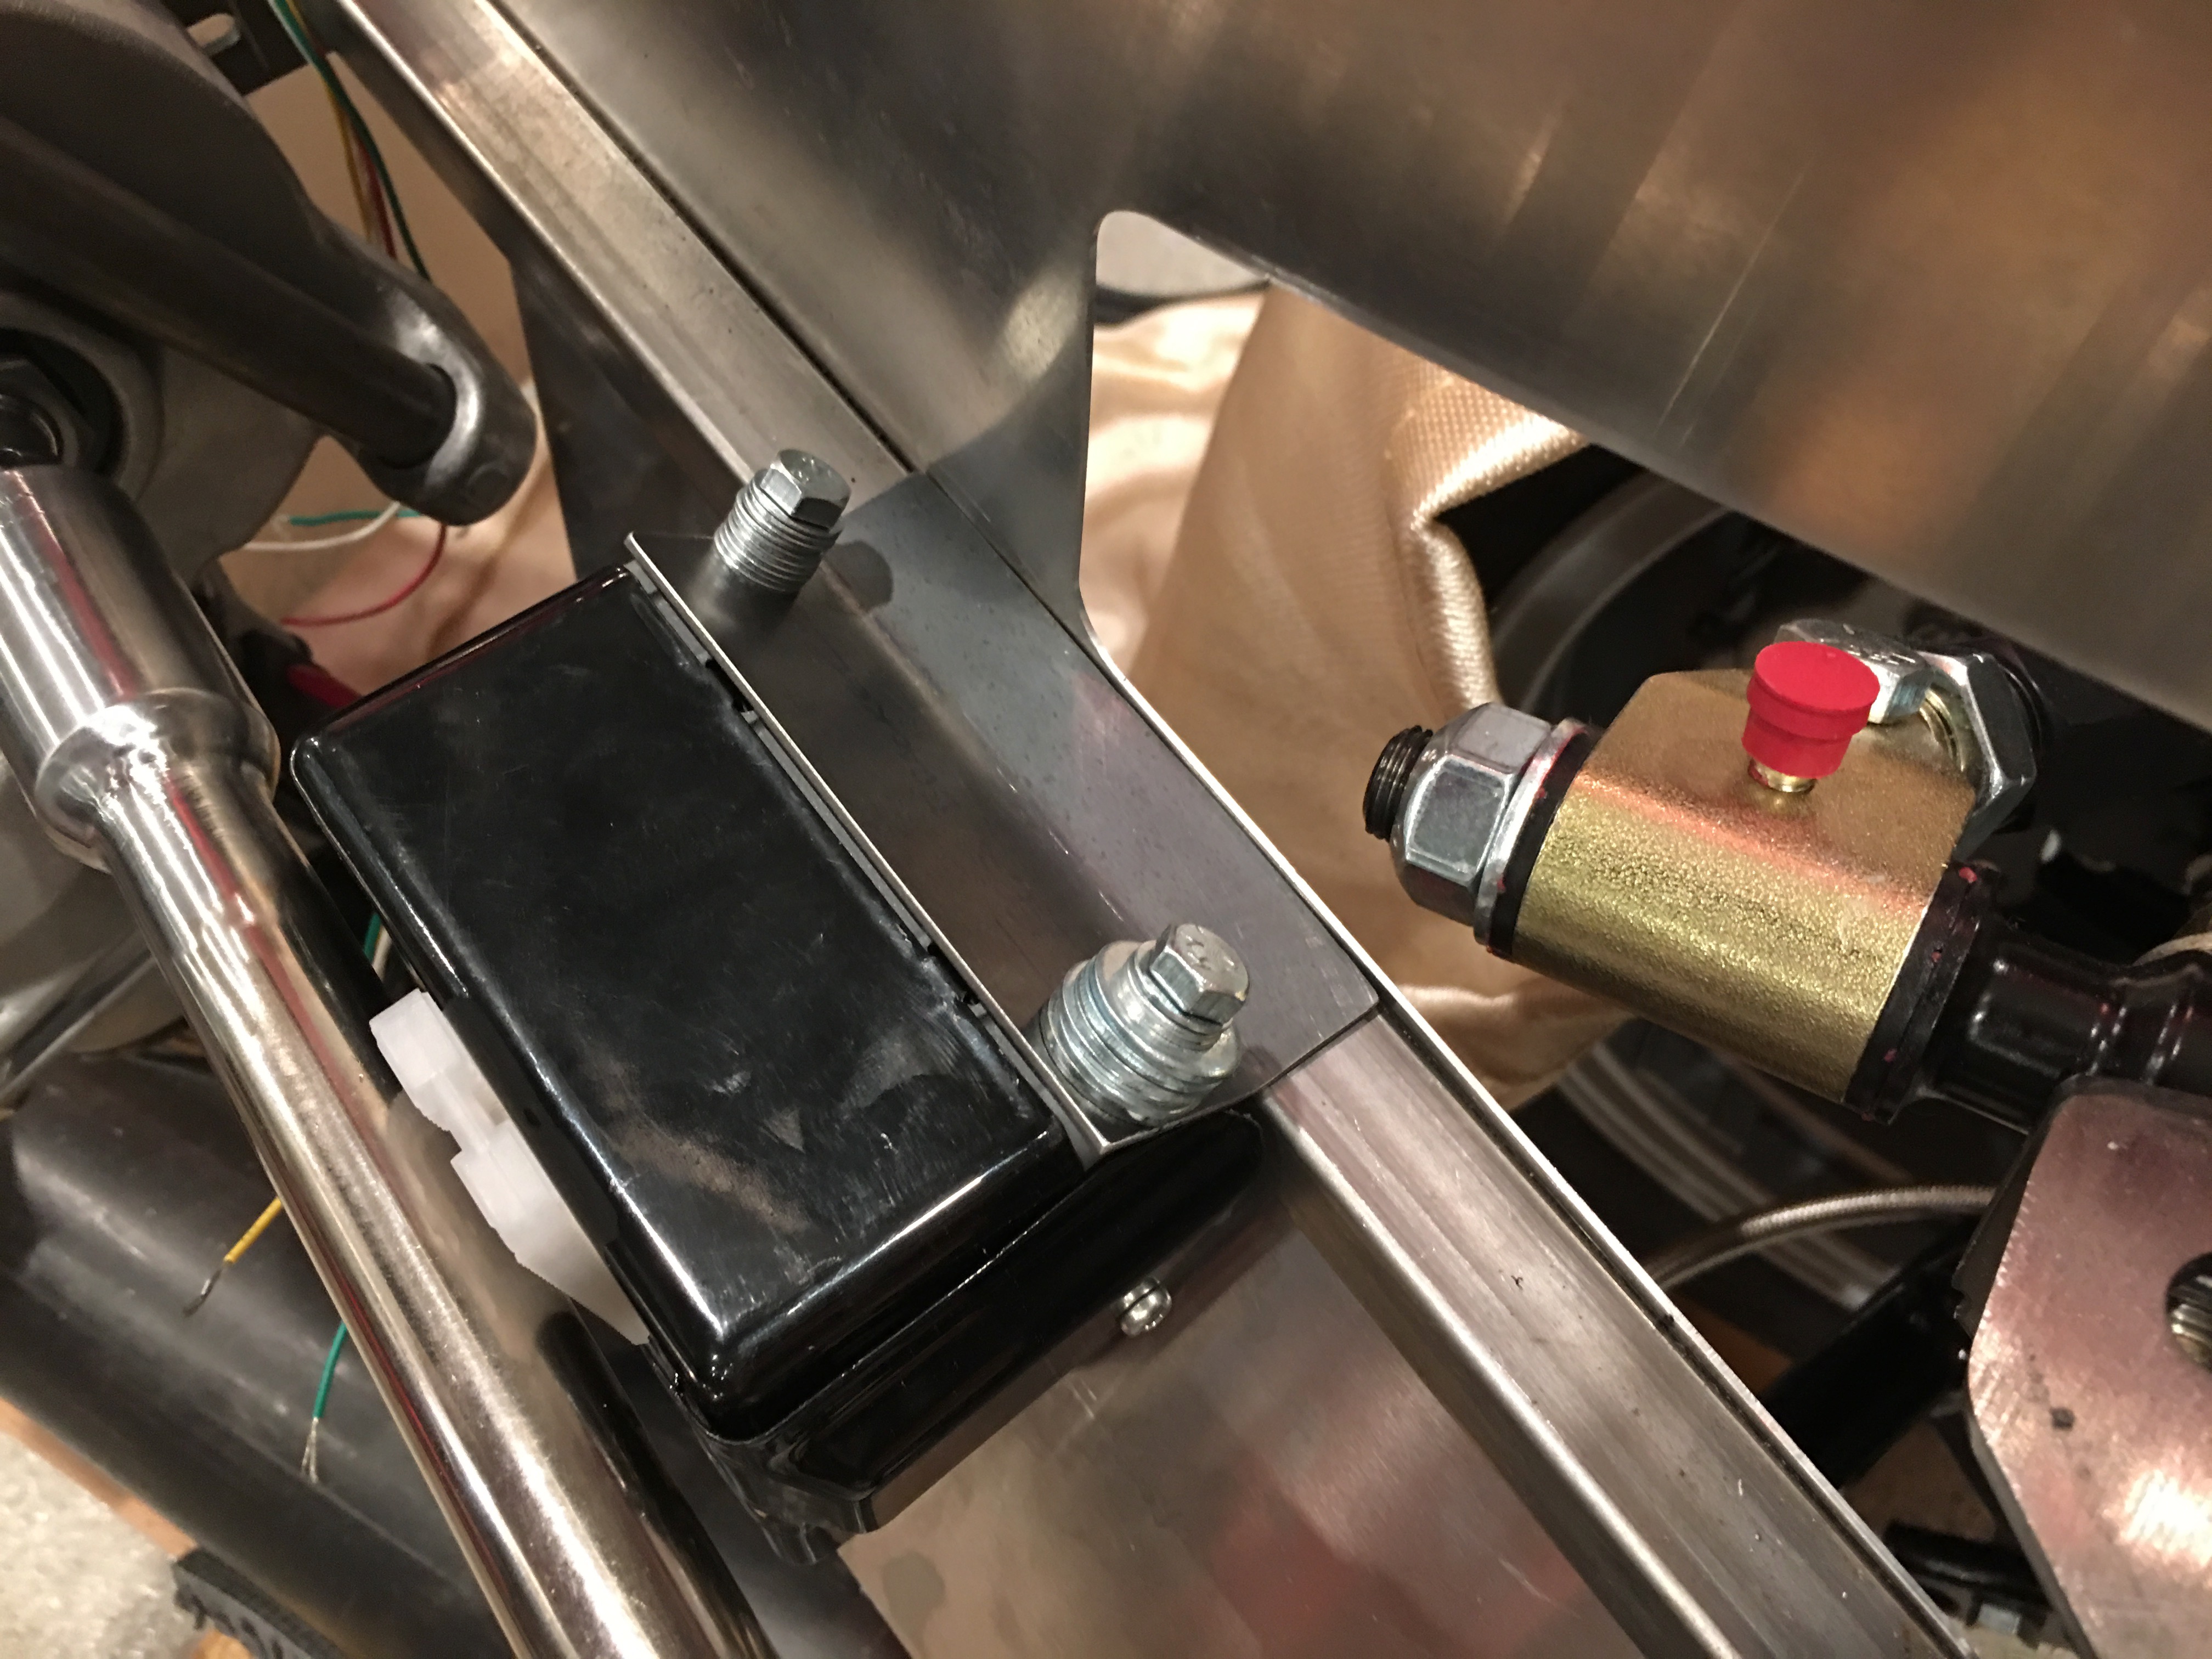
While I was at the TechShop, I fabbed up a piece of 16ga steel to attach the EPS controller to the chassis. The bolts are metric, so the only ones I had on hand were too long. I’ll pick up the right bolts before bolting this in for good.
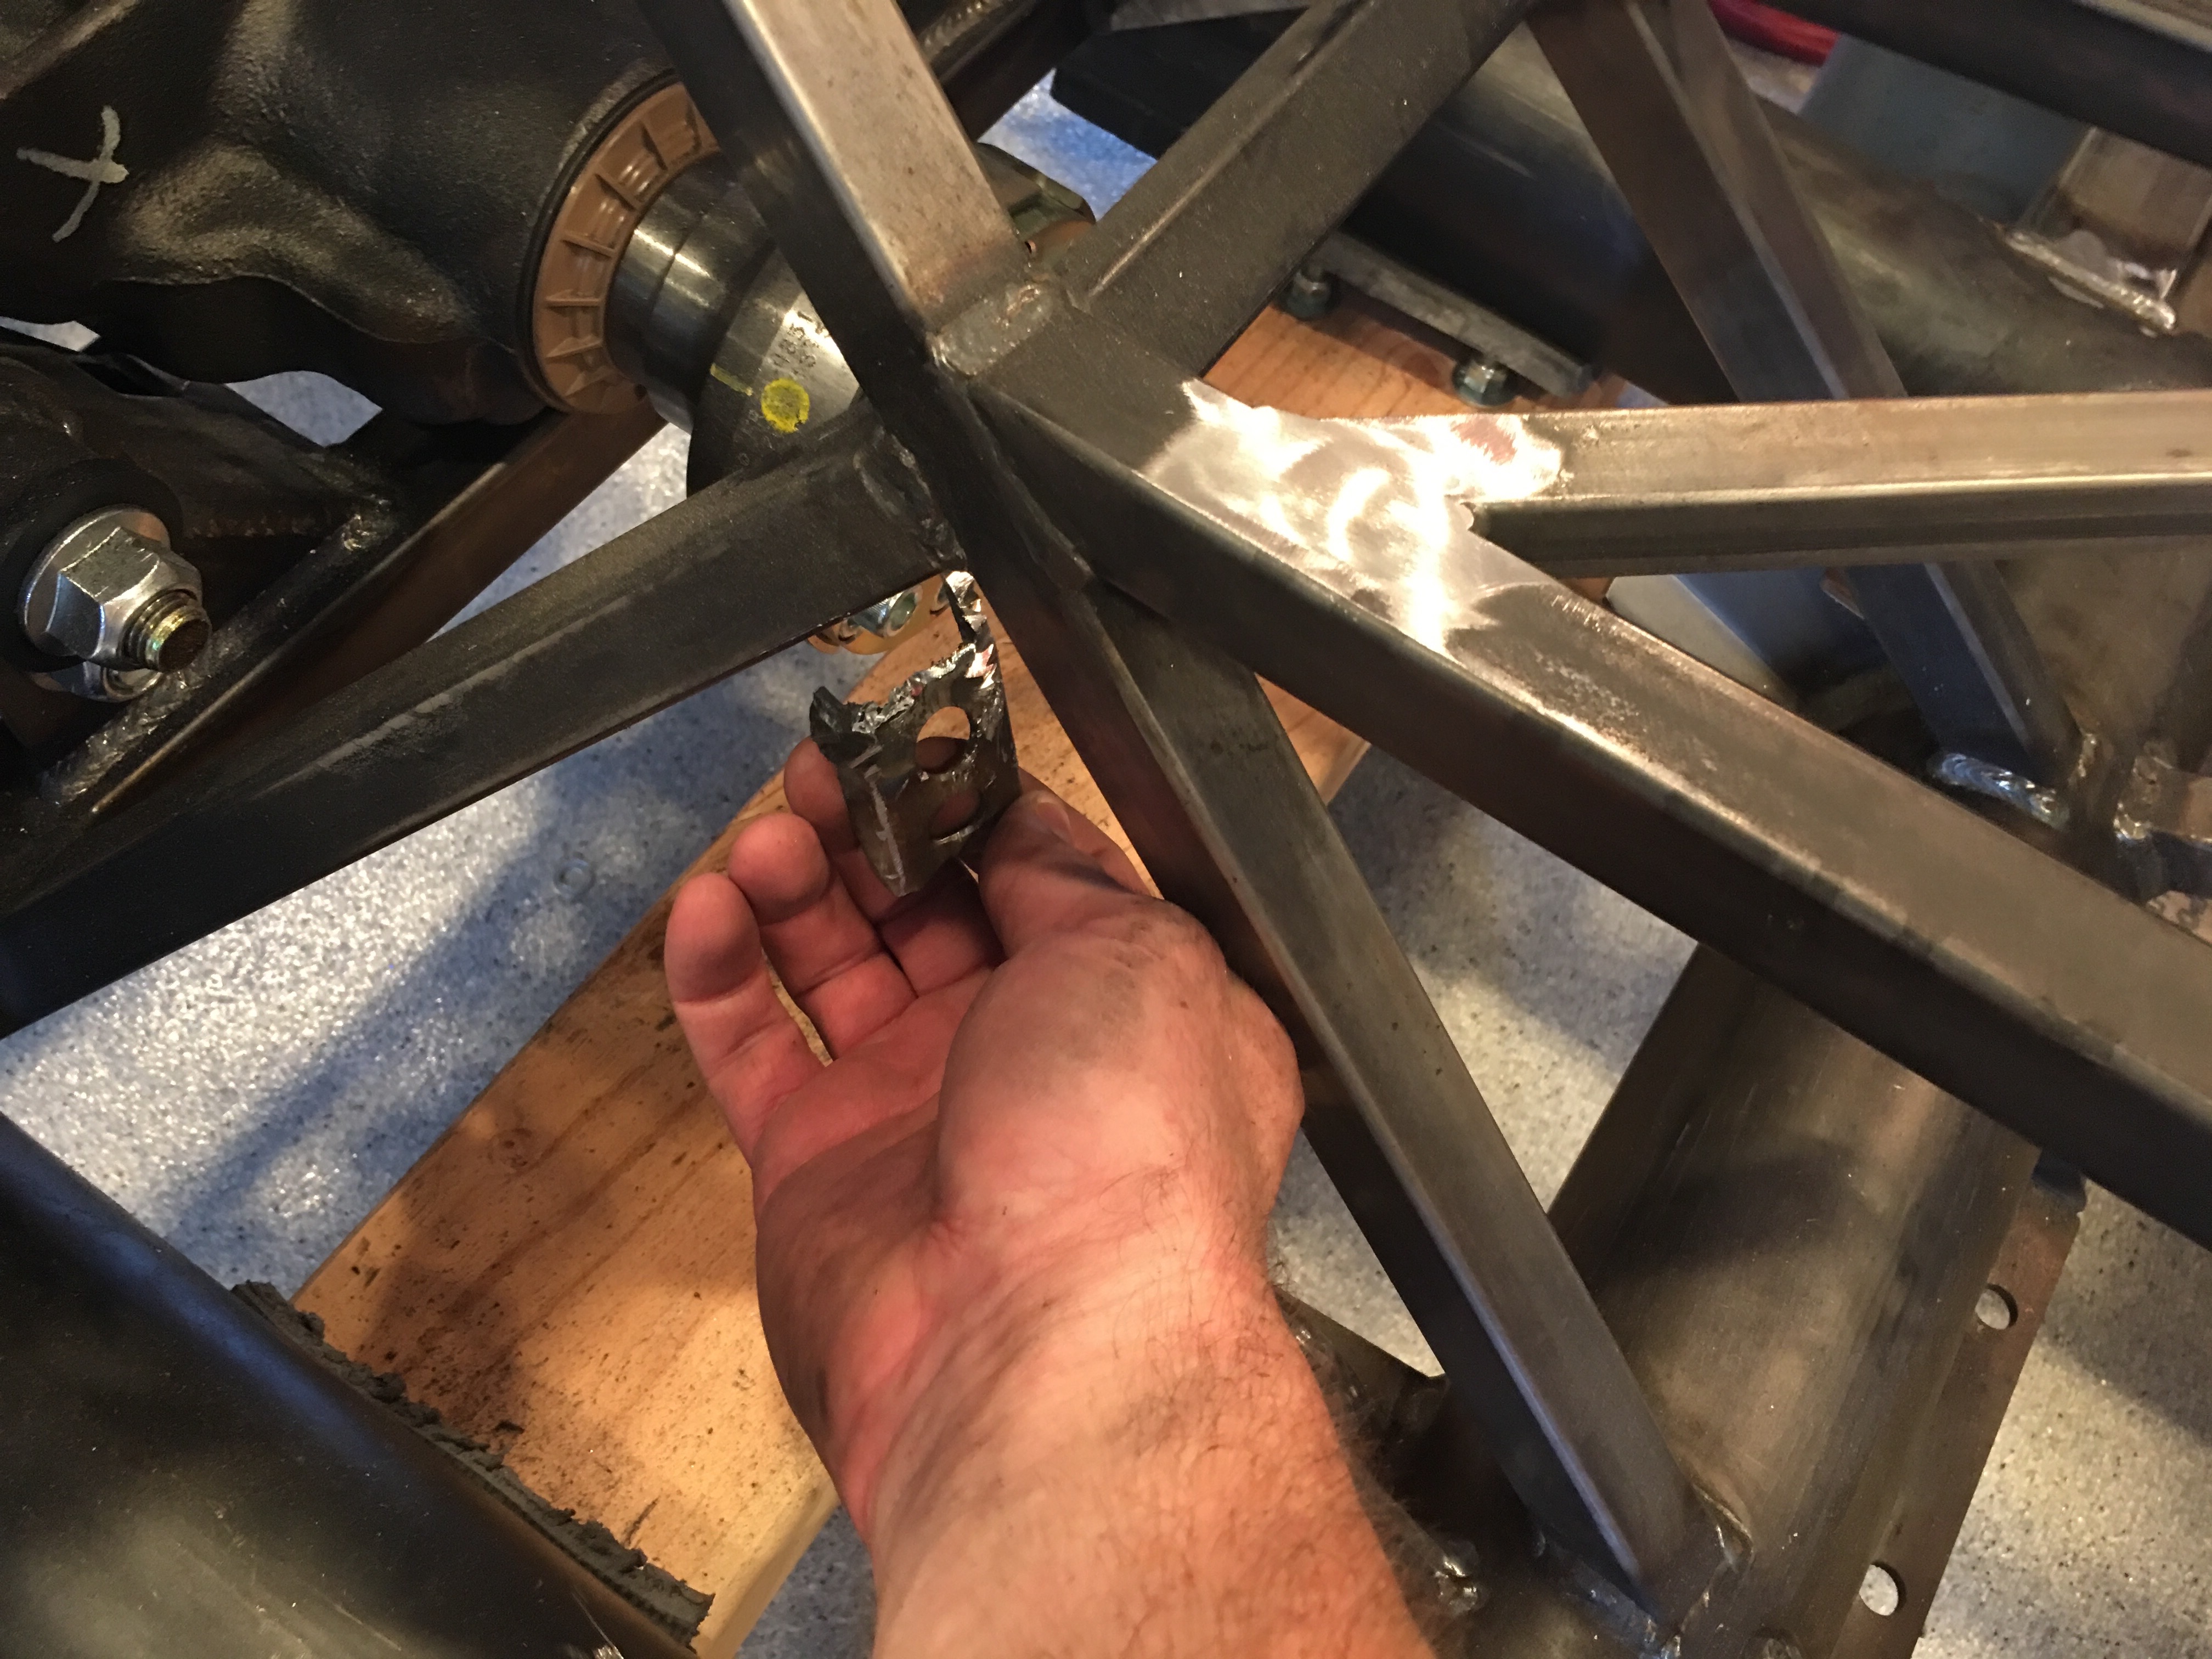
Since I’m relocating the parking brake, I cut off the bracket that holds the handle. I’ll have to fab up a bracket once I figure out the new location.
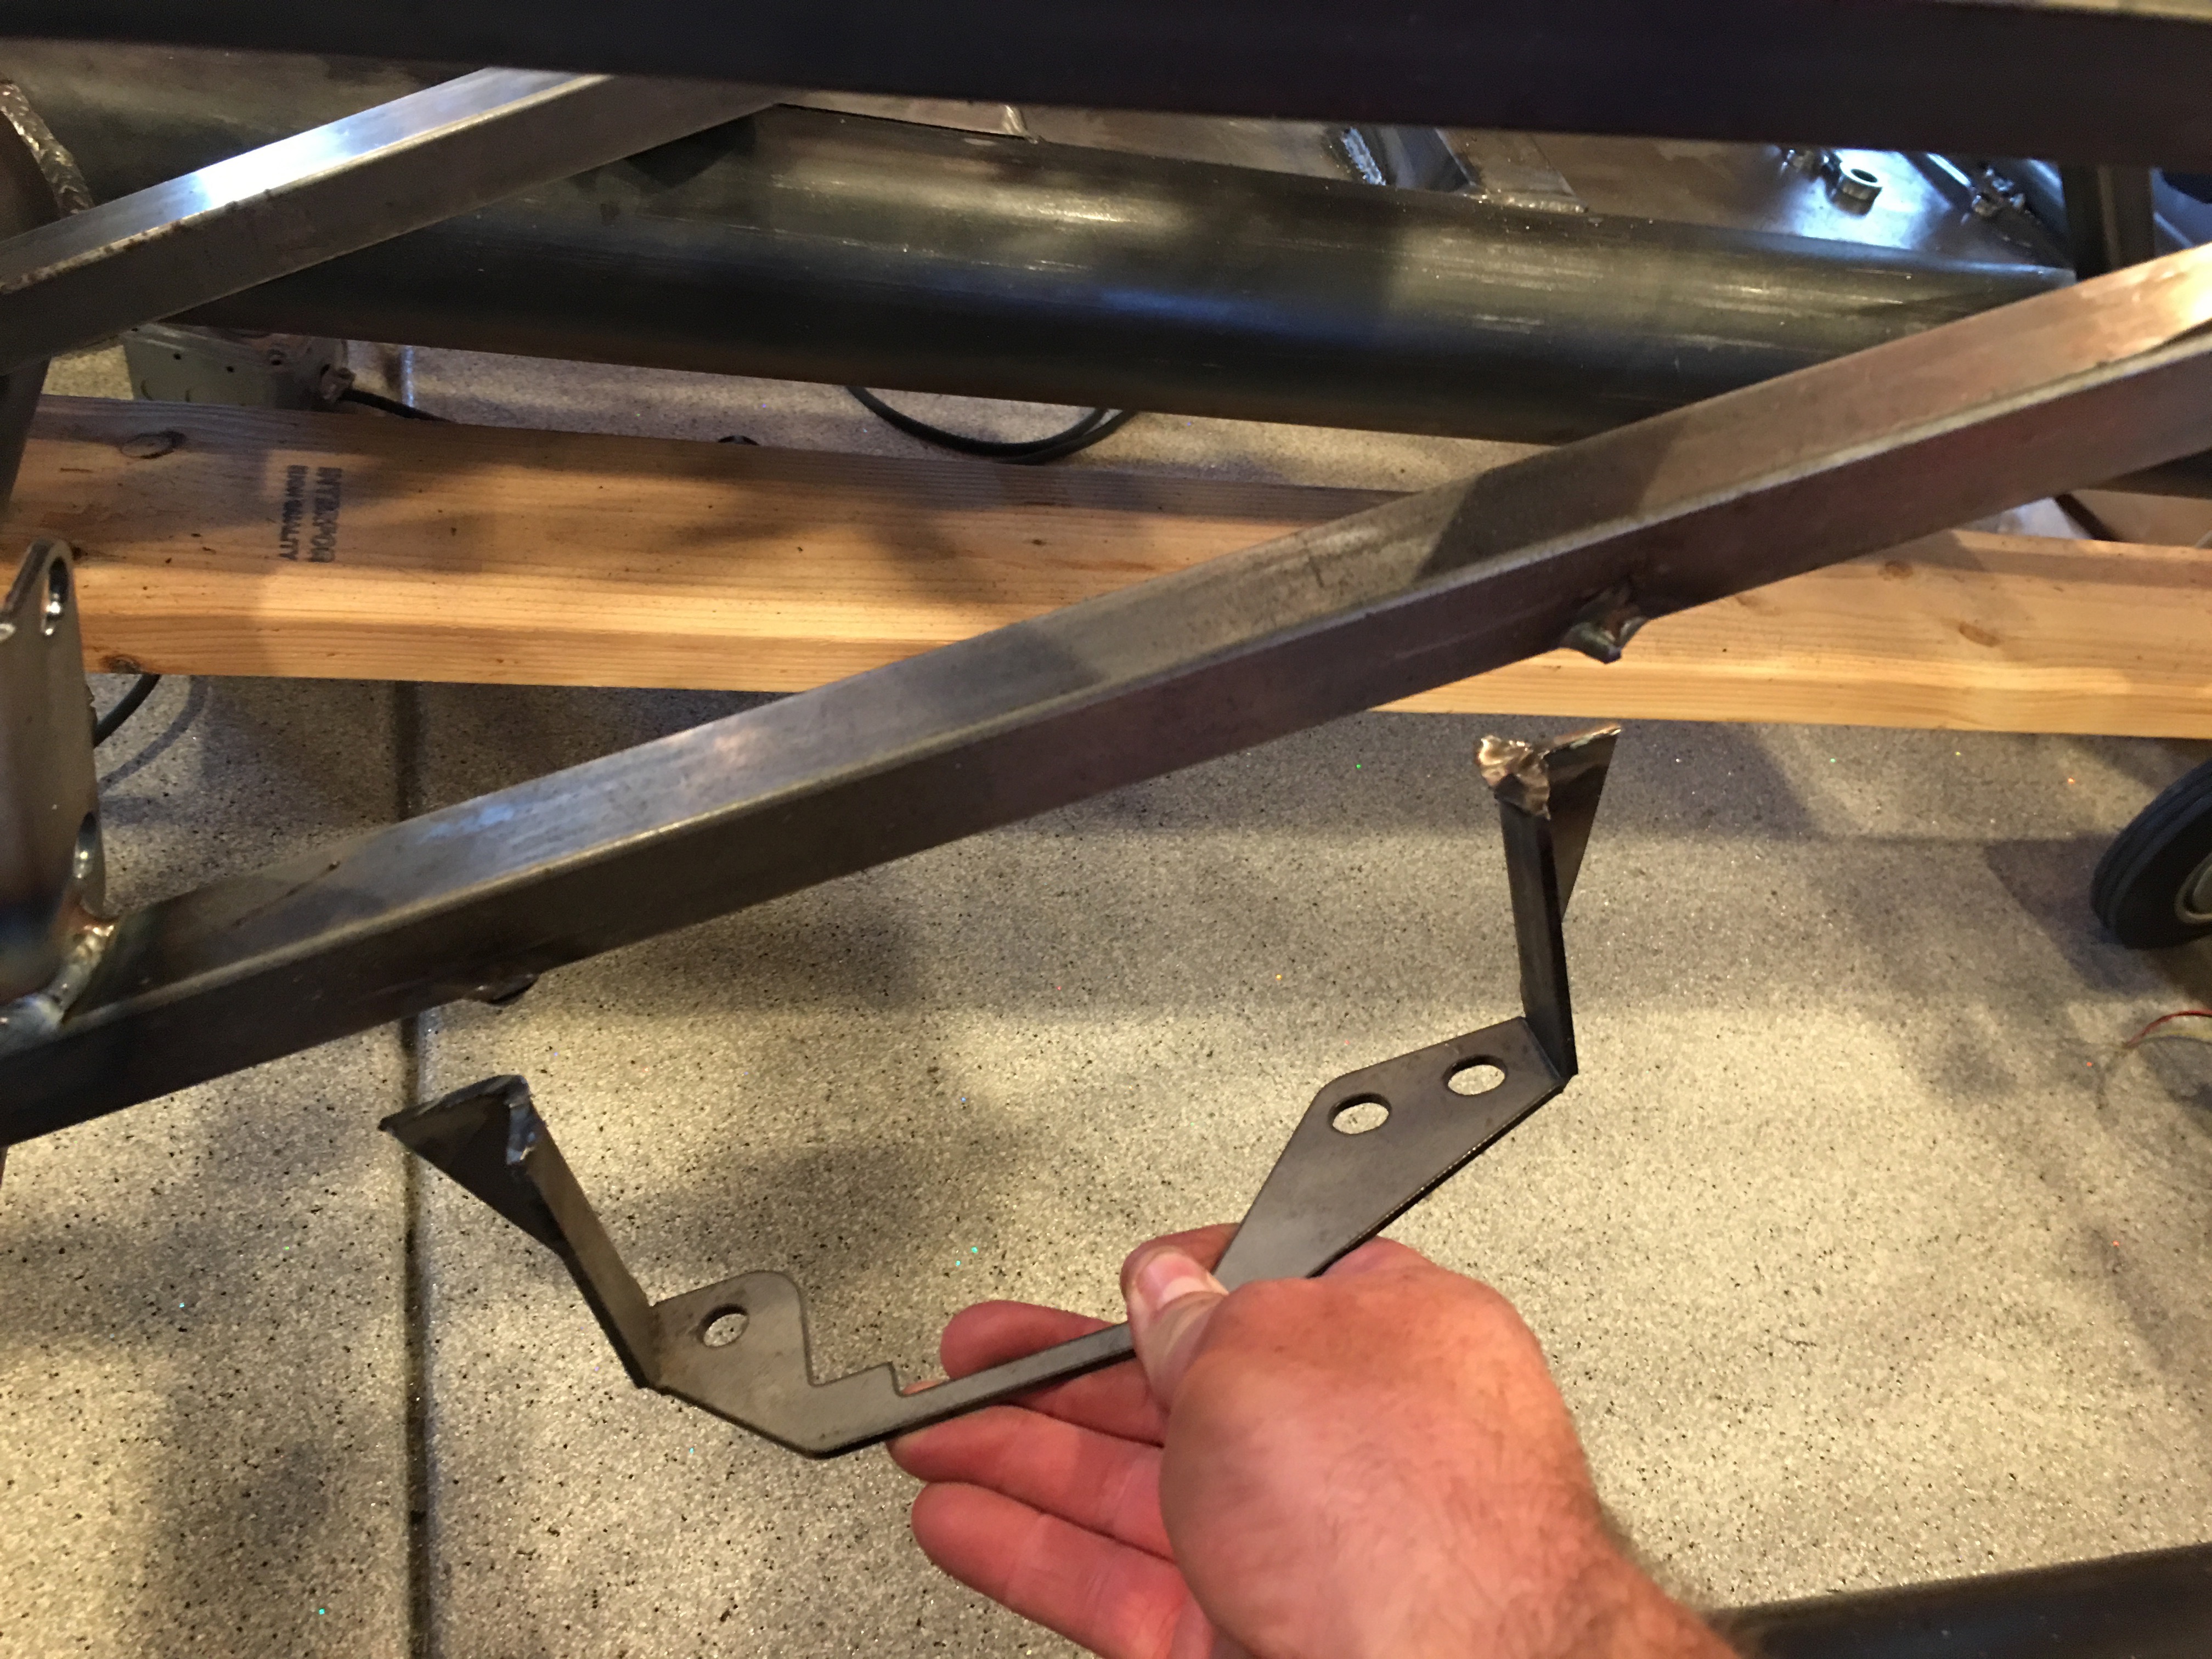
I also cut off the bracket that hold the parking brake cables. I really wish I had cut this off before installing the differential; it was a real challenge cutting this off while working around it.
I originally purchased a timing pointer that mounts at the 2 o’clock position, but it turns out that that would be pretty hard to see since we’re using a water pump with a driver side inlet. I replaced that with one that mounts at the 11 o’clock position, but it interferes with a bracket on the Ford timing cover. Ford confirmed that it’s unnecessary, so I cut it off with a cutoff wheel.
After touching up the paint, I installed the pointer and aligned it with the 0º mark.