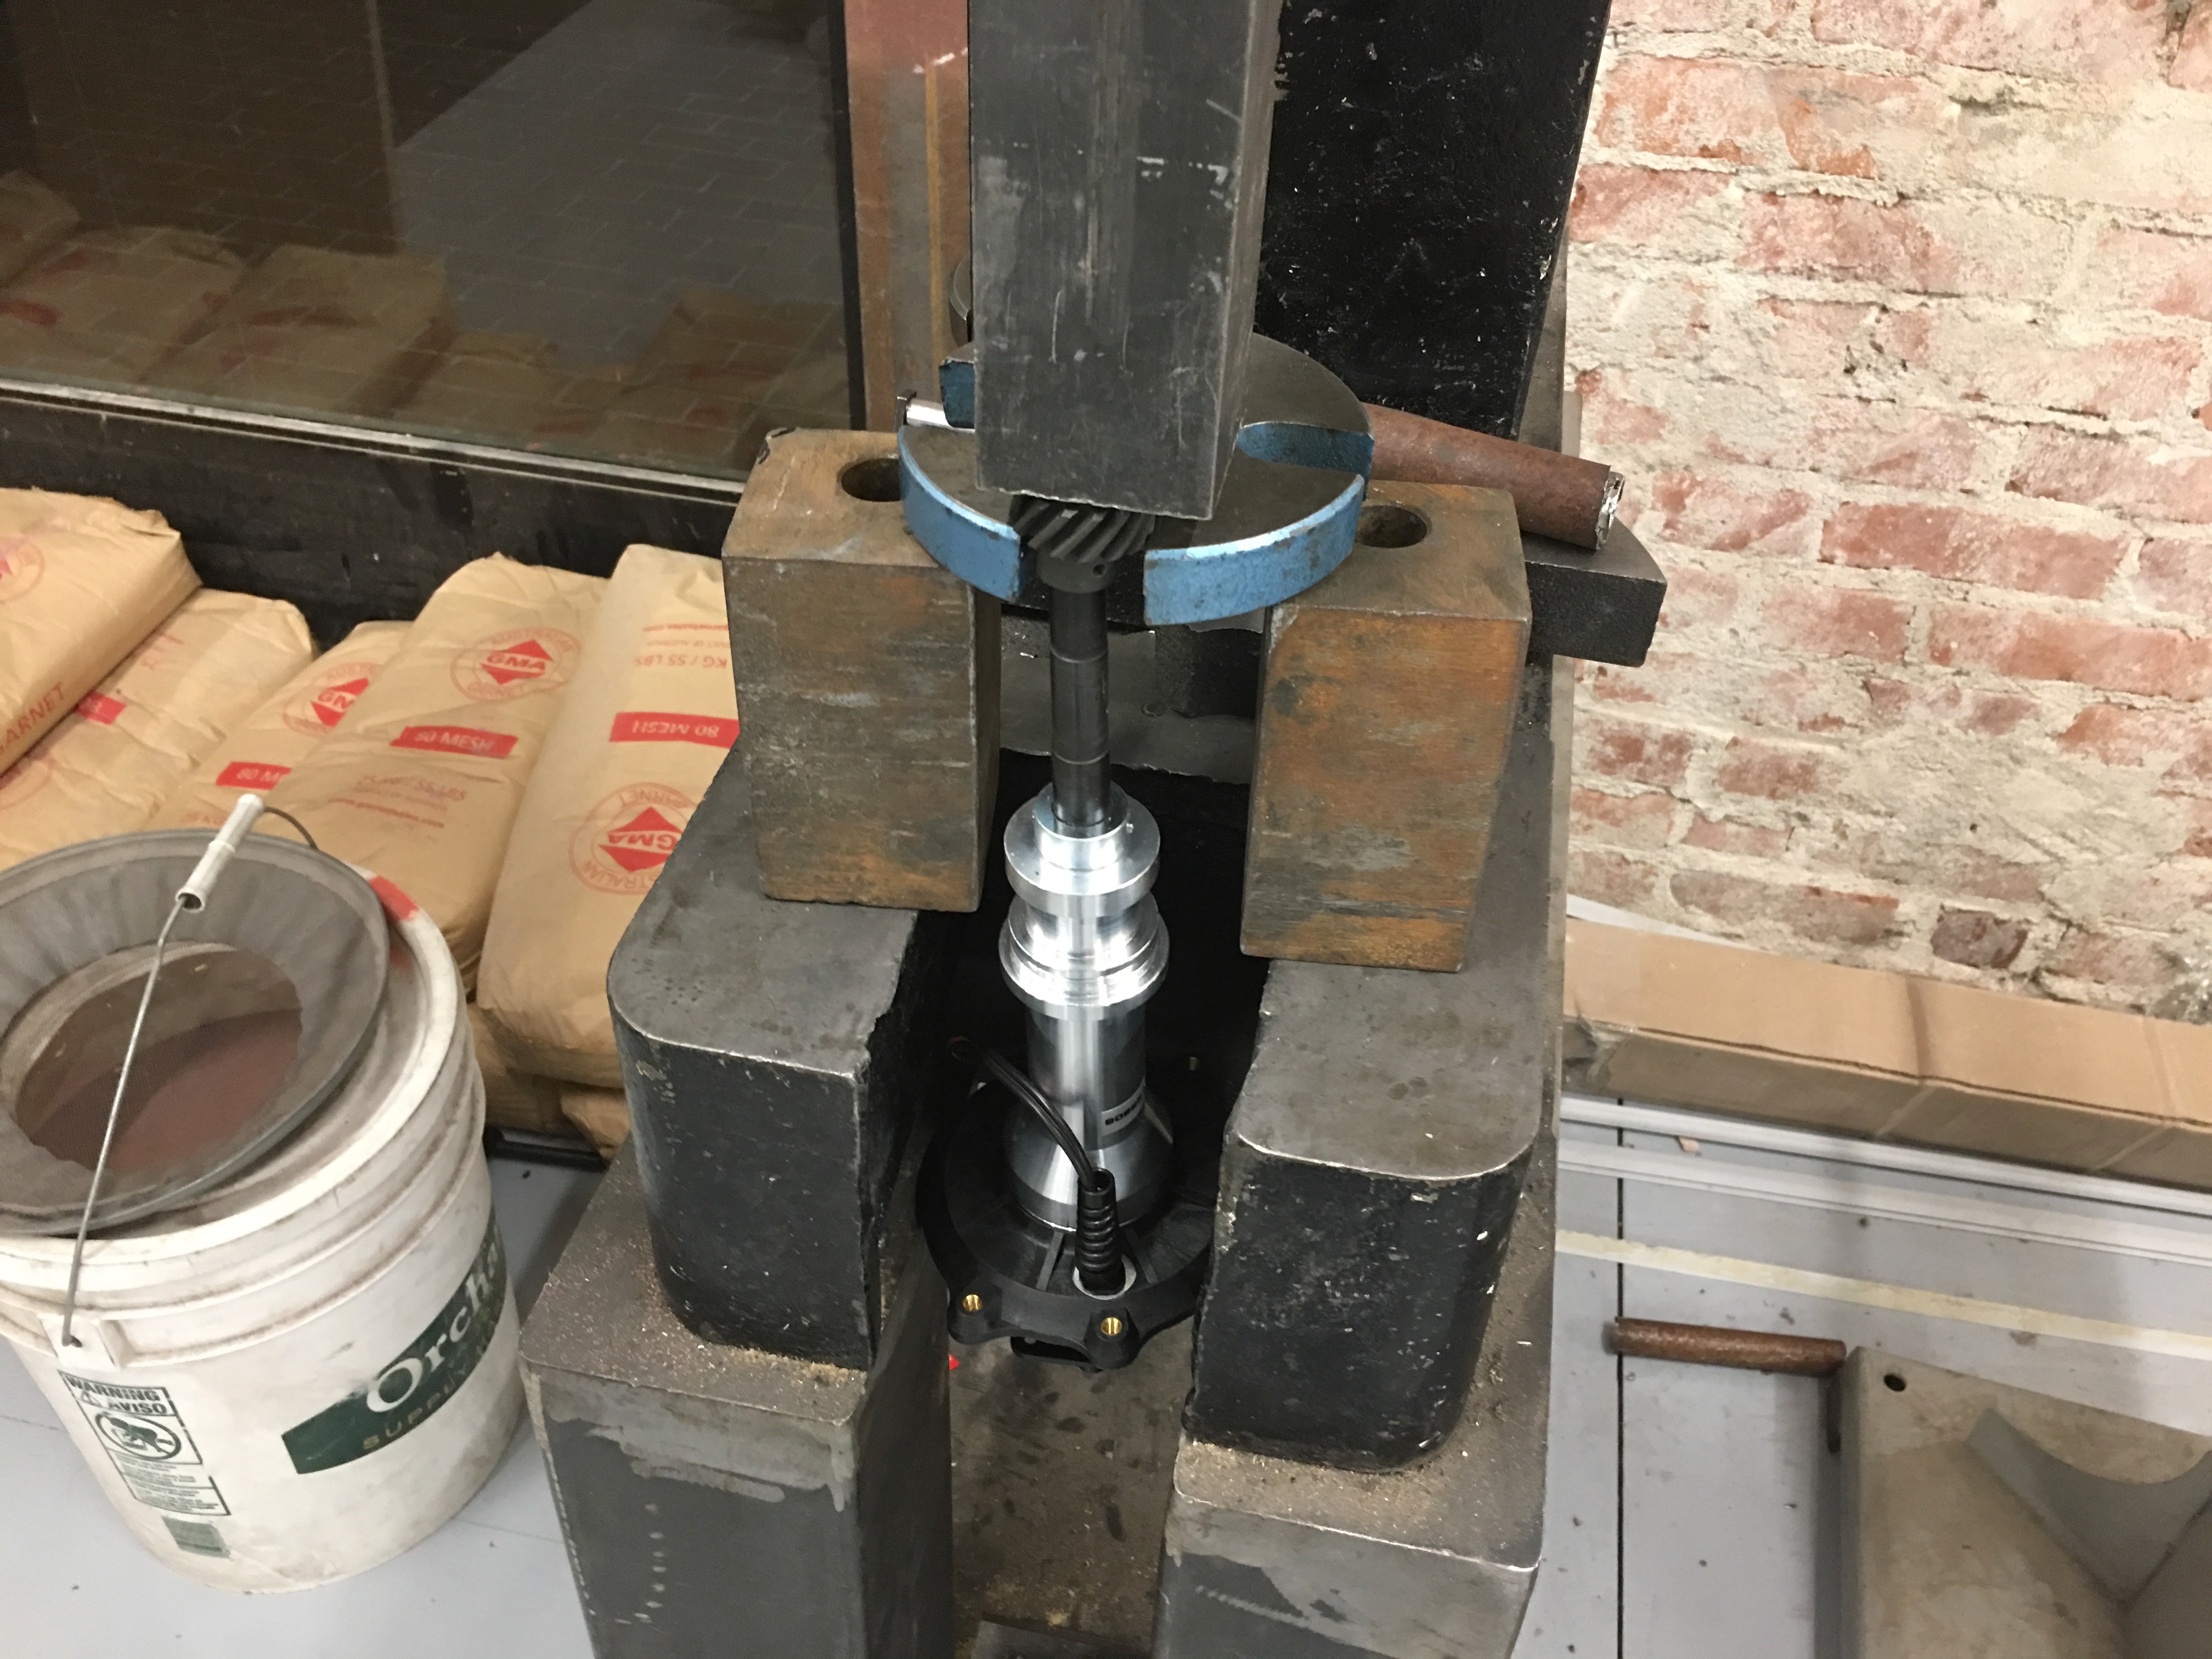
I need to swap the distributor gear to be compatible with the cam gear. After driving the roll pin out, I used the TechShop’s arbor press to press the gear off.
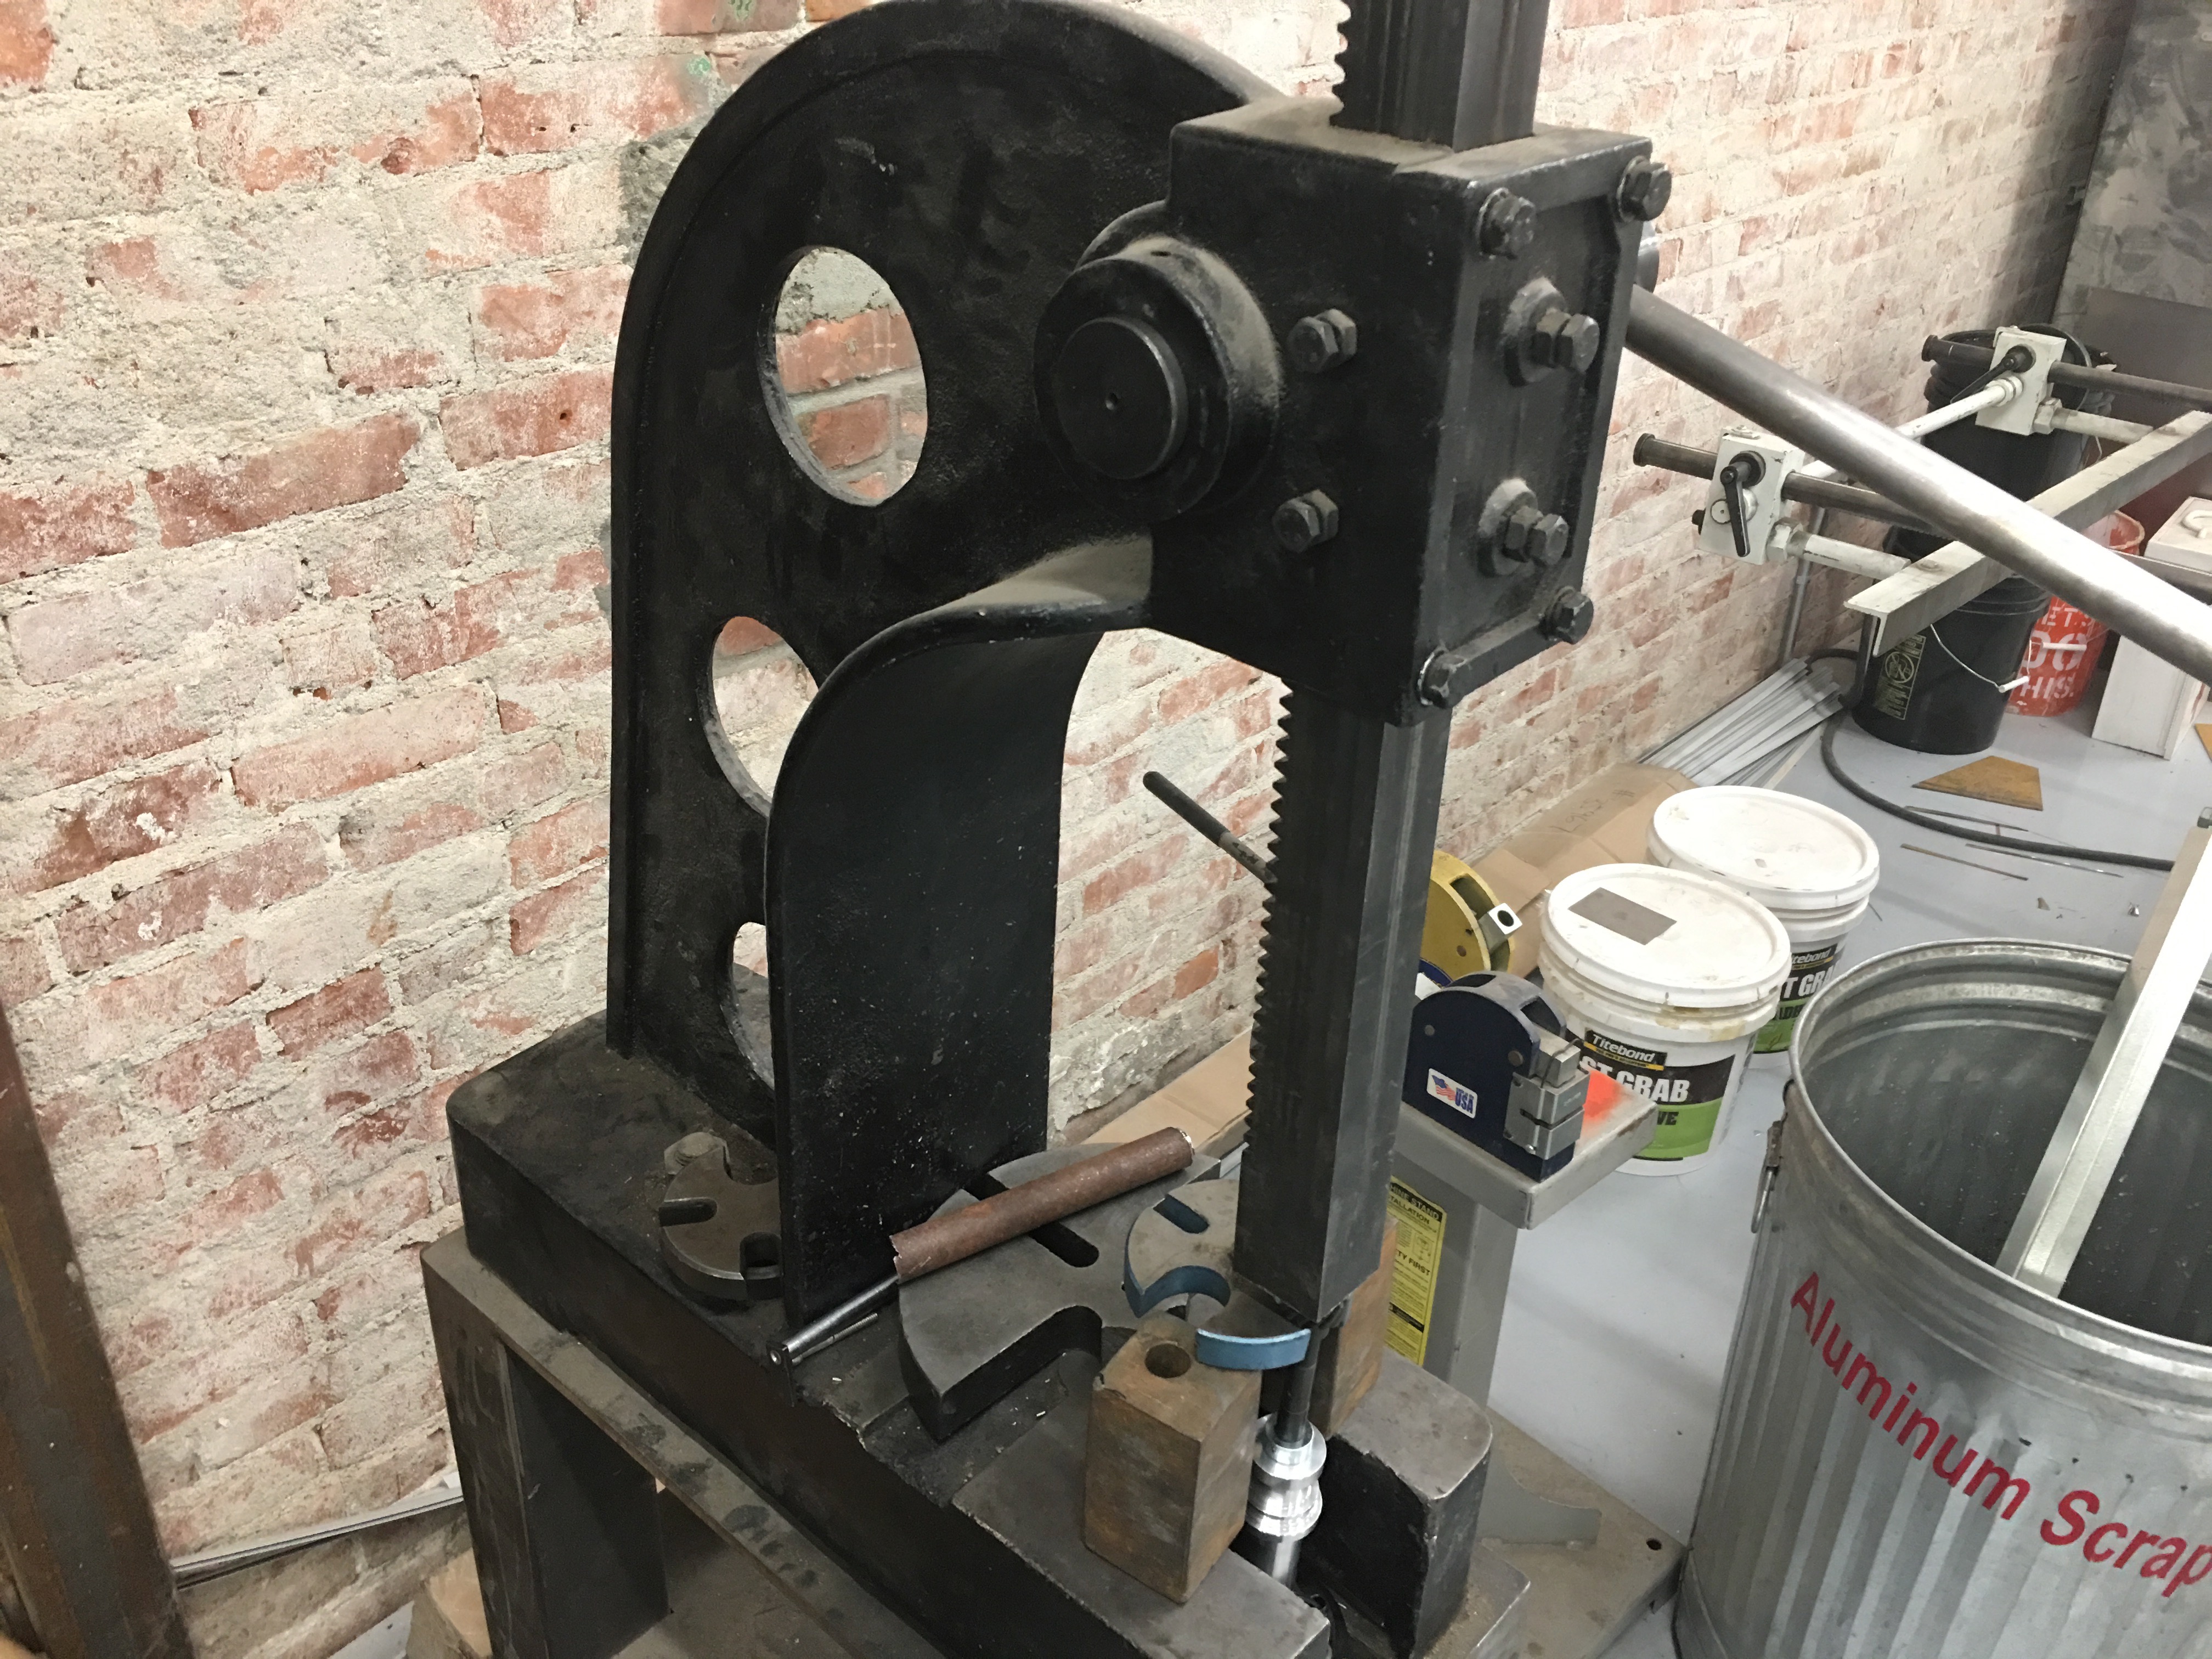
I had to use some scrap metal to shim the bolster plate up high enough to give me clearance to press the shaft down. I also had to remove the rotor and upper housing to allow the distributor to fit between the legs of the press.
With the old gear pressed off, I needed to drill the new gear to match. I set up a duplicating rig on the mill.
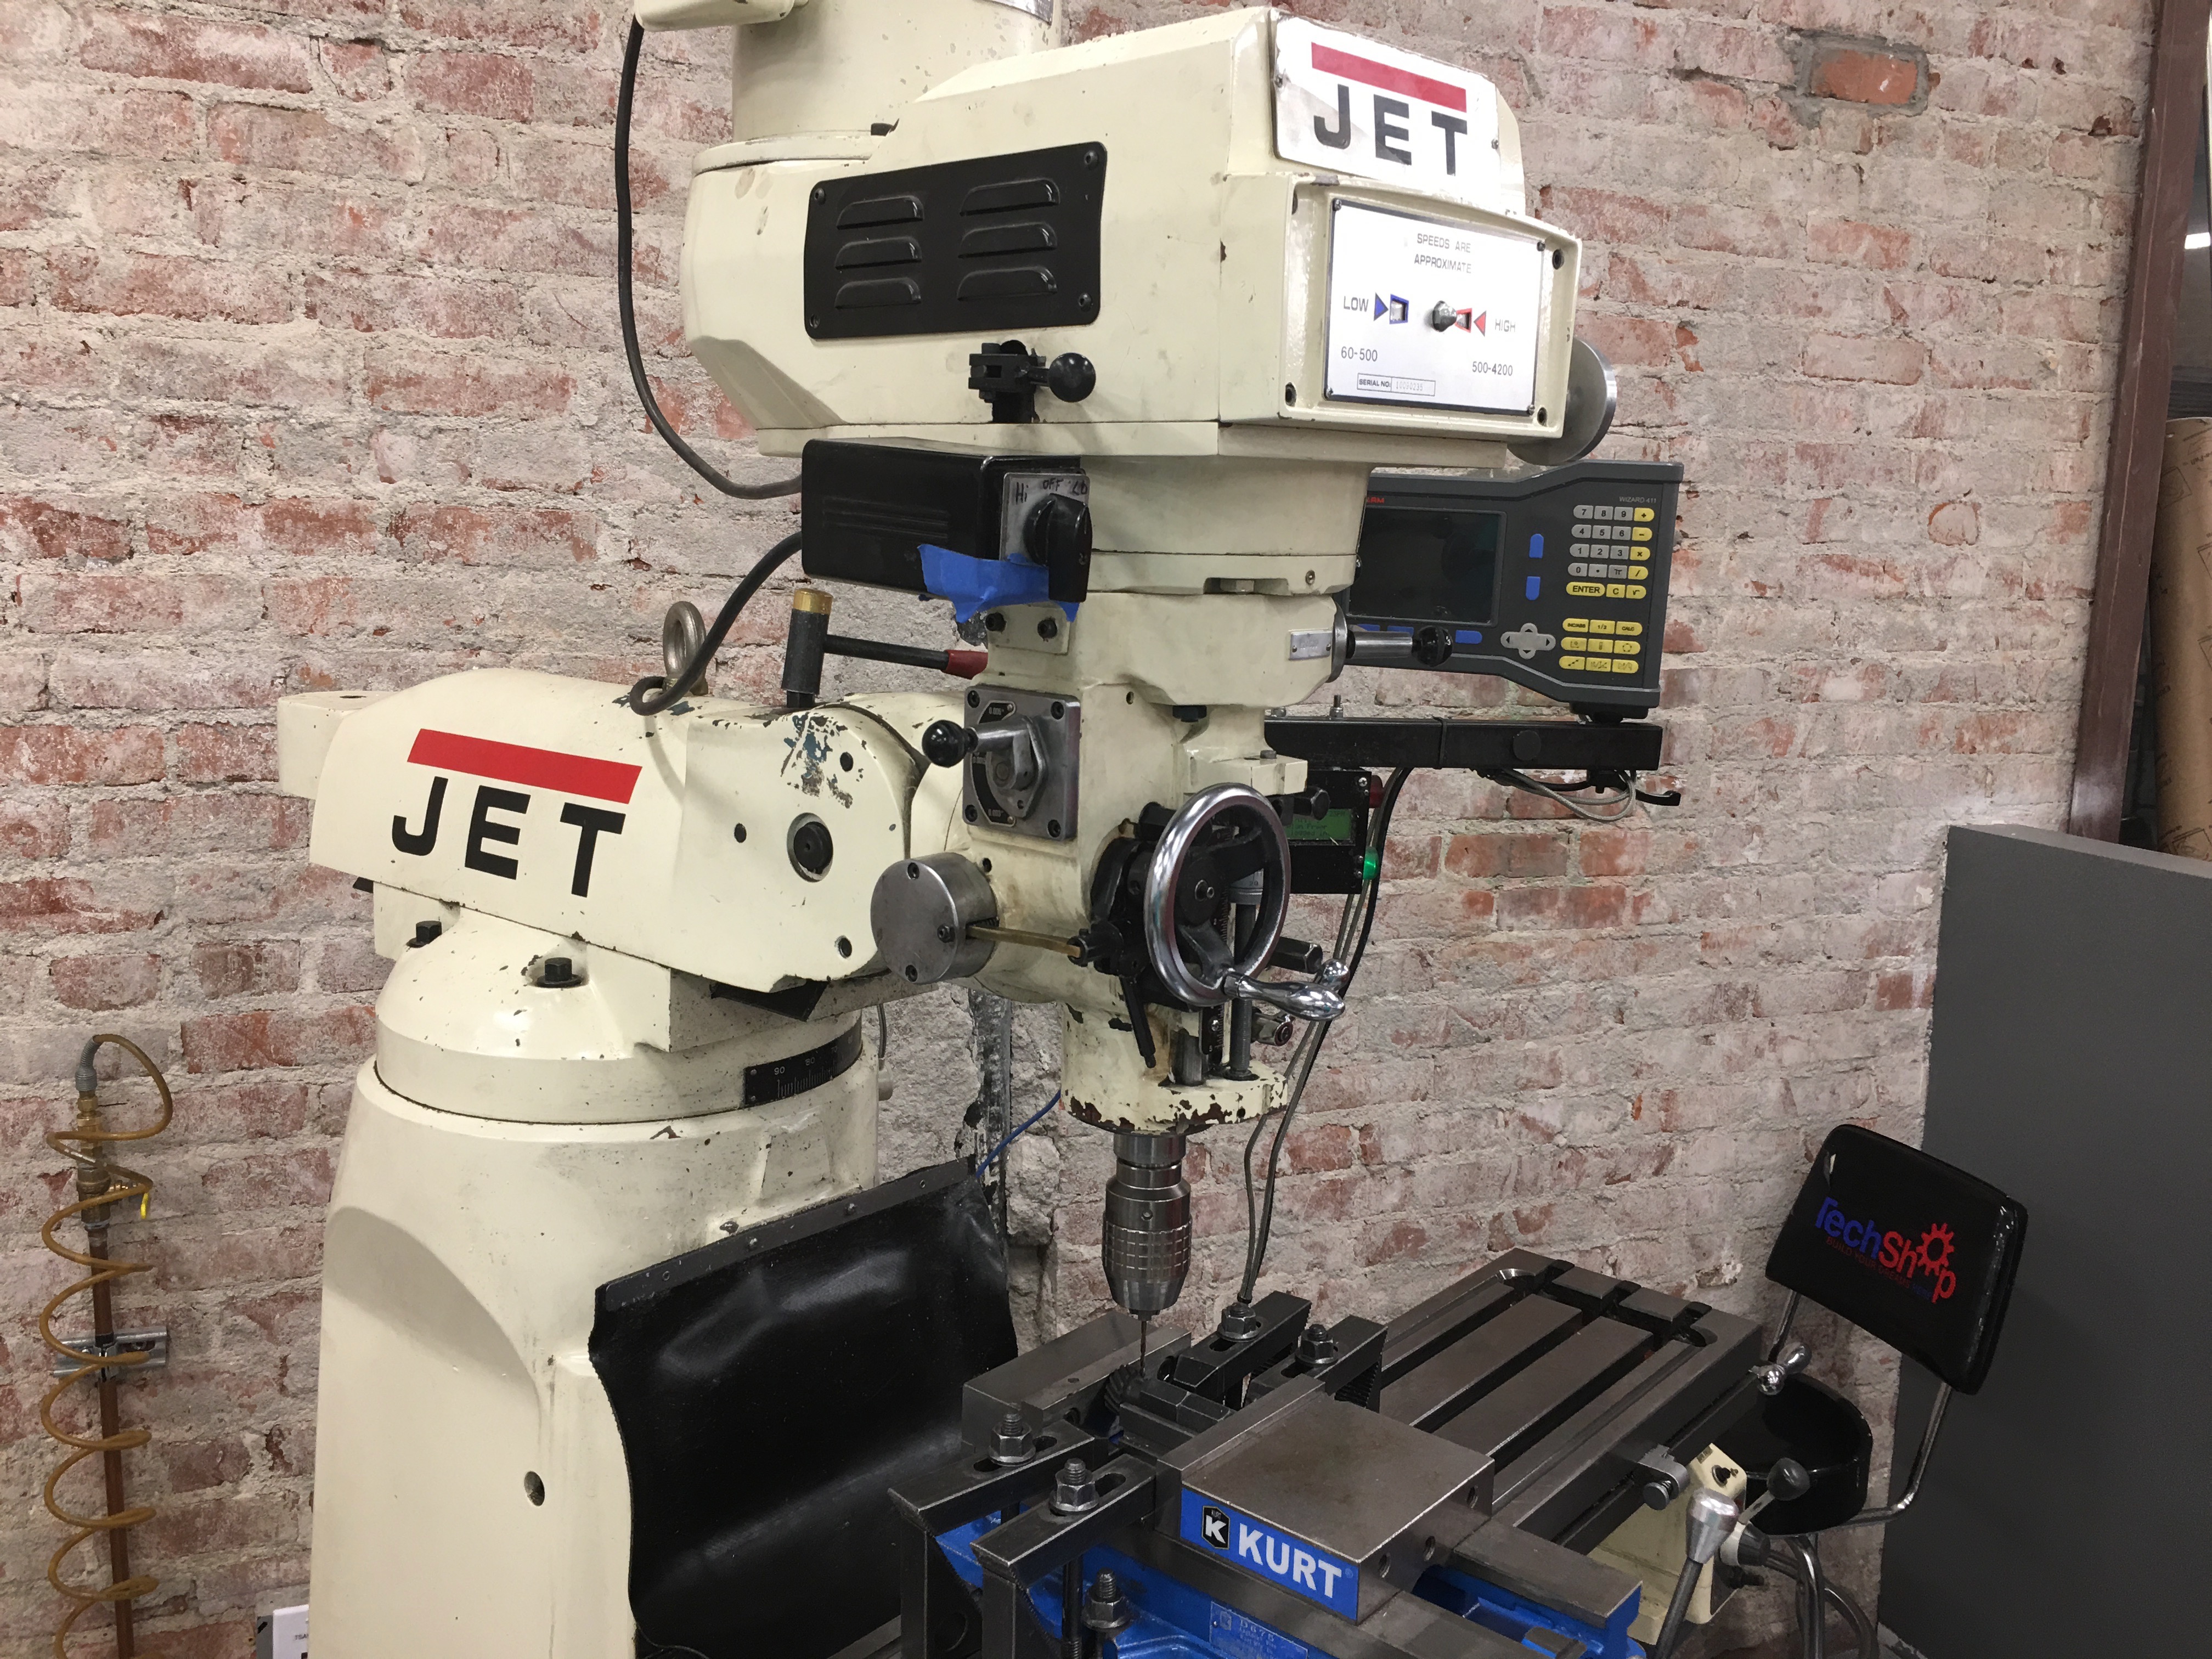
Four clamps around the side precisely locate a v-block in the vise.
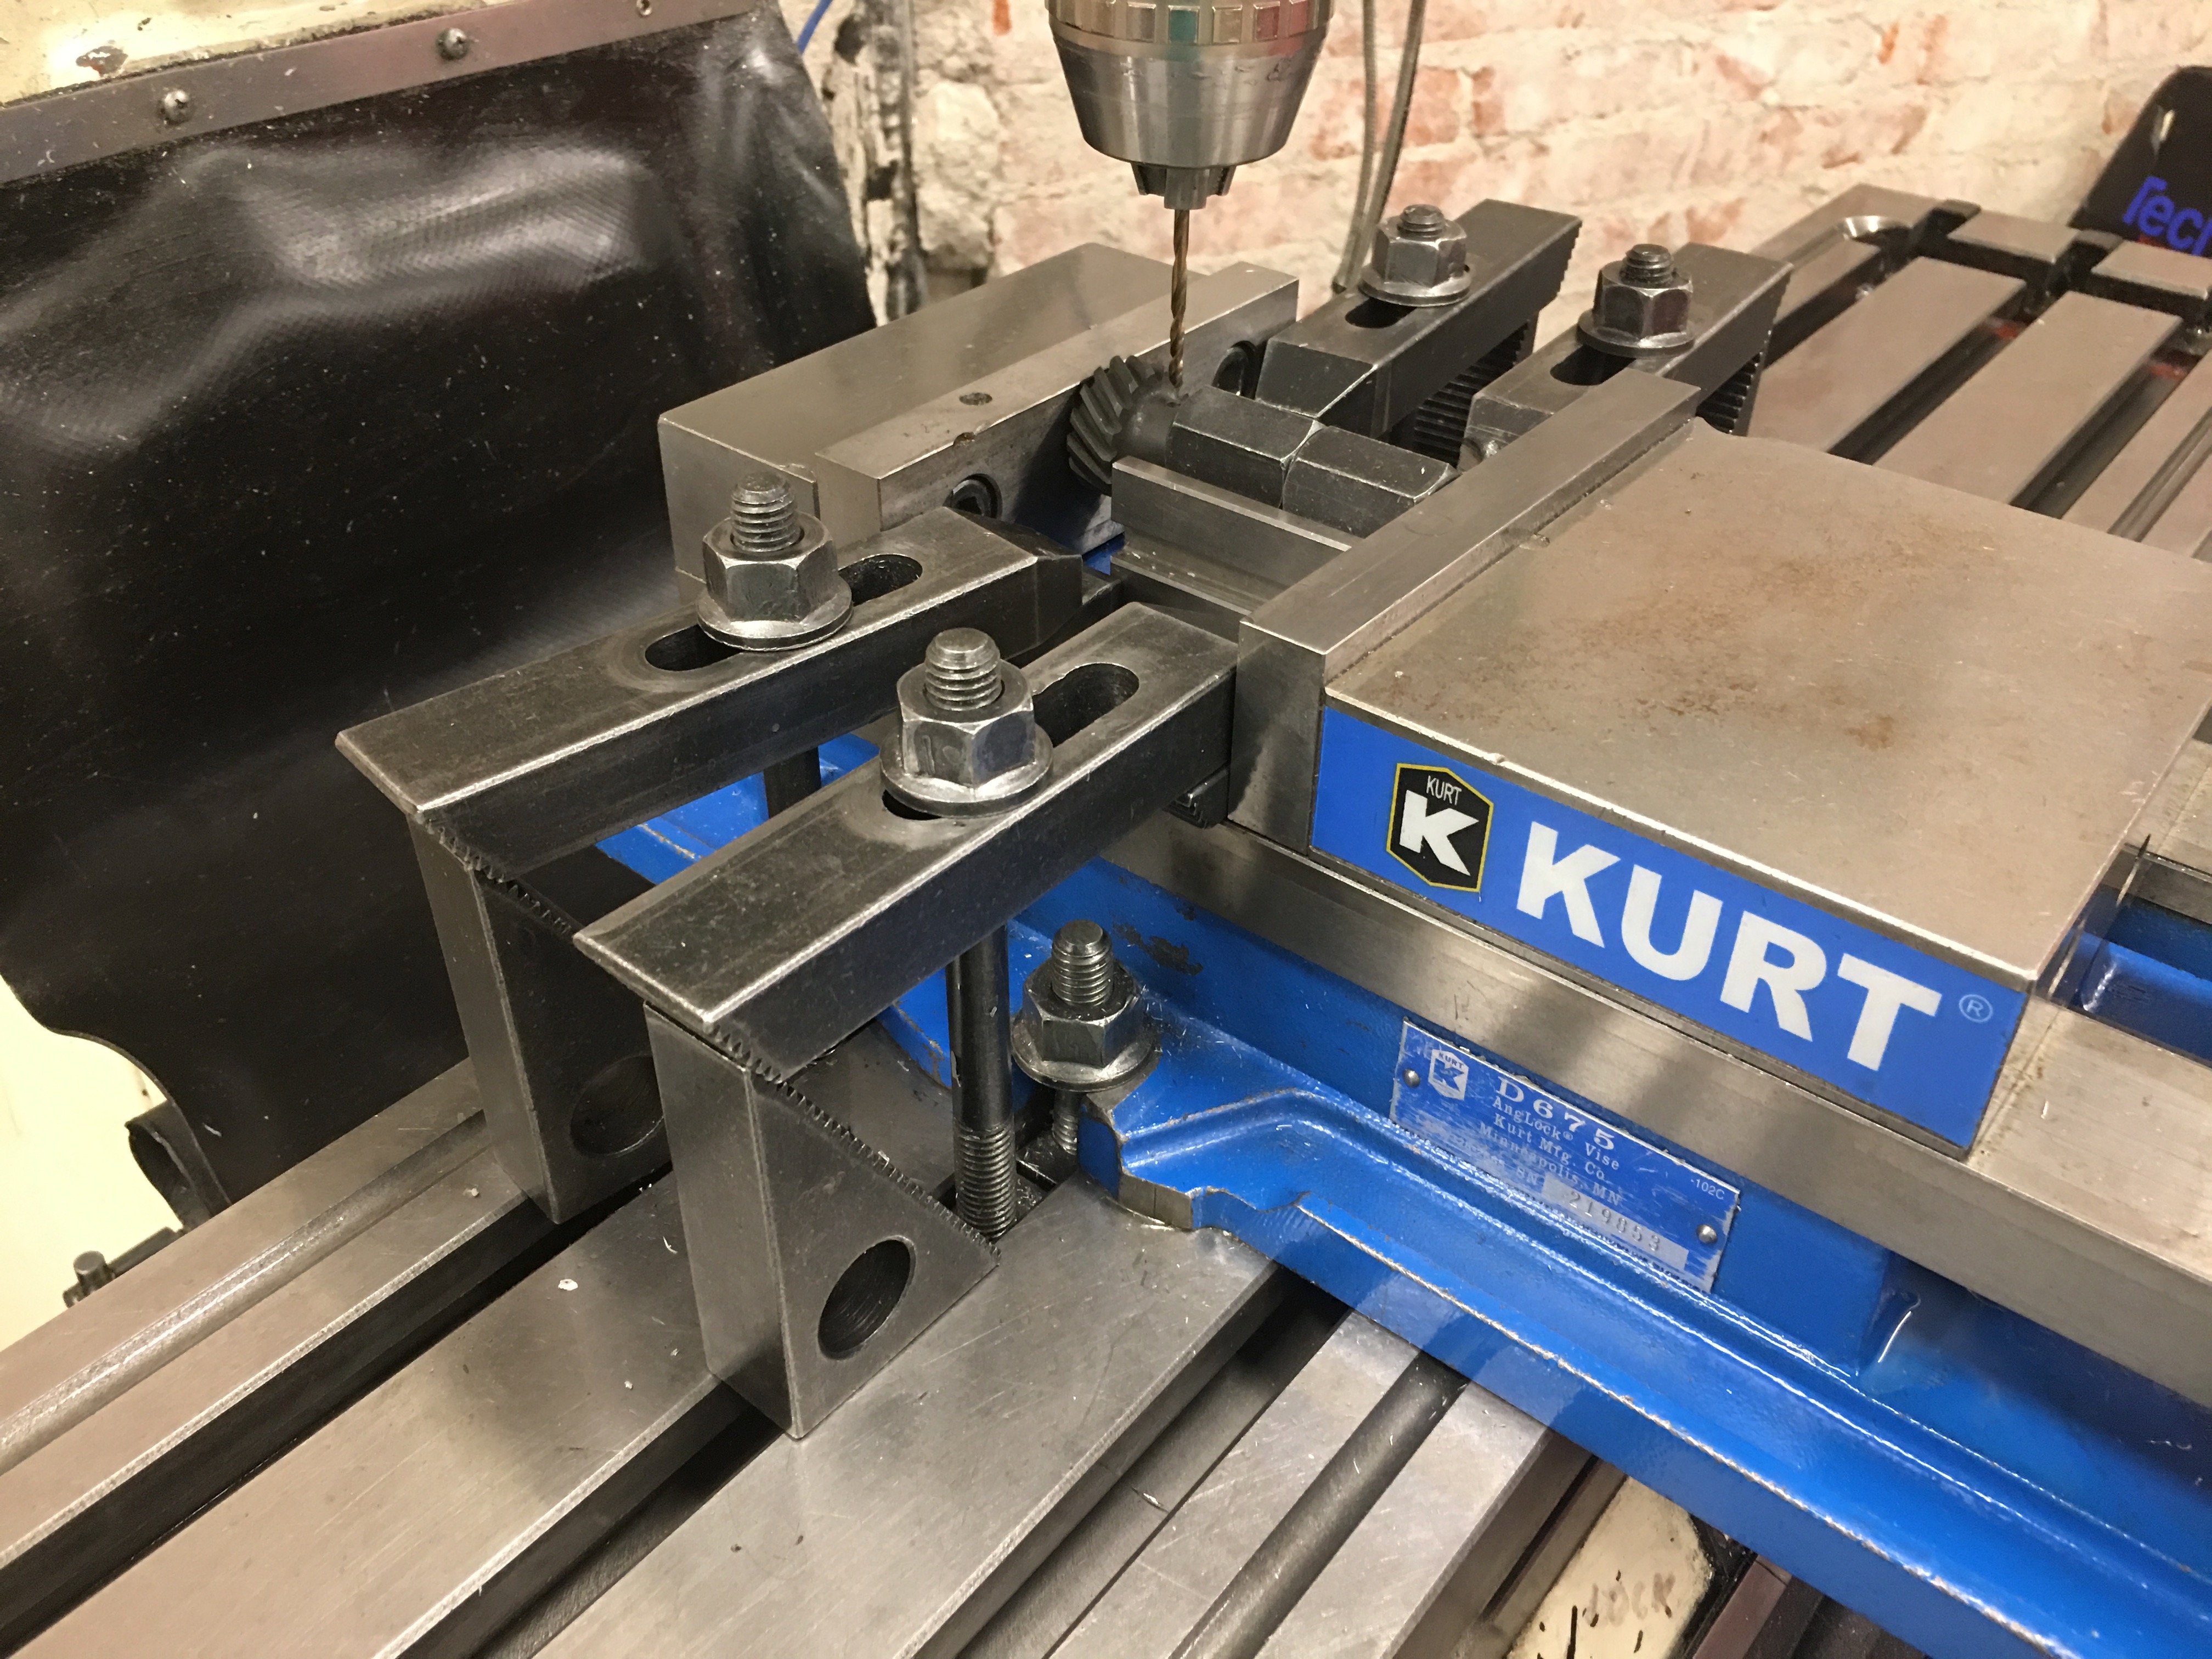
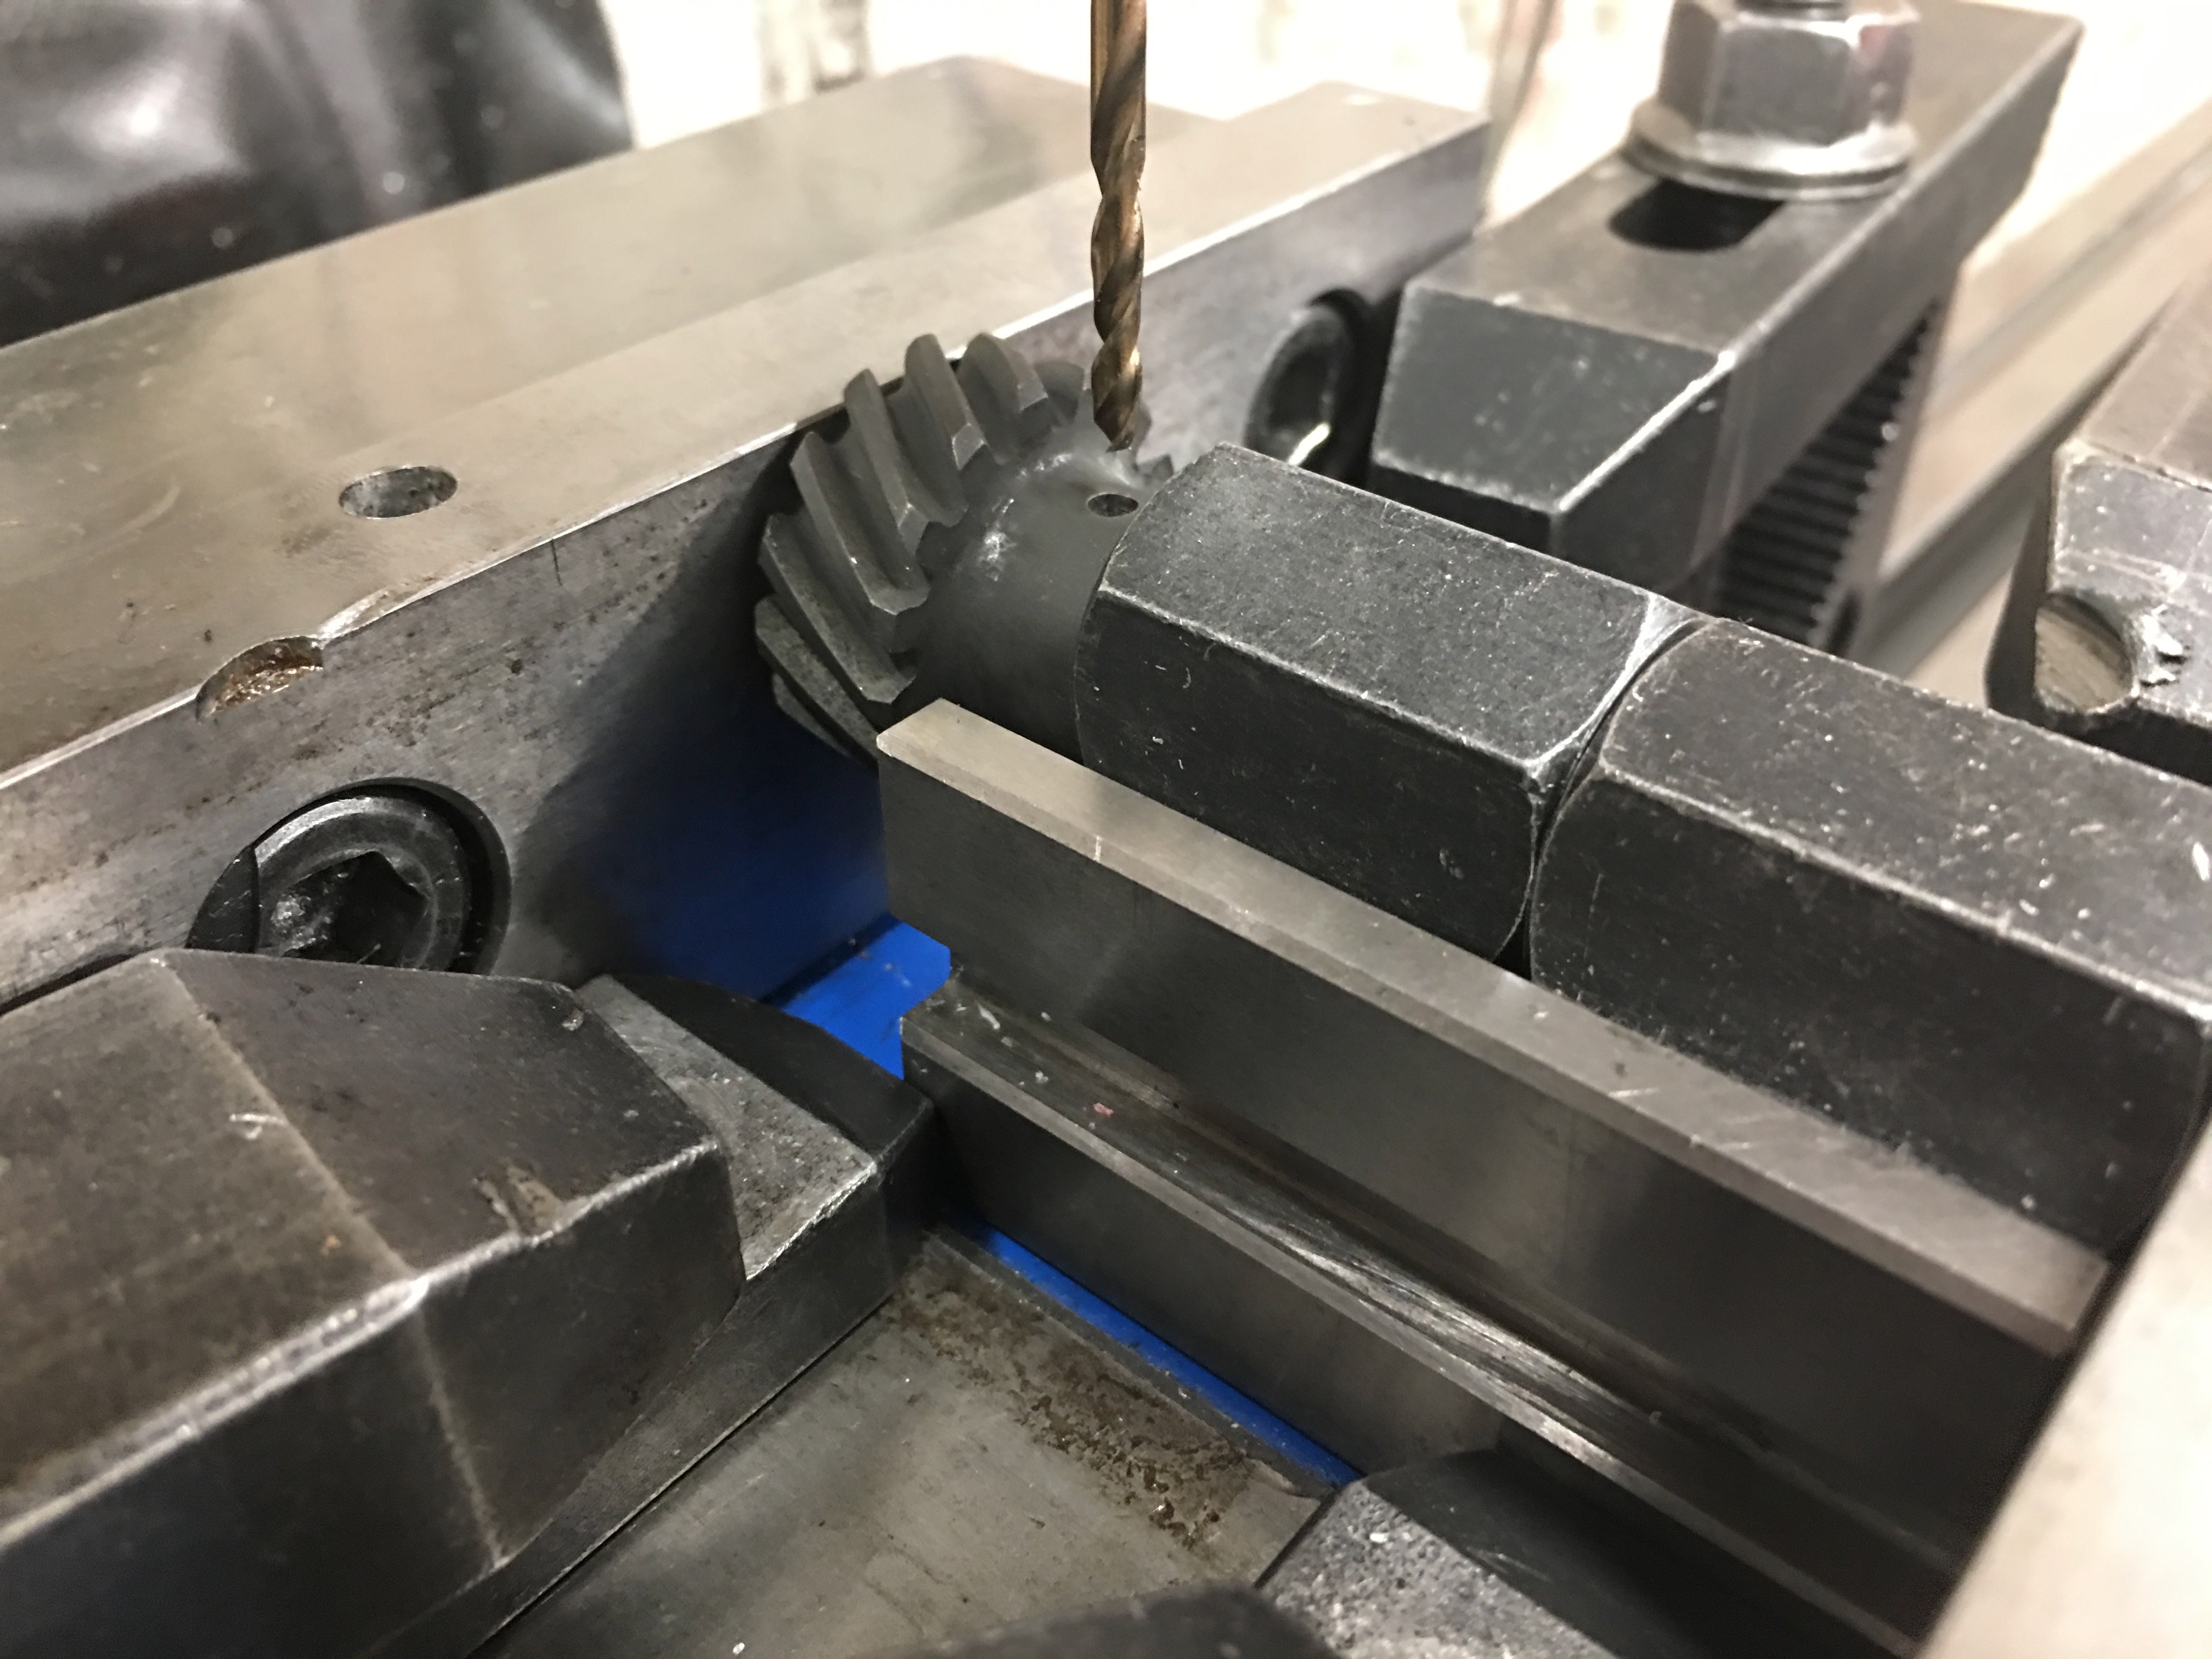
The shaft of the gear sits in the groove of the v-block and is clamped against the forward face of the vise using a couple of clamping nuts. The critical reference measurement on the gear placement is from the lower face of the gear (the one clamped to the forward face of the vice), so this arrangement will make the hole the exact same distance from that face. I adjusted the table so that the 1/8″ bit would slide all the way through the old hole without any side load. I then loosened the vise and swapped in the new gear.
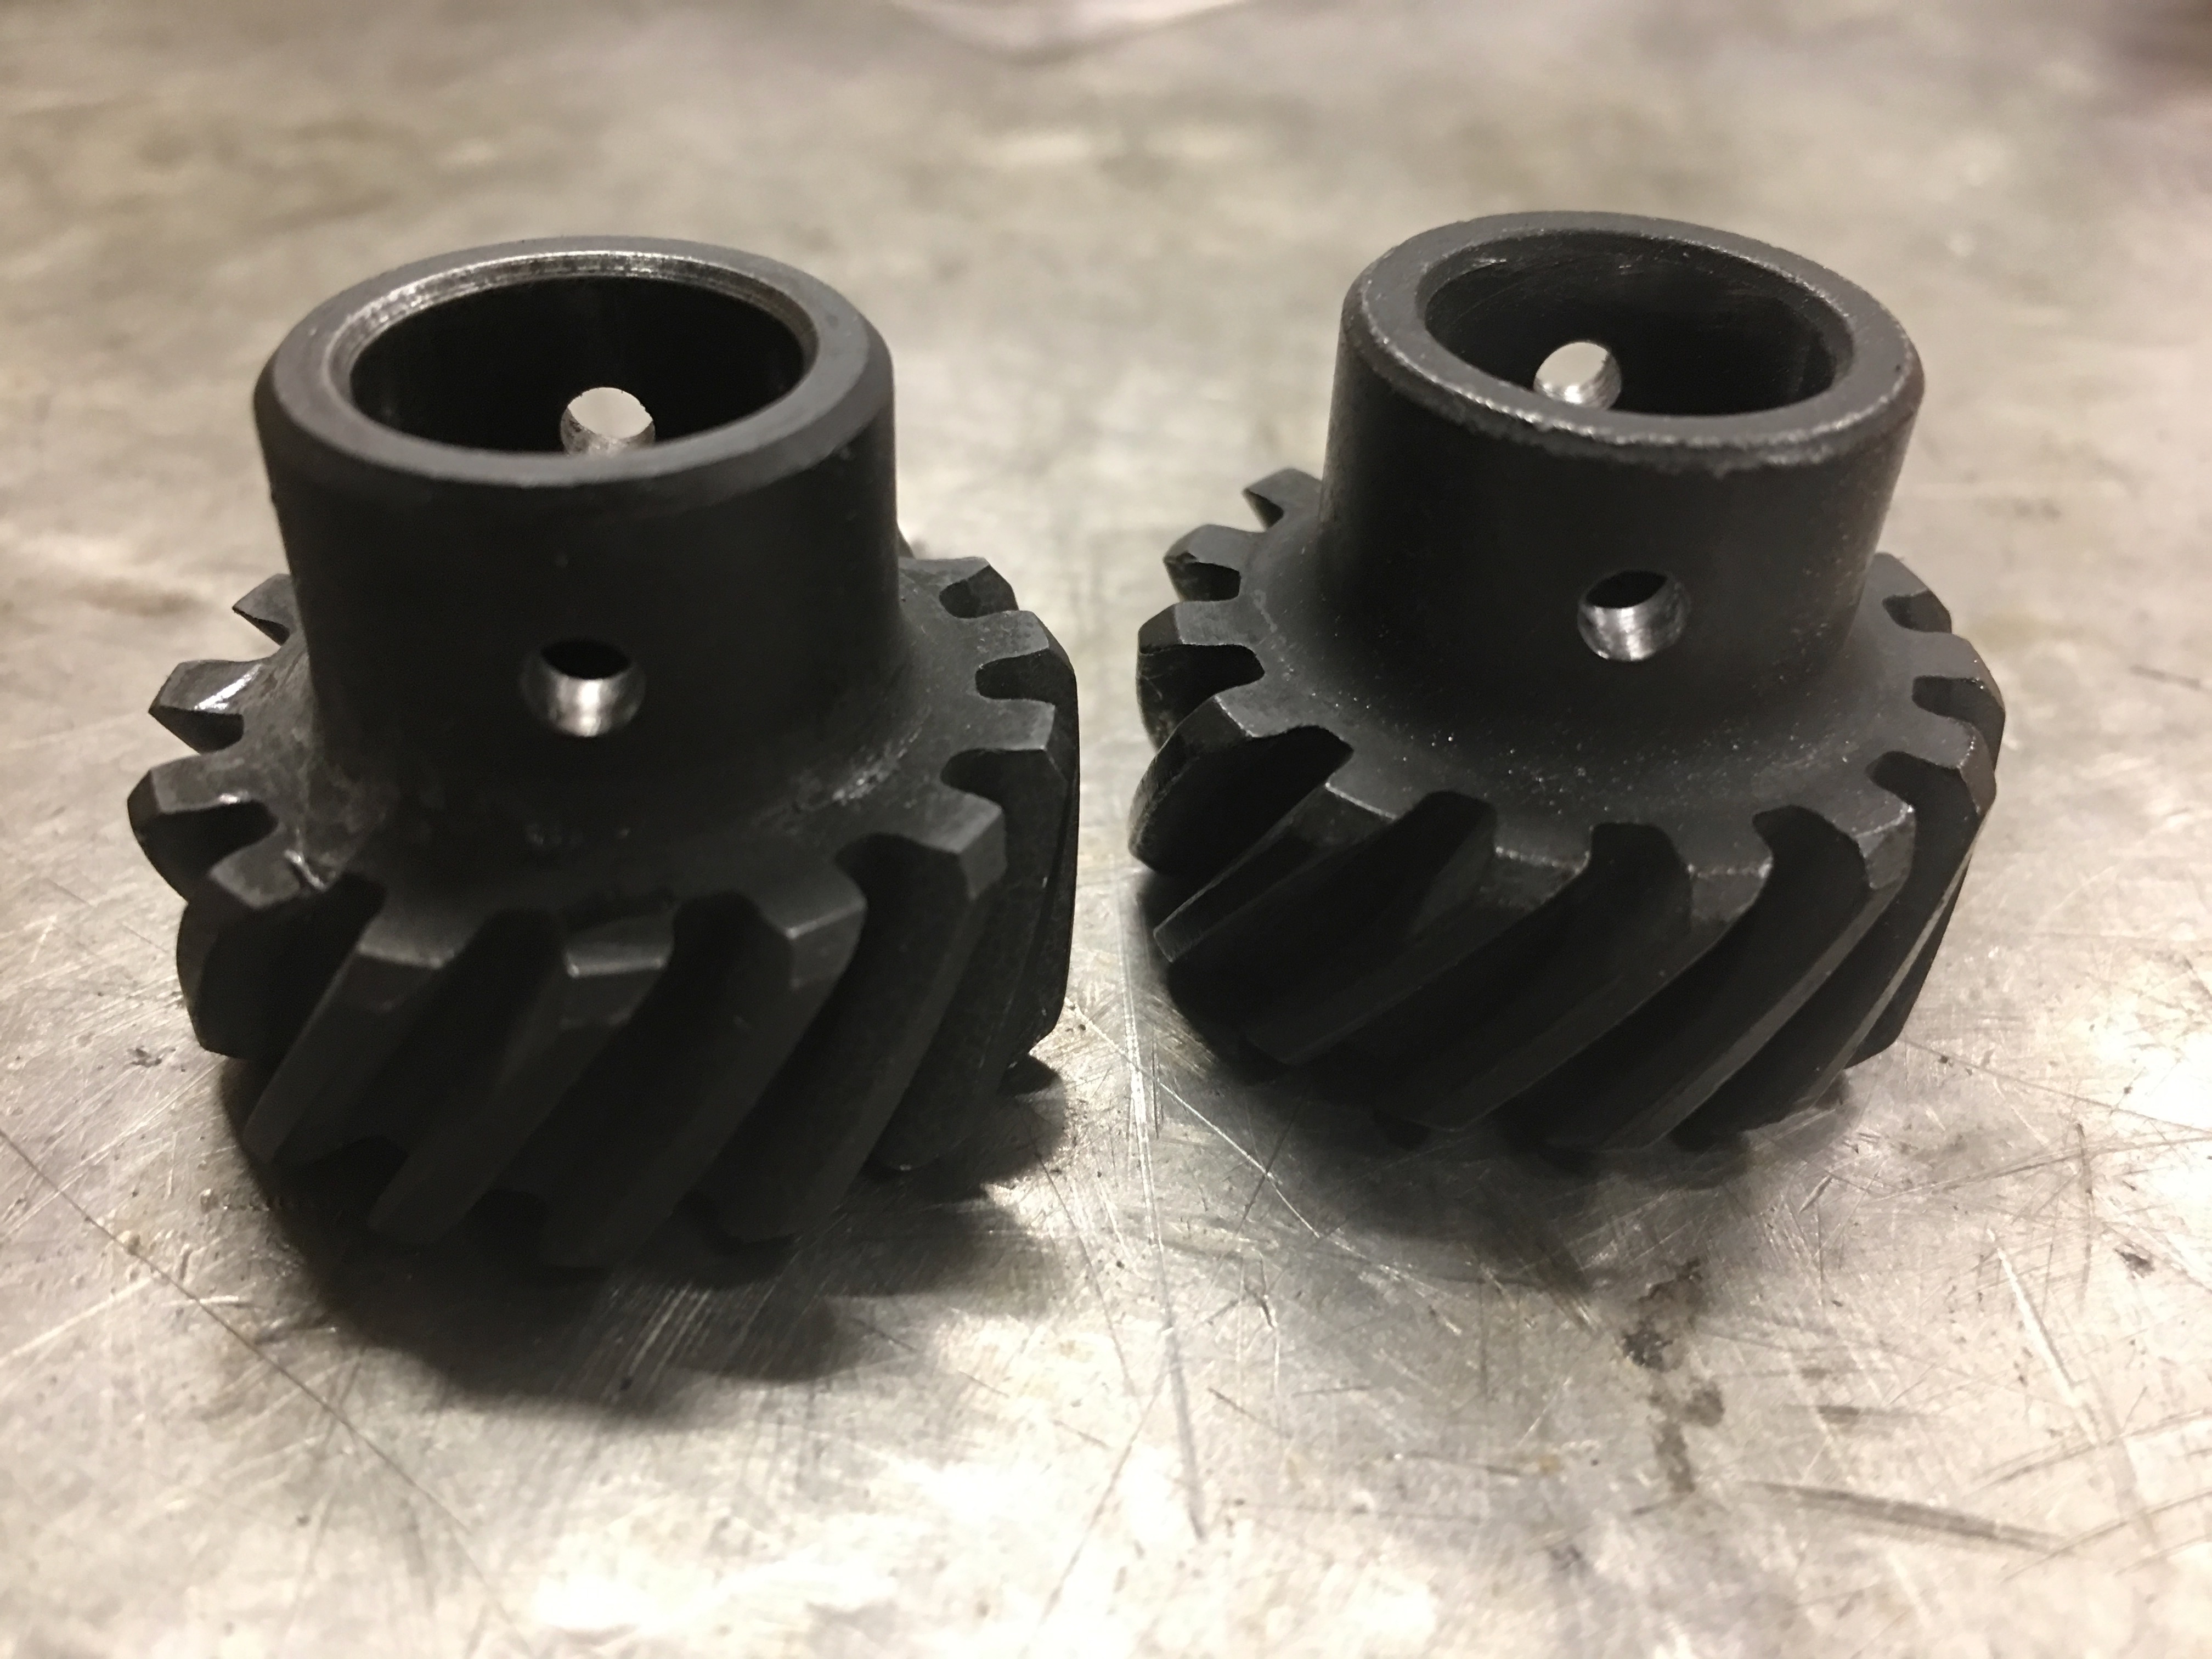
The new gear is on the right and the hole turned out perfect. All that’s left is to press the new gear onto the shaft and somehow figure out how to align the holes. If I can’t get the holes aligned, I can always press it on 90º off from the existing hole and drill a new hole through the shaft.
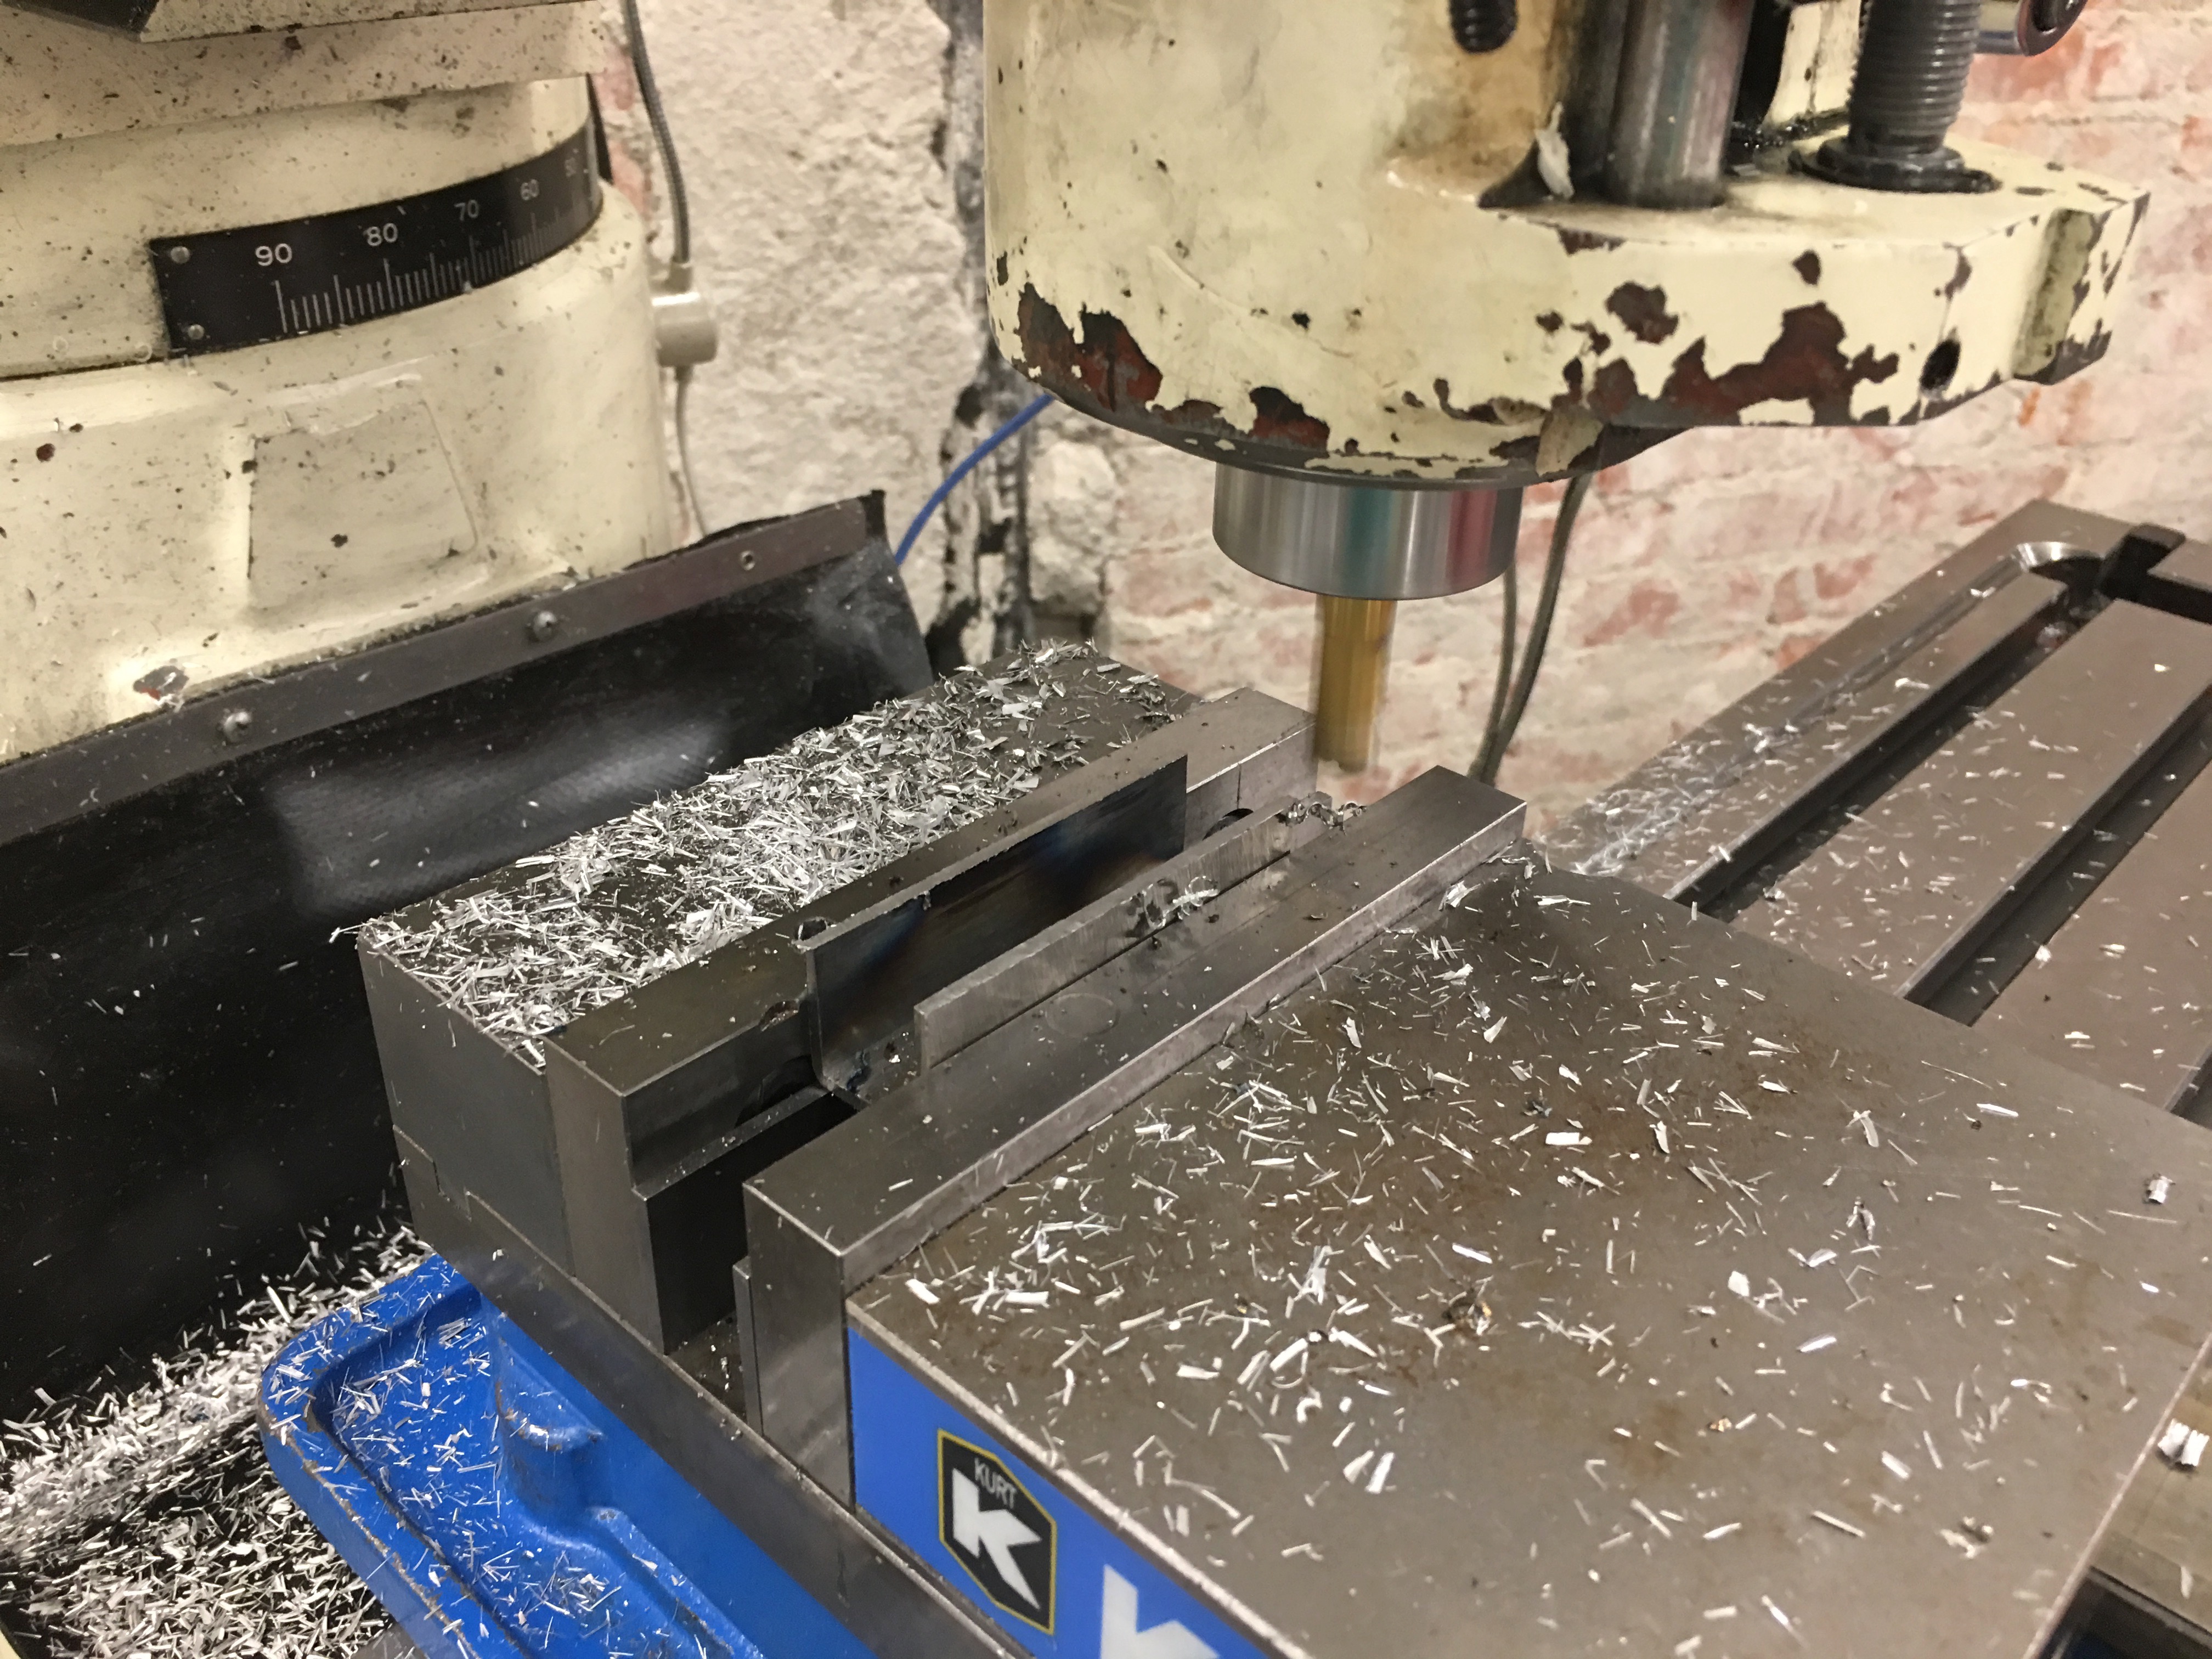
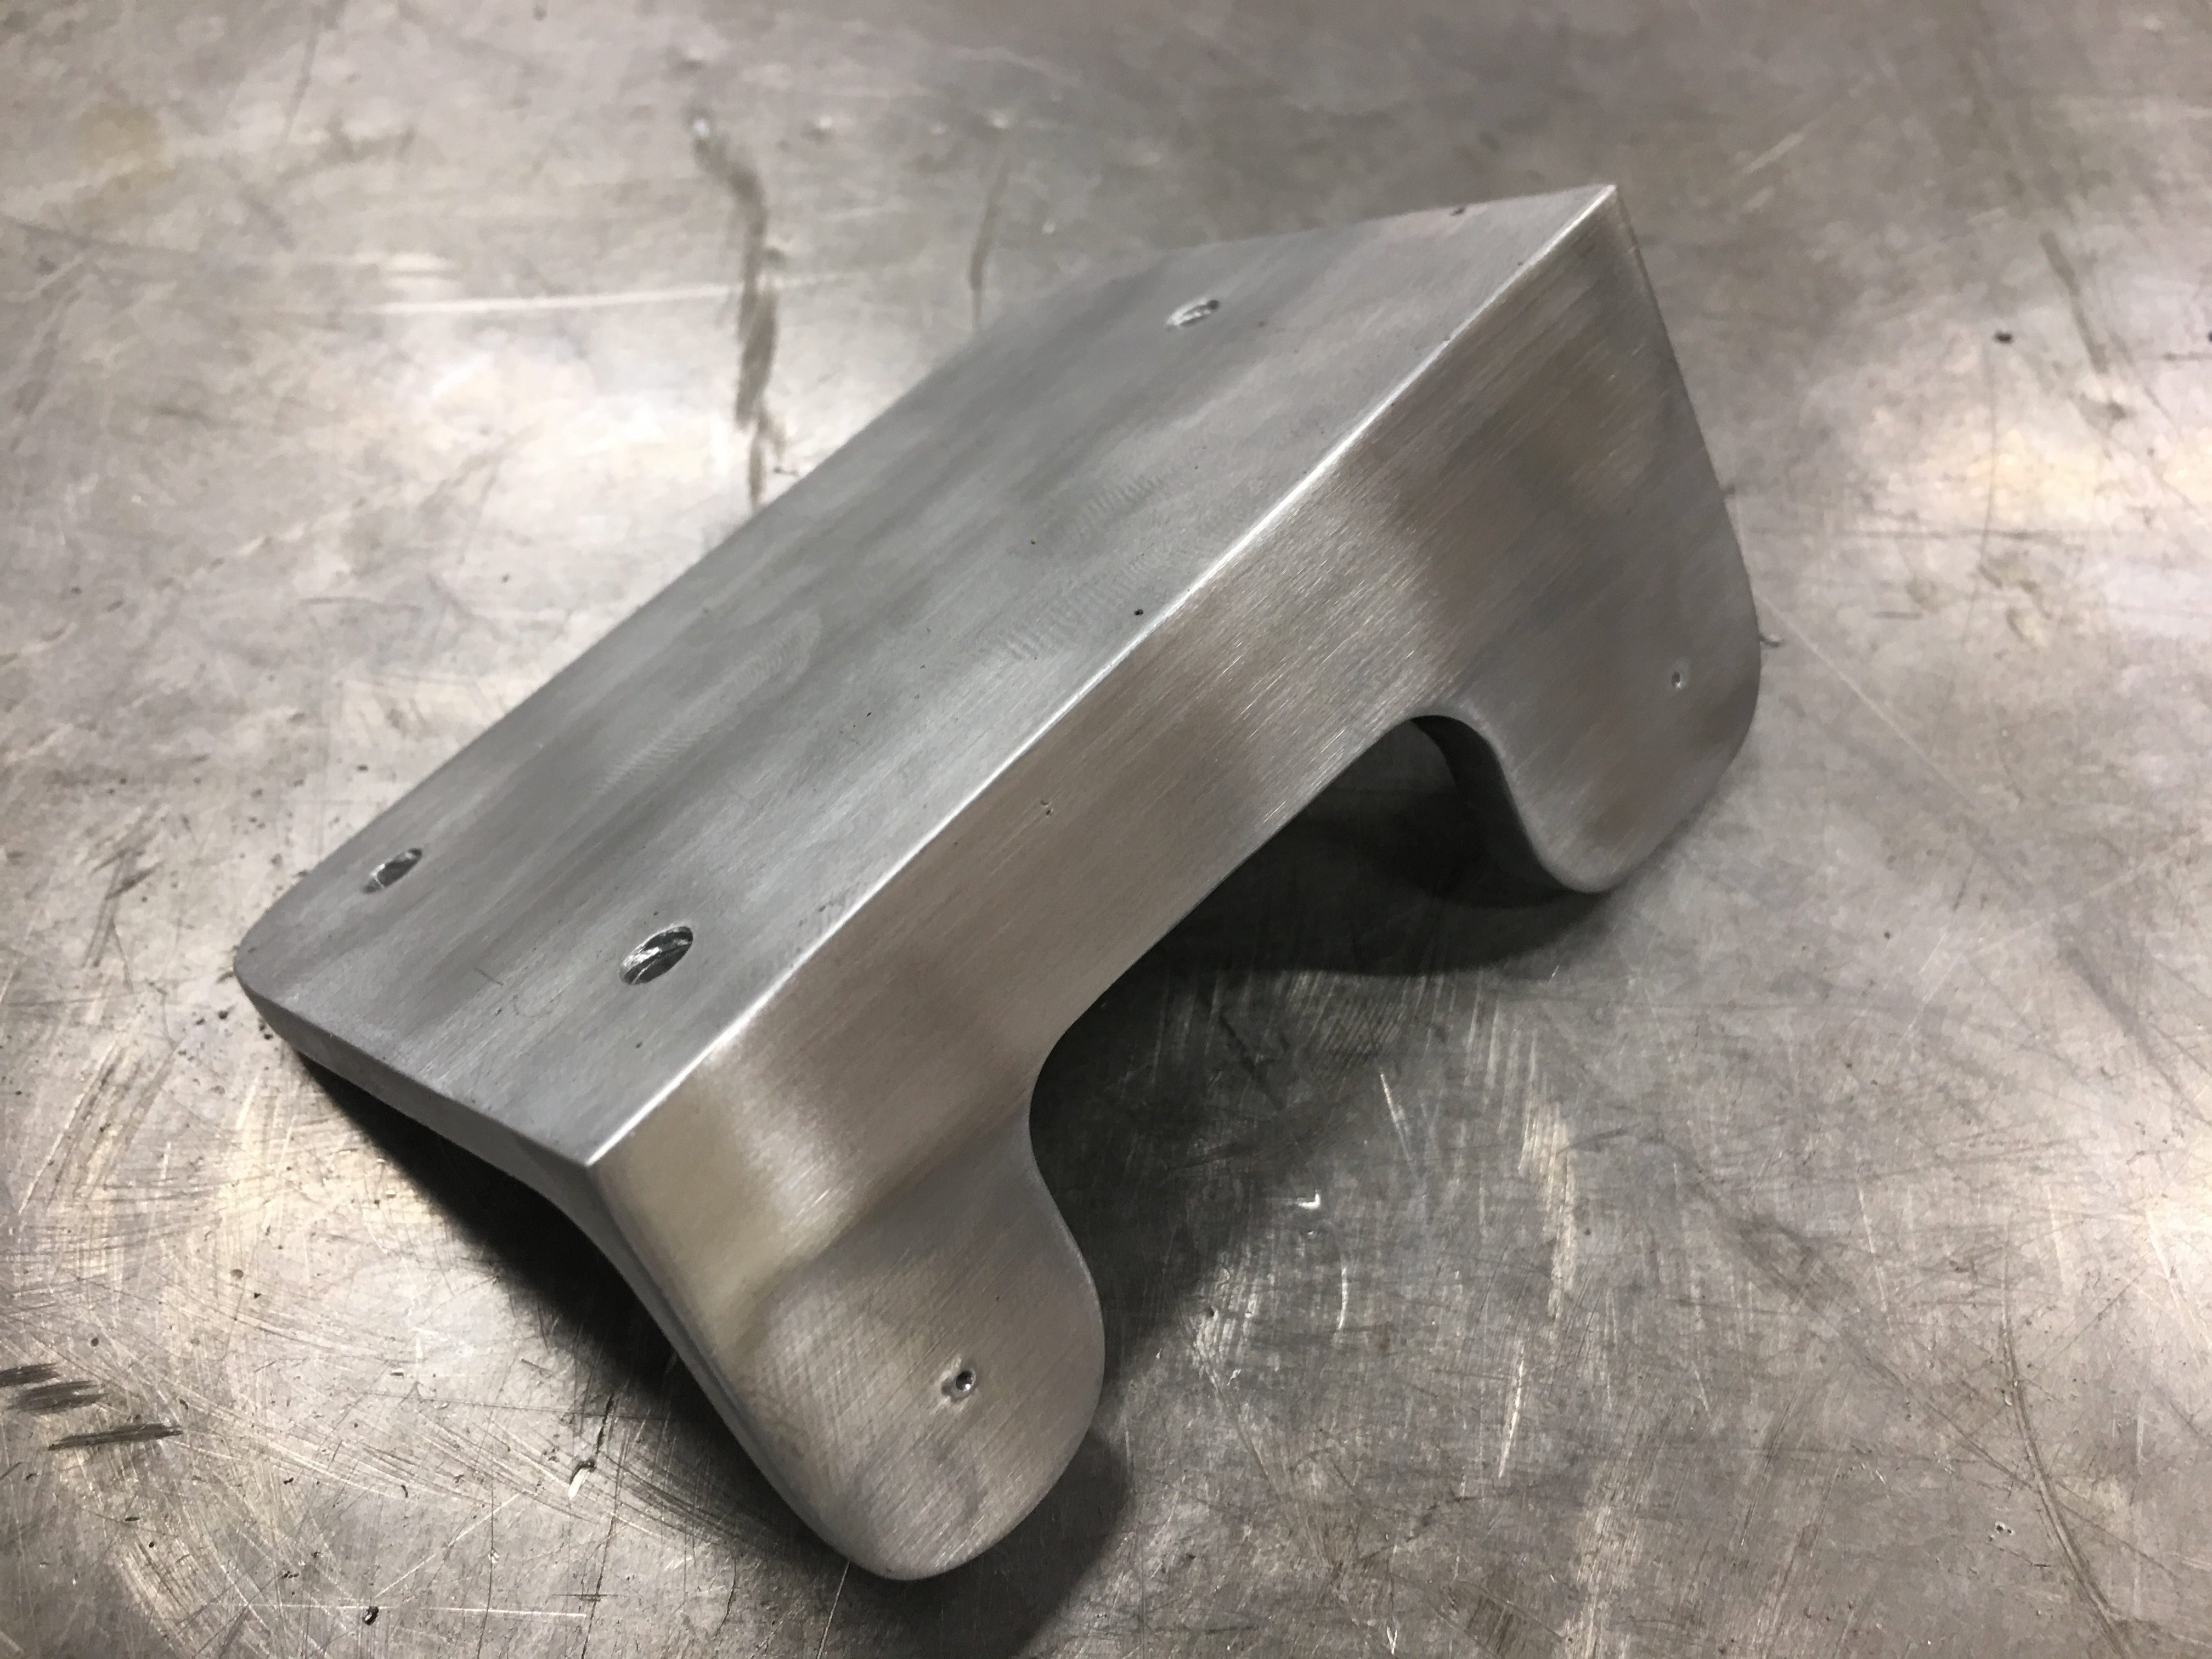
Next up is to trim the ignition coil mounting plate. After cutting it to rough size on the band saw, I mounted it in the milling machine vise. I used some shims to mount it at an angle since the mounting legs are asymmetric.
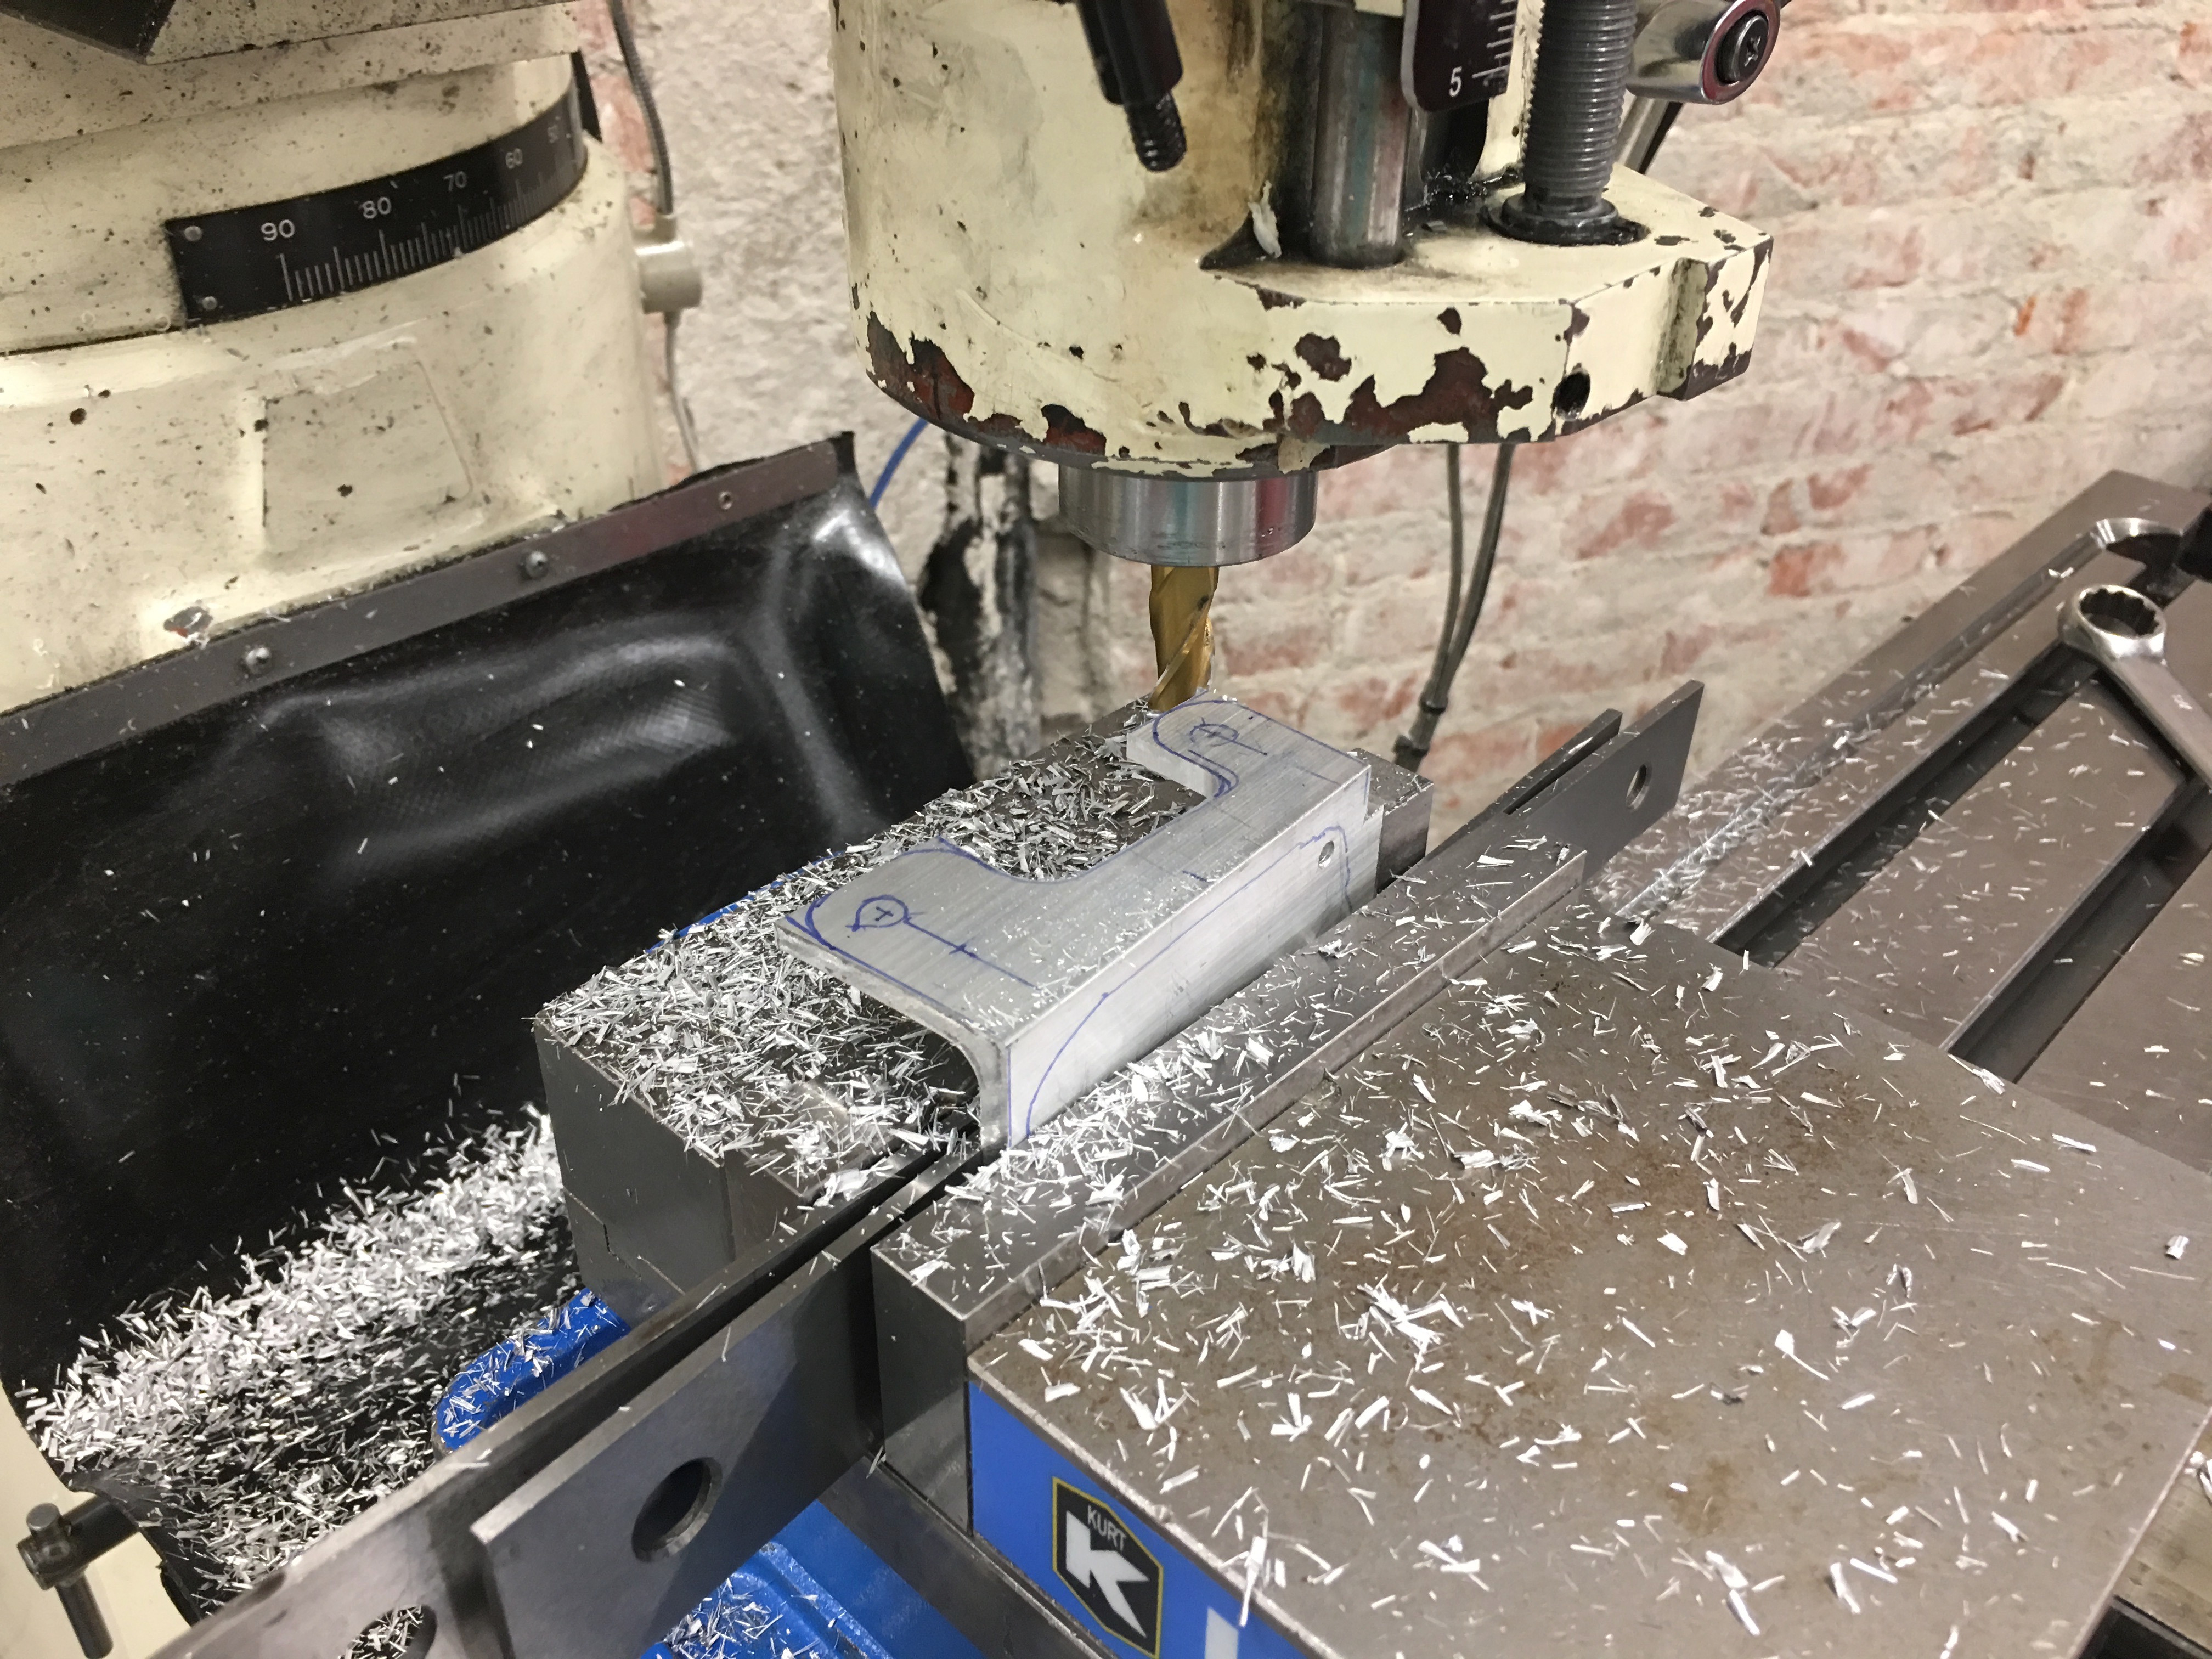
After machining and some finish sanding, I polished it up a bit on the scotchbrite wheel. After I drill the mounting holes and confirm the fit, I’ll polish this until it’s as shiny as the water pump.
Finally, I cut the electric power steering mount apart so that I can reweld it at the proper angle.

I sanded off all of the welds and cleaned up the edges.
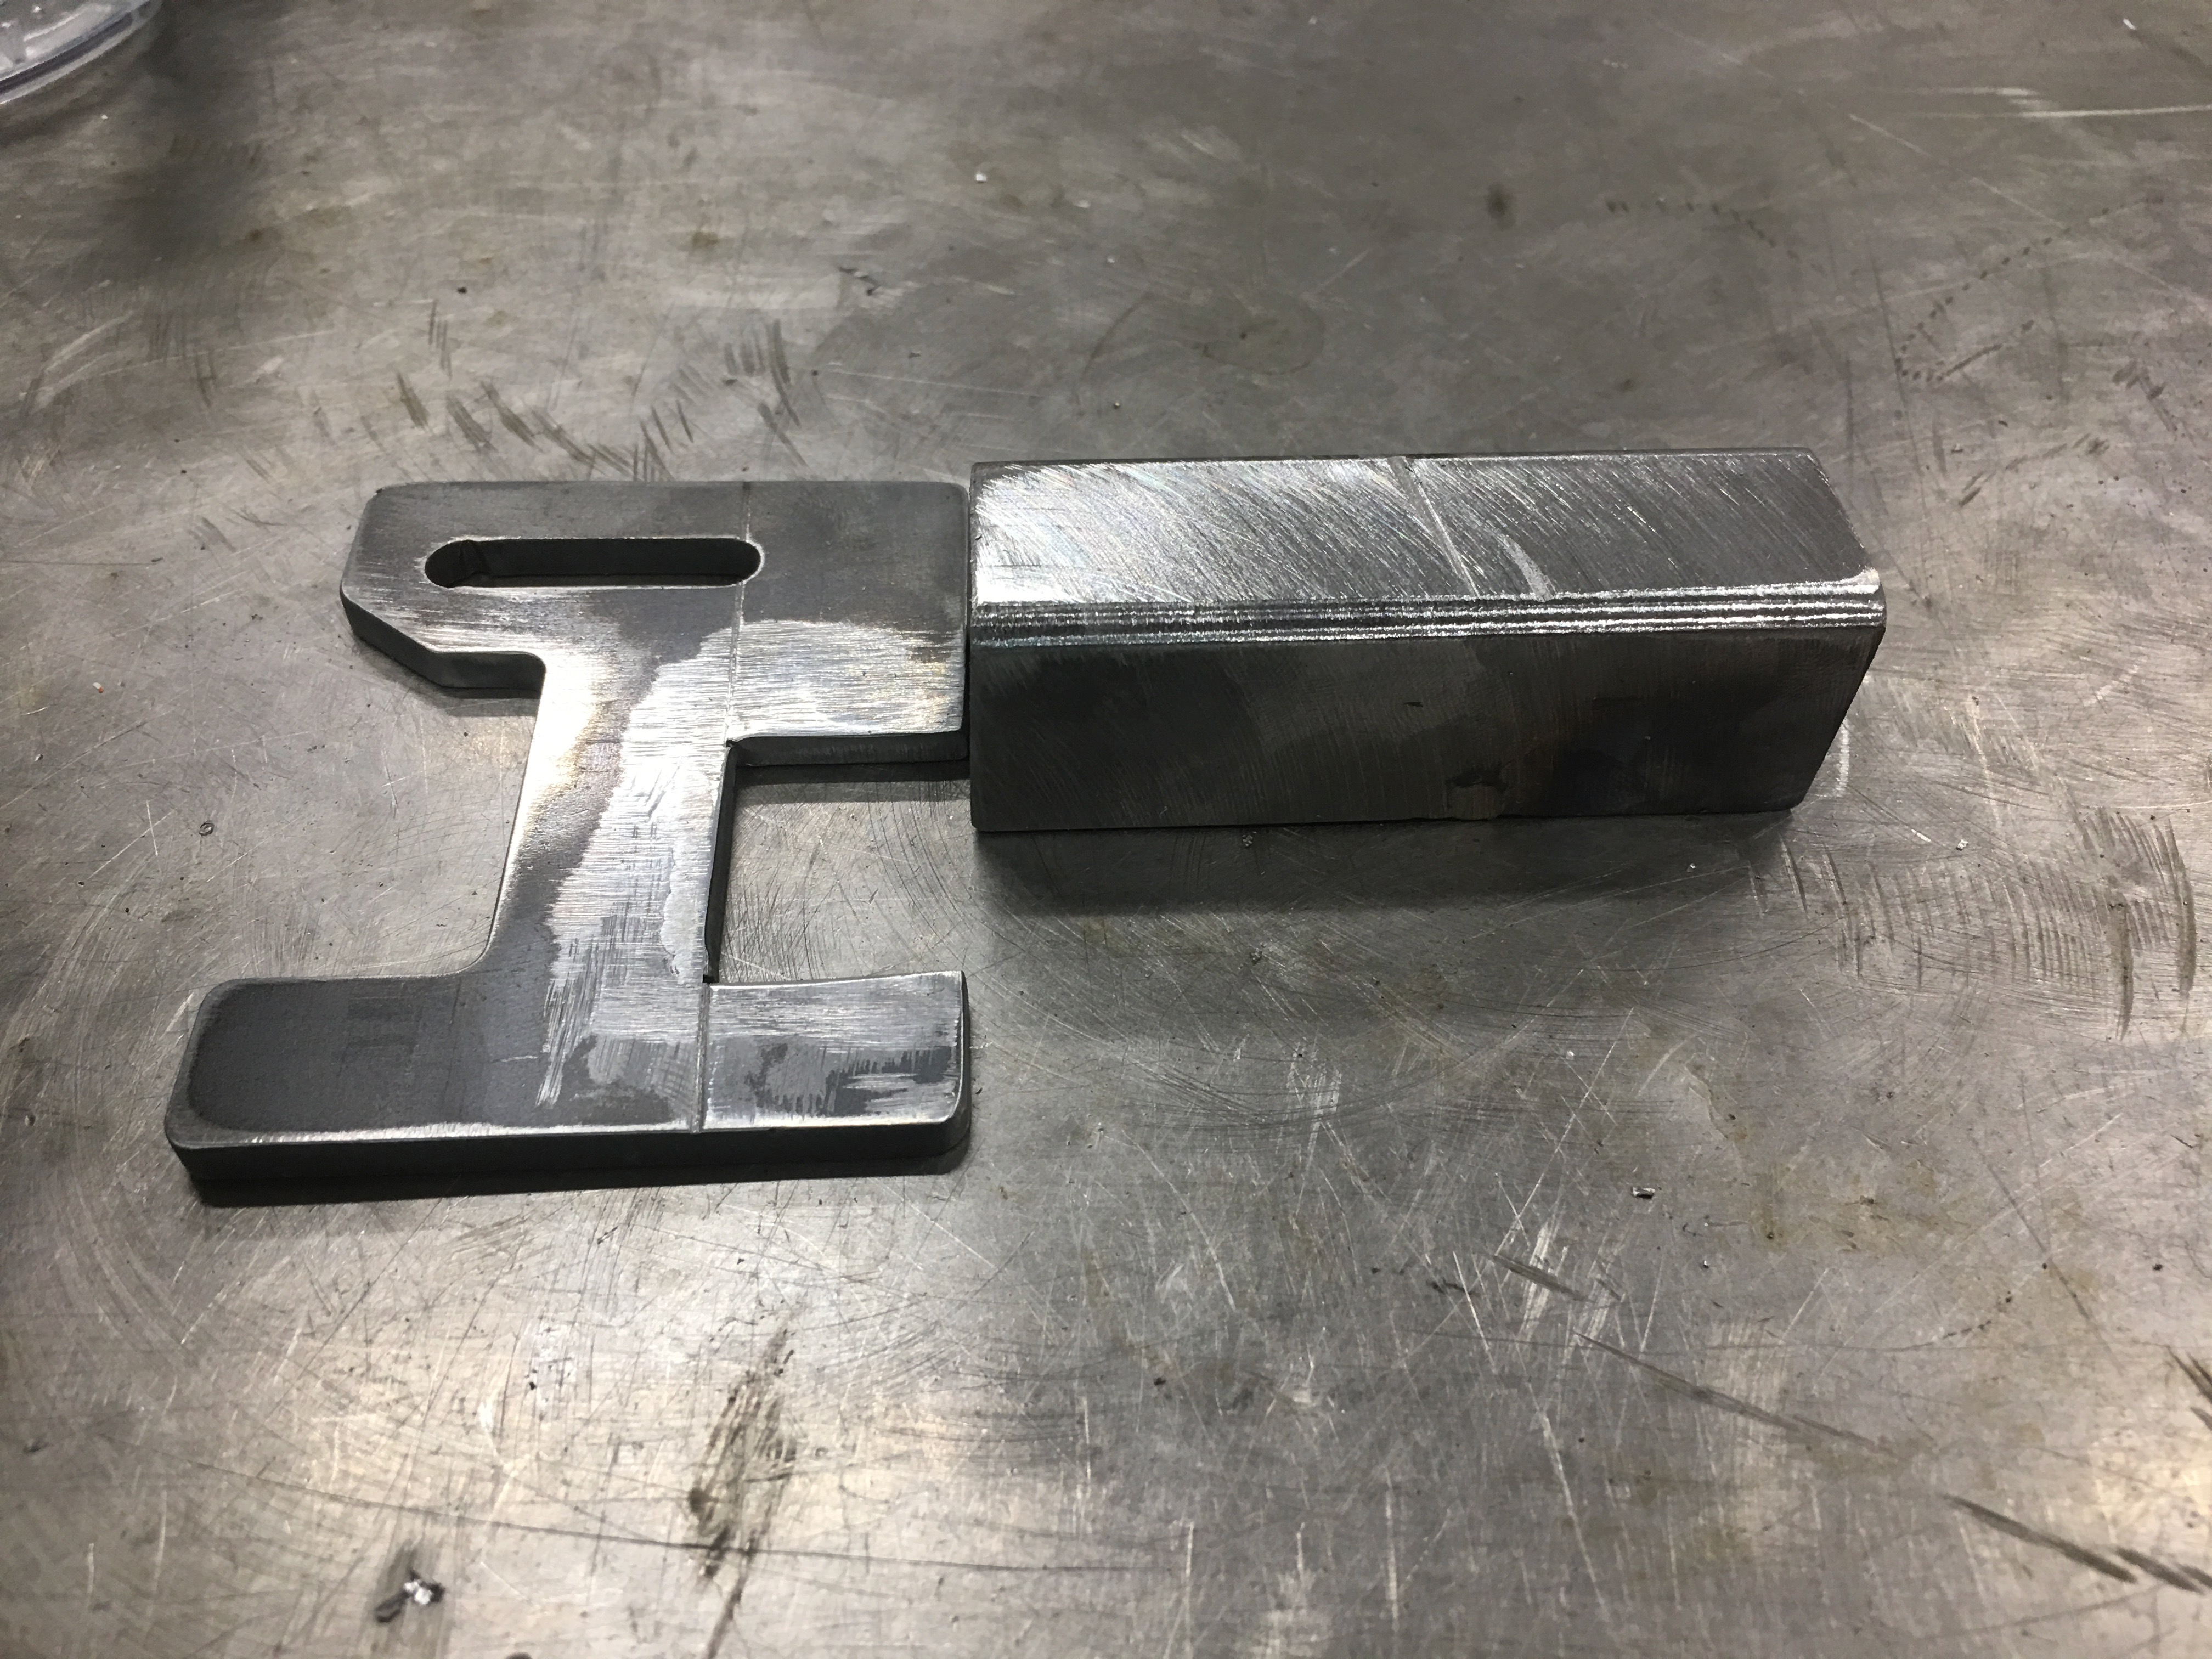
The channel hung over the 3/4″ tubing by just over 1/8″, so I machined off the flanges to align with the face of the 3/4″ tubing when welded.