I talked to FFR this morning and they confirmed that I could use either the upper or lower strut mounting positions. They offer two because the single and double adjustable shocks they include in the kit aren’t the same length. With the chassis at ride height, I measured the resting length for the front and rear struts using both the upper and lower mounting positions. I also measured the strut and spindle mounting distances on the lower control arms to compute the motion ratio. This gives me all of the information I need to compute the correct strut length, but I still need to decide on spring rates. FFR recommends 500lbs in the front and 350lbs in the rear, but from what I can tell, part of the reason for such high rates is that the Koni struts they include in the kit have very little remaining travel at the normal ride height and the high spring rates help prevent the struts from bottoming out. The QA1 struts have a greater range of travel, so I shouldn’t need quite as high spring rates. After a bunch of research, we decided that we’d start with 400lbs in the front and 250lbs in the rear. I’m assuming we’ll end up ordering additional springs when we’re dialing in the suspension down the road.
I spoke with one of the engineers at QA1 and gave him the dimensions I measured and spring rates. He recommended the following items:
- D4501 quad-adjustable shocks, front and back. These have a travel of 11.625” – 16.875”.
- 10HT400 springs, front. These are 10″ long; 12″ long springs would work, but they would put the ride height adjustment nut at the very bottom.
- 10HT250 springs, rear.
He also recommended using the lower mounting holes on the front and the upper on the back which only have a 1/8″ difference in resting length. These items are all on order, so I should be able to confirm they fit some time next week.
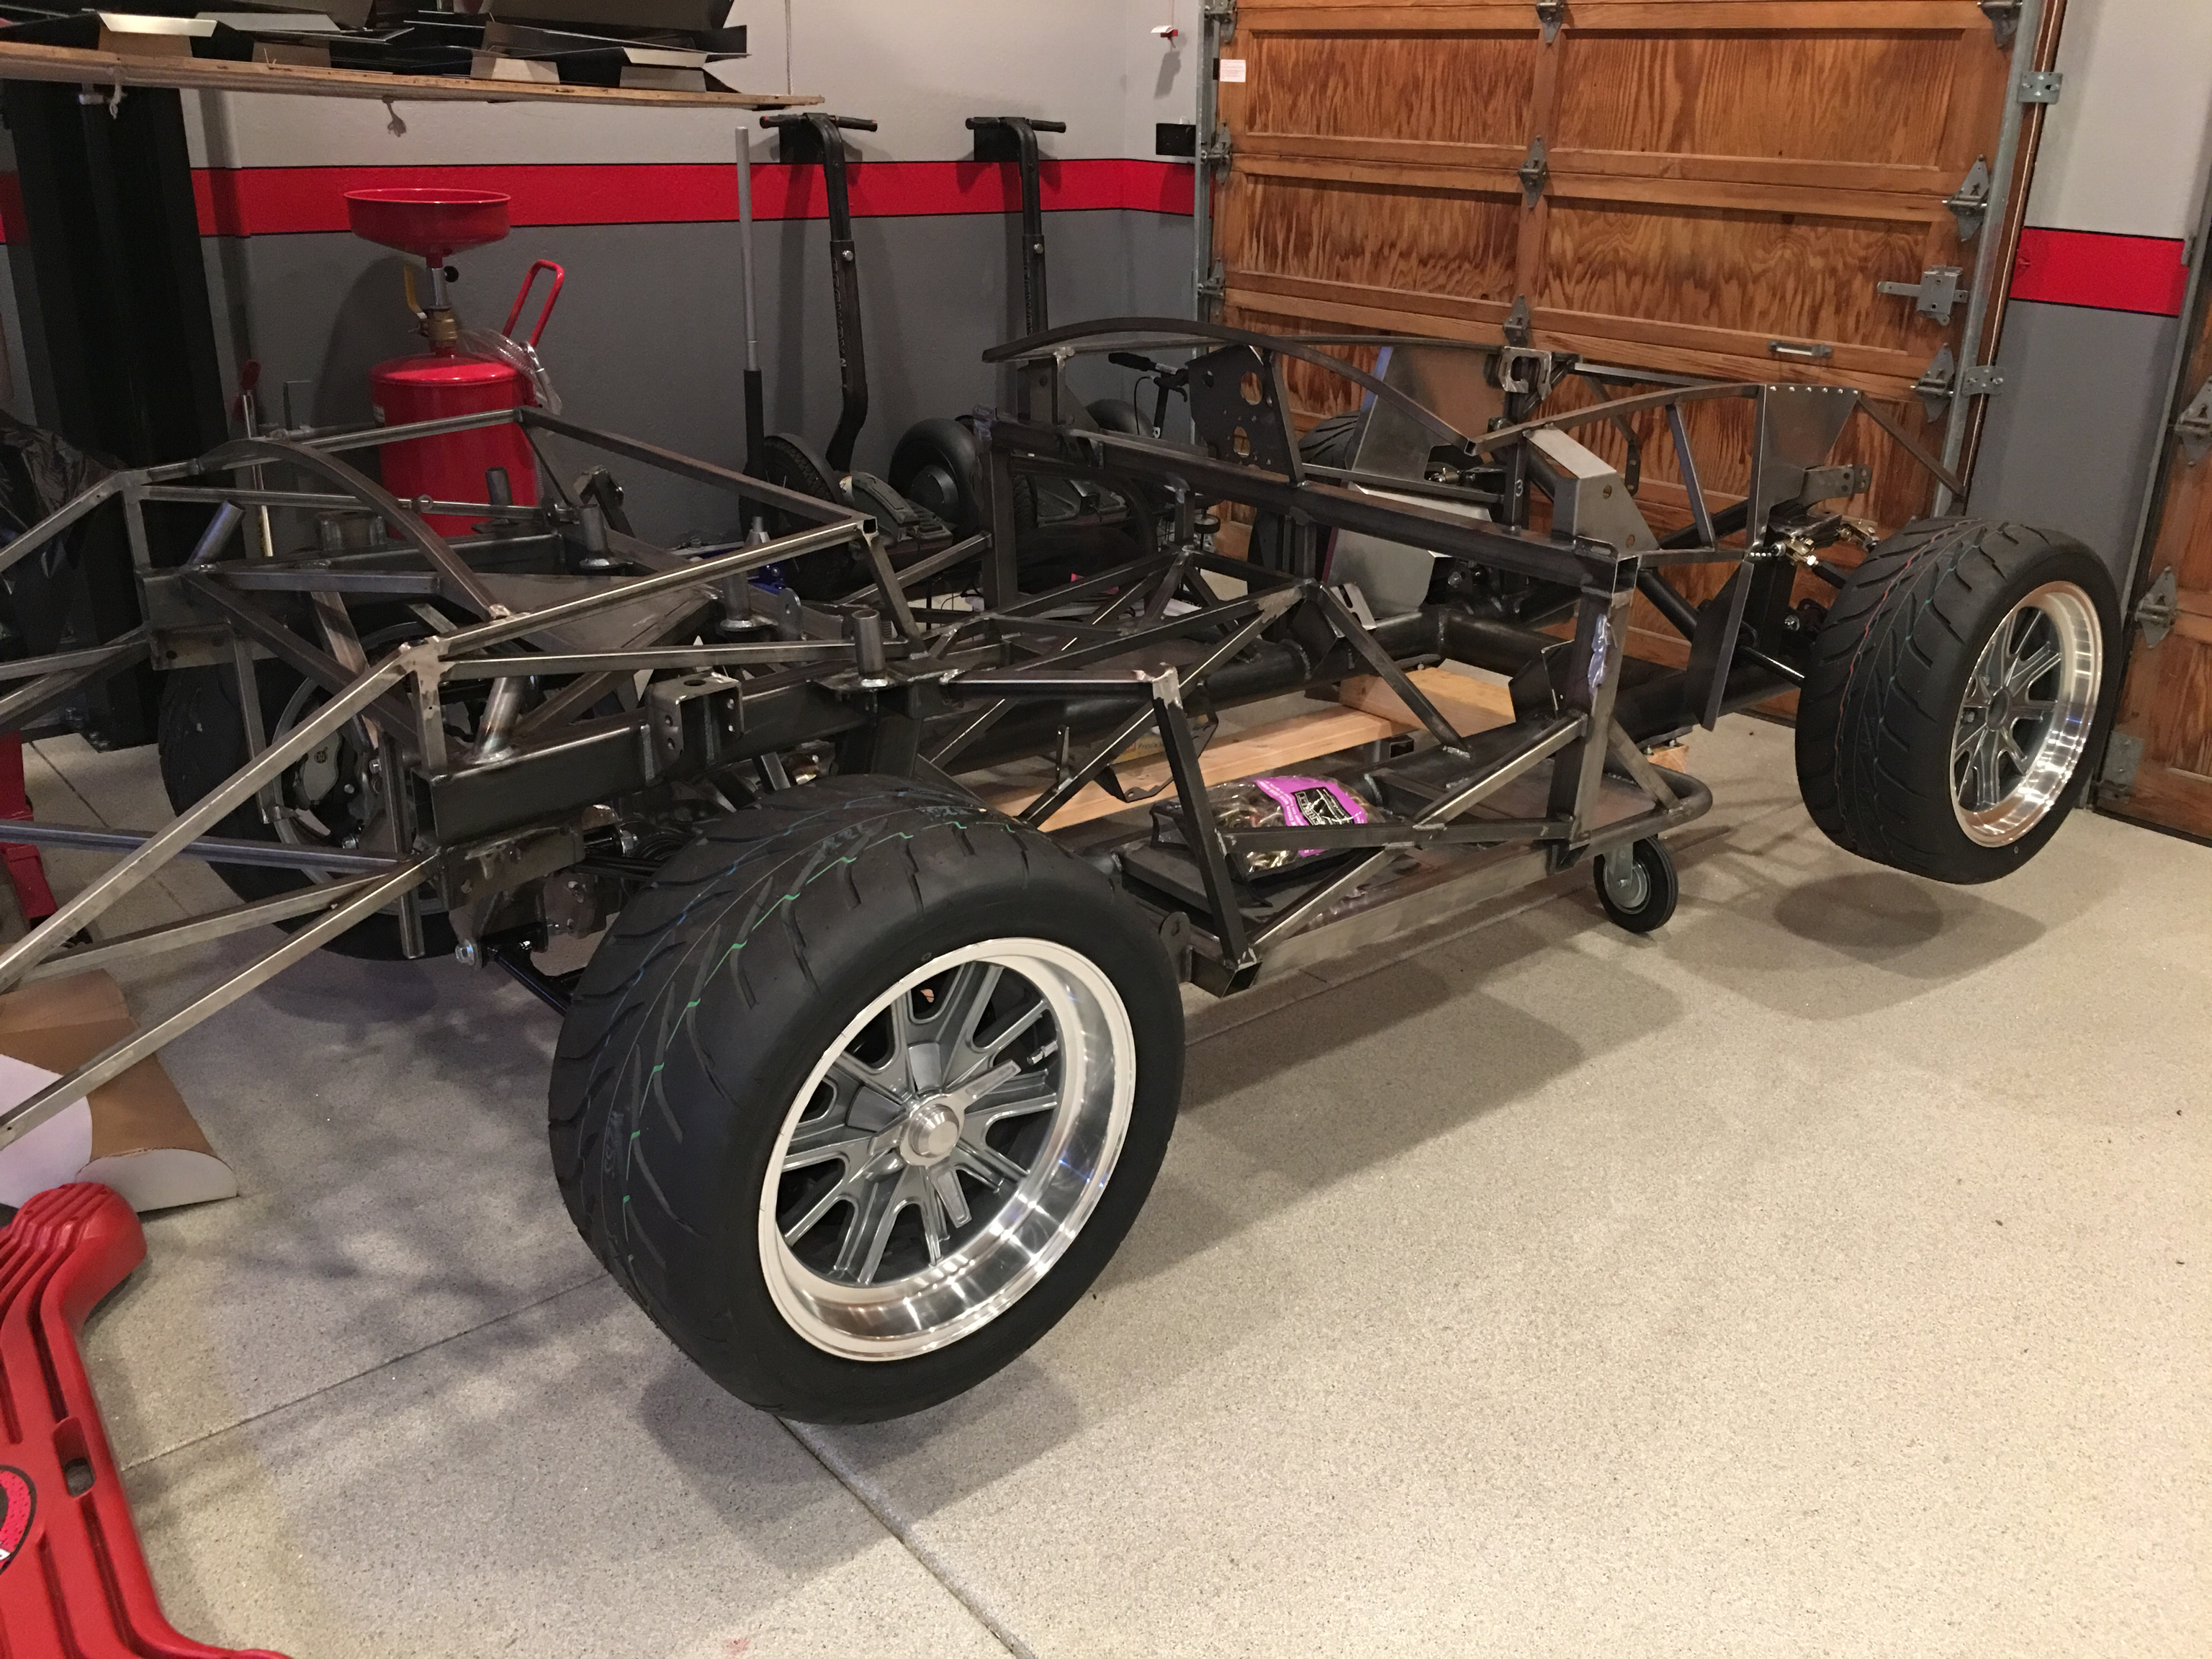
With the measurements complete, I put the chassis back on the dolly.
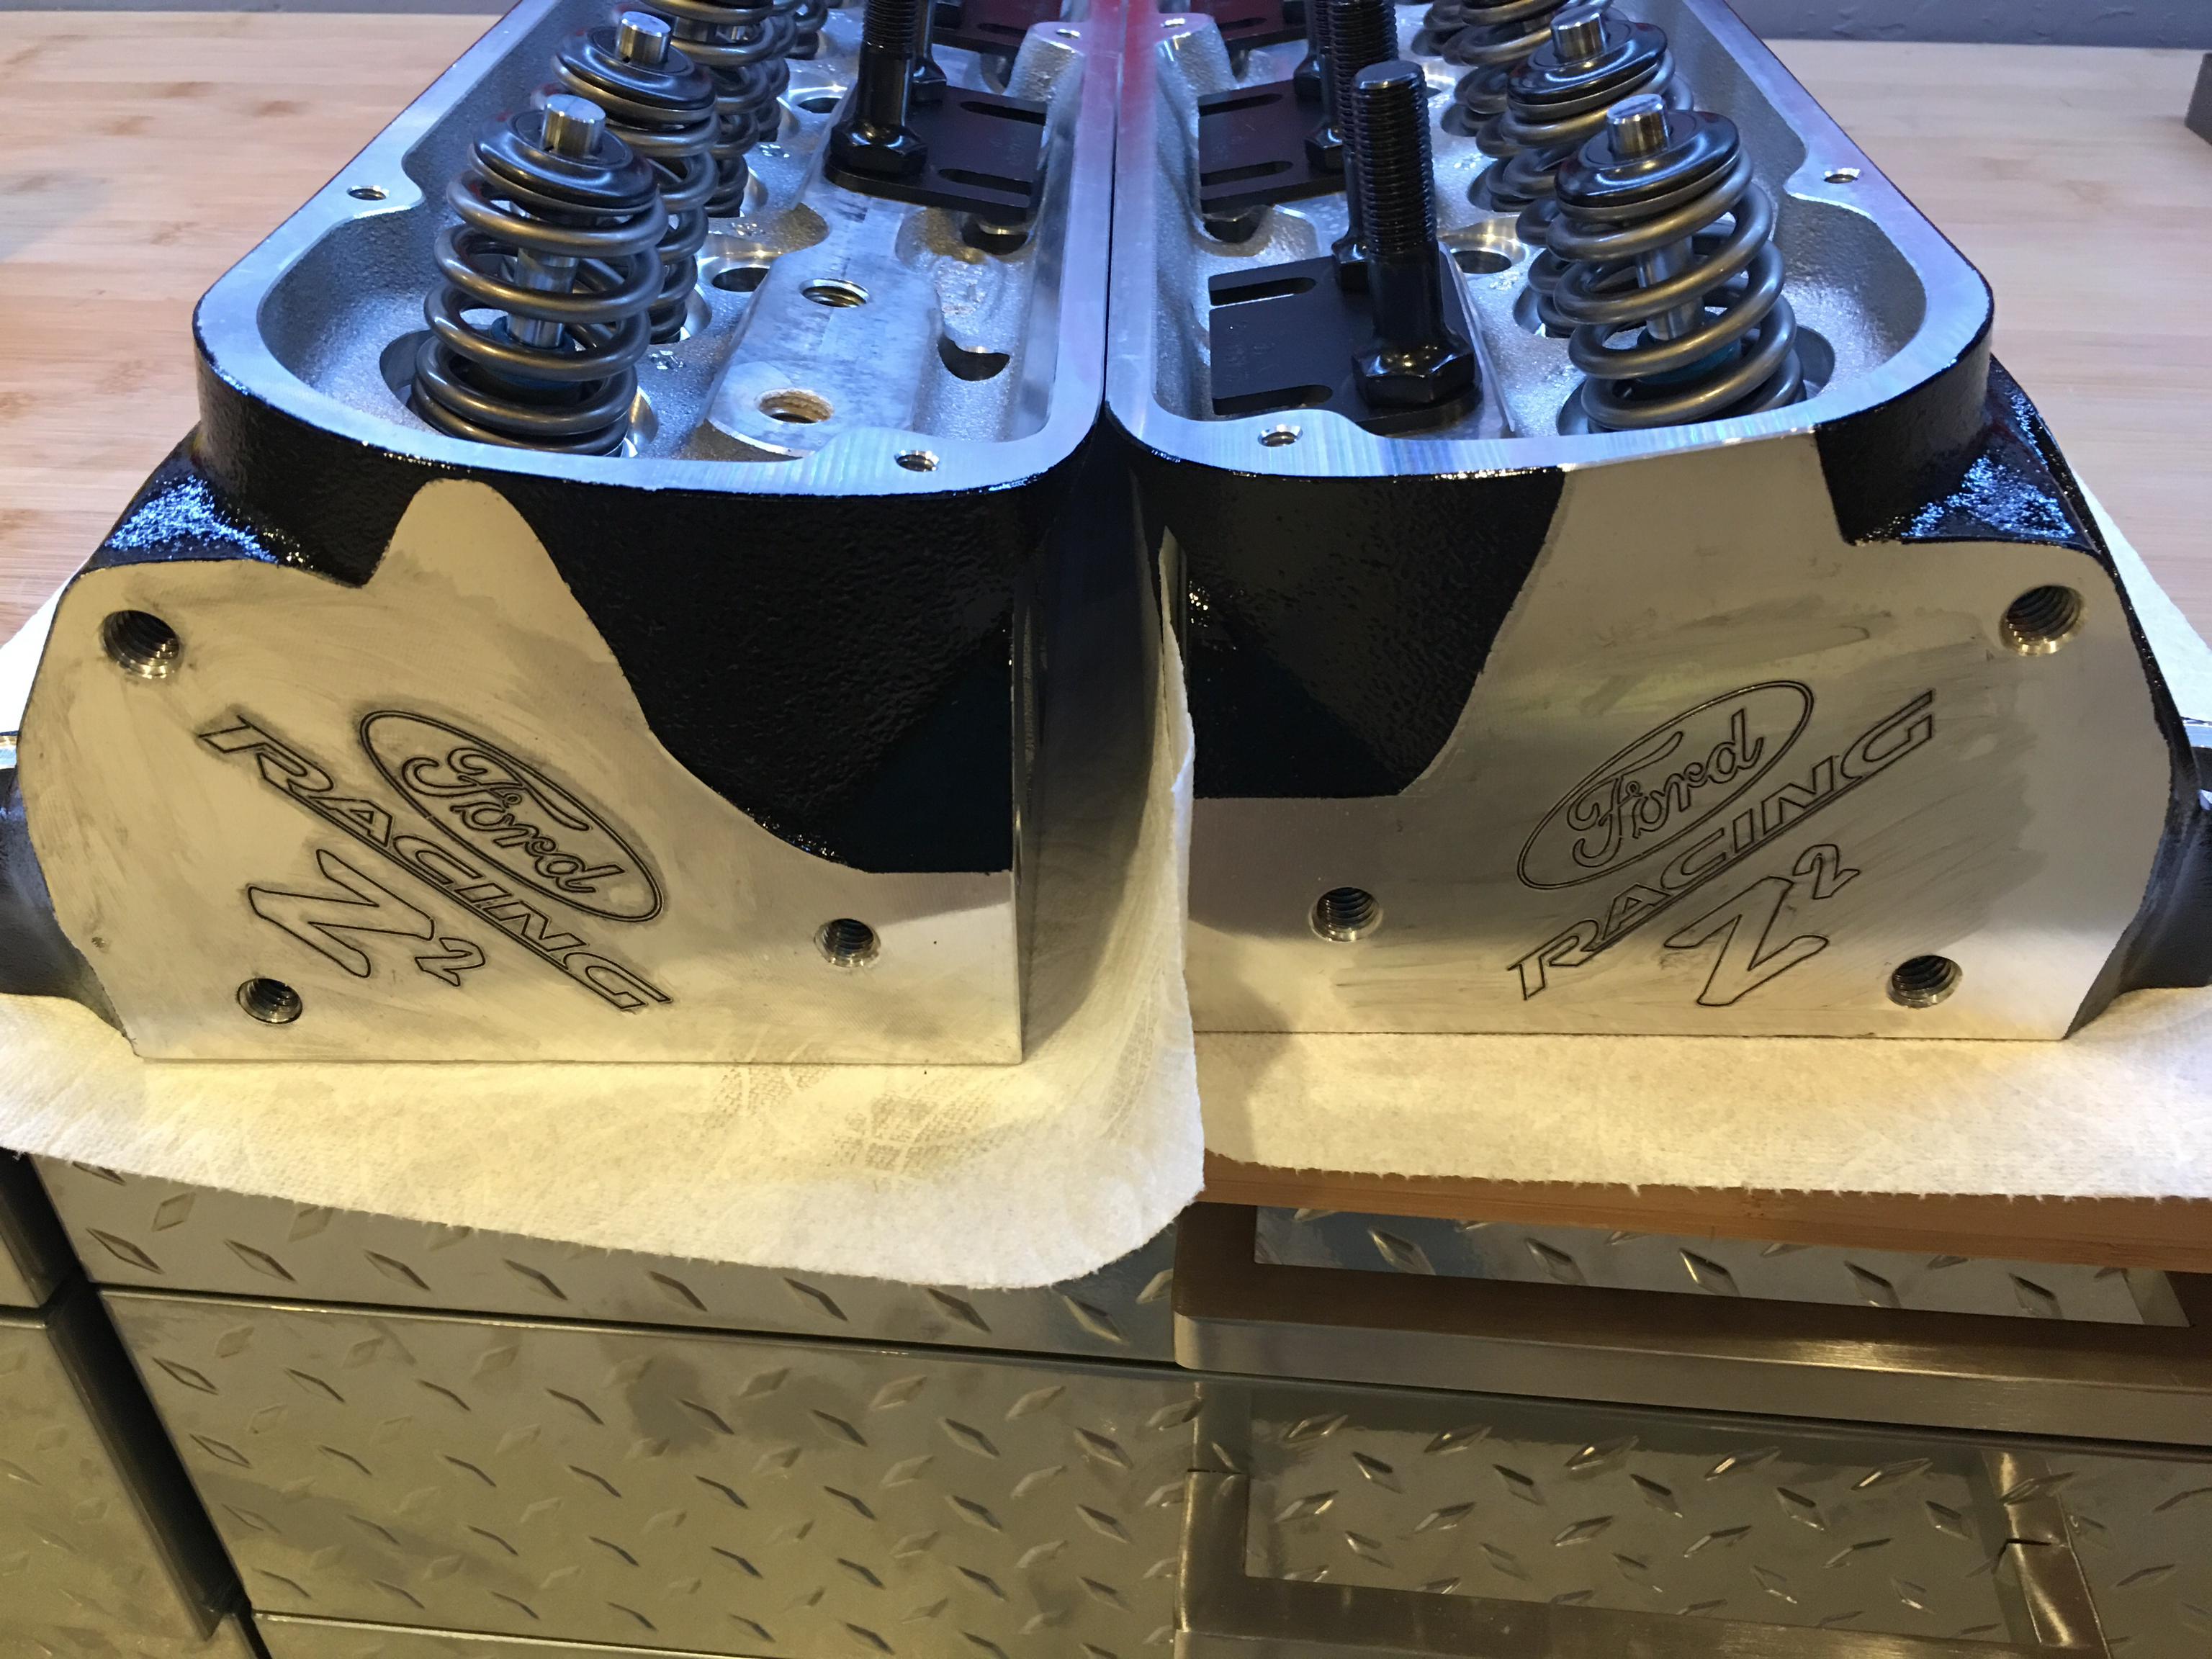
One last thing I’ve been wanted to do before engine assembly is to paint the engravings at the end of the cylinder heads. I tried this earlier and ended up wiping off the paint because it wasn’t looking great. I tried a new technique tonight which worked much better. I cleaned the engravings thoroughly and then used a q-tip to apply paint over the engravings thick enough that I couldn’t see them. I then let the paint set up for a couple of hours and then used some solvent to remove everything on the surface. You can still see a haze of paint around the engravings, but that should come off with some more solvent. I didn’t want to go further tonight though since it would be easy to go too far and have the solvent remove the paint from the engravings. I made sure I did opposite ends on the cylinder heads so that if this doesn’t turn out well, I can just put these at the back of the engine and no one will ever see them.