My aunt and uncle are in town this week at least in part so that my uncle could help us with building the engine for our Cobra. He’s done far more engine work than either my dad or I have and we thought it would be fun to all work on this together. We also scheduled this so that Jenn would be done with work and could assist with the build.
I put together a little video of the build, but I’ll also describe the process with pictures below.
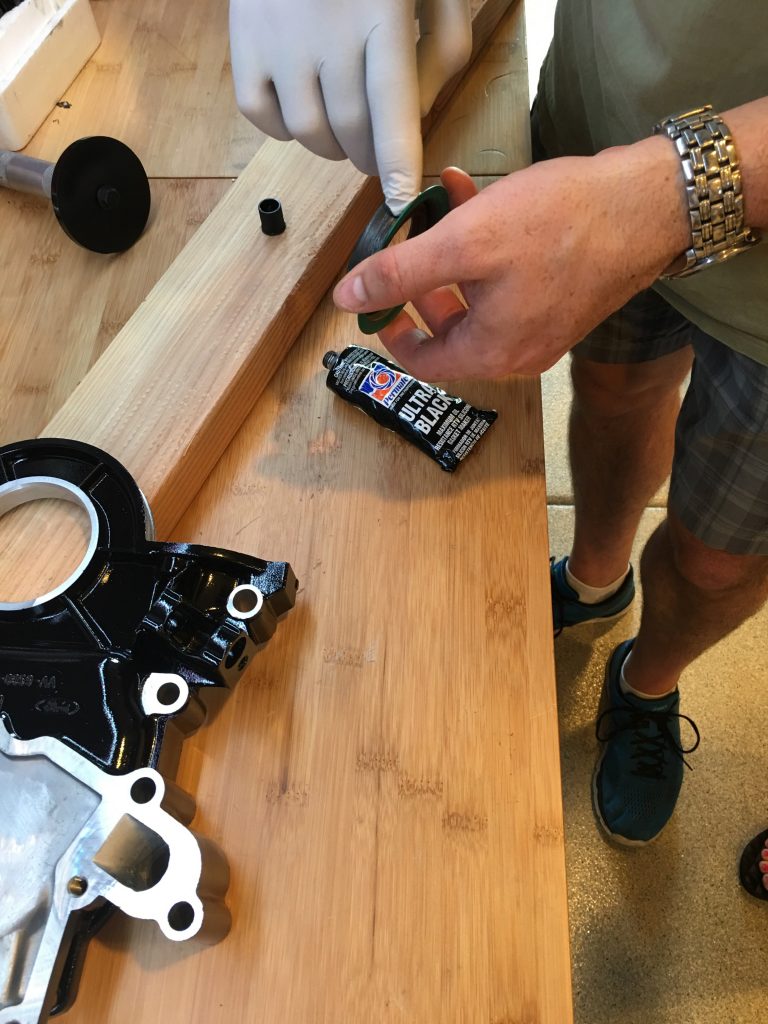
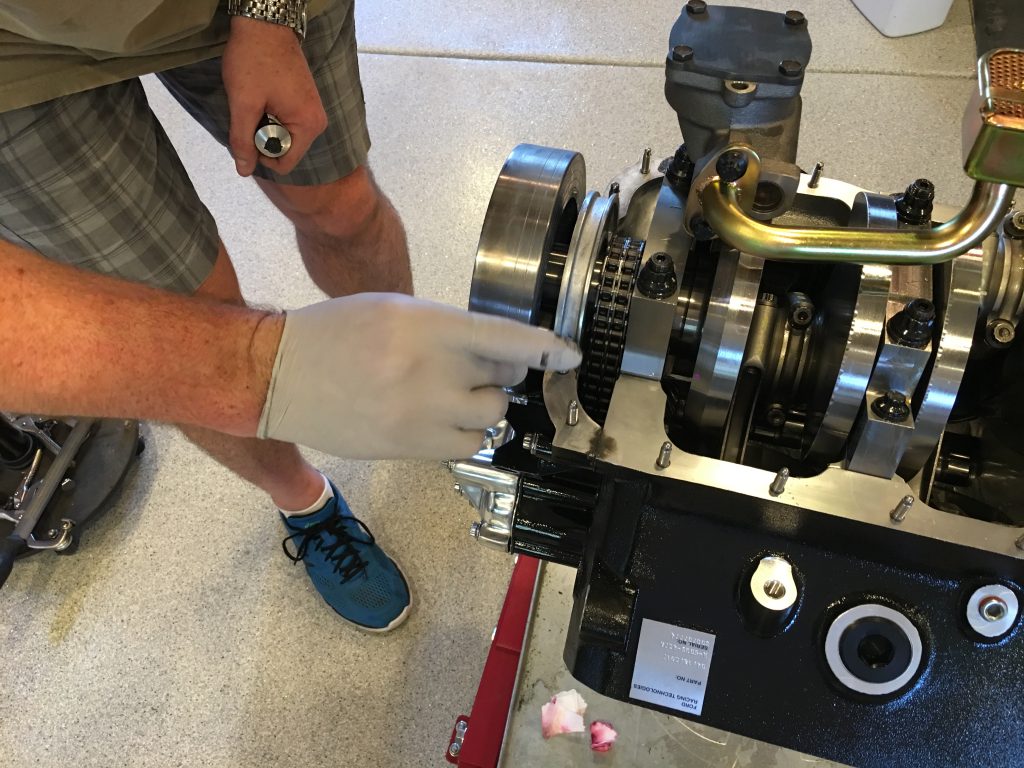
First up was to install the front seal in the timing chain cover. I put a thin film of RTV around the flange to ensure a leak free installation.
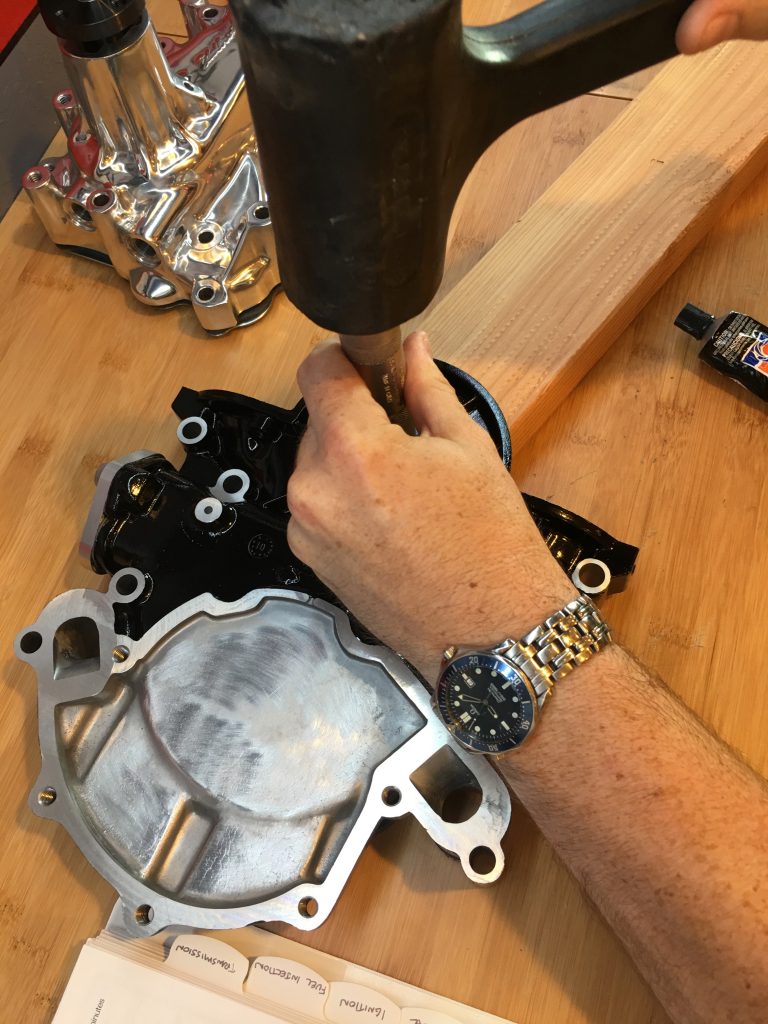
I then used a seal driver to seat the seal in the cover. This was a surprisingly tight fit and required a fair amount of force to seat.
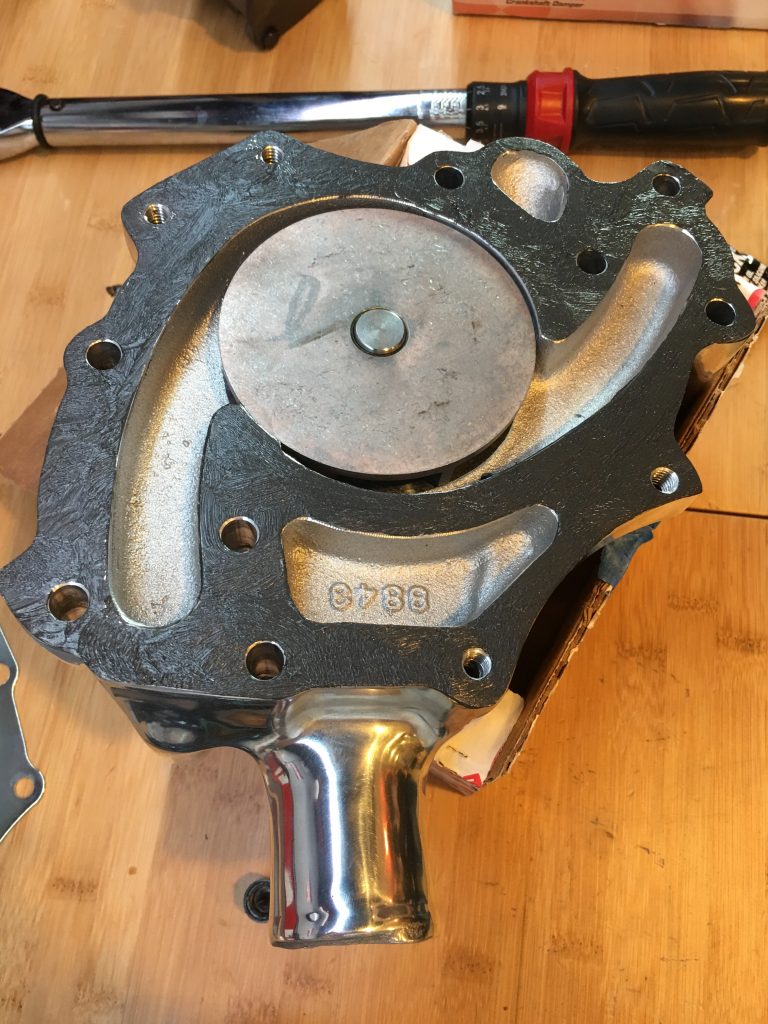
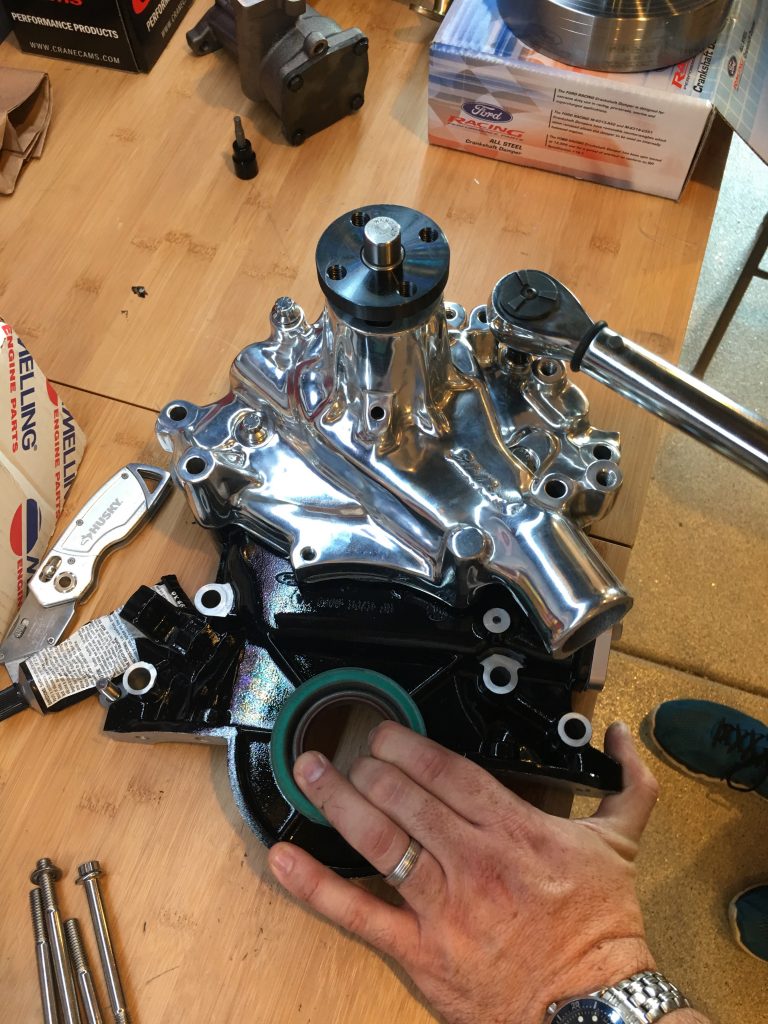
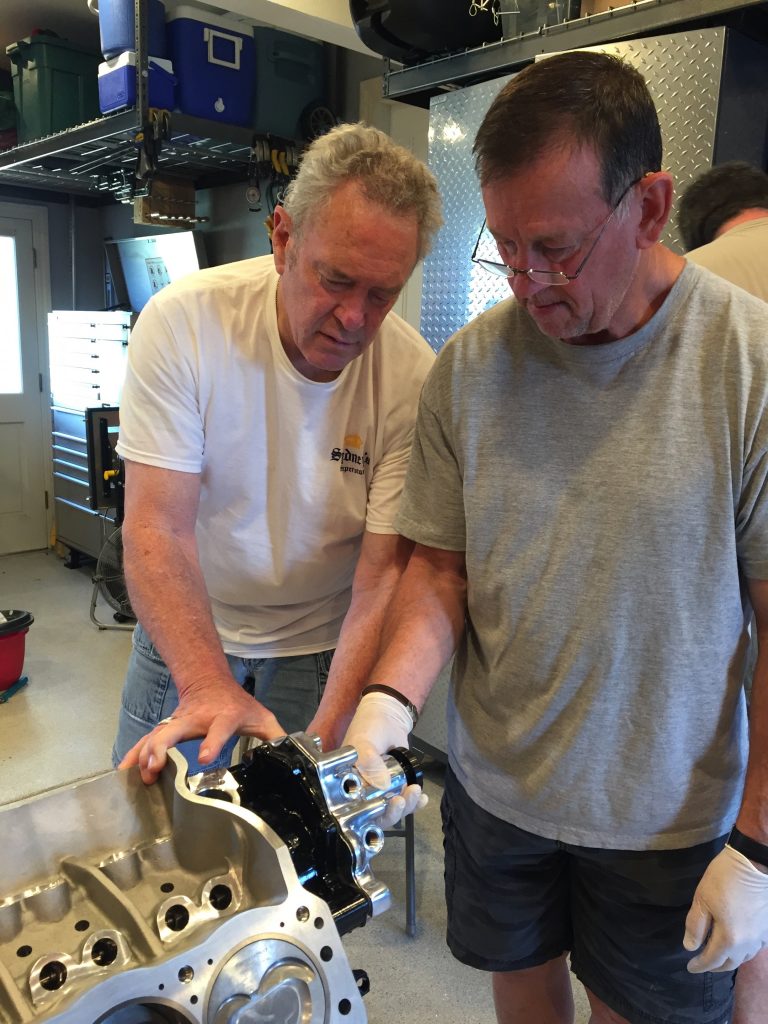
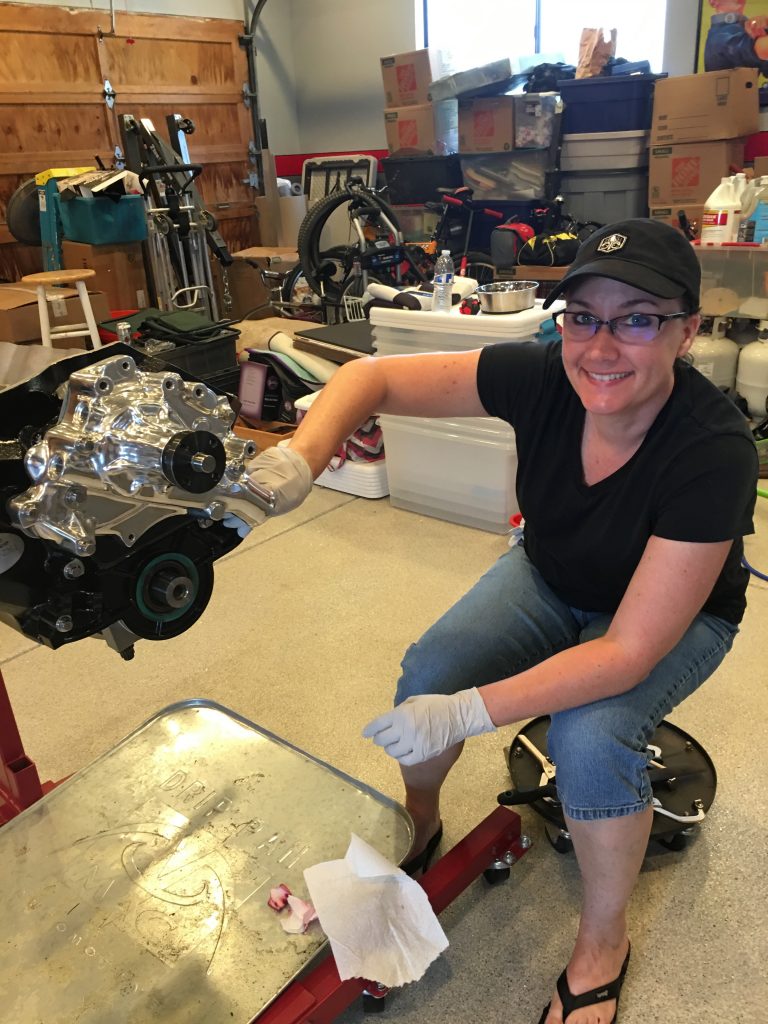
Next up is to install the water pump on the timing chain cover. We applied a thin film of RTV to the mating surface.
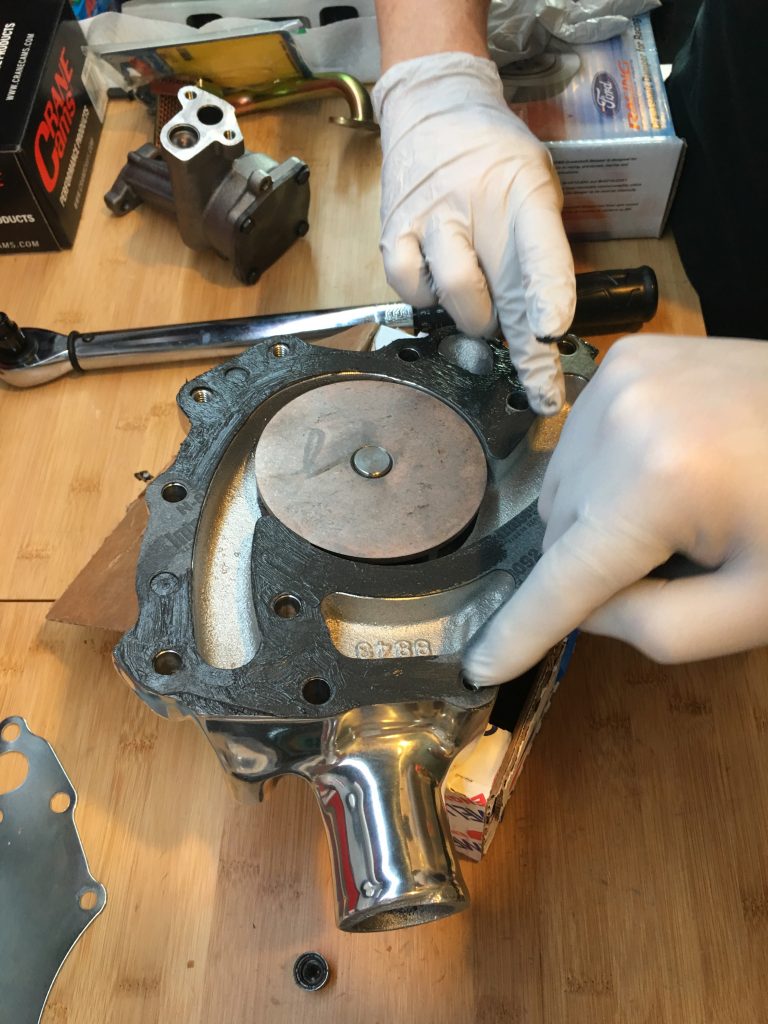
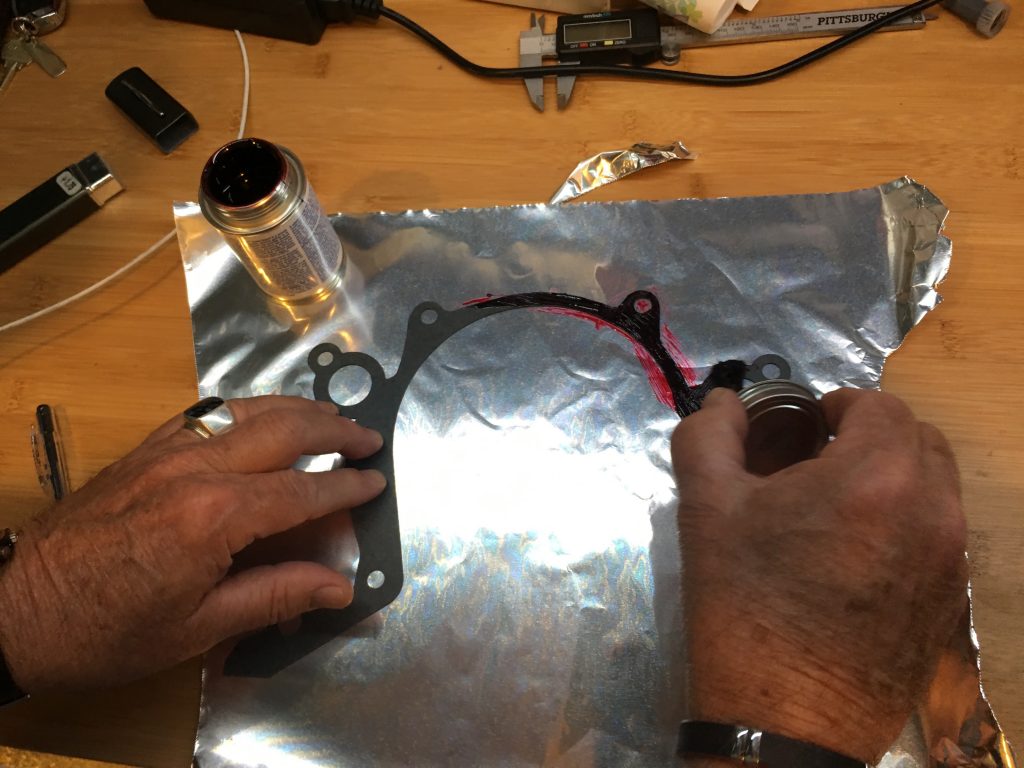
We installed the gasket and then applied a thin film on the other side of the gasket.
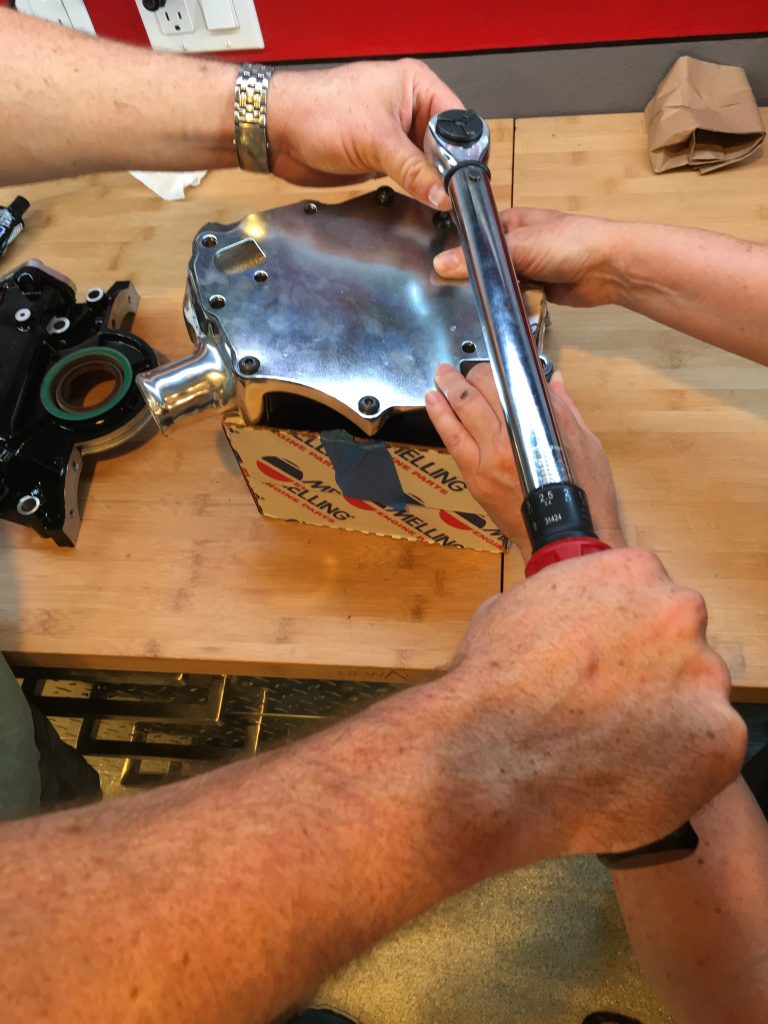
The water pump cover is installed and the upper and lower bolts are torqued.
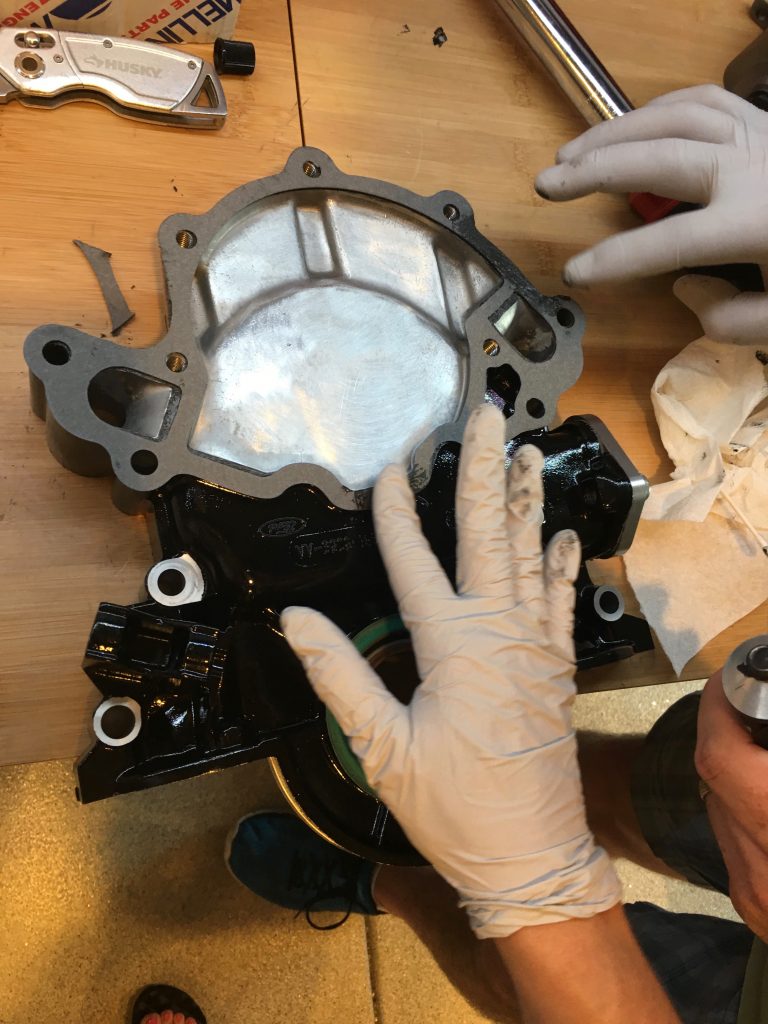
We then applied RTV to the timing chain cover and gasket before mating it with the water pump.
There are a few bolts that attach the water pump to the timing chain cover. The rest go all the way through the timing chain cover and into the block.
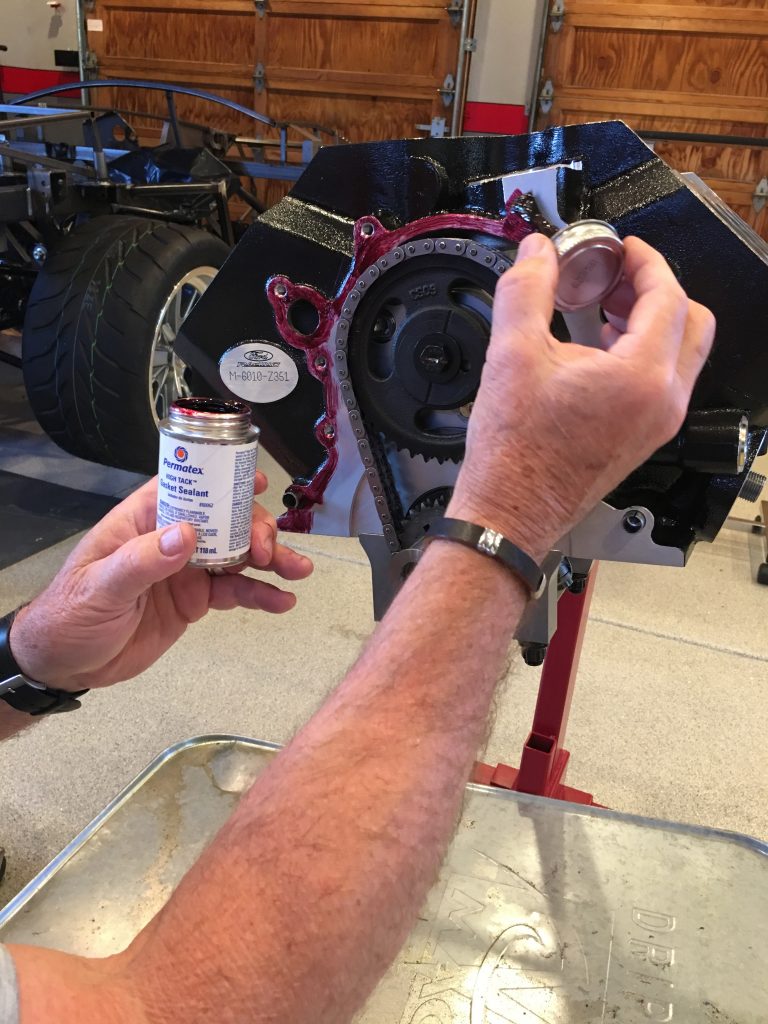
My uncle applied some high-tack sealant to the timing chain cover seal.
The mating surface on the block gets another coat.
This stuff works like contact cement, so you have to let it tack up on both surfaces before sticking them together.
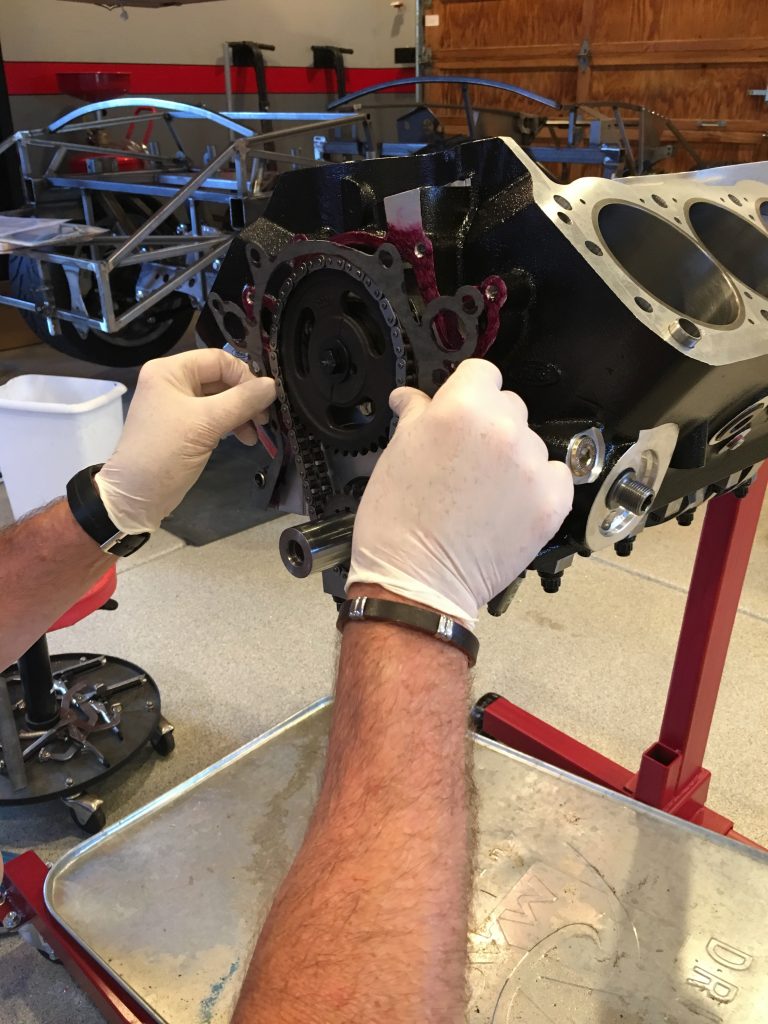
A second coat was then applied to the other side of the gasket and the mating surface on the timing chain cover.
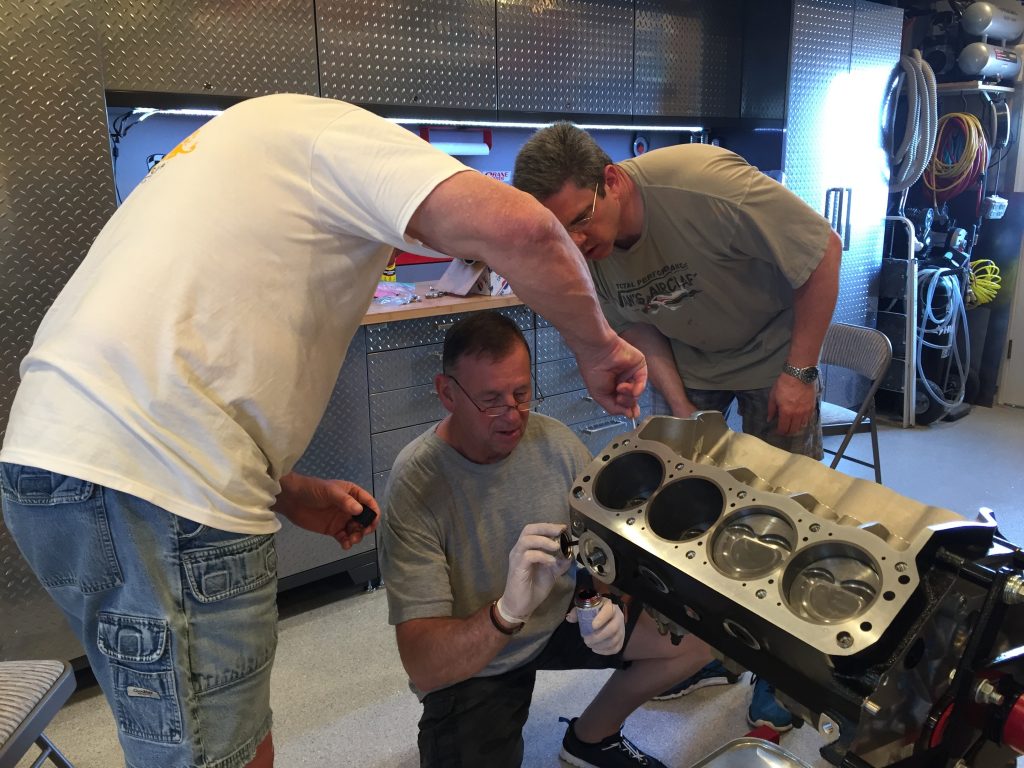
My dad and uncle installed the timing chain cover and water pump on the engine and held it in place until I could get a couple of bolts installed.
Jenn installed the remaining bolts…
… and then torqued them in three steps up to final torque.
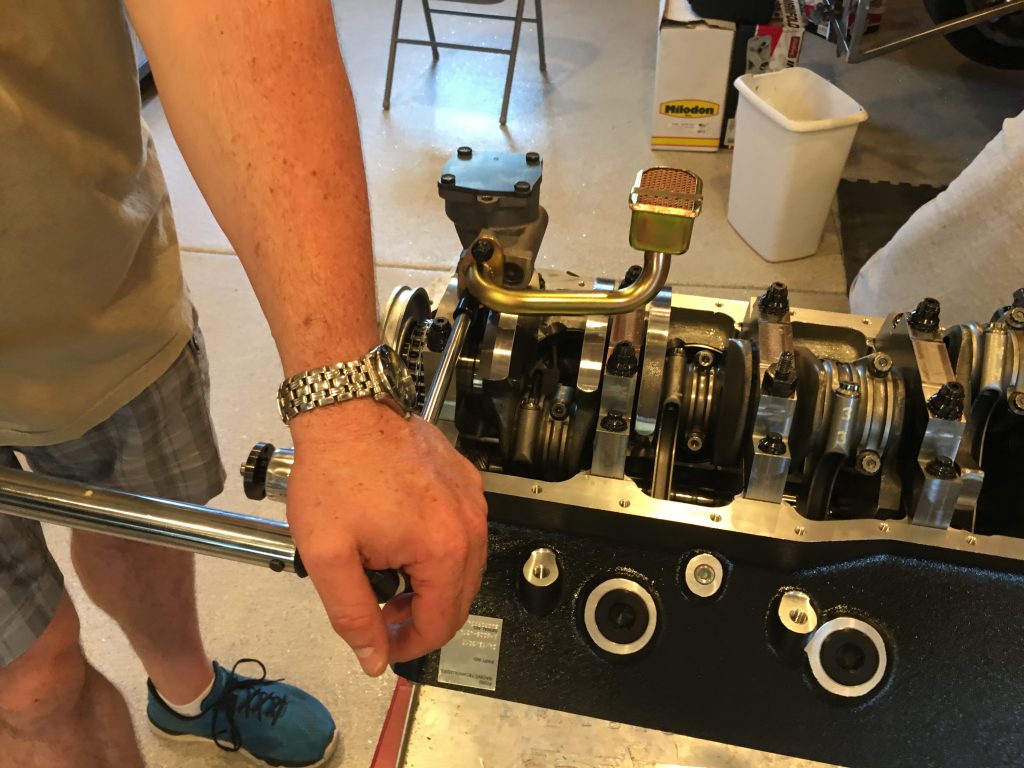
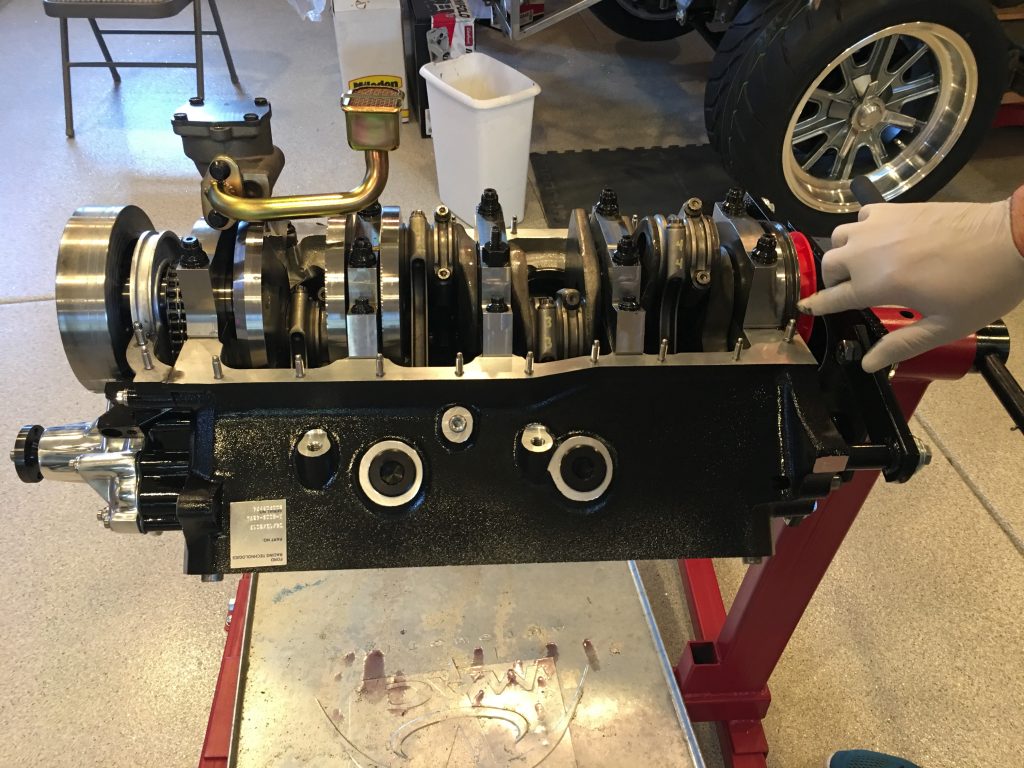
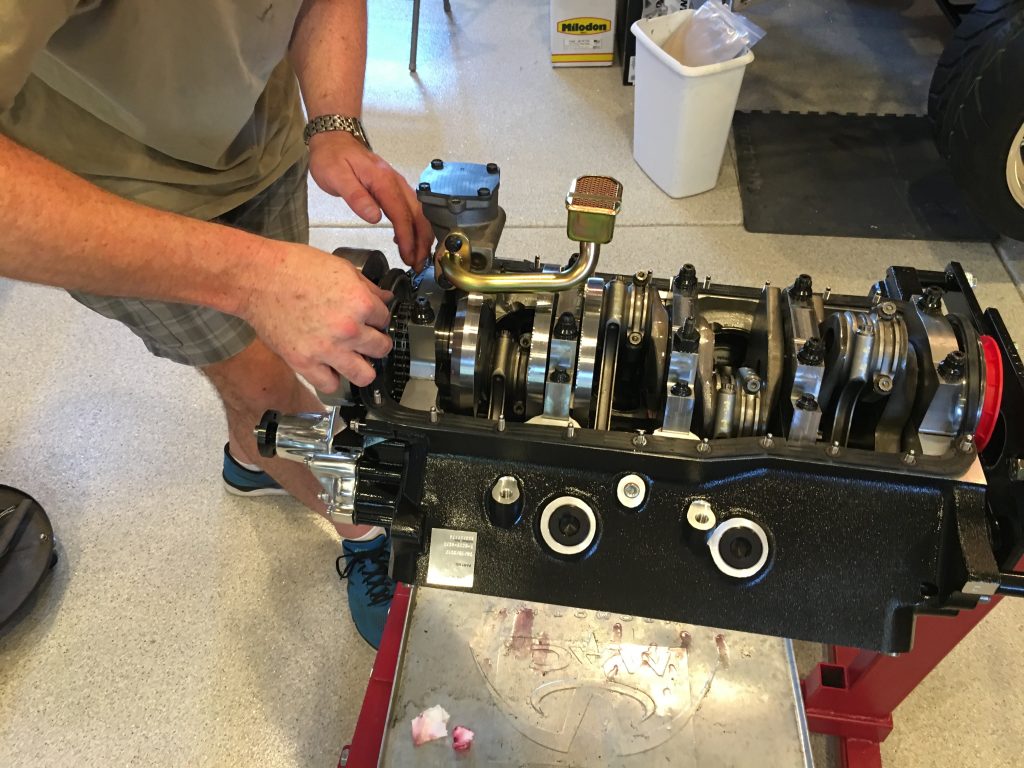
We then flipped the engine and installed the oil pump and pickup.
Before installing the oil pan seal, I applied a thin film of RTV over the end seals.
I also installed a small blob of RTV at the intersection between the arch and flat section. I also put a thin layer at the joint between the timing chain cover and the block.
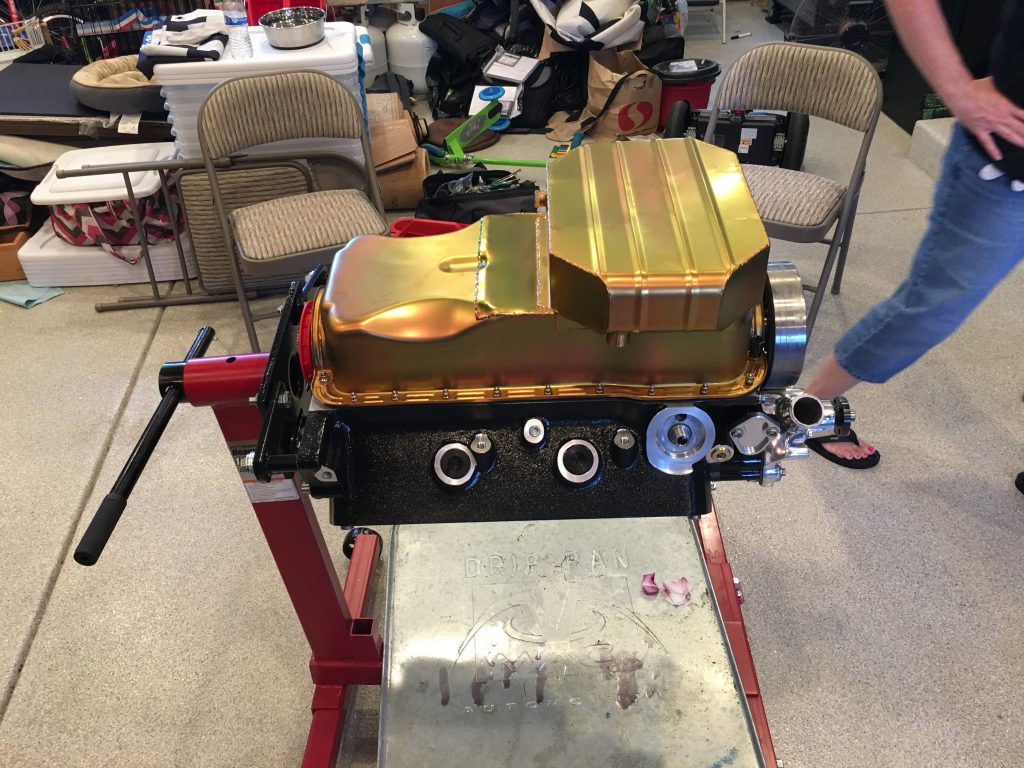
We then dropped the oil pan seal in place. I applied a thin film of RTV along the sides of the arches to act as a lubricant to allow the oil pan to slide into place without distorting the seals.
We then installed the oil pan and torqued the bolts to spec.
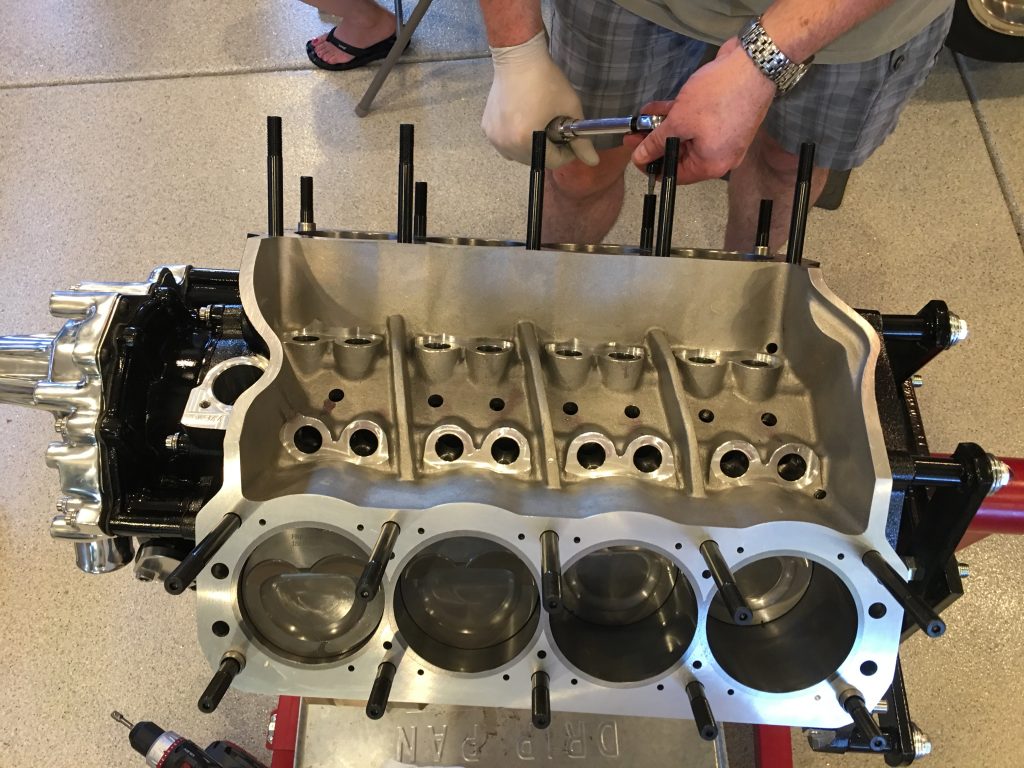
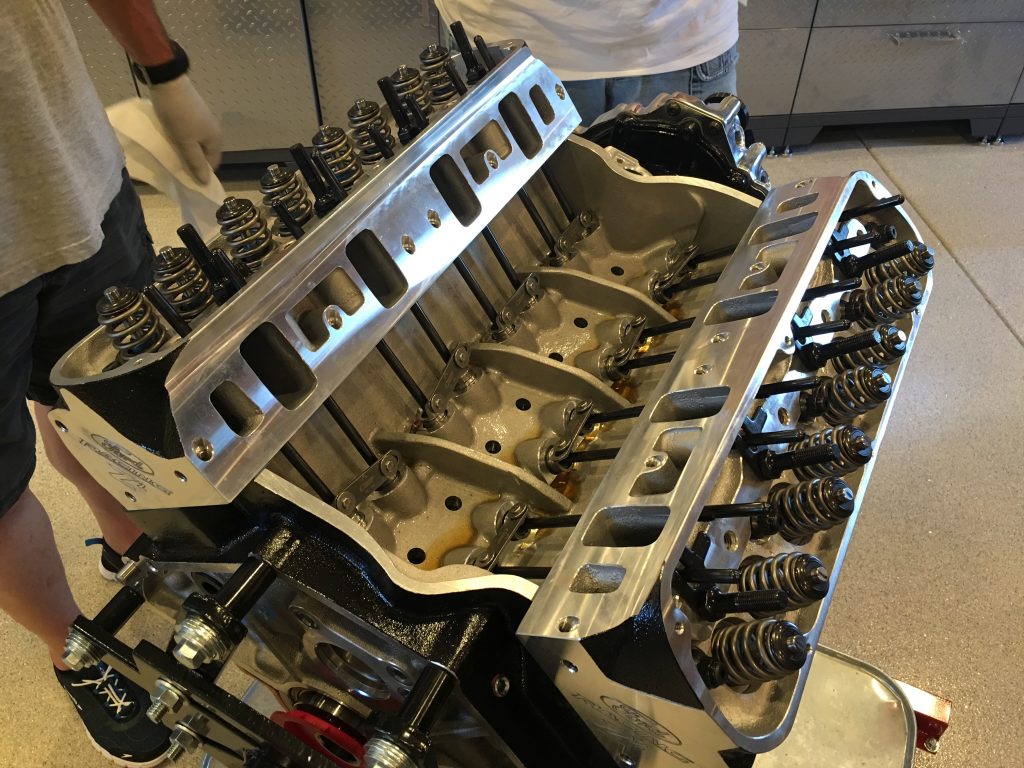
With the bottom end of the engine done, we flipped the engine over and installed the head studs. These get lightly torqued into the block (about 3-5 ft-lb). Jenn also dumped 7qts of oil into the lifter valley where it will drain down into the pan.
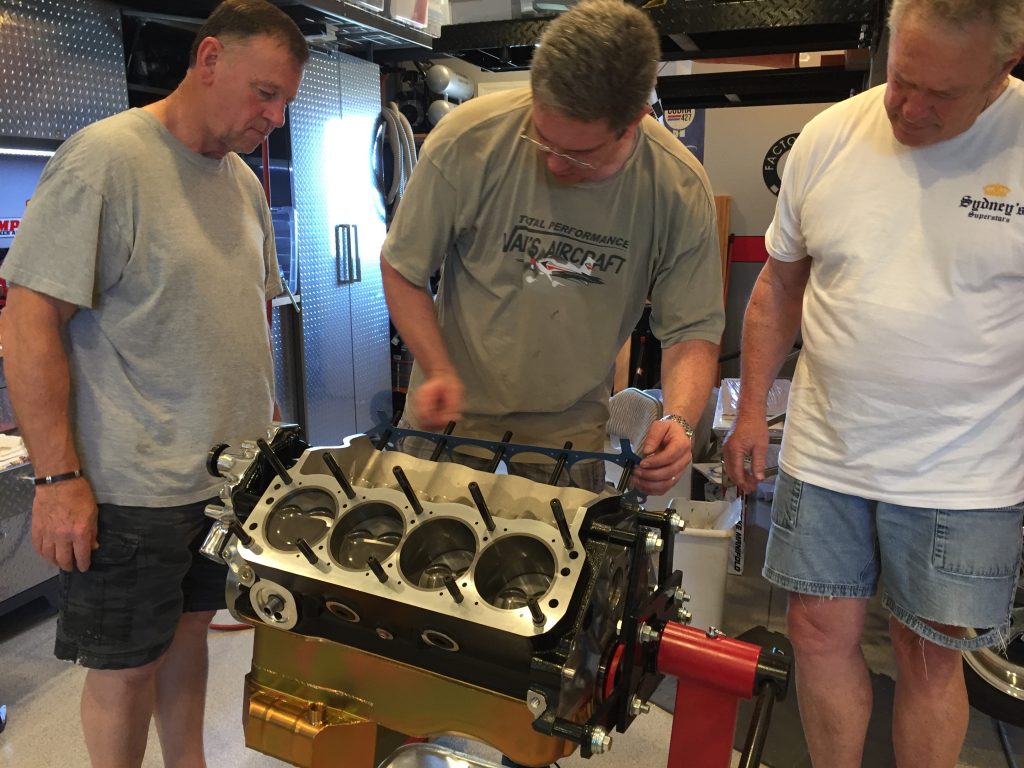
We then dropped the head gaskets into place. I had previously trimmed these to exactly follow the edge of the heads so that they don’t hang out.
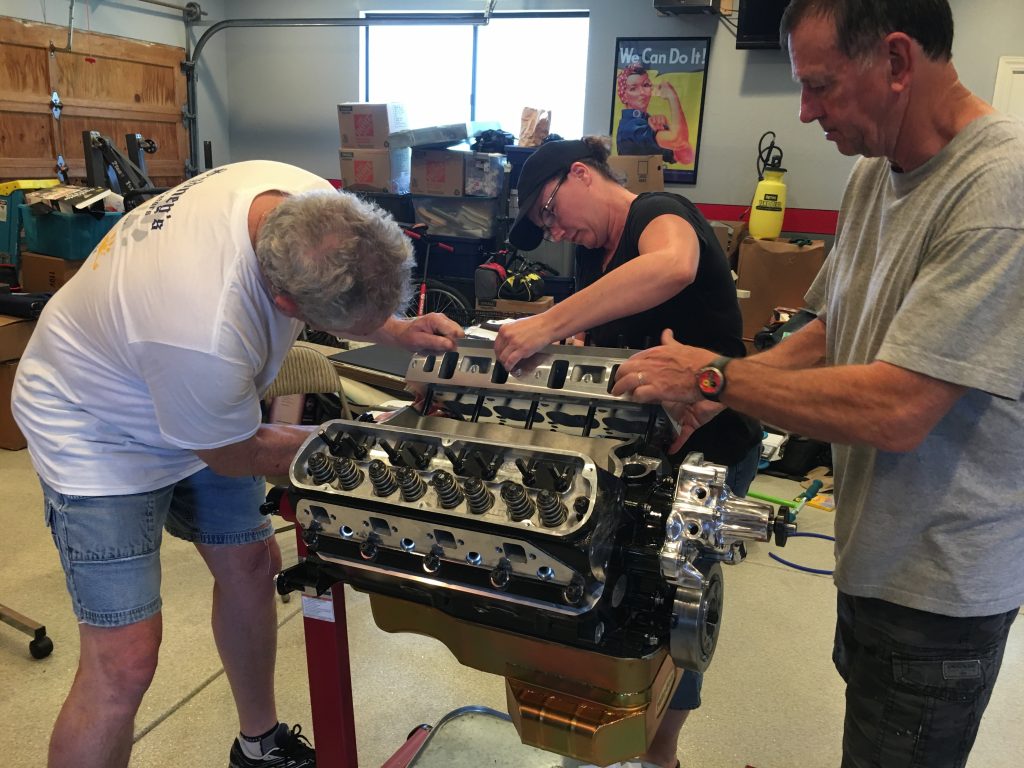
With help from my dad and uncle, I installed the first head and Jenn installed the second.
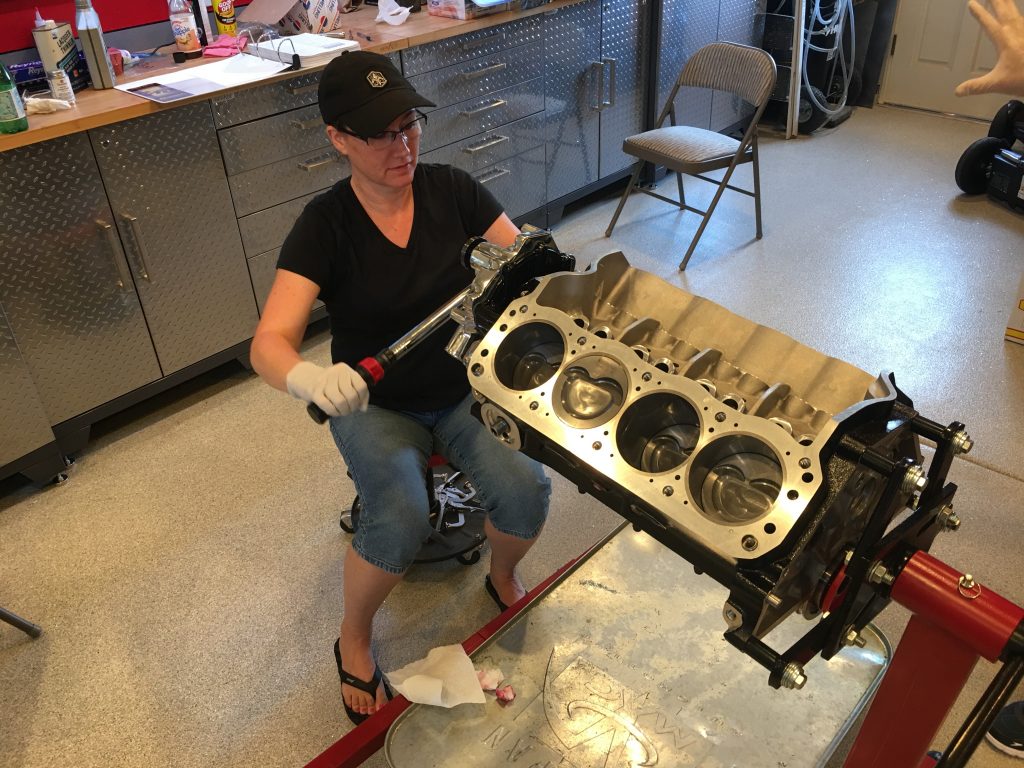
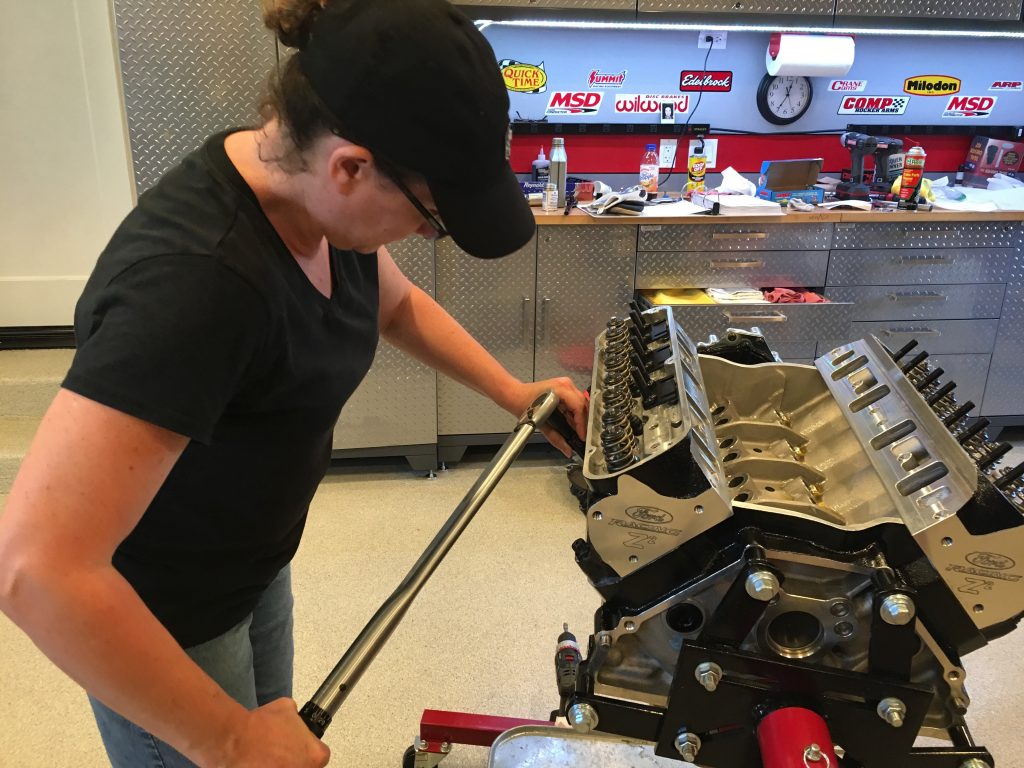
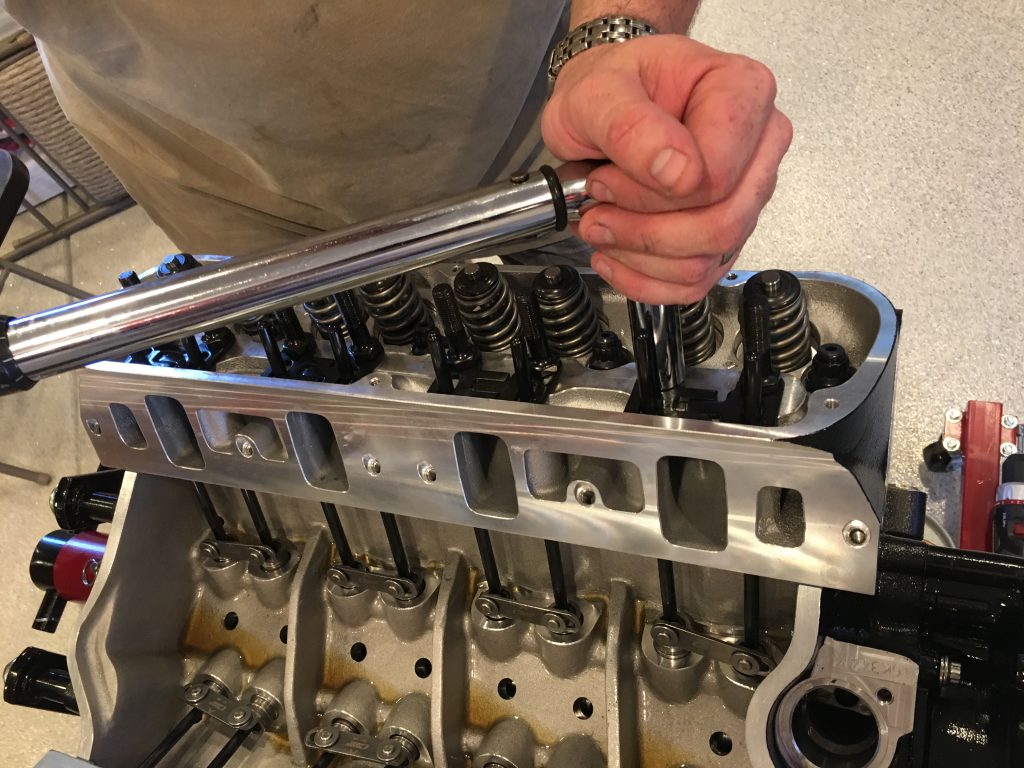
We took turns torquing the head bolts in three steps up to final torque.
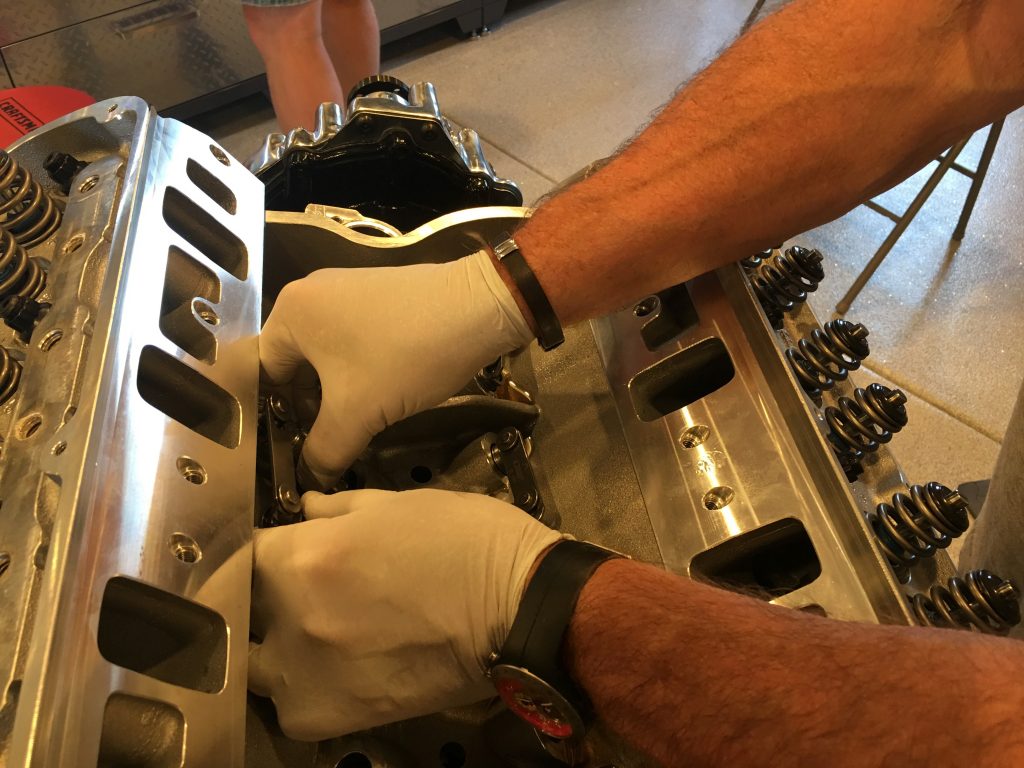
My uncle dropped in the lifters…
… and I dropped in the pushrods.
We pulled all of the rocker studs to install the adjustable guide plates. After visually lining up the pushrod, rocker stud and valve stem, we torqued the rocker studs back to 65 ft-lb. All of the intake studs need to be installed with thread sealant since they go into the intake port.
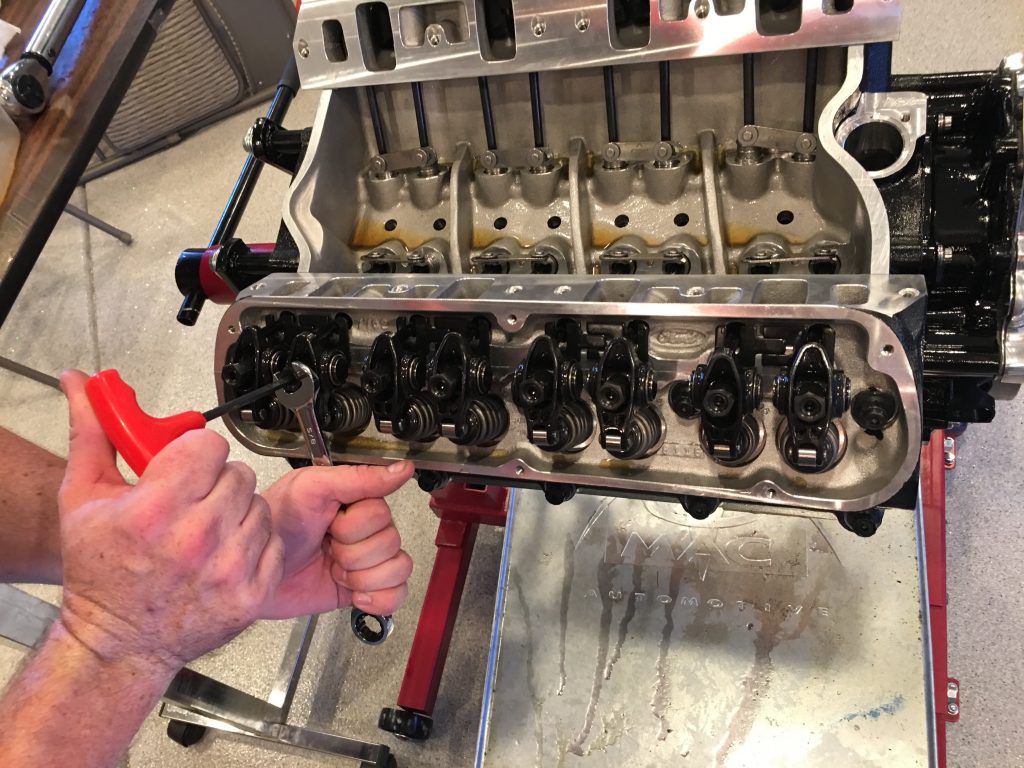
The visual approach lined up most of the rockers, but we had to pull a few and adjust the guide plates. After ensuring everything was lined up, we put 0.075″ of preload on the rockers and then tightened the set screws.
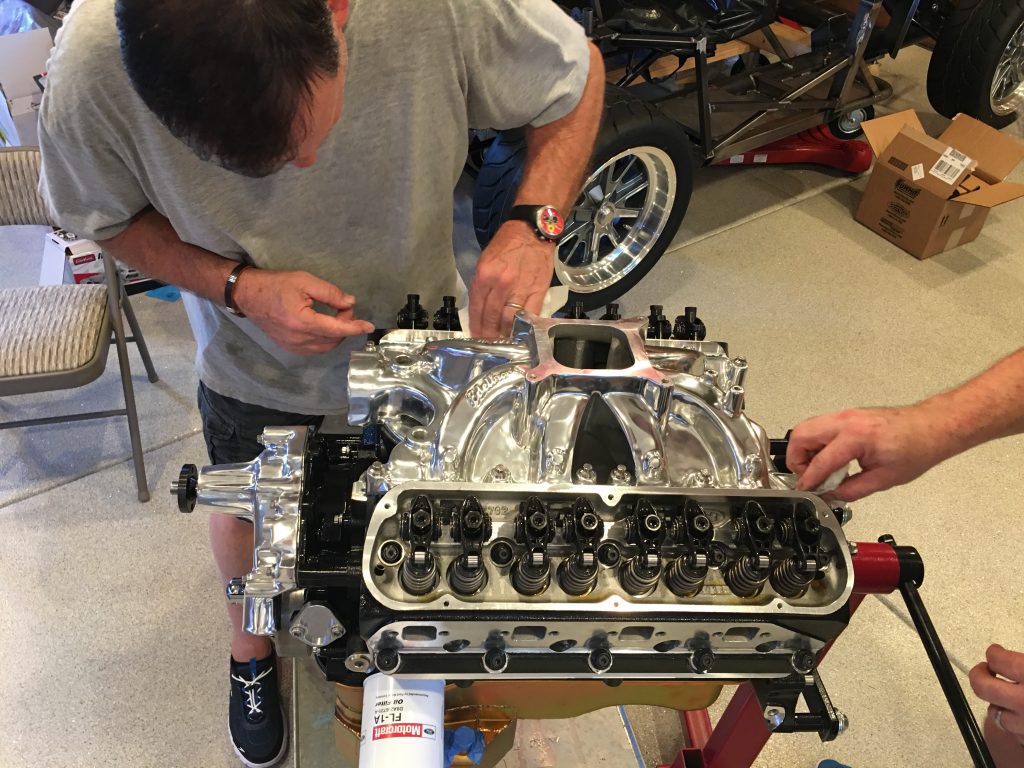
We didn’t get any pictures of the process of installing the intake manifold, but we installed RTV on both sides of the intake manifold gaskets around the water jacket and then some high-tack to hold the gasket in place. We then put a heavy bead of RTV on the end rails of the lifter valley and set the intake manifold in place. We then torqued the manifold to final torque.
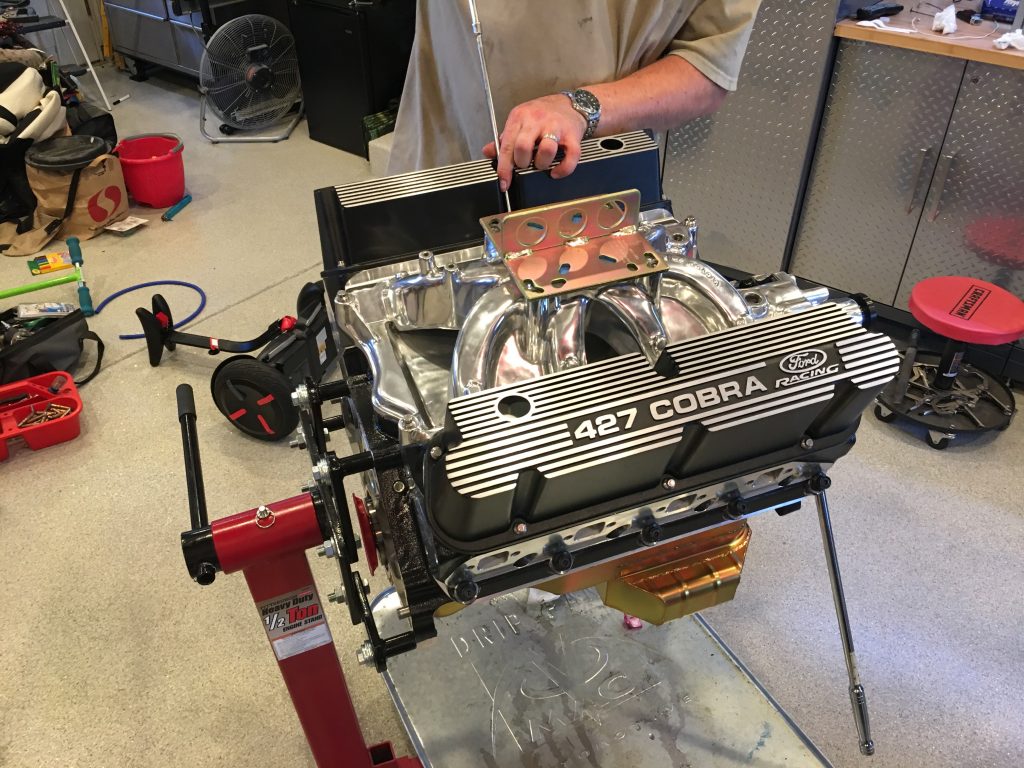
Finally, we installed the lifting plate to seal up the manifold and then installed the valve covers.
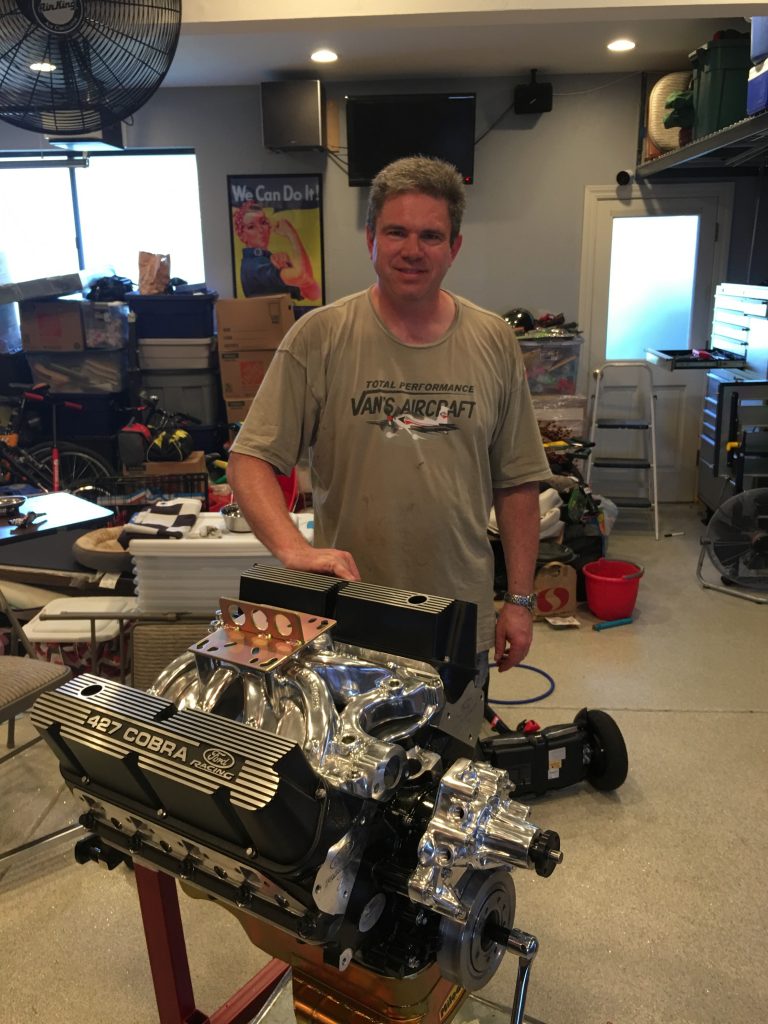
Here’s the result of our long day of work. After this picture was taken, I taped up all of the open holes to keep dust out of the engine.

