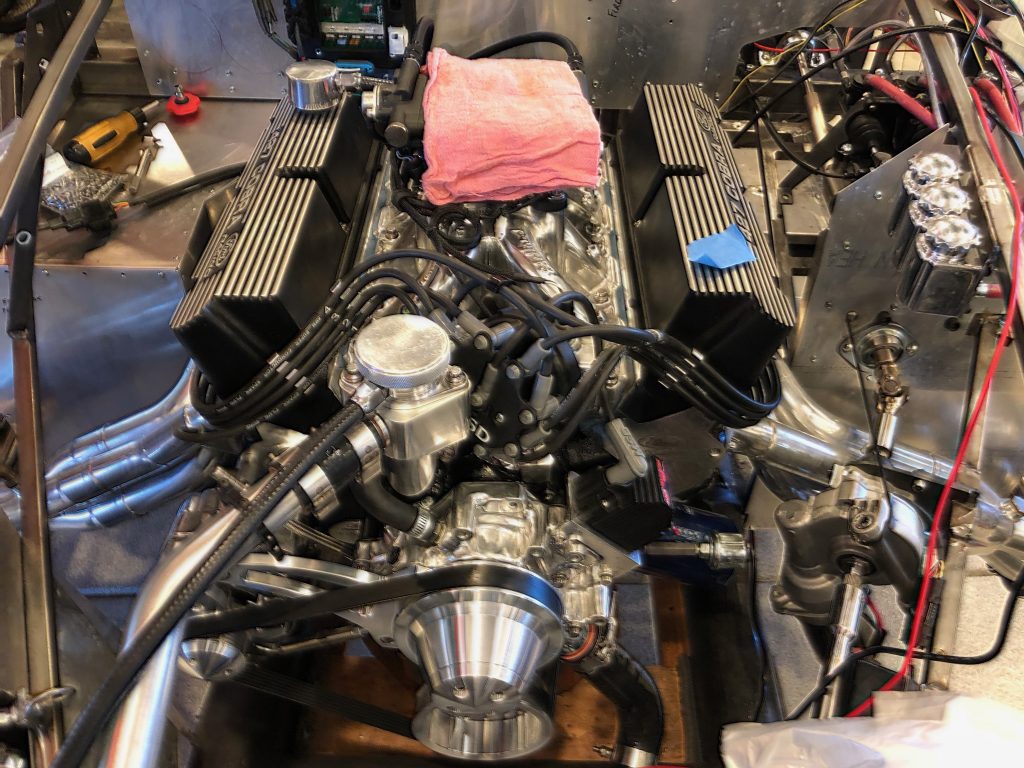
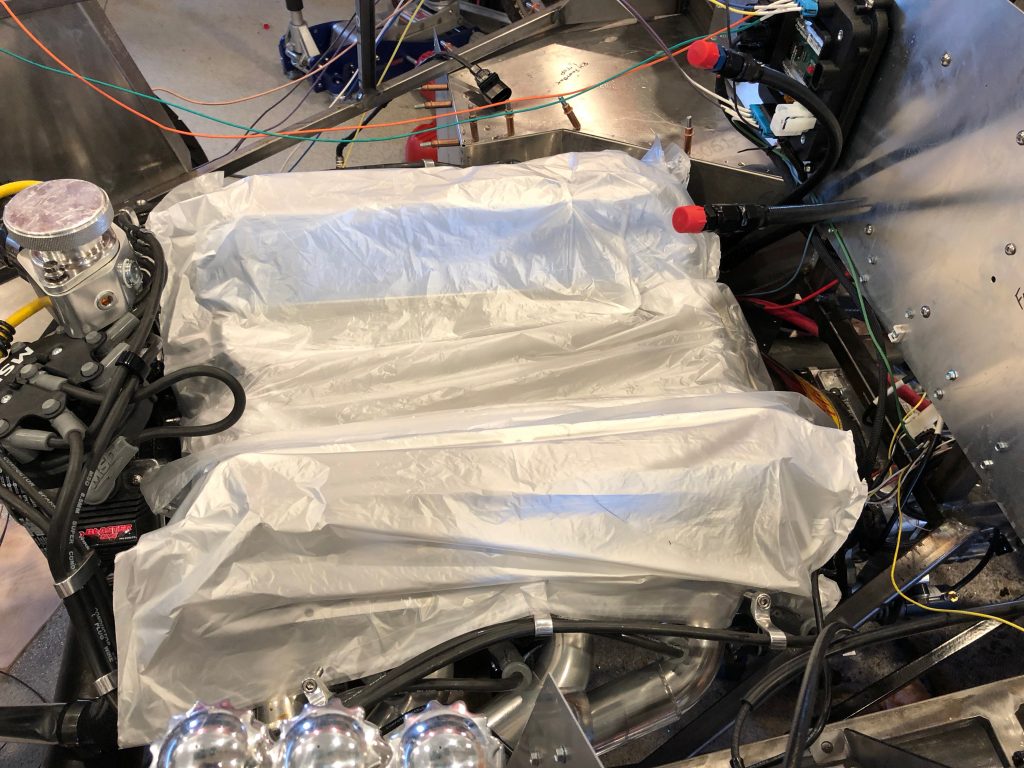
Crane disassembled the lifters and found some debris in two of them that they said could have caused the noise we were hearing. The sent us a brand new set of lifters, but I haven’t had a chance to reassemble the engine until now. My dad stopped by this morning and we reassembled the upper end of the engine. The RTV needs to cure, so we can’t run the engine today, but I’m hopeful that we have resolved the noise.
Pulled Lifters, Raised Pedal Box
Well, after another week of diagnosing the engine noise, we exhausted all avenues that we could pursue with the engine together. The noise still seems like it’s coming from the valve train, and the next thing to check is the lifters. We pulled them so that we could send them to Crane for evaluation. With the engine open, we had a chance to borescope the cam. We found one tiny pit in the #2 exhaust lobe, but the lifter roller had no damage, so there’s no way the noise is coming from that. We didn’t see any obvious damage to any of the lifters either, so we’re starting to worry that the noise is coming from somewhere other than the valve train.
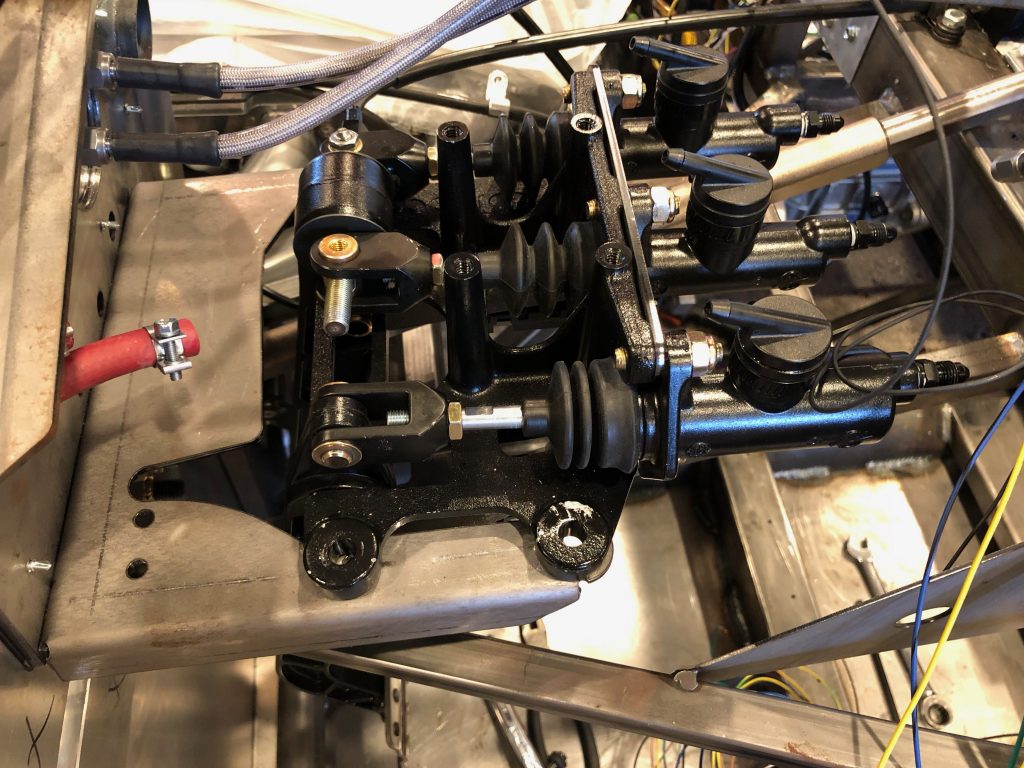
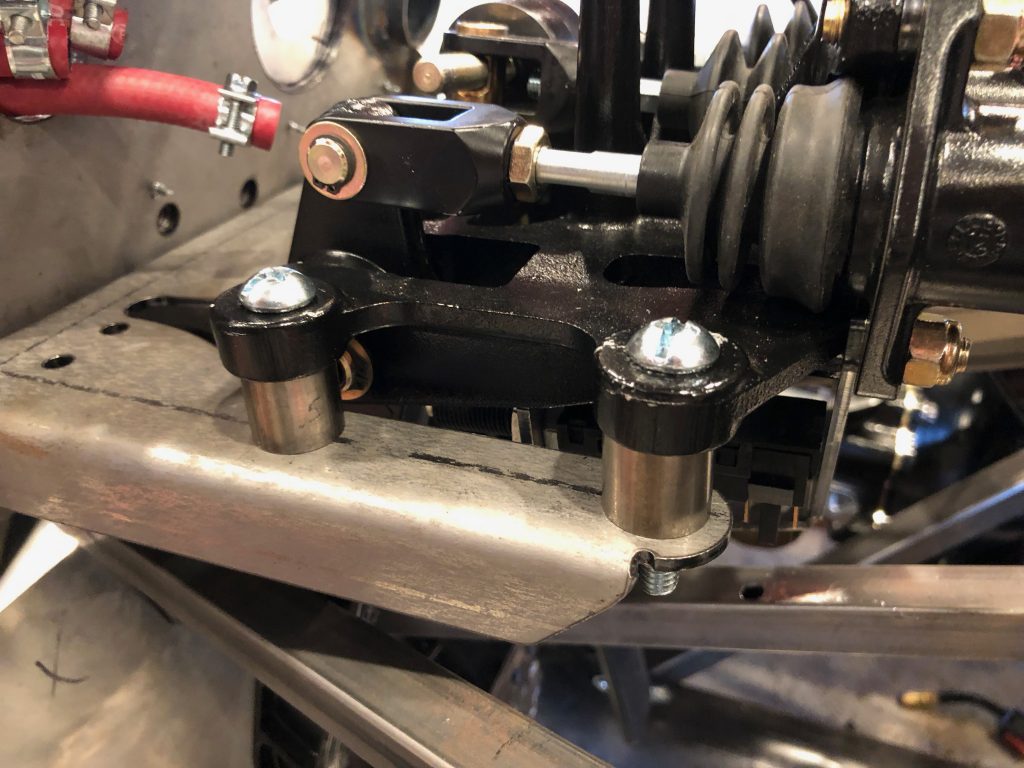
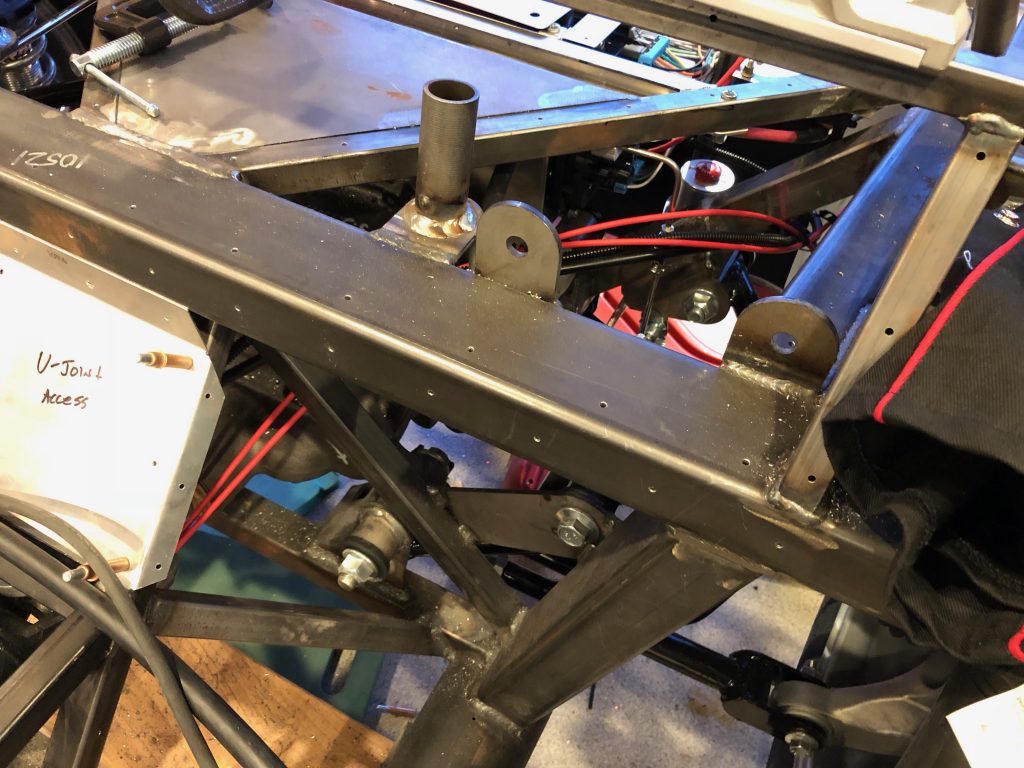
With nothing more that we can do on the engine, I turned back to adjusting the pedal box. The pedal box normally mounts below the support plate, but that puts the pedals very low. I pulled the support plate and reinstalled it below the pedal box. That helped, but I really want to raise them further.
Since I made my own strut mount spacers, I dug through the spacers that came with the kit and found four that were about 5/8″ long. These are perfect; once we have the carpet installed, the brake and clutch pedals will be virtually exactly the same height off the floor as our 911.
Diagnosing Lifter Noise
I haven’t posted an update in awhile because my dad and I have been diagnosing some noise in the valvetrain. It’s possible that it’s been there all along and that we only noticed it after installing the mufflers, but we don’t really know. The noise sounded like only 1-2 lifters were making noise, but I couldn’t determine which one with as engine stethoscope. The guidance we originally got from Crane was to set a pre-load of 0.060″-0.090″, so we set it right in the middle at 0.075″. This seemed high based on what we were seeing online, so we reset it to about 0.040″ and tried running the engine again. Unfortunately, the noise got louder. We then tried going to the high end of the range at 0.090″, but the engine wouldn’t run smoothly with that much preload.
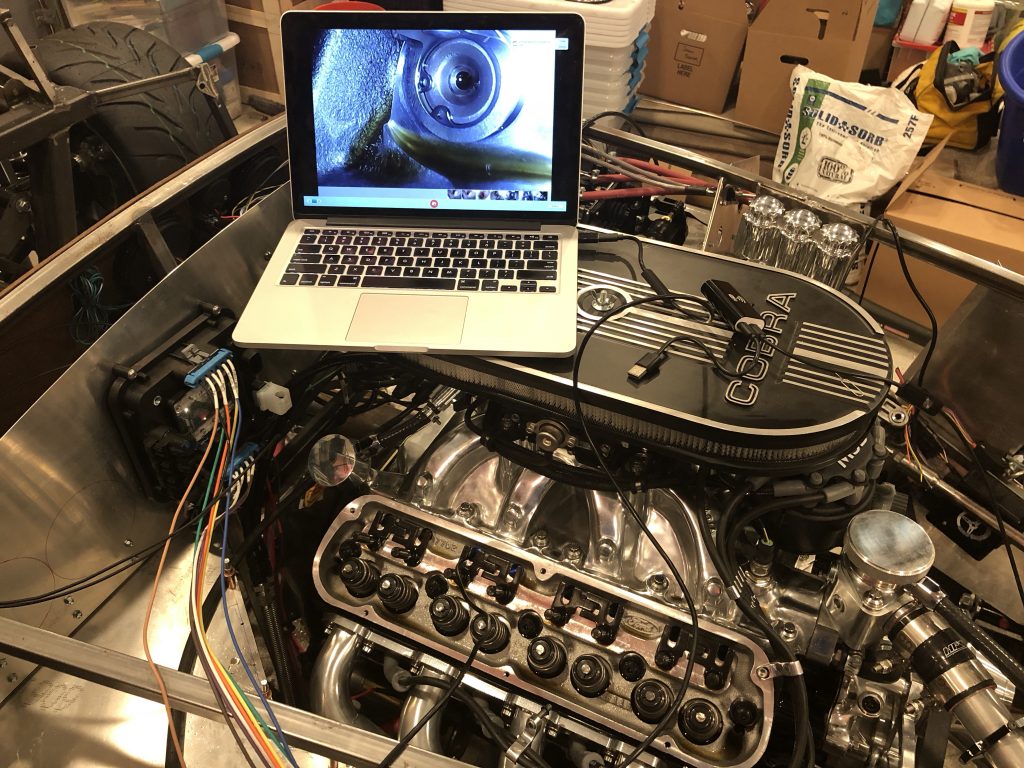
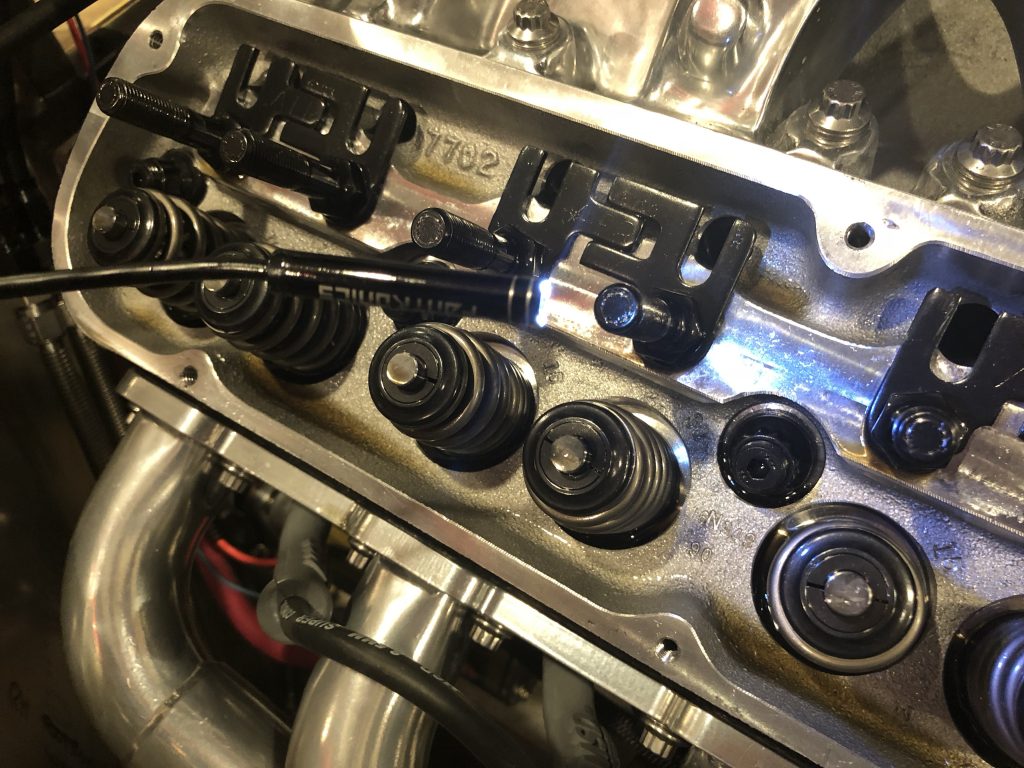
We began to be concerned that the process we were following wasn’t resulting in consistent preload on the lifters. If any of the pistons were partially depressed, we could have significant variation in preload across the lifters. I pulled the valve train back apart again and used an 8.0mm USB inspection camera to inspect all of the lifters. This was only about $20 on Amazon and has a surprisingly good picture for the money.
The tip has 8 LED lights that can be dimmed. The 3M long cable is flexible but will hold its shape when bent.
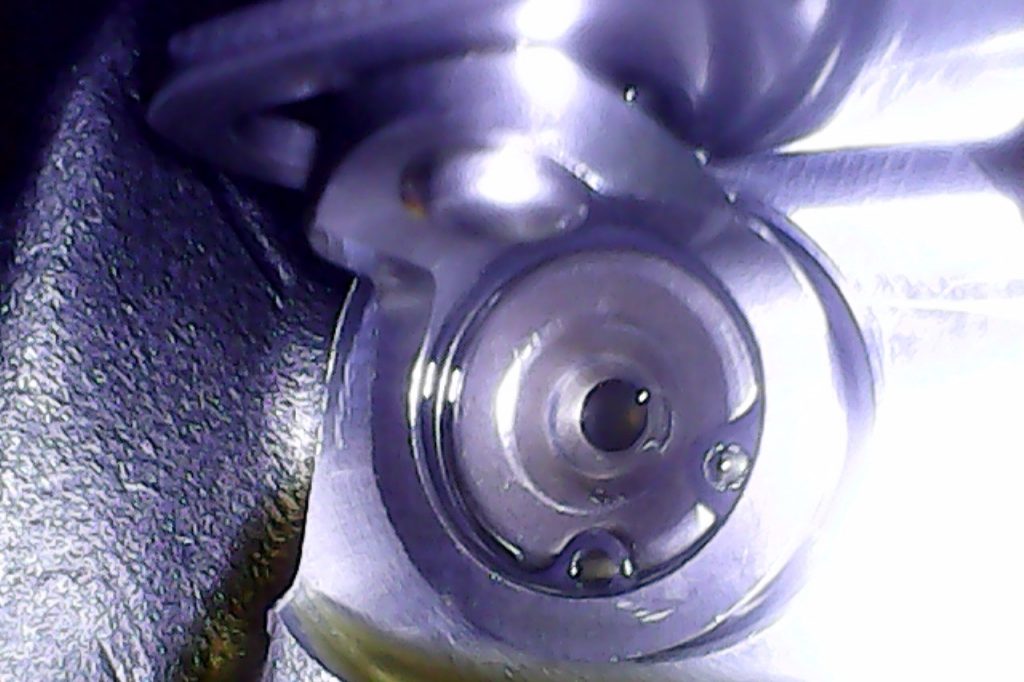
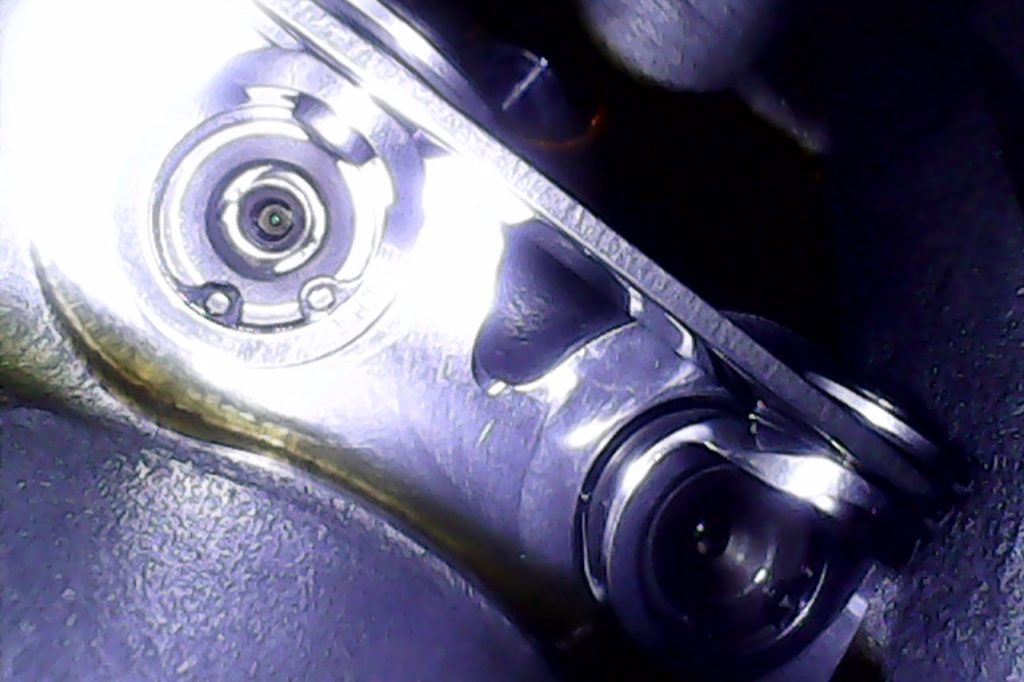
That feature turned out to be handy because I was able to put a curve in the cable and go down through the intake pushrod hole to inspect the exhaust lifter (and vice-versa). This let me look at the lifters at an angle instead of straight on which helped make it more visible that the lifter pistons were at the top of their bores.
I was also able to pull back a bit and inspect the link bars. Everything looks good, but there may still be a problem that is internal to the lifters (e.g. bad or clogged check valve) that could be causing the problem.
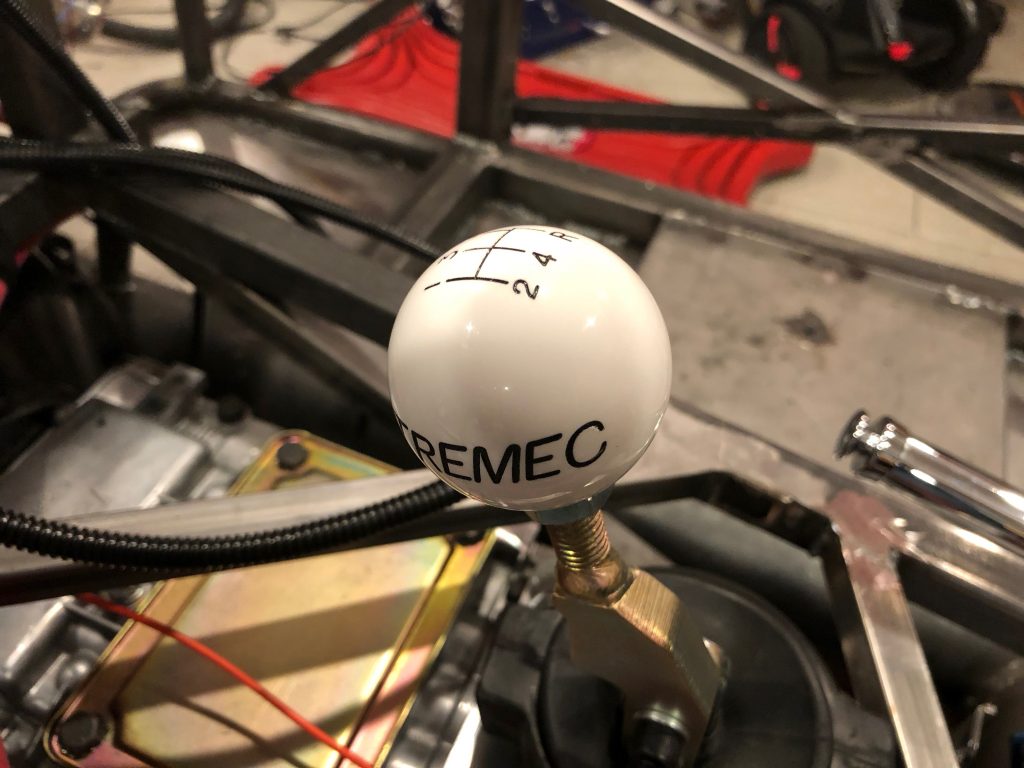
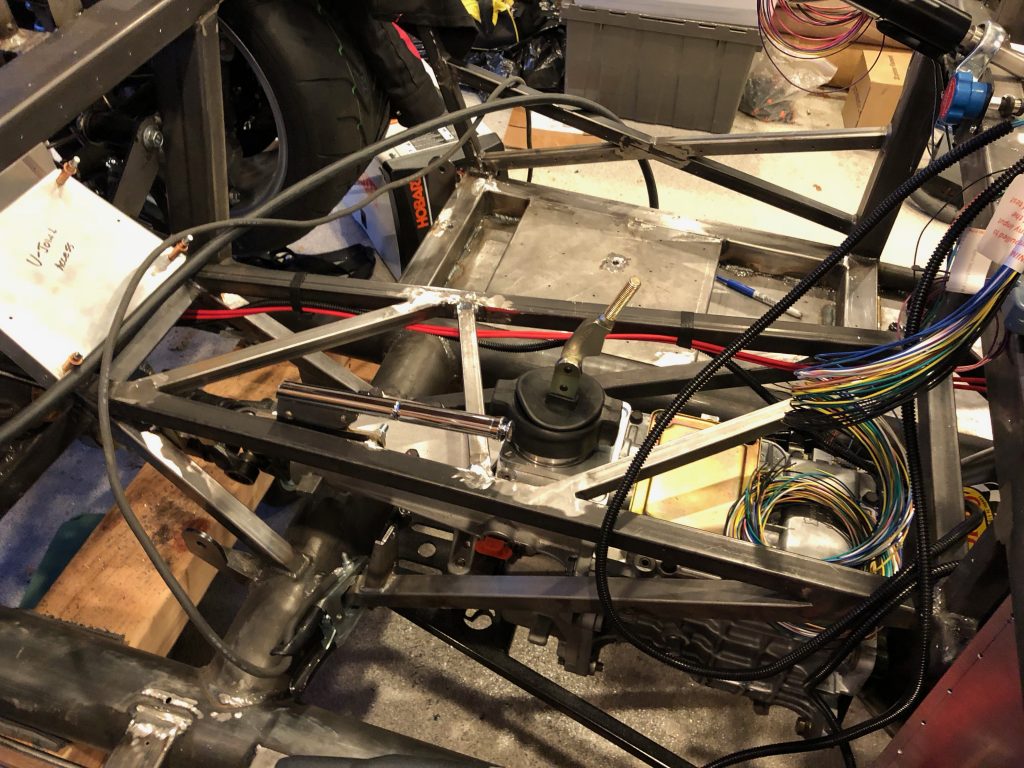
Installed Shift Ball
We haven’t been able to install the shift ball because the threads in the ball (M16x1.5) don’t match up with the shift lever (M12-1.75) and the ball didn’t come with the right adapter. I contacted Epco Manufacturing (the maker of the shift ball) over a week ago but still haven’t received a response, so I ordered one from Summit.
Reverse Switch, Fuel Filler, Coolant System and Electrical System
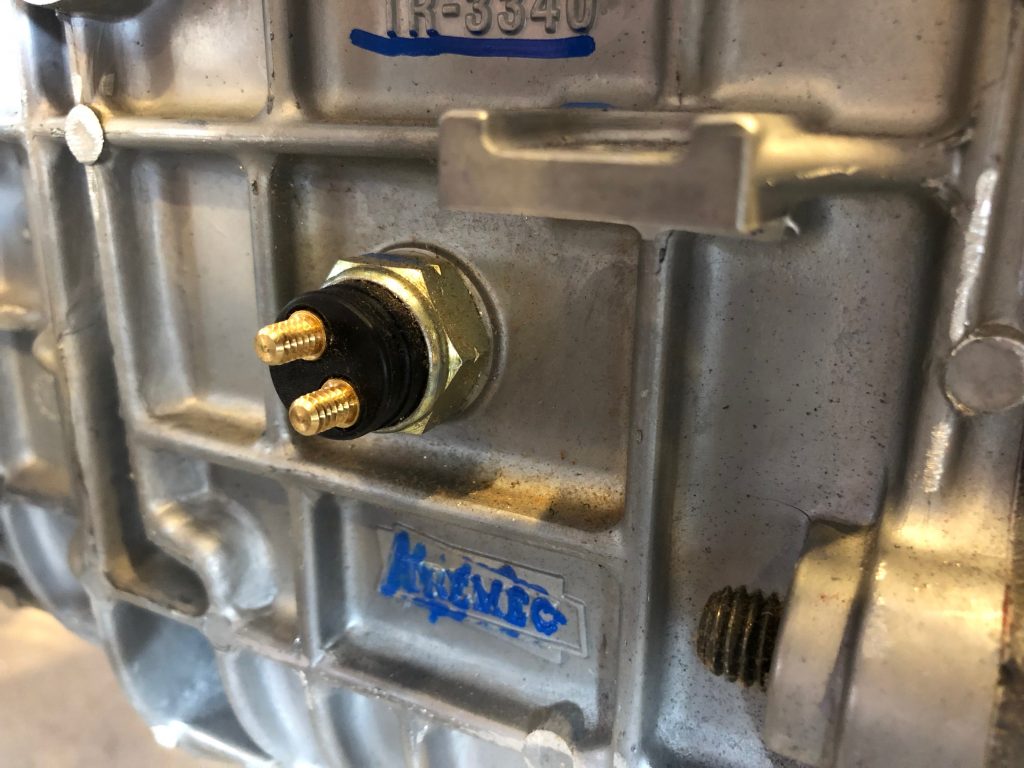
The Tremec reverse light switch looks like it has threaded studs, but these are just ribbed and use some oddball connector.
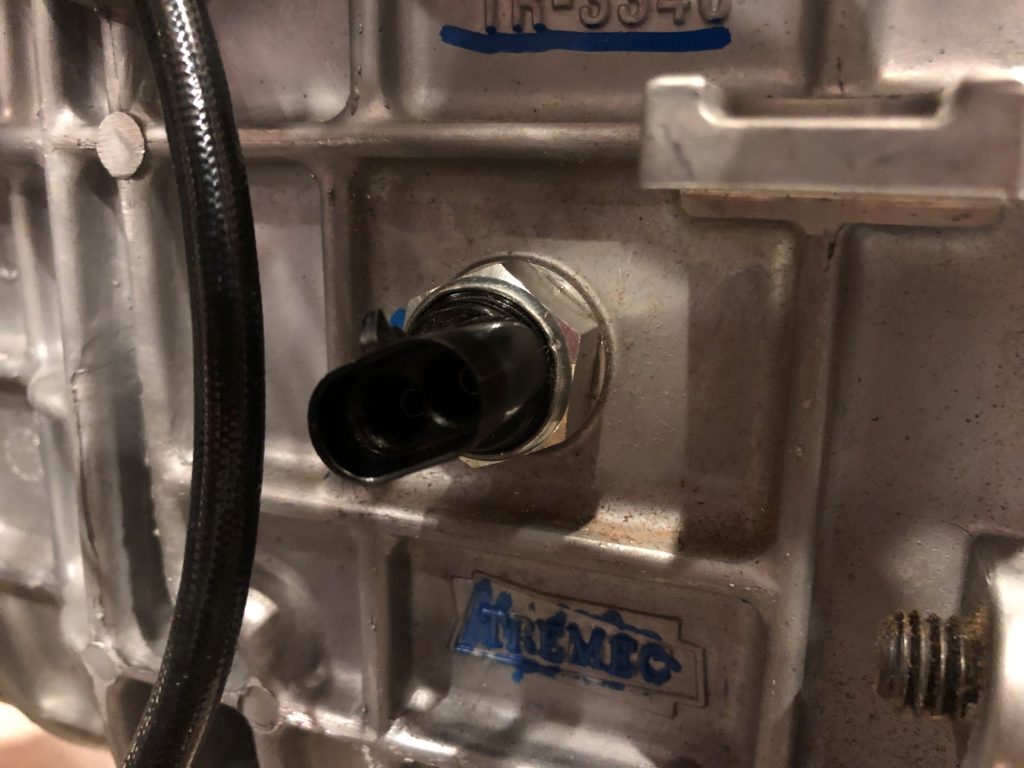
I removed it and replaced it with a GM 14014559 switch which uses a standard Weatherpak connector.
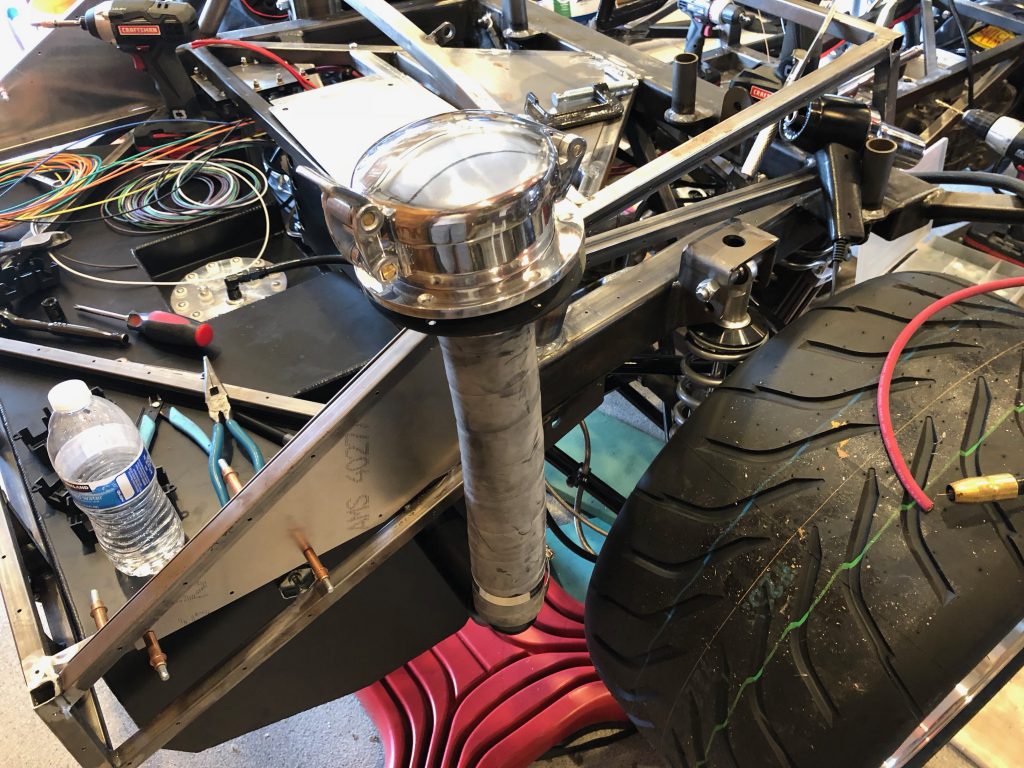
I installed the fuel hose and fuel cap just to prevent fumes from escaping and keep debris out of the tank.
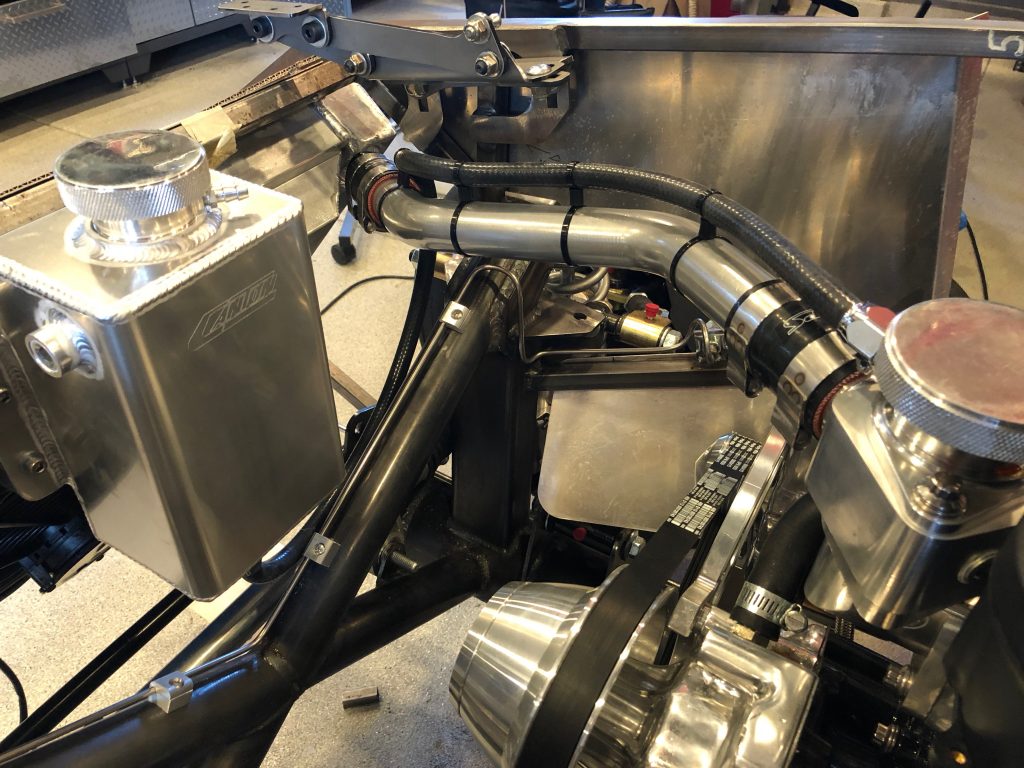
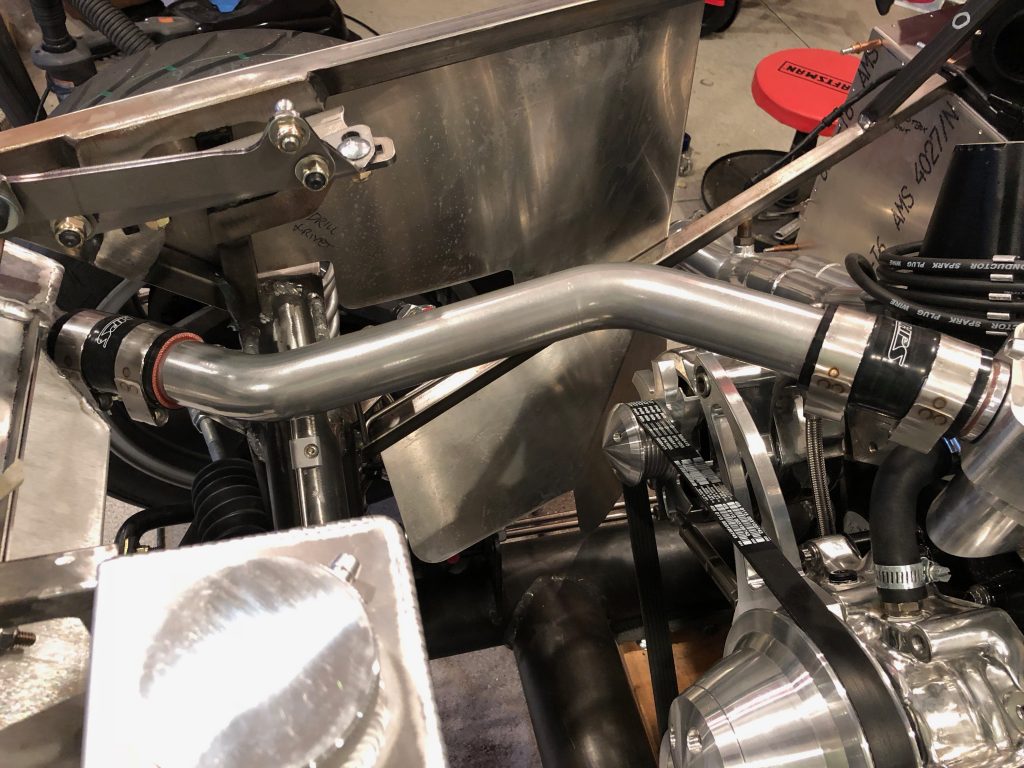
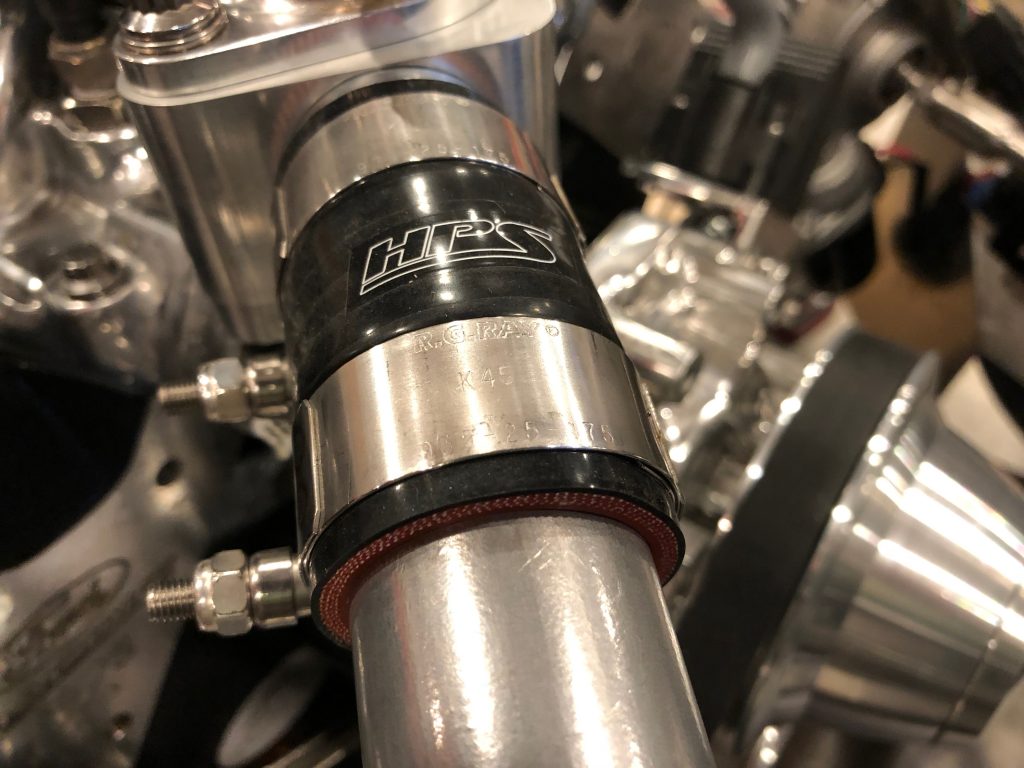
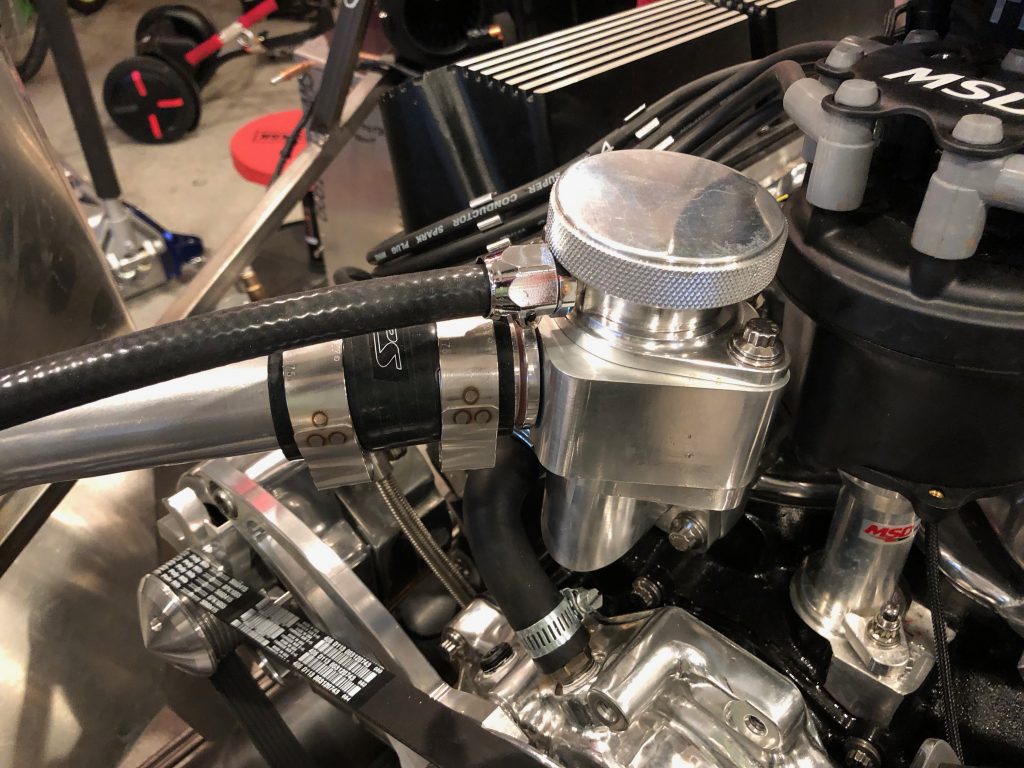
I also got some new 90º silicone hoses from HPS Silicone Hoses. The forward one is 1.5″ on both legs and the aft one has one 1.5″ leg and one 1.75″ leg (for the water pump). After tightening the hose clamps, I filled the coolant system with coolant and filled the reservoir about half-way.
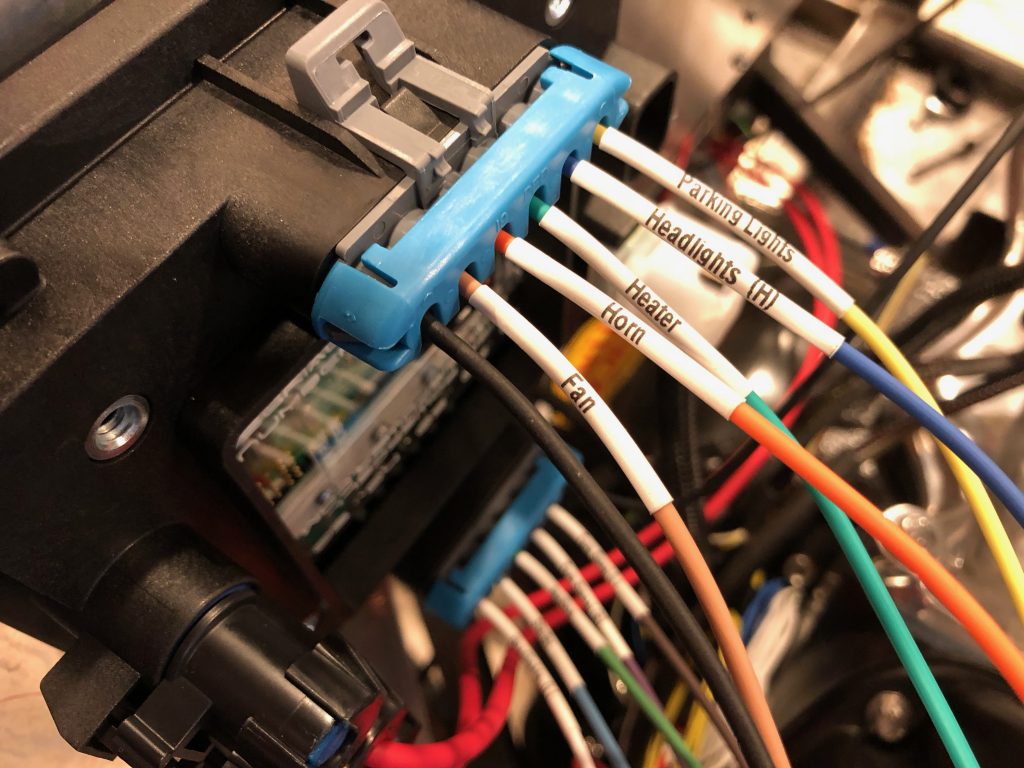
Finally, I printed some heat shrink tubing labels and added them to all of the wires on the load cells. Here’s the front load cell. Since the load cell is on the right side of the vehicle, I positioned the labels to be readable from above on that side.
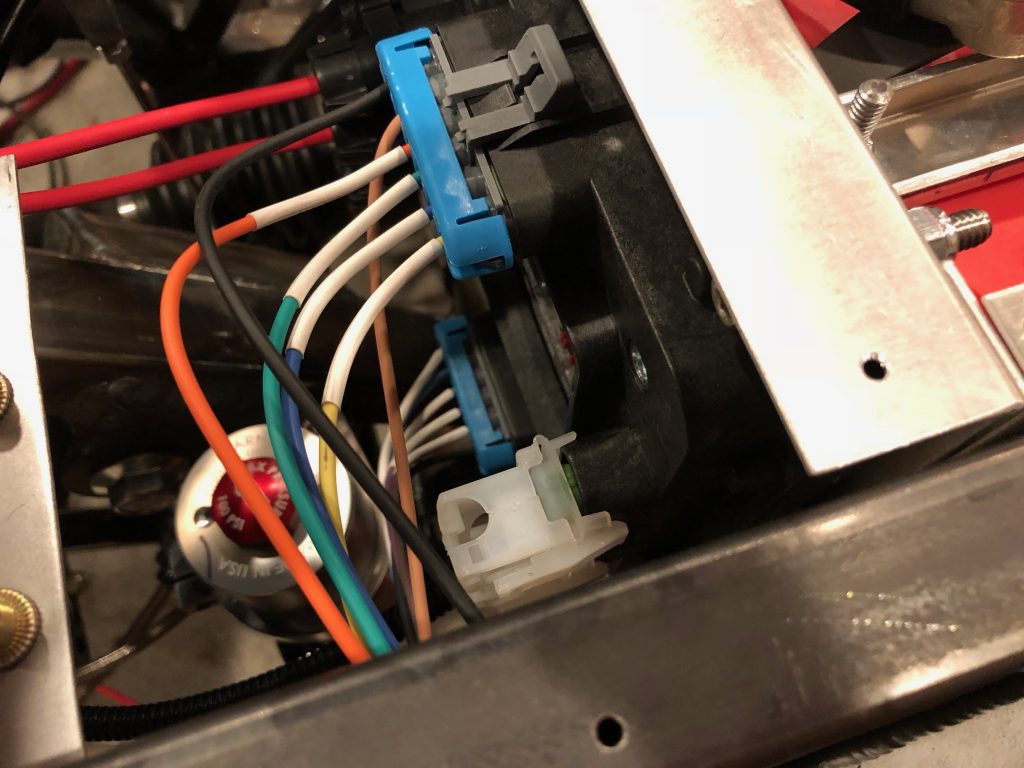
I installed the rear load cell wire labels upside down since these can only be accessed from below once the trunk floor is installed.
Differential Vent, Battery Box, Fuel Tank and Electrical System
I finally received the differential vent fitting I’ve been waiting for. It’s a press in fitting (unlike the threaded fittings used on the solid axles). I used some high-temp thread locker and drove it in, then fit a vent riser with check valve at the top. I’ll use an adhesive zip-tie base to secure the top of this and keep it upright.
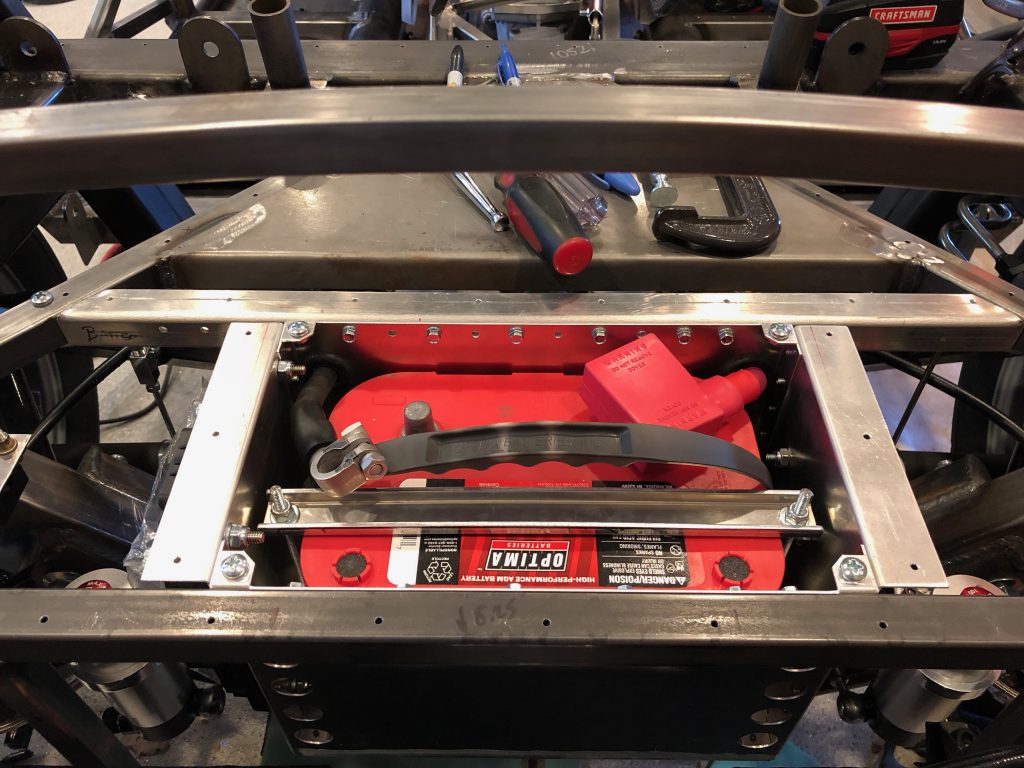
After installing the battery box, I reinstalled the battery (hopefully for the last time before the go-kart stage).
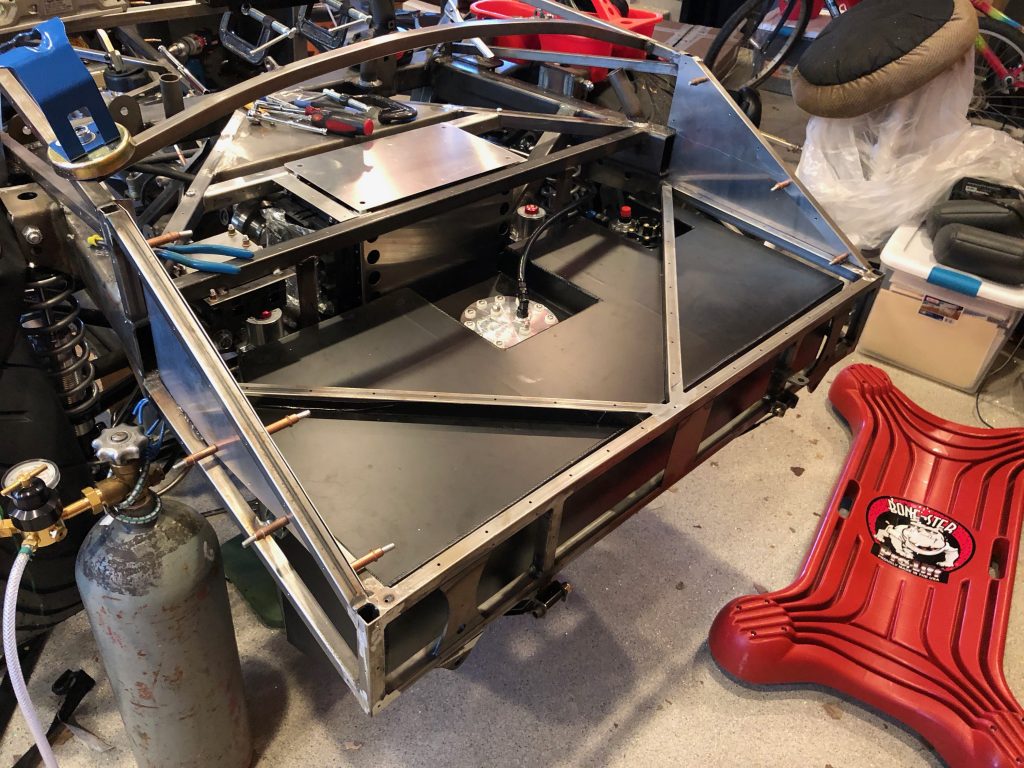
My dad and his friend Larry helped me lift the fuel tank and get the straps installed.
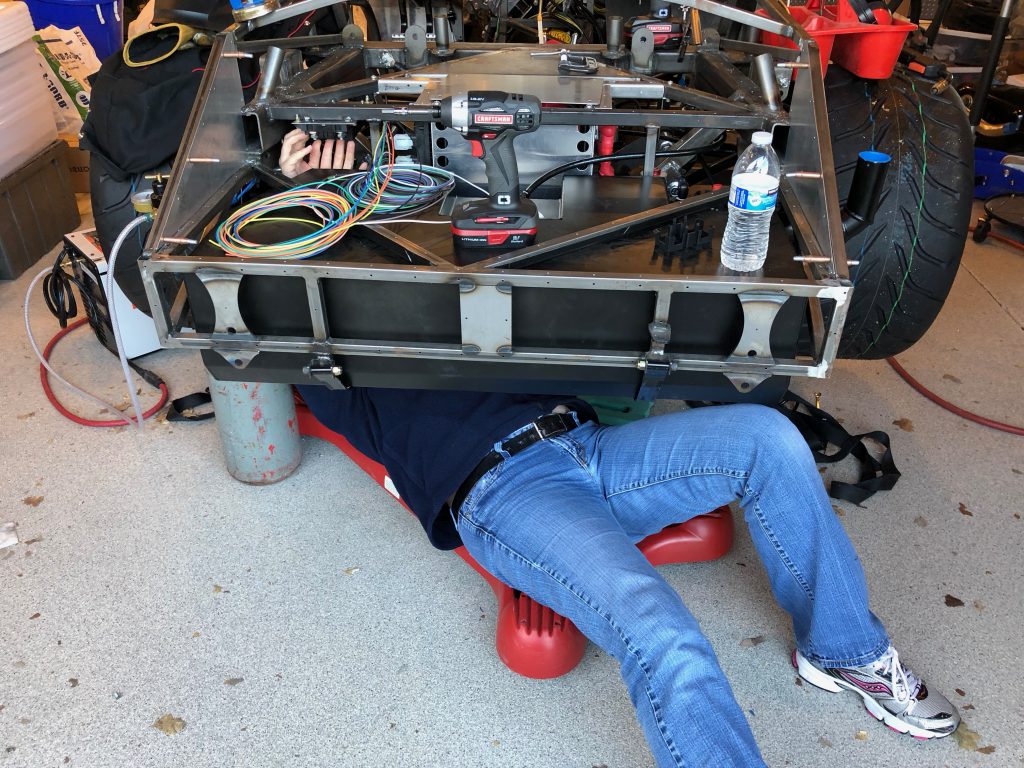
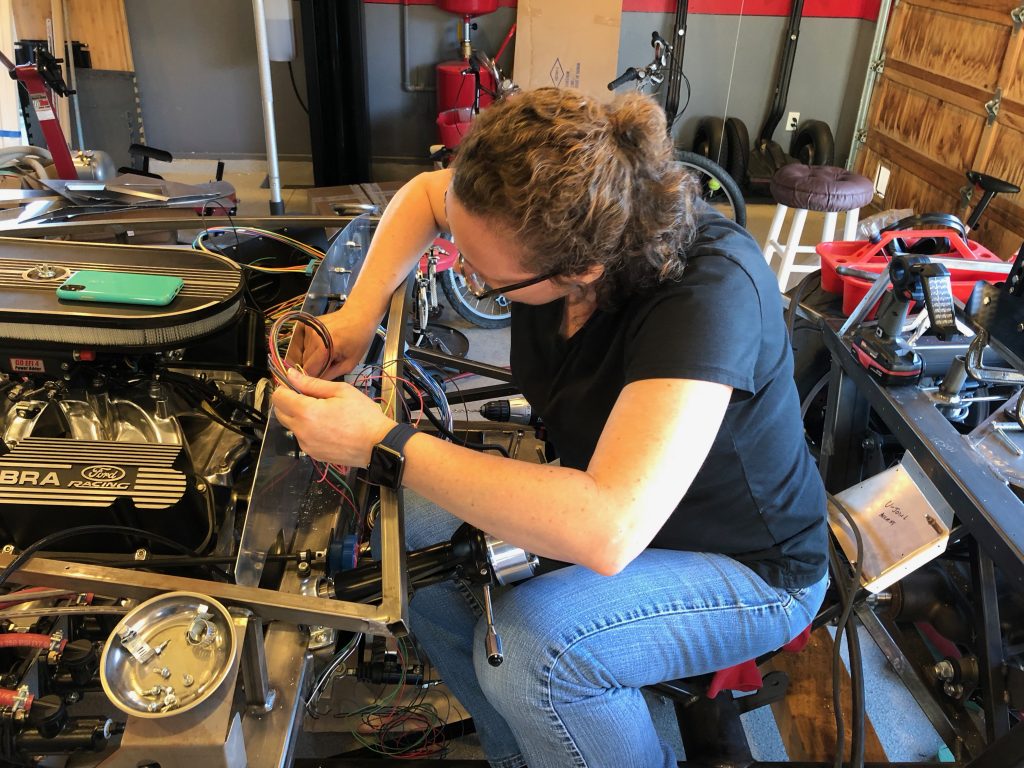
Jenn came out and we spent some time working on the electrical system. She crawled underneath the rear end so that she could hook up the power wire to the mega fuses.
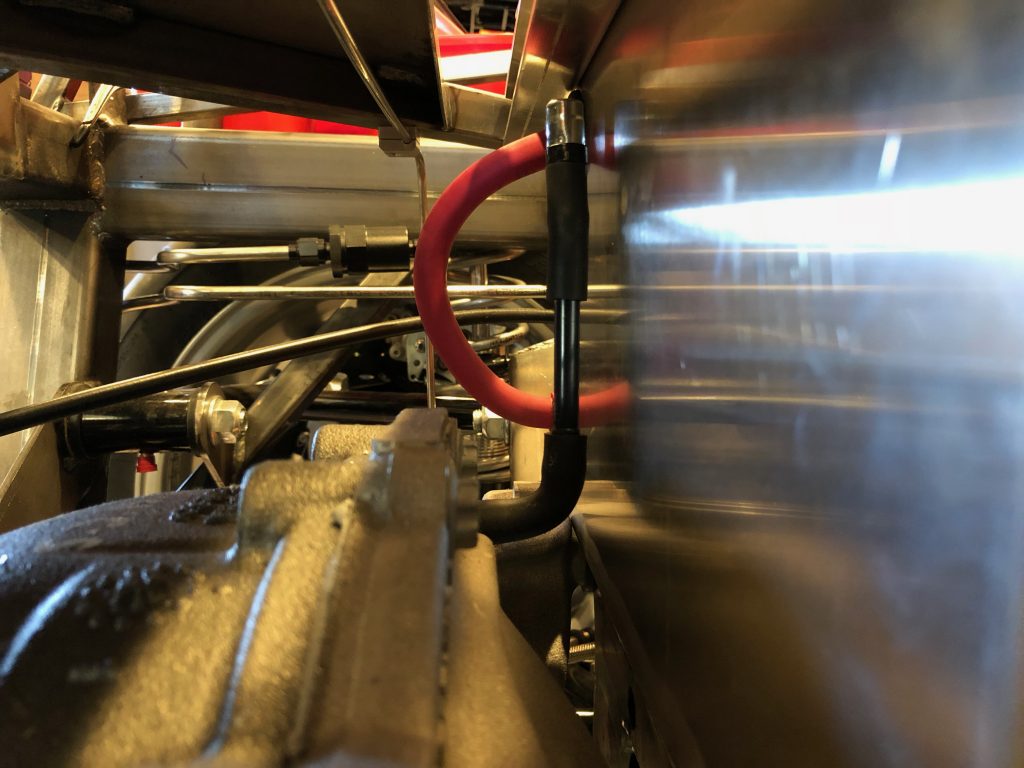
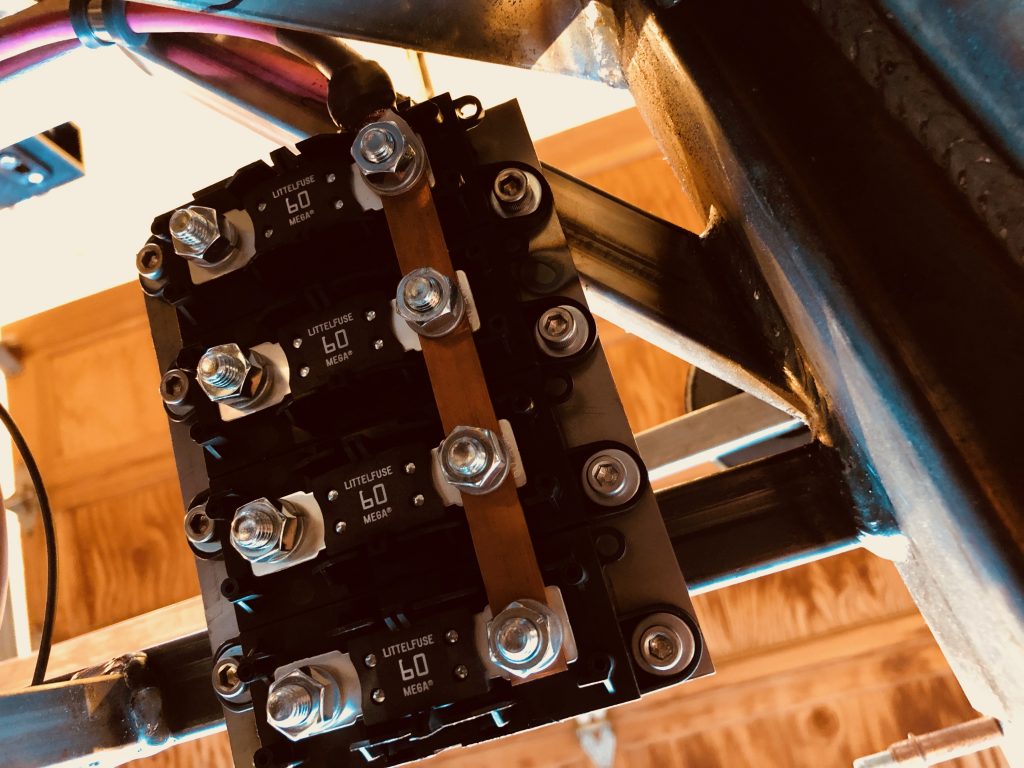
The power wire connects to the front of the buss bar (at the top of this picture). This is looking up from below.
The wire is secured with an adel clamp just in front of the mega fuses and then follows the forward battery box support to the right side of the battery box.
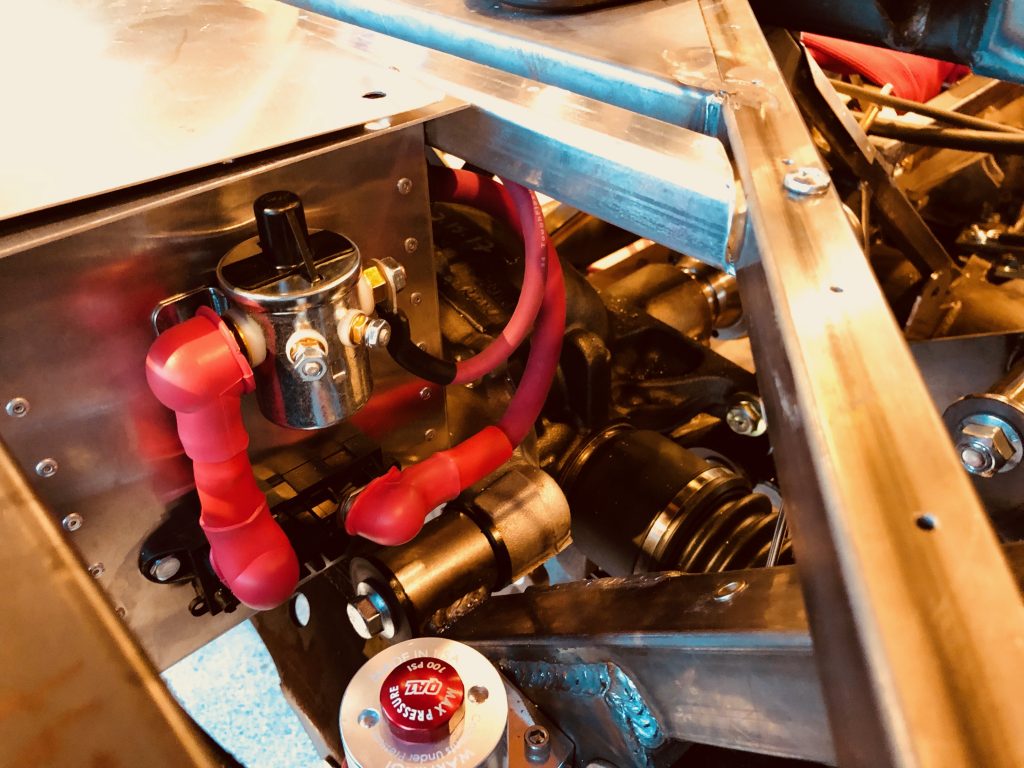
There, it drops down and hooks to the right side of the inRESERVE solenoid.
I installed the power wires in the rear load cell that will connect to the mega fuses. I left them a little long for right now until I have a better idea where all the wires will route in this area.
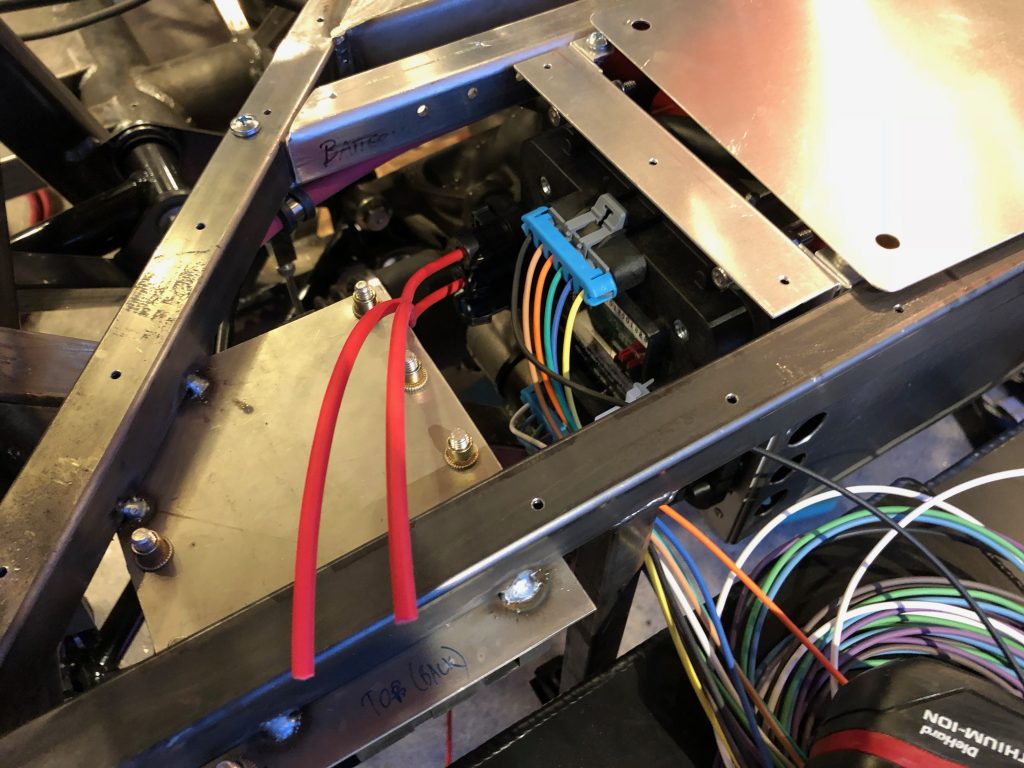
I also installed the power wires in the front load cell and snaked them down through the transmission tunnel.
The run along the upper left side of the transmission tunnel…
…where they follow the left parking brake cable back to the mega fuses. These are also left long for now.
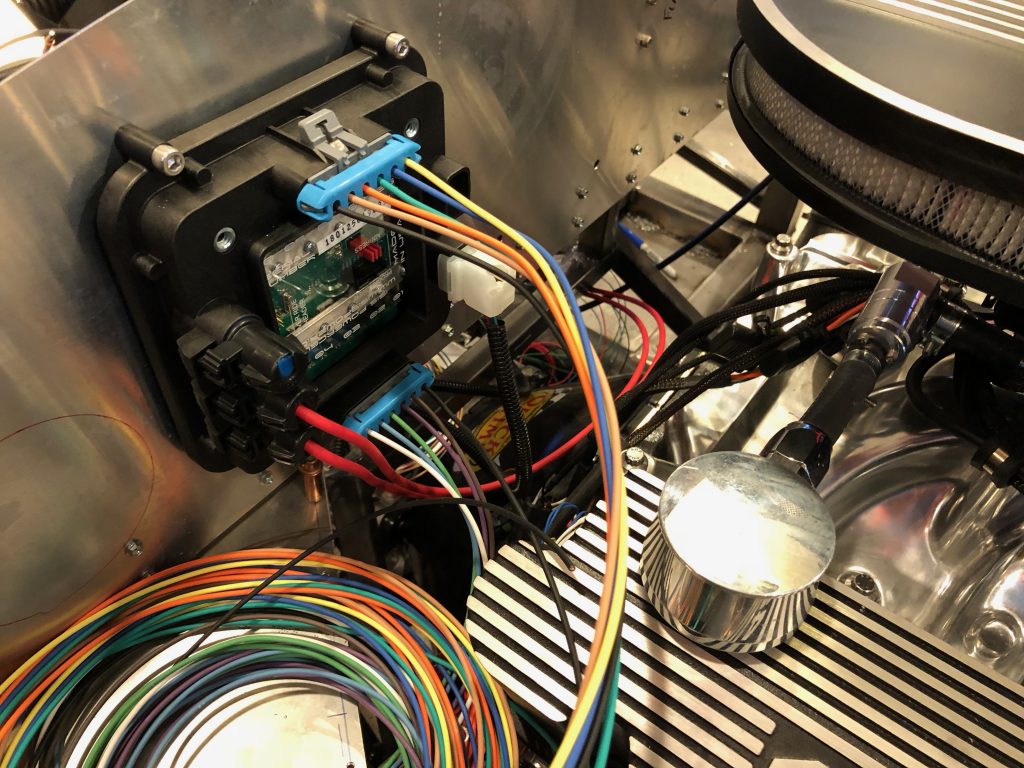
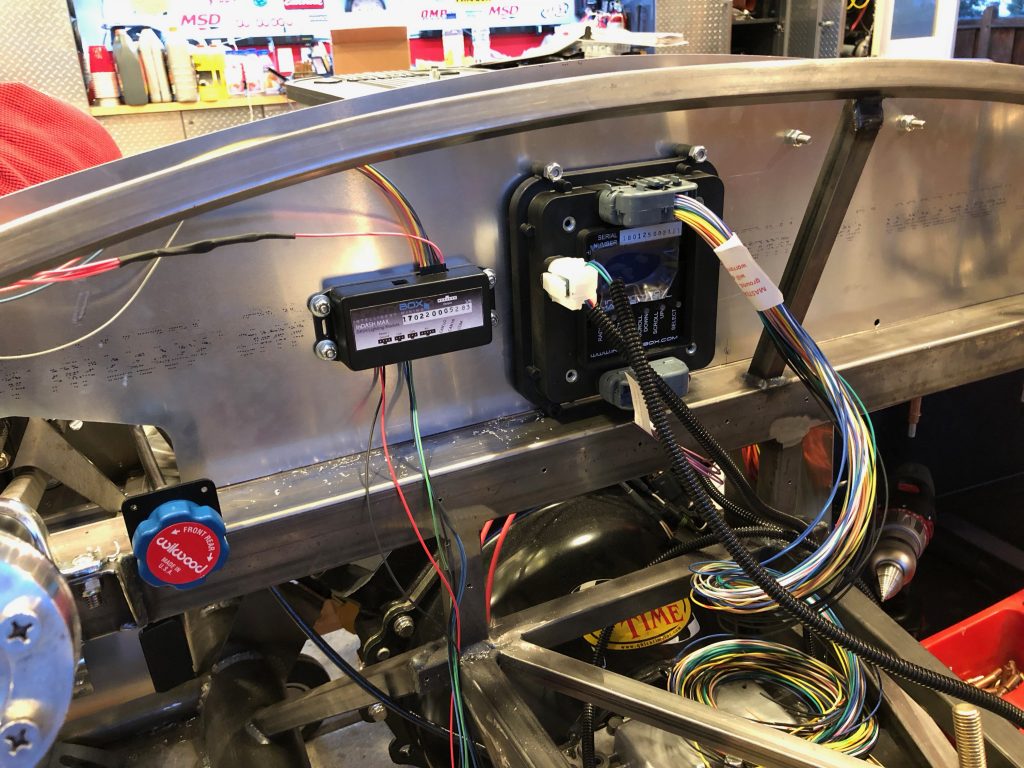
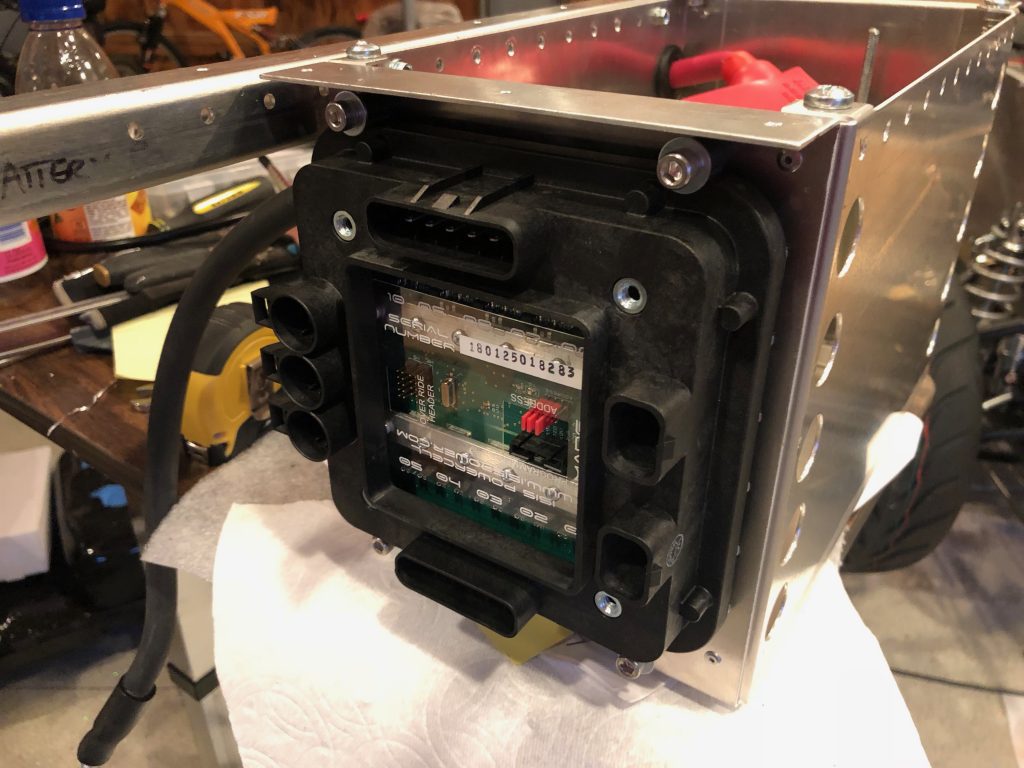
Jenn then installed the inDASH MAX box on the aft side of the firewall.
It’s installed just to the left of the mastercell.
Coolant Reservoir Overflow and Passenger Seat
I ran a piece of silicone tubing from the coolant reservoir overflow down to the bottom of the chassis. This is probably only temporary, but I need to have something in place before we fill the coolant system.
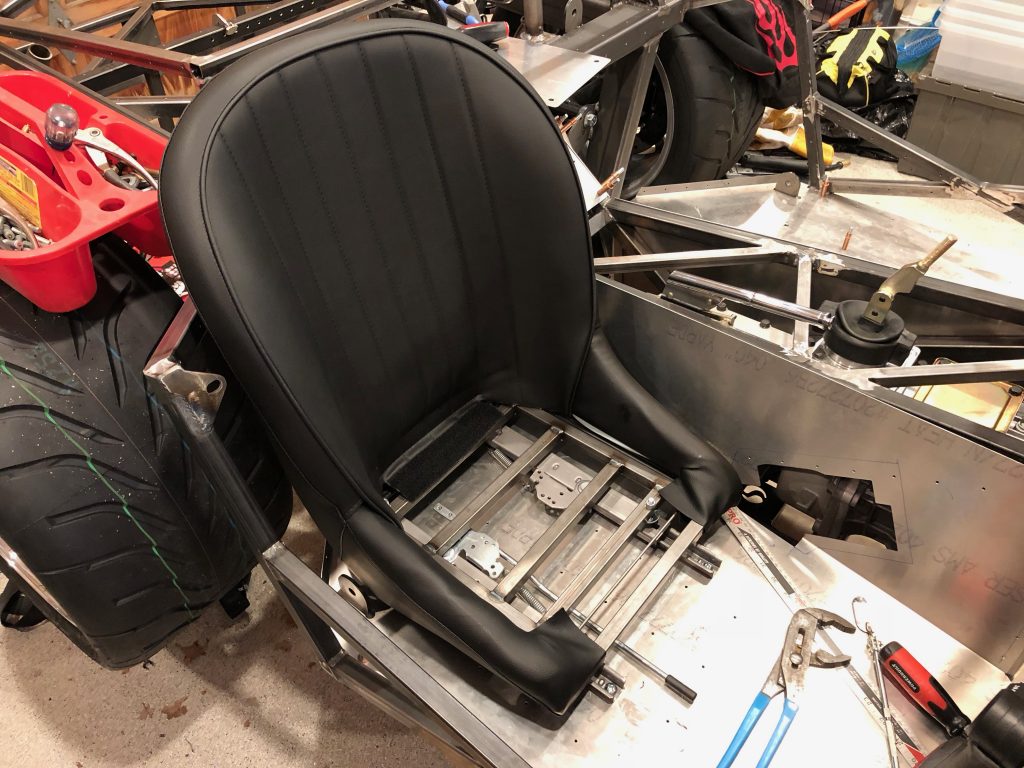
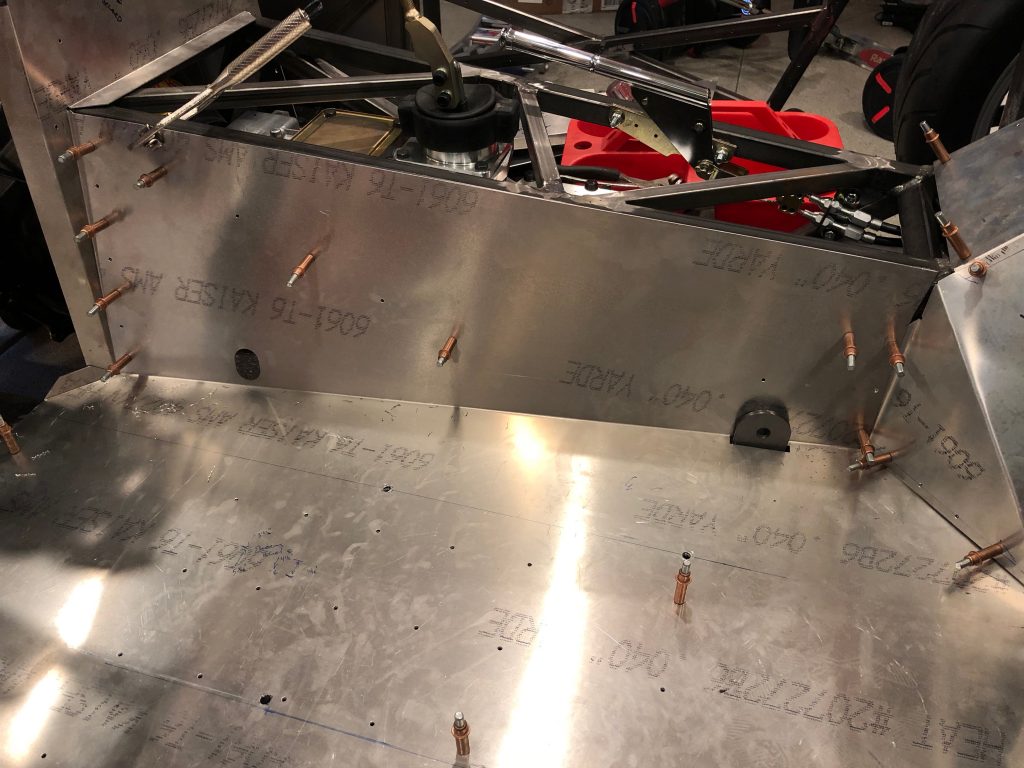
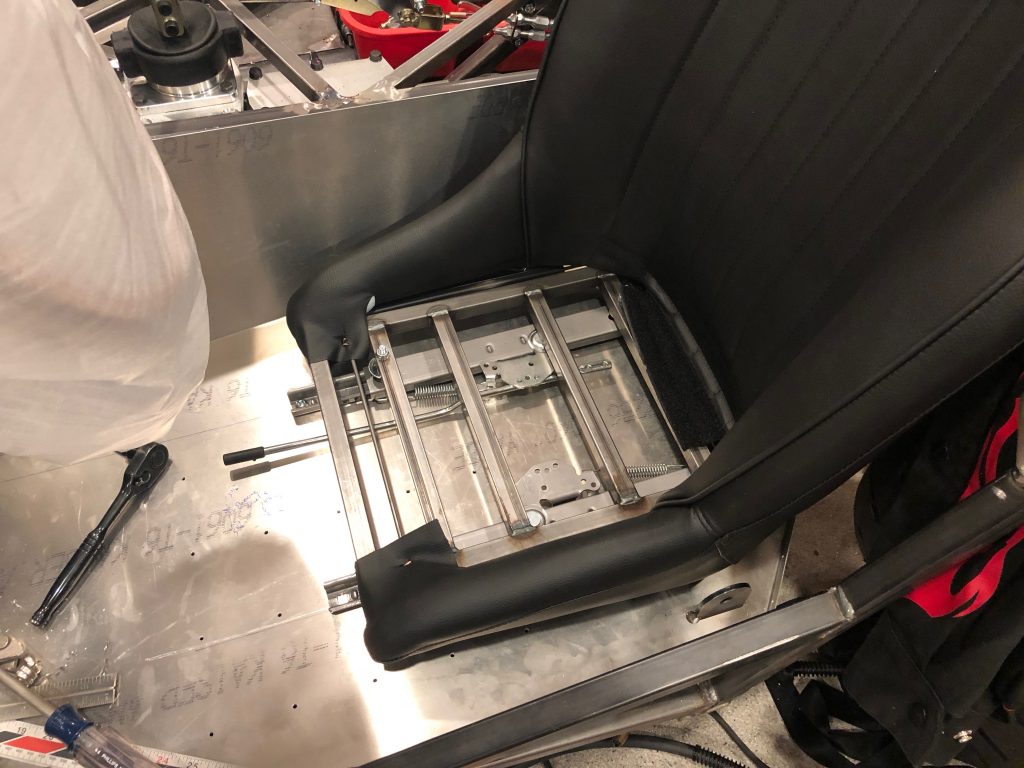
Next, I resumed installing the passenger seat. I bolted the seat tracks to the bottom of the seat and then installed the bolts that attach the inner track to the floor. I then drilled the forward hole in the outer track, dropped in a bolt to lock the track in place, slid the seat forward and marked for the rear hole.
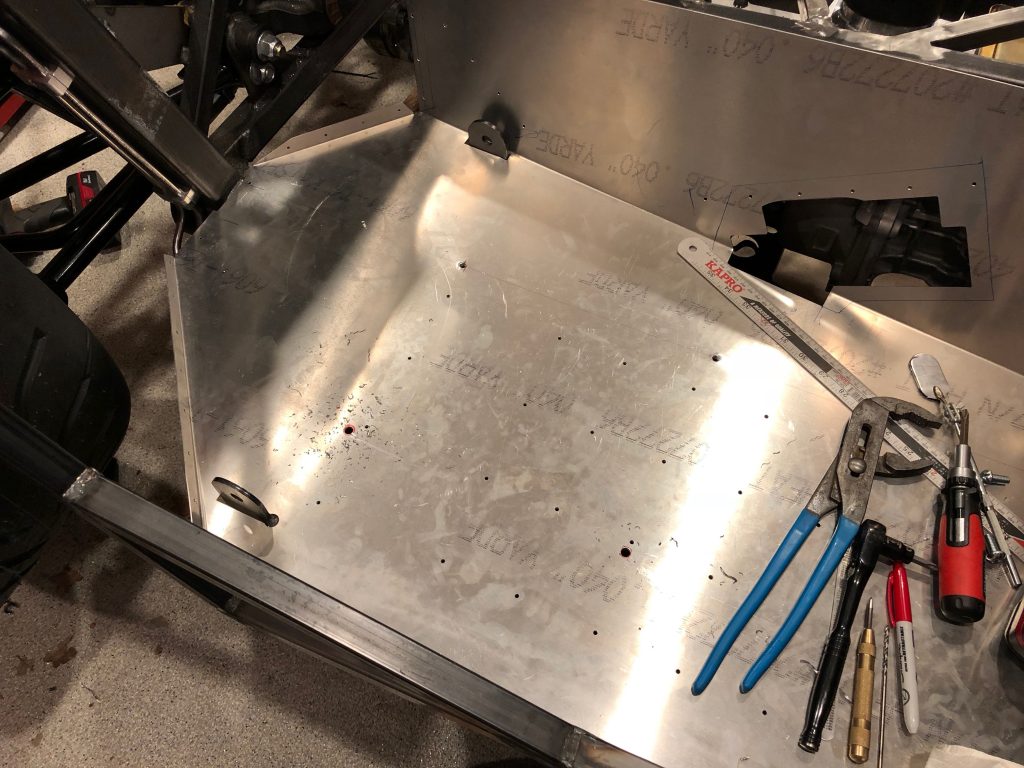
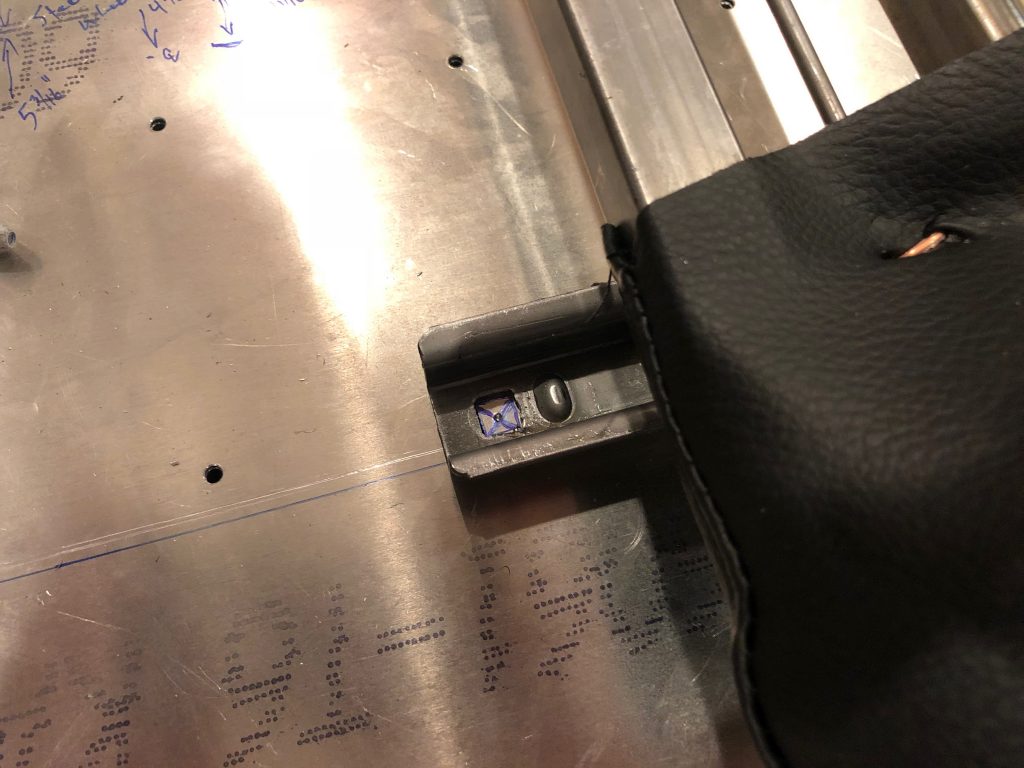
After removing the seat, I drilled the final hole in the floor.
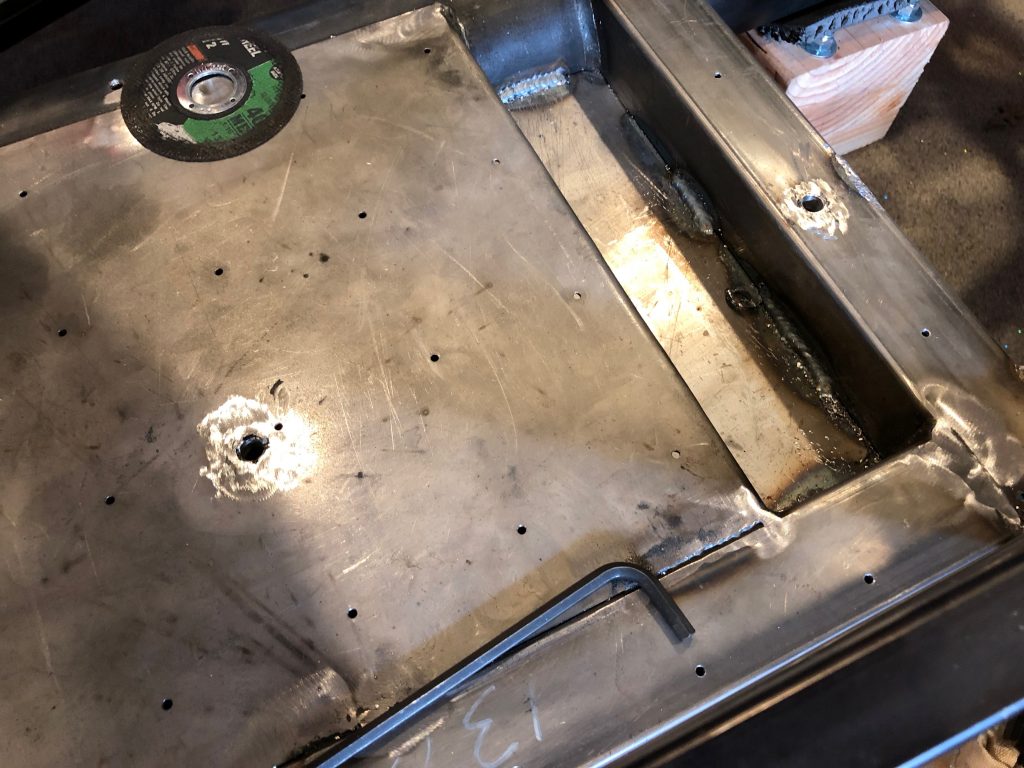
Finally, I removed the seat pans and enlarged the holes to 1/2″ in preparation for welding in the spacers. It’s too loud to run the grinder tonight, so I’ll do this tomorrow.
Coolant Reservoir Plumbing and Began Electrical System
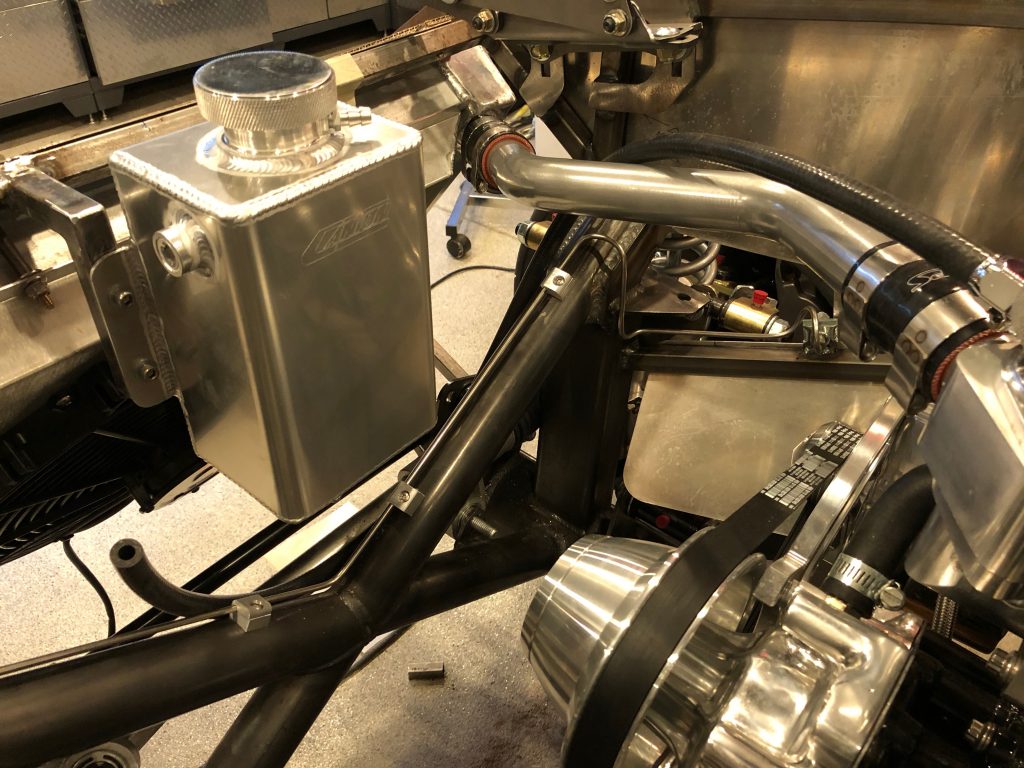
I routed the silicone tubing from the water neck to the bottom of the coolant reservoir. I used some zip ties and plastic tubing to secure it to the upper radiator tubing. I’m not sure I like this method of securing the tubing, but it will do for now.
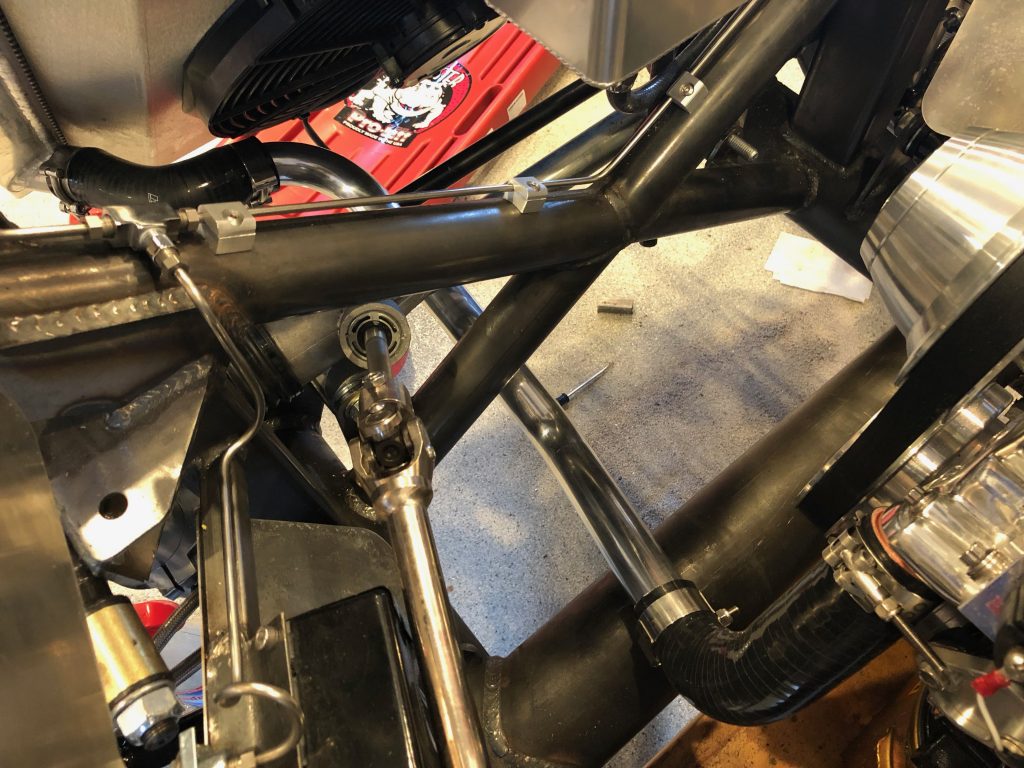
After a two month wait, we finally got our electrical system from InfinityBox. We ordered the two-cell system which includes a master cell under the dash and two load cells, one for the front of the car and one for the rear. There’s plenty of room under the hood for the front cell, but there’s really very little room in the rear of the car. The trunk has two levels: Under the rear (lower) level resides the fuel tank. Under the forward (upper) level resides the differential, driveshafts, suspension (including remote reservoirs), parking brake cables, rigid brake lines, battery, inReserve system, rear load cell and mega fuses. The other consideration is that all of this needs to maintained from below once the car is assembled. Although there is plenty of volume above the differential, it’s virtually impossible to reach from below. All of the electrical components really need to be installed between the differential and the fuel tank. The battery takes up the bulk of that space, the but the side of the battery box is a pretty convenient spot to mount components.
The right side of the battery box has the inReserve system and primary mega-fuse, but the left side of the box is a perfect place for the rear load cell. This keeps it well protected, but easy to access from below. This is currently attached with bolts and nuts, but I’ll replace the nuts with nutplates to make this easy to remove from below in case I ever have to do so.
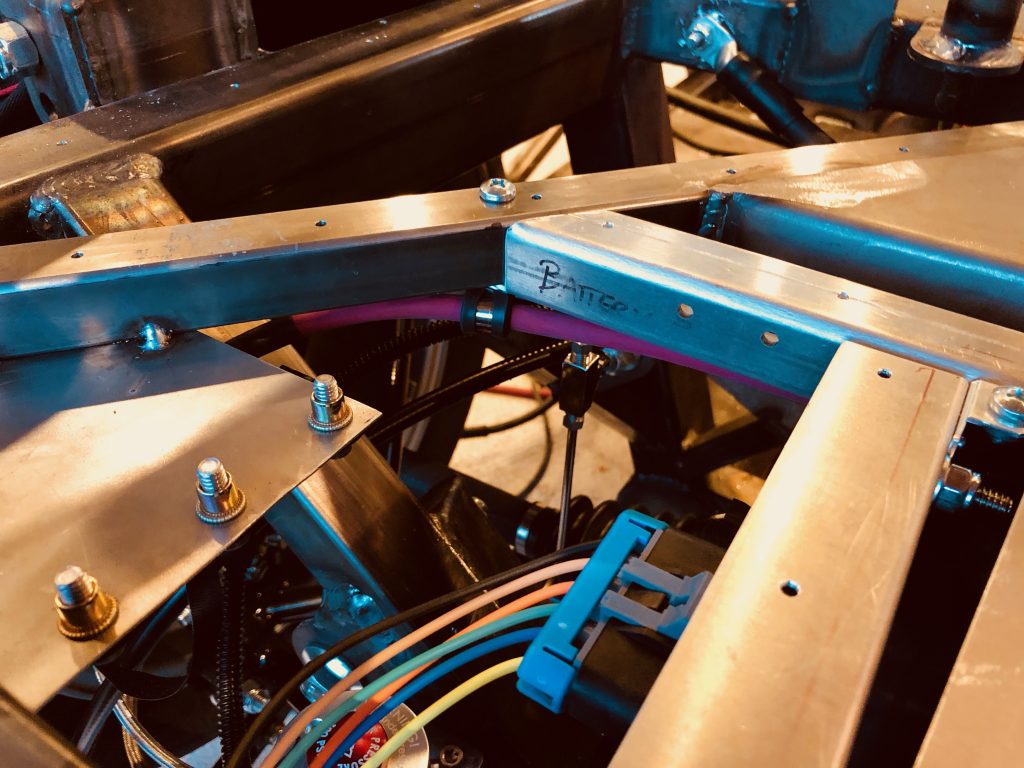
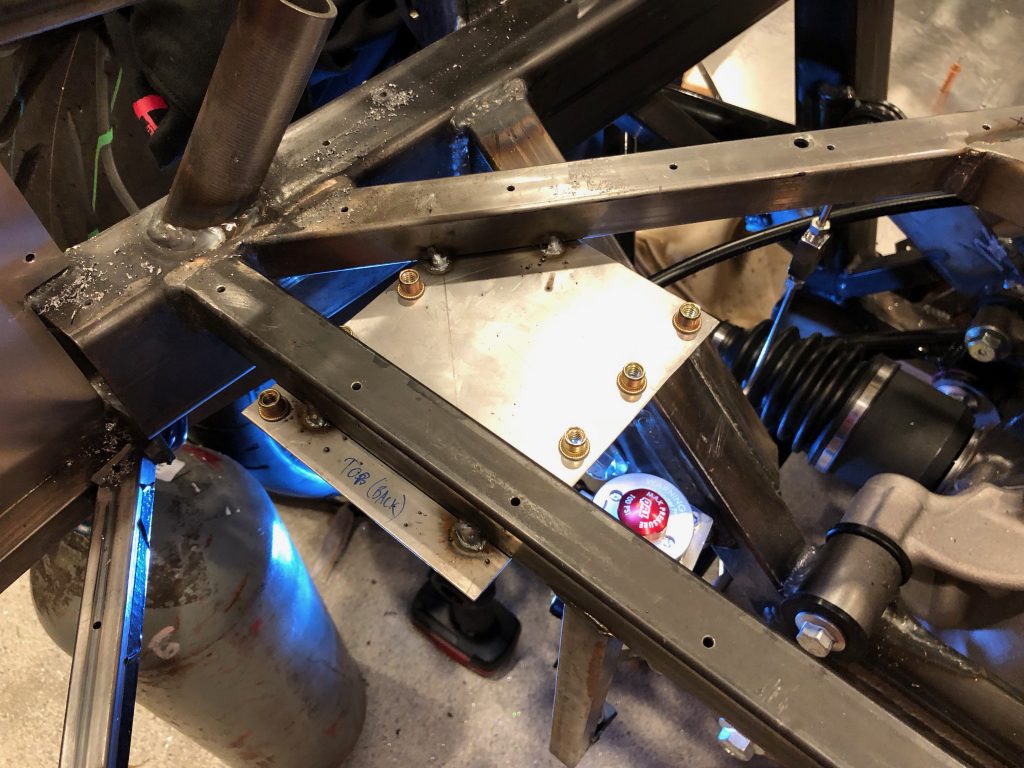
The InfinityBox instructions recommend that the primary power wire from the battery to the mega fuses be as short as possible. That means that these need to be installed in the rear of the car as well. I spent some time playing with various mounting locations and settled on installing them high on the left side of the car. I fabricated a small steel plate and welded it to the chassis and installed 8 riv-nuts.
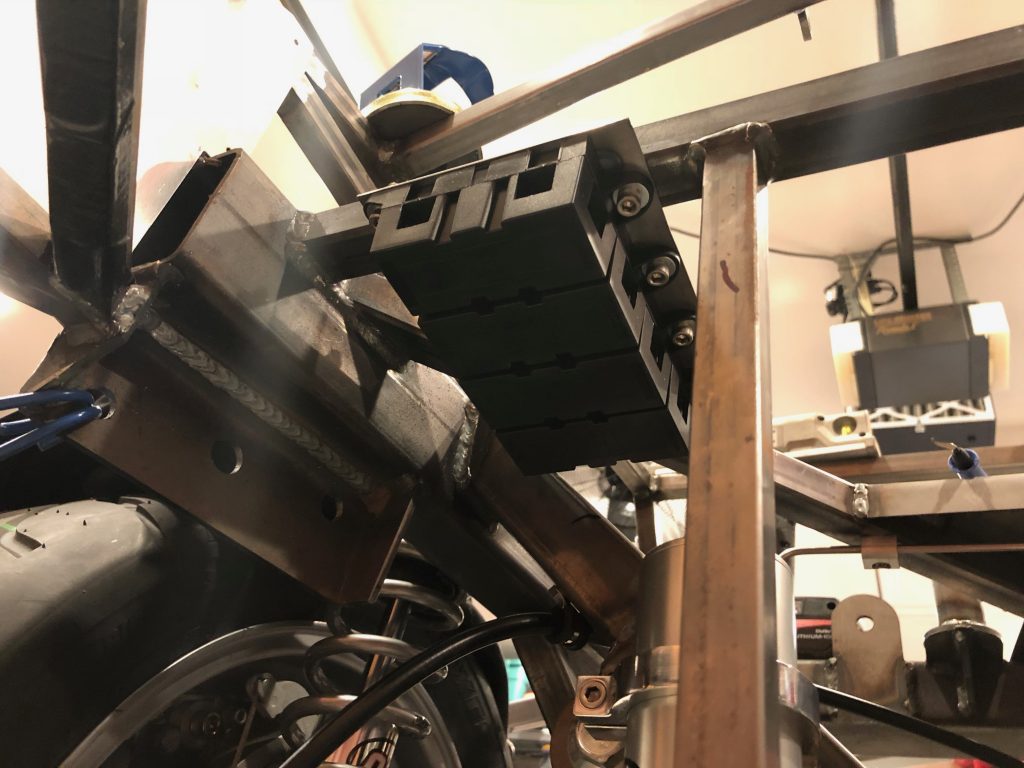
The mega fuses install from below so that they can be accessed in the future if necessary. This will hang over the top of the fuel tank slightly, but there should be plenty of vertical clearance to access these with the tank in place.
Finished Driver Side Floor Pan and Radiator Plumbing
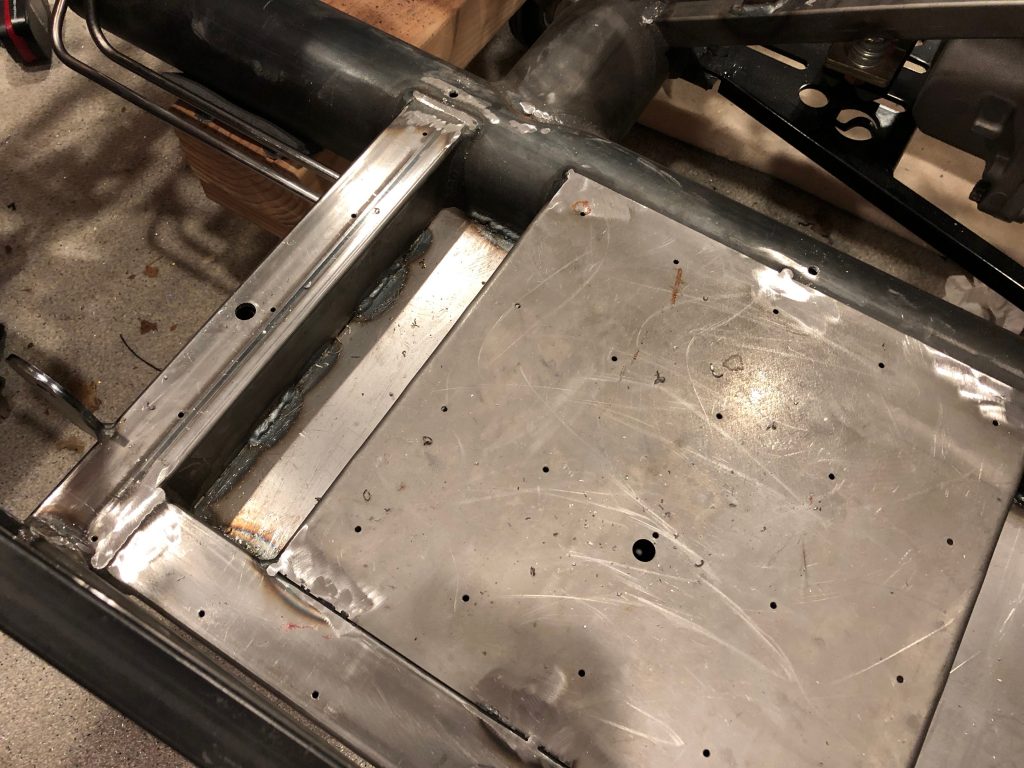
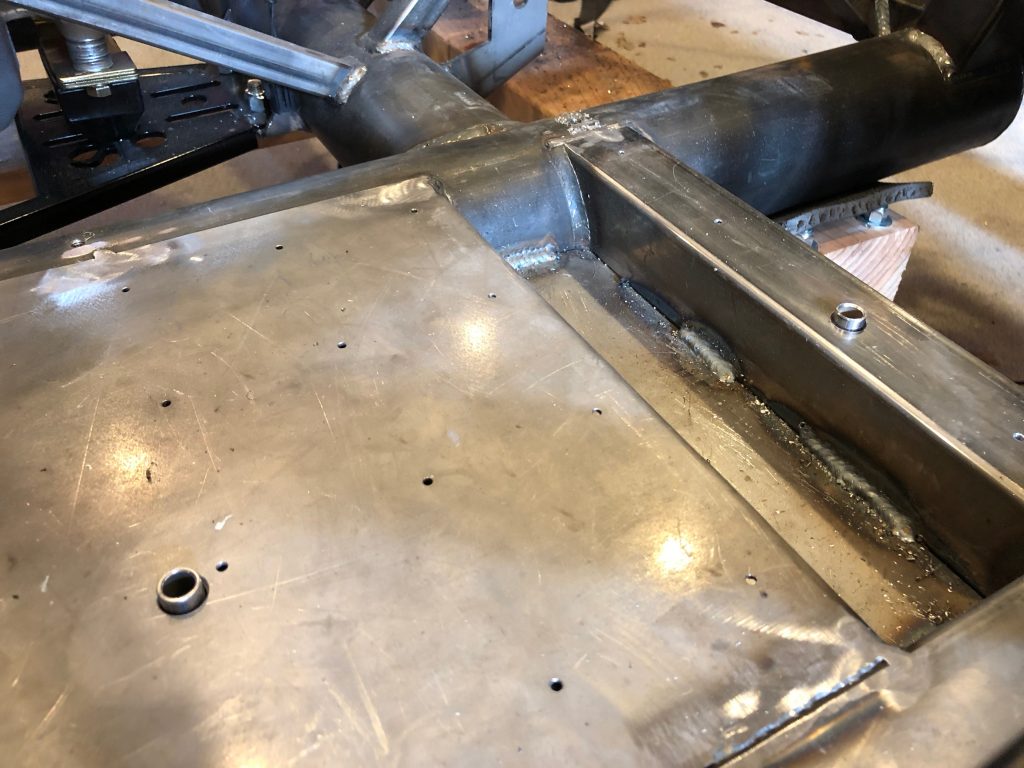
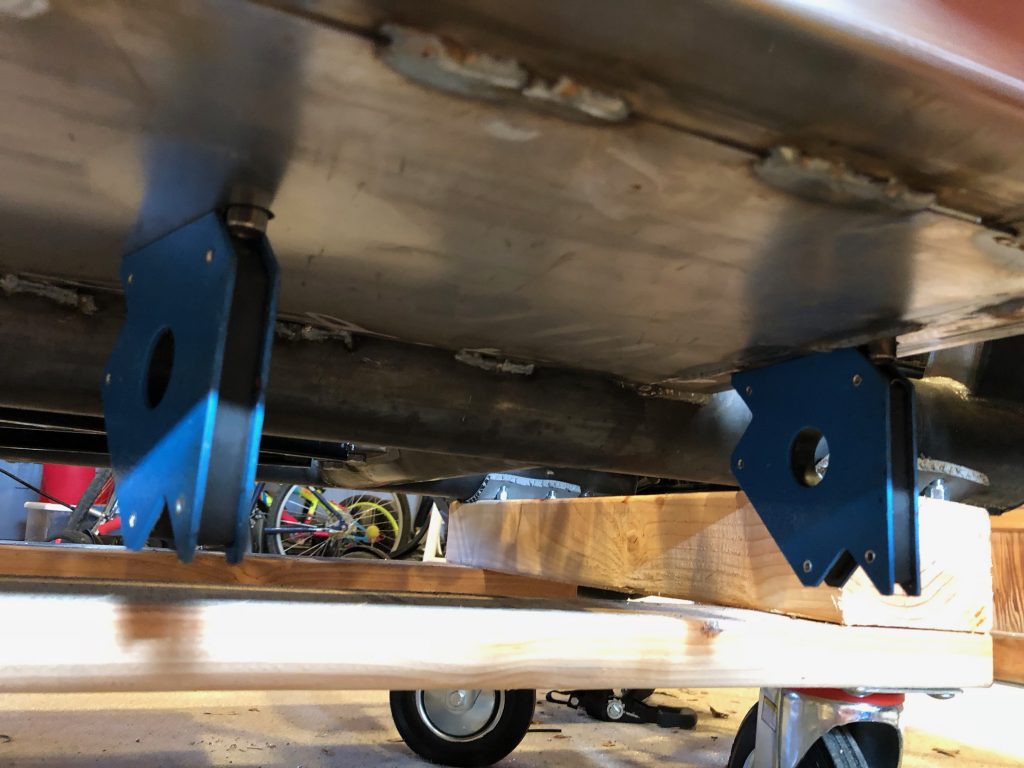
I cut a couple of 2.5″ pieces of 1/2″ steel tubing. I’m going to weld them in a little proud of the upper and lower surfaces and then grind them flat.
I used a couple of welding magnets to hold the tubes in position.
After an ugly weld job, I ground the tubes flat and cleaned up the hole. I also did the same thing on the underside of the floor.
I reinstalled the seat pan and drilled the left side to the transmission tunnel.
I picked up some silicone couplers from HPS Performance Silicone Hoses. I removed the upper radiator tube and swapped in the silicone couplers.
These are much nicer than the cheap rubber hoses that came with the radiator tubes and shouldn’t suffer from cracking as they age like the rubber hoses.
The hose connection under the radiator cap on the water neck will connect to the hose fitting on the bottom of the coolant reservoir. I’m using the same silicone tubing that I used for the PCV valve and breather connections. I’m using one of the decorative ends which covers a standard hose clamp, but I had to trim part of it because of hose close the radiator comes to the hose fitting.
I need to route the hose along the top of the upper radiator tube and then down the x-frame and up to the reservoir. I haven’t figured out exactly how I’m going to secure this yet.
Coolant Reservoir and Seat Tracks
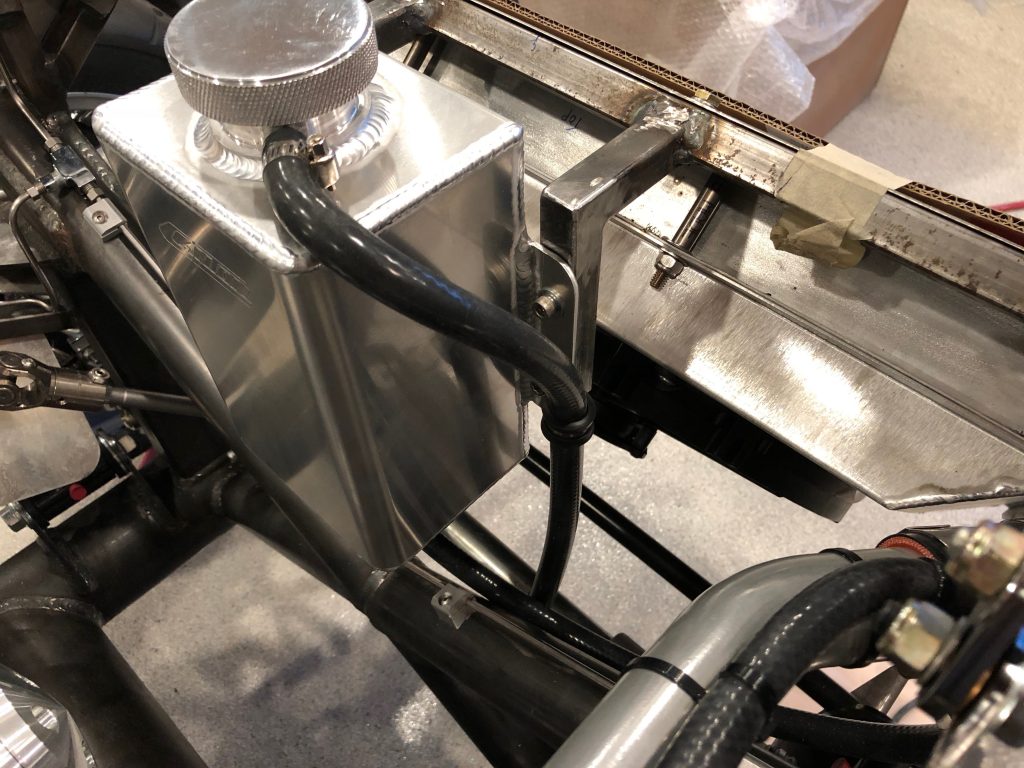
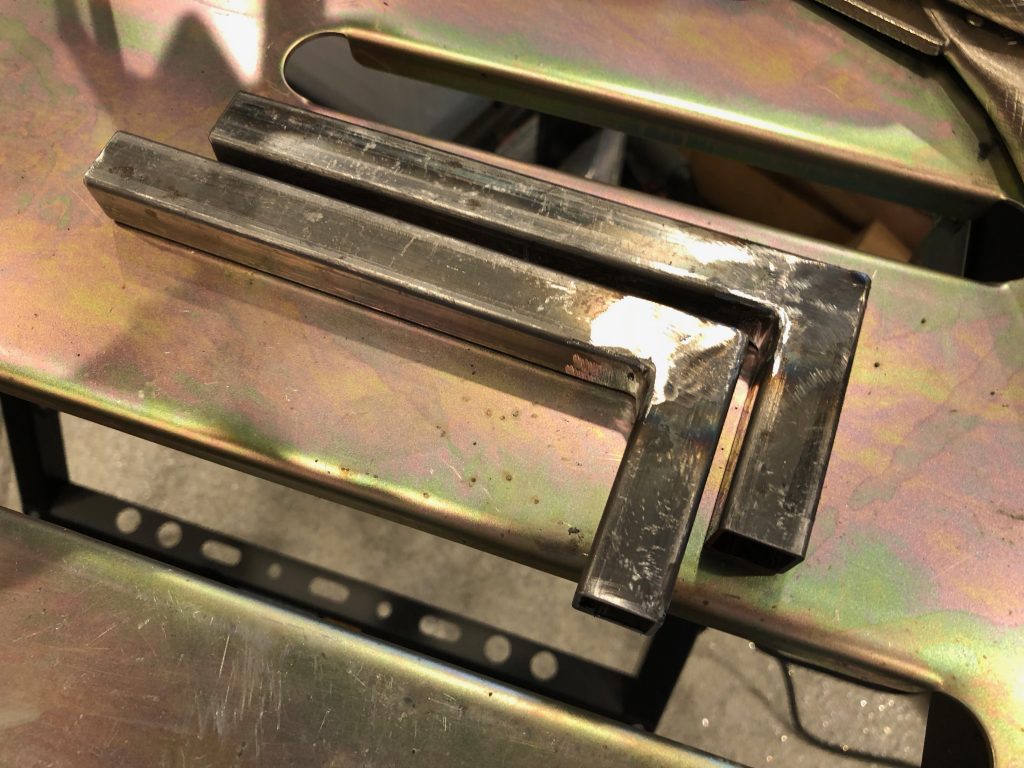
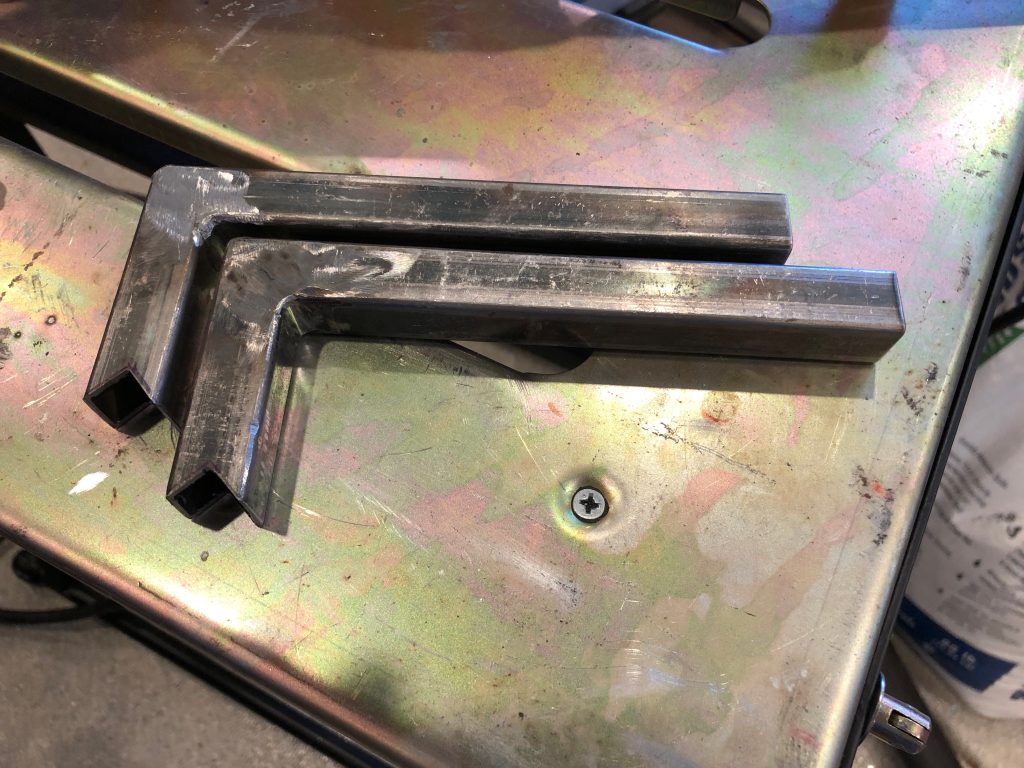
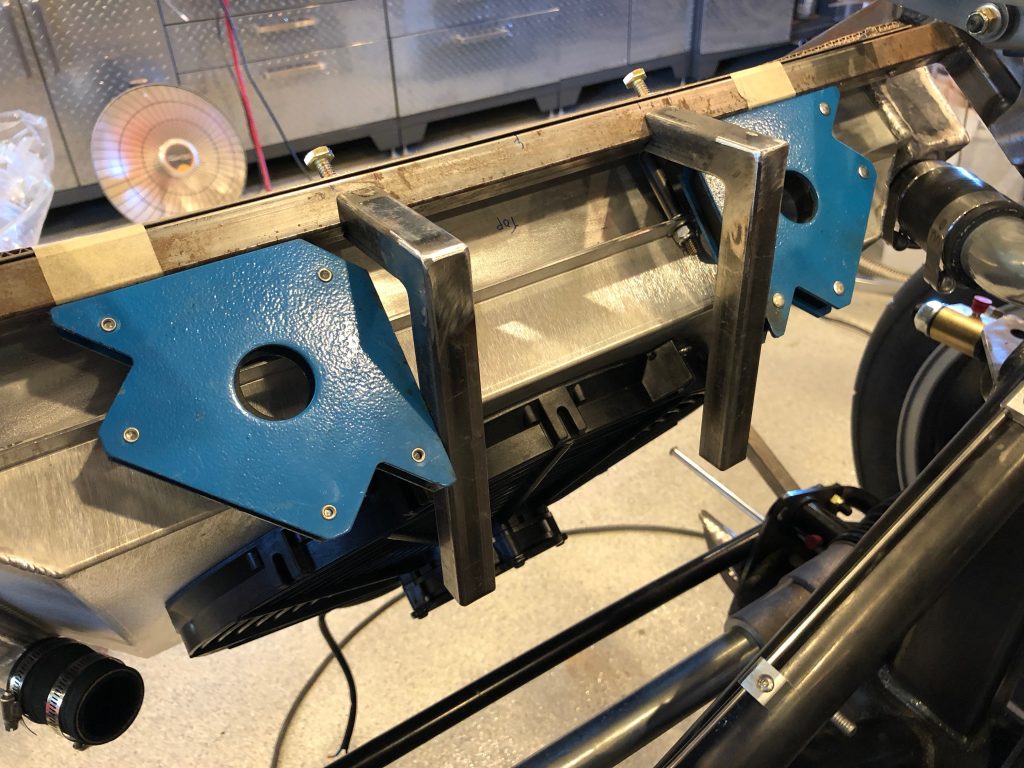
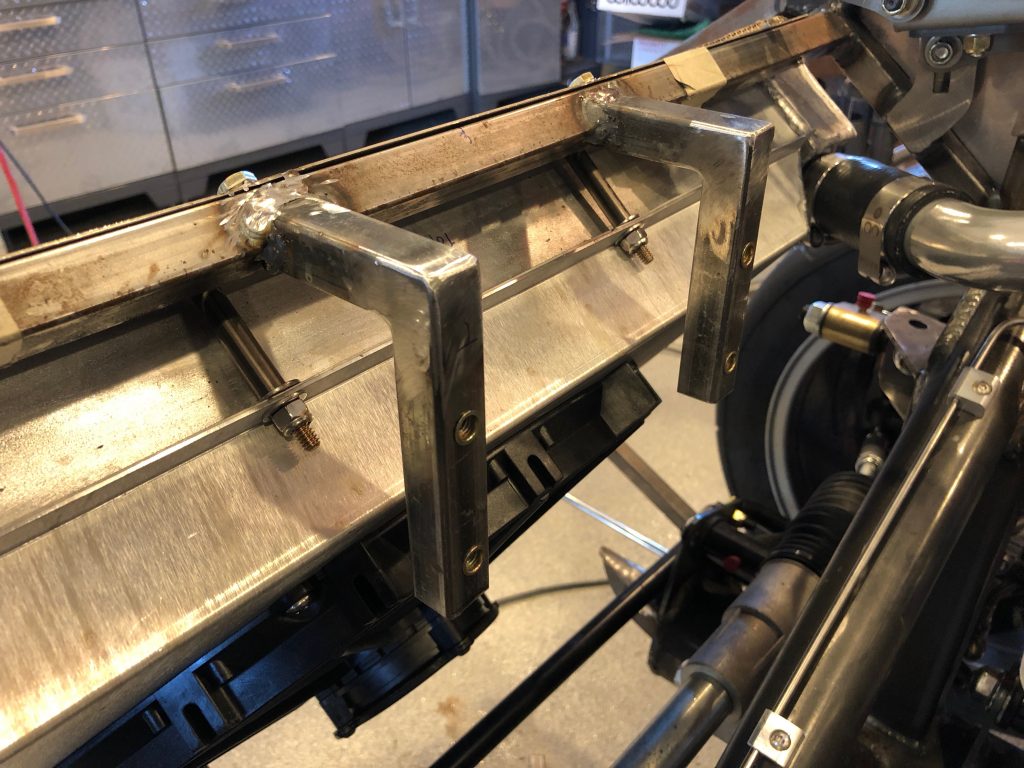
Last week I started thinking about where to mount the new coolant reservoir and I settled on mounting it just behind the radiator, centered over the x-frame. I needed a way to cantilever it out from 3/4″ cross tube that supports the upper end of the radiator, so I welded up some additional 3/4″ tubing to form a couple of L shaped pieces.
These will be welded to the upper 3/4″ tubing, but that’s mounted at a 45º angle, so I need to cut some notches in the forward end of these.
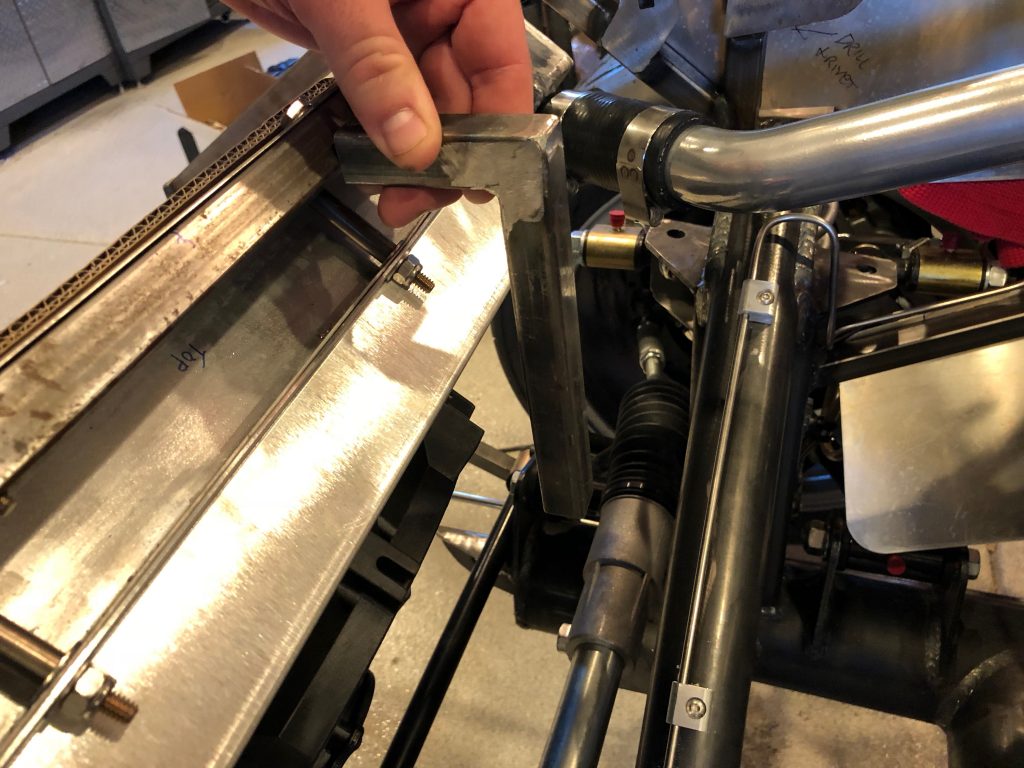
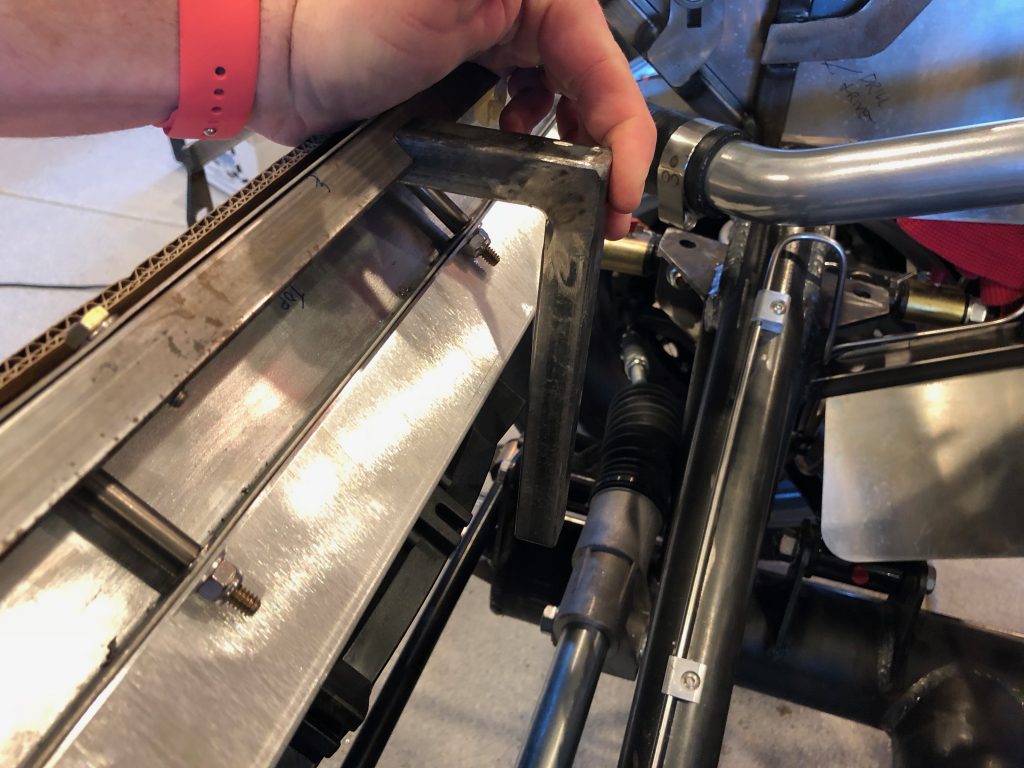
These notches should let the supports fit tight against the tubing and be perpendicular to the ground.
Here’s how they’ll fit against the support tubing.
I took some careful measurements to ensure these were centered, the right distance apart, parallel with each other in both axes and perpendicular to the 4″ round tubes in the chassis (so that this will be completely vertical).
I then welded them in place and installed 4, 1/4-20 rivnuts. I also cut off a bunch of the extra tubing since I left them long initially.
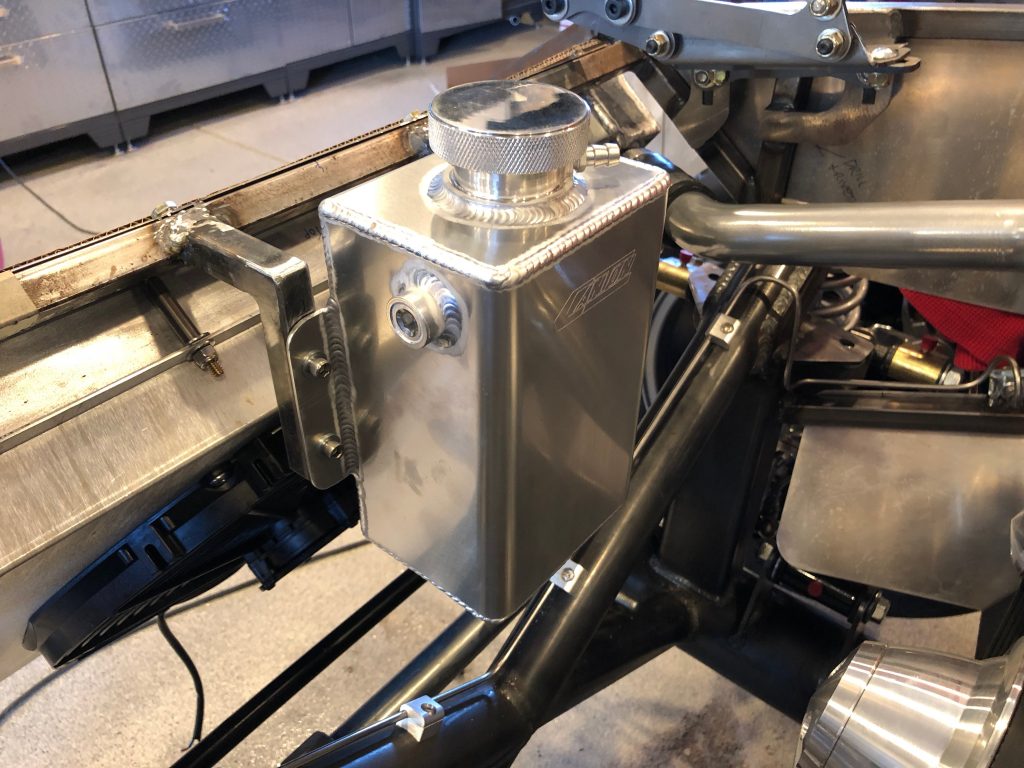
Here’s the installed coolant reservoir. I set the height of the reservoir so that the cap is slightly higher than the cap in the thermostat housing so that this is the high point in the coolant system. I also installed a plug in the side of the reservoir and a hose fitting in the bottom that will tie to the hose fitting under the cap in the themostat housing. The hose fitting just under this cap will connect to an overflow hose that will just run down to the bottom of the chassis to vent any excess coolant.
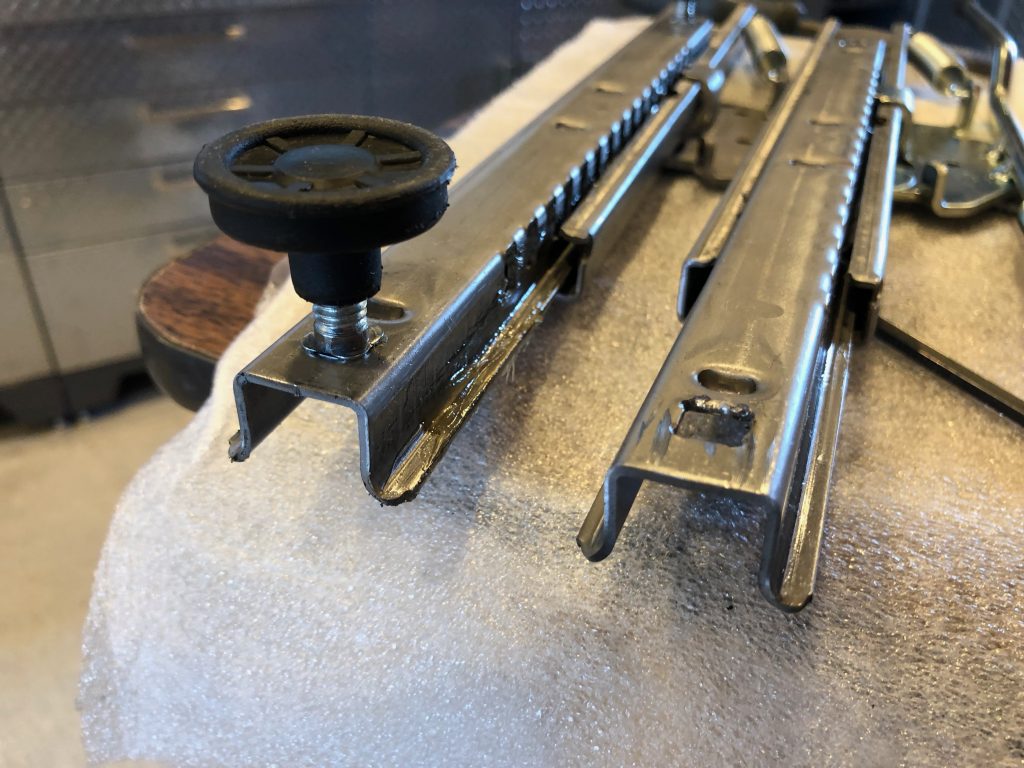
With the coolant reservoir installed, I turned back to the seat tracks. They come with four studs installed, but I need to remove them so that I can install screws through the floor. I ground off most of the stud with a grinder and cutoff wheel, then drilled through the remaining part until it popped out. Here’s the before and after picture.
Using the measurements that Factory Five provides on their seat track instructions, I carefully laid out the position of the seat tracks. The right one is centered over the 4″ chassis tube on the left side of the car. I drilled and tapped the holes for 5/16-18 screws and screwed it down.
The screws are low profile enough that they won’t interfere with the operation of the track. This is the front end.
And this is the rear.
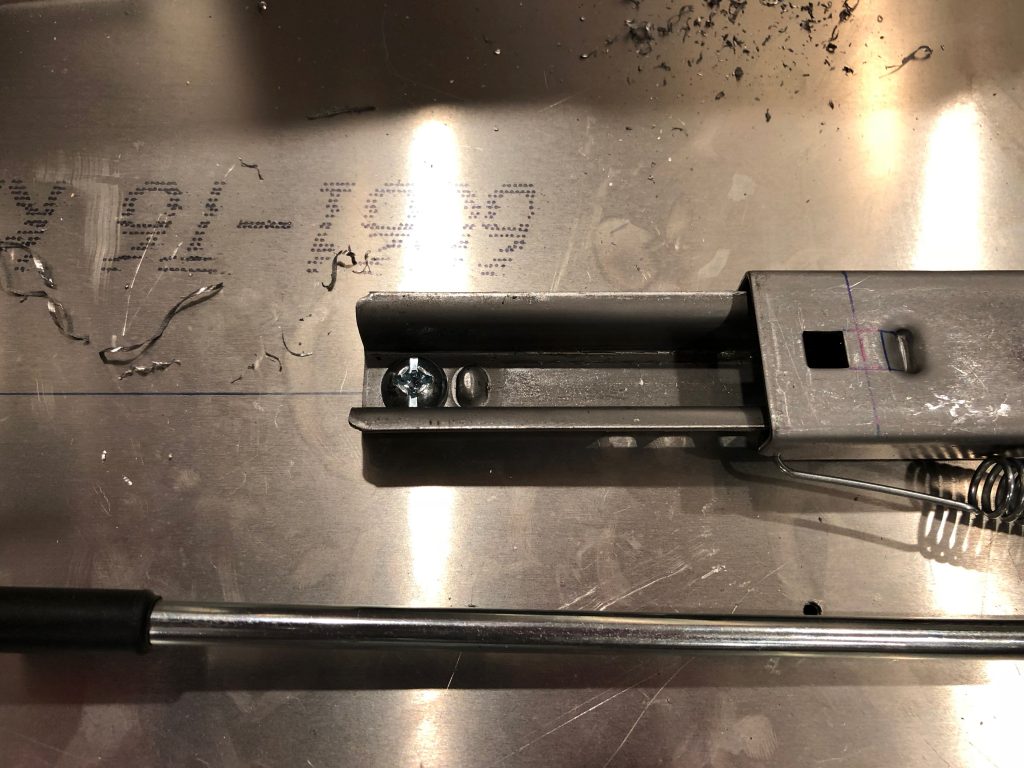
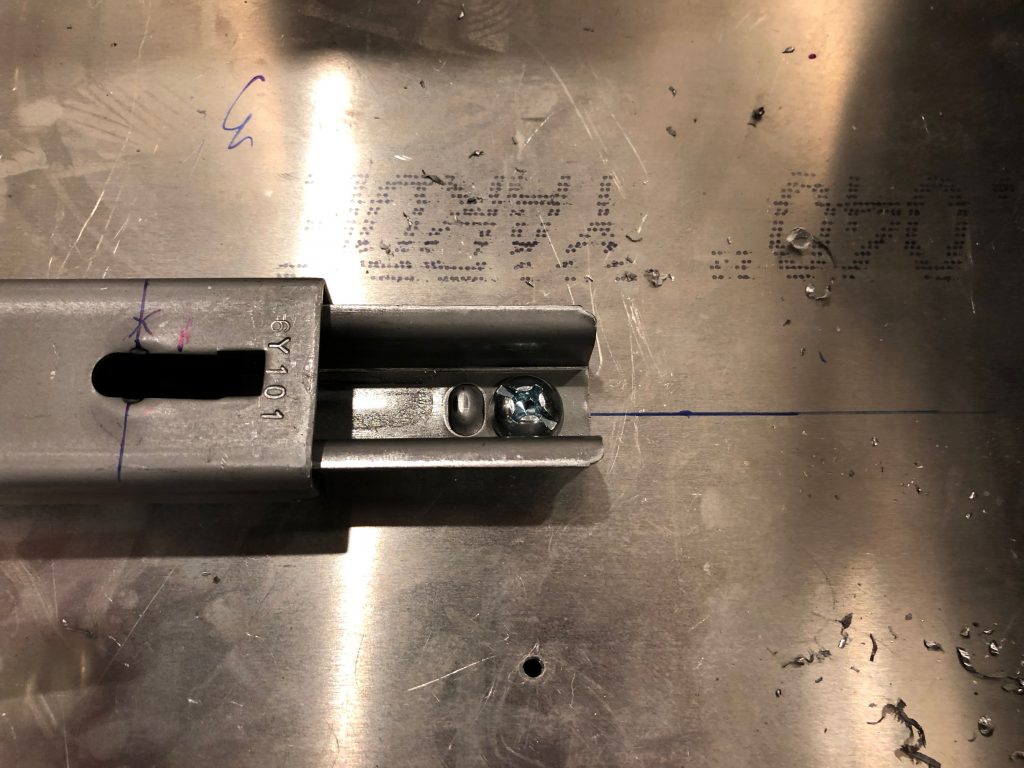
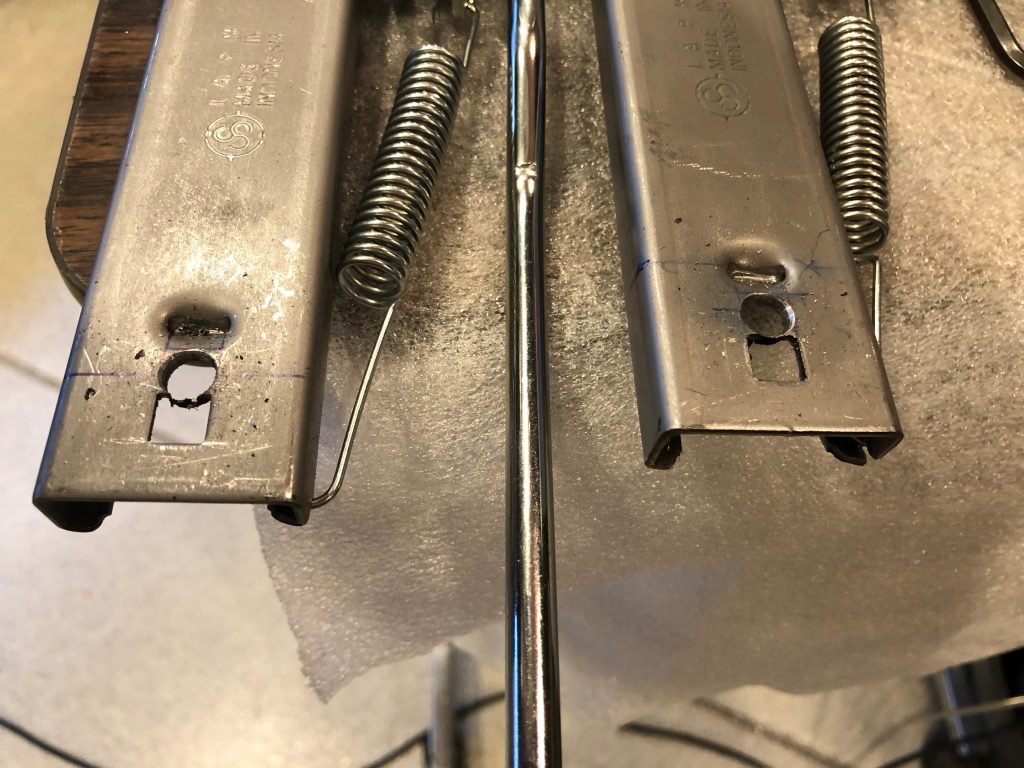
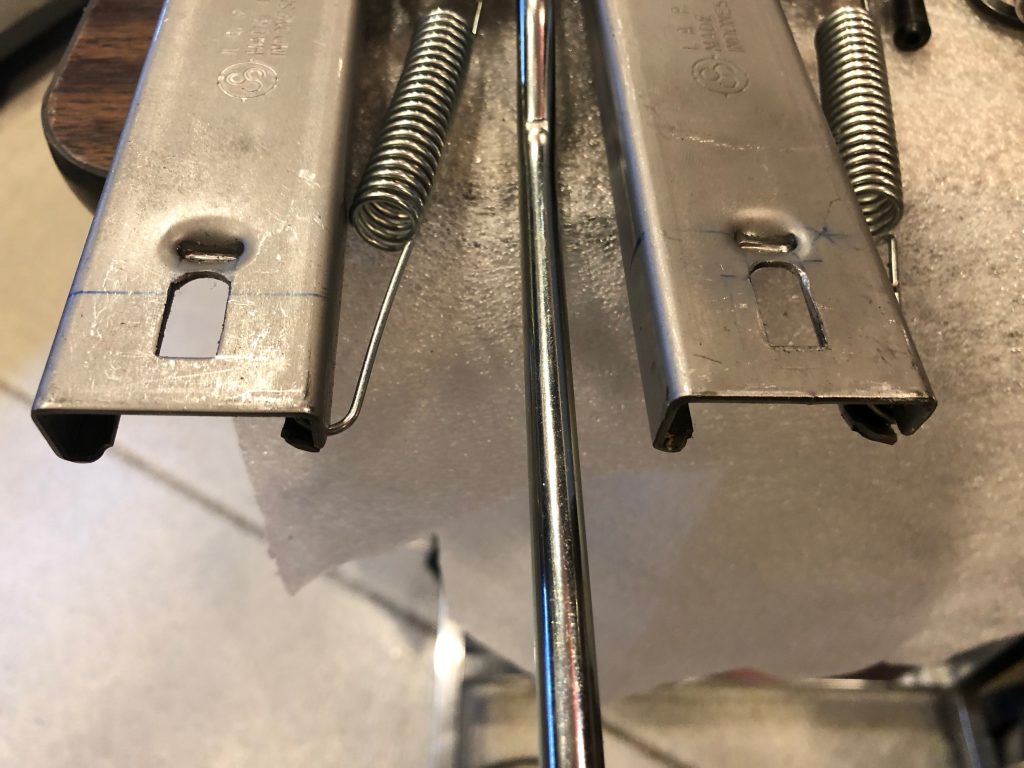
The upper part of the track is screwed to the seat, but the existing hoes aren’t spaced right to line up with the cross tubes in the seat frame. The FFR instructions have you elongate the hole at one end. I drilled a couple of 5/16″ hoes in the tracks just behind the existing square holes.
I used an air file to smooth out the sides. I didn’t need to square off the far end of the hole because it’s already radiused for the 5/16″ bolt that goes through it.
I then drilled holes in the bottom of the seat frame and installed the tracks. They’re slightly off center (by 13/16″) to align the center of the seat to the center of the steering wheel.
I reinstalled the seat and re-bolted the inside track to the 4″ round tube.
With the inside track locked into position and both tracks adjusted to the rearmost position, I marked where the forward hole should be drilled. The long blue line just below where I marked is where the plans specify that the outboard track should be installed. I shifted this track inboard slightly because it would have put the holes in the seat frame right through a weld.
I drilled the hole and dropped in a screw to hold the track in place. This is drilled out to 5/16″ since it’s not tapped. I’ll ultimately drill it out further and install a spacer between the upper and lower steel plates.
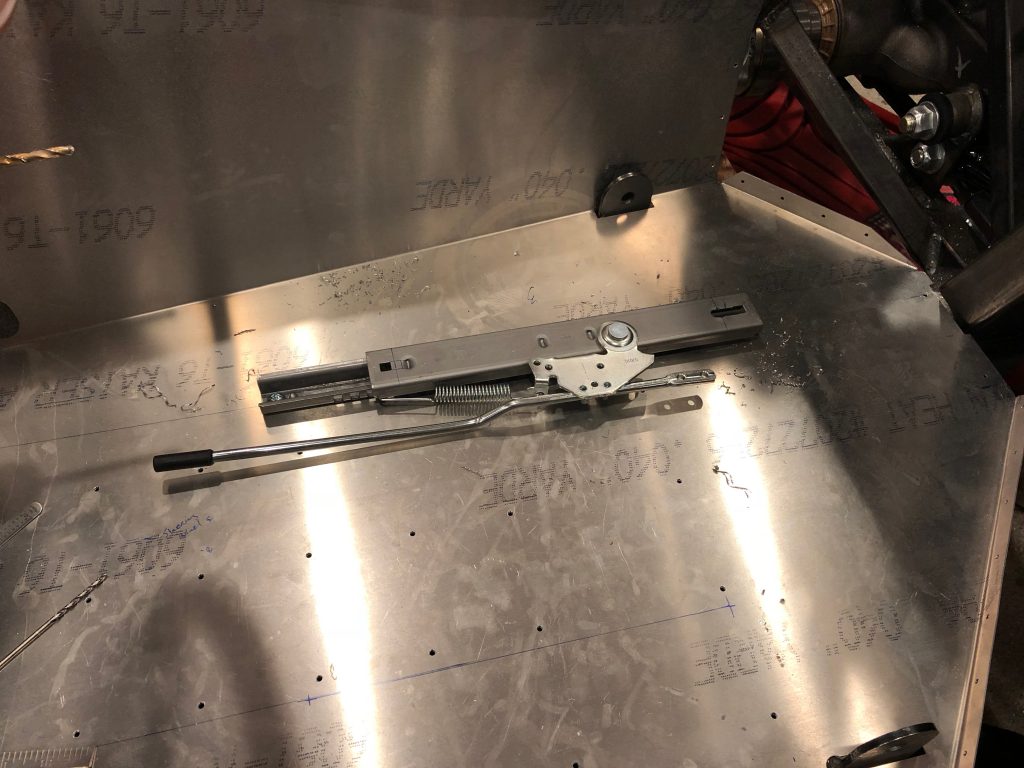
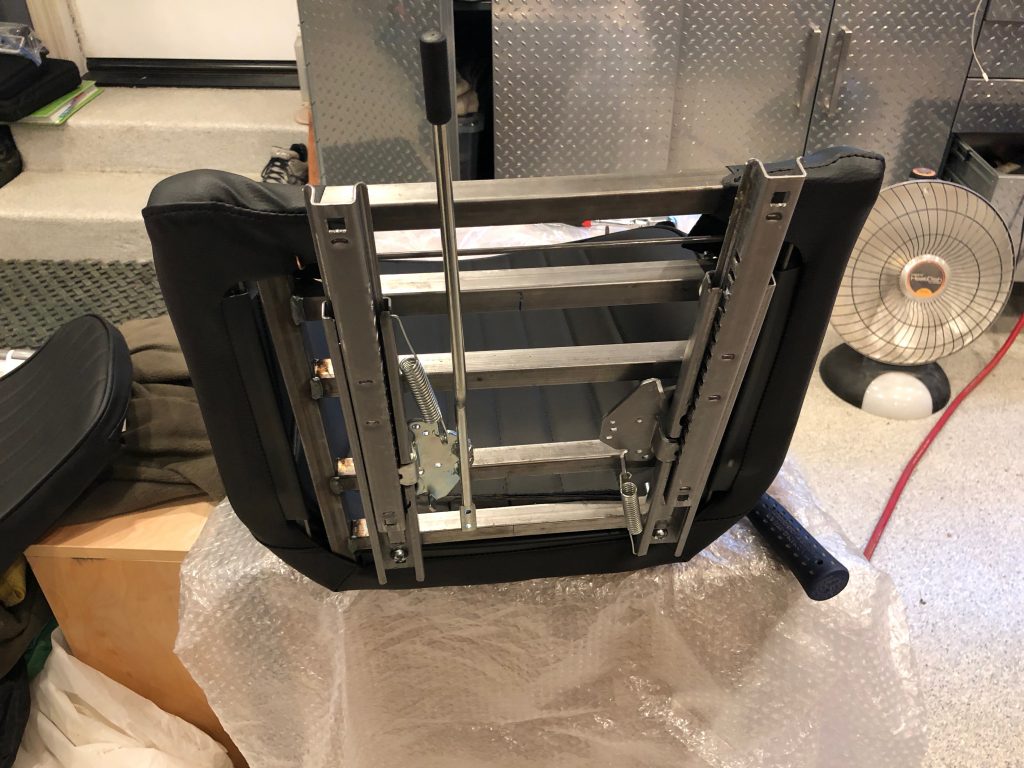
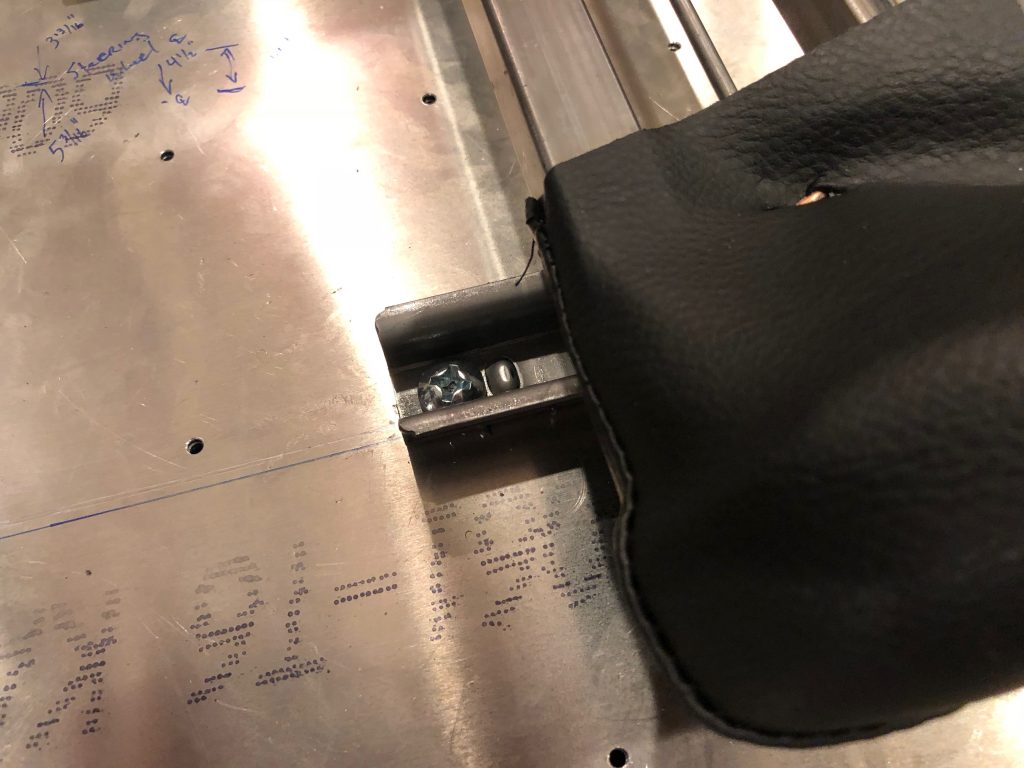
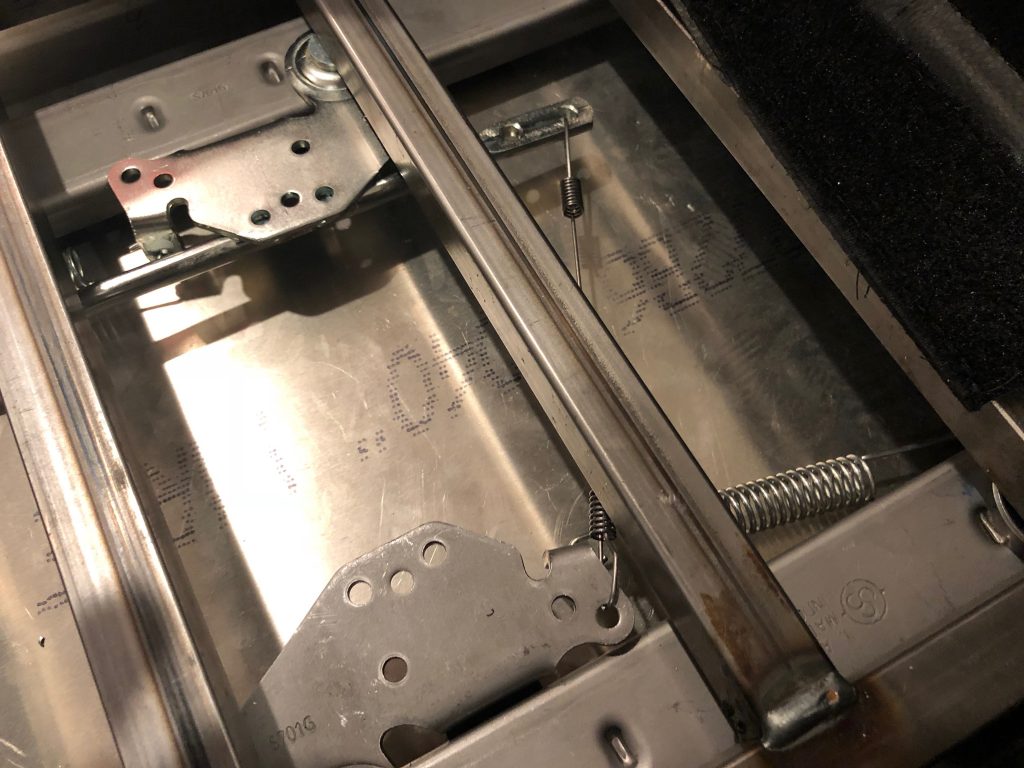
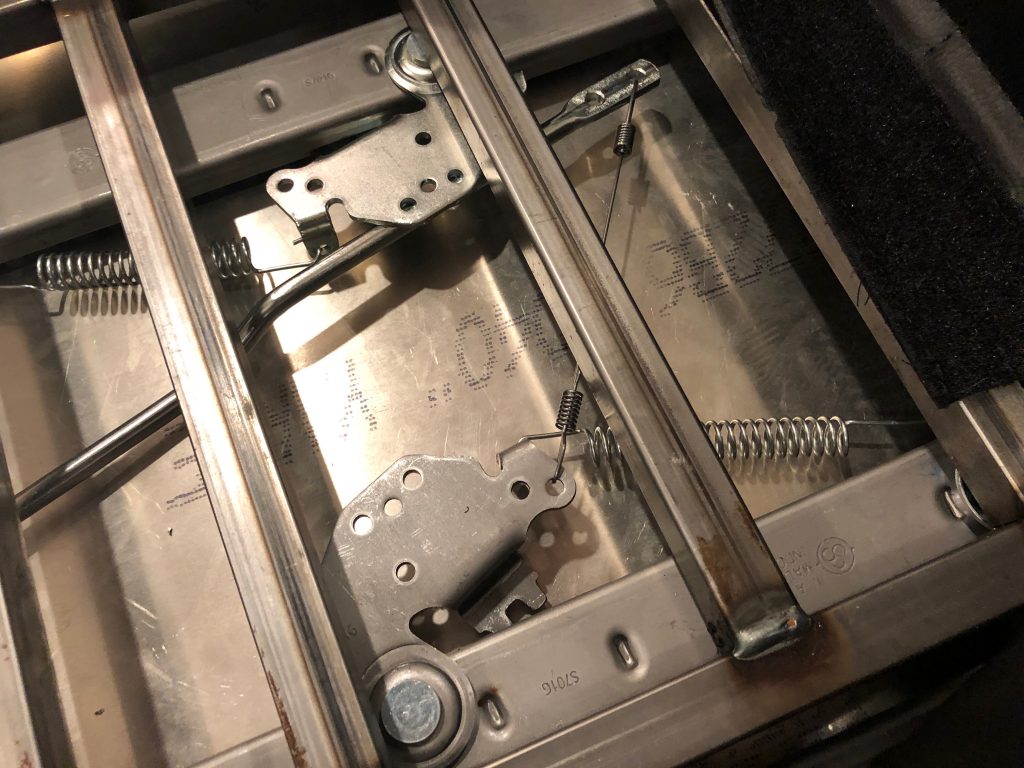
Before I can adjust the seats, I need to tie the two locking mechanisms together. I used the connecting wire that came with the kit, but I had to shorten it over 1″ since these are not remotely installed according to plans.
With the handle moved to the side, both locking mechanisms release at the same time. By installing these to the seat first and then attaching the inside seat track to the chassis, it guarantees that both locking mechanisms lock and release at exactly the same point. Without doing it this way, it would be easy to get one track slightly in front of the other and both sides might not lock at exactly the same time.

