Continued Passenger Cockpit Aluminum

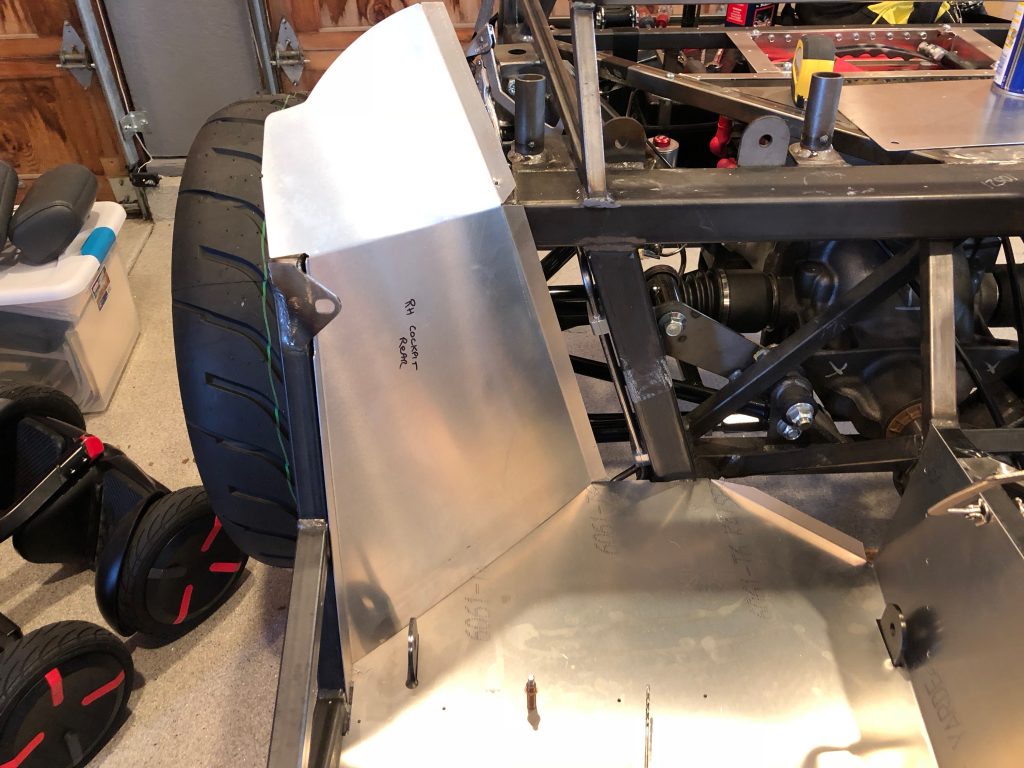
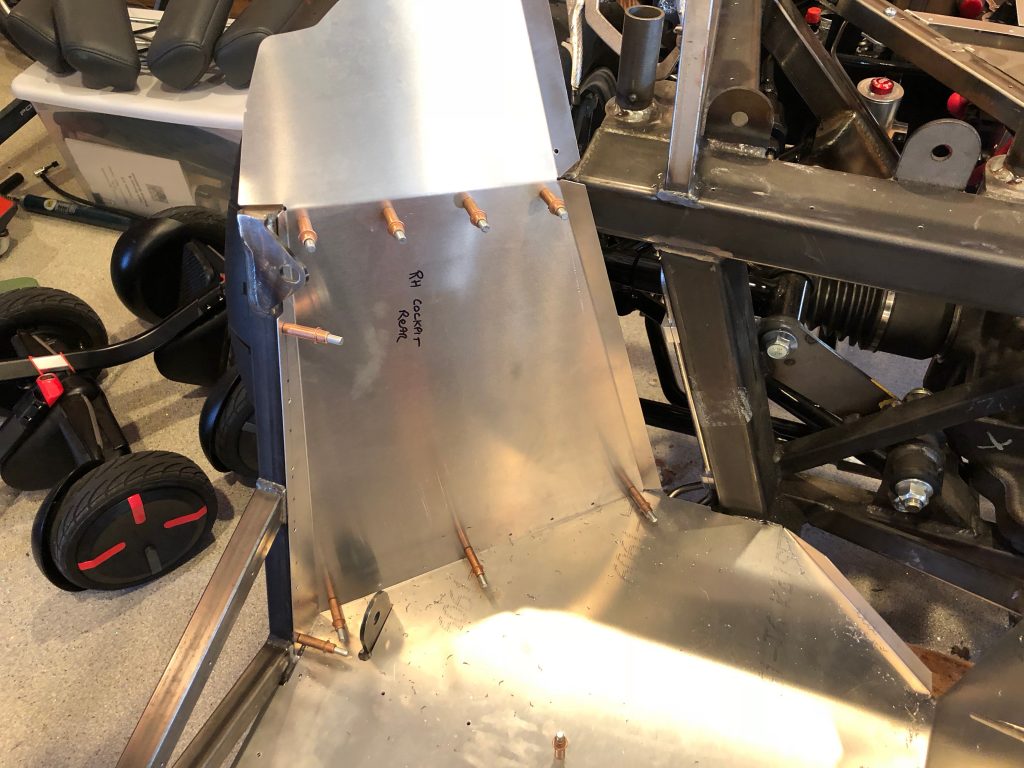
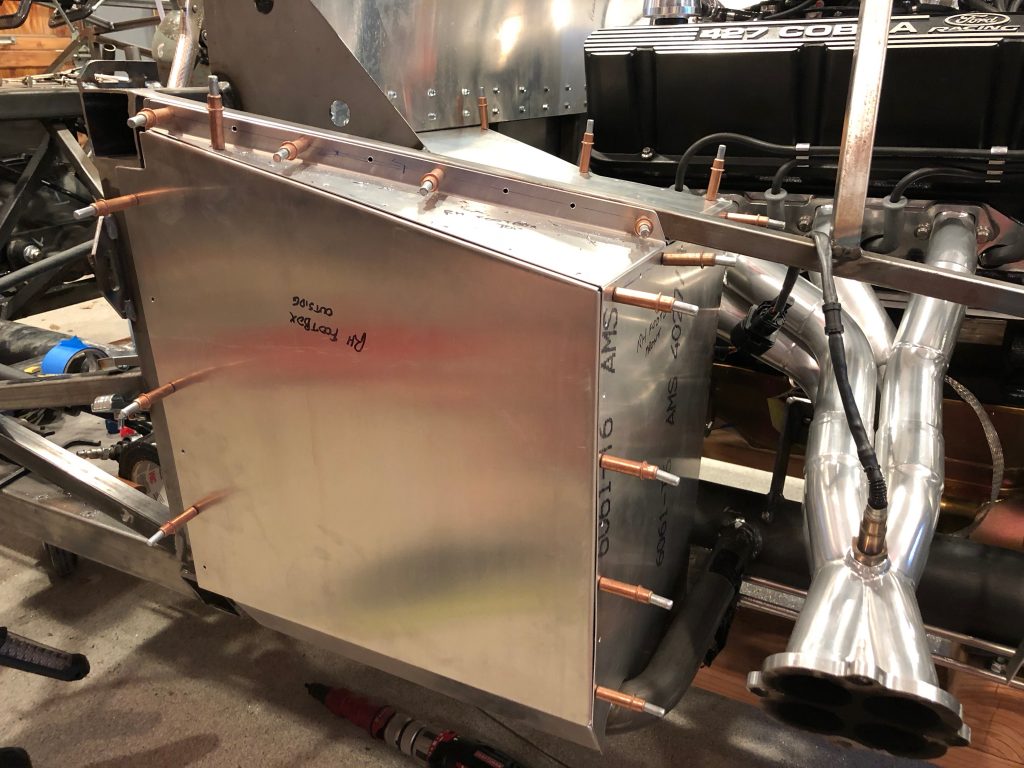
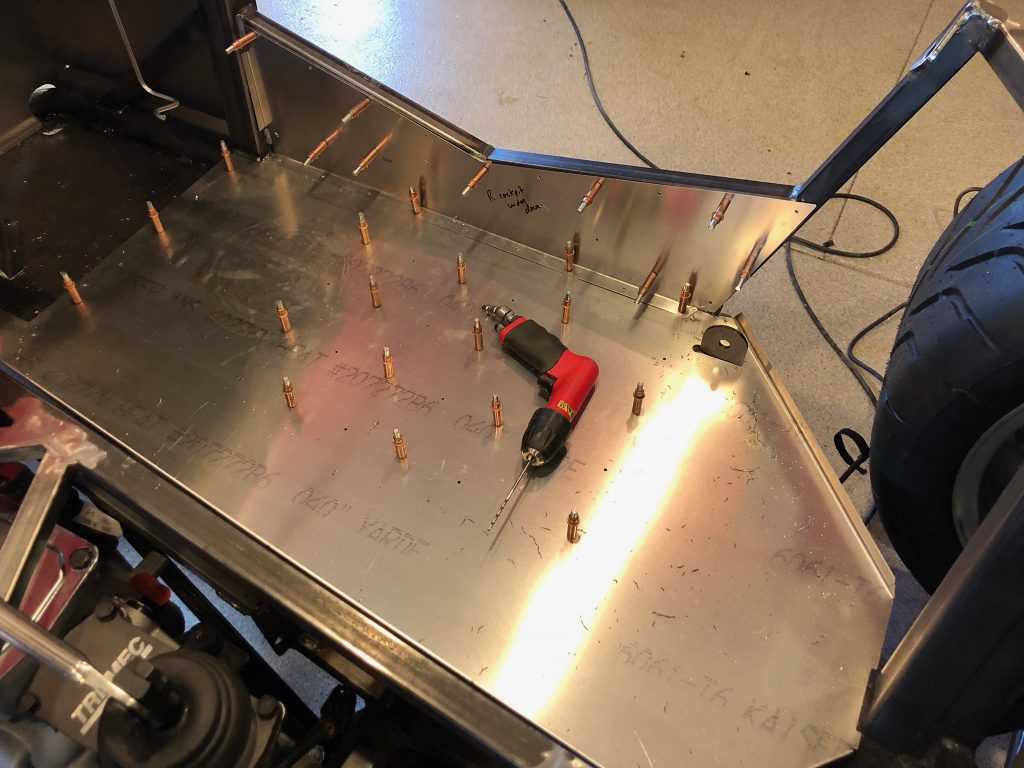
I continued fitting the aluminum around the passenger side of the cockpit. I temporarily fit the rear outer panel.

The flange on the seat floor needed to be bent out slightly to align with the rear outer panel.

After laying our some holes, I drilled it to the seat floor flange and chassis.

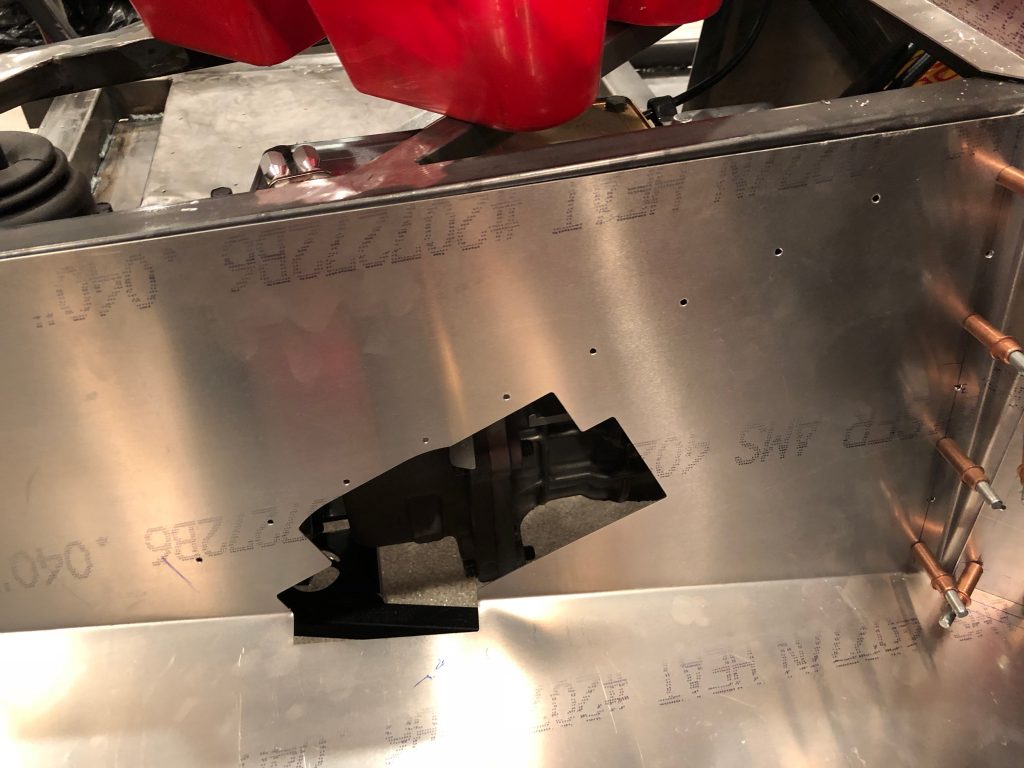
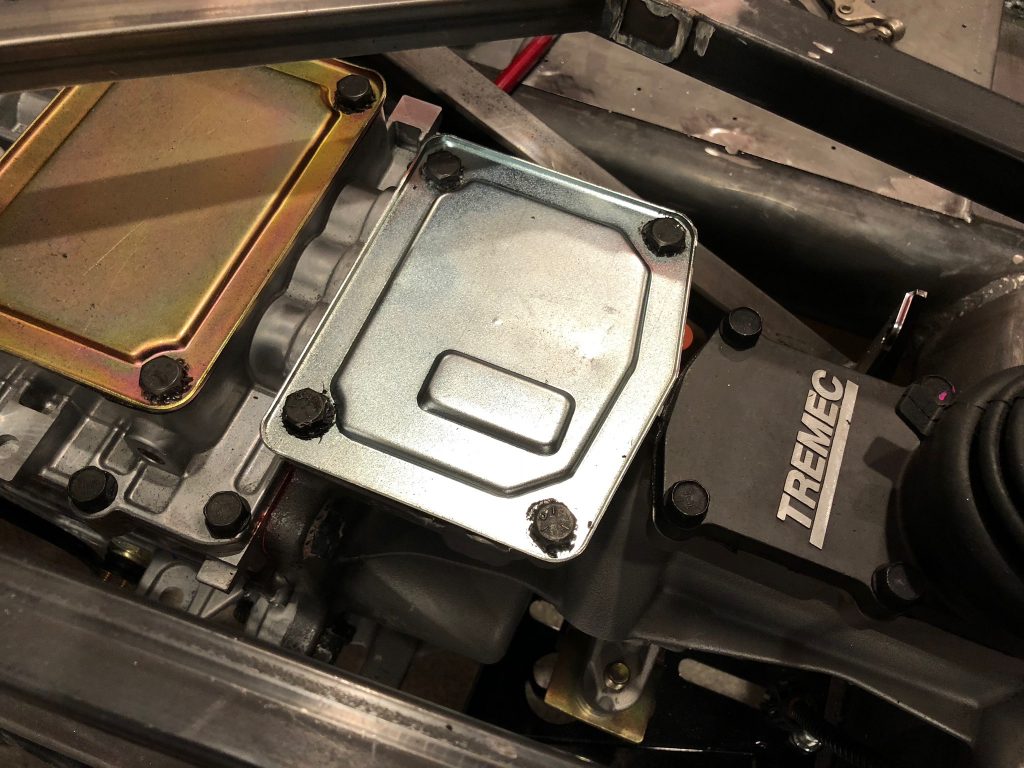
I then fit the small, rear inner panel on the passenger side and drilled it to the seat floor and side of the transmission cover.

Finished Drilling Passenger Foot Box and Seat Floor

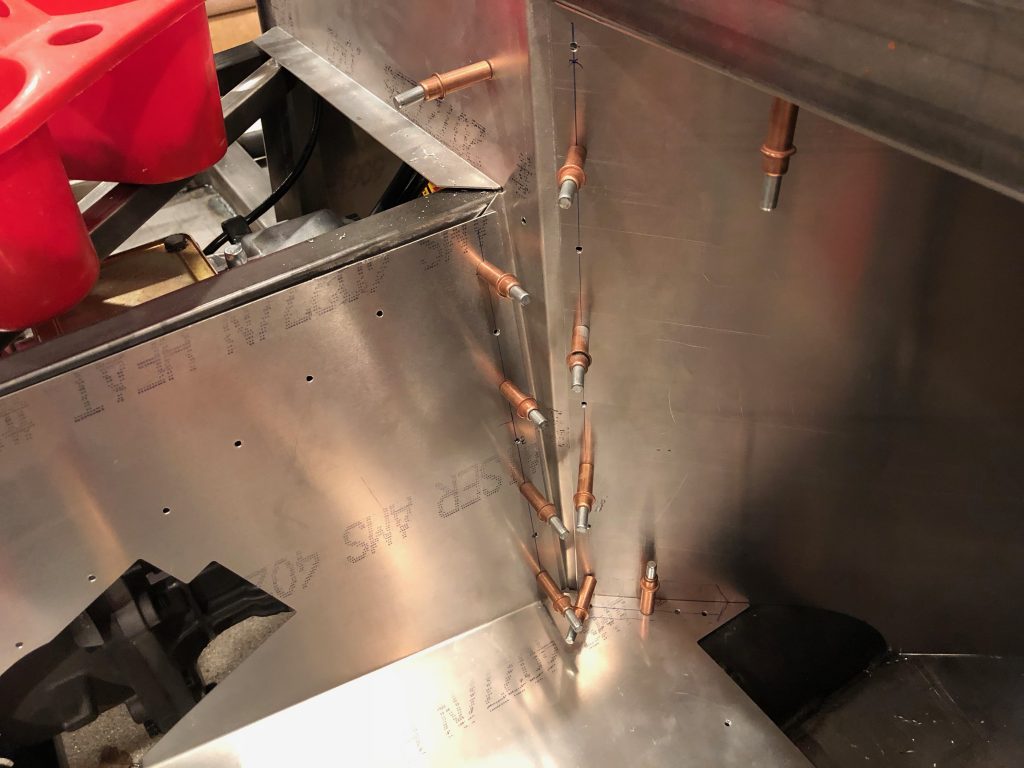
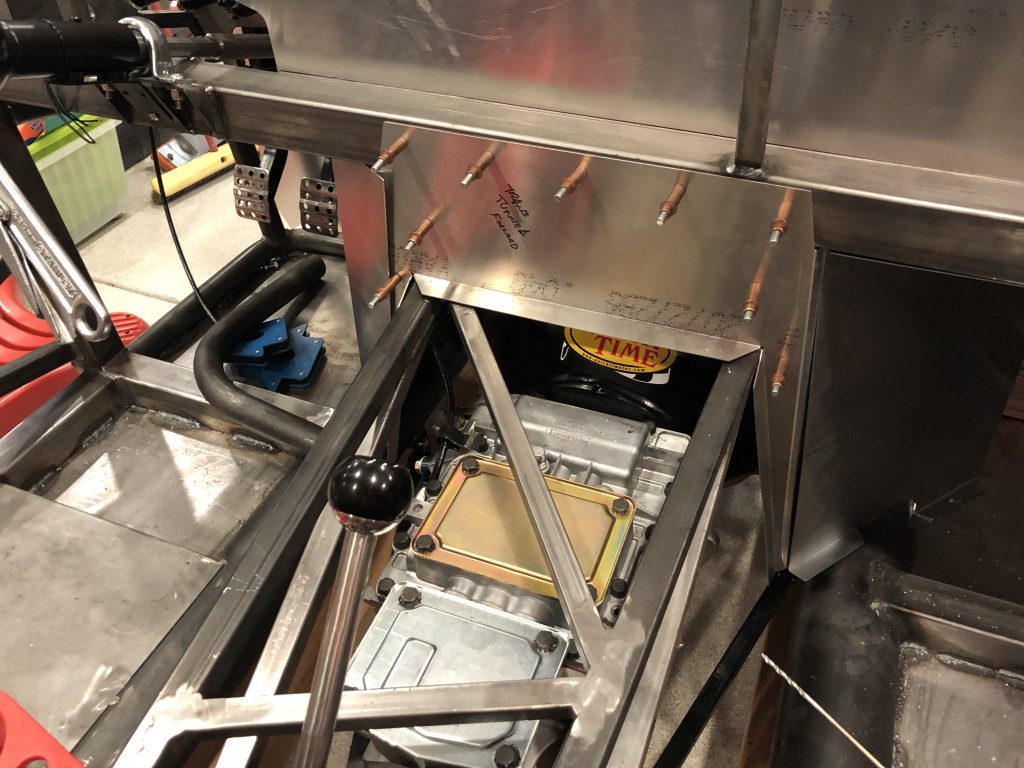
I laid out and drilled the holes that tie the inside of the passenger foot box to the forward transmission tunnel cover and seat floor and then drilled the holes that tie the side wall of the transmission tunnel cover to the forward transmission tunnel cover.

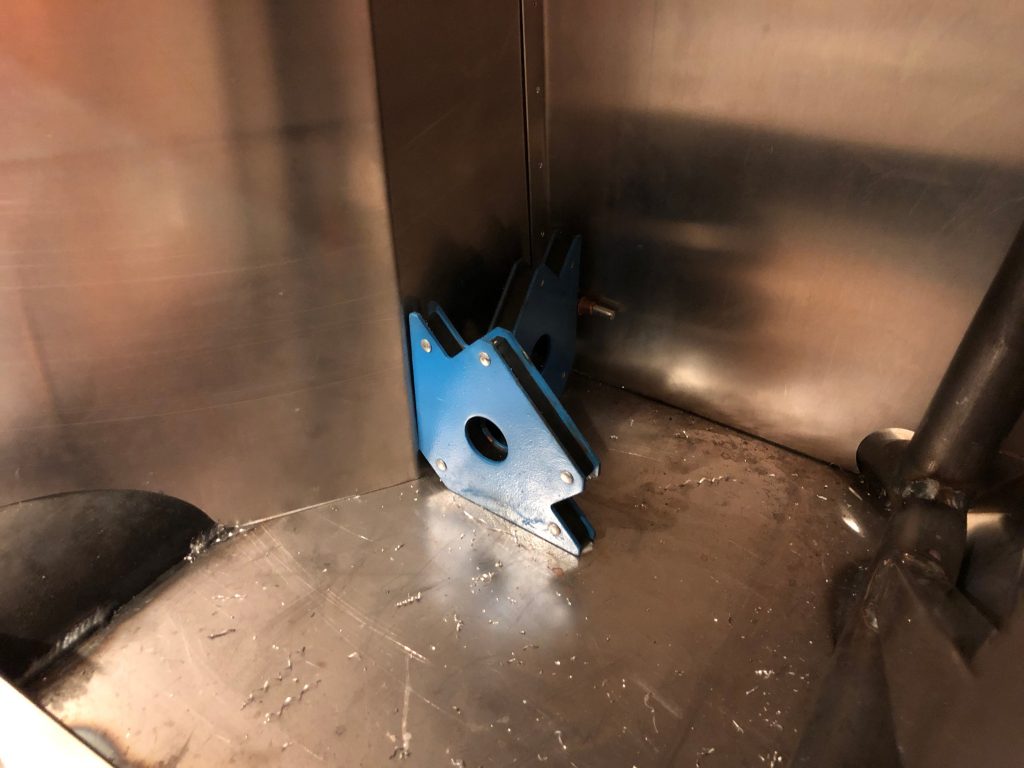
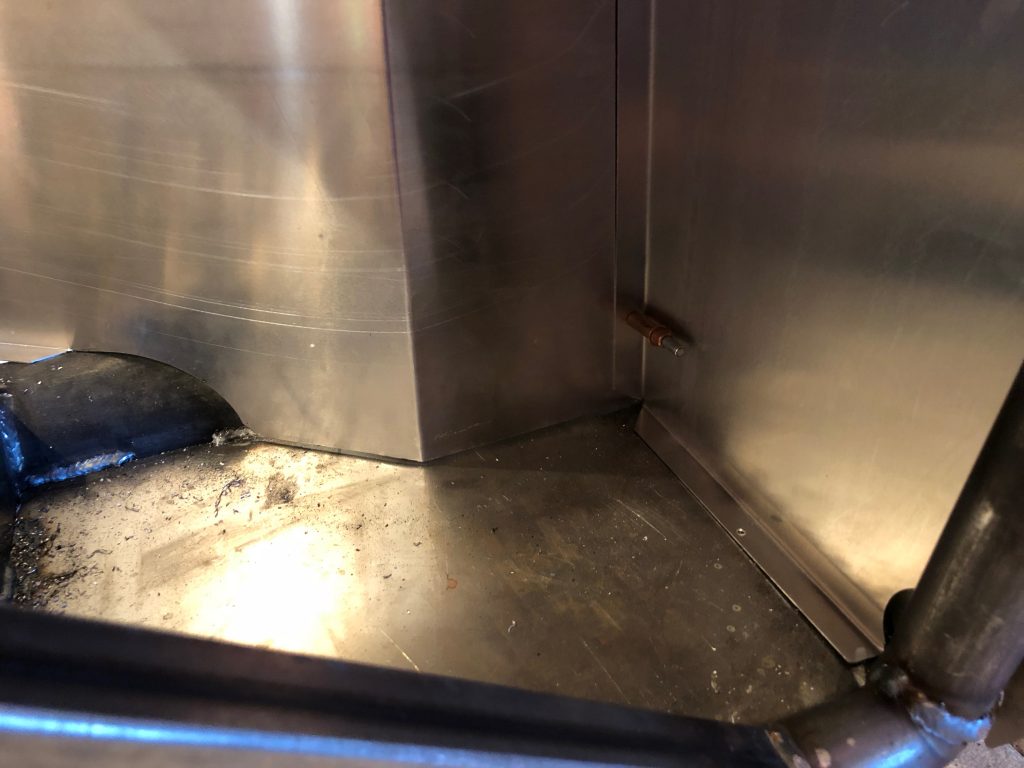
The inside wall of the passenger foot box can still move around a bit, so I used some welding magnets to lock it into position so that I can figure out where to cut the floor and where to mount the angles.

While I had the seat floor out, I laid out some holes that will tie it to the transmission tunnel. I still need to fabricate a cover for the old emergency brake access hole.

I laid out a few additional holes near the back of the seat floor.

Drilled Passenger Foot Box

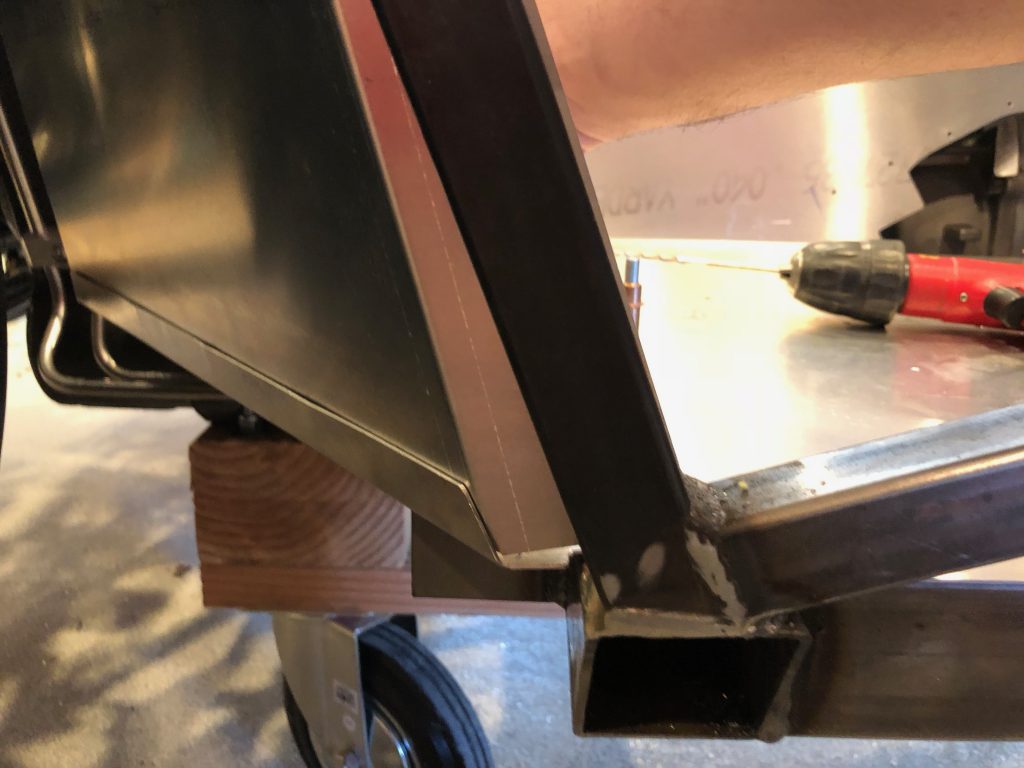
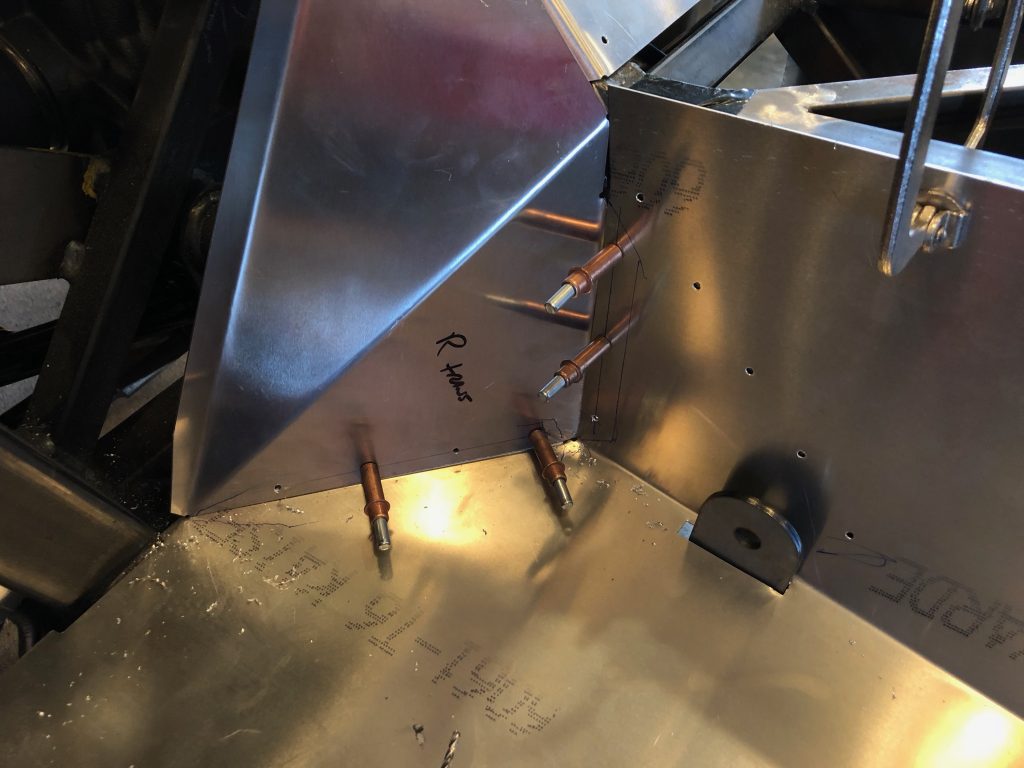
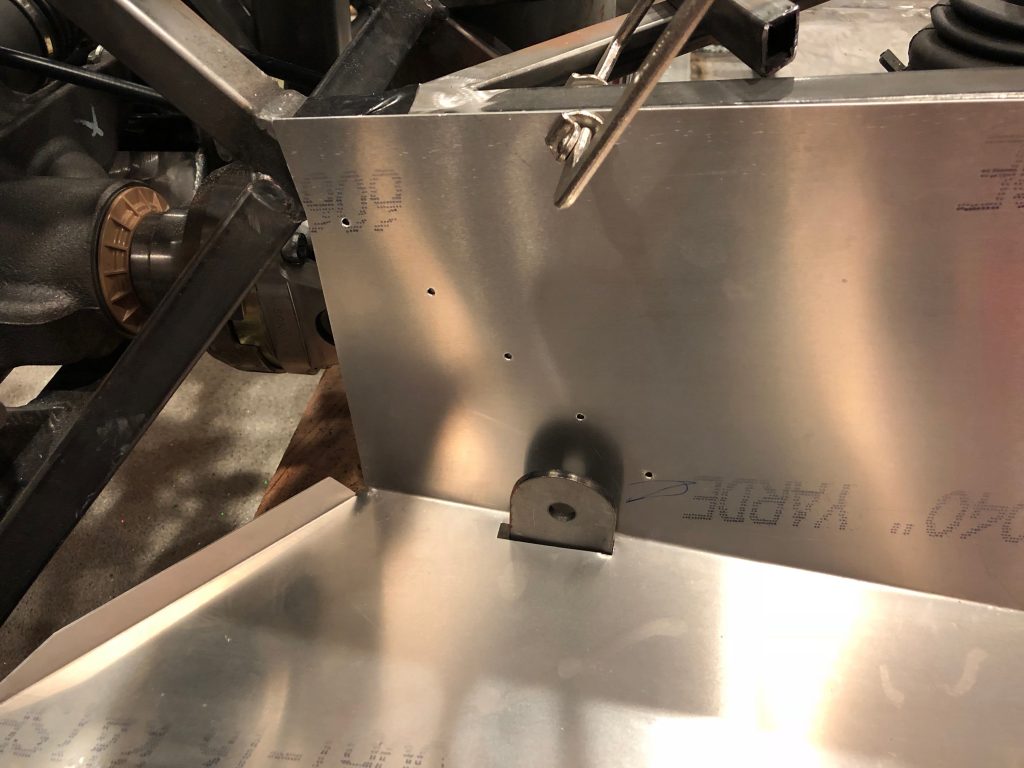
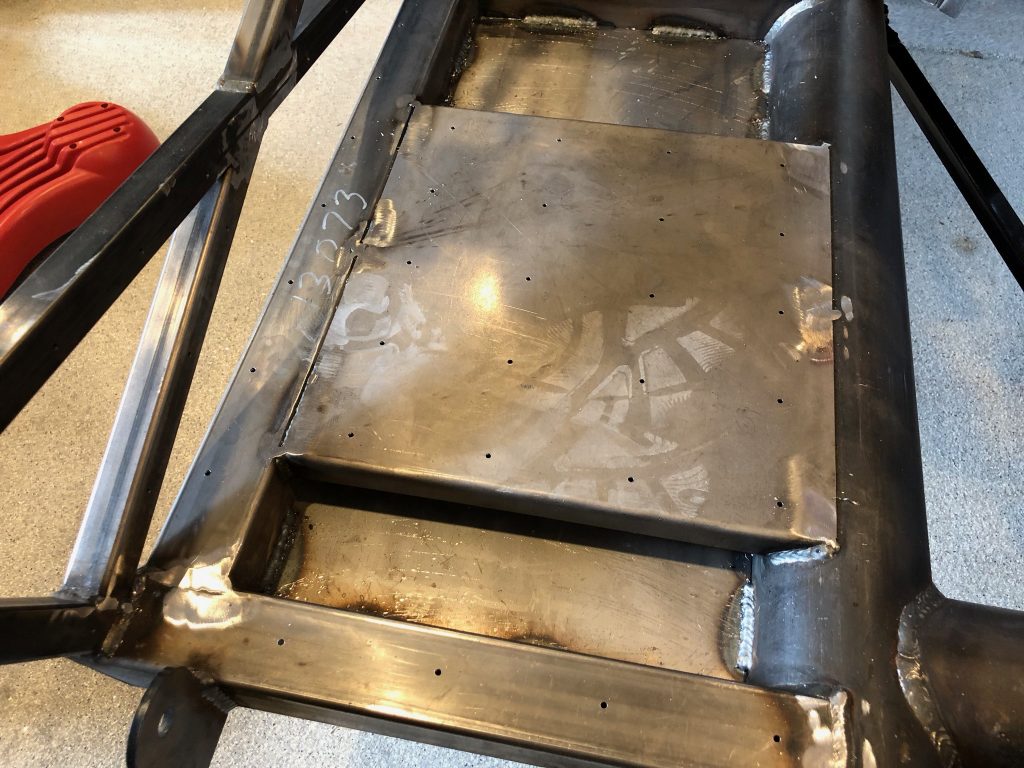
The aluminum sheet that is normally installed as the floor of the foot boxes fits flush with the bottom of the round tubing that frames the foot boxes. The steel panels that I welded in sit slightly higher than that. This was pushing up on the forward and inside panels of the passenger foot box. I decided to cut off the pre-formed flanges in these pieces so that they could drop down into position. Here, I’ve cut the flanges off the inside panel to the left, but haven’t yet cut the flange off the forward panel to the right. After cutting all of these off, the panels fit much better in the car. I’ll fabricate some mounting angles and rivet them to both the floor and walls.

With the panels fitting much better, I laid out a series of holes along all of the edges and drilled the panels and chassis. I want to drill all of the intersecting panels before drilling this to the floor.

Passenger Foot Box Side Protection

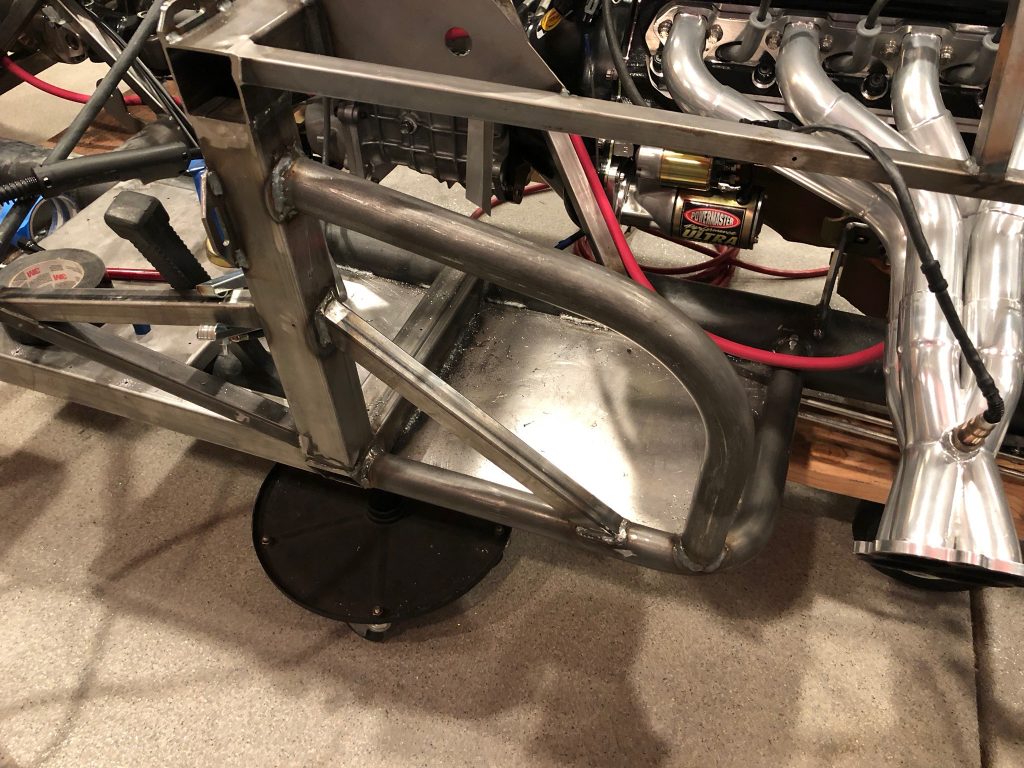
I took some careful measurements to ensure the side protection tubing would fit inside the passenger foot box and then trimmed it to fit tight against the square and round tubing. This is a duplicate of the tubing on the driver’s side, but I needed to make it a mirror image of the other side in order to fit.

After tacking it in place, I removed all of the sheet metal for the passenger foot box and welded it in place.

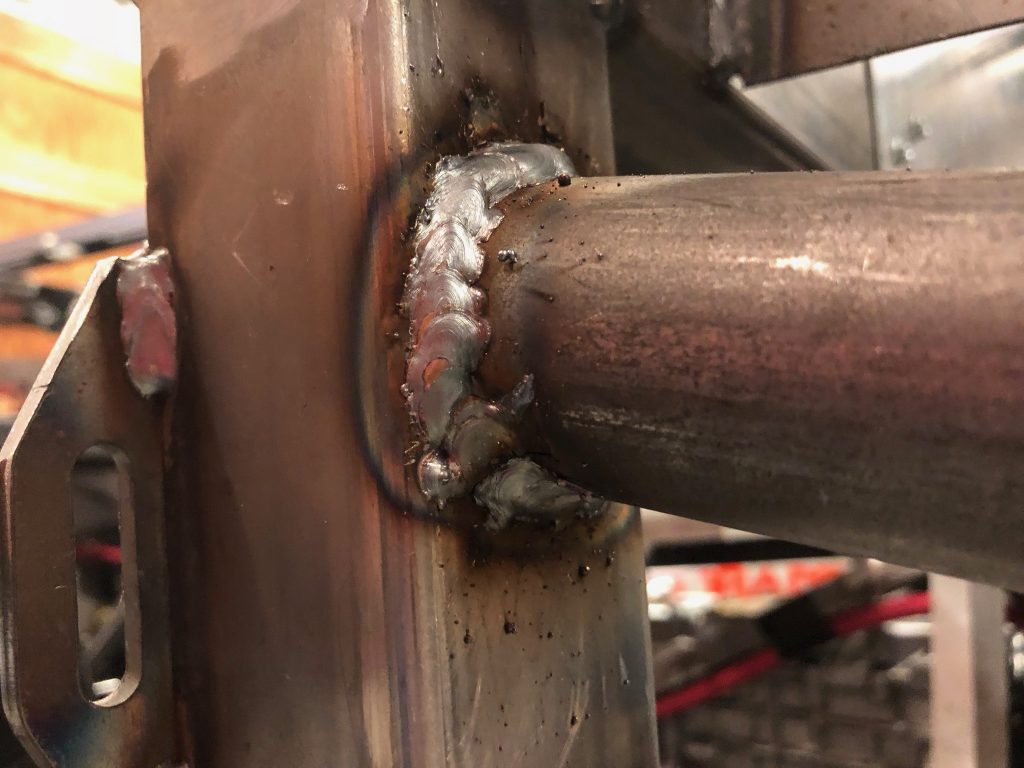
Here’s the upper weld. Not the prettiest, but good penetration on both sides. I had to keep repositioning the gun to get a decent angle on the weld which made it hard to keep any consistency around the perimeter.

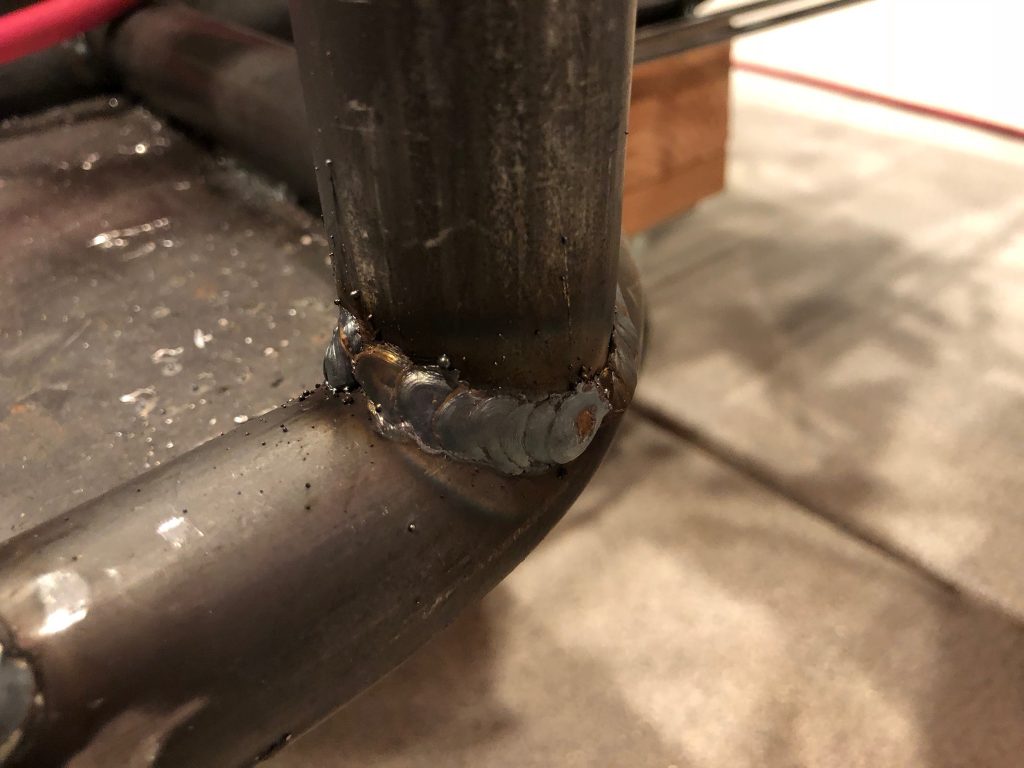
I had a little better access at the other end, so I was able to make a somewhat more attractive weld. This should provide substantially more side impact protection.

Cockpit Floors and Transmission Tunnel Mod

I laid out the holes and drilled the cockpit floors and outer panels below the doors.

The holes follow the perimeter 2″x2″ square tubing and uniformly cover the steel panel that supports the seat. Some of these may not get used depending on where the seat tracks bolt.

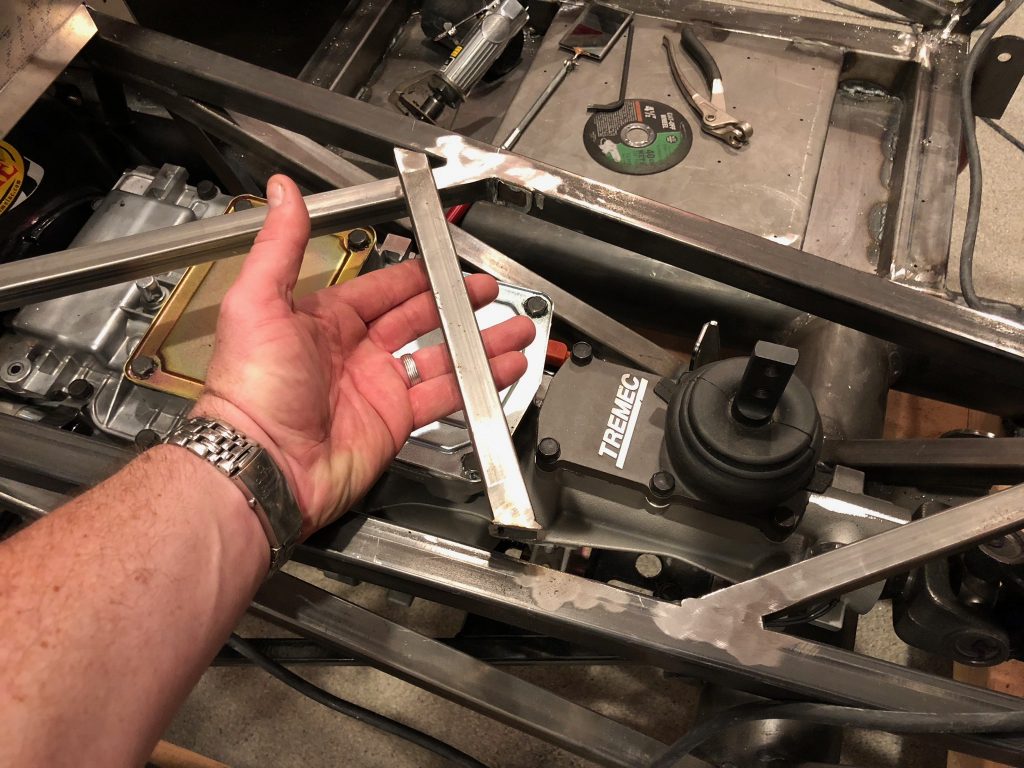
We’re moving the shifter to the middle location on the transmission, so I cut out the diagonal support that would interfere. I may weld this in farther aft once I have the new shifter and parking brake installed.

There is now plenty of room for the new shifter.

Passenger Foot Box and Forward Tunnel Cover

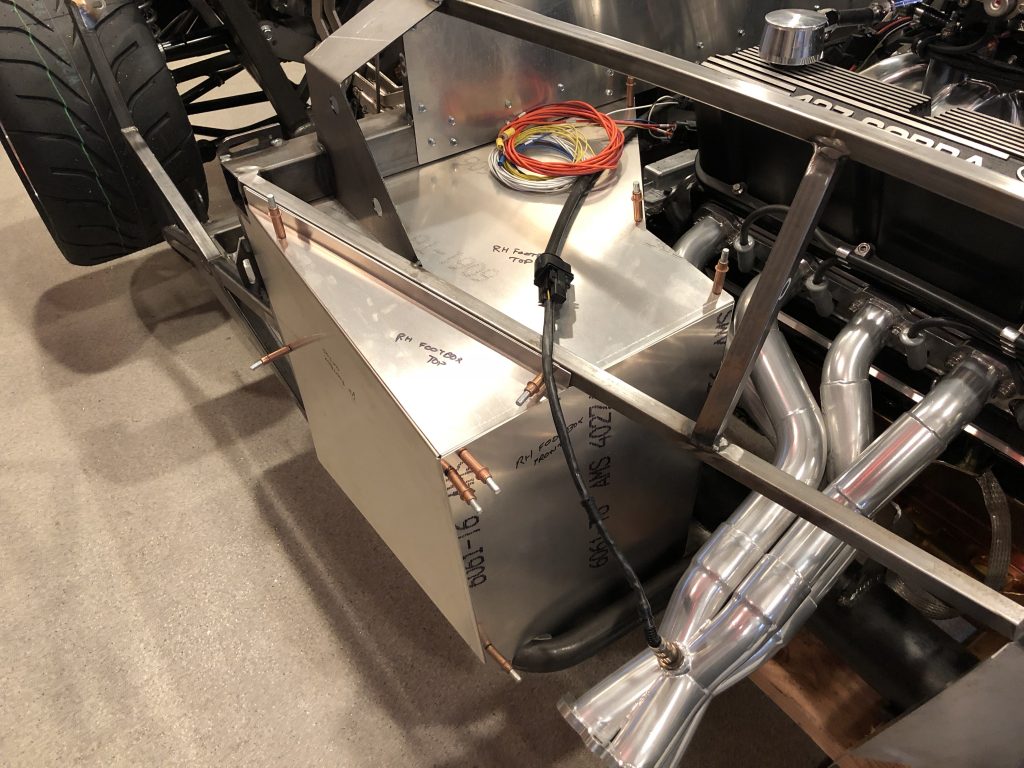
Before I can determine the routing location for the wiring and tubing from the front to the back, I wanted to get most of the aluminum chassis panels in place. I started by clecoing the passenger foot box in place. There is substantially more space between the headers and the foot box on this side. I’m considering expanding this foot box, but I want to get the seats in and see if it is necessary before doing so.

I also installed and drilled the forward tunnel cover. I need to trim the inboard foot box panels to align with the edges of this panel before drilling them together.

Cut Access Holes in Lower Trunk Floor

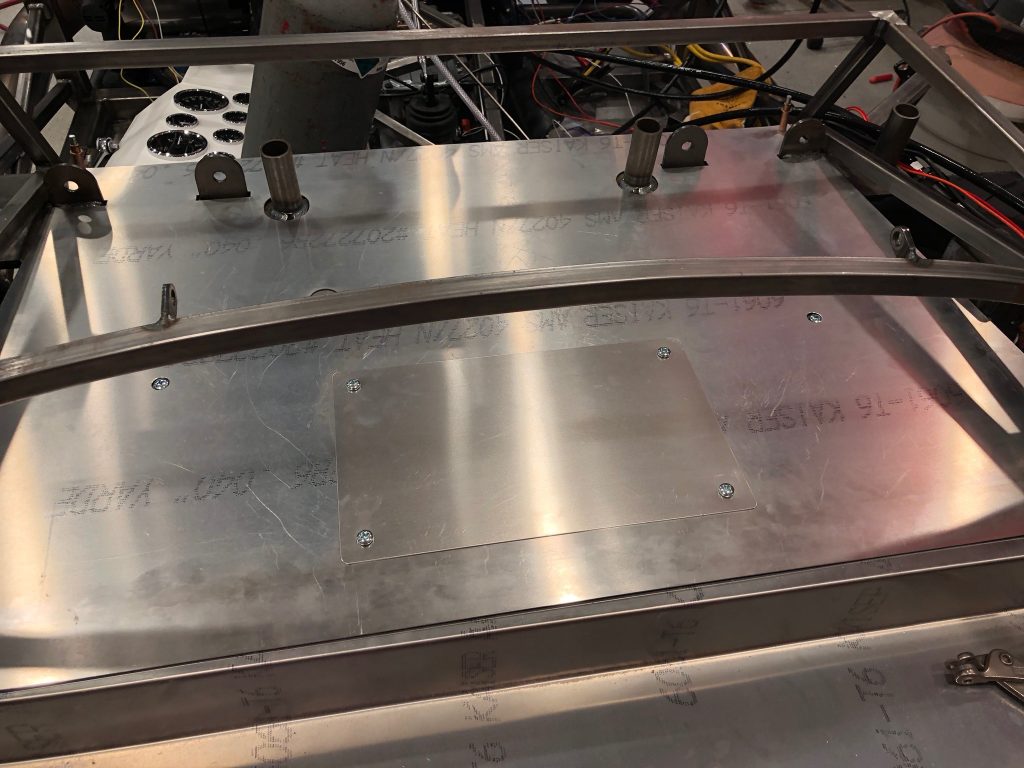
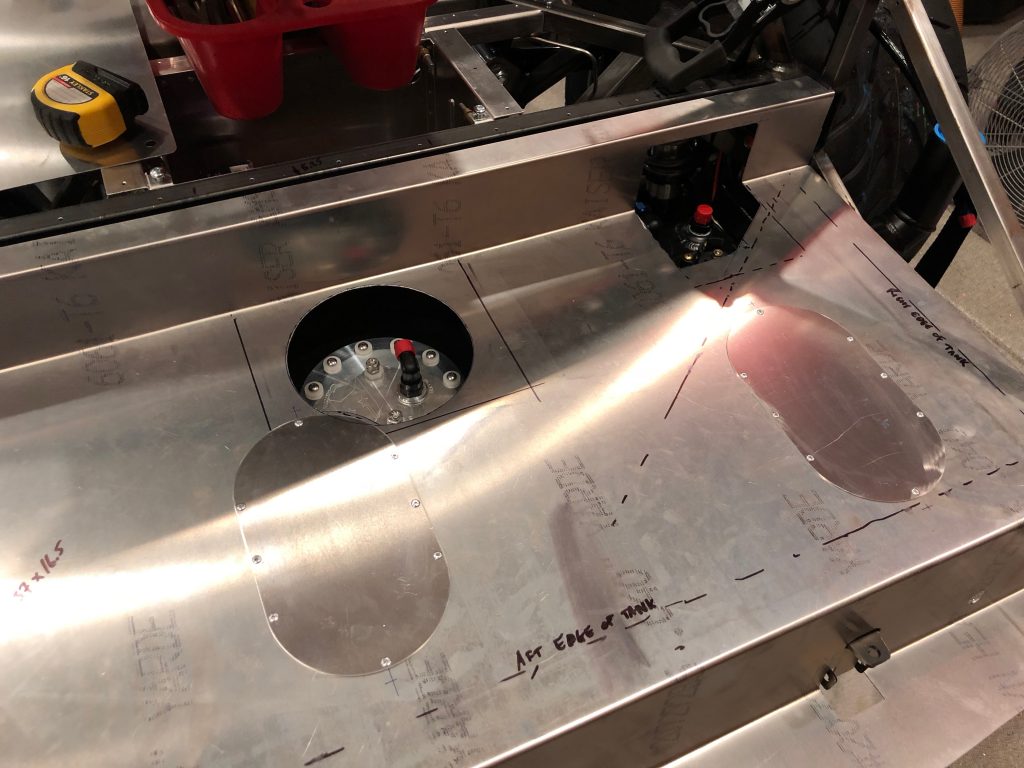
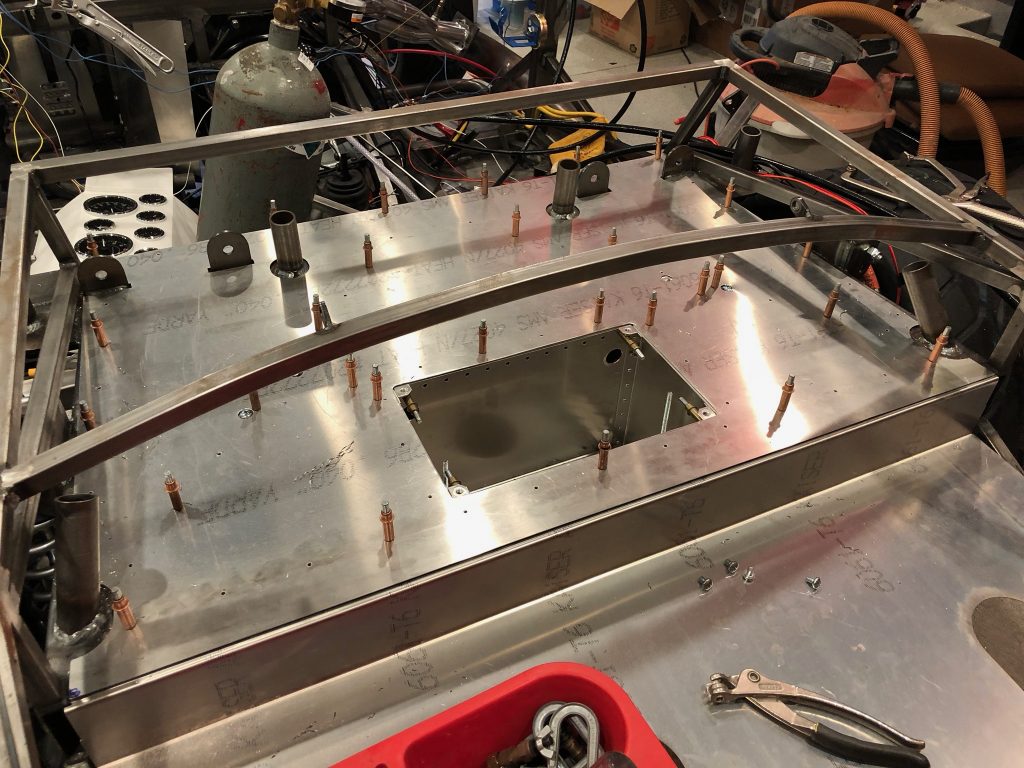
I cutout the holes in the lower trunk floor for accessing the fuel pump, fuel level sender, and fittings and then tested the fit to see if the holes need to be adjusted.

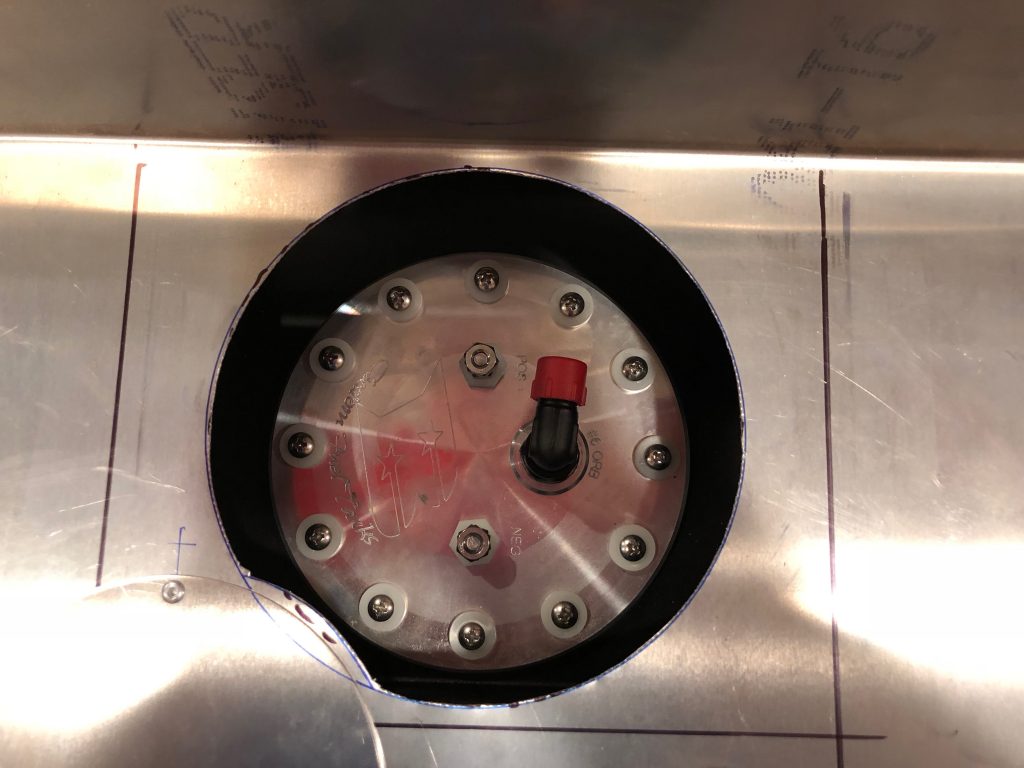
The hole for the fuel pump should work just fine. I think it will slip around the little bump out on the lower left if I ever need to remove it.

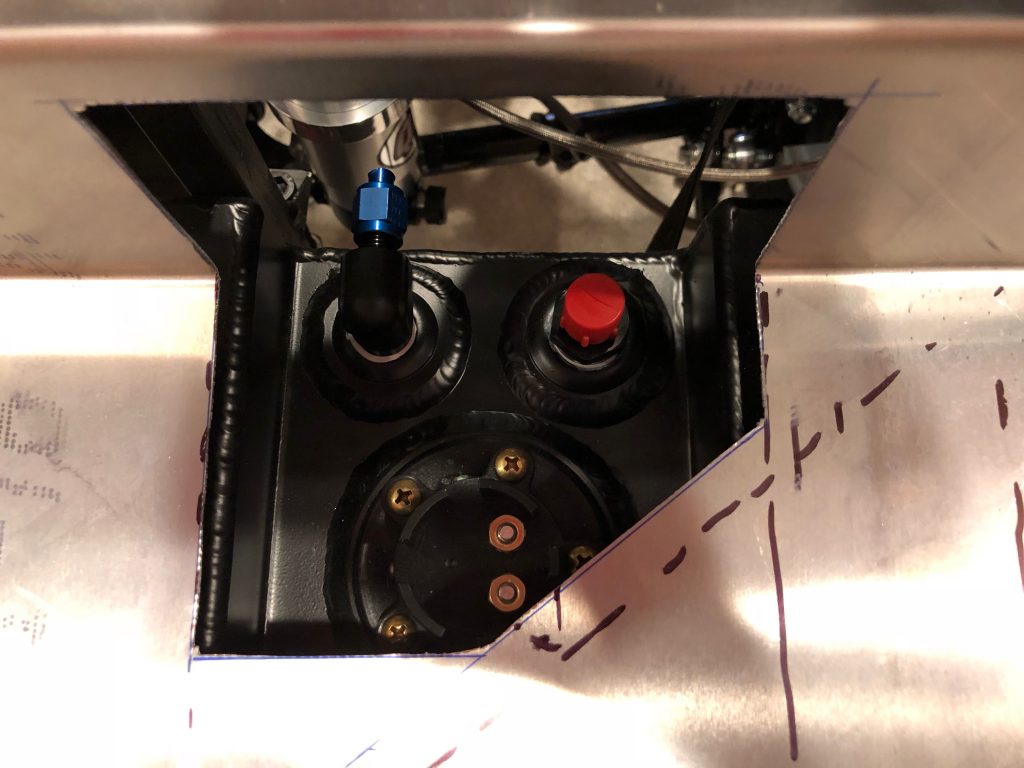
The hole for the fuel level sender will probably need to be enlarged slightly to allow the sender to be removed. I’ll mark and trim that before cleaning up the holes and fabricating cover plates.

Fit Fuel Tank

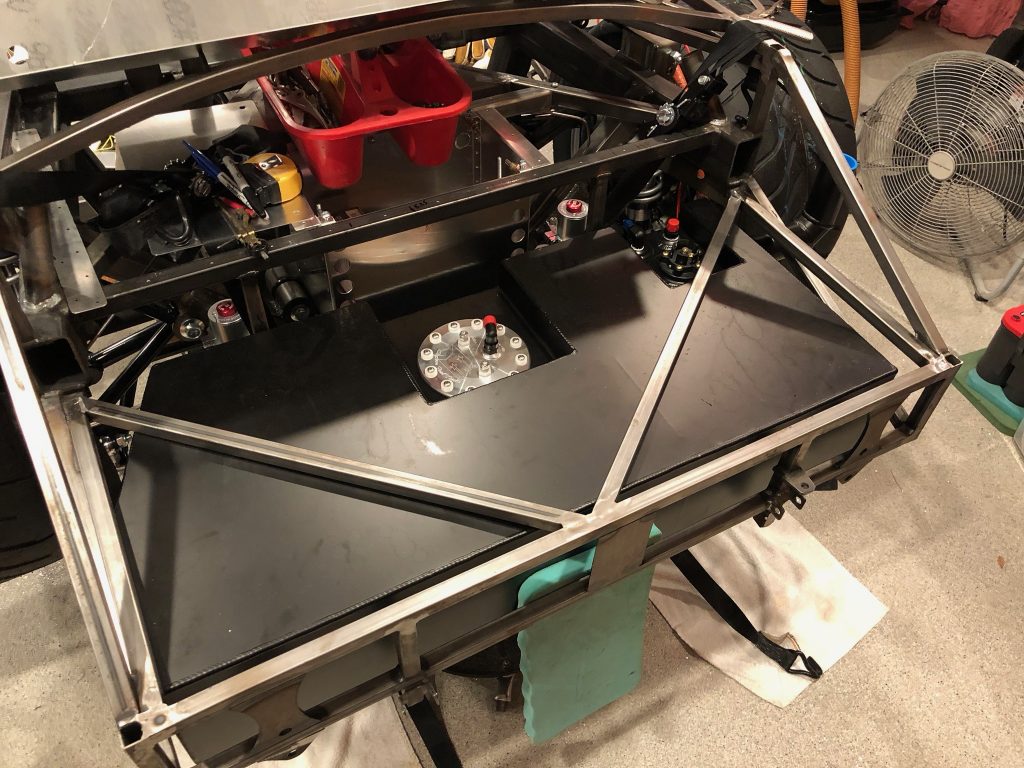
I test fit the fuel tank because I need to cut new access panels in the lower trunk floor. The fuel sender sticks above the top of the tank, so I needed to shift the tank most of the way forward and slightly left of center in order for the sender to clear the right diagonal square tubing.

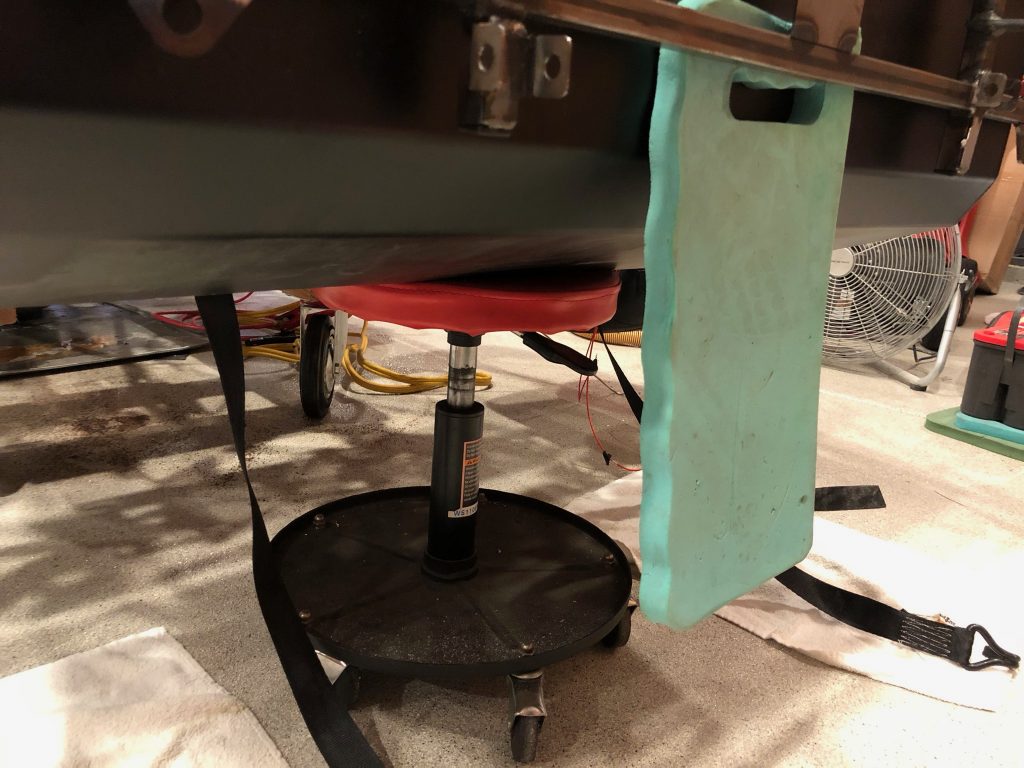
I temporarily supported the tank with my pneumatic stool and removed the straps so that I could install the lower trunk floor.

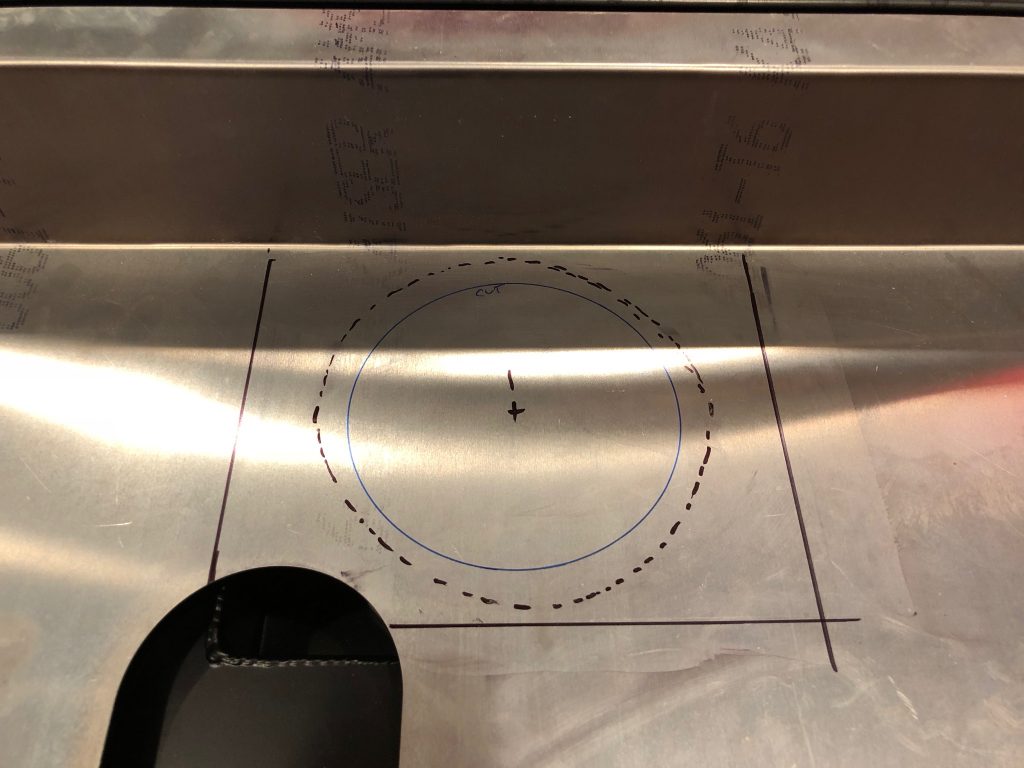
With the floor installed, I marked the location of the new access panel for the fuel pump. I’ll probably make this slightly bigger so that I can remove the fuel pump through the hole if that ever becomes necessary.

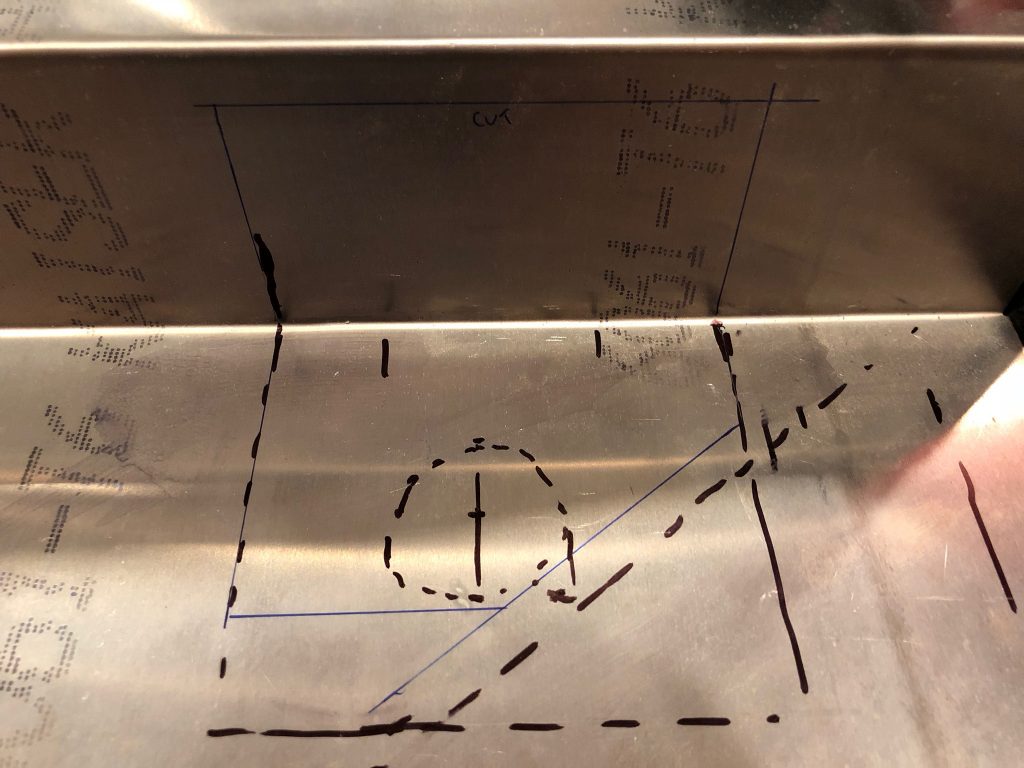
I also laid out the hole for the access panel that covers the fuel level sender, fuel return and vent fittings. This access panel will wrap up the vertical portion of the lower trunk floor since the plumbing fittings are forward of this surface and would be difficult to access only through the lower portion of the hole.

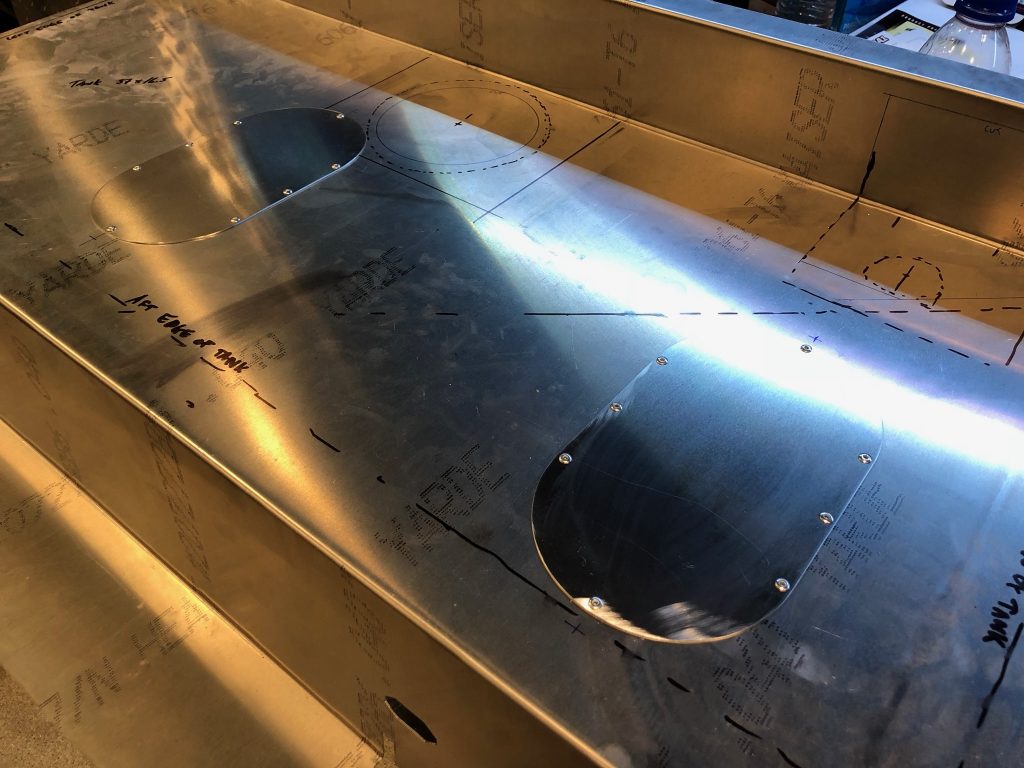
Since I don’t need these access holes, I made sure the rivets wouldn’t interfere with the 3/4″ square tubing below and then drilled and riveted these plates in place.

Drilled Upper Trunk Floor

With the upper trunk floor in place, I reached underneath and traced around all of the supporting structure with a sharpie. I then removed the floor and laid out and drilled holes through the aluminum. Afterward, I repositioned the floor and match drilled the underlying structure.

Installed Battery Box

I decided to install the battery box. I disassembled it so that I could debur all of the edges and then riveted it back together. The forward cross bar needed a little trimming to fit between the angled square tubes. I then positioned everything in place and clecoed the box to the cross bar.
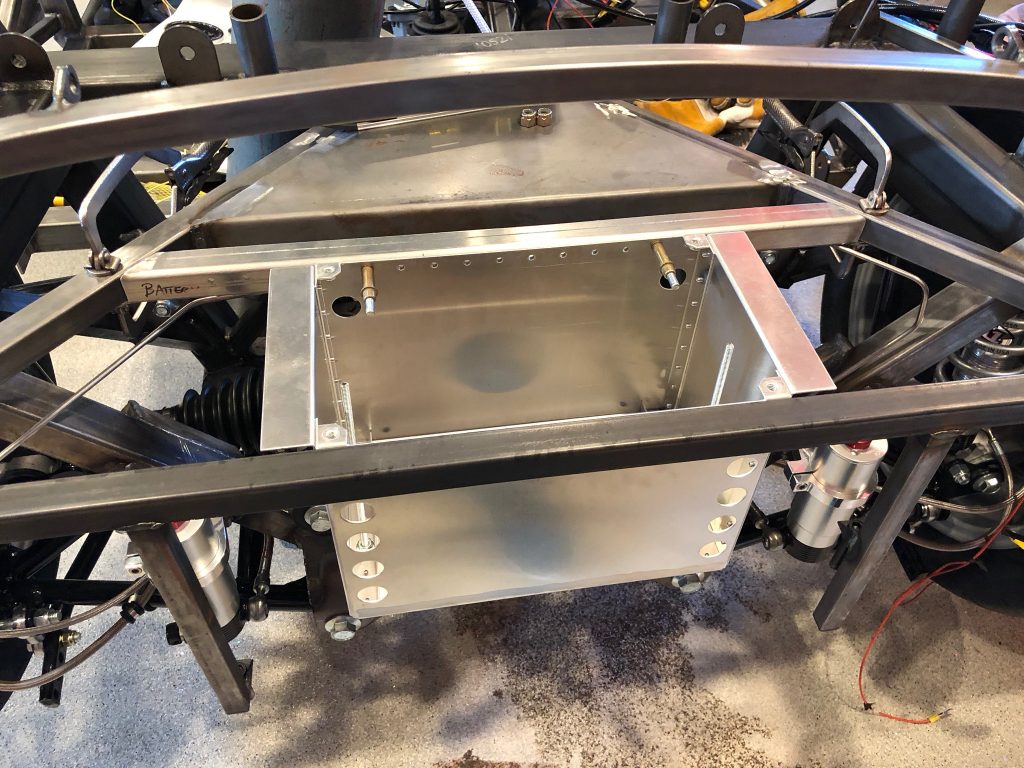
After verifying that the box clears the diff mounting ears, I clamped some straight edges to the flanges of the battery box to make sure it was flush with the aft square tube. I then drilled the box to the aft square tube and drilled the cross bar to the angled square tubes.
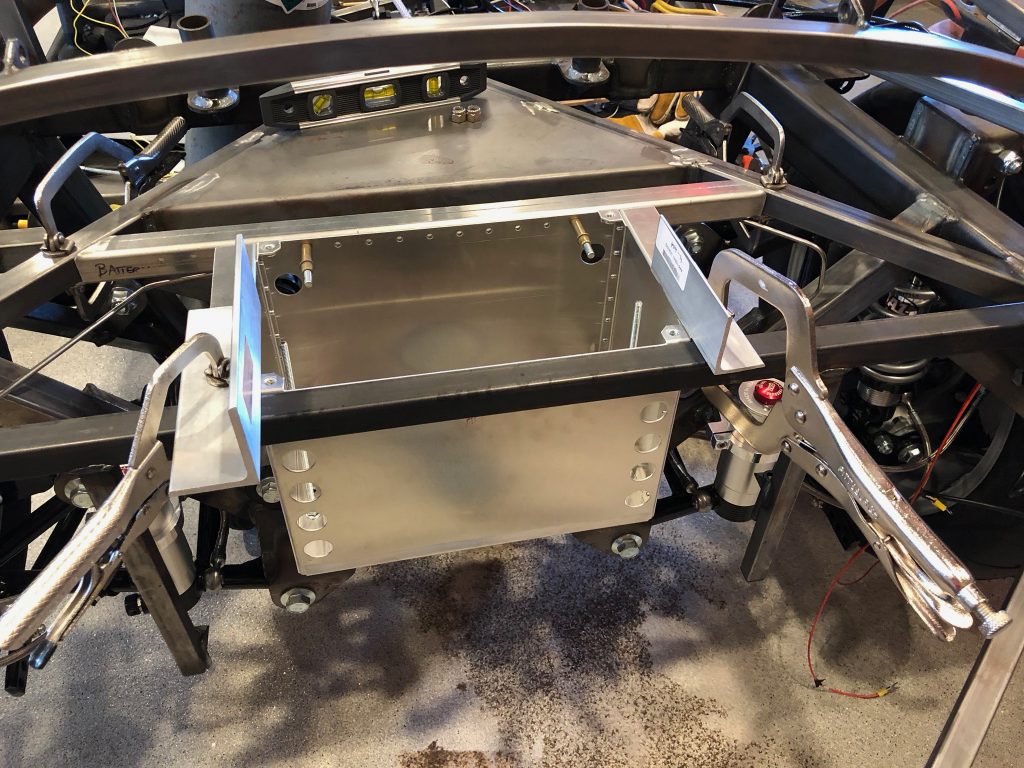
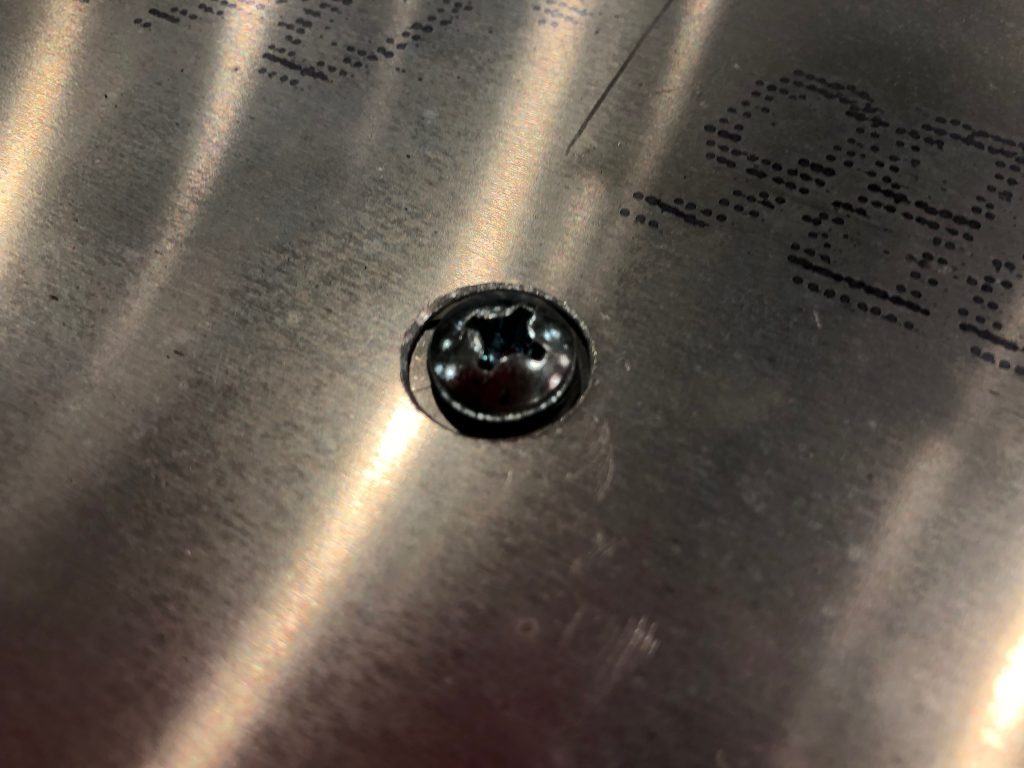
After positioning the floor in place, I drilled a couple of holes at the forward corners to lock in the position, then marked and drilled the holes that clear the bolt heads holding the cross bar in place.
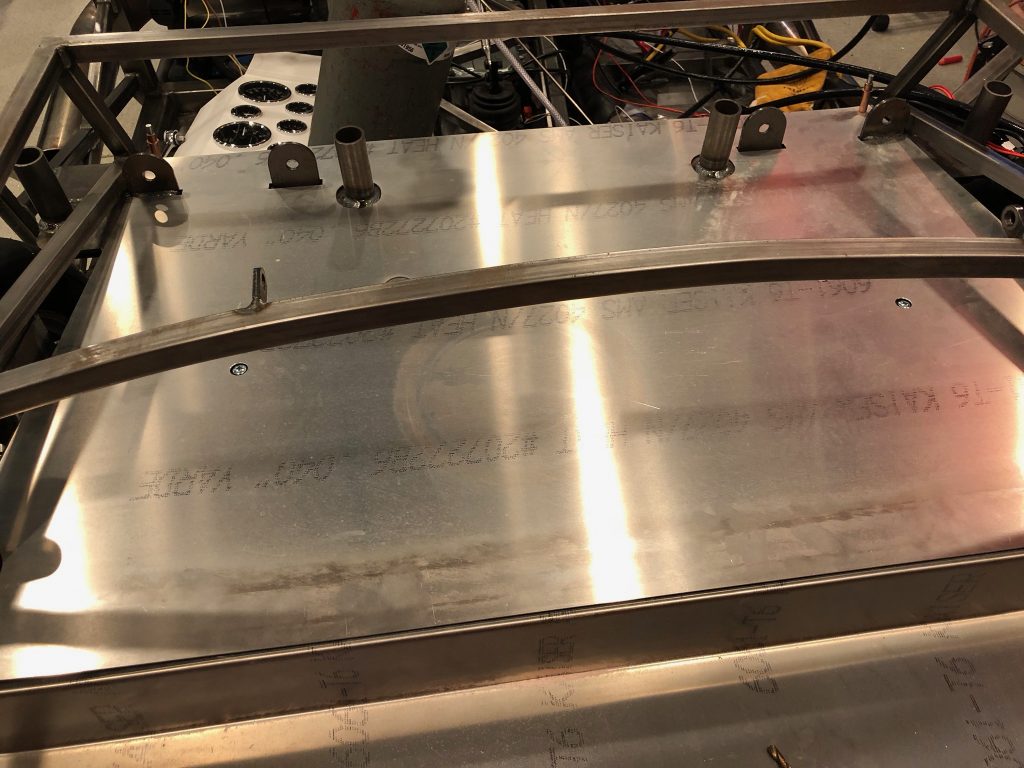
The bolt heads still stick up above the floor slightly, but all of this will be covered by carpet.
I reached up through the bottom of the battery box and marked the edges for trimming. After cutting out the hole, I test fit the floor in place.
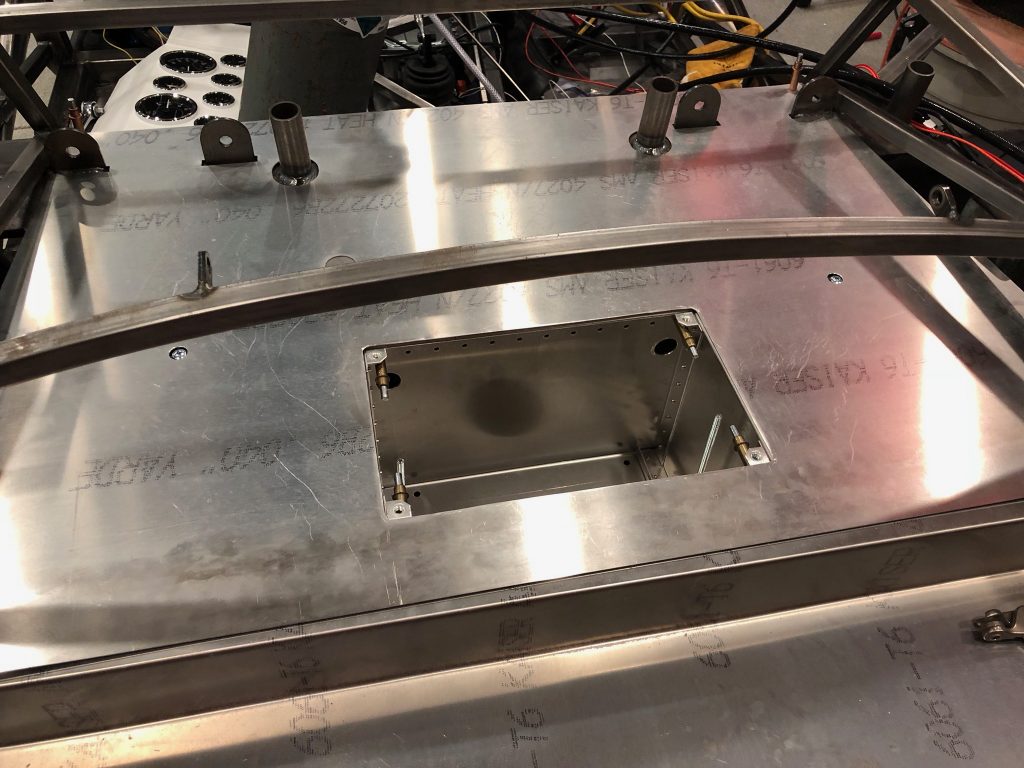
The hole will be covered by a plate that is also held down with button head screws. I briefly considered making these use flush head screws, but I don’t think the extra effort is worth it.