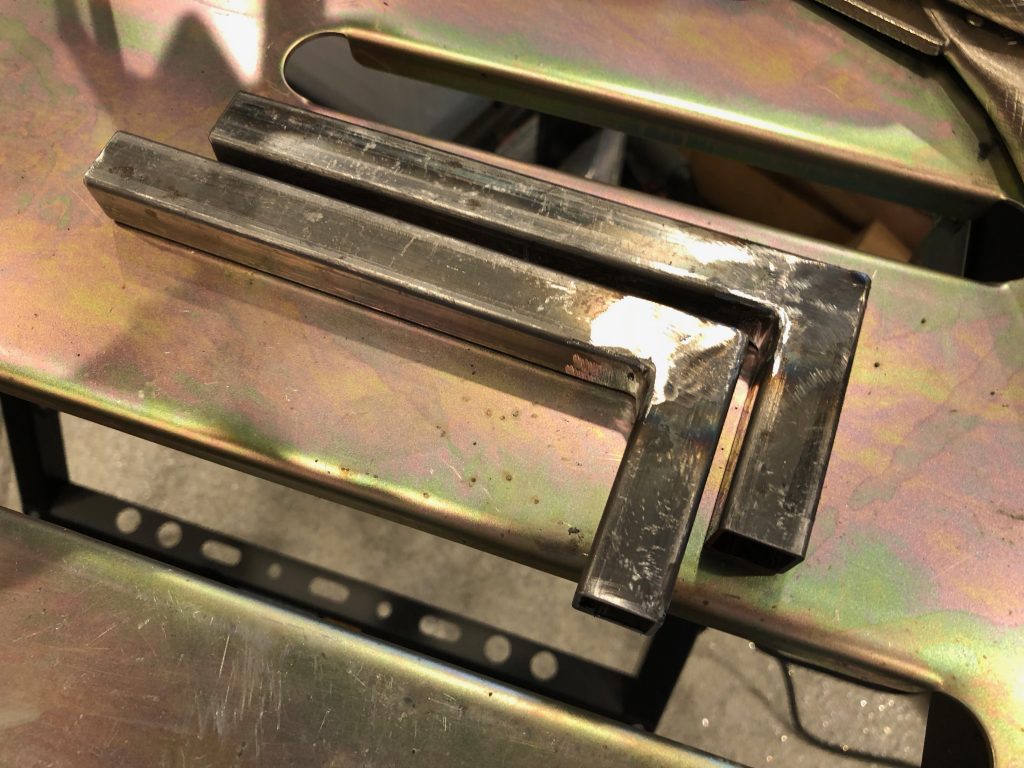
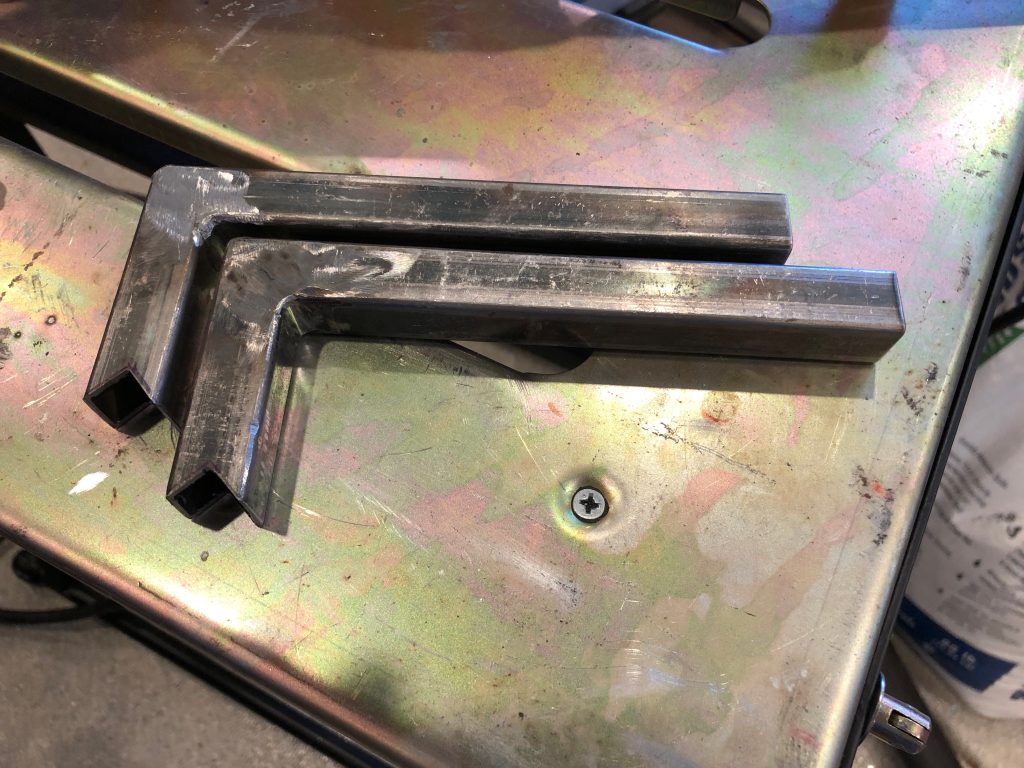
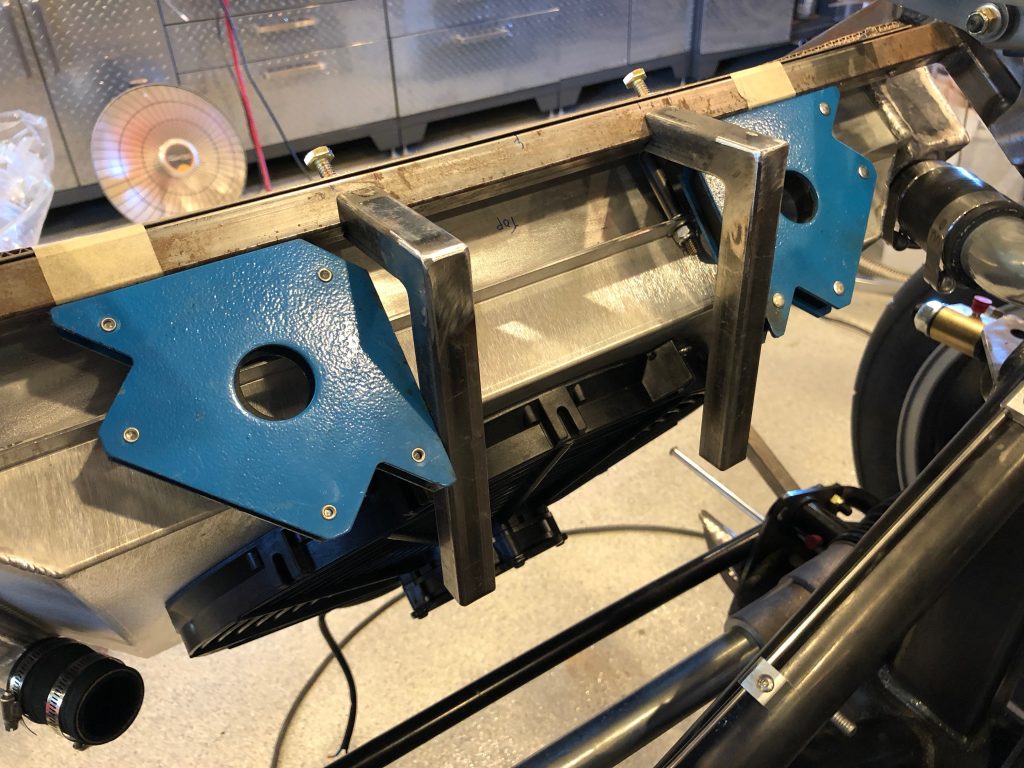
Last week I started thinking about where to mount the new coolant reservoir and I settled on mounting it just behind the radiator, centered over the x-frame. I needed a way to cantilever it out from 3/4″ cross tube that supports the upper end of the radiator, so I welded up some additional 3/4″ tubing to form a couple of L shaped pieces.
These will be welded to the upper 3/4″ tubing, but that’s mounted at a 45º angle, so I need to cut some notches in the forward end of these.
These notches should let the supports fit tight against the tubing and be perpendicular to the ground.
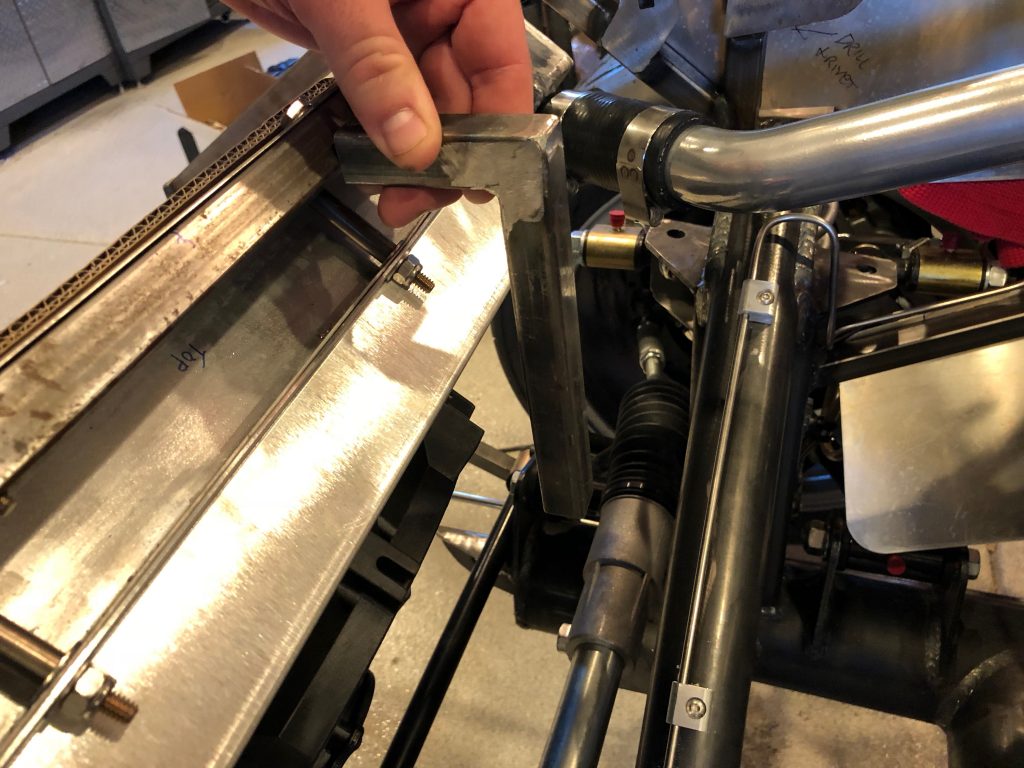
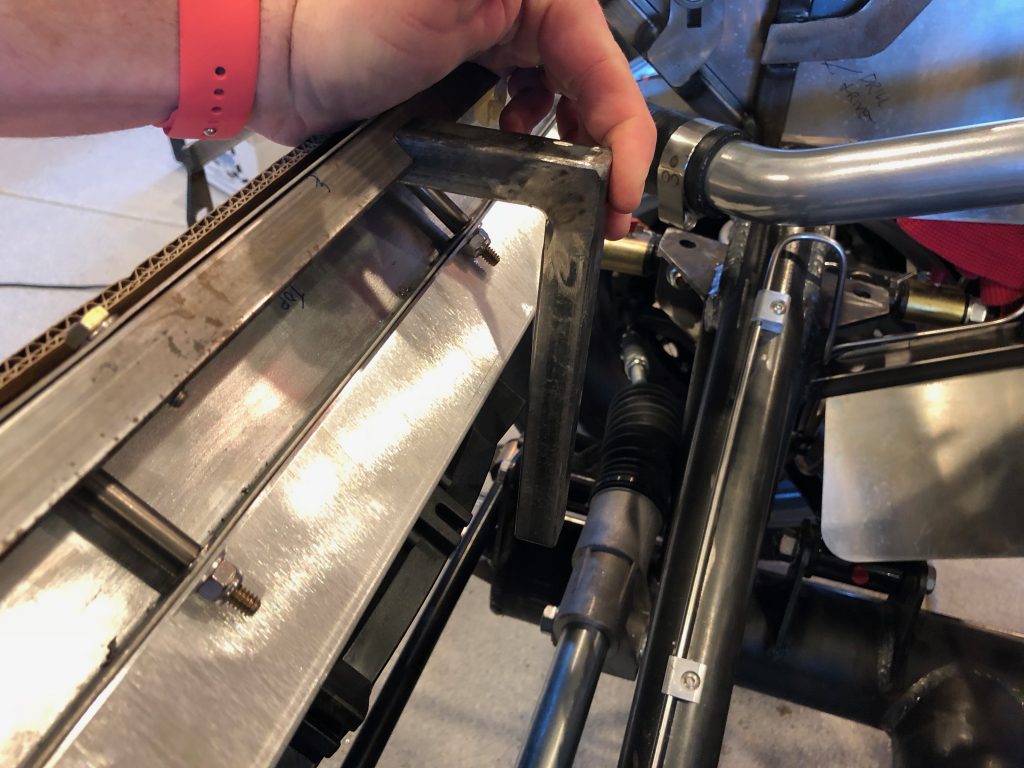
Here’s how they’ll fit against the support tubing.
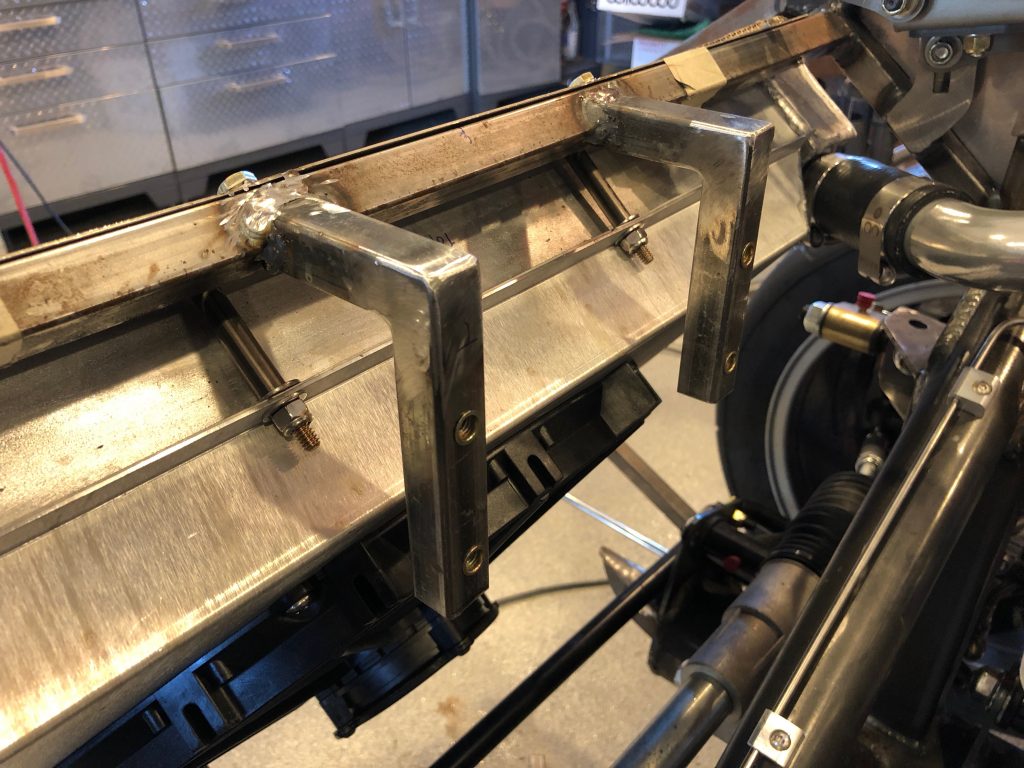
I took some careful measurements to ensure these were centered, the right distance apart, parallel with each other in both axes and perpendicular to the 4″ round tubes in the chassis (so that this will be completely vertical).
I then welded them in place and installed 4, 1/4-20 rivnuts. I also cut off a bunch of the extra tubing since I left them long initially.
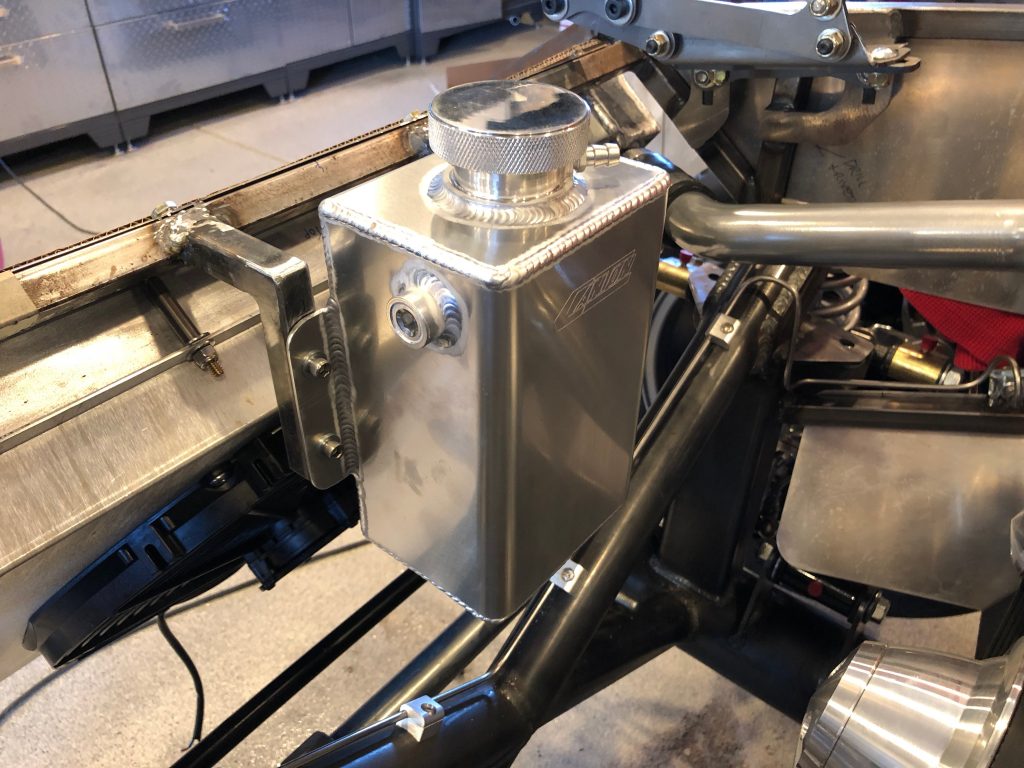
Here’s the installed coolant reservoir. I set the height of the reservoir so that the cap is slightly higher than the cap in the thermostat housing so that this is the high point in the coolant system. I also installed a plug in the side of the reservoir and a hose fitting in the bottom that will tie to the hose fitting under the cap in the themostat housing. The hose fitting just under this cap will connect to an overflow hose that will just run down to the bottom of the chassis to vent any excess coolant.
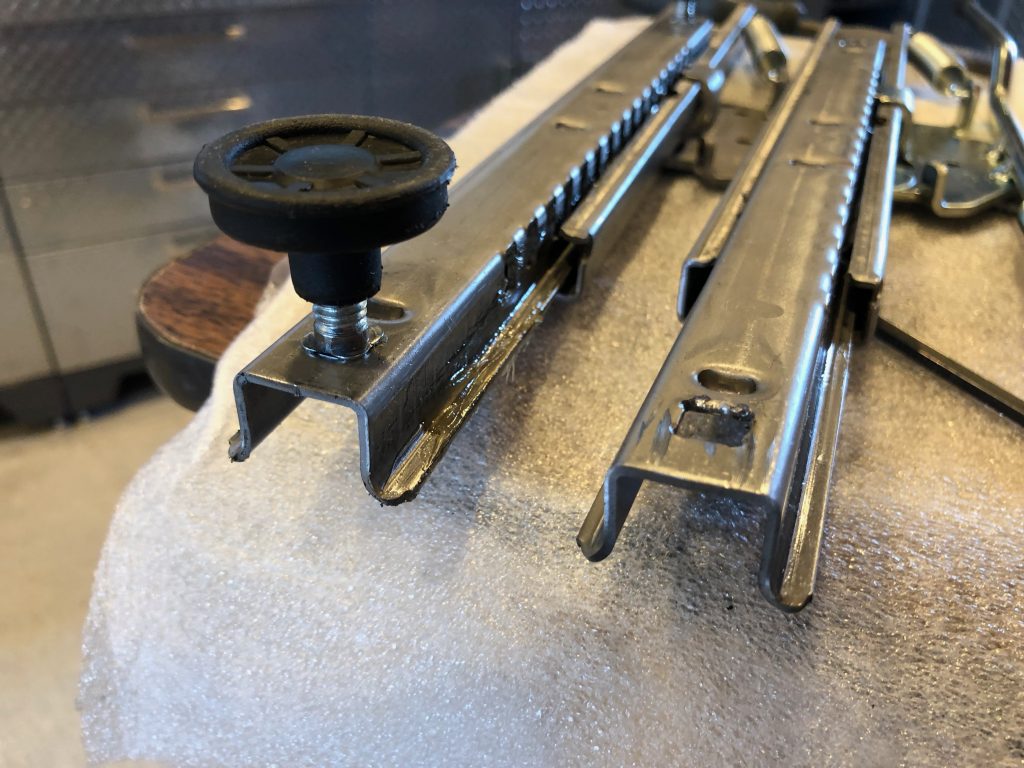
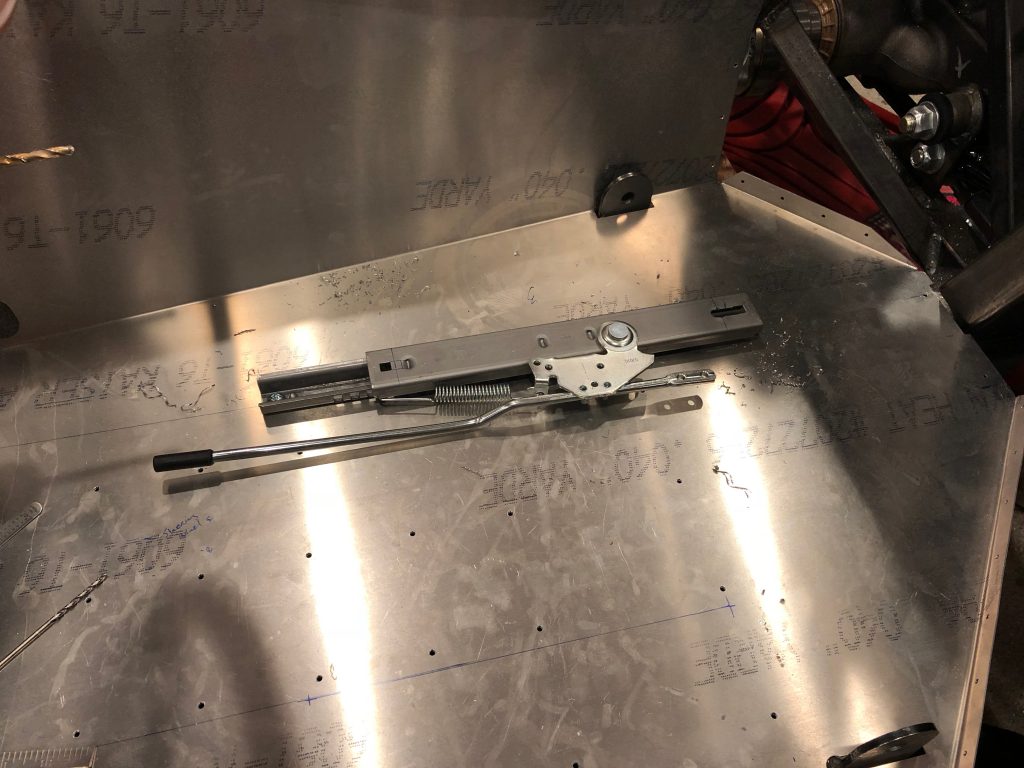
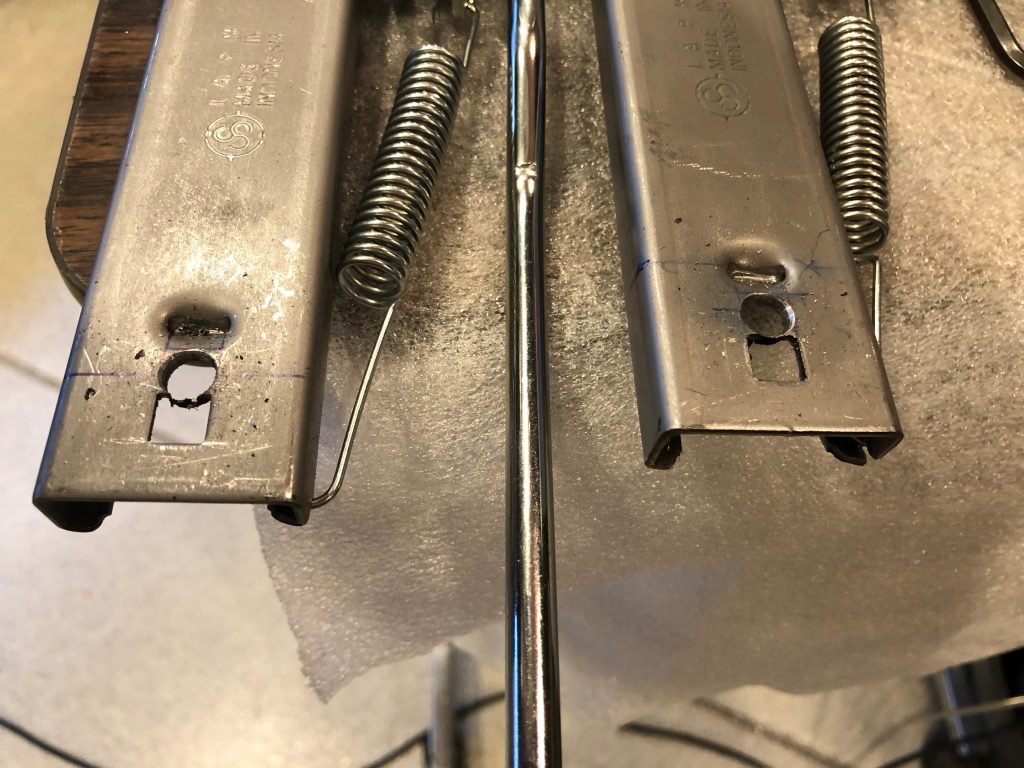
With the coolant reservoir installed, I turned back to the seat tracks. They come with four studs installed, but I need to remove them so that I can install screws through the floor. I ground off most of the stud with a grinder and cutoff wheel, then drilled through the remaining part until it popped out. Here’s the before and after picture.
Using the measurements that Factory Five provides on their seat track instructions, I carefully laid out the position of the seat tracks. The right one is centered over the 4″ chassis tube on the left side of the car. I drilled and tapped the holes for 5/16-18 screws and screwed it down.
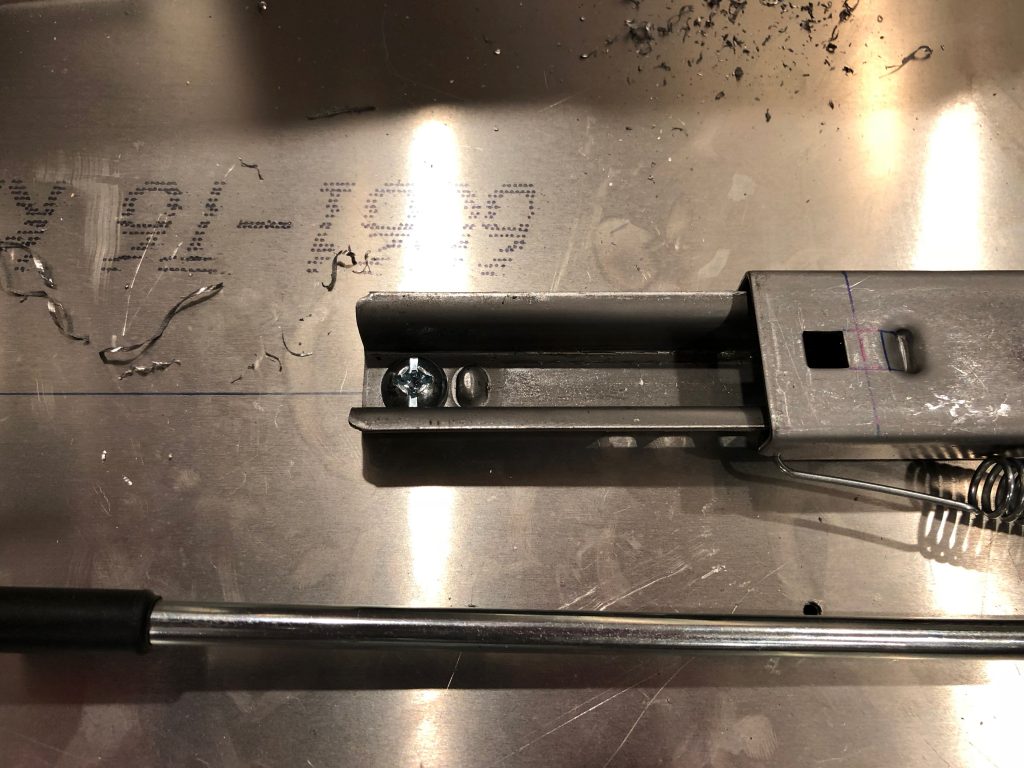
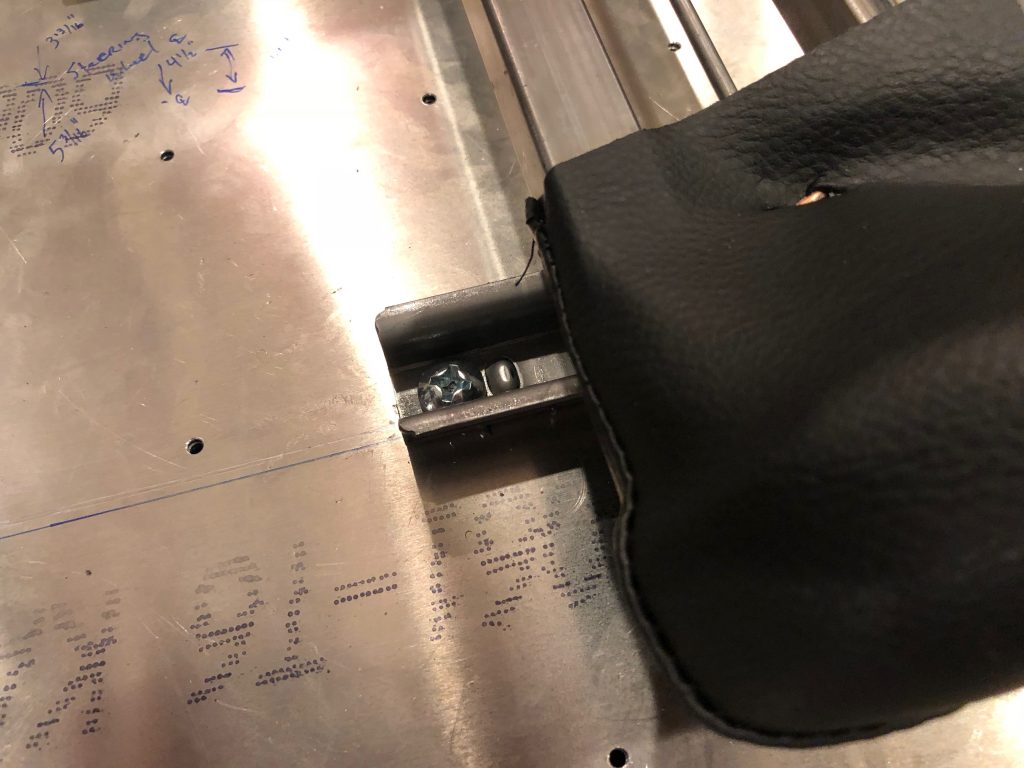
The screws are low profile enough that they won’t interfere with the operation of the track. This is the front end.
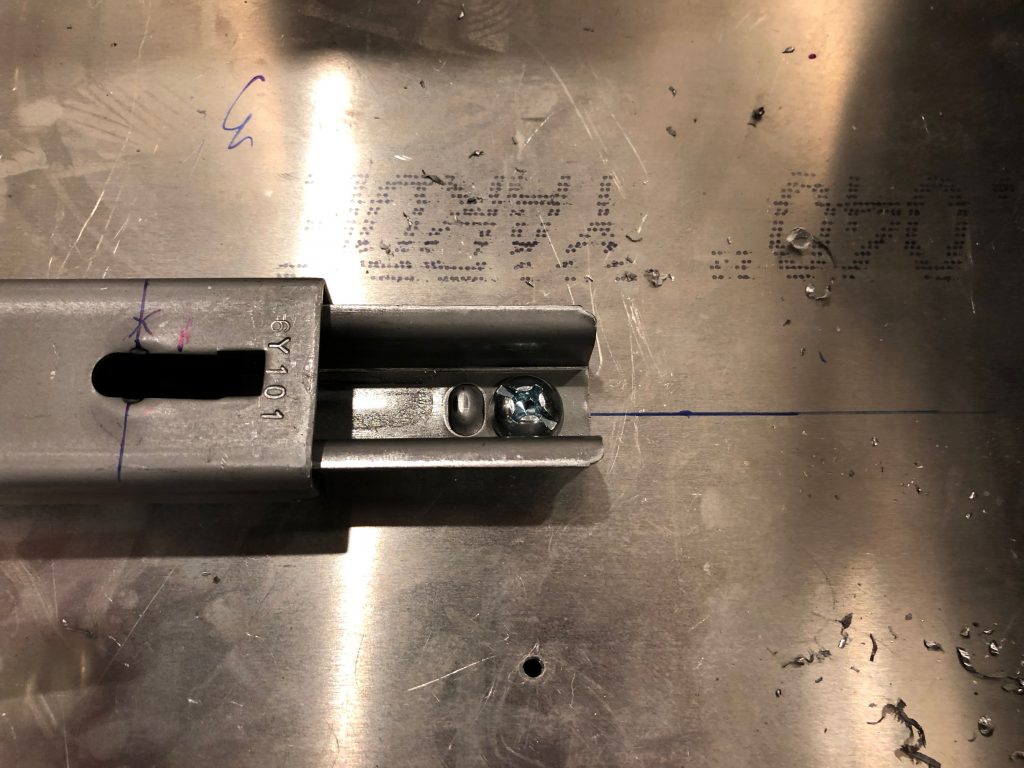
And this is the rear.
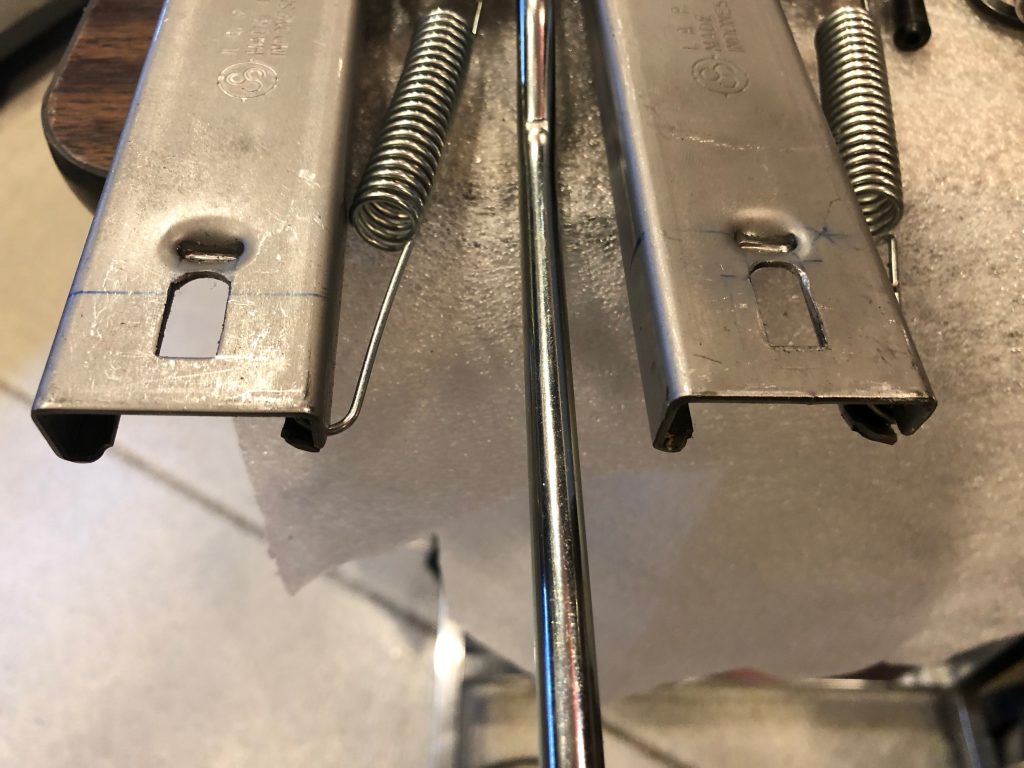
The upper part of the track is screwed to the seat, but the existing hoes aren’t spaced right to line up with the cross tubes in the seat frame. The FFR instructions have you elongate the hole at one end. I drilled a couple of 5/16″ hoes in the tracks just behind the existing square holes.
I used an air file to smooth out the sides. I didn’t need to square off the far end of the hole because it’s already radiused for the 5/16″ bolt that goes through it.
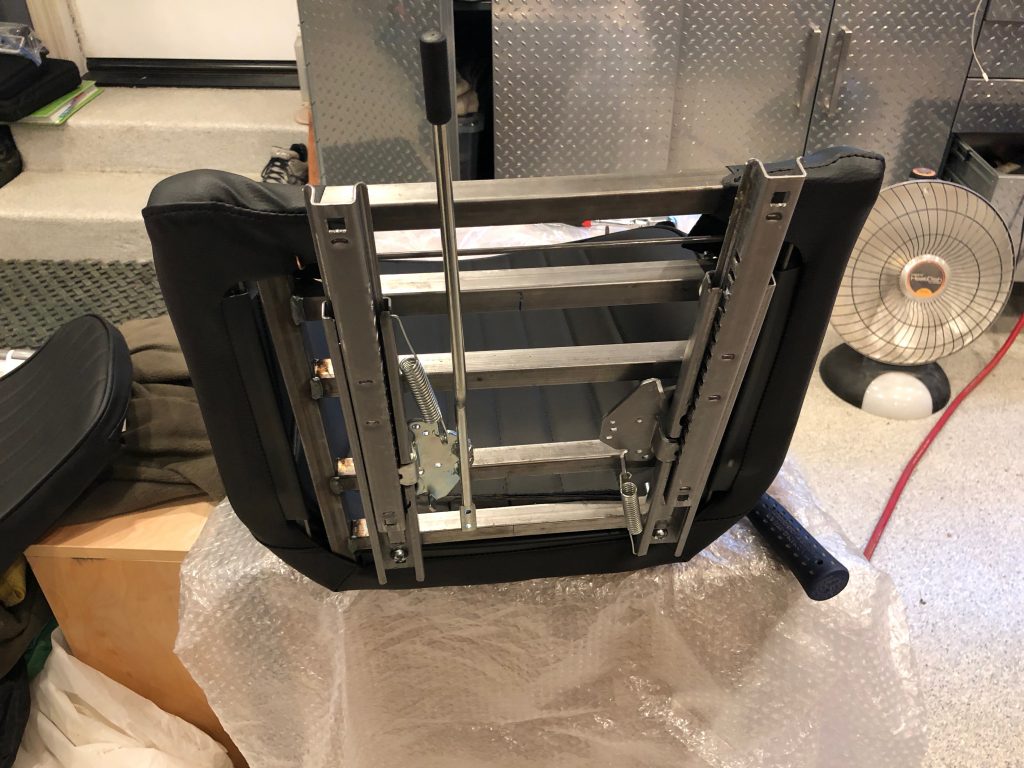
I then drilled holes in the bottom of the seat frame and installed the tracks. They’re slightly off center (by 13/16″) to align the center of the seat to the center of the steering wheel.
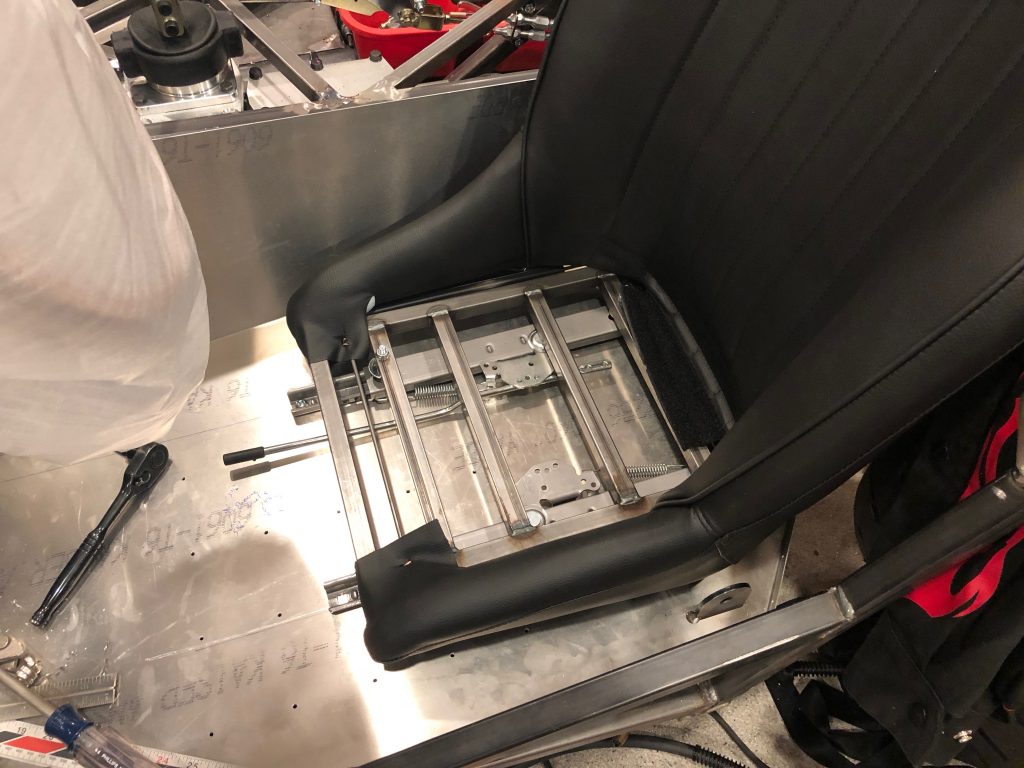
I reinstalled the seat and re-bolted the inside track to the 4″ round tube.
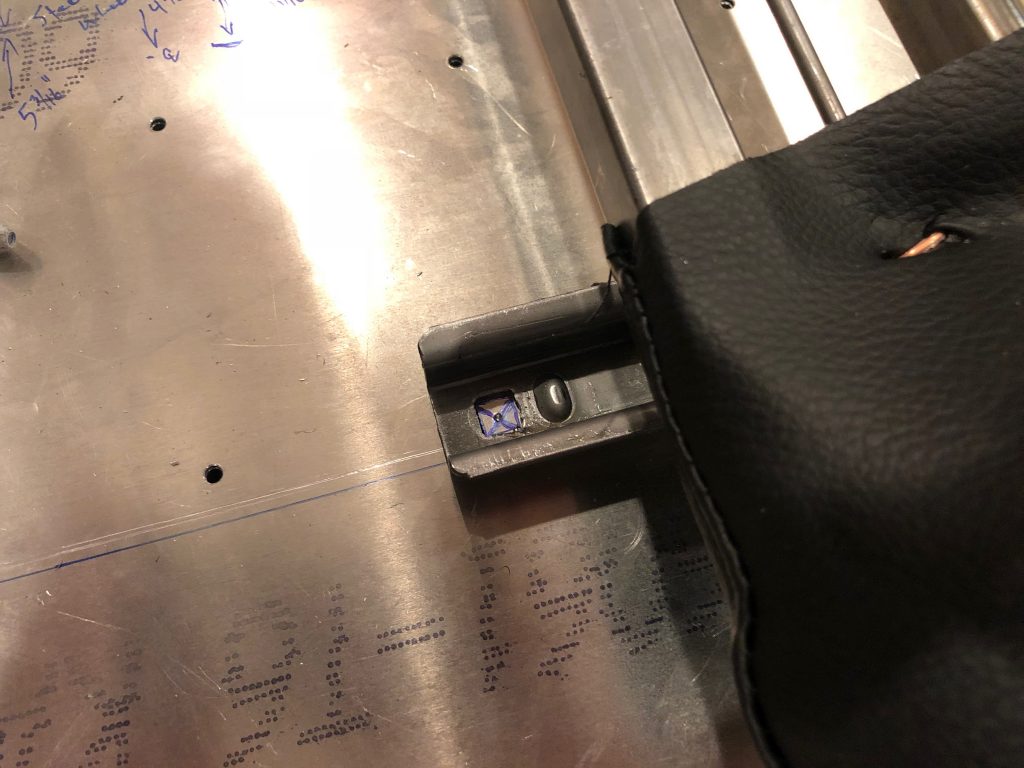
With the inside track locked into position and both tracks adjusted to the rearmost position, I marked where the forward hole should be drilled. The long blue line just below where I marked is where the plans specify that the outboard track should be installed. I shifted this track inboard slightly because it would have put the holes in the seat frame right through a weld.
I drilled the hole and dropped in a screw to hold the track in place. This is drilled out to 5/16″ since it’s not tapped. I’ll ultimately drill it out further and install a spacer between the upper and lower steel plates.
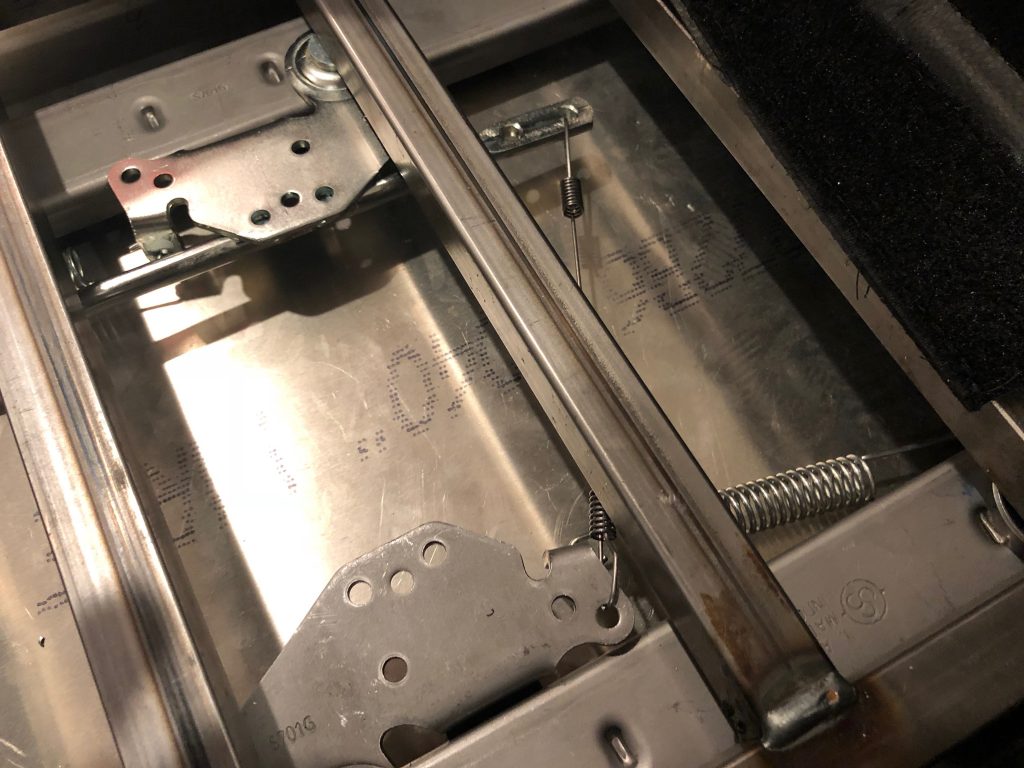
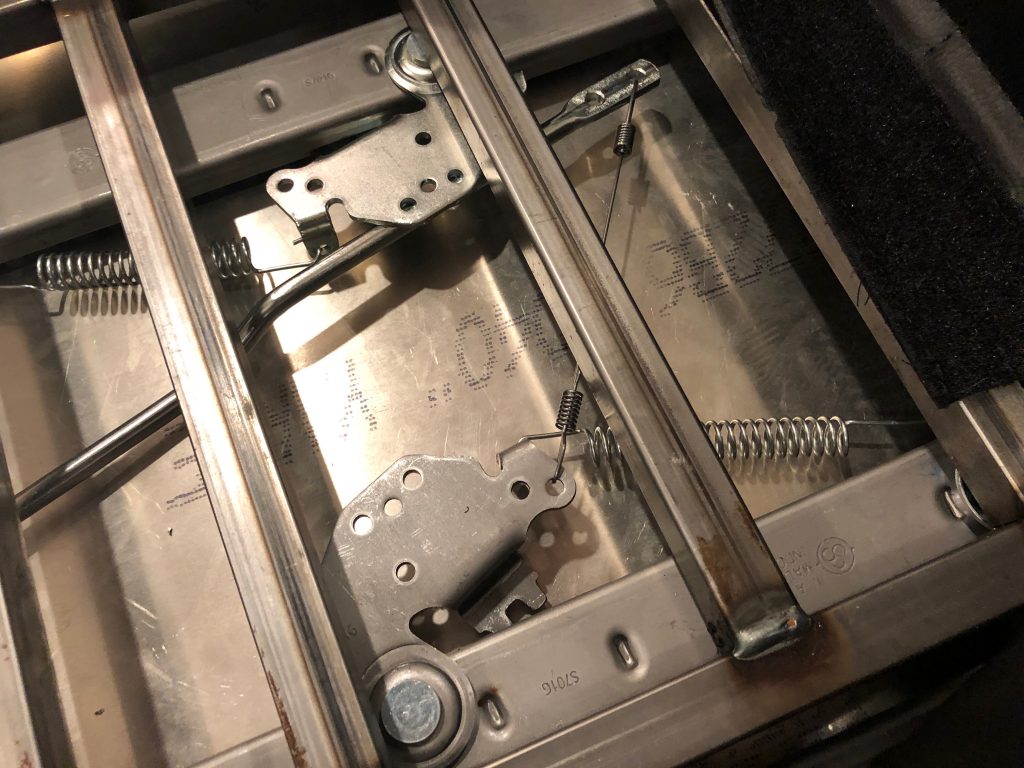
Before I can adjust the seats, I need to tie the two locking mechanisms together. I used the connecting wire that came with the kit, but I had to shorten it over 1″ since these are not remotely installed according to plans.
With the handle moved to the side, both locking mechanisms release at the same time. By installing these to the seat first and then attaching the inside seat track to the chassis, it guarantees that both locking mechanisms lock and release at exactly the same point. Without doing it this way, it would be easy to get one track slightly in front of the other and both sides might not lock at exactly the same time.

