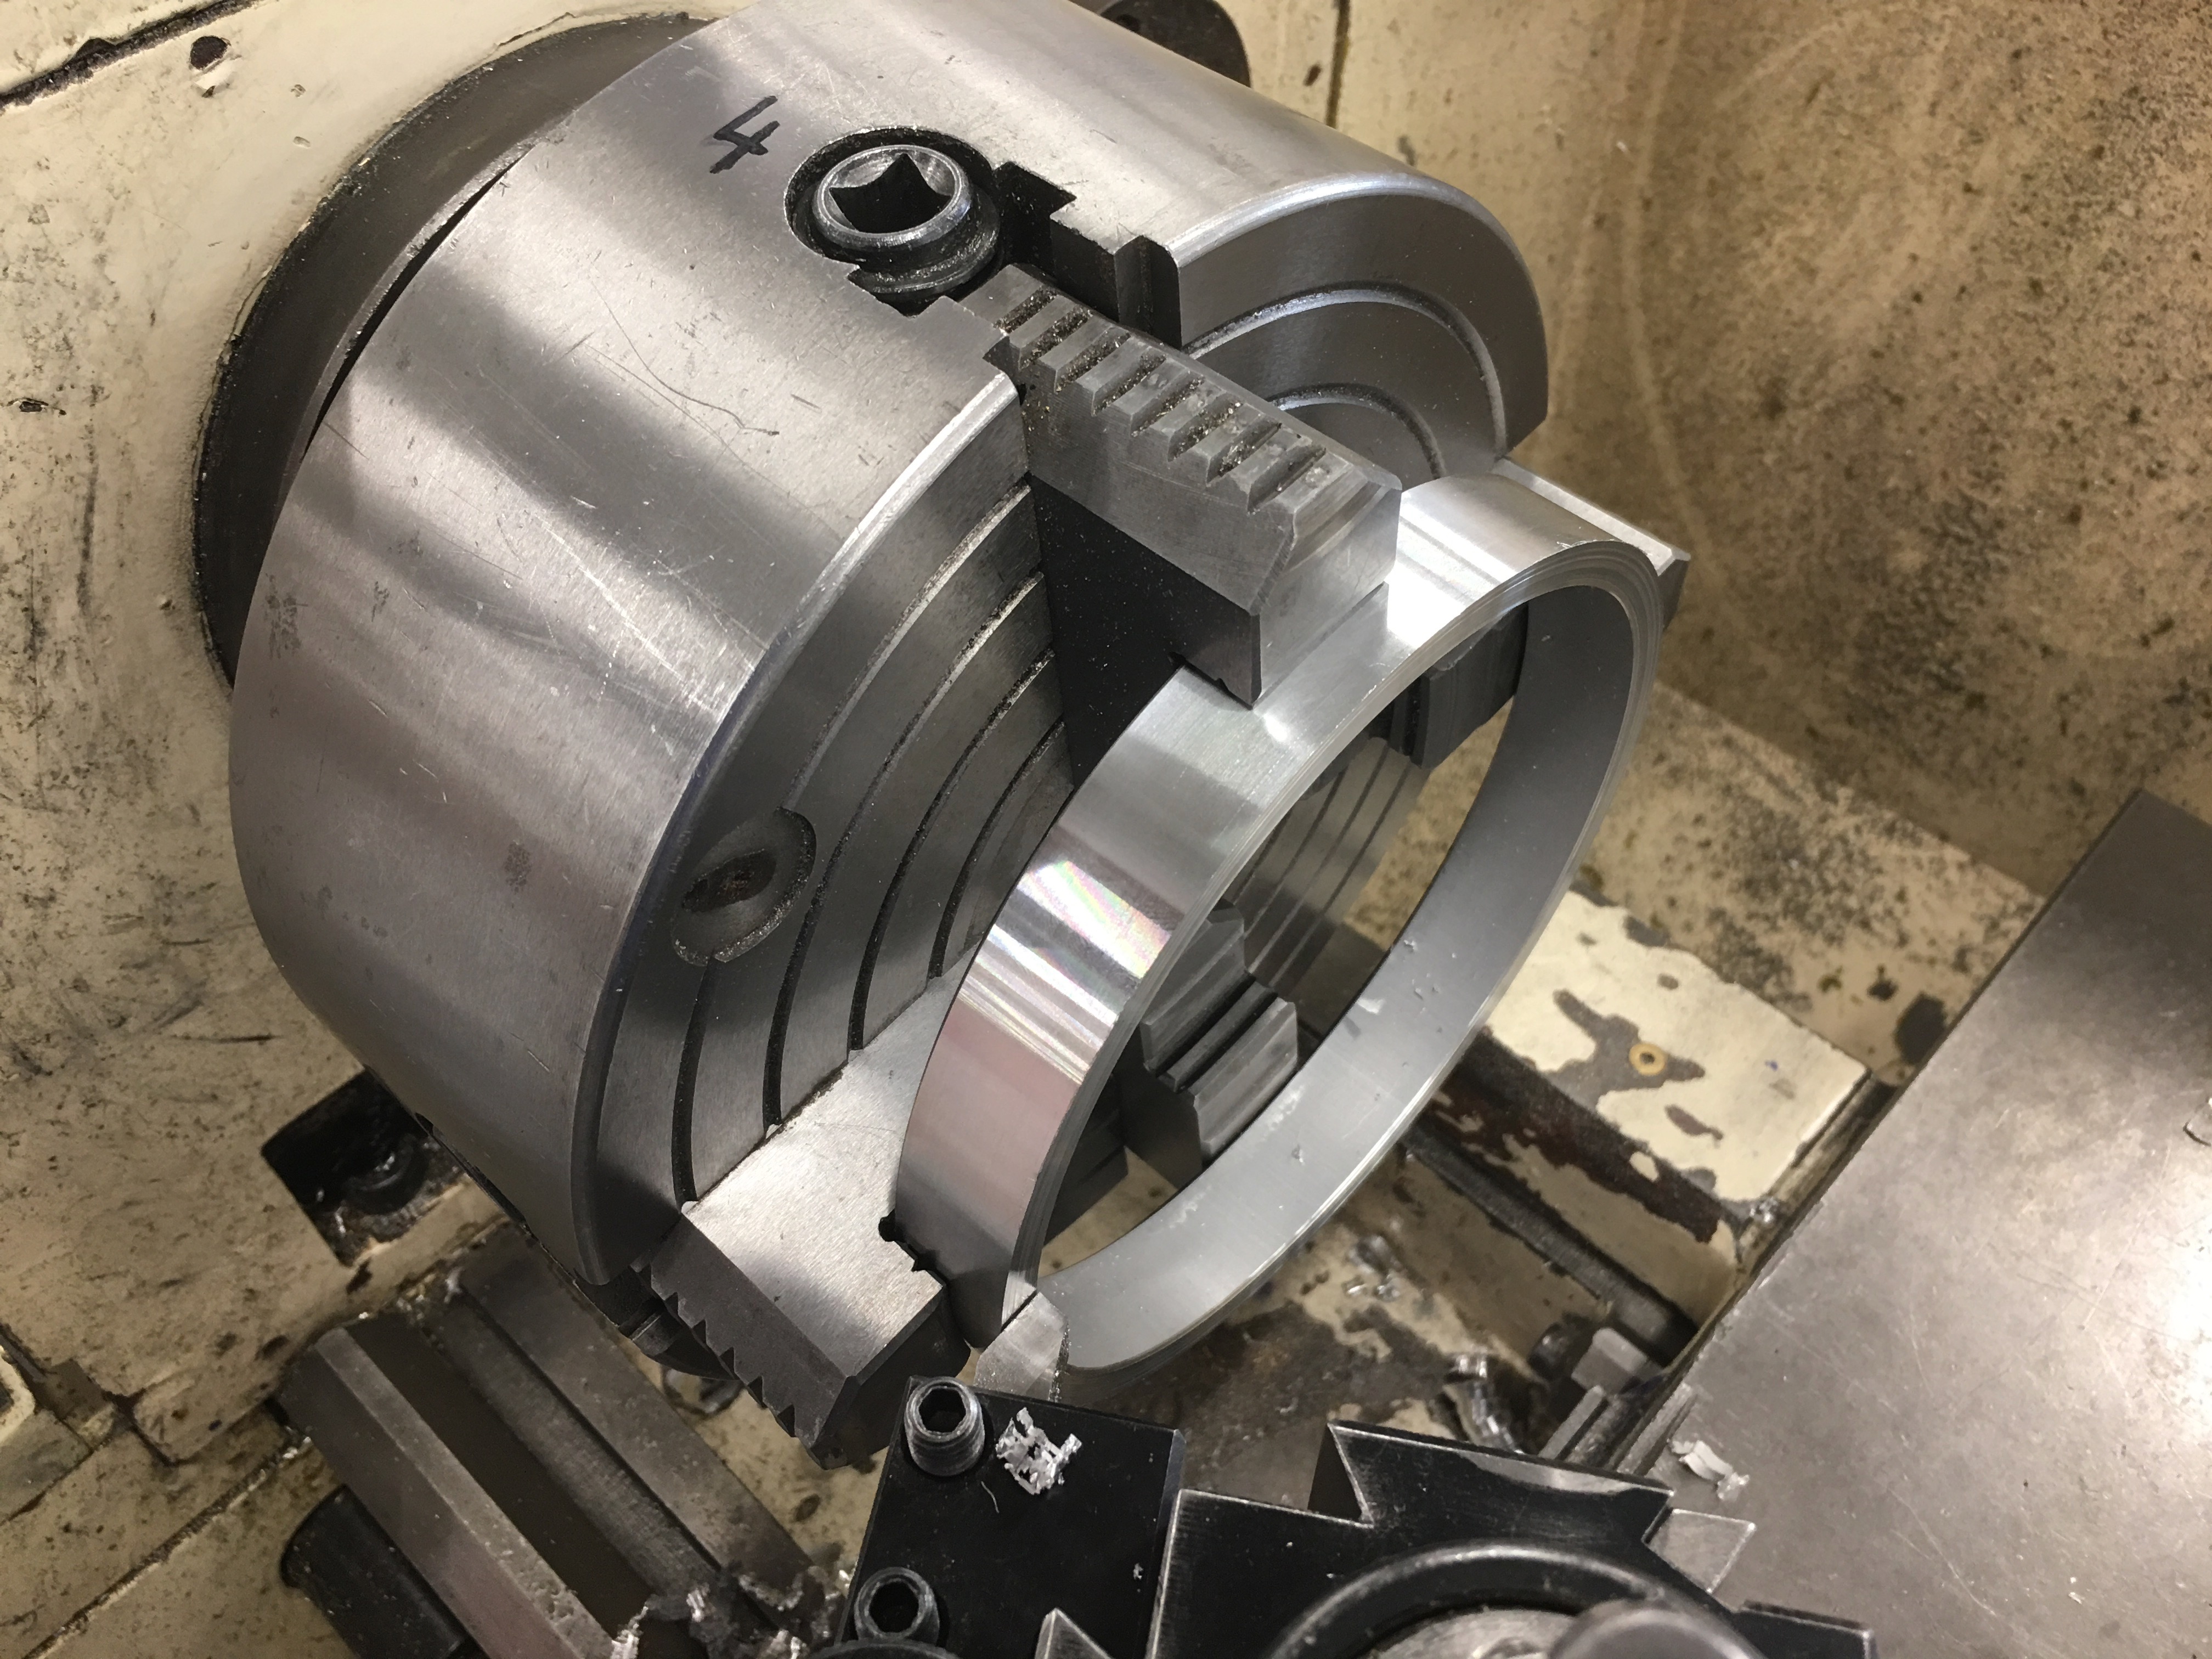
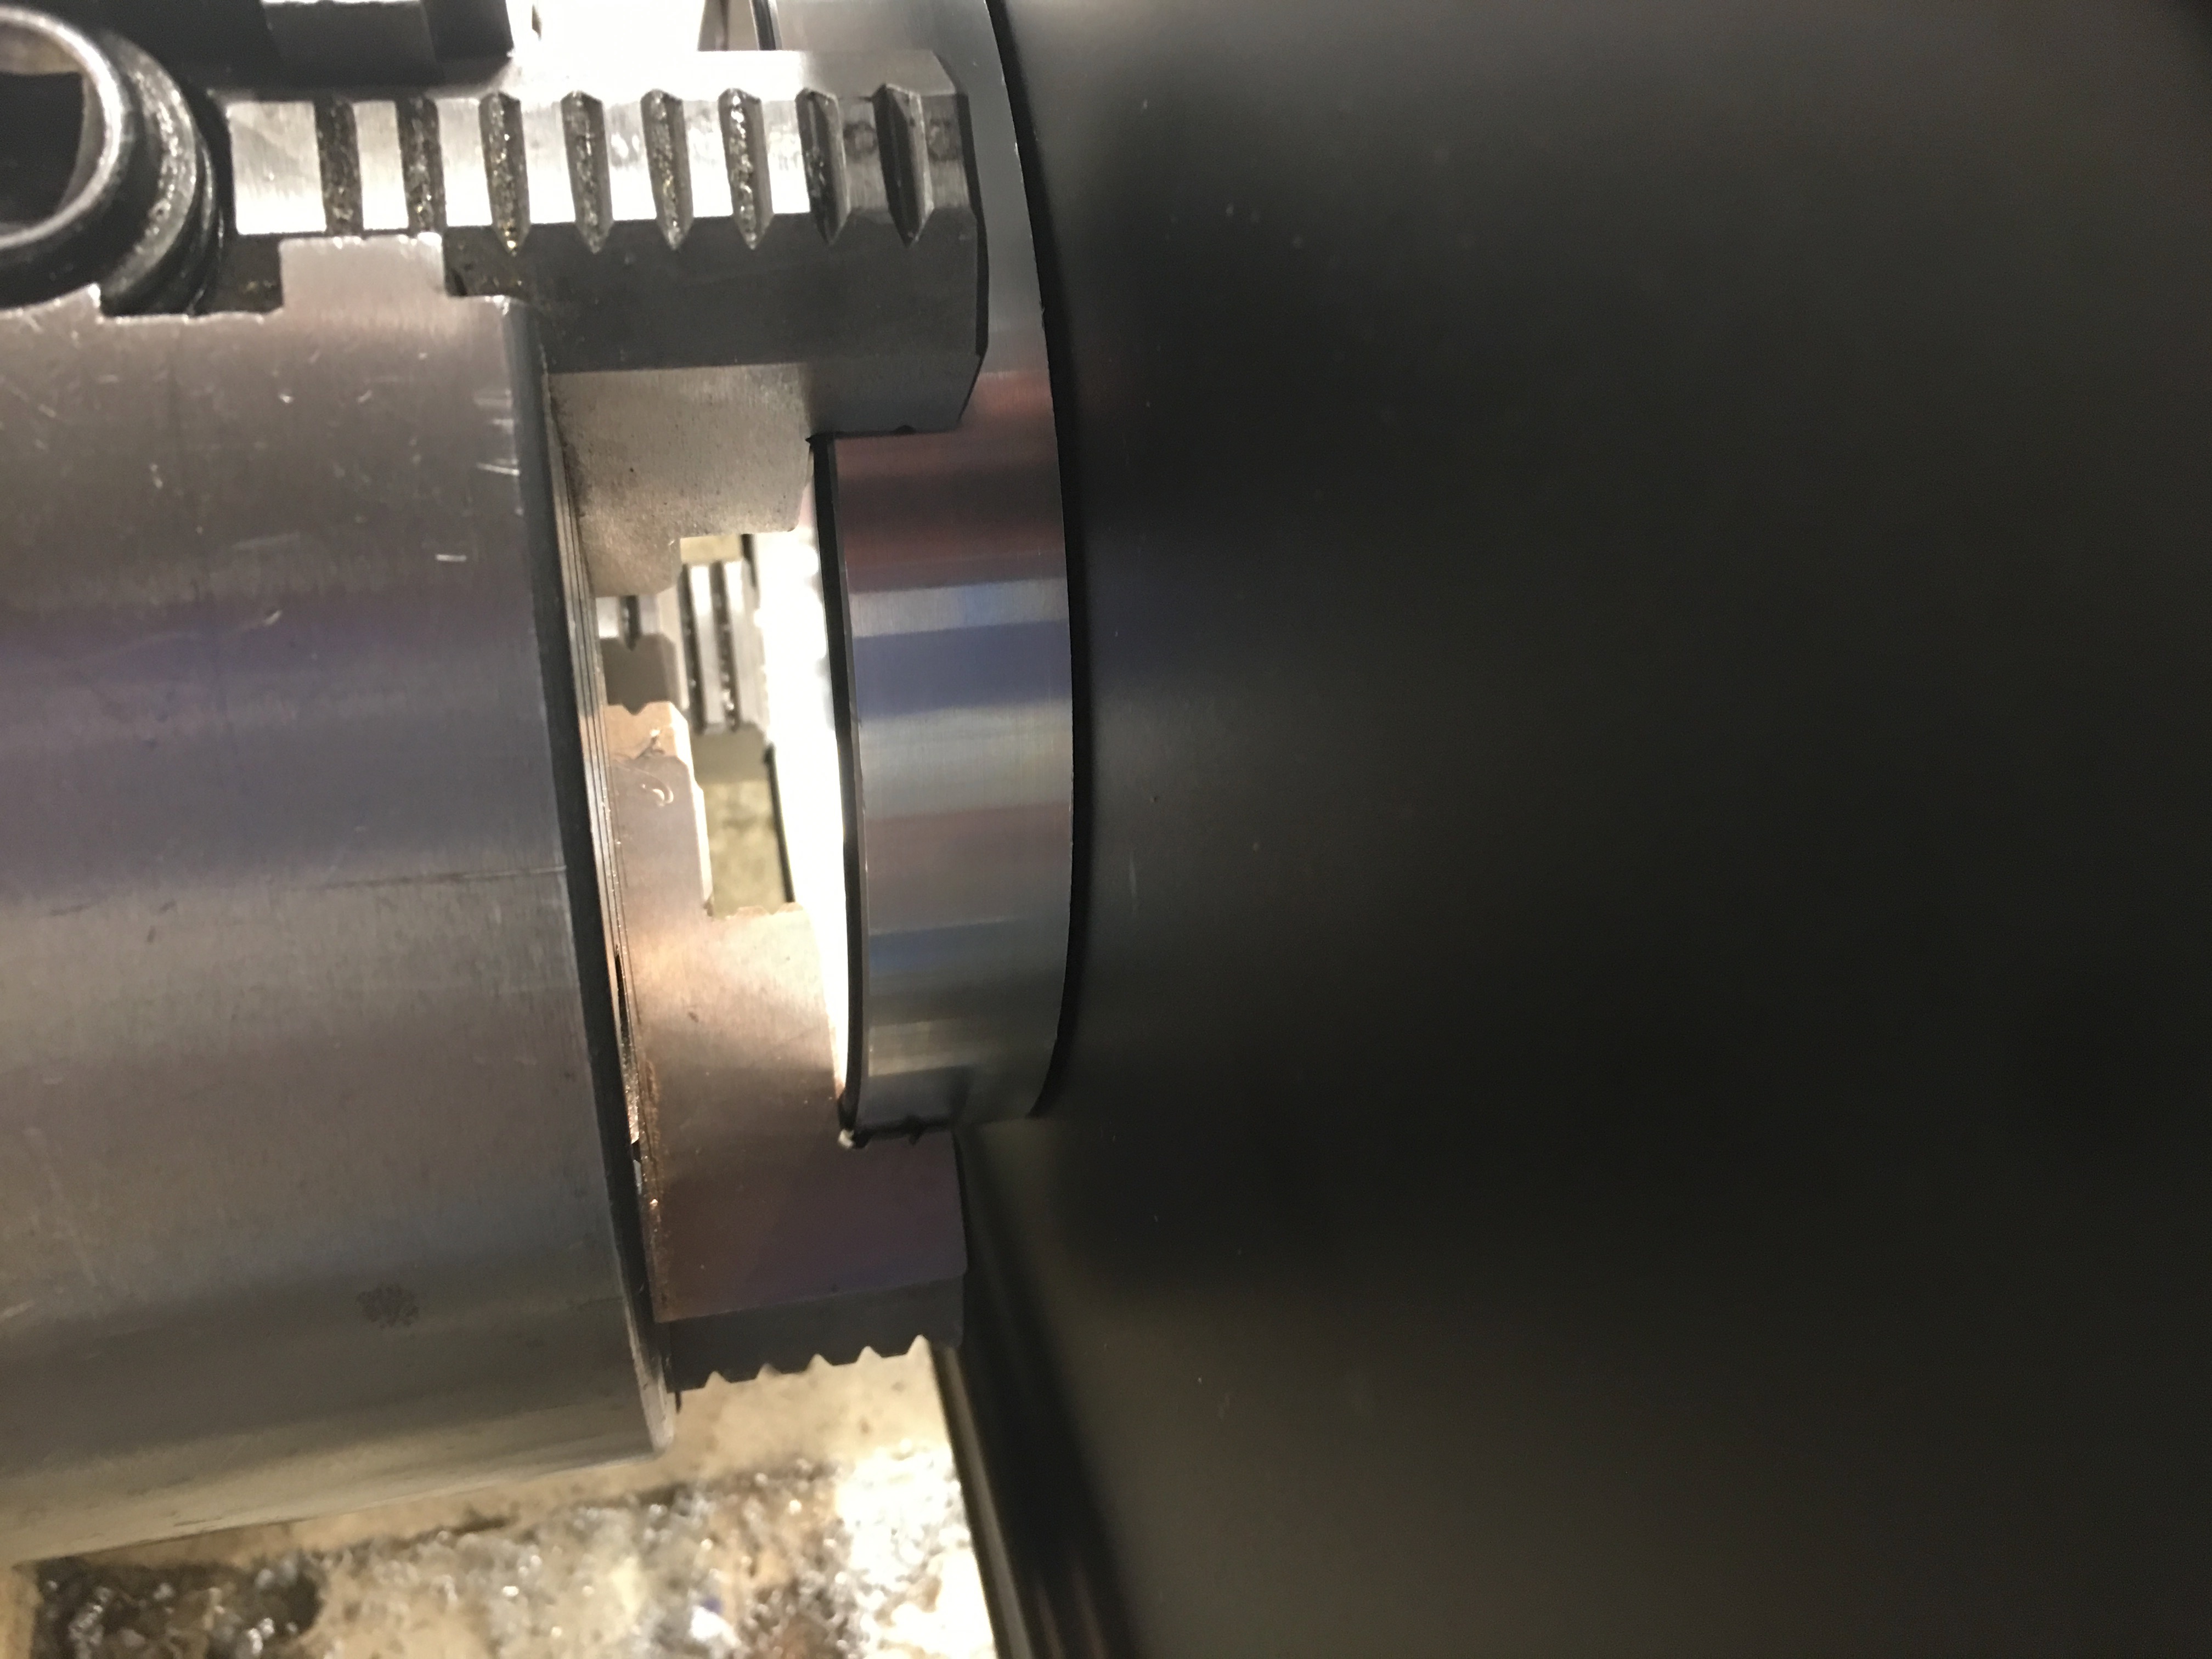
When I ordered the hold down kit, I decided to go ahead and pick up an aluminum spacer for the air cleaner. I really need a 3/4″ high spacer, but the only options were 1/2″ and 1″, so I picked up the 1″ and removed 1/4″ from the height on the lathe.
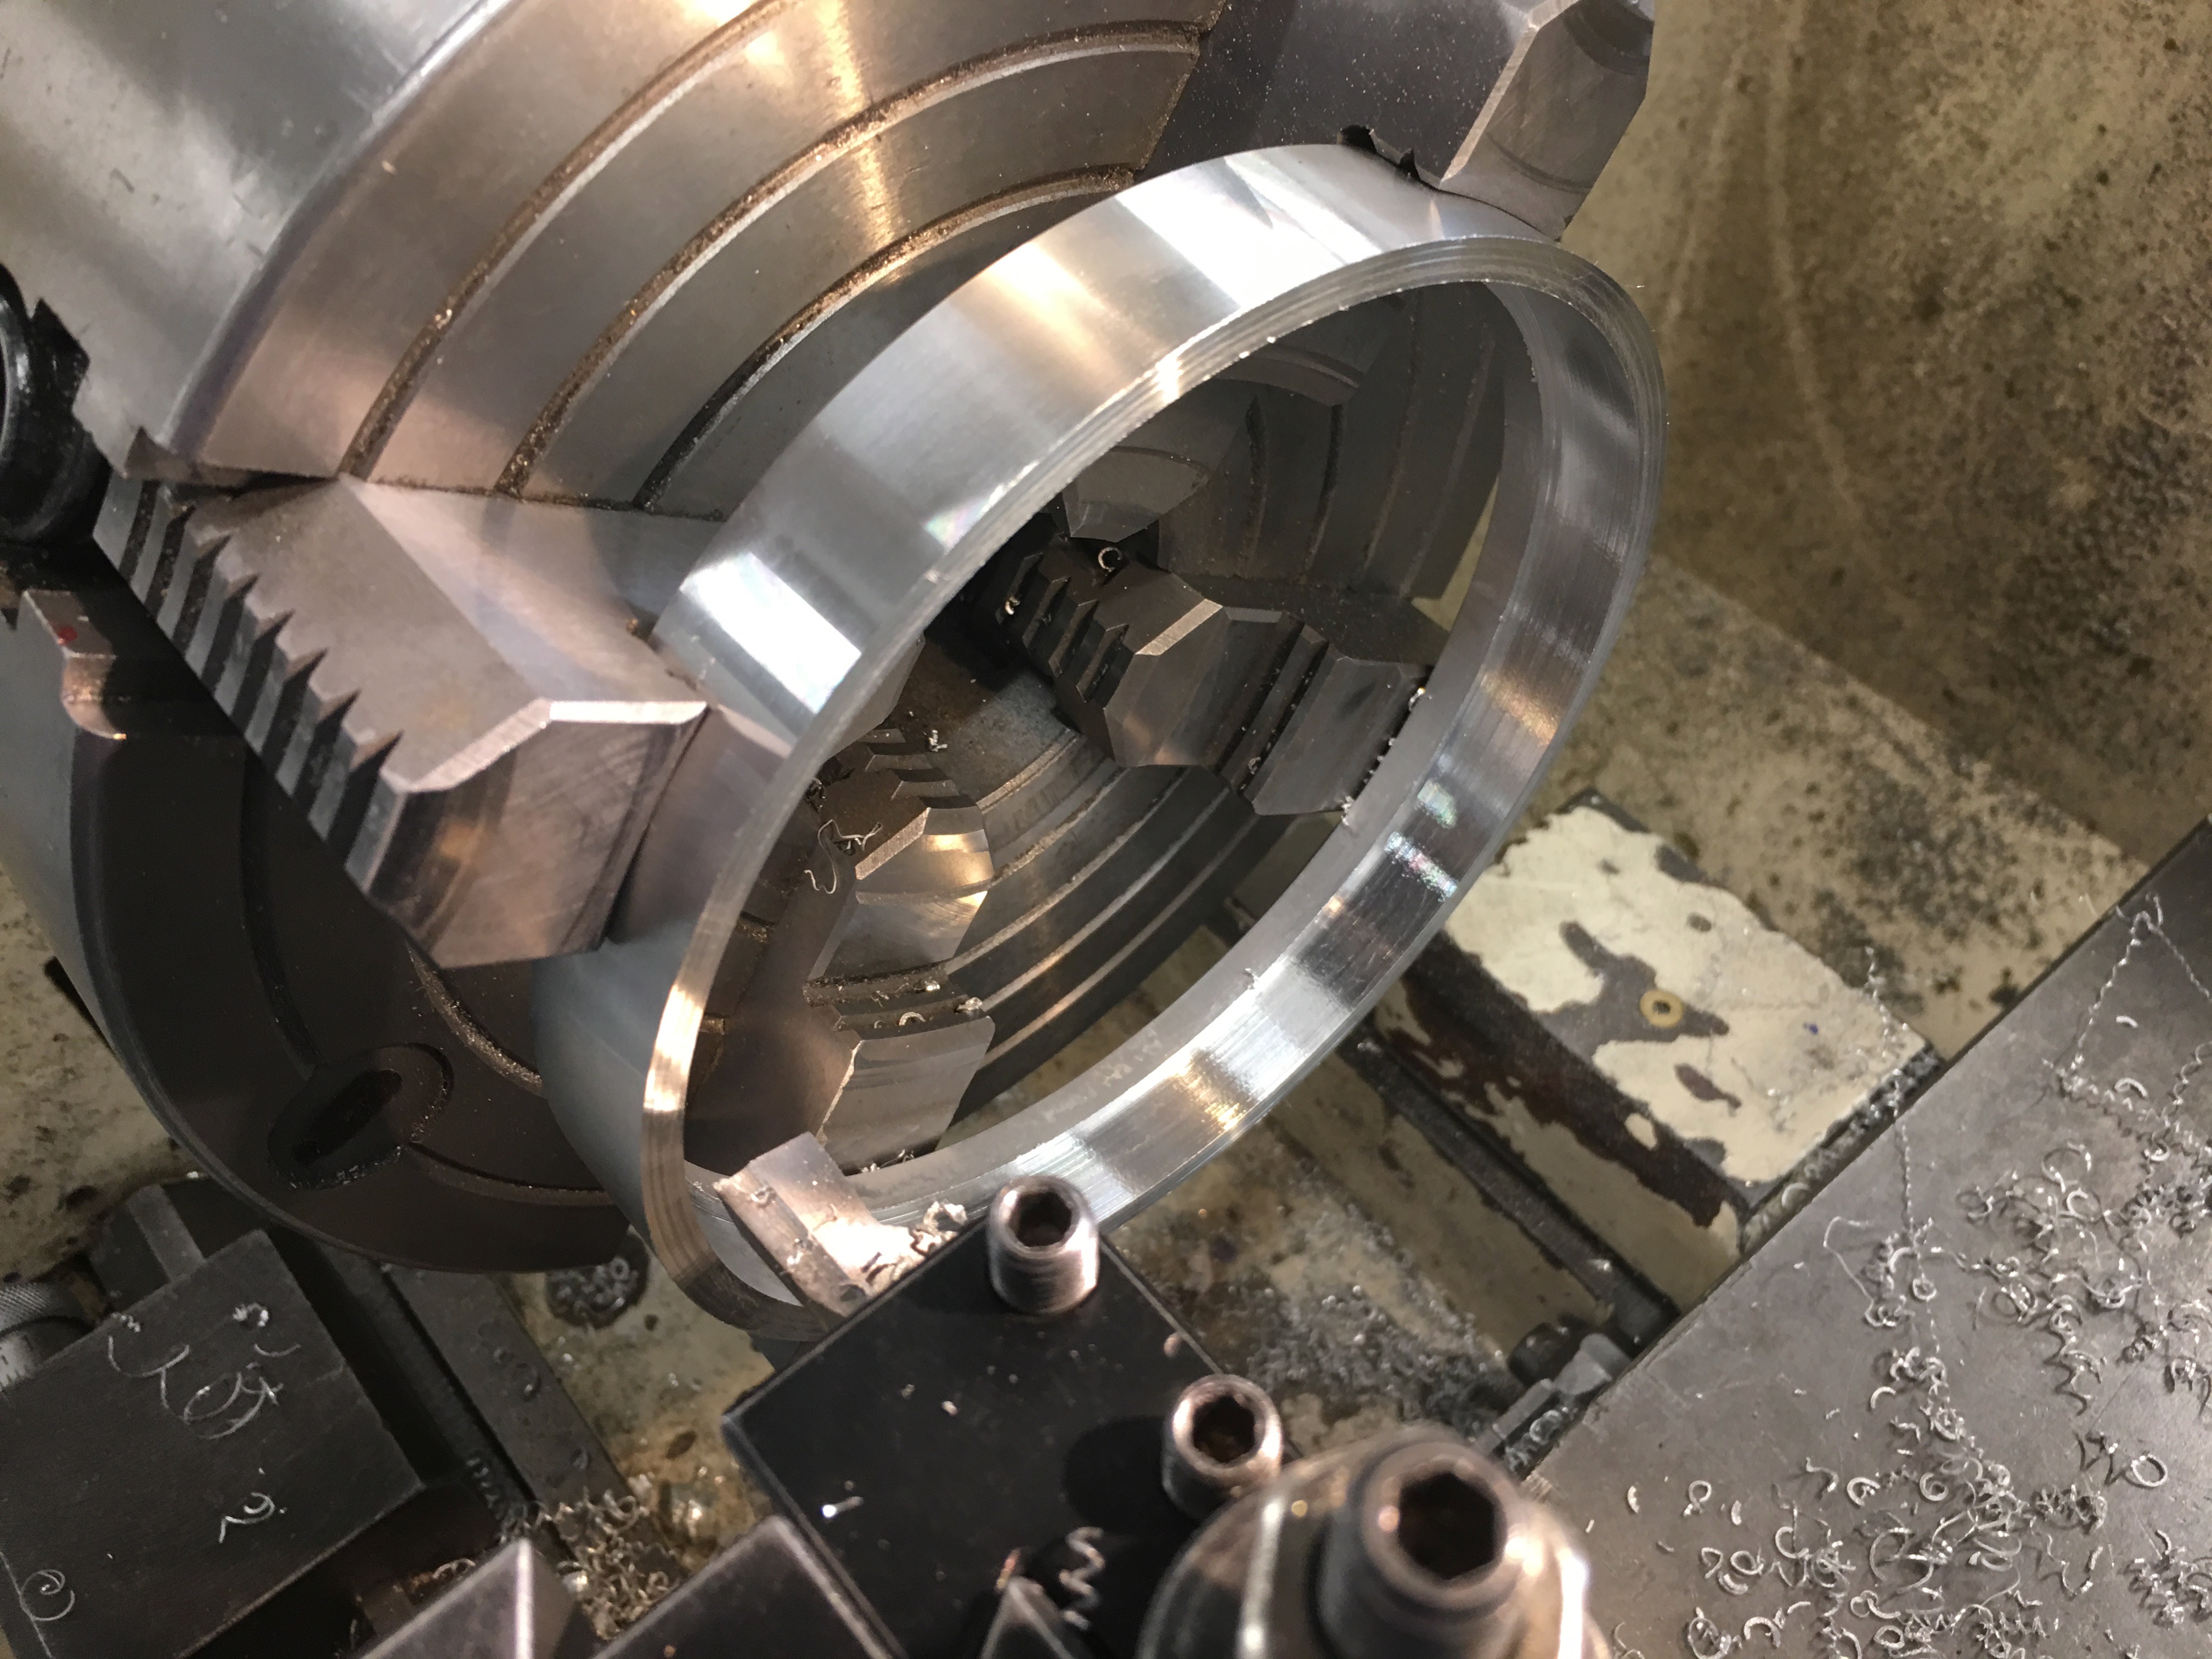
I then cut a new recess on the inside 1/2″ down from the top and opened it up a few thousanths wider than the air filter base flange.
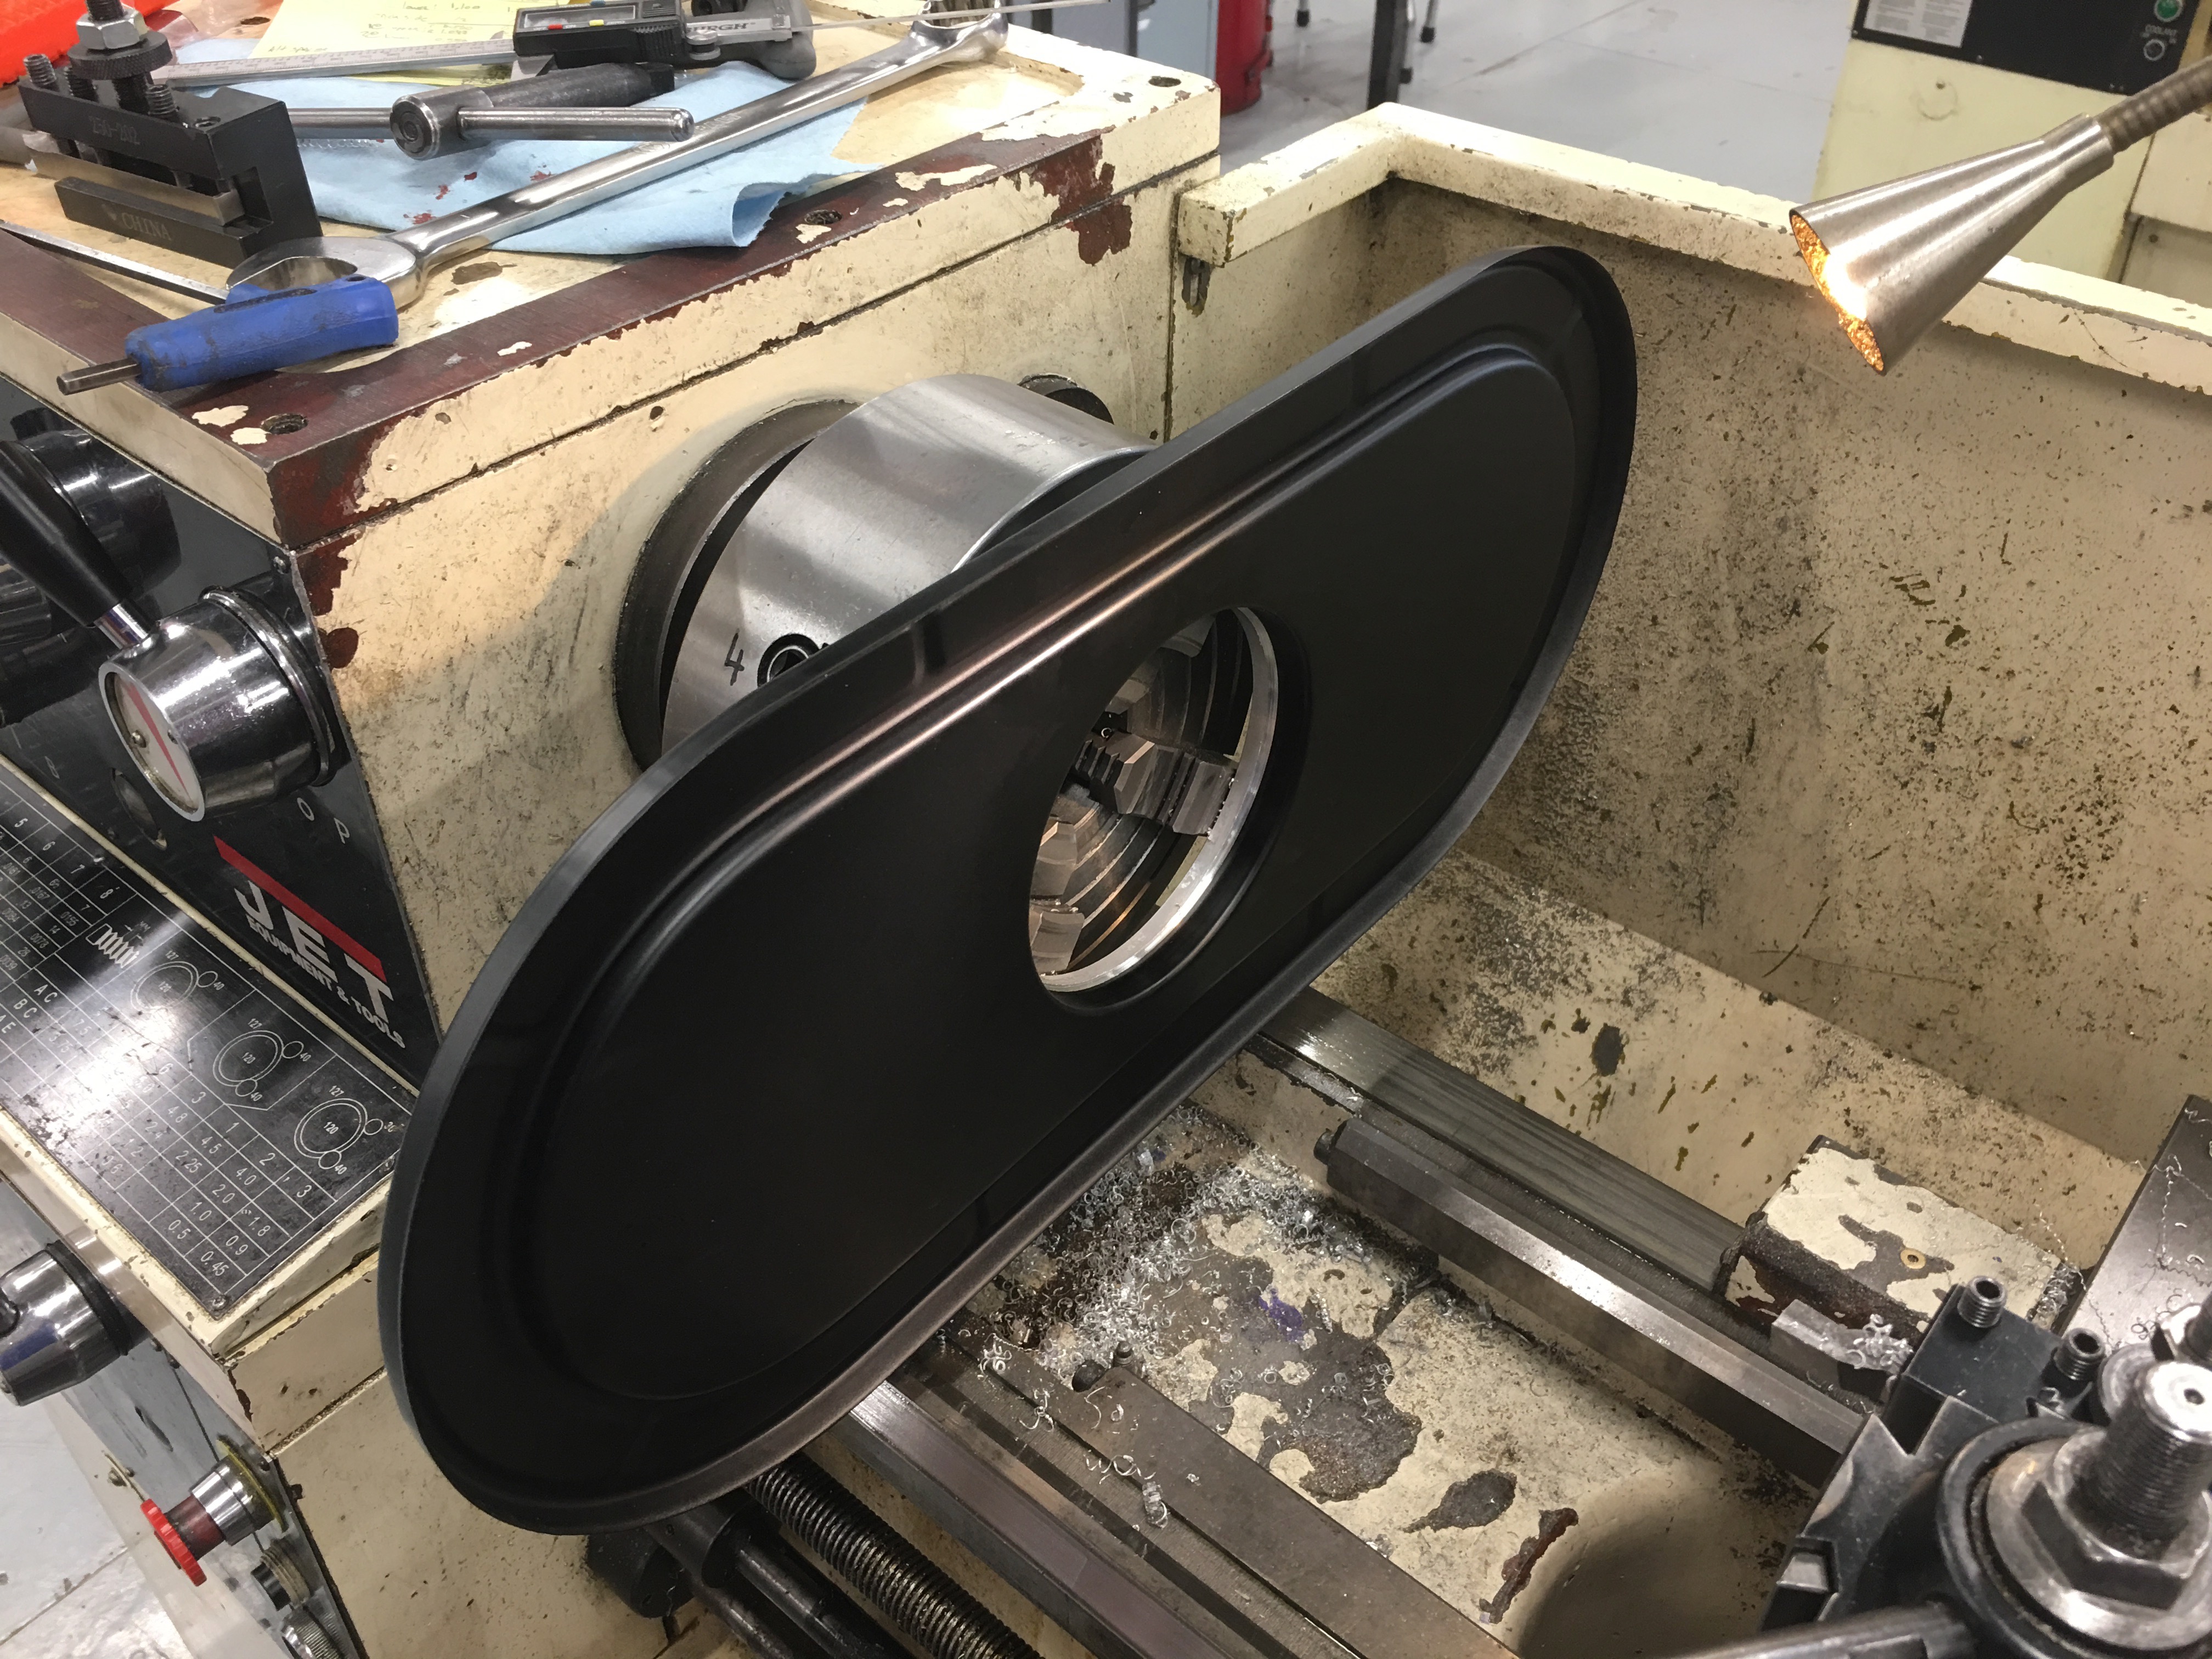
I test fit the air filter base and it’s a nice, snug fit onto the spacer.
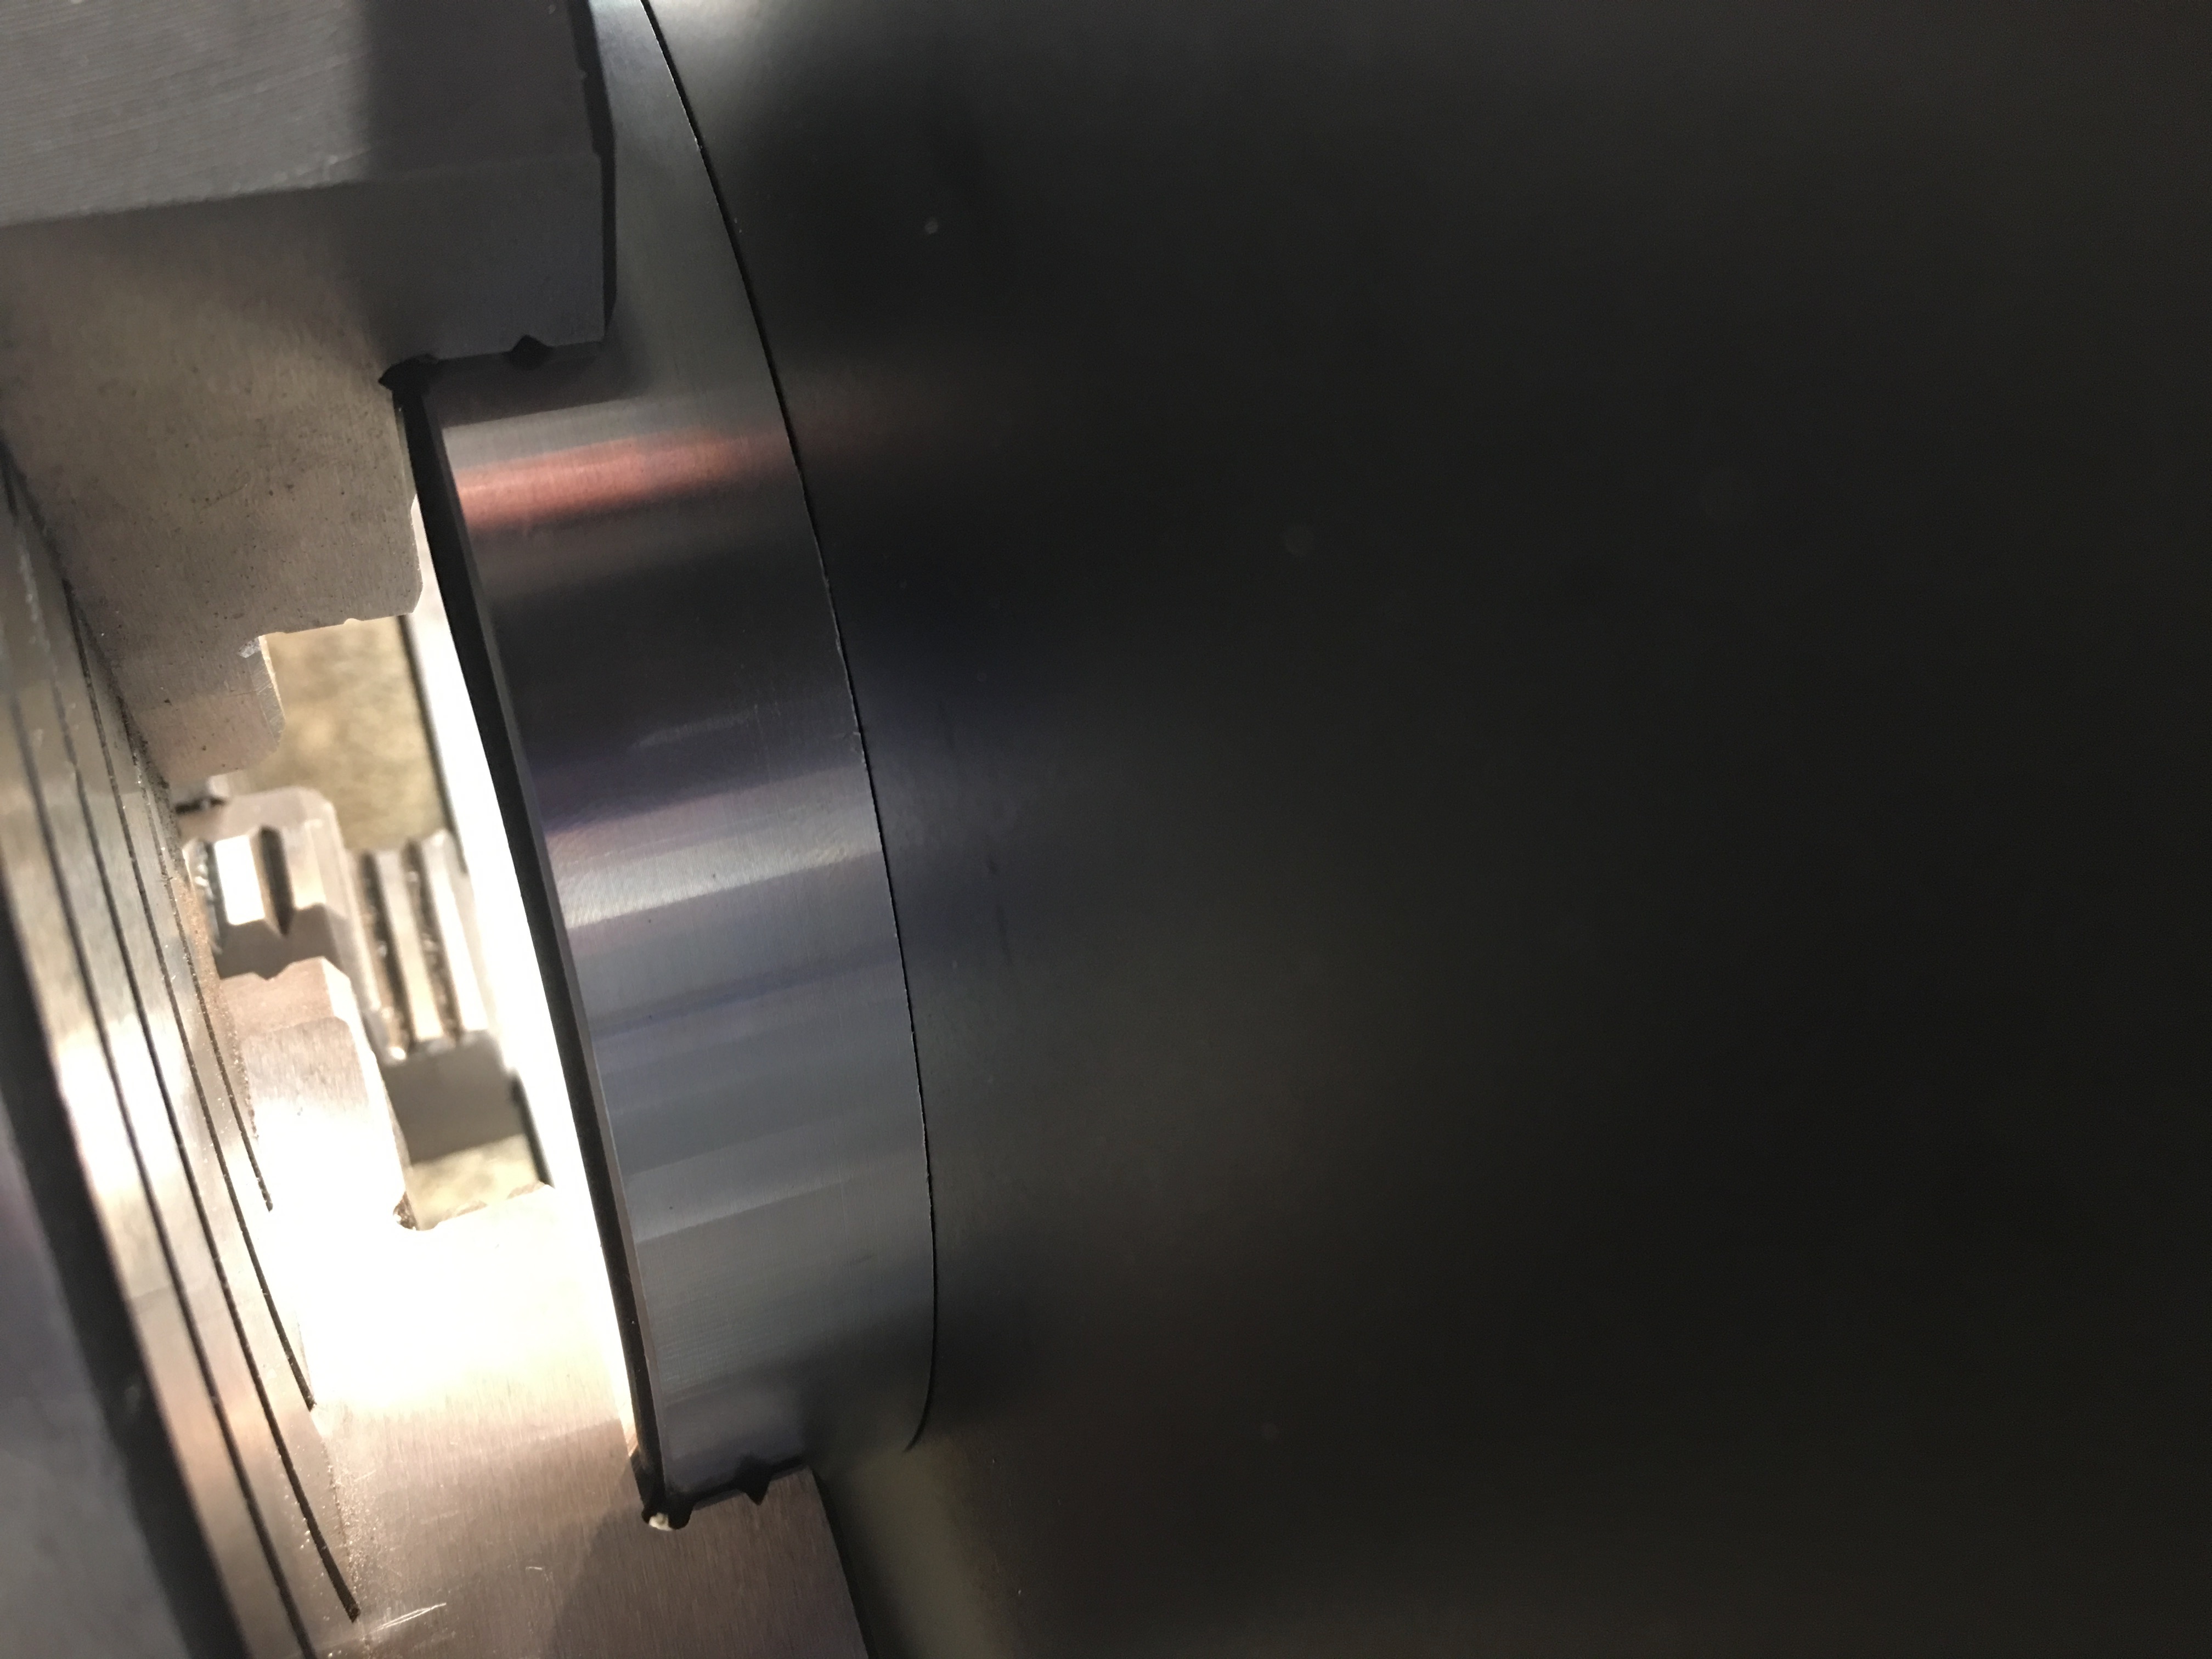
On the other side, you can see that the spacer doesn’t sit flush on the bottom of the air cleaner base. The problem is that the air cleaner base is a stamped steel part and there is a radius around the flange.
I machined a bevel on the inside corner of the spacer to allow space for the radius.

Now the spacer fits tight against the air cleaner base.
I installed the 1/4″-20 to 5/16″-18 adapter in the throttle body.
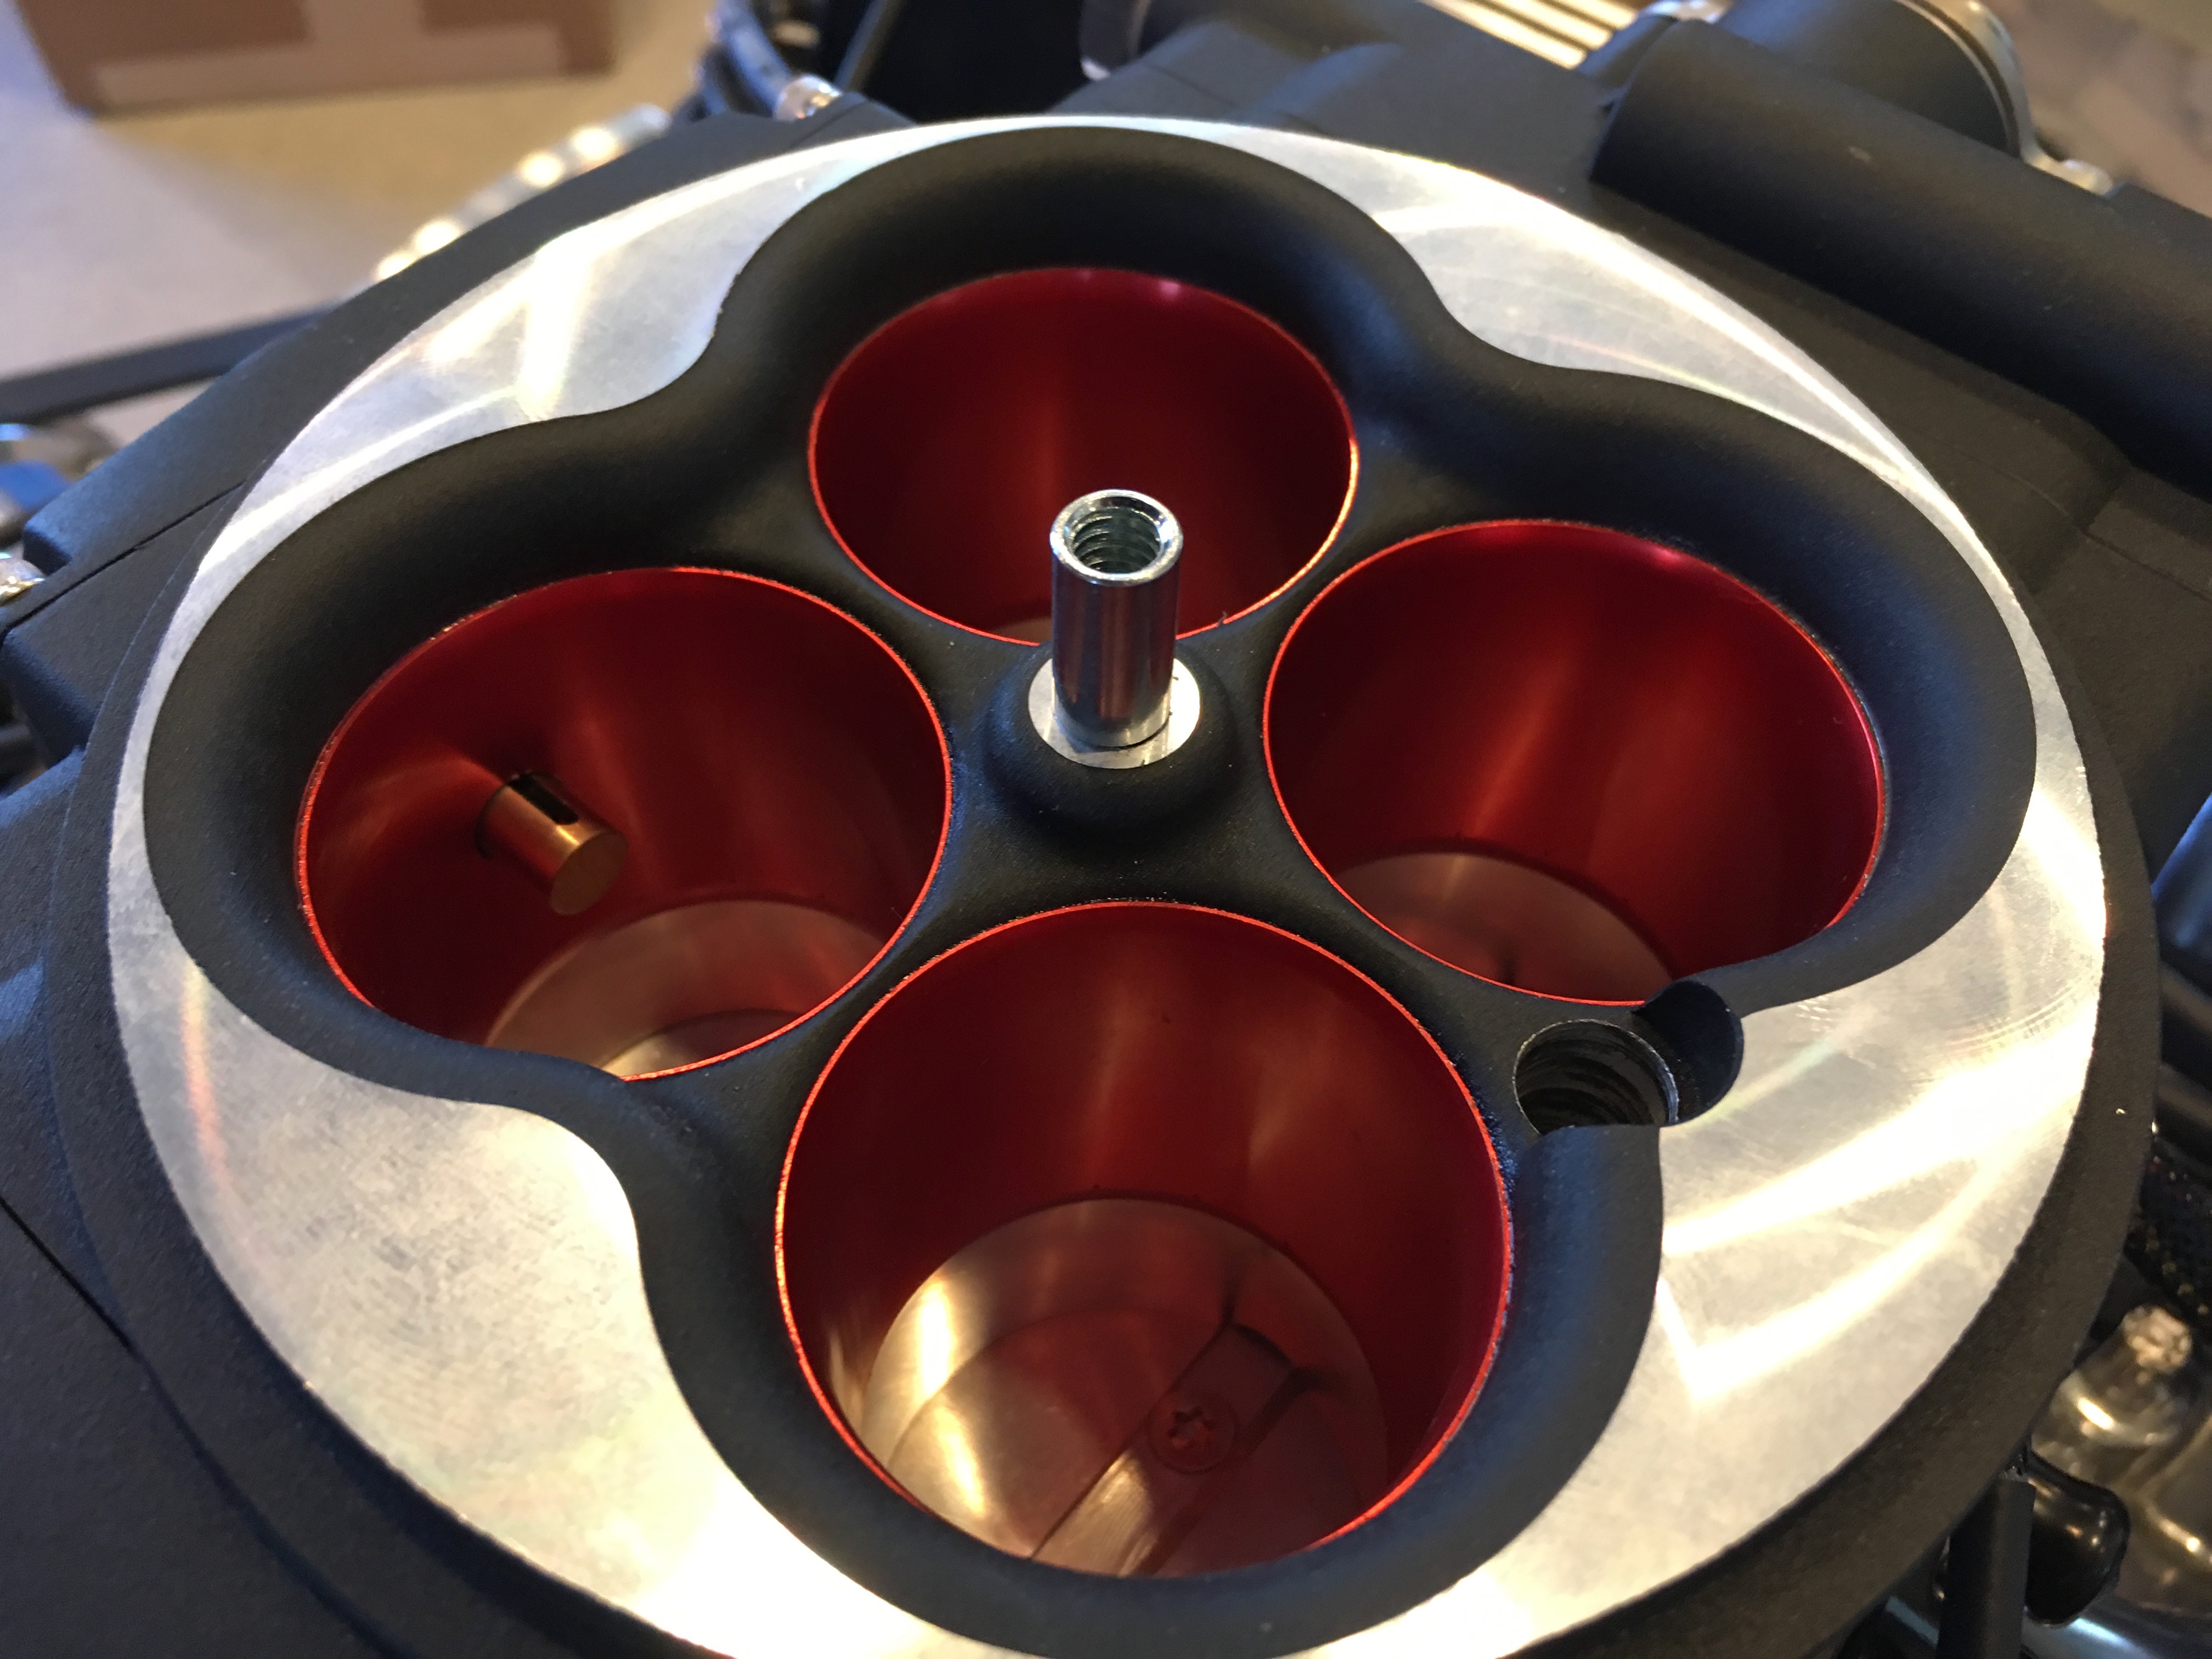
I had to cut down the shaft a bit so that it is the right length for the air cleaner plus spacer.
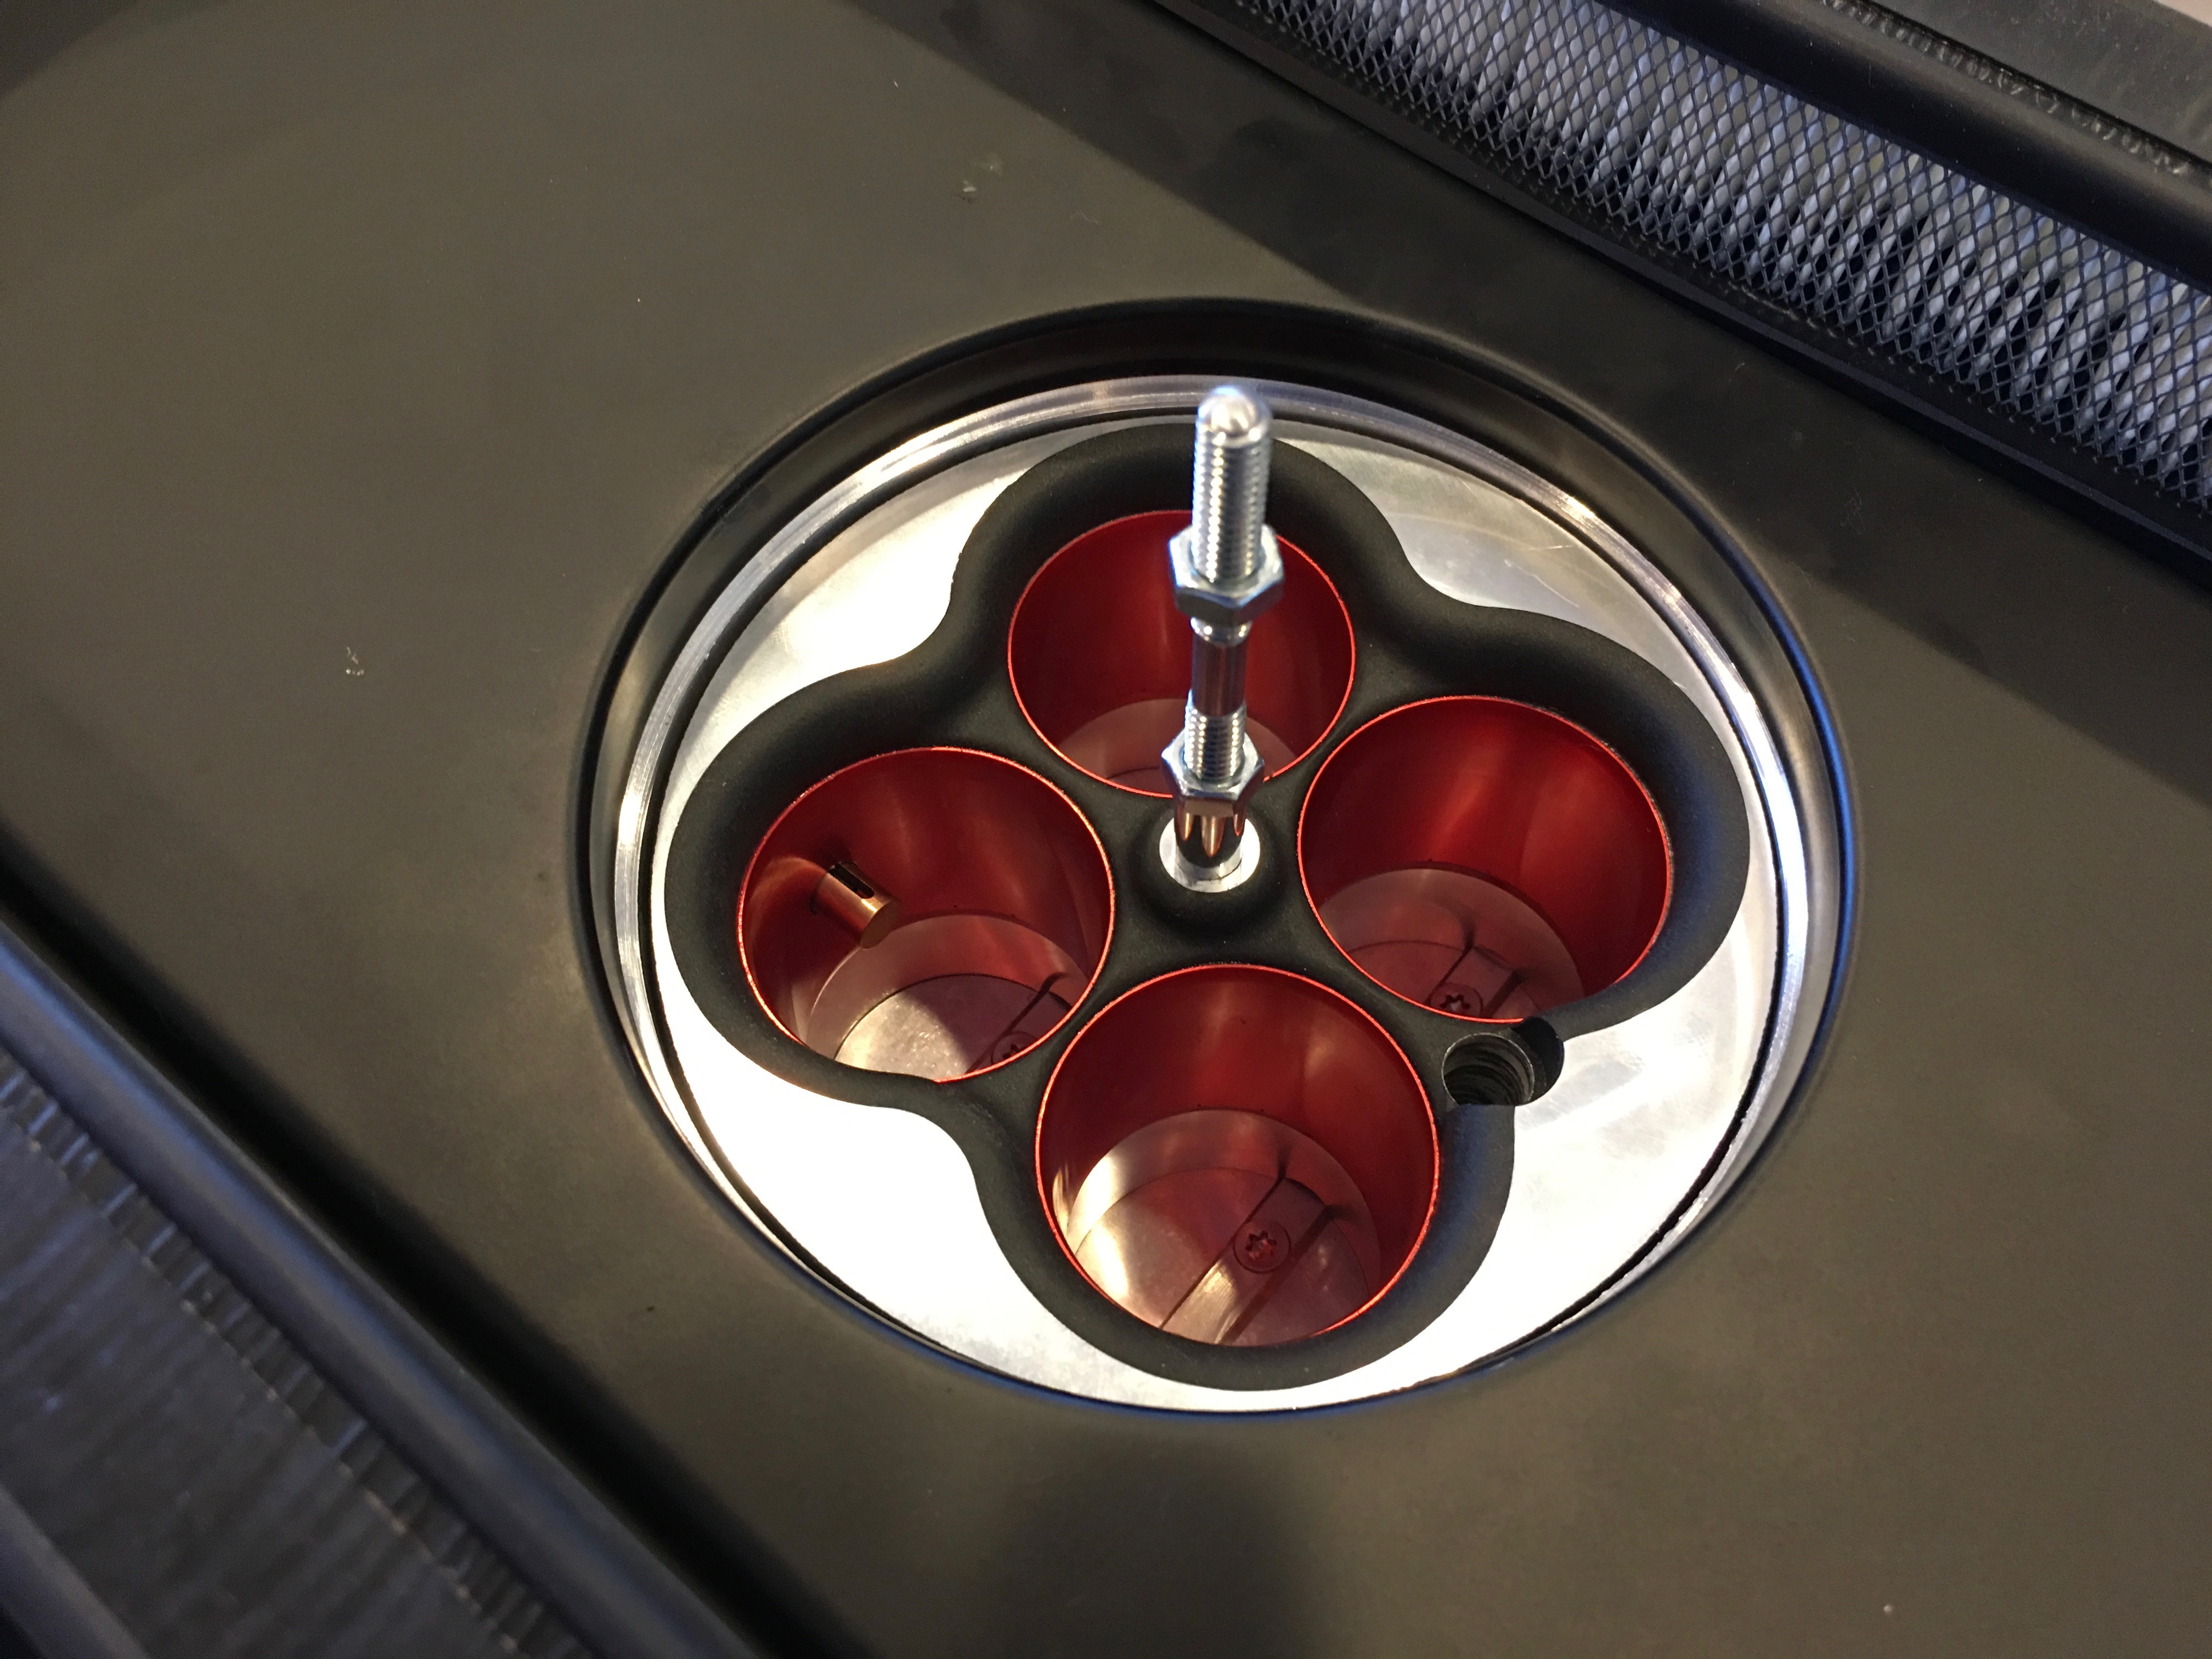
I did a final test fit of the air cleaner and everything looks great.
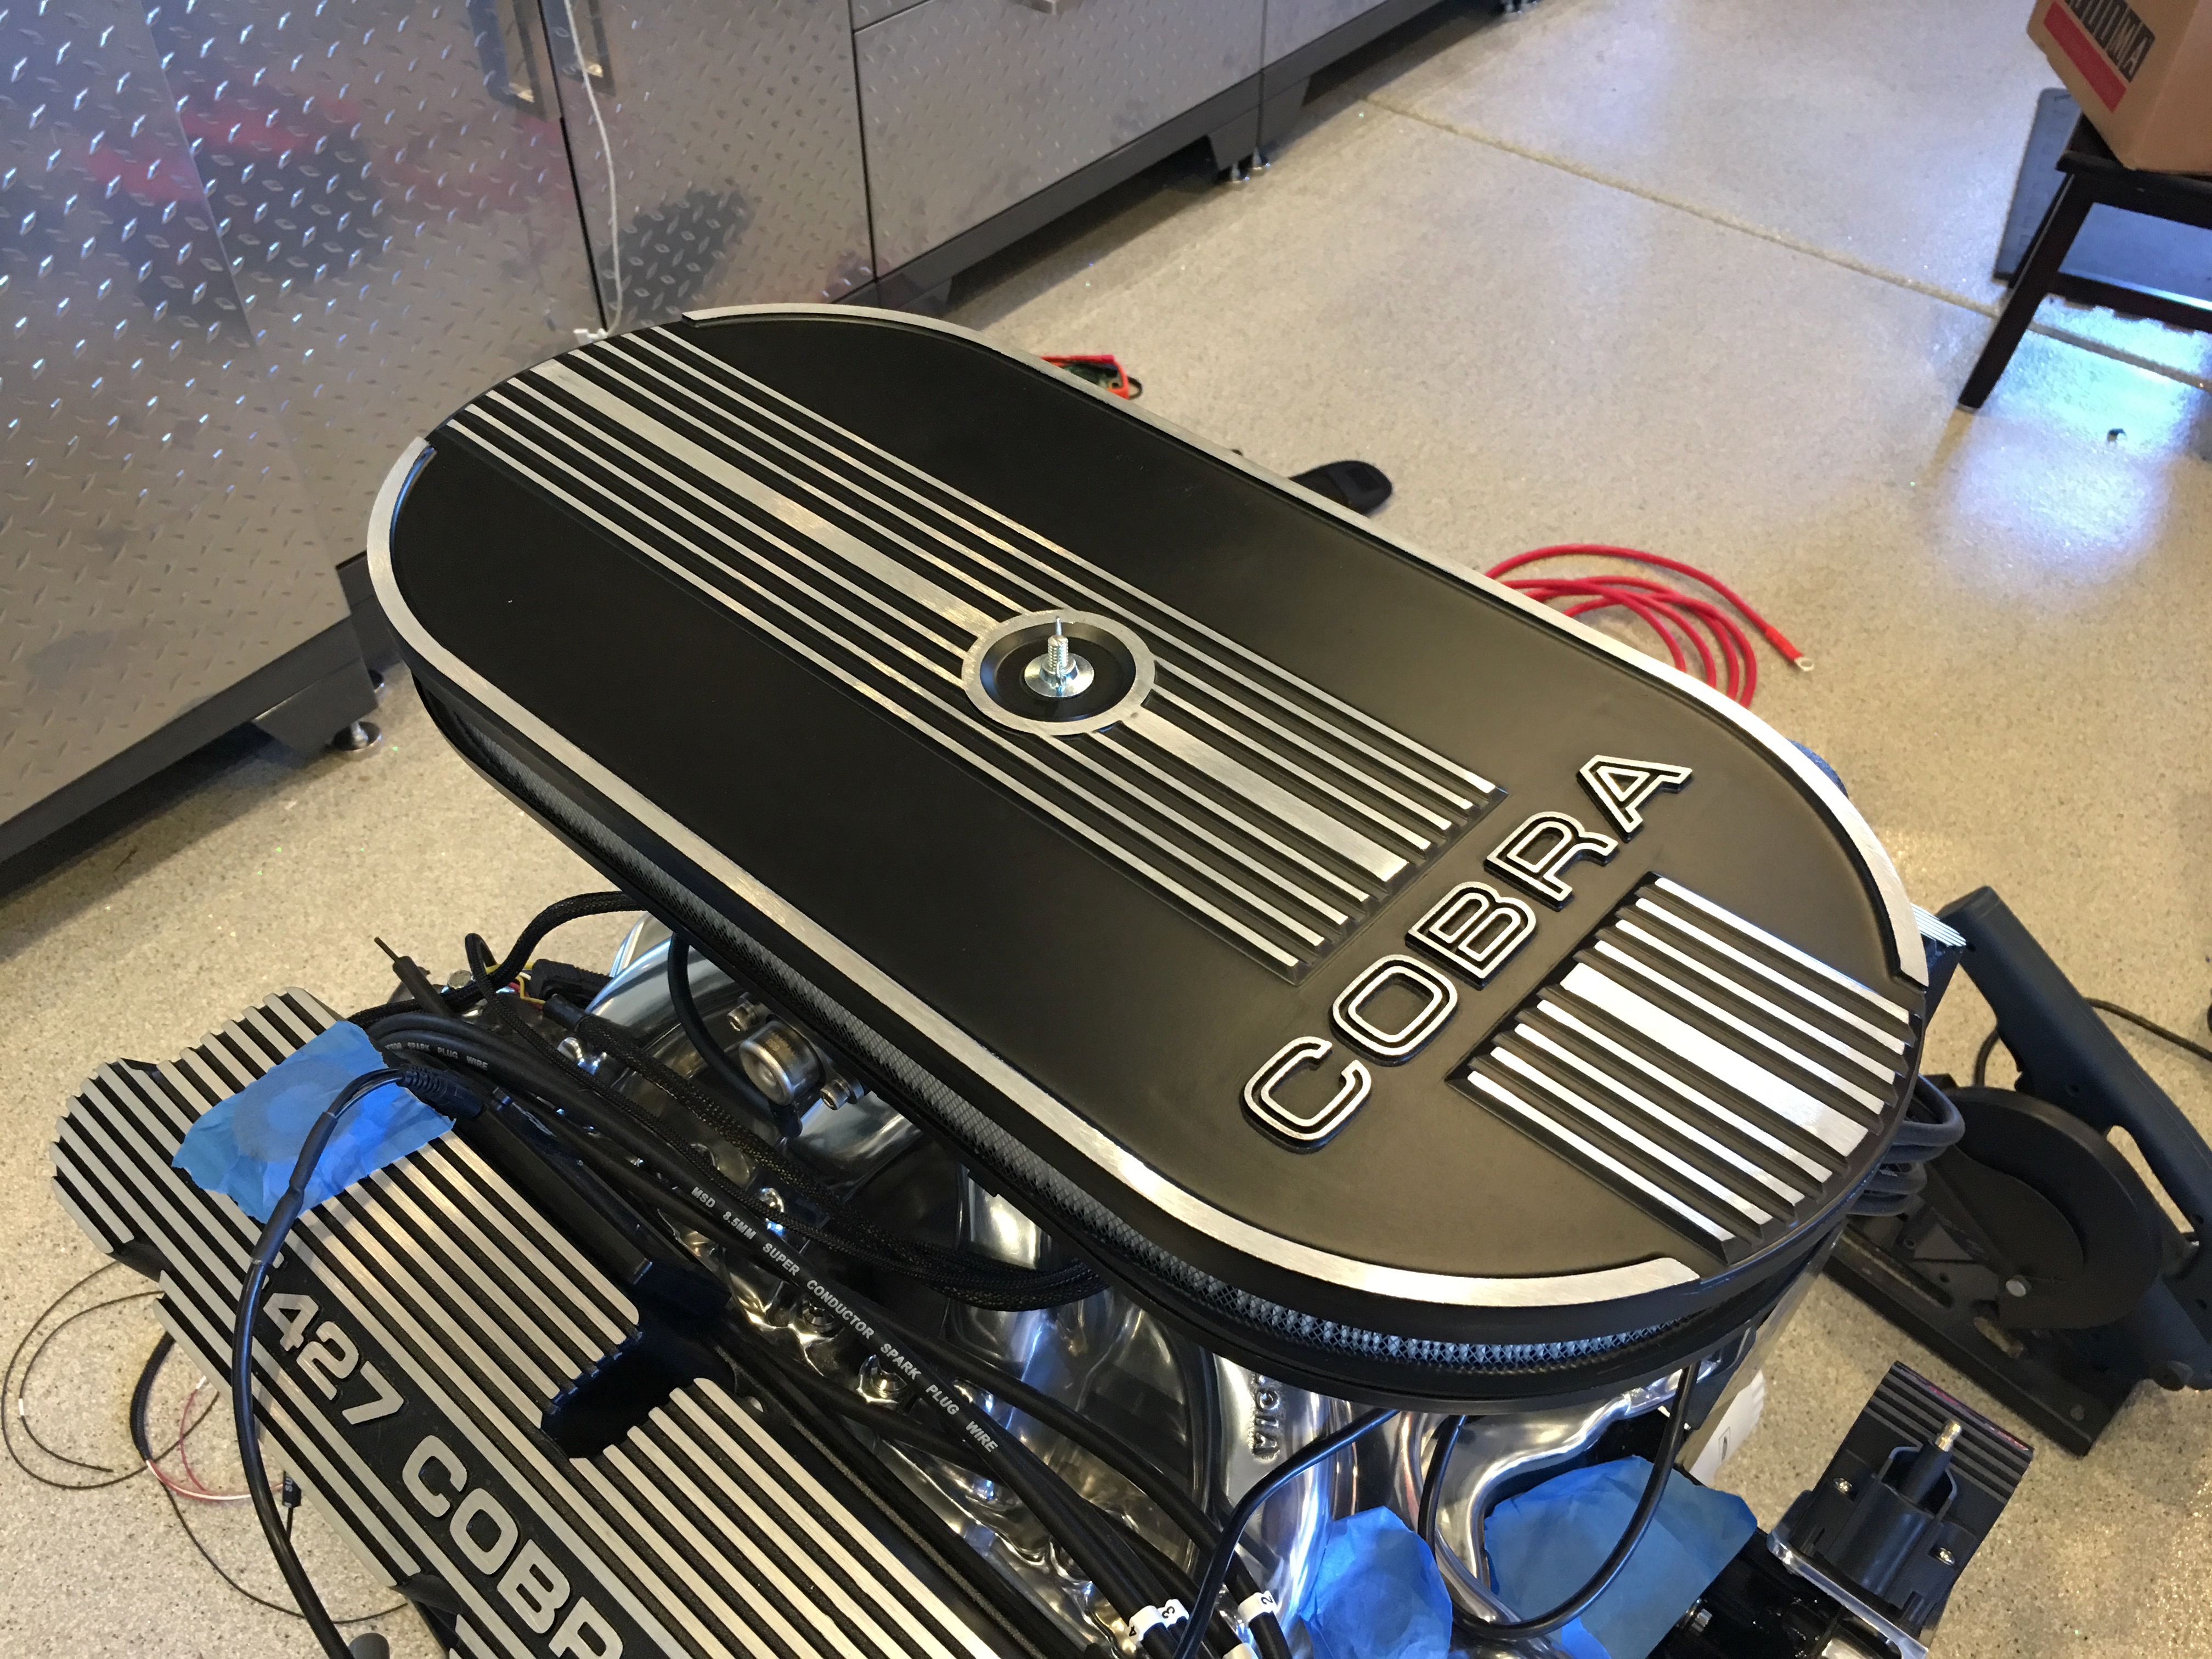
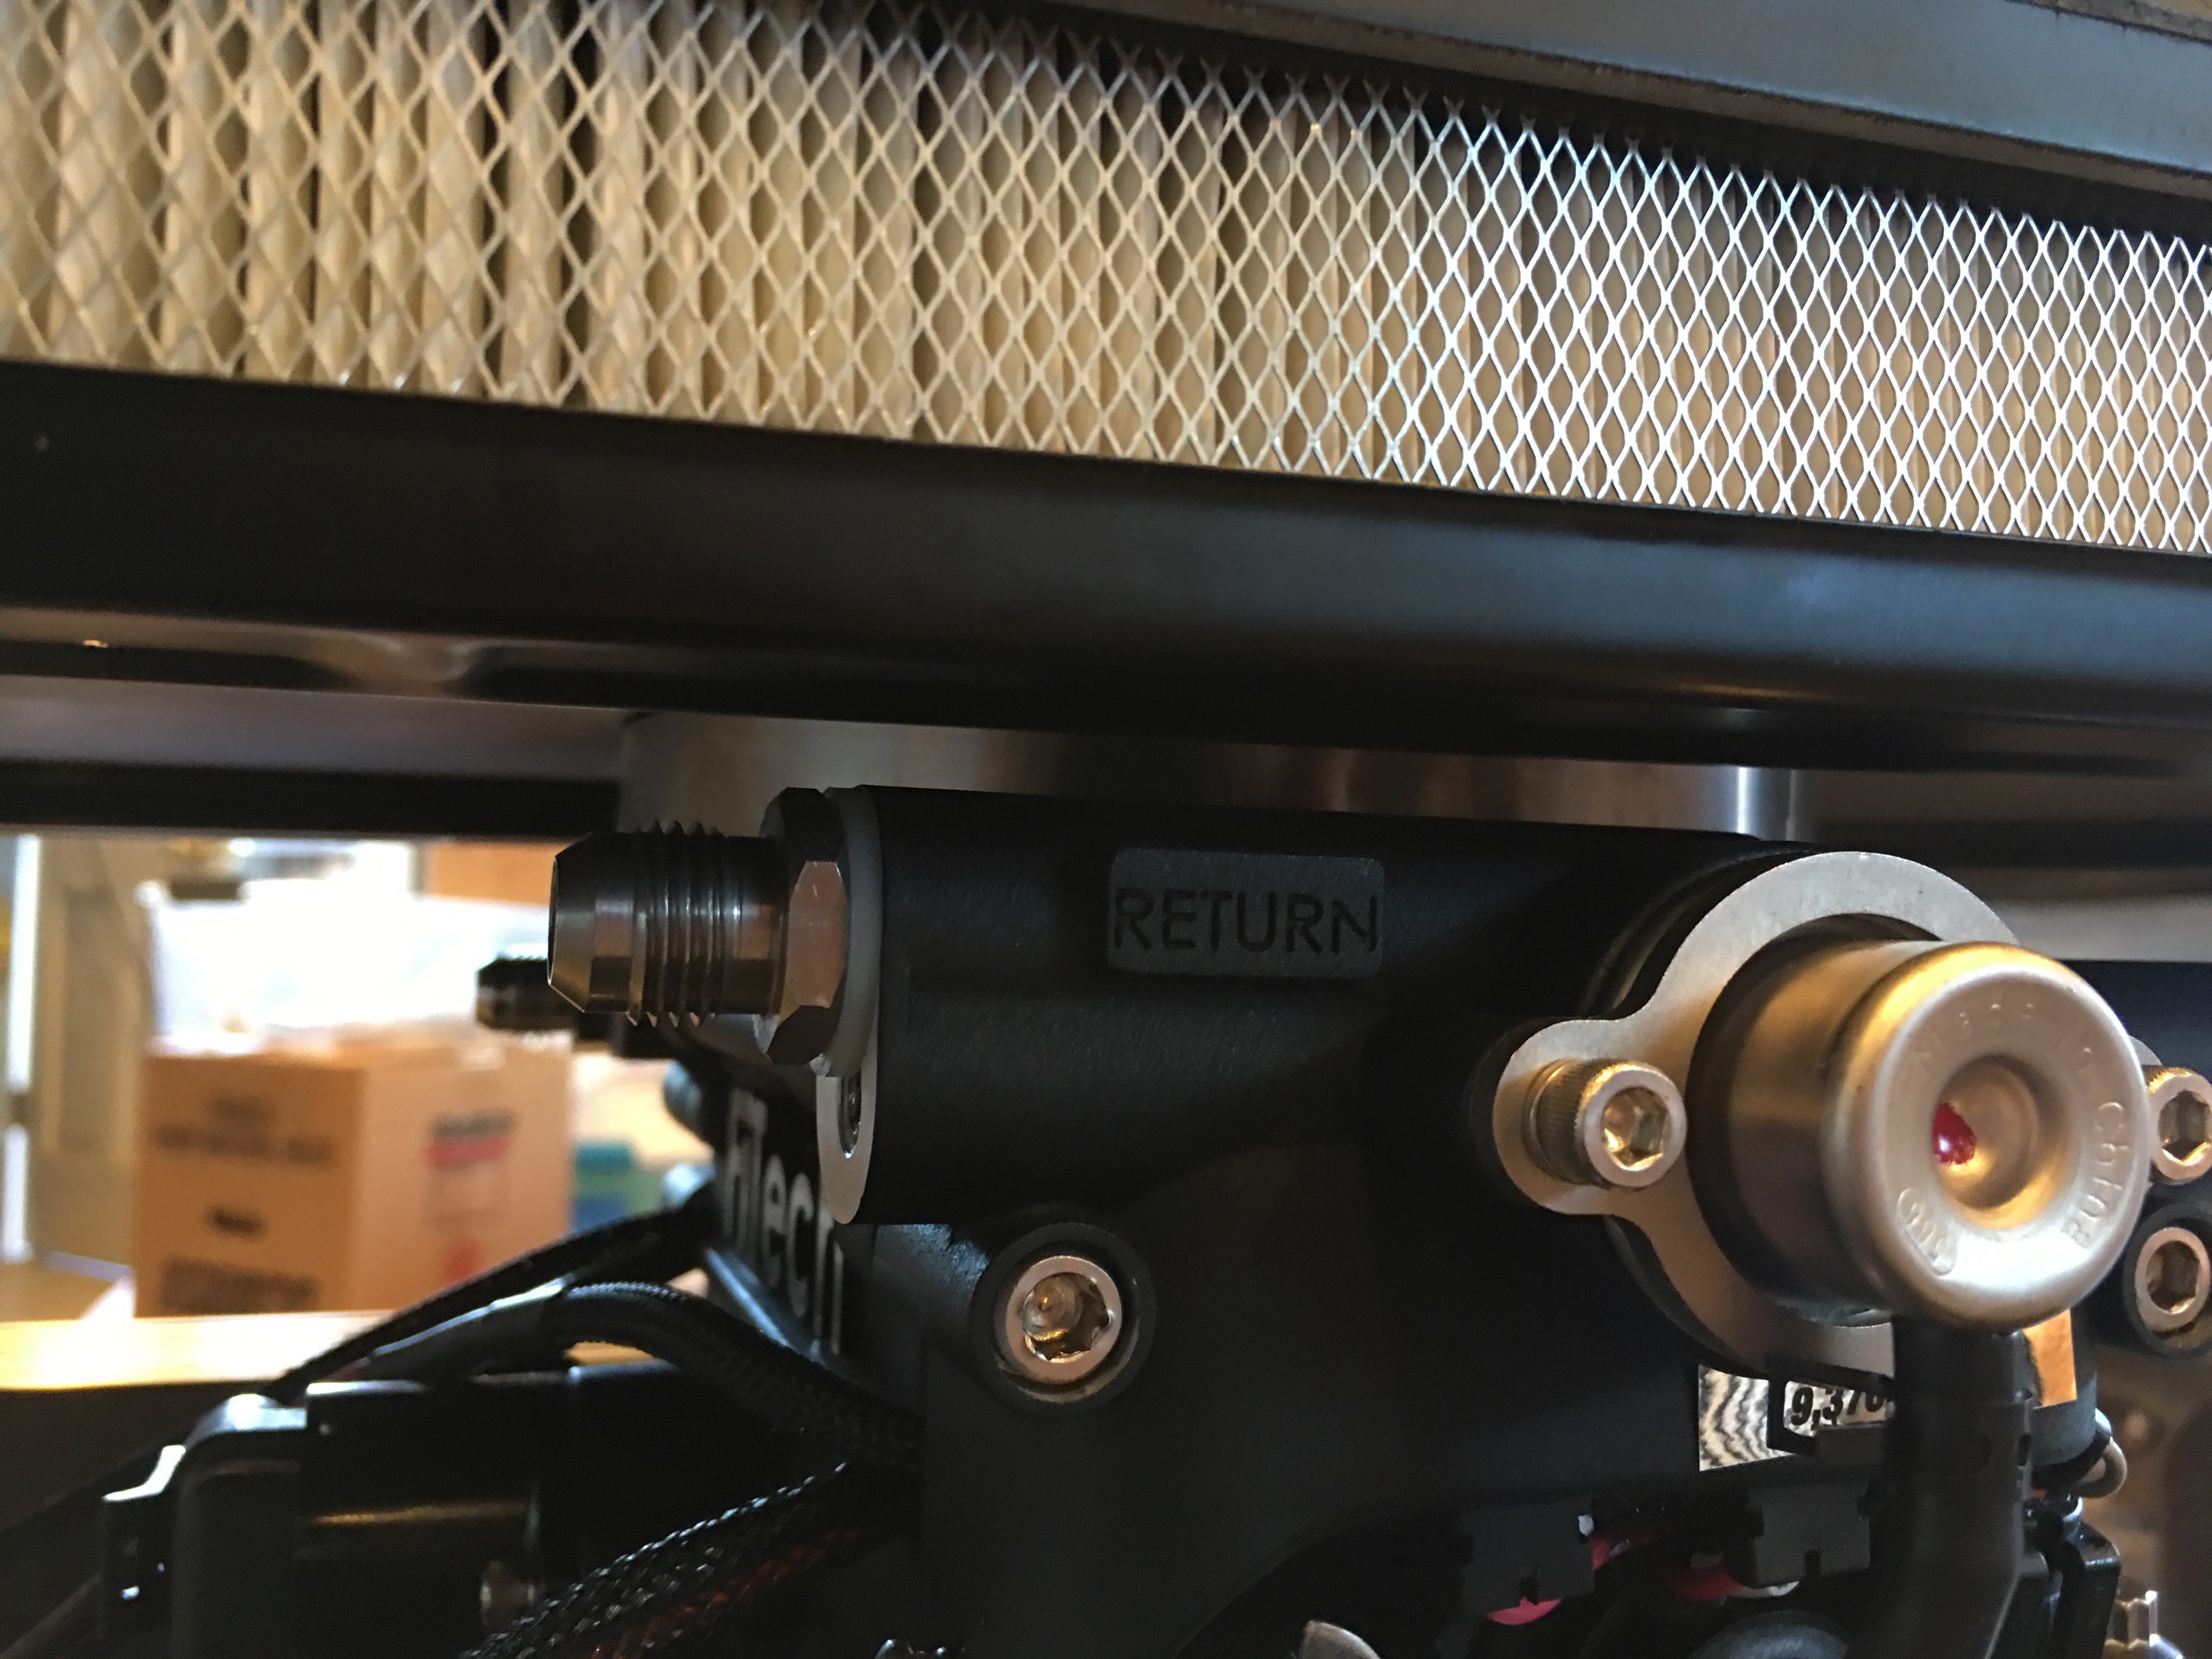
There’s now about 1/4″ of space above the throttle body which is plenty to prevent anything from touching and to clear the fittings that will thread onto the fuel connections you see here.
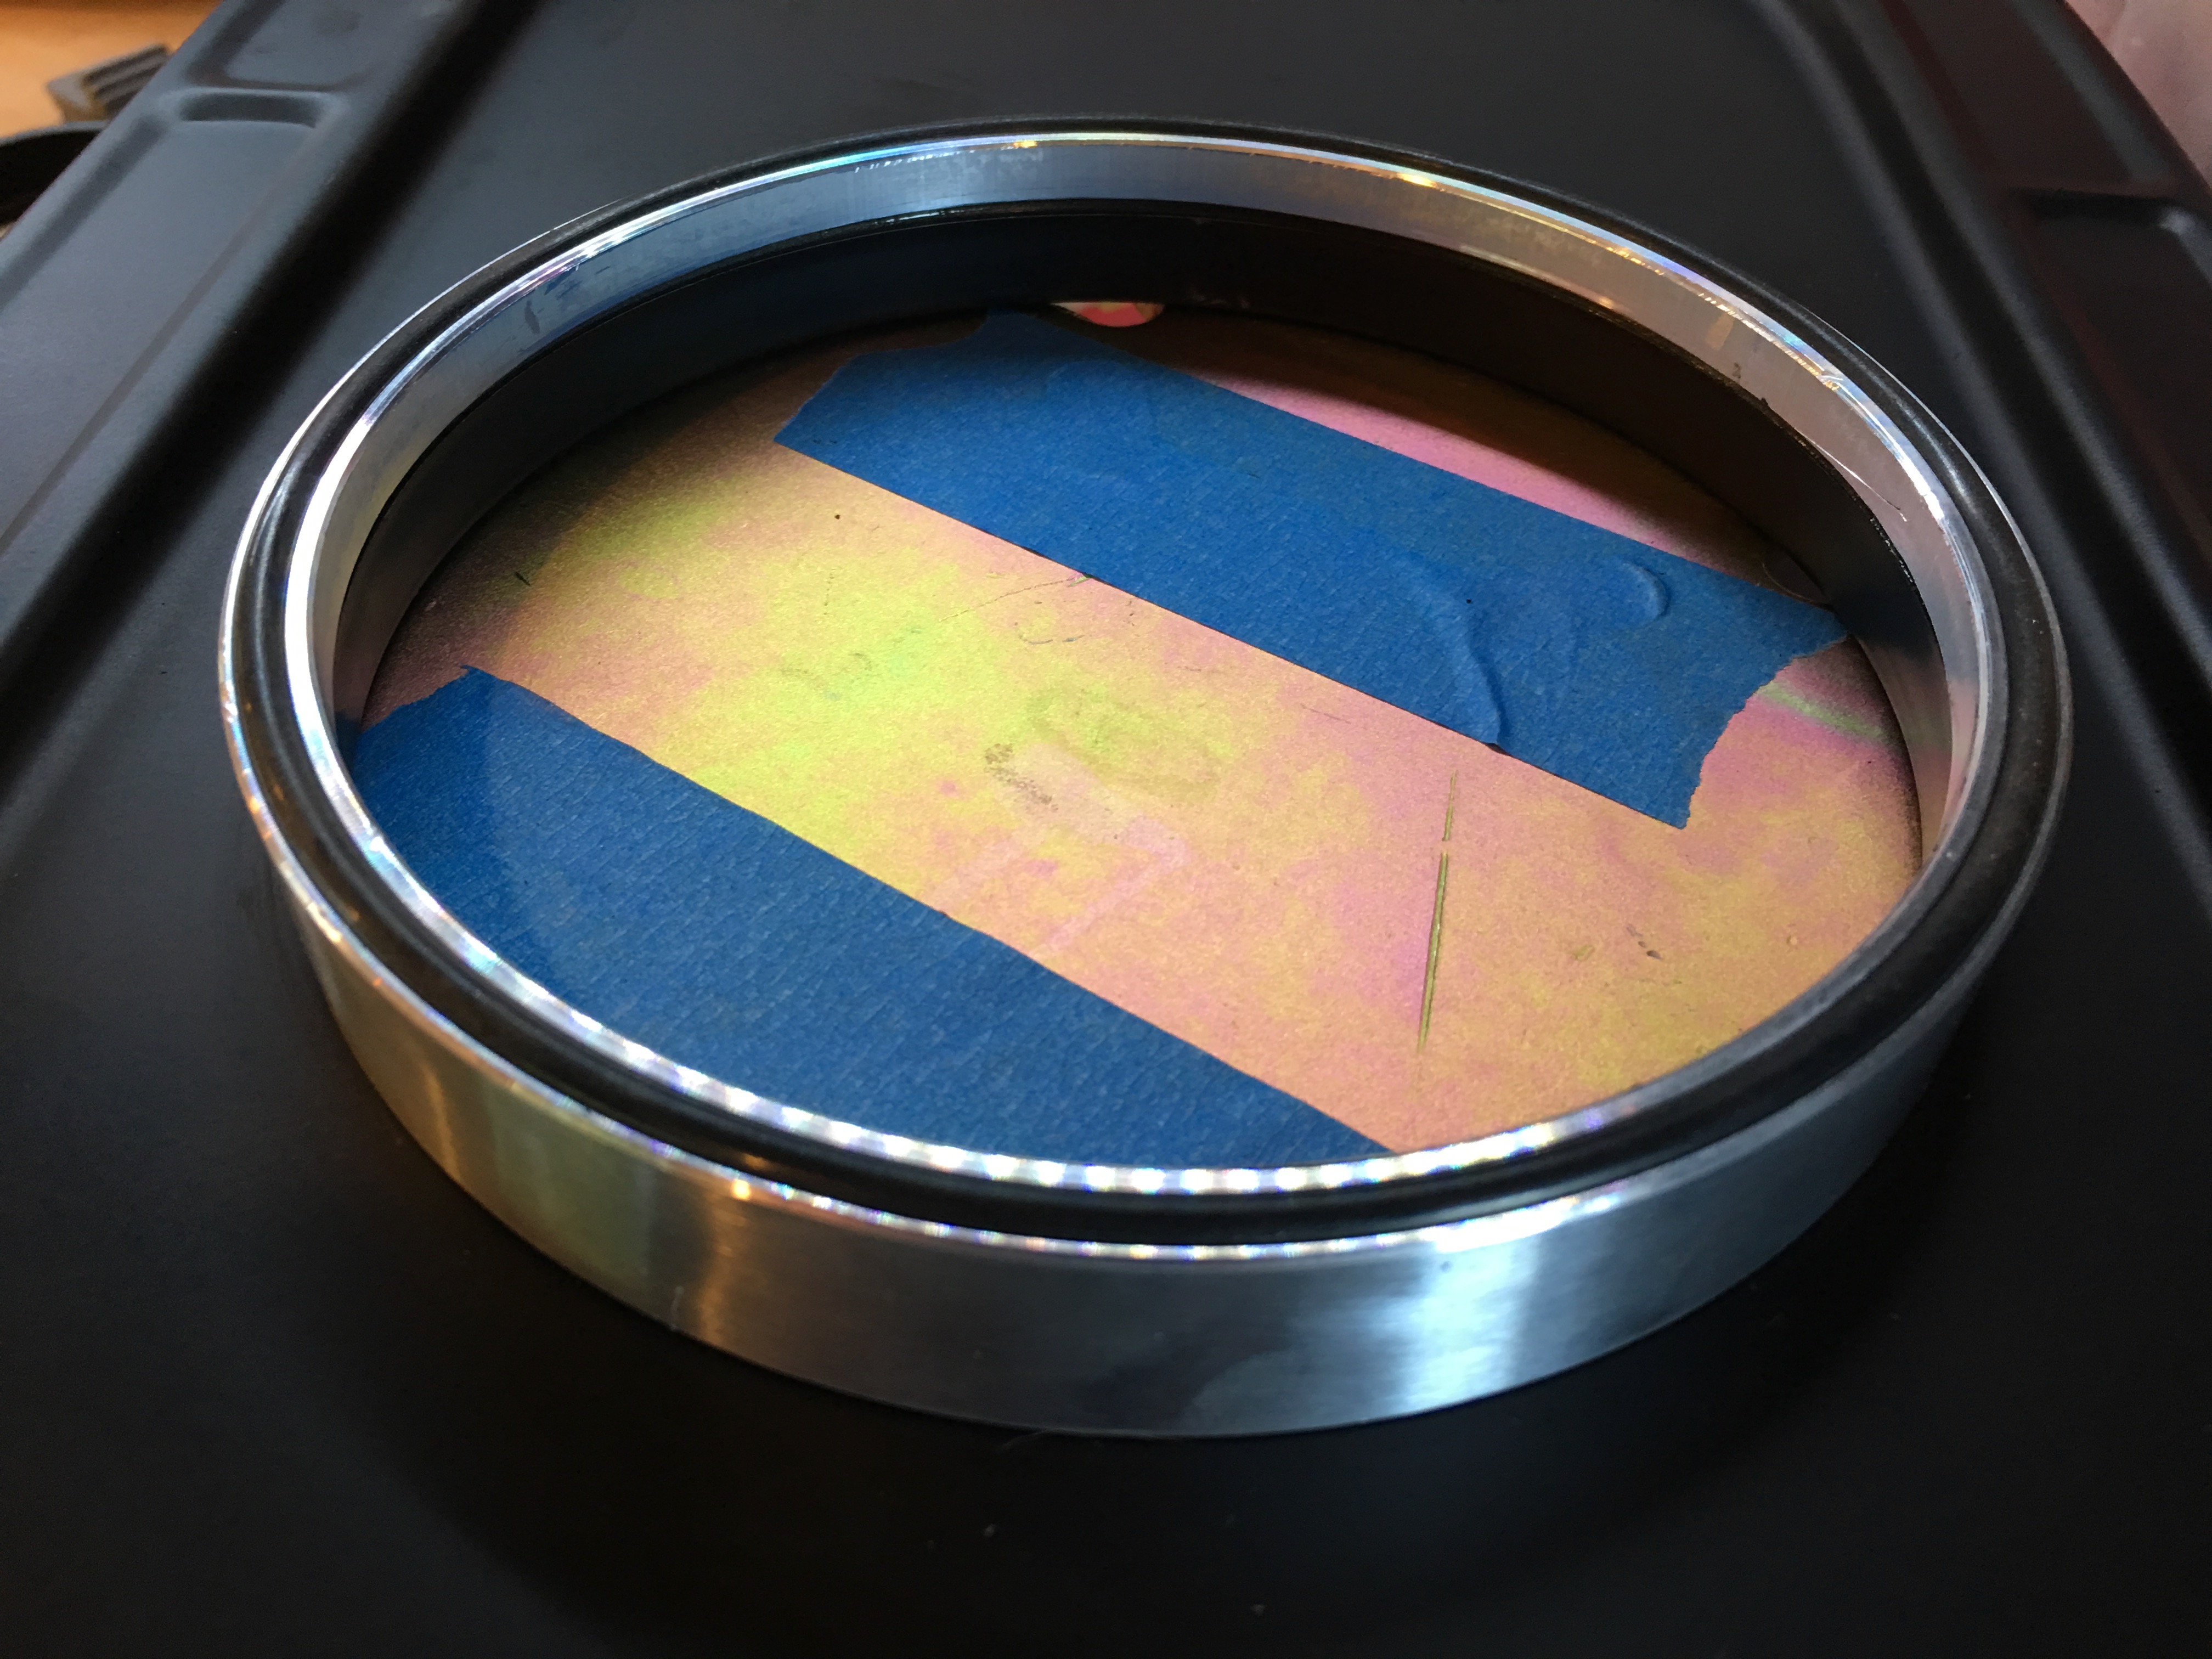
With the test fit complete, I used some black RTV to adhere the spacer to the air cleaner base. This seals out any leaks and means we don’t have to install the spacer separately. You can see here that the spacer also has an o-ring installed in the base so that we don’t need to use a gasket when installing the air cleaner.
Our steering rack wasn’t centered before, so you could turn the wheels farther one direction than the other. You can compensate for this by using different thickness steering spacers on each side, but the right fix is to center the rack in the car.
My order from Breeze Automotive arrived today with their offset rack mounting kit which let’s you shift the rack from left to right and also lower it a bit which helps reduce bump steer.
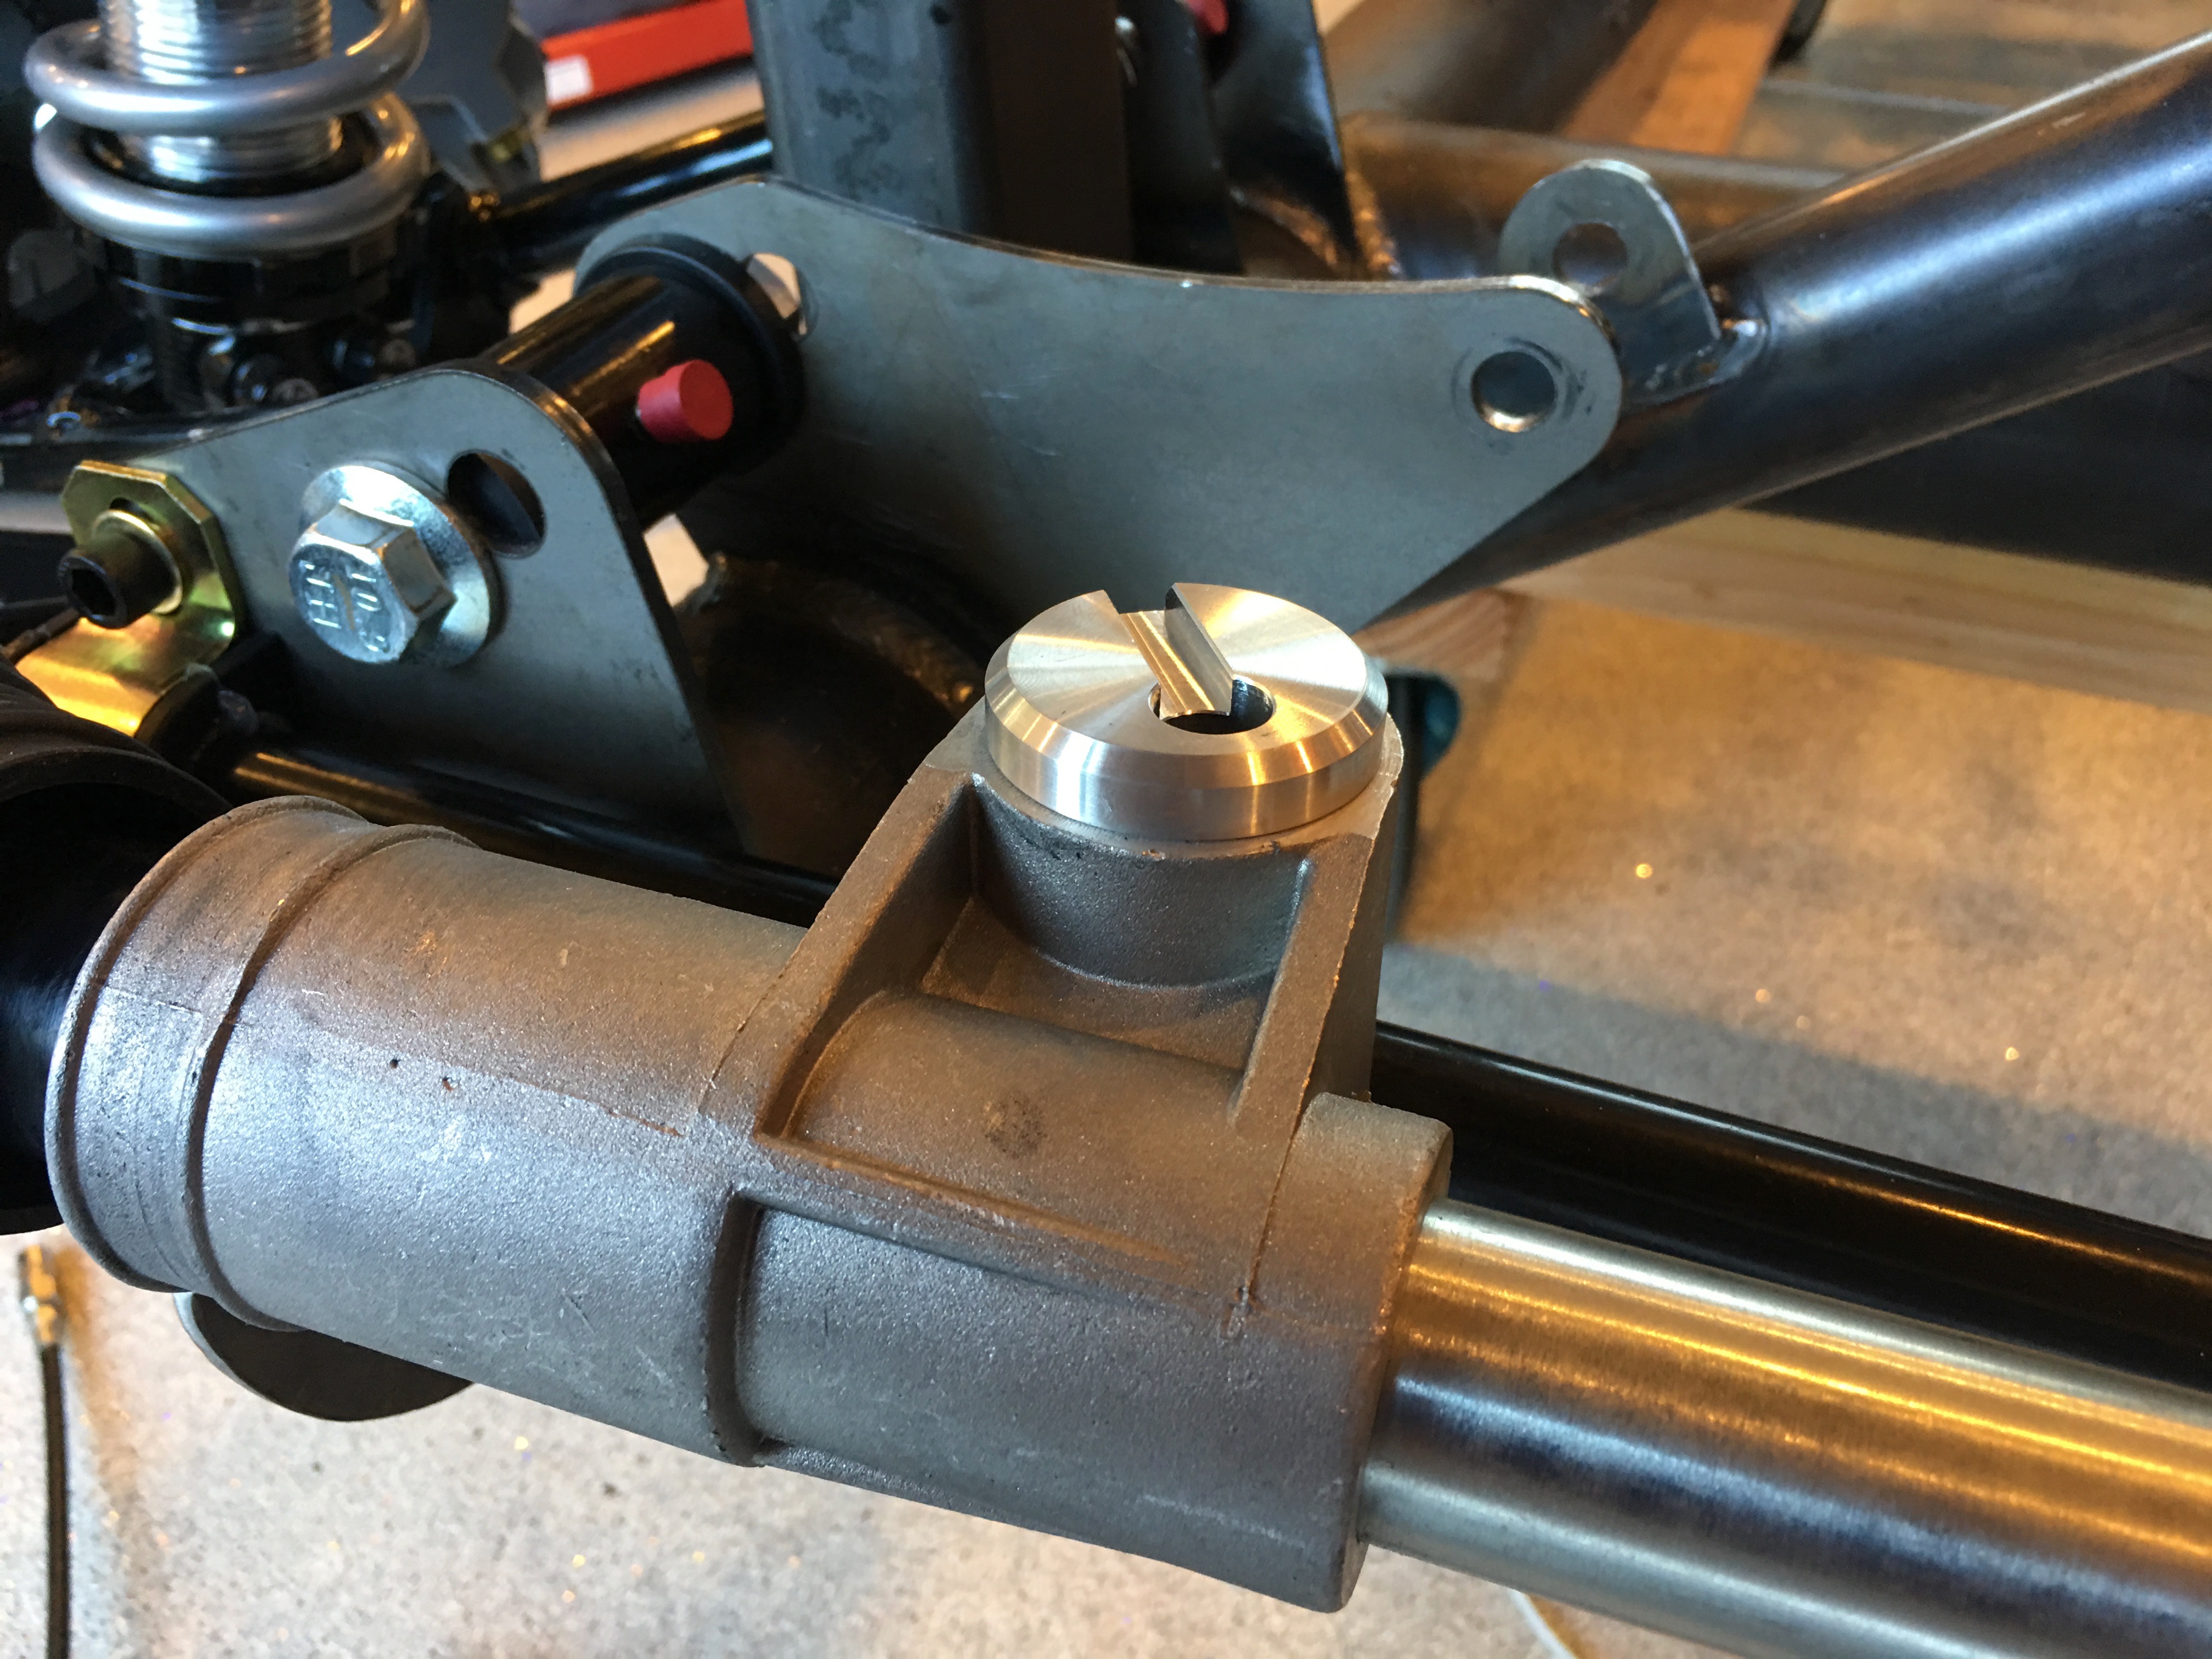
I installed the rack and some spacers and then adjusted the offset bushings until the rack was exactly centered in the chassis. One additional advantage of using the Breeze kit is that the steering rack is rigidly mounted which means it acts as a structural member of the chassis and increases its stiffness.
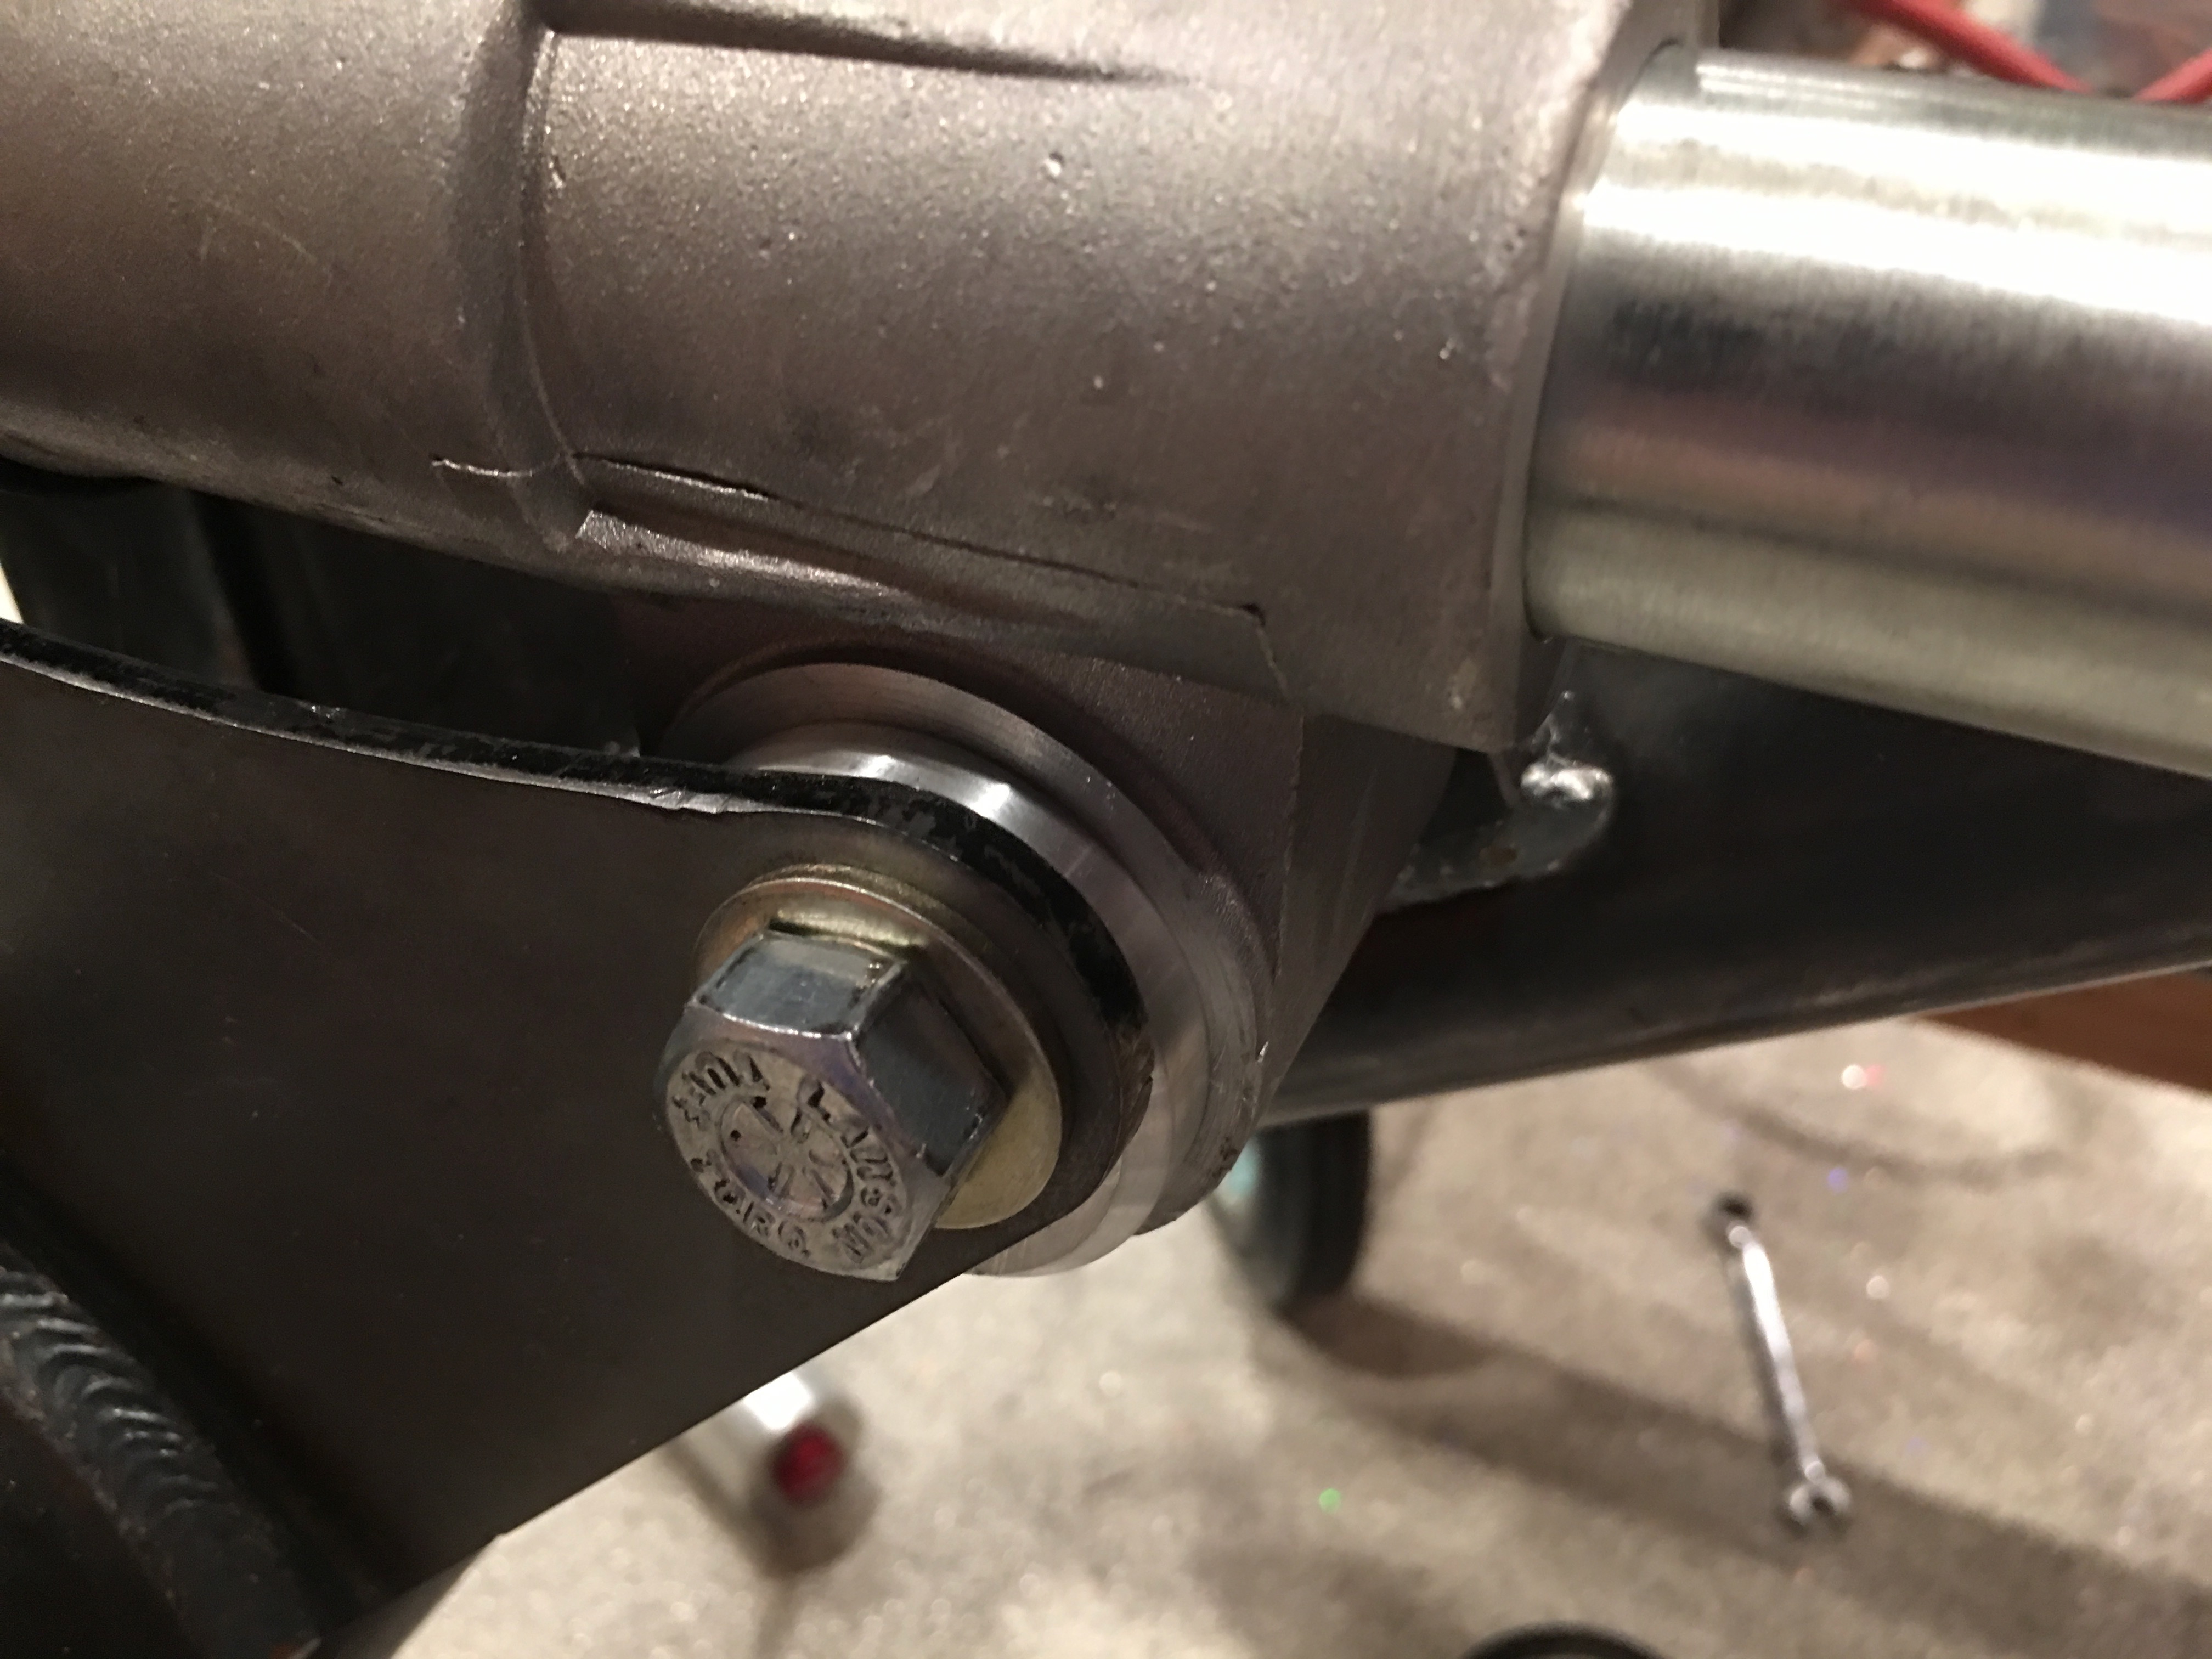
The rear hole on the passenger side needed to be elongated vertically since it wasn’t quite aligned with the front hole. It wasn’t really a problem with the polyurethane bushings since they could flex a little, but the rigid bushings require the holes to be aligned.

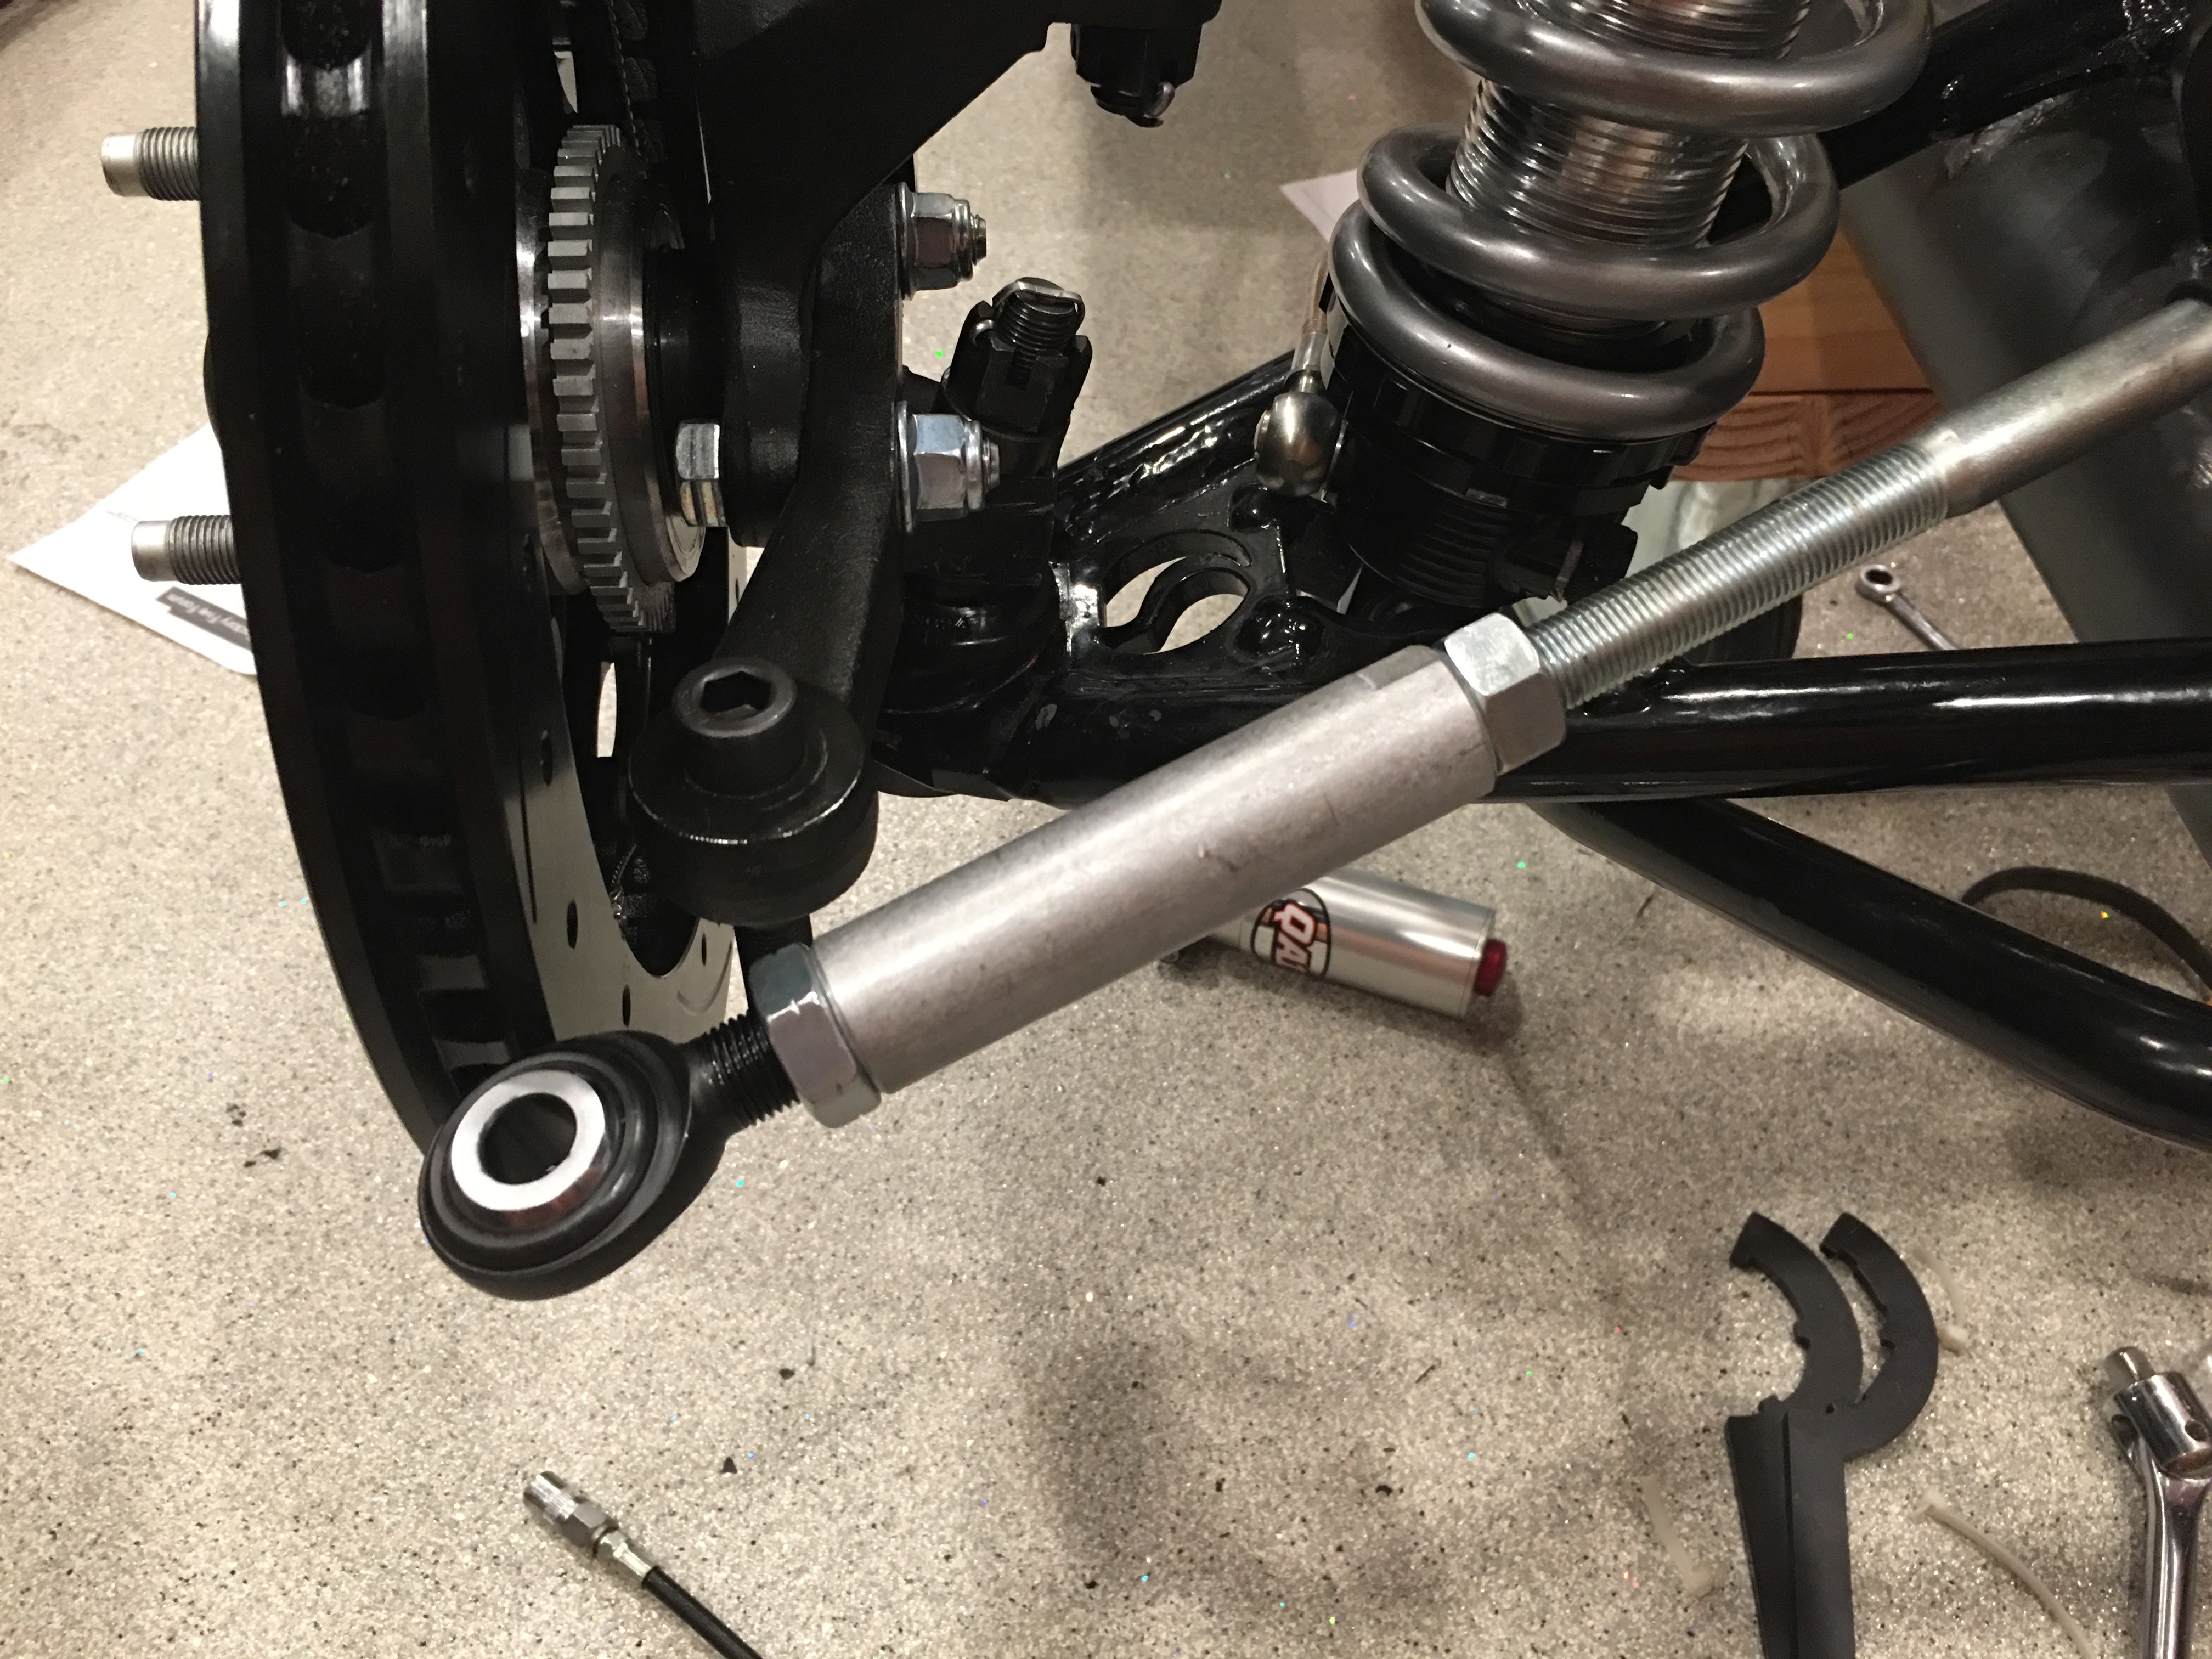
I also picked up a bump steer kit from Mike Forte. I threaded it in all the way on both sides and then loosened it until I had some adjustment available. With the steering rack centered and the wheel roughly aligned, it looks like the tie rod is nearly 2″ too long. I’ll confirm with Mike Forte before cutting them though.