Chassis and IRS Knuckle Prep

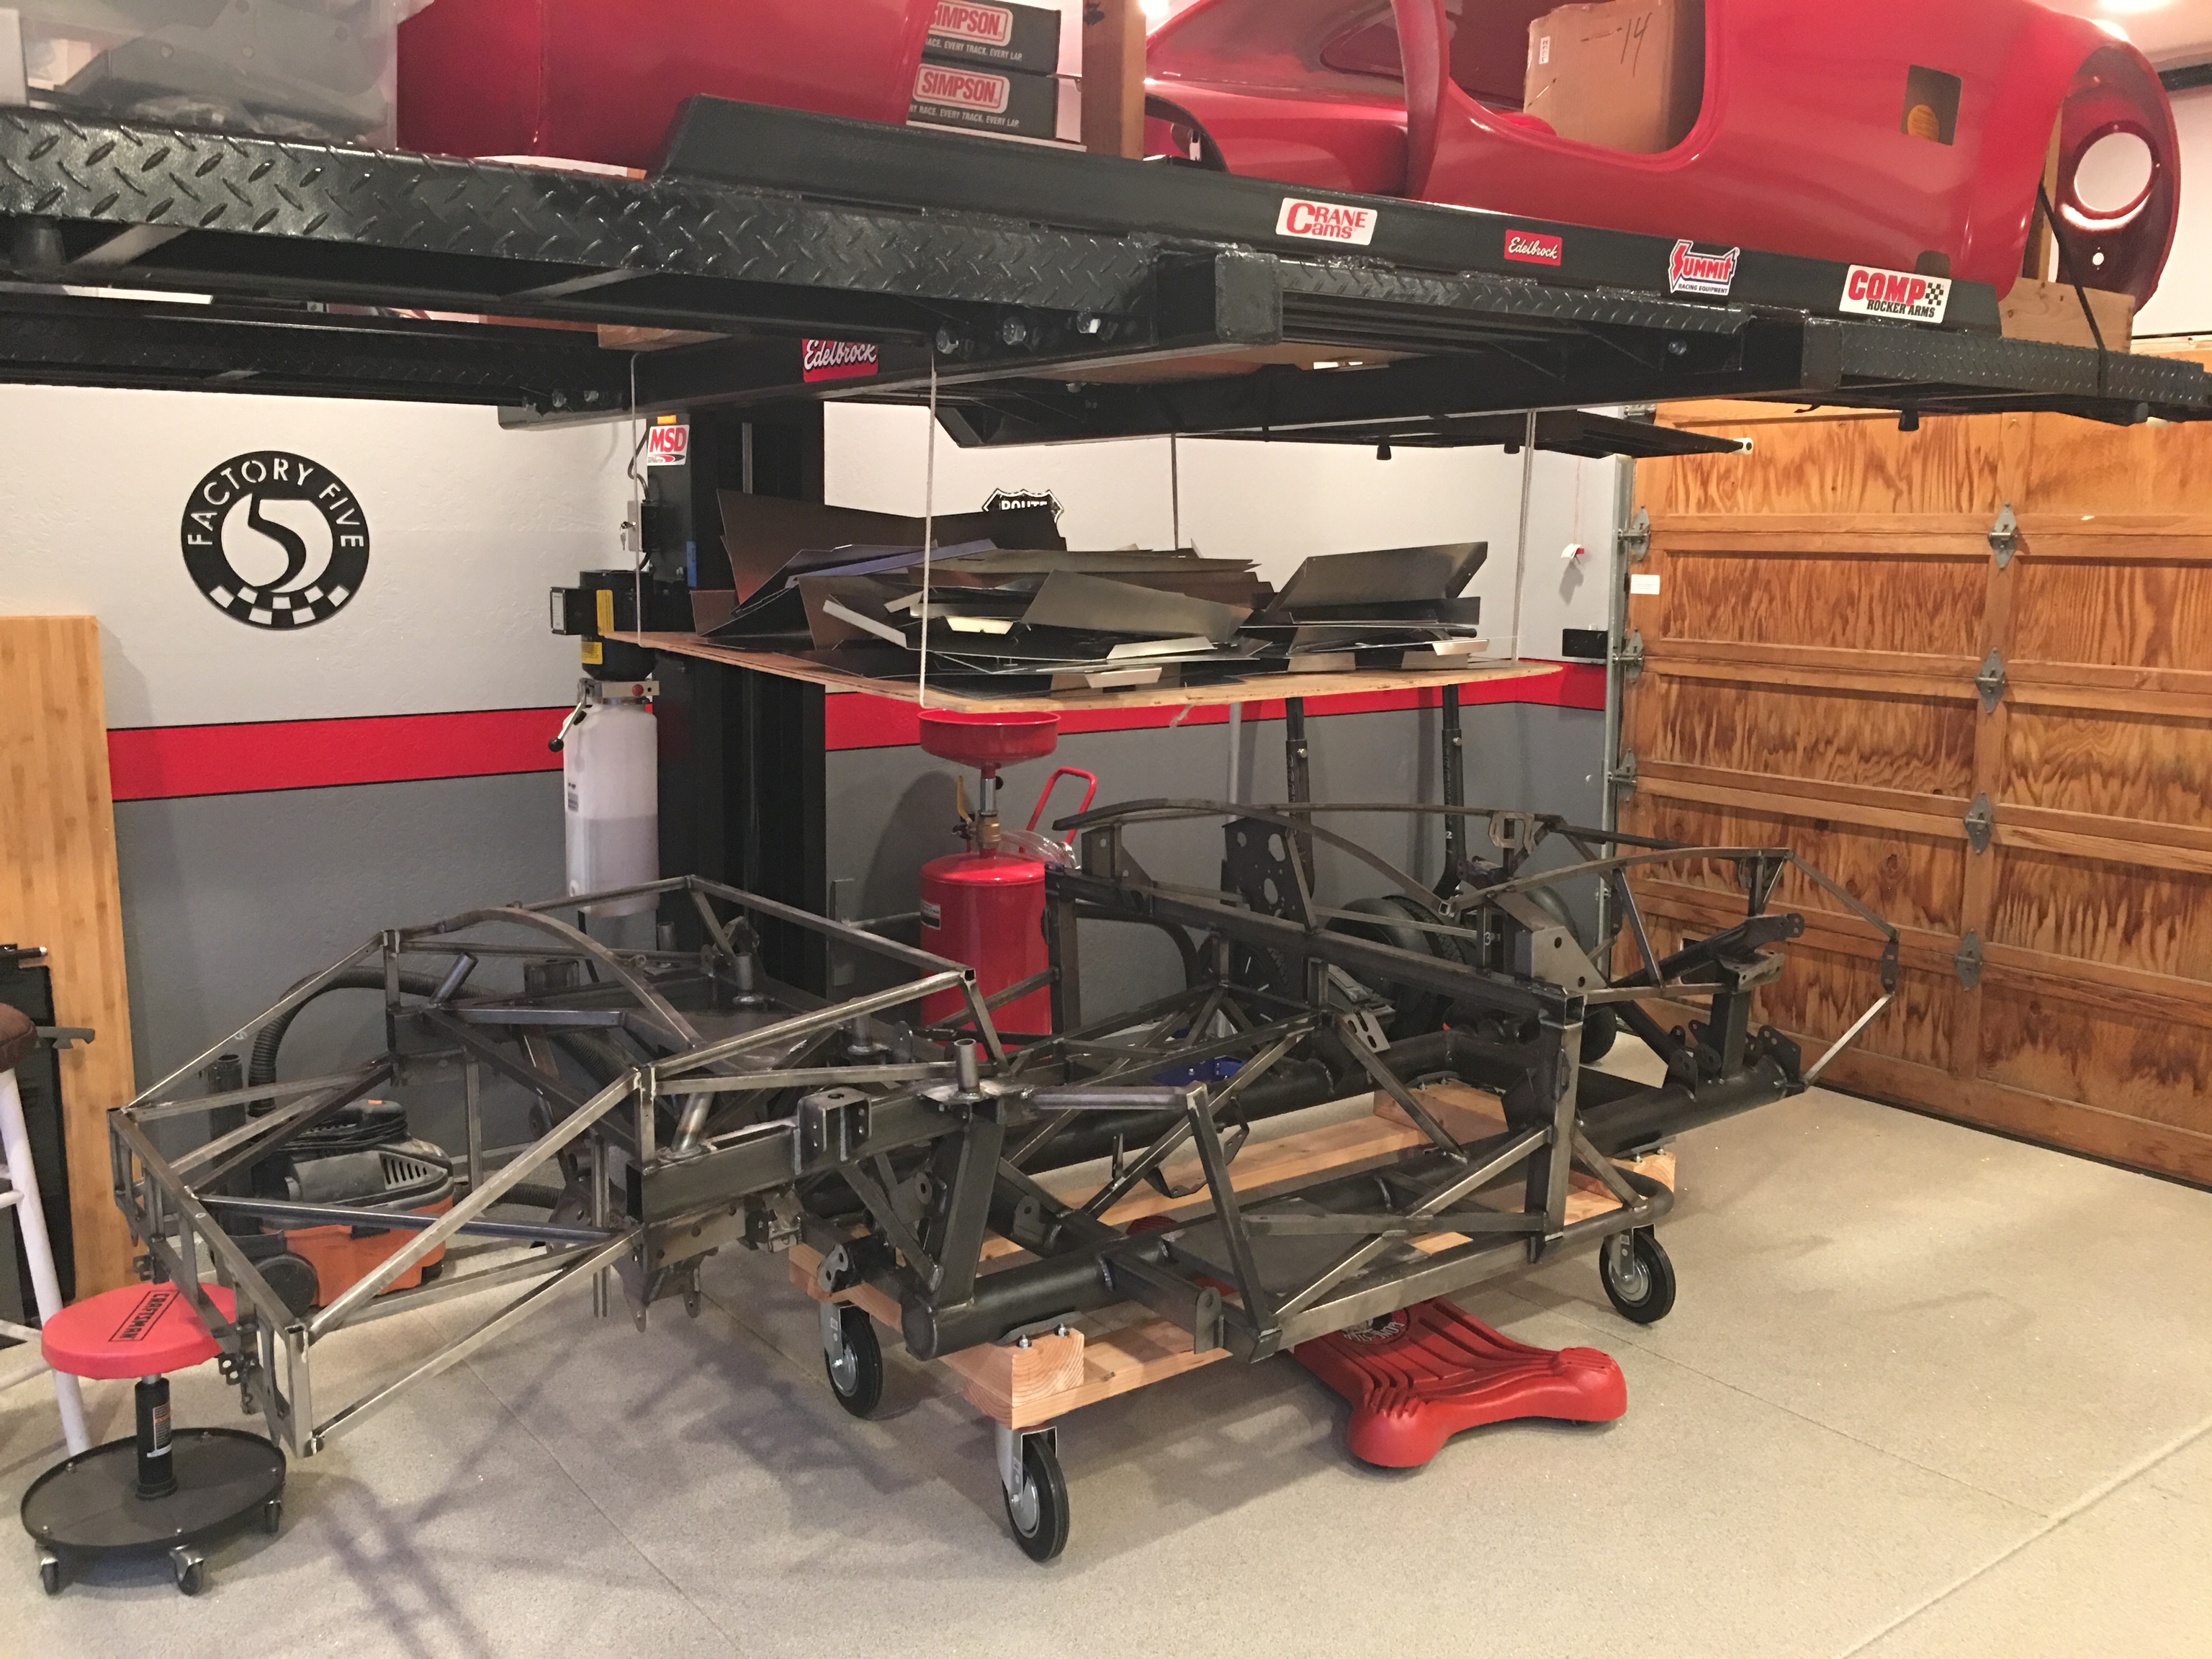
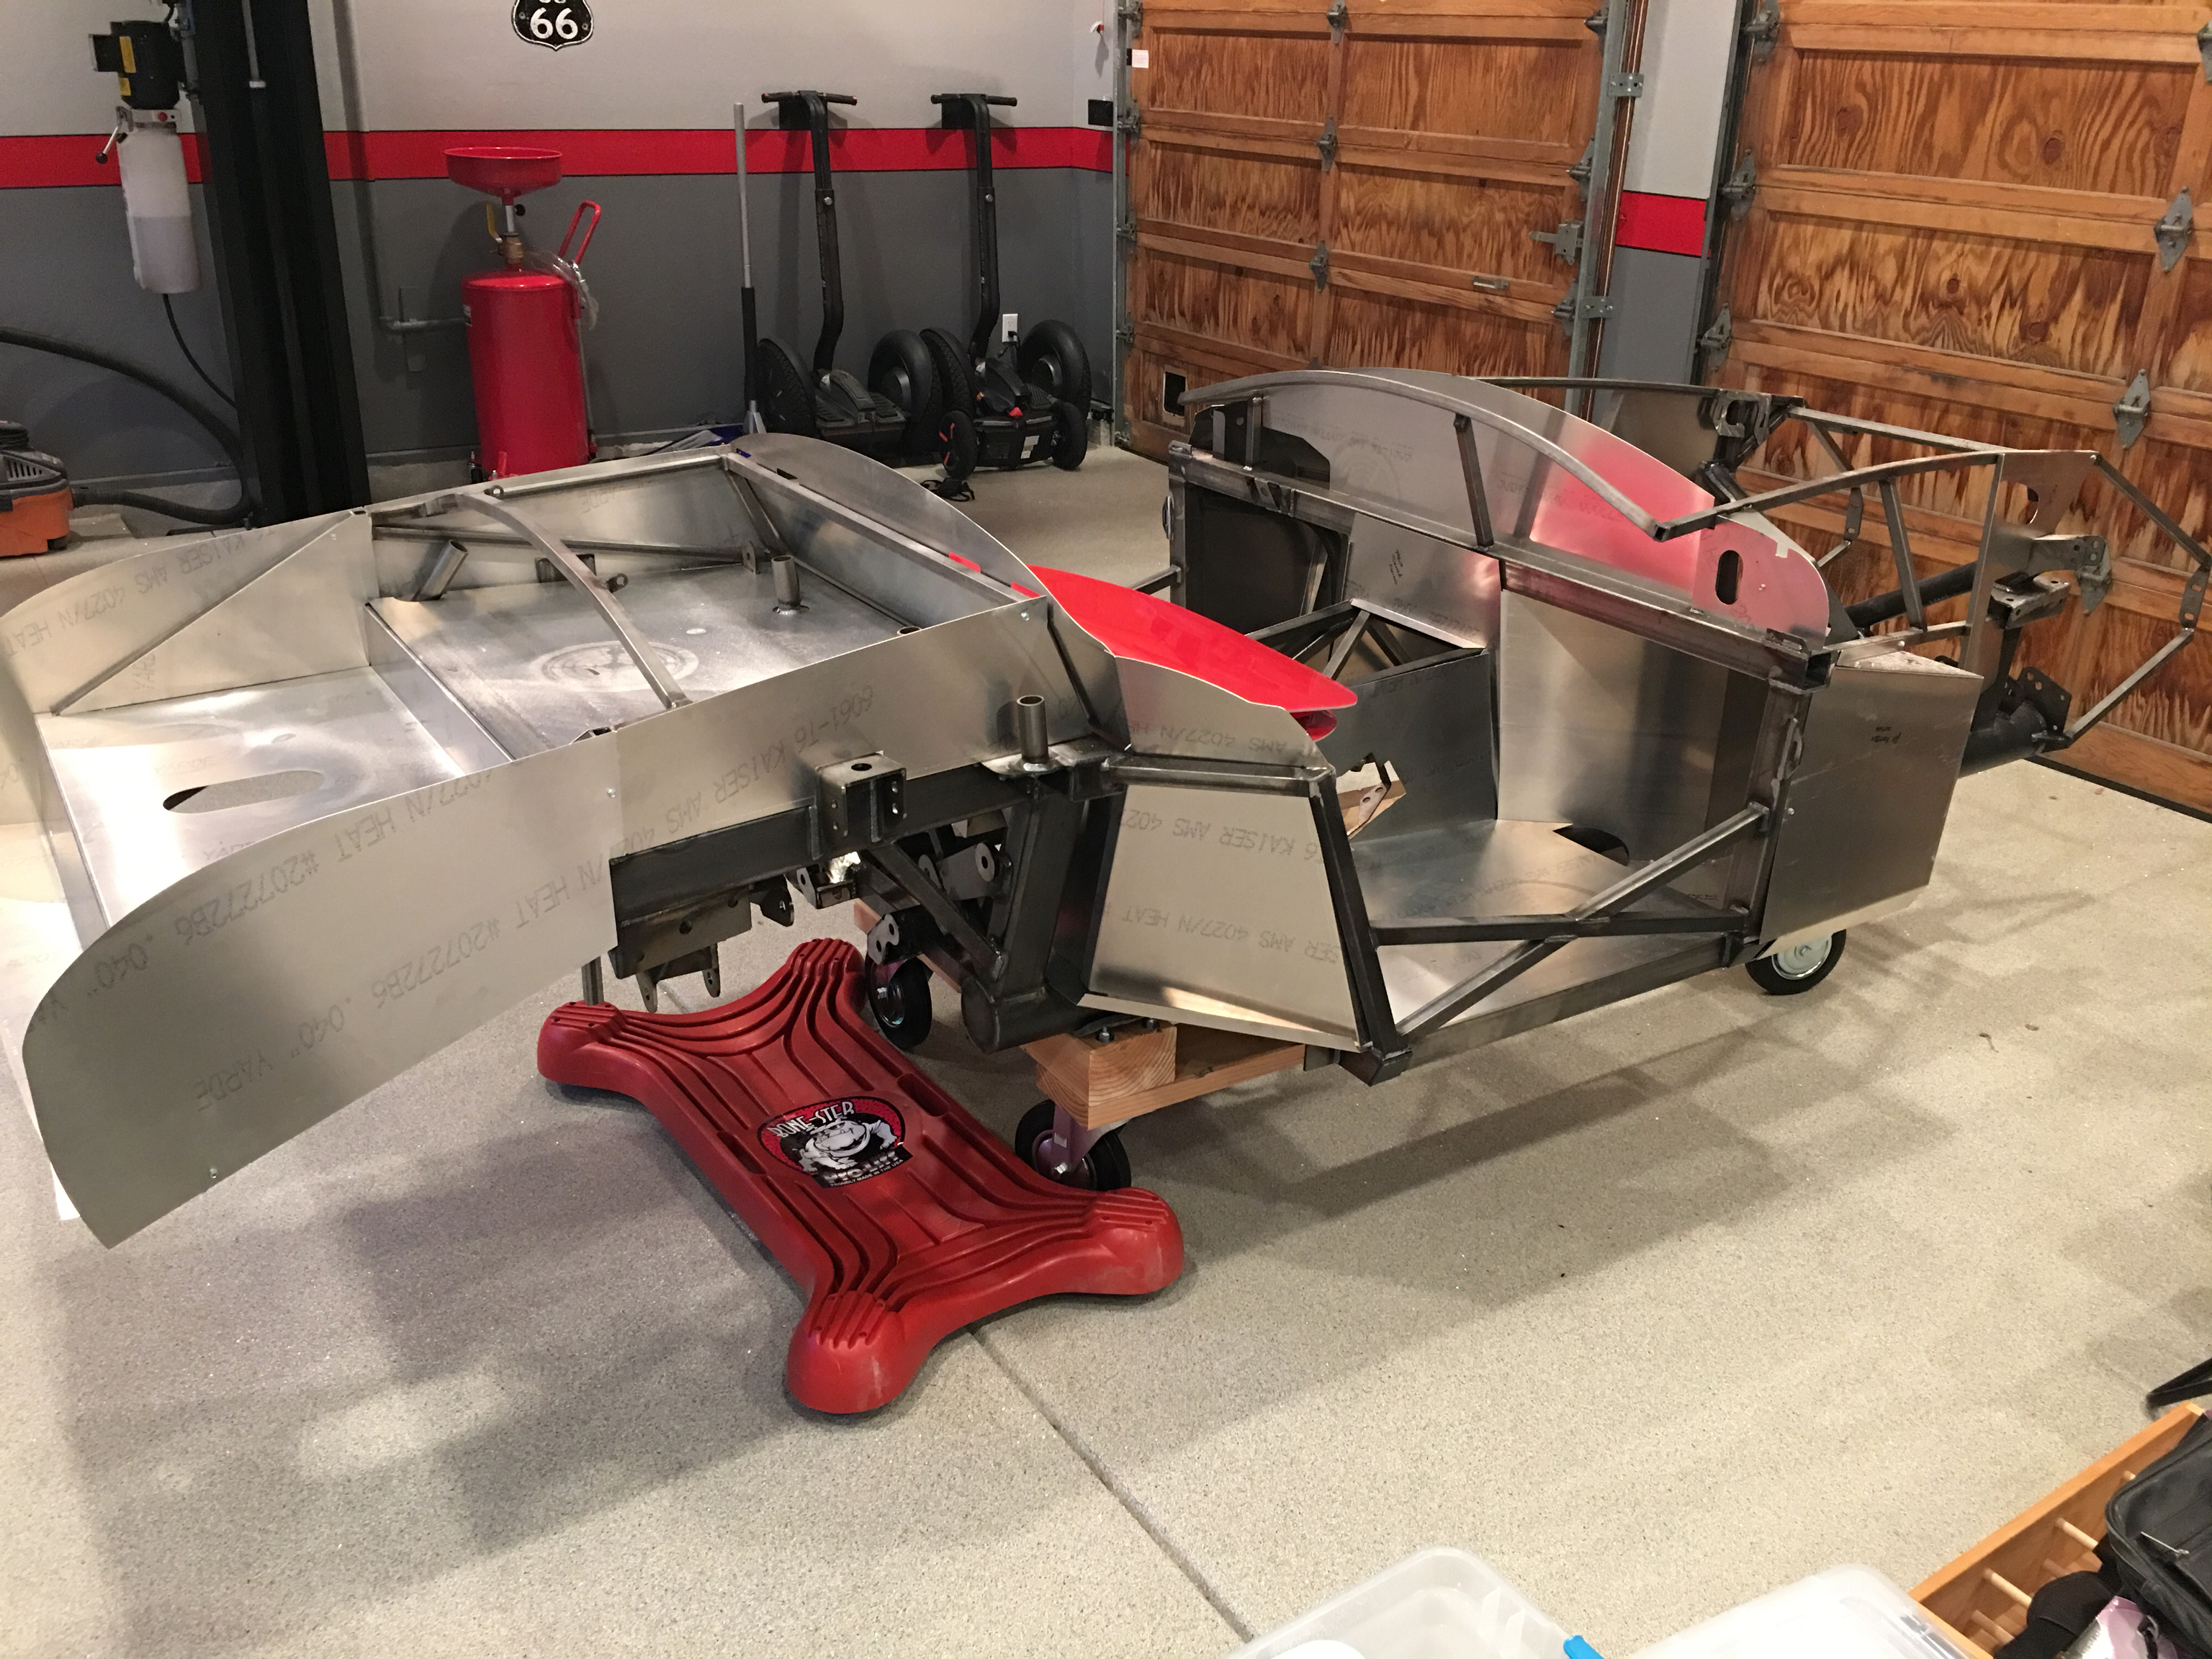
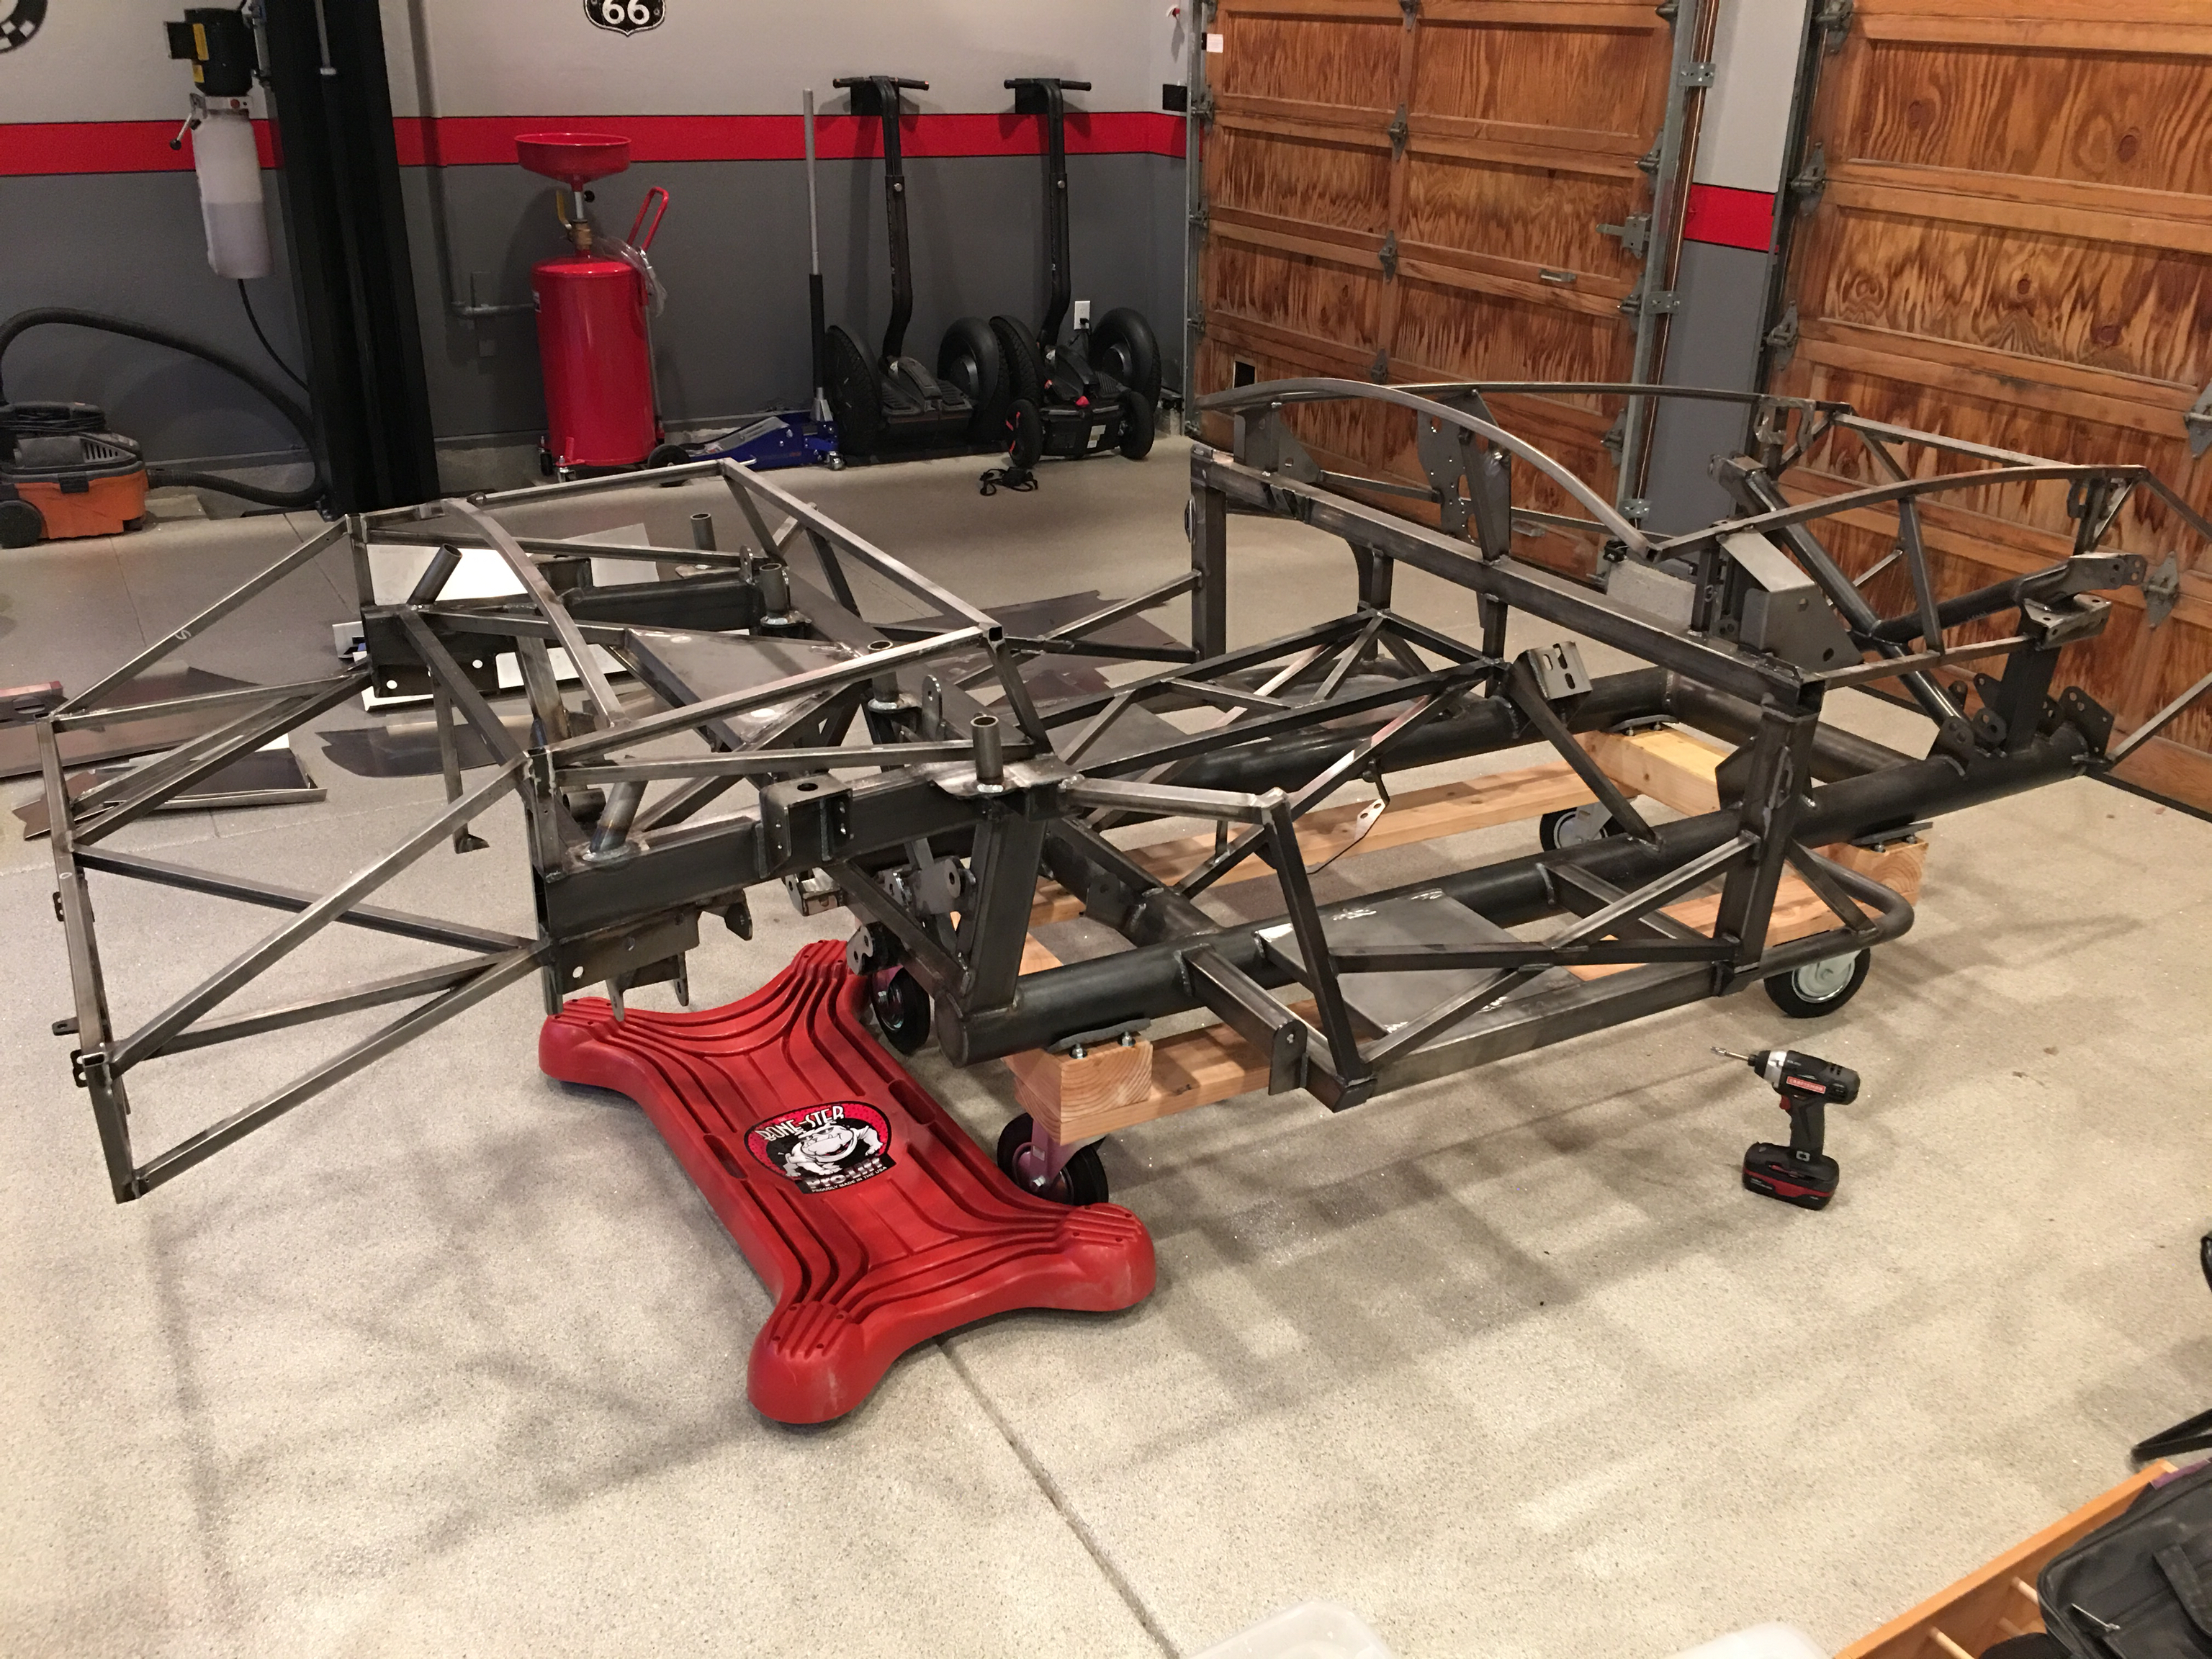
I spent some time cleaning up the chassis. Although the workmanship is outstanding, there were a few things I wanted to address:

  • There were a number of sharp corners and edges that I wanted to smooth over so we don’t scrape ourselves working on the car.
  • All of the laser cut brackets had some sharp burrs from the cutting process that I wanted to clean up.
  • There was some weld splatter all over it that I wanted to clean off.
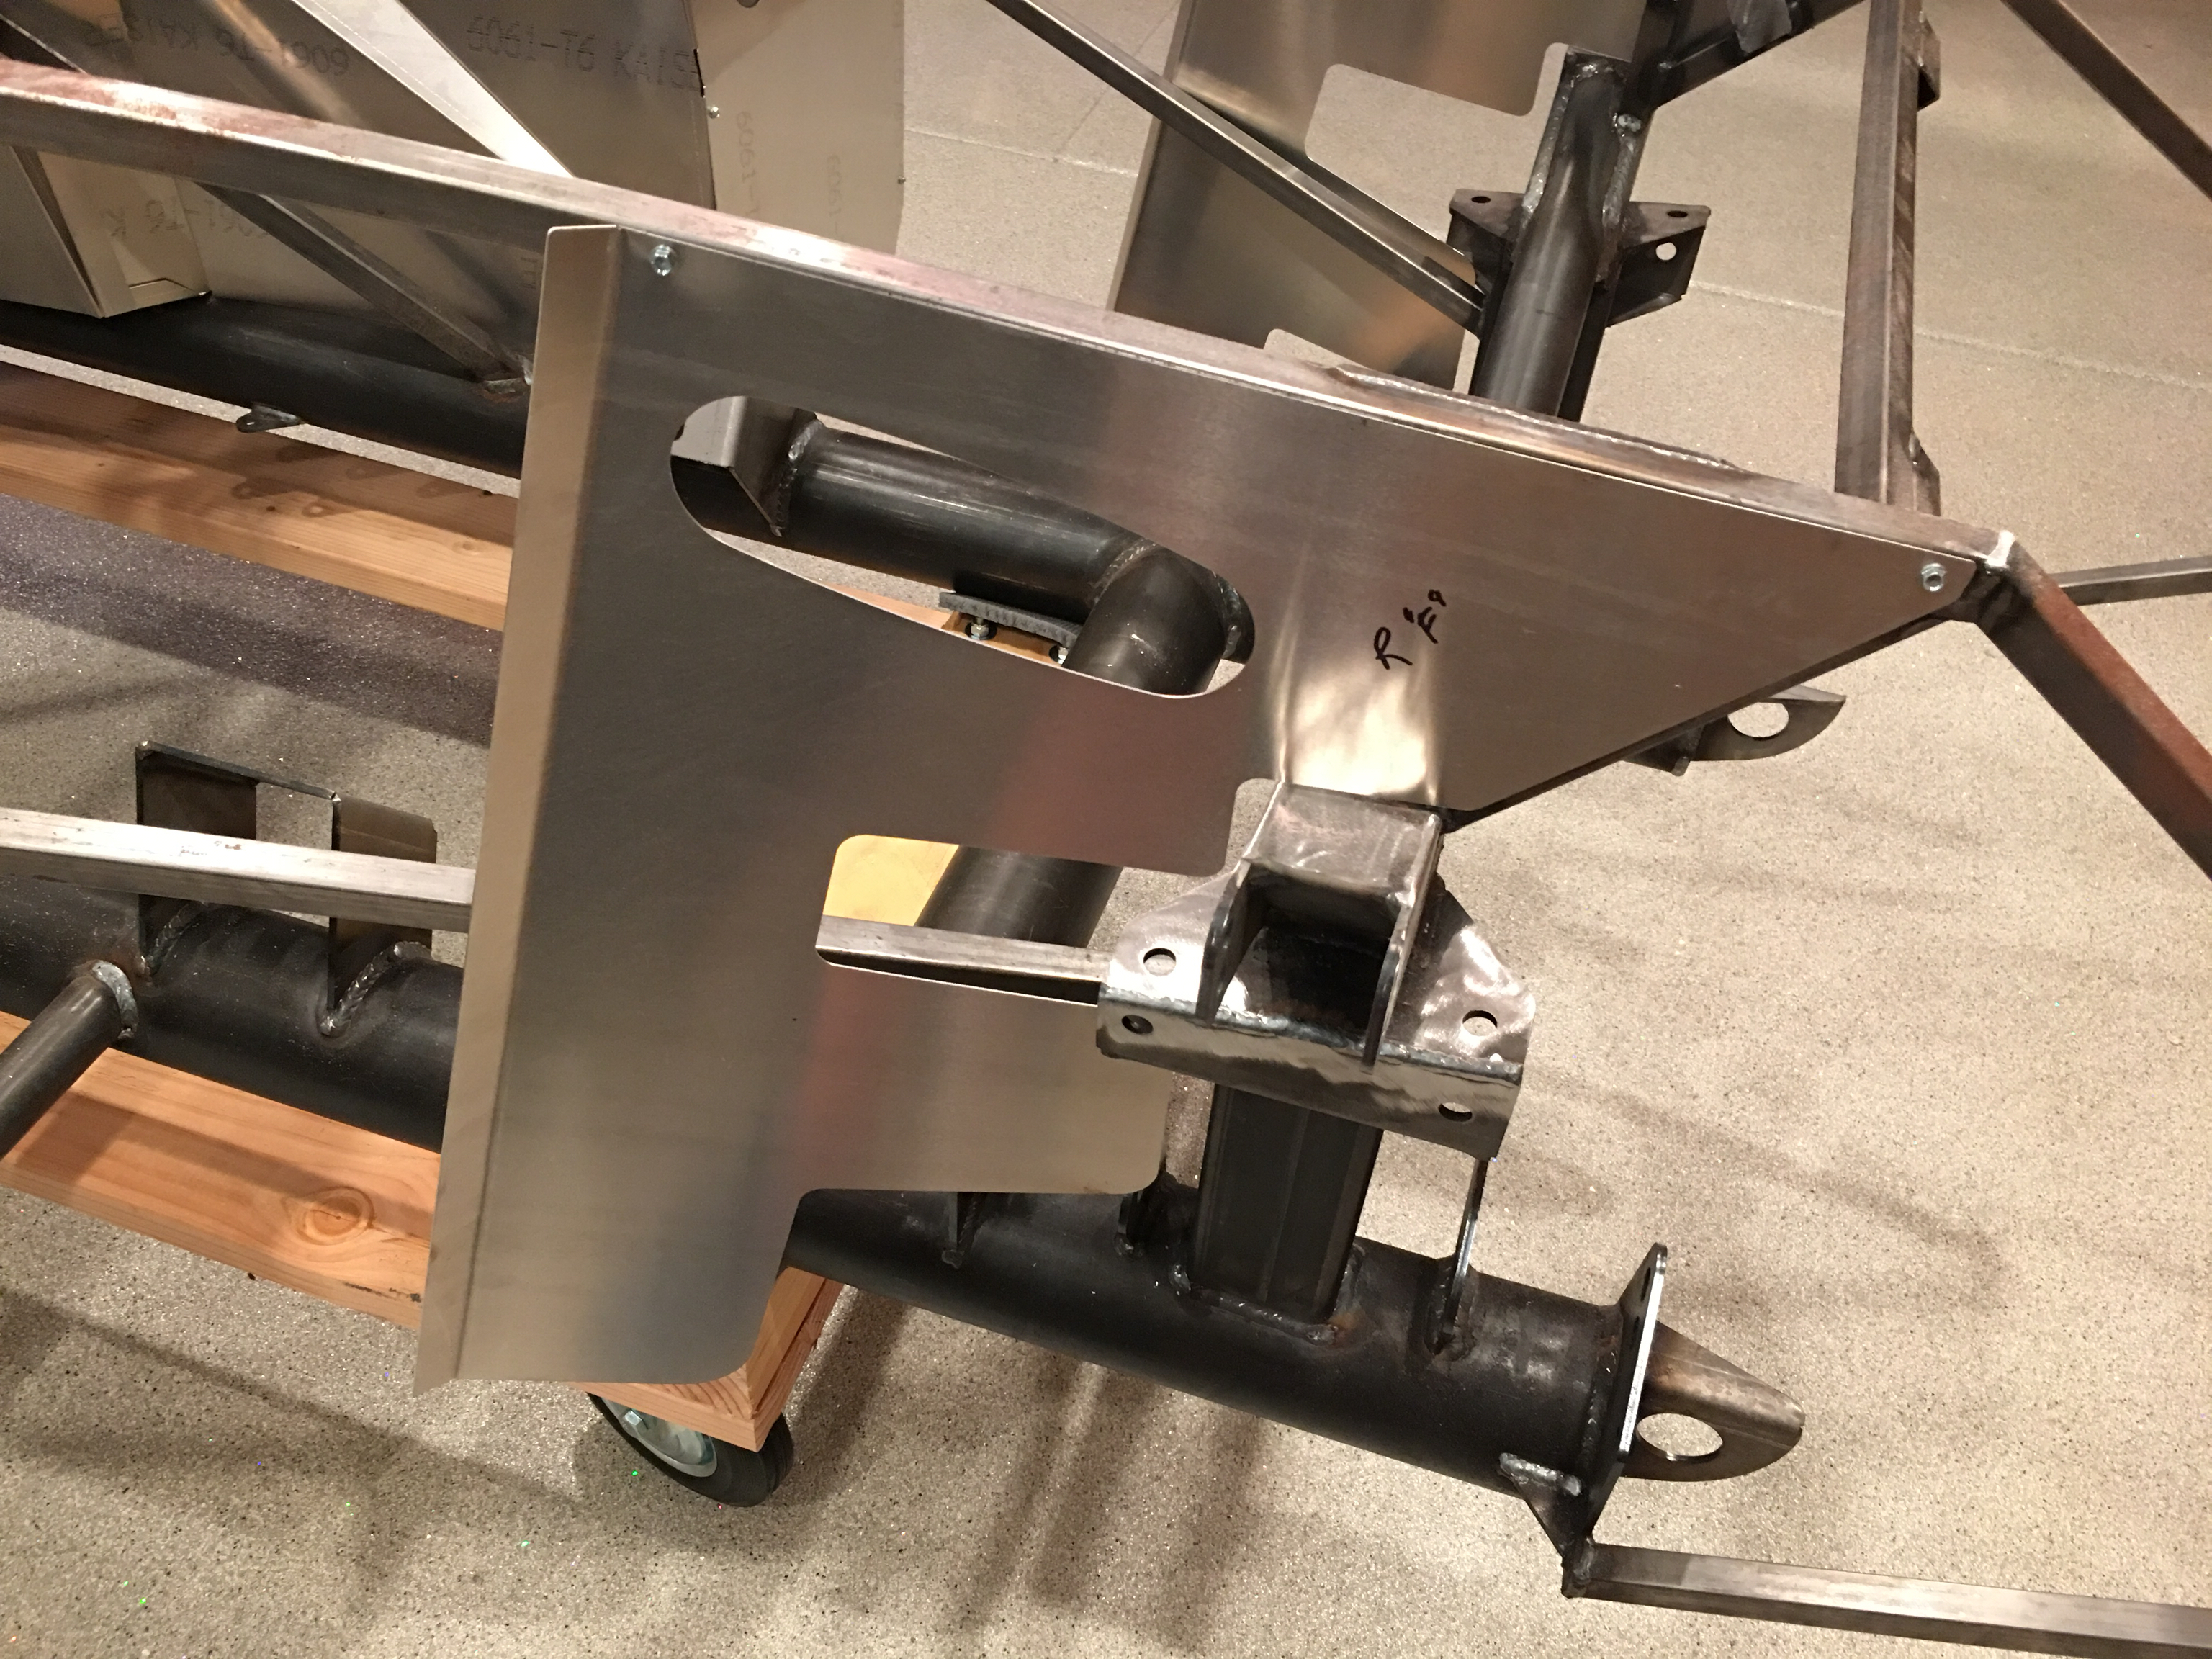
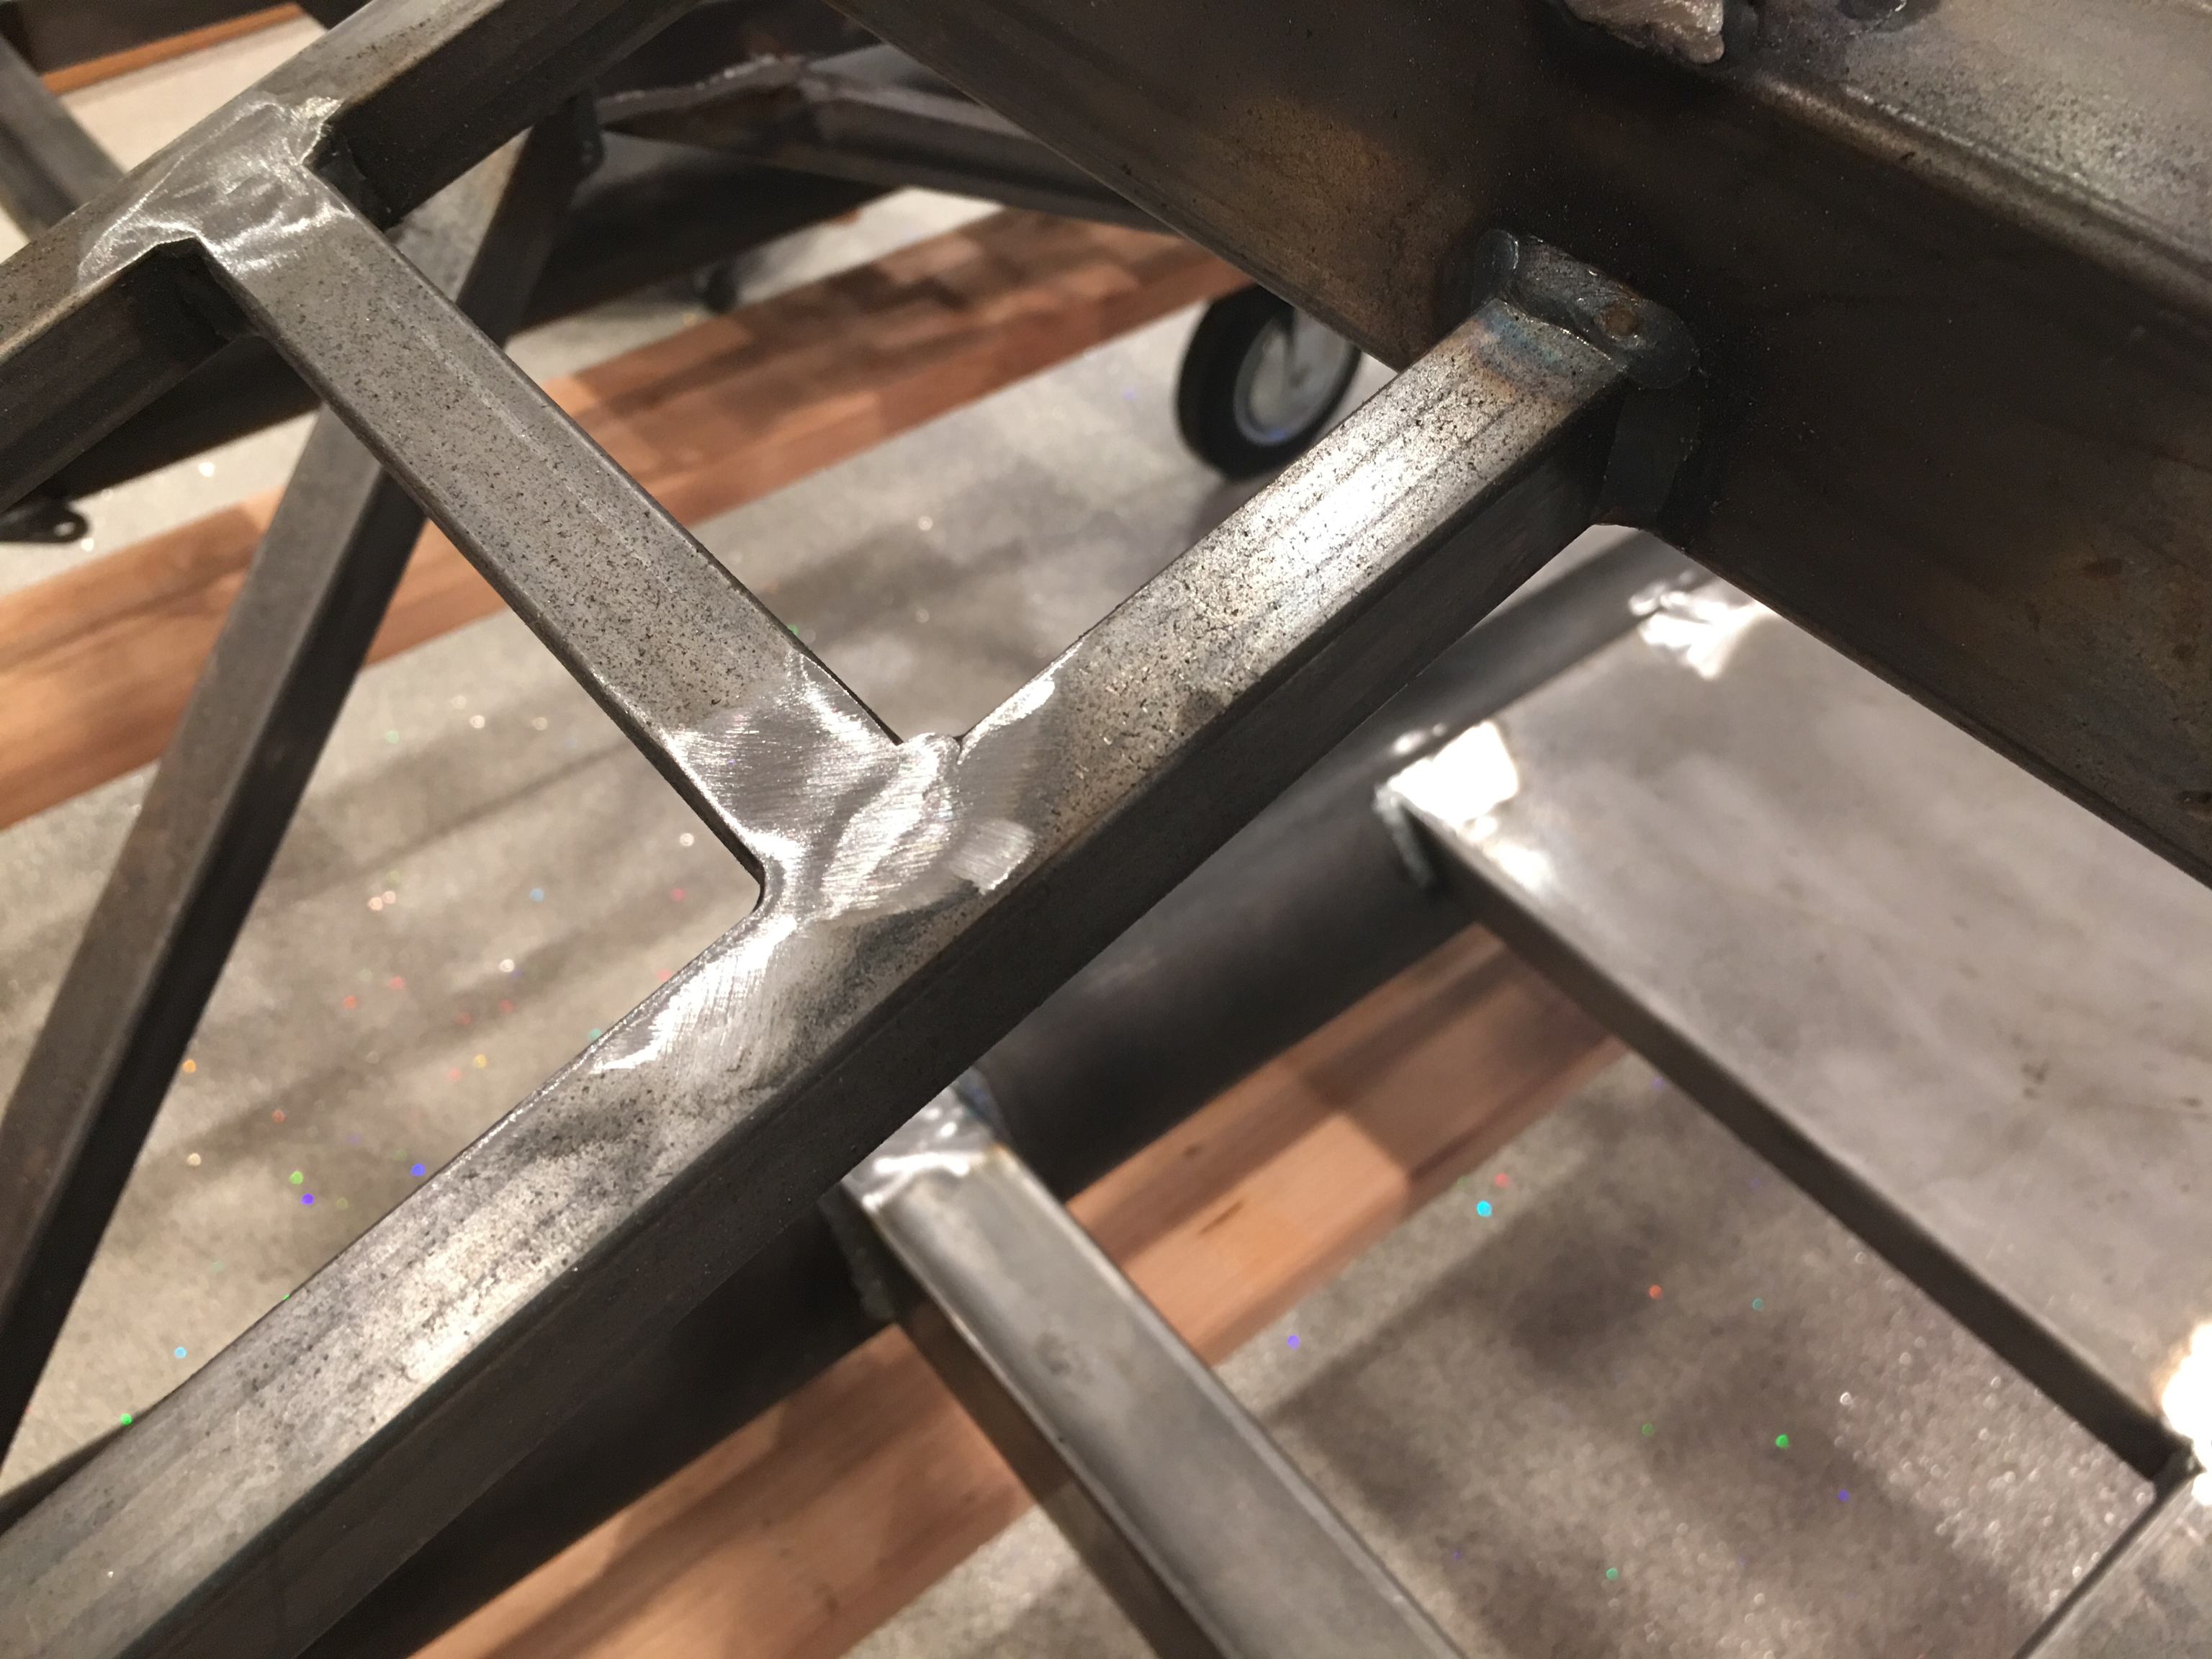
  • There were a number of places where they had ground down part of the weld, but I wanted to make them flush so that the aluminum panels would lie flat.

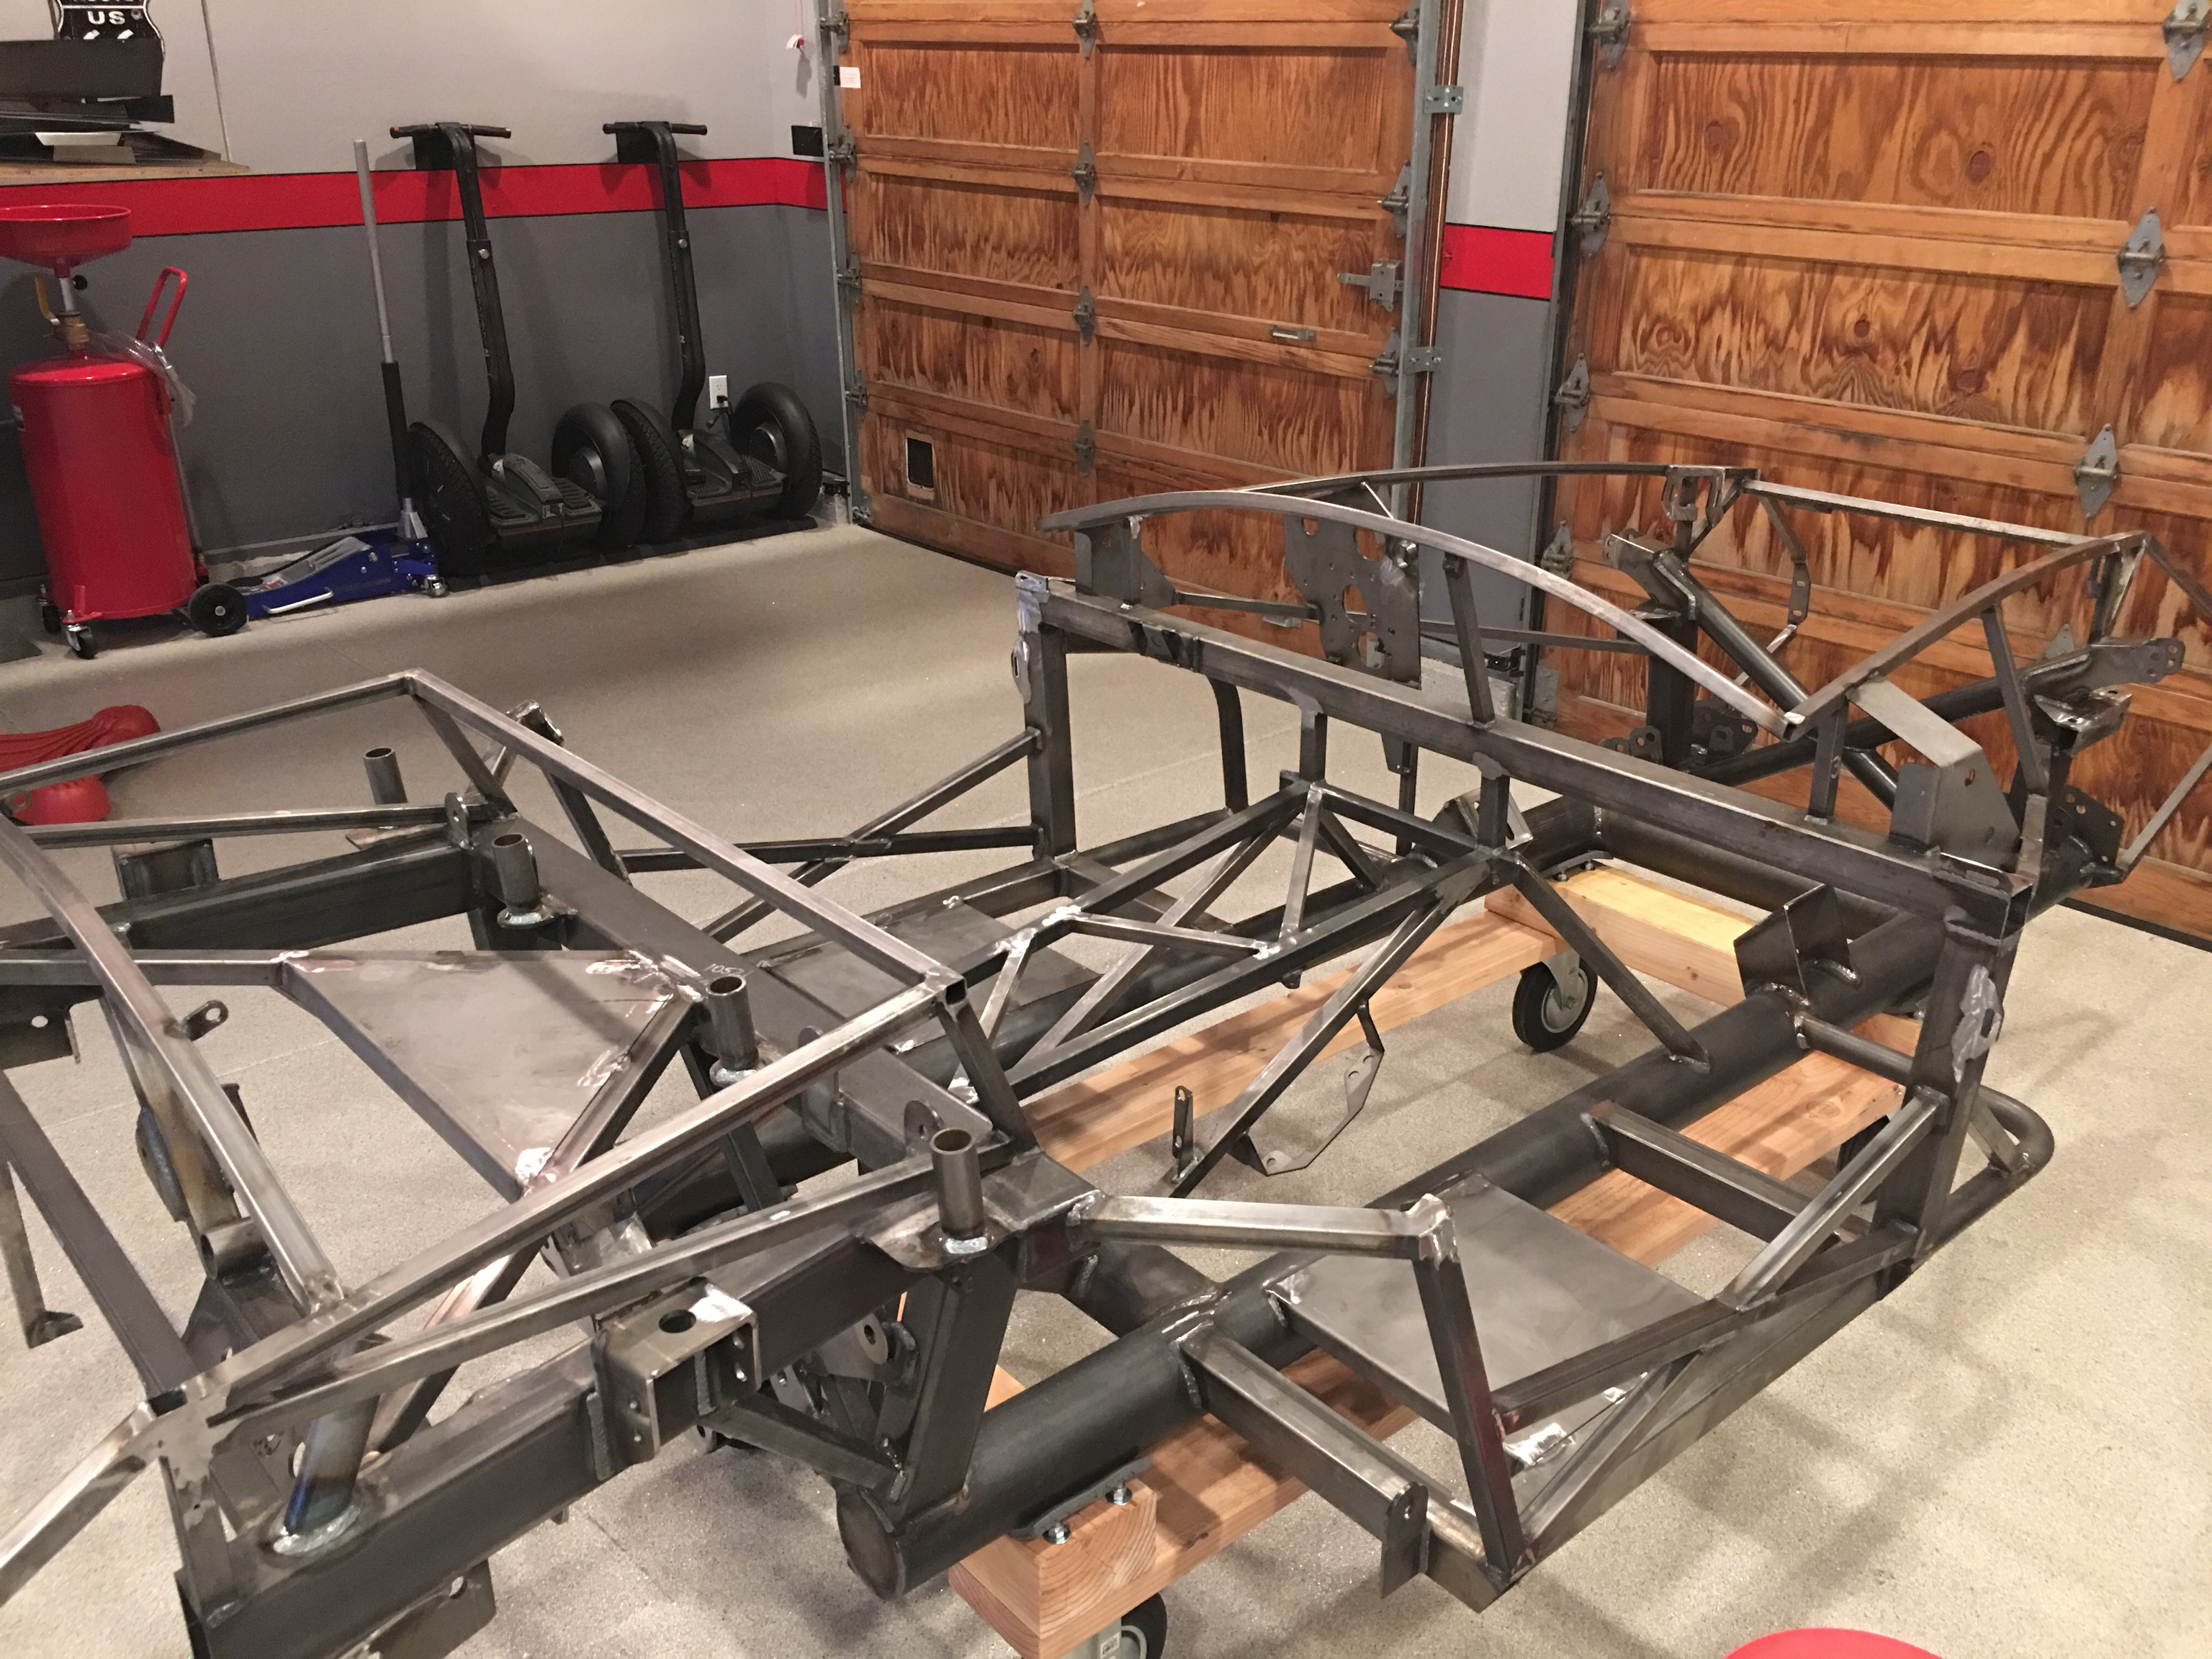
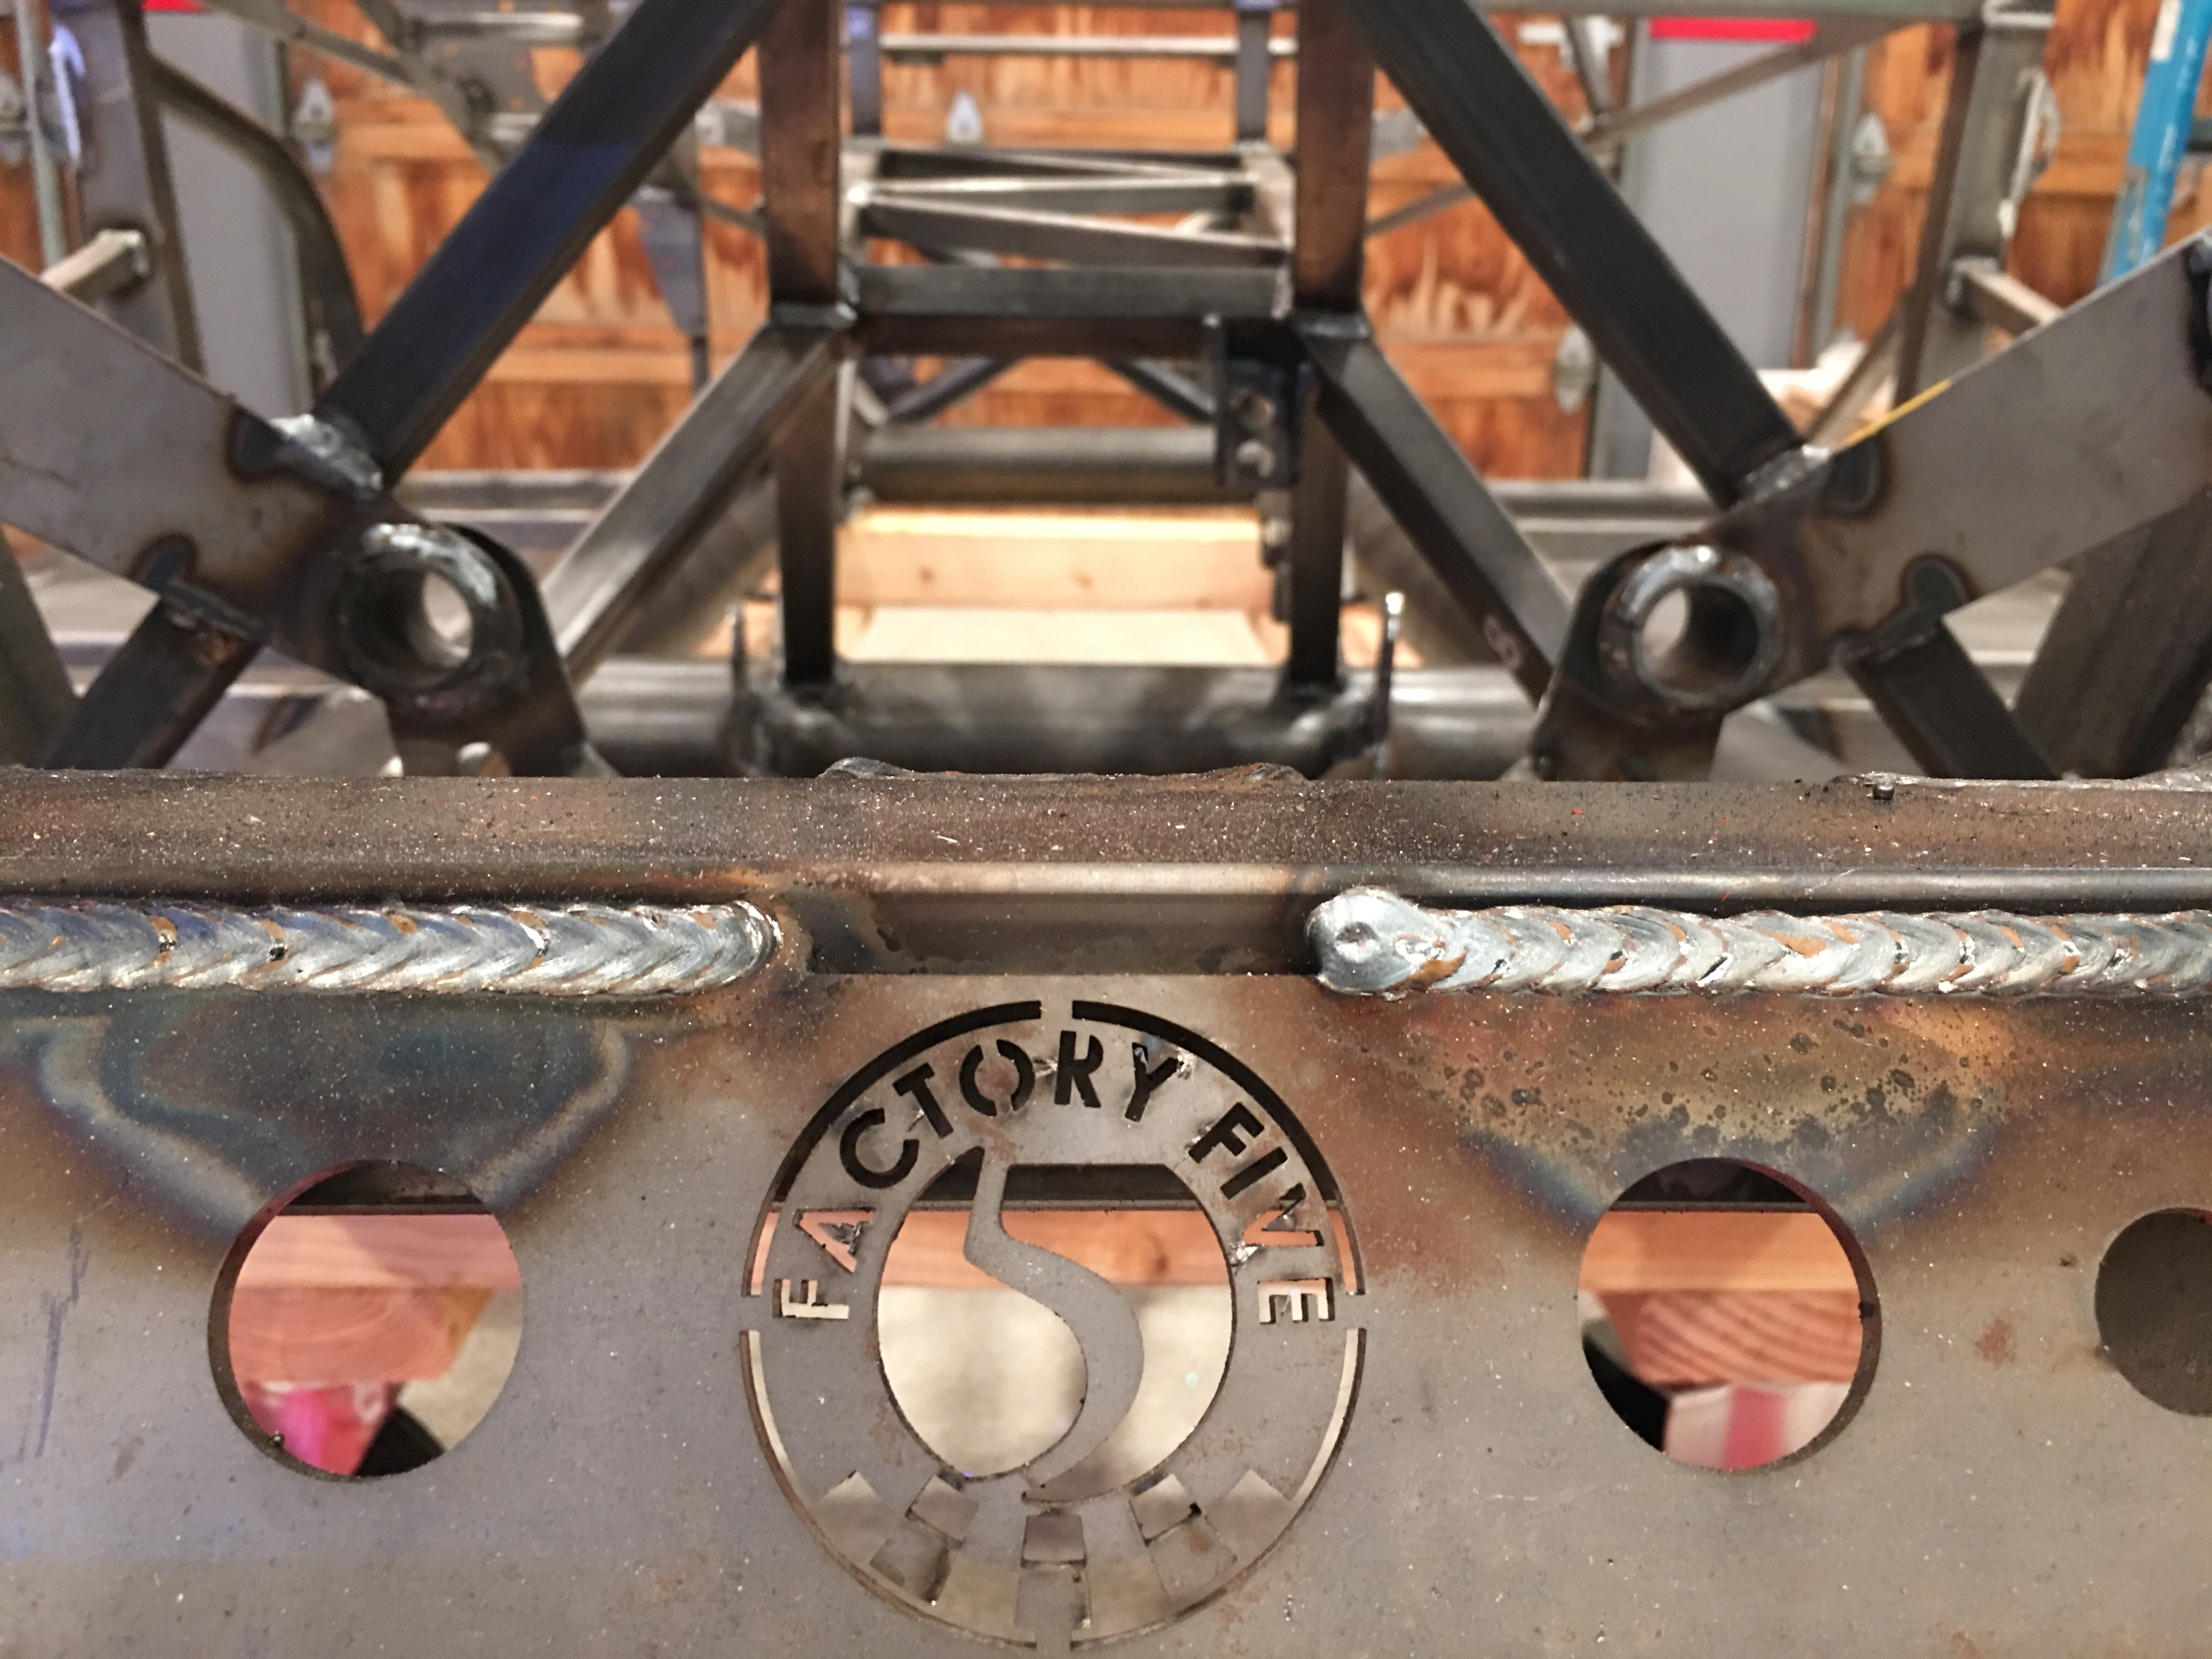
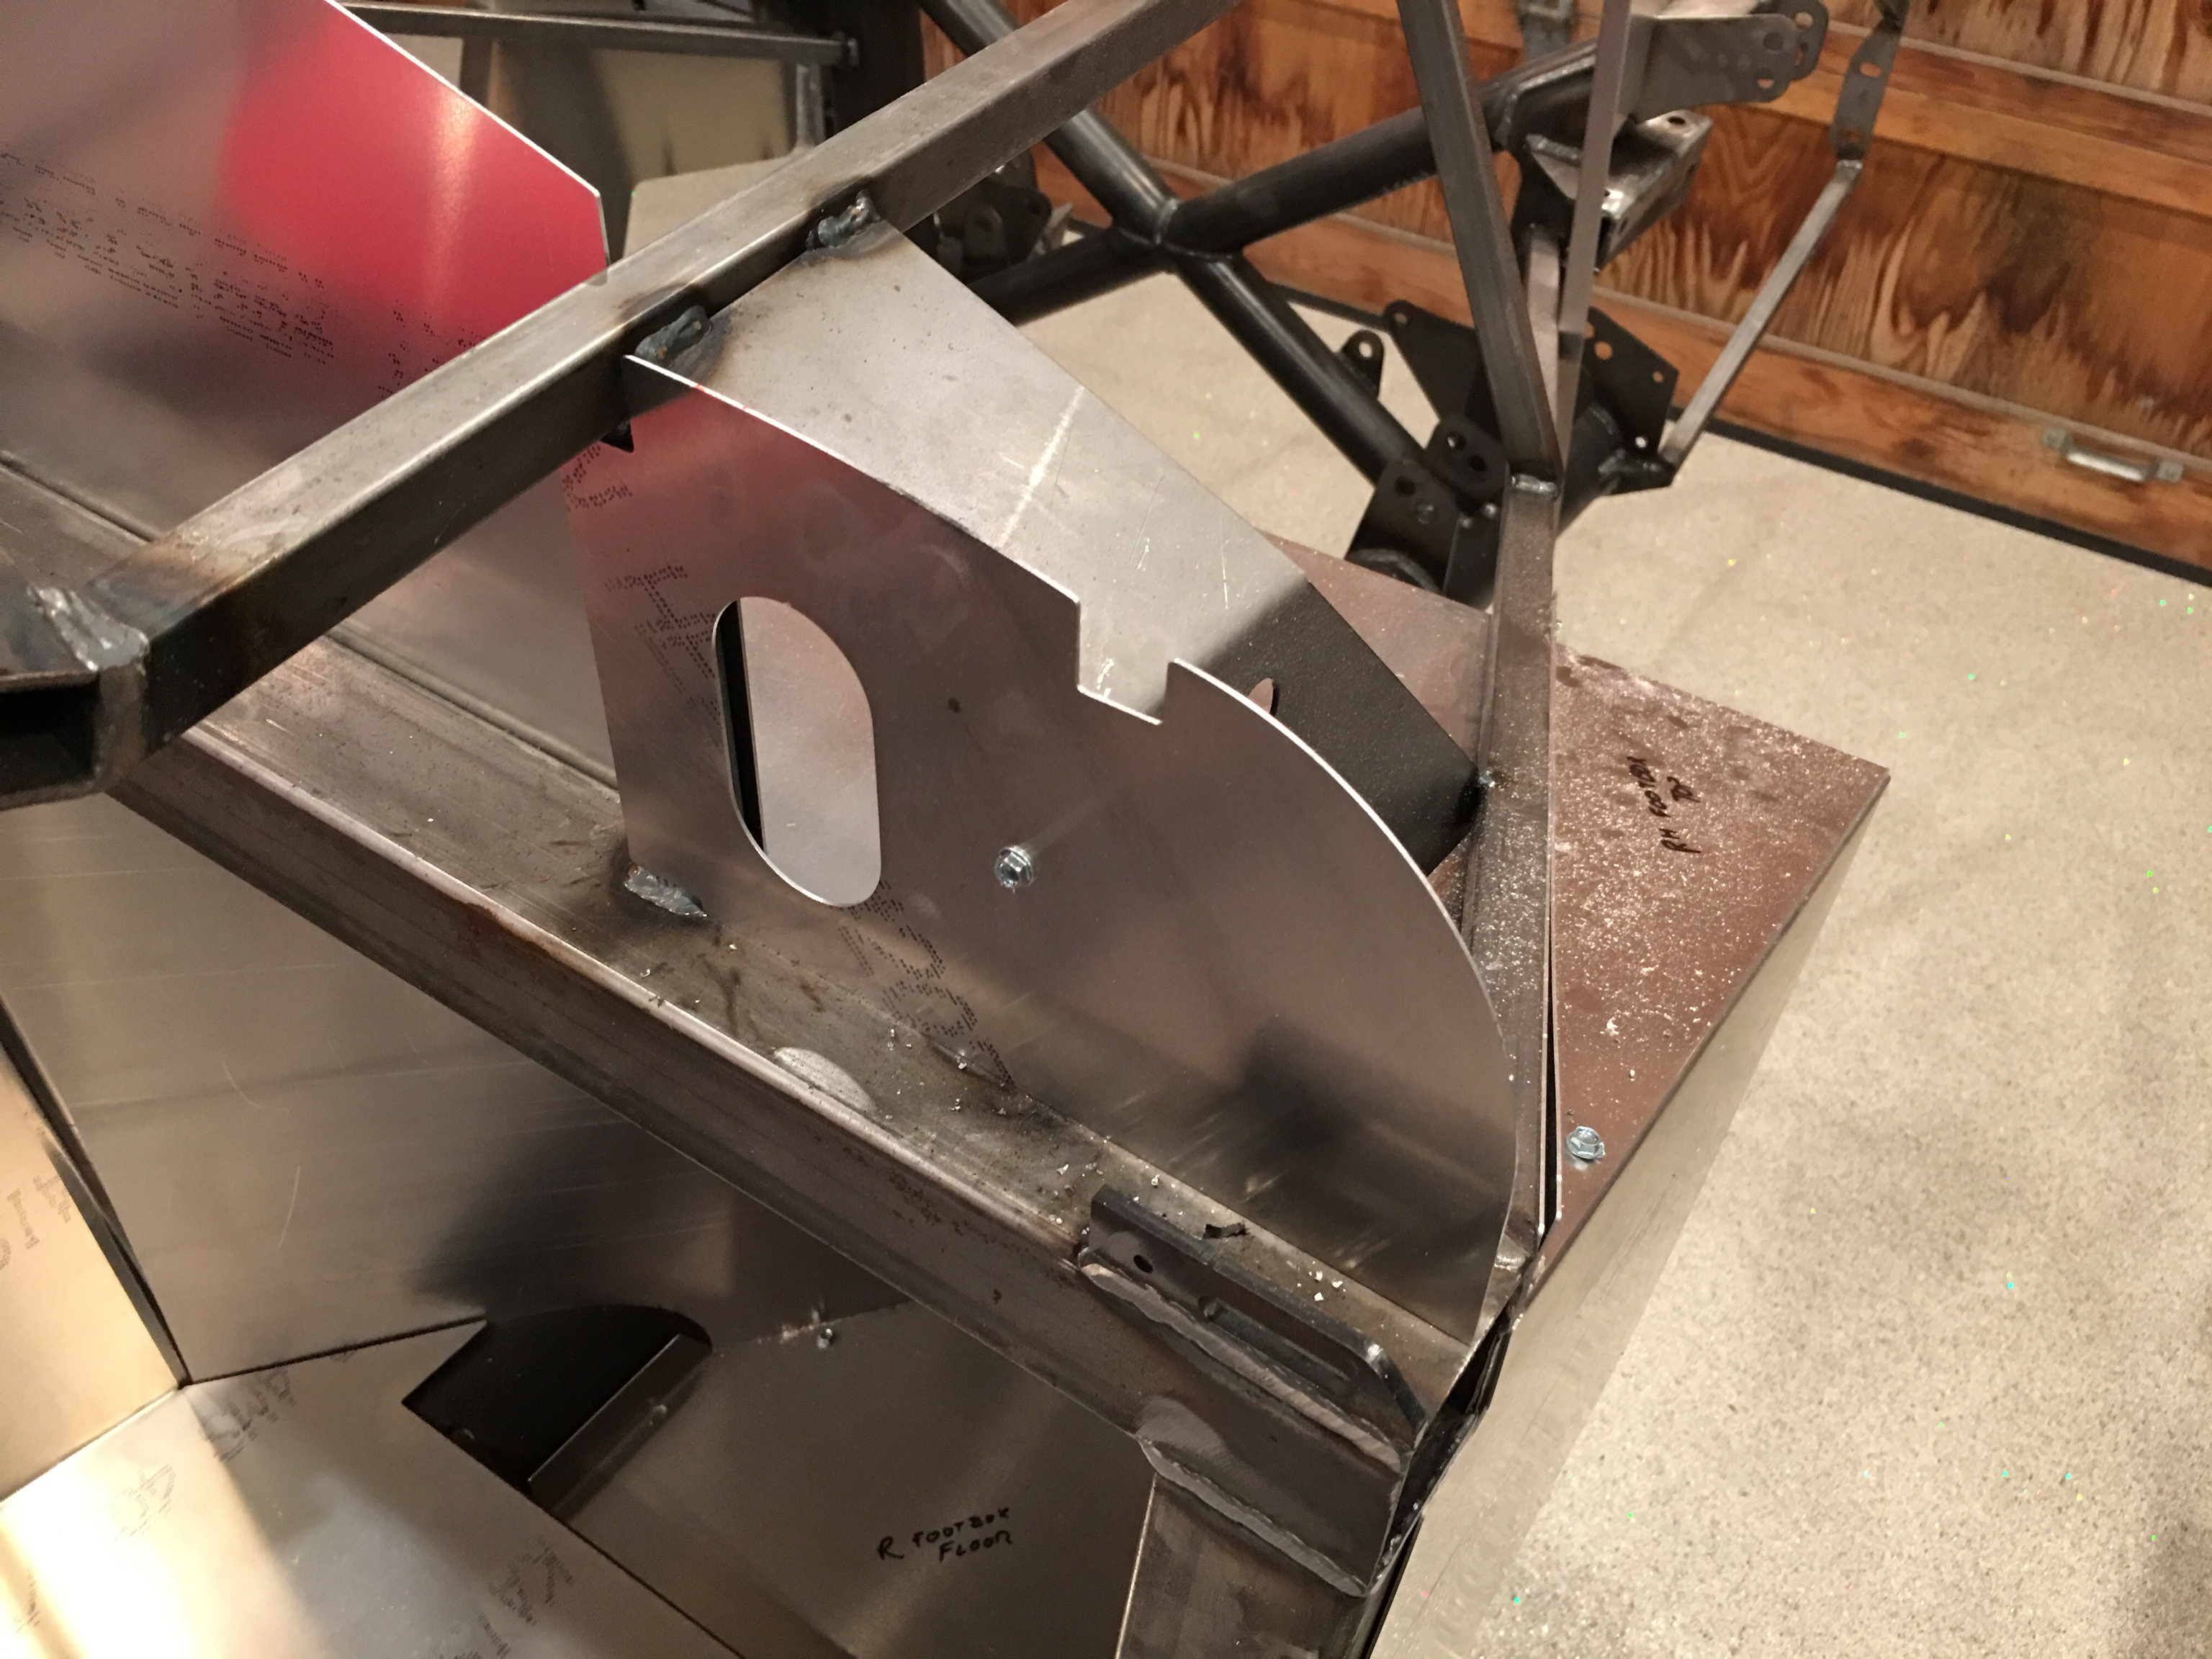
Here’s an example of some of the cleanup I did. There’s still a bit more to do, but the chassis is already looking much better.

The IRS knuckles have a really sharp parting line from the casting process. I didn’t want to get cut working on the car, so I wanted to remove it. I used a carbide burr in a die grinder to take it down flush to the surrounding material (you can see the difference below between the left and the right side). After grinding it down, I used a scotchbrite roloc disk to smooth out the surface. This took longer than I expected, so I only completed one side.

Installed Shop Fan

I ordered this fan well over a month ago and it finally arrived. This is an Air King 99539, industrial grade, quiet oscillating fan. We have these at the gym at work and they move a serious amount of air at high speed but are almost silent at low speed.

I was originally going to mount this high up on the wall behind the lift, but after storing the car up there, I realized it would block most of the airflow. There are really no other good spots on the wall though, so I started considering other options. After briefly considering mounting it to the ceiling, we decided to mount it to the side of one of the beams. It oscillates through 90º, so it will do a great job of moving air through the two bays of the garage that we’re going to use as a shop.

The fan is designed to sit on top of this mounting bracket, but I flipped it upside down and modified it to work in this orientation. I made the curved cutout at the bottom to allow the fan to still tilt down even though it’s upside down and cut off the top to allow it to slide almost all the way to the ceiling. This raises it up enough so that it’s several inches above my head, but it still won’t hit the ceiling.

My only concern with mounting it upside down is the transmission that drives the oscillating feature. I don’t know how it’s lubricated (or even whether it is lubricated). There is a possibility that there is oil in the transmission and it won’t get sufficient lubrication while inverted. Time will tell.

I hooked it to a remote (on the right), so now I can control both the air filter and the fan remotely. These are mostly for Jenn though since I can easily reach both.

Stored Aluminum and Finished Inventory

I’m out of places to store parts; especially large, fragile parts like all of the aluminum panels. After staring at the lift for a few minutes, I decided to hang a shelf underneath it. I used a 4’x4′ piece of plywood and some cord around the lifting arms and fashioned an adjustable shelf and loaded all of the aluminum. It will be a bit of a pain to scrounge around looking for specific pieces, but it will have to do. There is even plenty of room underneath to store the chassis when we’re not working on it.

Work on the car won’t officially start until after June since Jenn’s job is keeping her swamped until then and she doesn’t want to miss any part of the build. I’ll be spending the time between now and then getting the engine ready for assembly.

After inventorying the final parts last night, I spent some time tonight putting together an email with all of the missing, incorrect and damaged parts. Here’s the list I came up with:

Missing:
  • 2 of 15670 #10-24x 3/4” Carriage Bolt
  • 2 of 15671 #10-24 Nylon Lock Nut
  • 2 of 10635 #10 Washer
  • 10611 Windscreen, Chrome on Brass (Roadster)
  • 2 of 16242 5/8”-11 x 4.25” Bolt (I received 2 of 1/2”-13 x 3” instead)
  • 4 of 10802 Locknut (Retaining Ring)
  • 16004 GPS Gauge Set w/Kit
  • 4 of 33539 Bolt, 12pt, M12-1.75 x 35mm, (Caliper to Spindle)

Incorrect:

  • I received part #13861: 87-95 straight tubes. I should have received the 351W headers.

Damaged:

  • 15173 Upper Handle (there is a gouge in the handle that looks like it happened during shipping)

I’m also going to try and return the wiring harness and heater/defroster as I’m going to go a different direction with those.

Removed Body and Aluminum Panels

Jenn and I pulled the body off the car. It’s a little bit of a pain with only two people, but manageable.

I built a really simple little body buck and put the body up on the lift. There’s plenty of room under and around the body to store most of the parts.

The rest of the parts are tucked up on our overhead storage racks.

After inventorying all of the aluminum panels and jotting the name on those that aren’t obvious, I pulled all of the panels off of the chassis.

I have quite a pile of aluminum that I need to find a place to store.

The chassis is really a beautiful piece of work. They even included little details like their logo laser cut into part of the chassis in a place that virtually no one will ever see.

The rest of the pictures are just a reference for us to refer back to when reassembling the chassis aluminum panels.

Degreed Camshaft

I didn’t have too much time to work in the garage tonight, but I have been wanting to degree the cam before any more work happens on the engine. I started by attaching the degree wheel to the crankshaft and fashioning a pointer from a piece of safety wire attached to a bolt.

I fastened a dial caliper to the block so that I could determine TDC on the #1 cylinder. I found the dwell point at TDC at zeroed out the indicator. I then read the angle off of the degree wheel at 0.050″ before and after TDC.

After splitting the difference, I adjusted the degree wheel TDC.

I then installed a dial indicator in the lifter bore for the #1 intake valve.

I rotated the crankshaft until I got the lifter onto the base circle of the cam lobe then rotated the crankshaft further to determine the angle at 0.050″ of lift on the opening and closing side of lobe. I also determined the lobe centerline using a similar technique.

I then moved the indicator to the exhaust lifter bore and repeated the process.

I jotted down the values I read off of the dial indicator. The centerline was right on at 111º on the intake valve and 121º on the exhaust valve, so I know the cam is degreed correctly. I’m seeing a 6-7º greater duration at 0.050″ though. This could be due to a larger radius on the dial indicator ball end than the lifter roller, but I’m happy with the numbers.

Finished Box Inventory and Chassis Dolly

I finished inventorying all of the cardboard boxes. There are a few oversized items tucked away in the garage, but most of the components ended up in these bins.

These are the remaining cardboard boxes that I’ve inventoried but do not plan to unpack.

The chassis has been sitting on jack stands, but that was always a temporary solution. It will eventually end up on the lift, but I’ve put it on a dolly I built for now to raise it up a bit and make it easy to move around the shop. These casters are 8″ diameter and good for 450lbs each, so this dolly should handle 1800lbs. The finished car will weigh more than that, but I expect to move it off of this dolly long before it’s finished.

Unlocked Transmission

Despite a warning on the side of the transmission shipping box, FedEx had it standing on its end when I picked it up. A note inside the box indicated that this can cause the transmission to lock up. Sure enough, I couldn’t rotate the input shaft; it would just rock back and forth but was clearly binding. Fortunately, there are instructions on their side about how to fix this.

I started by removing the center cover. This was stuck down with gasket maker and it was a pain to get off and clean up the excess sealant. Once the cover was off, it was obvious what the problem was. Despite the gearshift lever being in neutral, one of the shifter linkages was engaged. You can see the top linkage is closer to the forward (left) face of the cavity.

Popping this back freed up the transmission and the input shaft could now rotate freely.

I reapplied some gasket maker and reattached the cover. There is a good chance I’m going to take this off again anyway since we’re mostly likely going to move to the mid-shift position.

Started Inventory

Jenn has been feeling sick, so I started the inventory tonight. I unpacked about 10 boxes and fit most of the parts into these 5 bins. These take up much less space and it allowed me to group related parts together that were in separate boxes.

I generated quite a pile of paper and cardboard.

The stack of boxes is considerably smaller now. I don’t plan on unboxing the seats, radiator or fuel tank, so there’s probably only a half dozen boxes left to go through.

Measured for Pushrods

One of the goals for today was to measure for the pushrods so we have time to order them before assembling the engine in early July. After thoroughly cleaning the cam, we covered it with assembly lube and very gently slid it into the block. You can see the long bolt (wrapped in electrical tape) that we used to manipulate the cam.

After installing the cam thrust plate, we installed the timing set straight up. The cam has 5º of advance already ground into it, so we don’t need any further advance in the valve train. I didn’t get any pictures of the rest of the process, but we swapped a pair of valve springs for low-tension checking springs and used a Comp Cams length checker to determine the length. We determined that we need a 7.800″ pushrod and that results in a centered pattern on the valve stem tip that is about 0.050″ wide.

Kit Has Arrived!

I got a call from Jerry, the driver from Stewart Transportation, a few days ago saying that the kit would be here on Saturday! The pressure was on to get the shop organized enough to hold the kit. Just after 1 this afternoon, we heard a truck outside and came out of the garage to the site of a giant Factory Five Racing truck parked across the street!

He relocated the truck across the street to avoid blocking driveways and to expose the better looking side of the truck :-).

Jenn is super excited her Cobra is here!

With the help of my dad and a couple of friends, we quickly had the car and all of the boxes safely in the garage. Jenn wanted the front facing out so that people driving by could tell it is a Cobra 🙂

We have a bunch of inventorying to do, but that will have to wait until another day.