
We went back to the dyno shop this morning to wrap up the dyno pulls. After doing some research last night, I was concerned that the distributor base timing wasn’t accurate. We warmed up the engine and then hooked up a timing light. Sure enough, we were advanced more than the 12º of base timing that I was shooting for. That explains why the engine ran poorly when we advanced total timing to around 32º yesterday; we were really around 35º or 36º of advance.
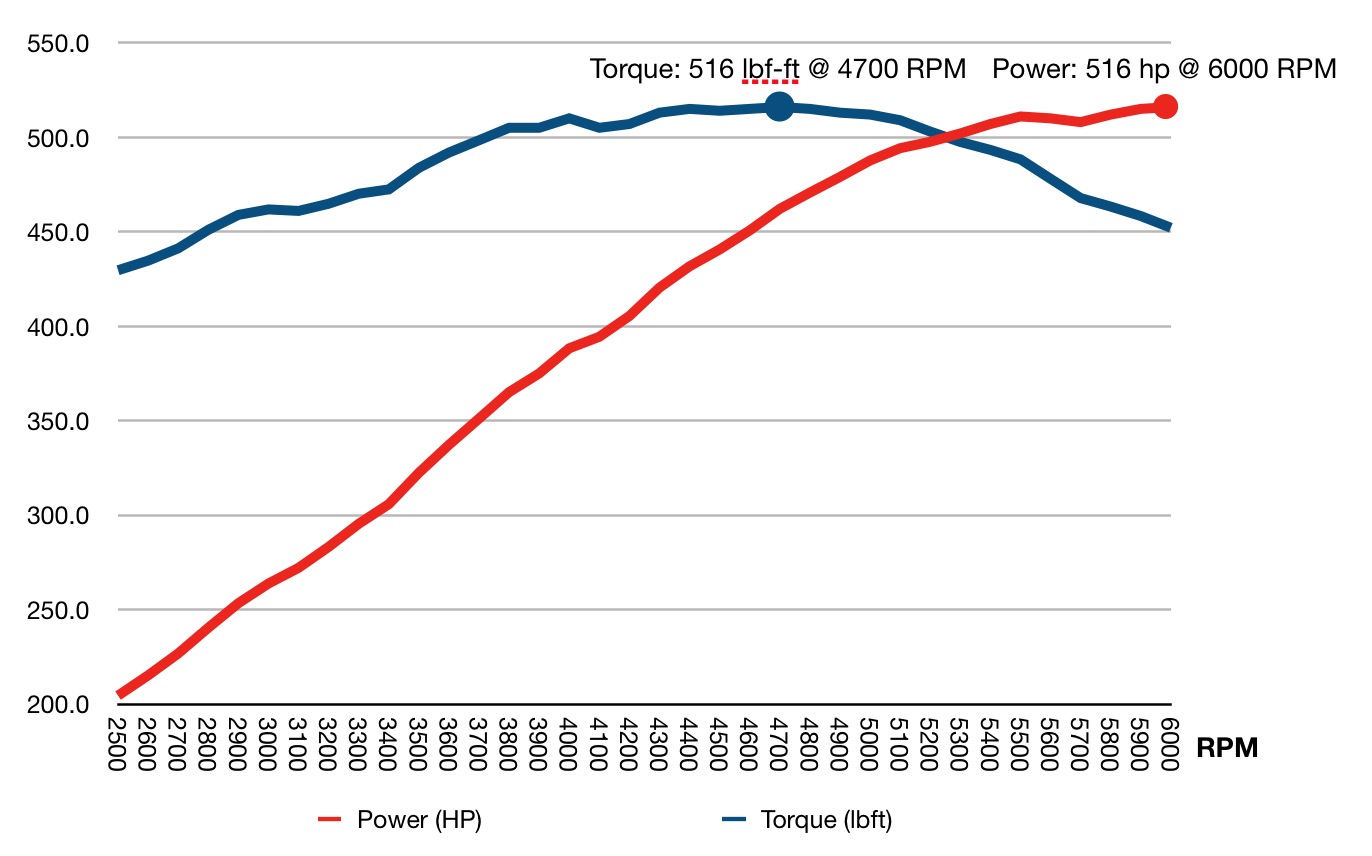
The first pull we did after resetting the base timing was over 500 lbf-ft of torque and over 500 hp. We did a second run without changing any settings and the numbers improved a bit more due to the ECU learning the optimal settings. We advanced the total timing to 32º again and it didn’t make any more power, but we did run a little worse. We dropped the total advance to 30º and got the best pull of the day at 516 lbf-ft of torque and 516 hp! We could probably push it further, but we’re more than happy with these numbers and the engine runs beautifully.
There are a couple of interesting observations about this graph. First, the torque curve is amazingly flat and broad. We’re over 450 lbf-ft of torque from 2800 rpm to 6000 rpm. Second, the horsepower was still rising at 6000 rpm. Although the curve was flattening out, I’m sure the power is a little higher over 6000 rpm. We’re going to set our redline at 6500 rpm, and I’m sure the power is falling by that point.
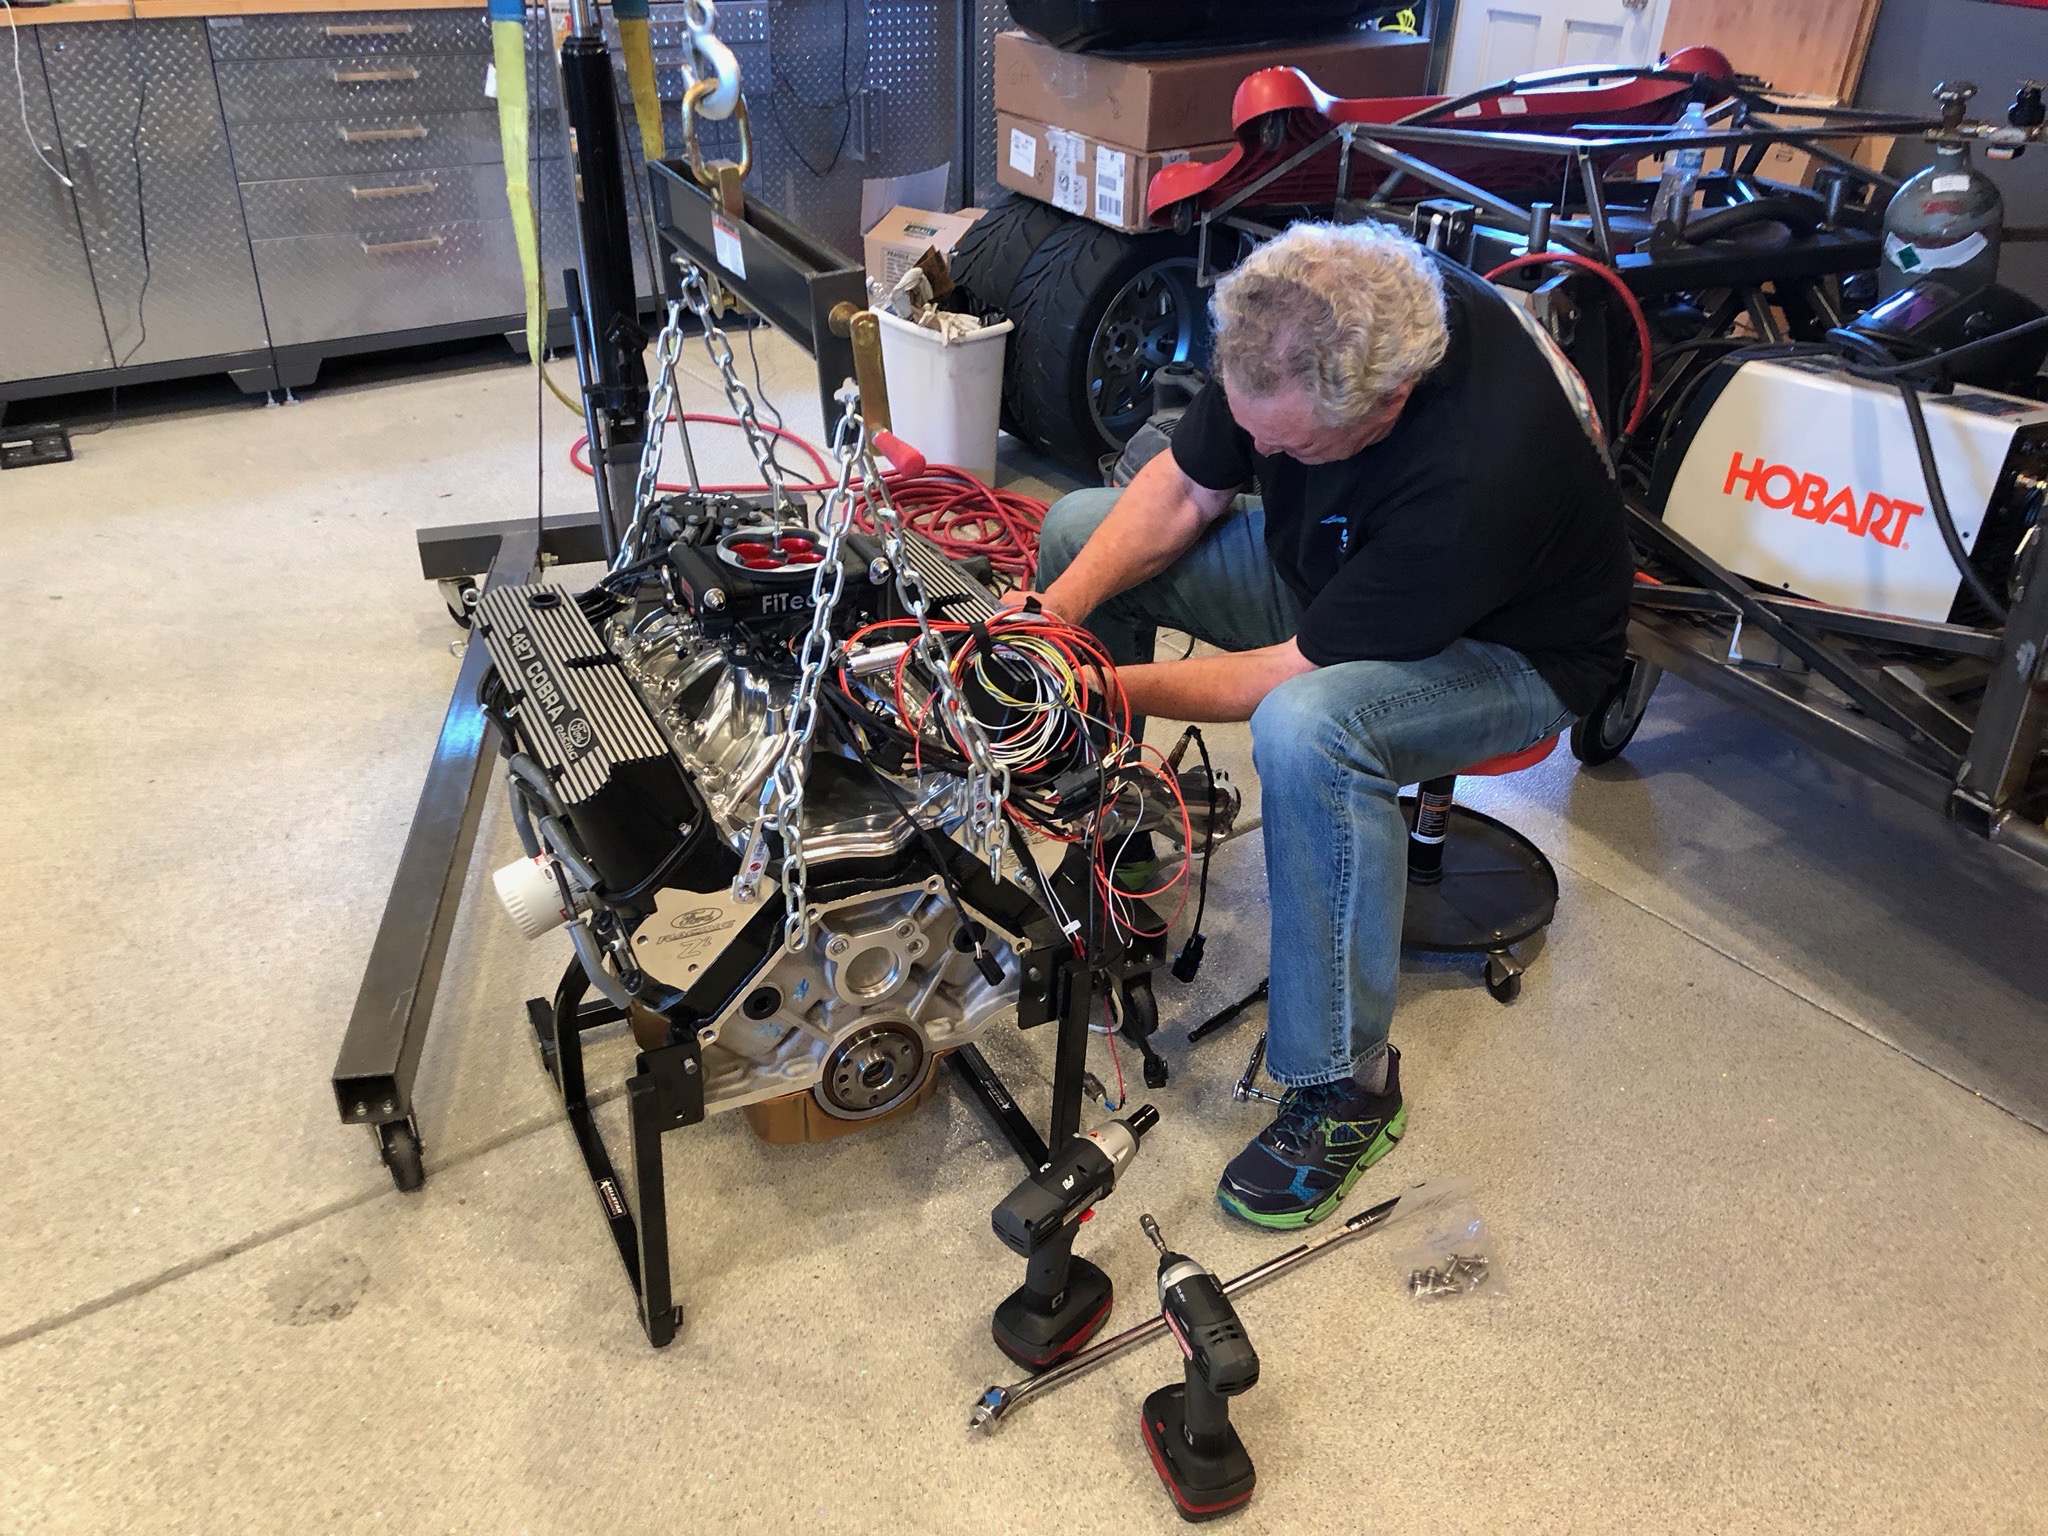
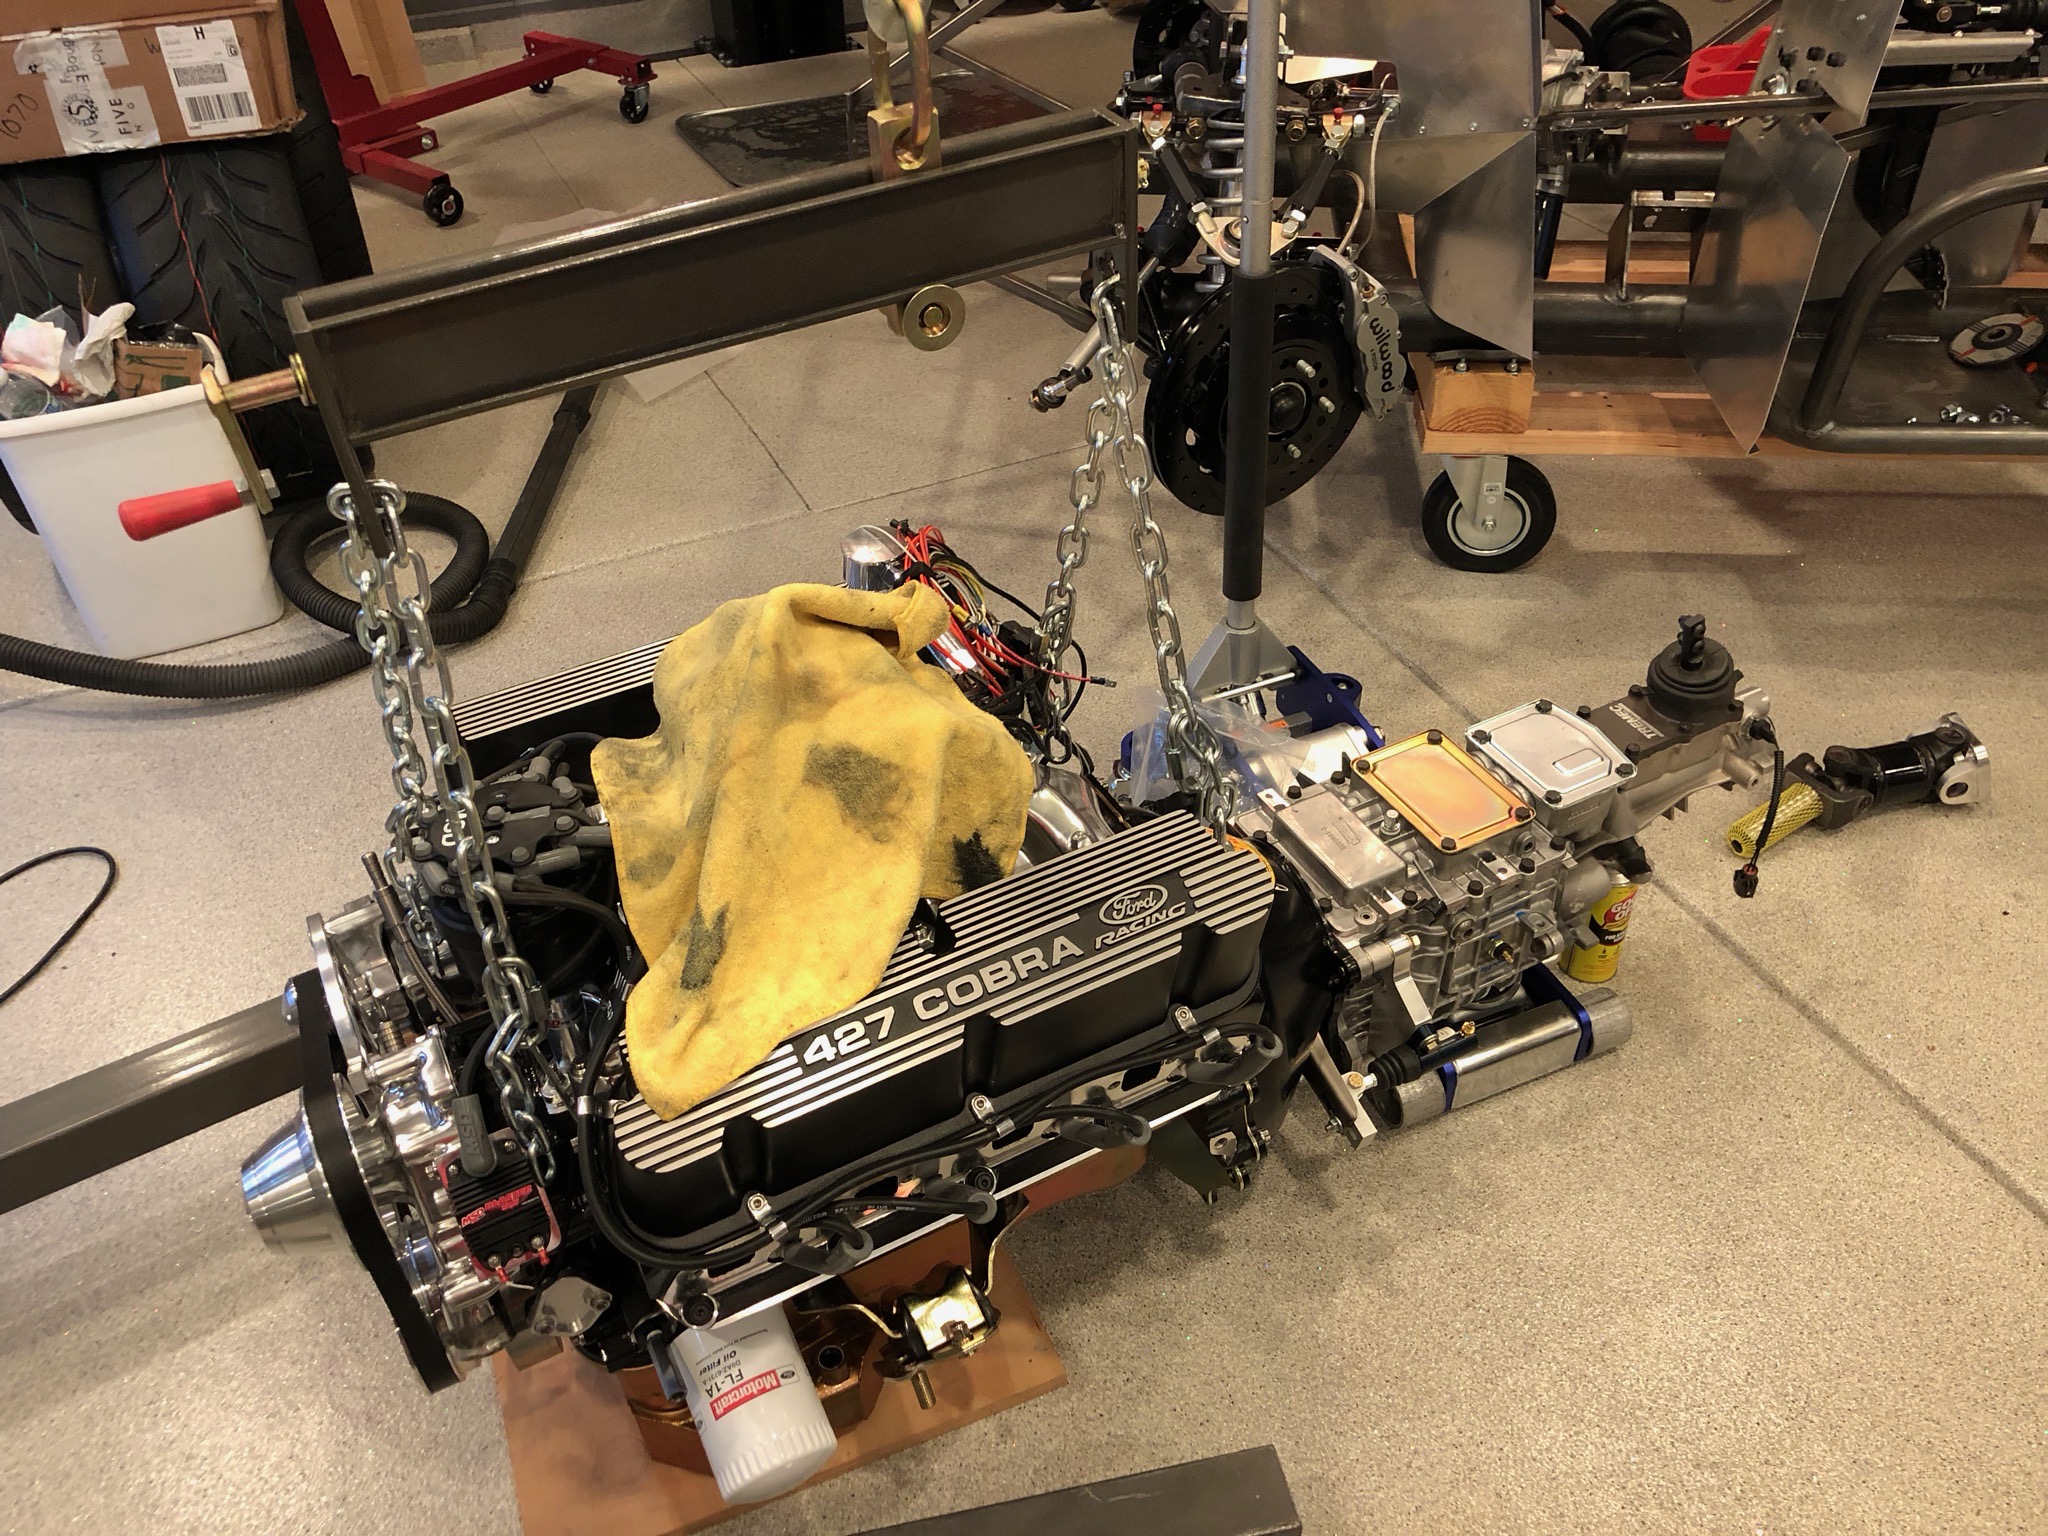
With the dyno runs complete, we brought the engine home and began prepping it for installation in the car. My dad stopped by and we pulled the exhaust headers since they’re too wide to drop into the car. While he was doing that, I pulled the flywheel and cleaned it thoroughly.
After pulling the engine off of the stand, we installed the bell housing separator plate and reinstalled the flywheel. After installing the pilot bearing and the pressure plate indexing dowels, we installed the clutch and pressure plate. We ended up setting the clutch fork pivot bolt so that there is about 1/8″ of clearance between the the front side of the pivot point on the fork and the back side of the pressure plate. This positions the fork so that it is sticking almost exactly straight out the side of the bell housing.
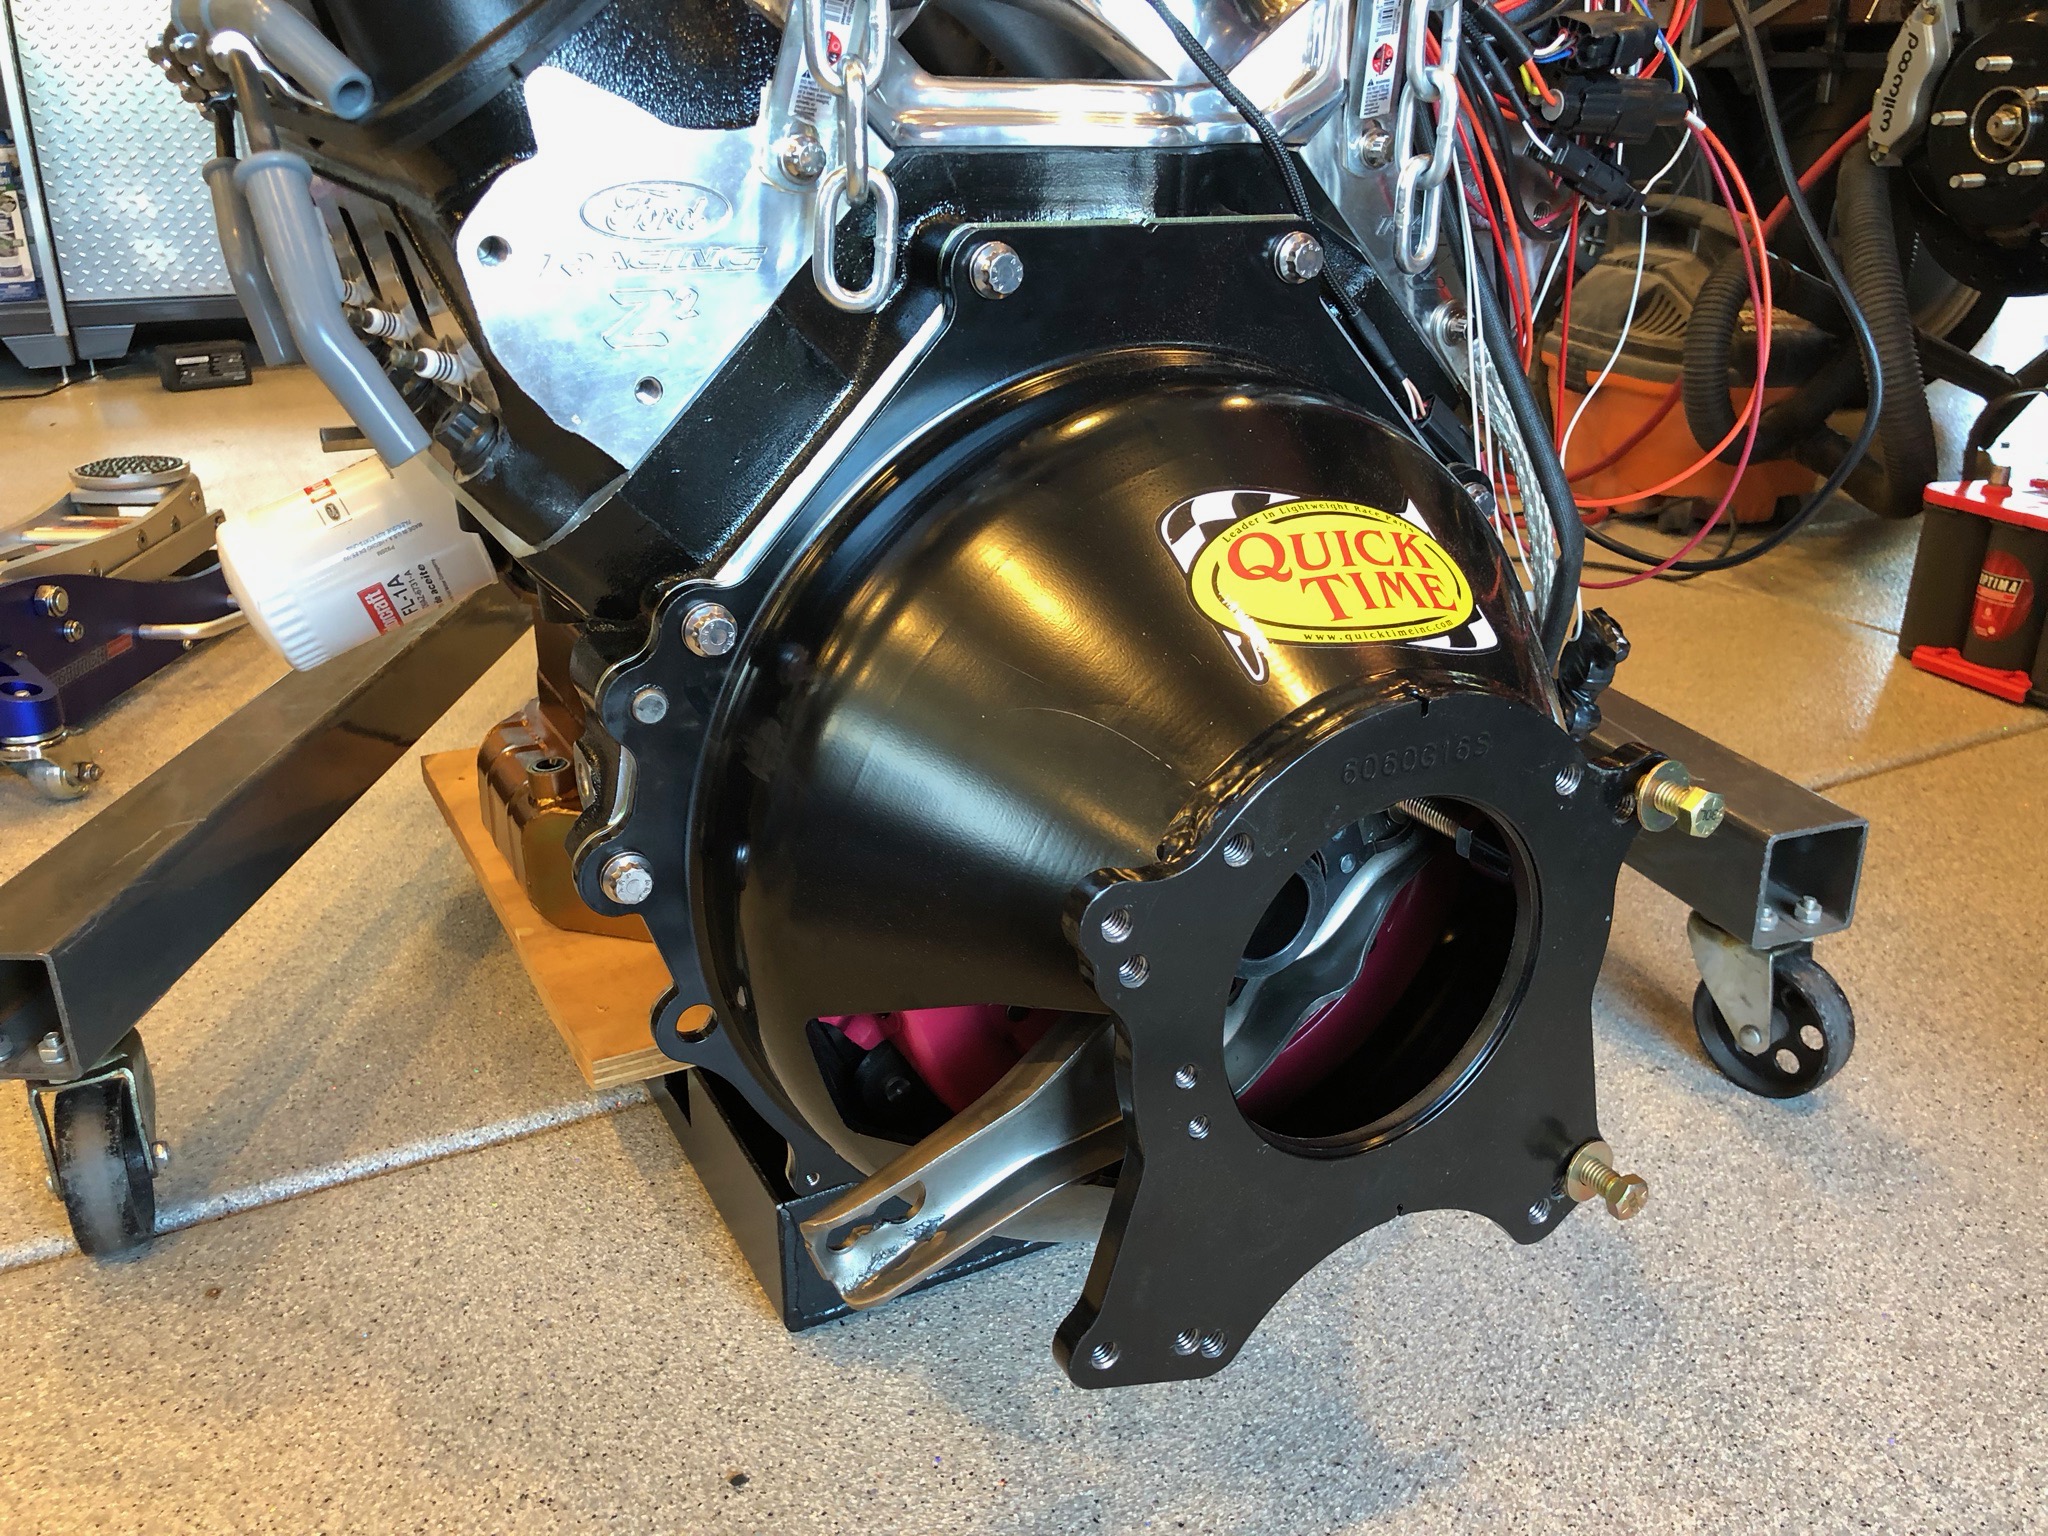
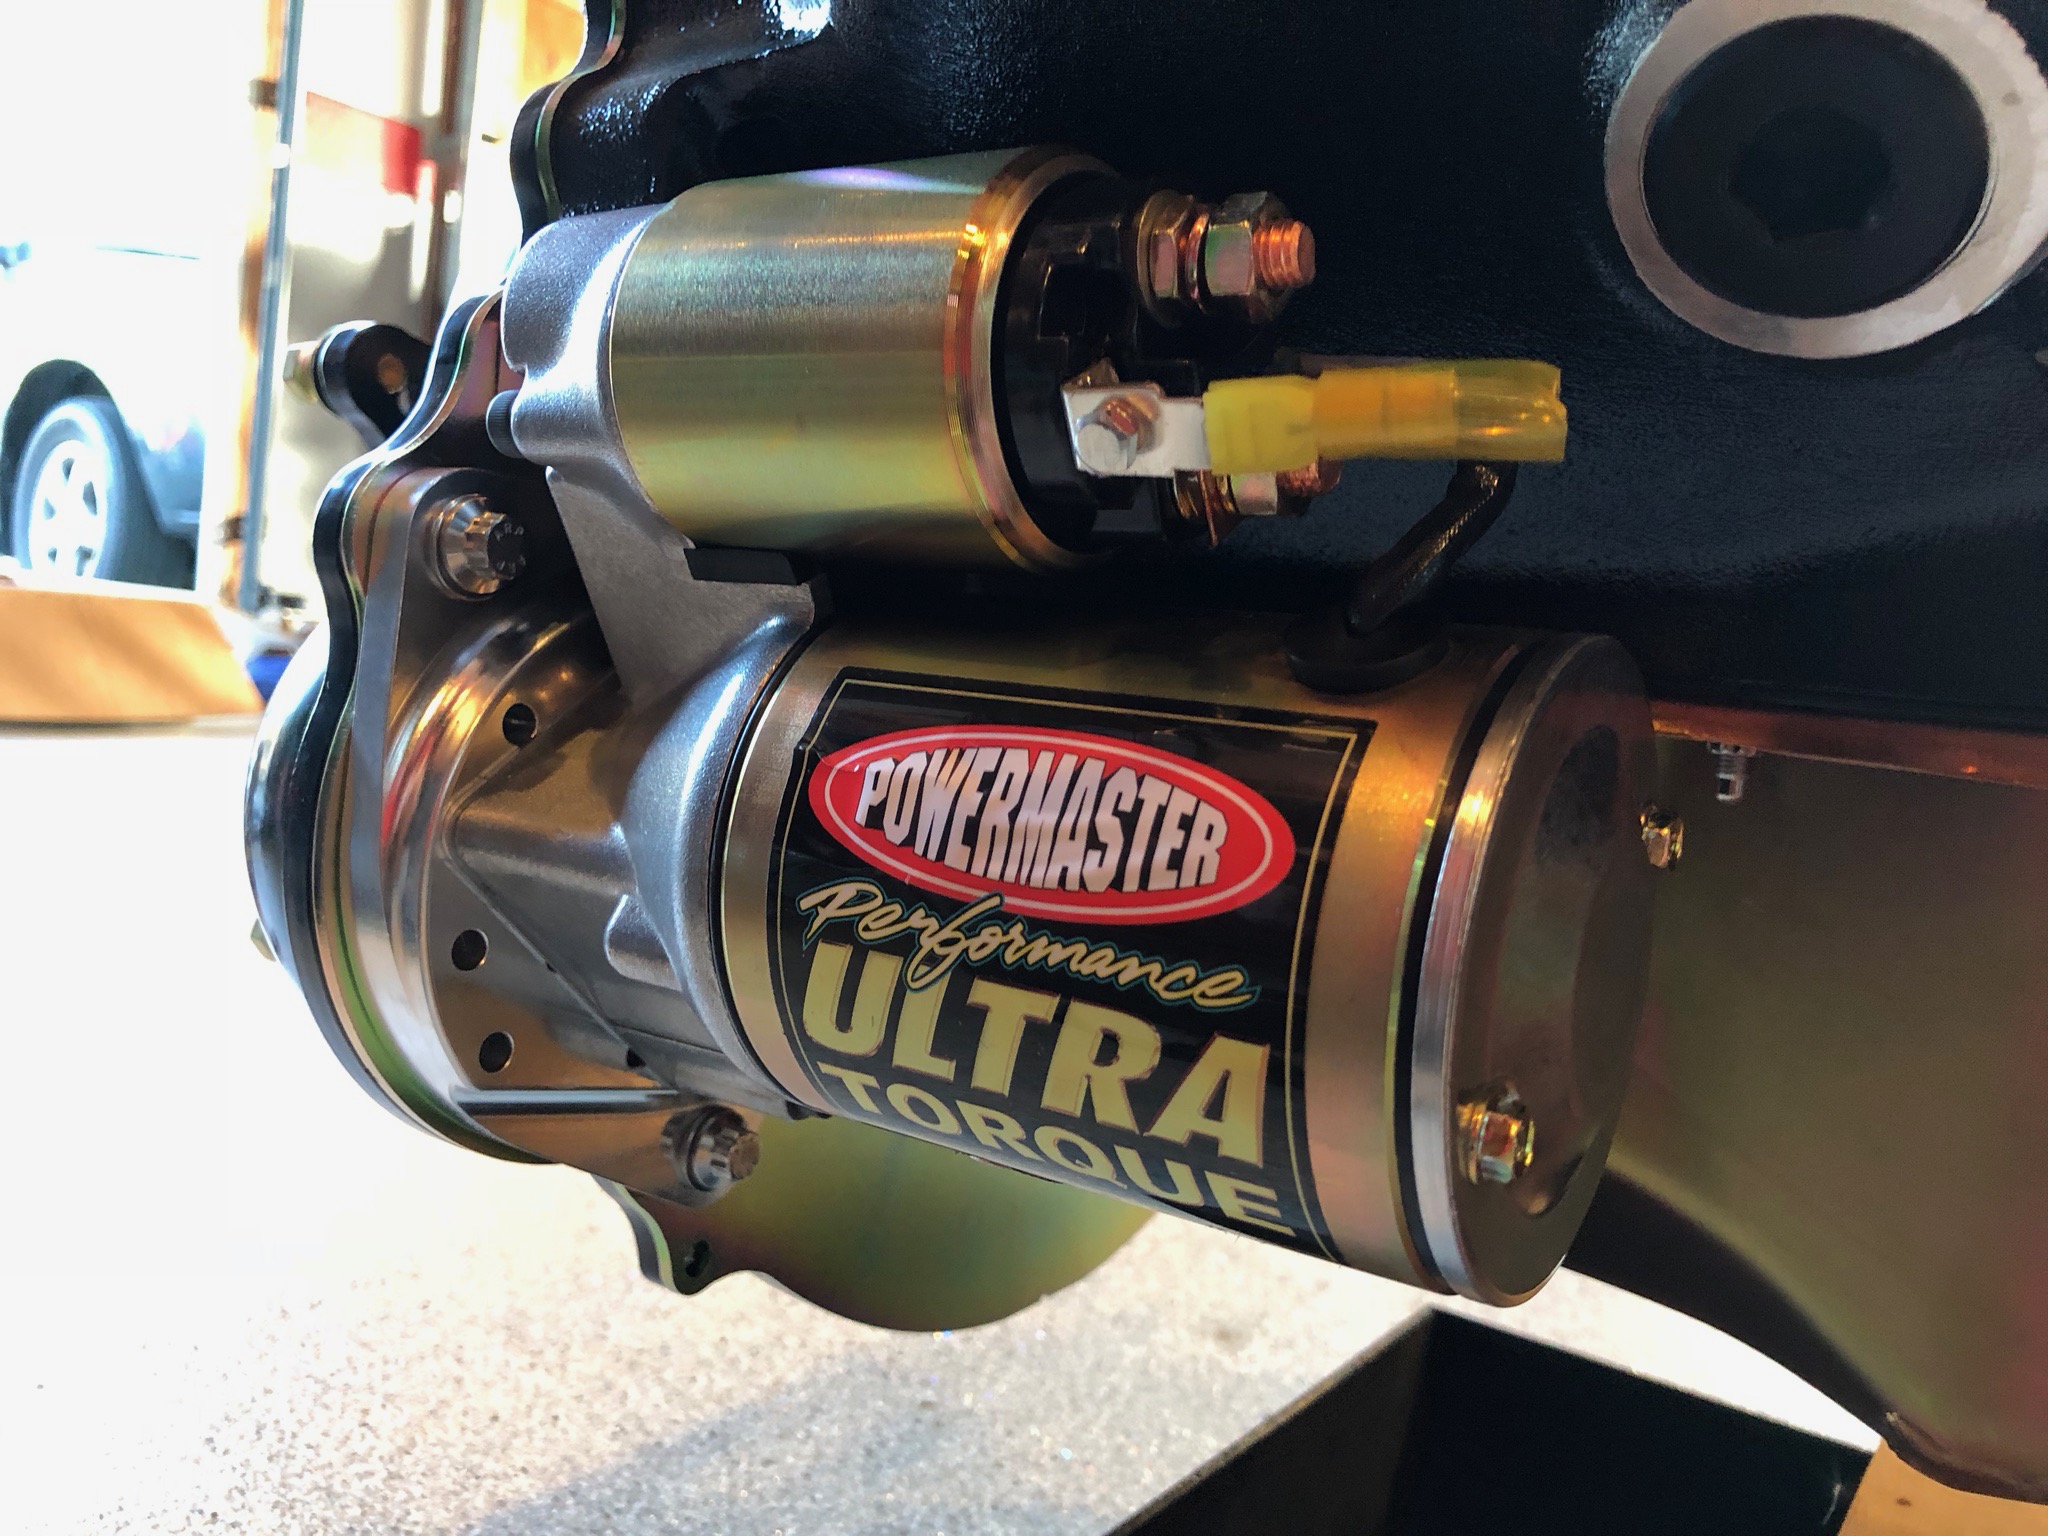
With the bell housing in place, we mounted the starter to the forward side. We had previously test fit it to the separator plate without the bell housing to ensure various install tolerances were met. After this, we installed the transmission which slipped into place surprisingly easily.
The push rod on the clutch slave cylinder is longer than will work, so I cut down the bearing end as well as the other end.
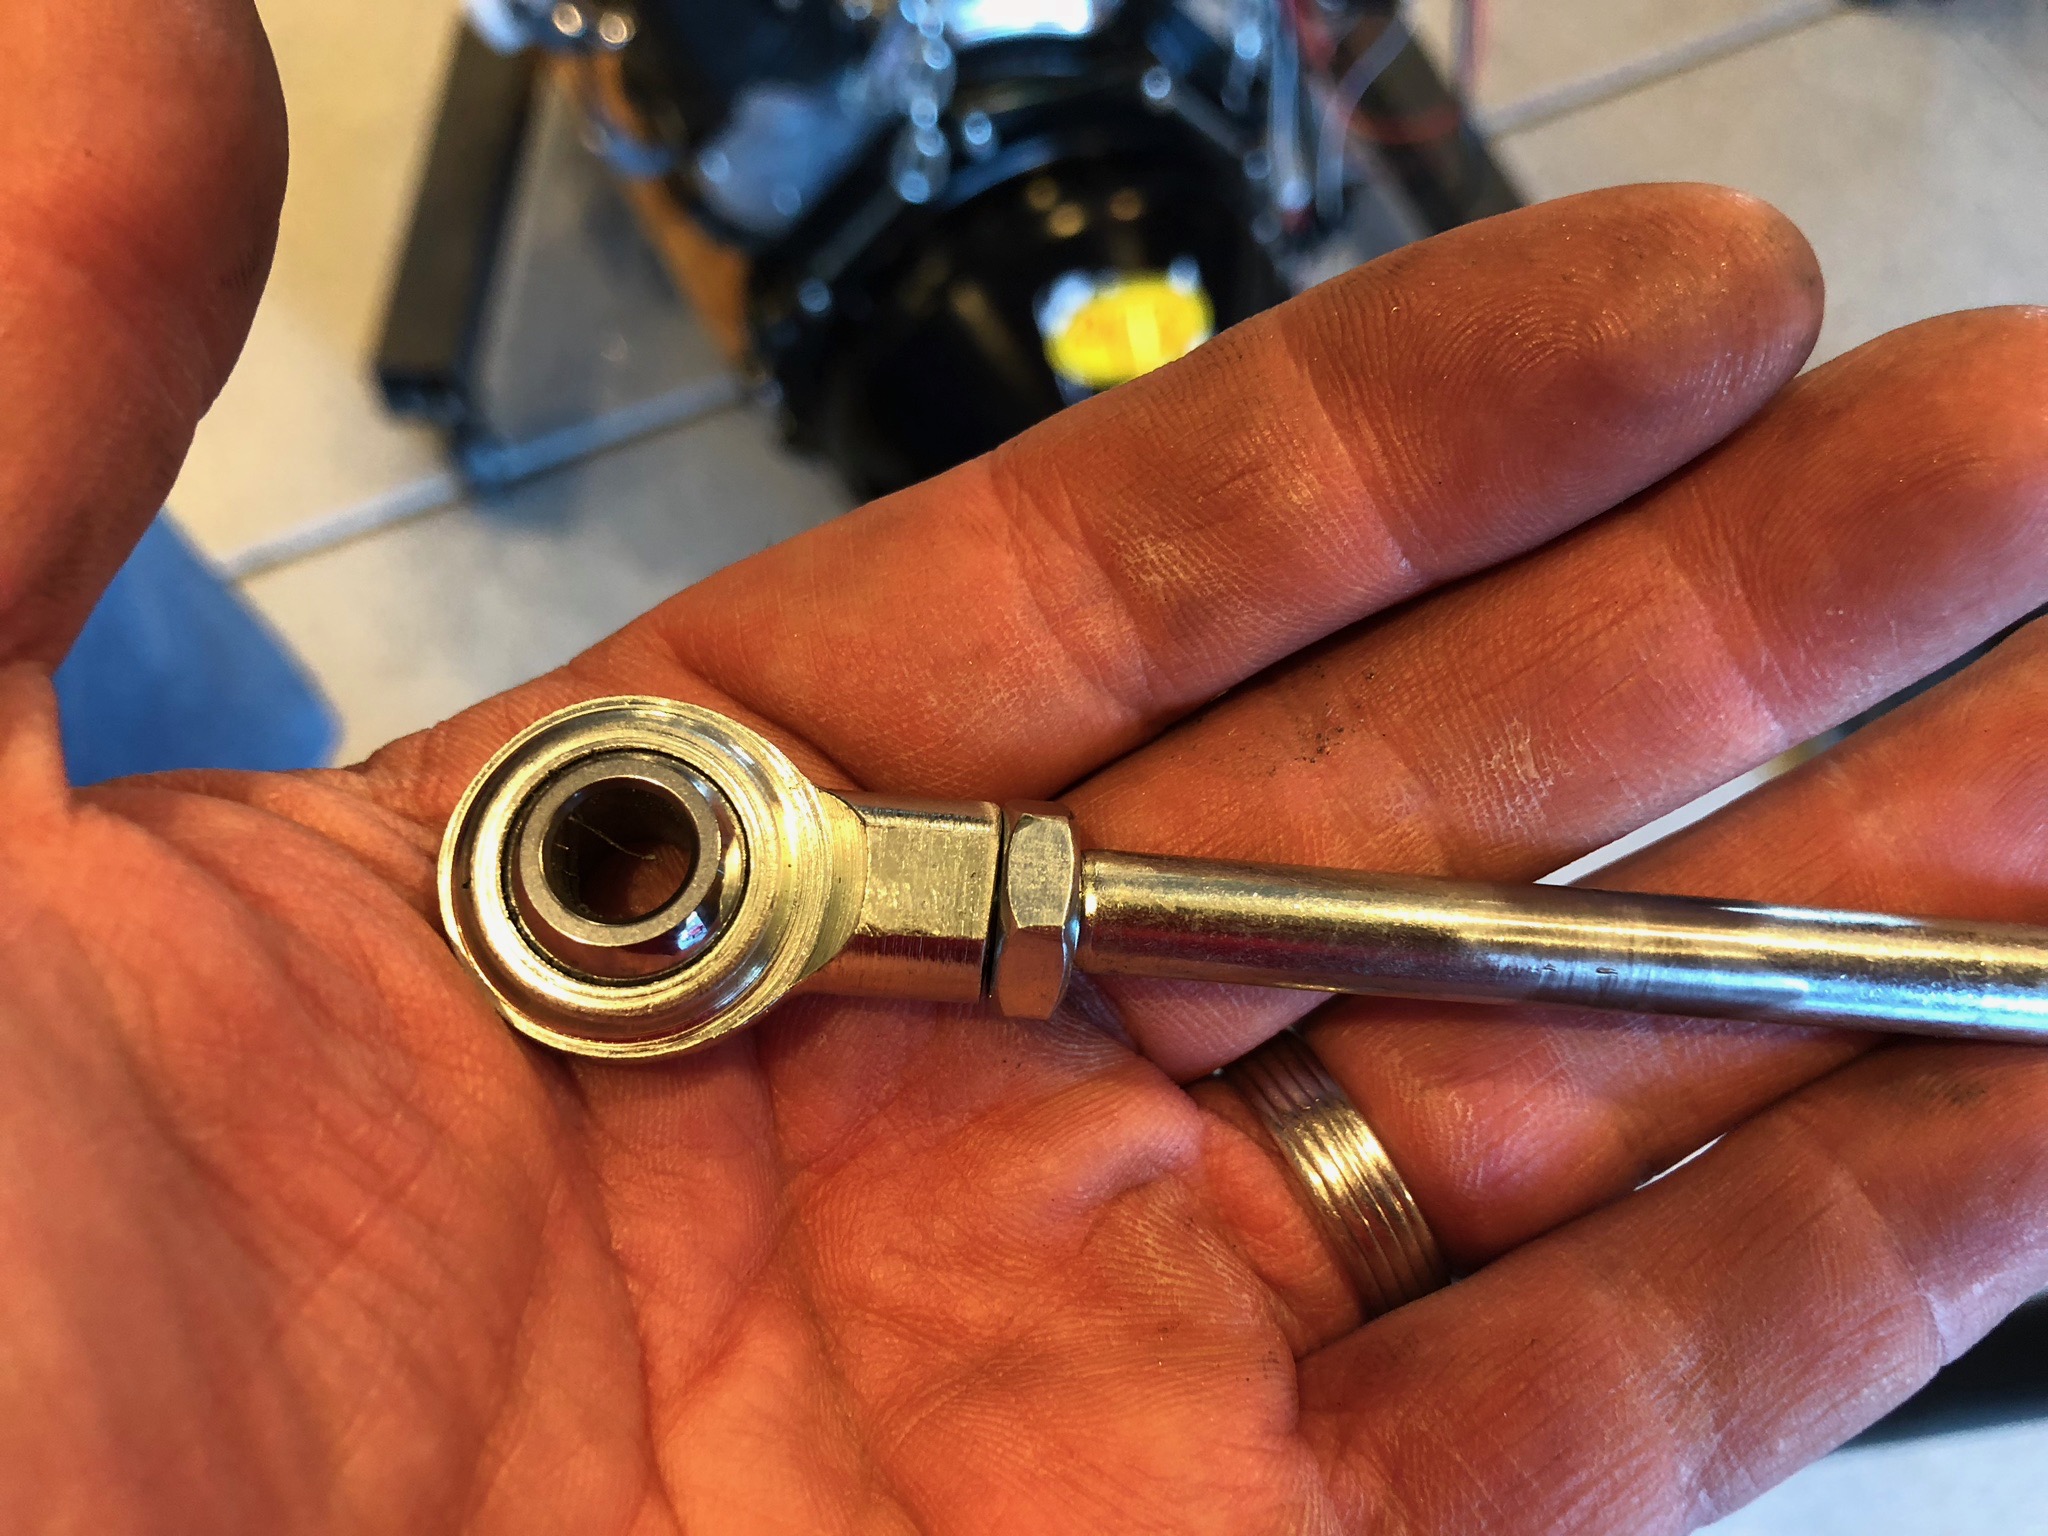
With that reinstalled in the slave cylinder and a couple of extra washers spacing the mounting bracket aft, everything fits perfectly.

The engine is ready to drop into the car. We’ll tackle that tomorrow when Jenn is free since she wants to help with this step.
3 thoughts on “Wrapped up Dyno Visit and Prepped Engine for Install”