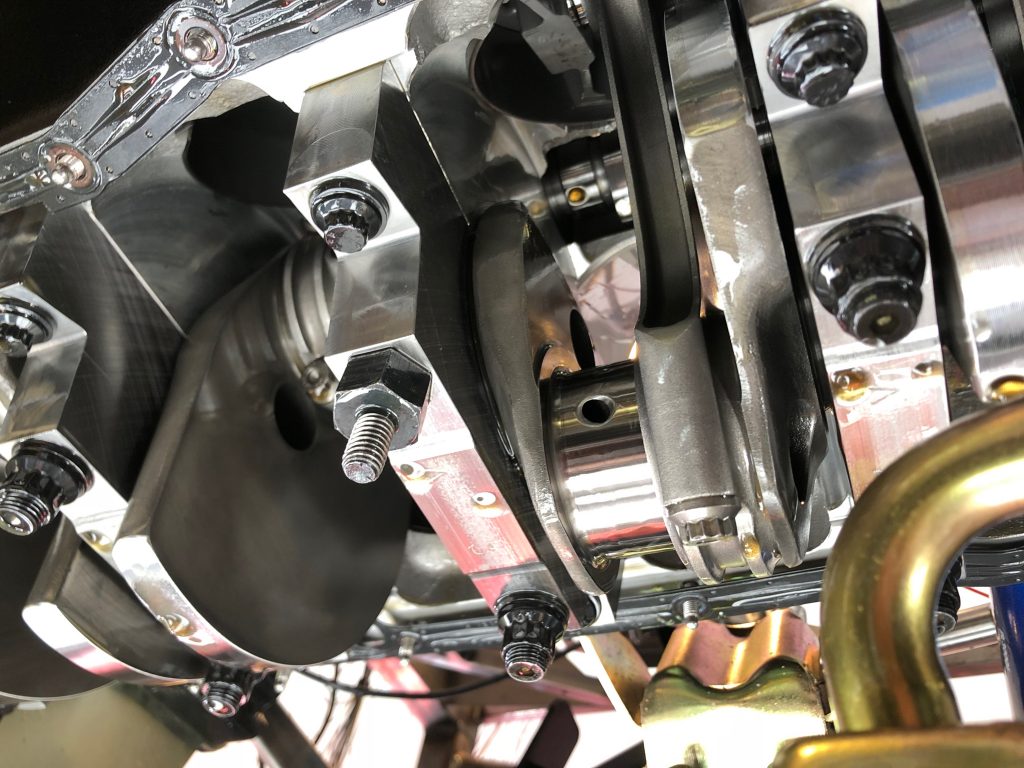
We put the Cobra on the lift and dropped the oil pan. After removing the connecting rod bolts, we removed the bottom of the connecting rod and pushed the piston out of the top of the cylinder.
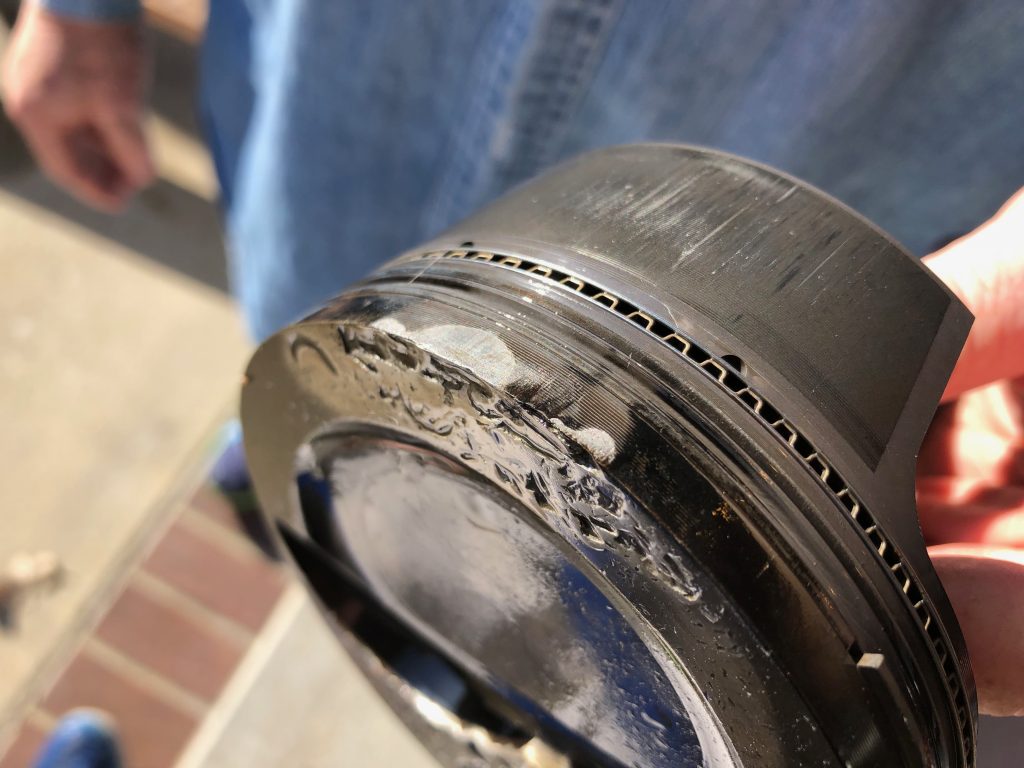
It’s pretty clear that the piston was more damaged that it appeared from the top. This is the bottom edge and it’s pretty well worn above the compression ring. It’s also pretty scored on the skirt. Worse though, both compression rings were pinched in the groooves.
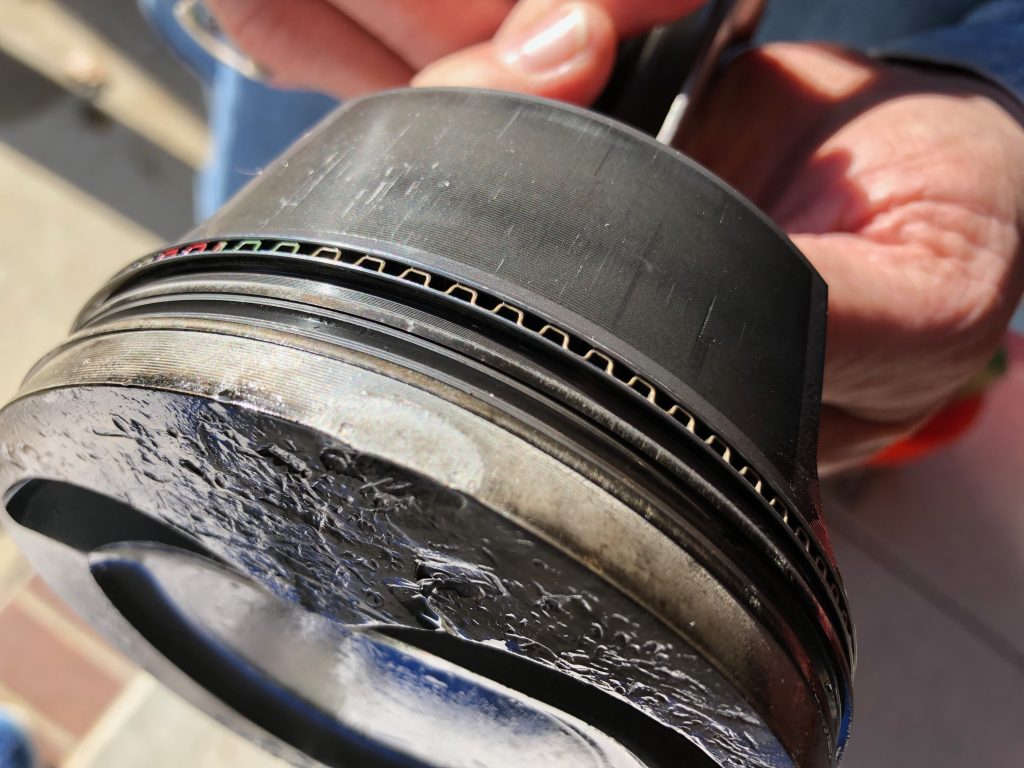
This is the top edge of the piston. You can see wear above the compression rings and scoring on the skirt. The compression rings are also pinched on this side.
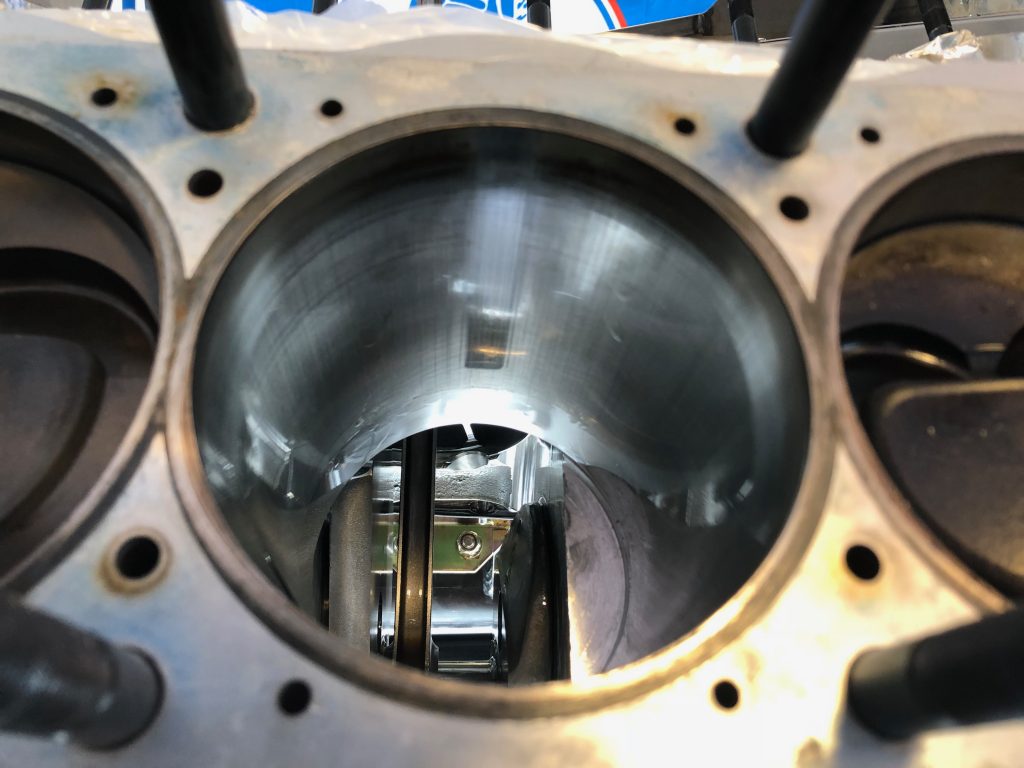
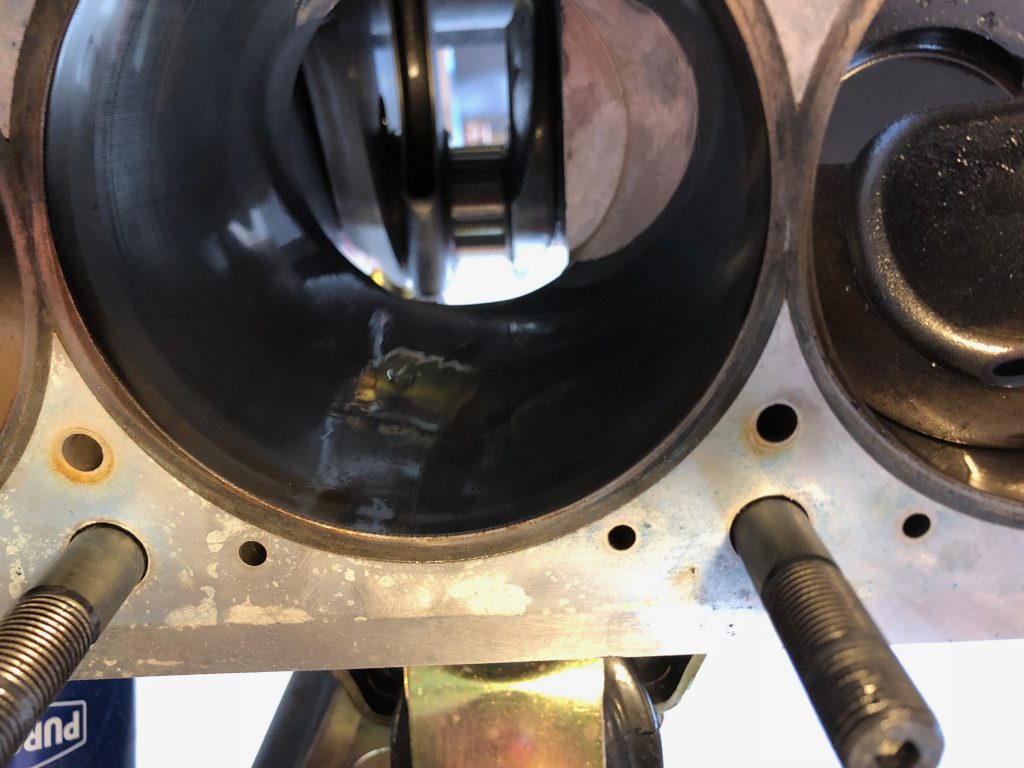
In the area the pistons are worn, there is some polishing of the cylinder wall. You can’t feel this with your fingers, so it’s just some microscopic surface polishing. We’ll need to add the cross-hatching back, but that should be pretty straightforward.
It’s pretty hard to see in this picture, but the lower side of the cylinder has similar polishing, but you can slightly feel the polished area on this side. There are no grooves and I think what you can feel is well less that 0.001″.
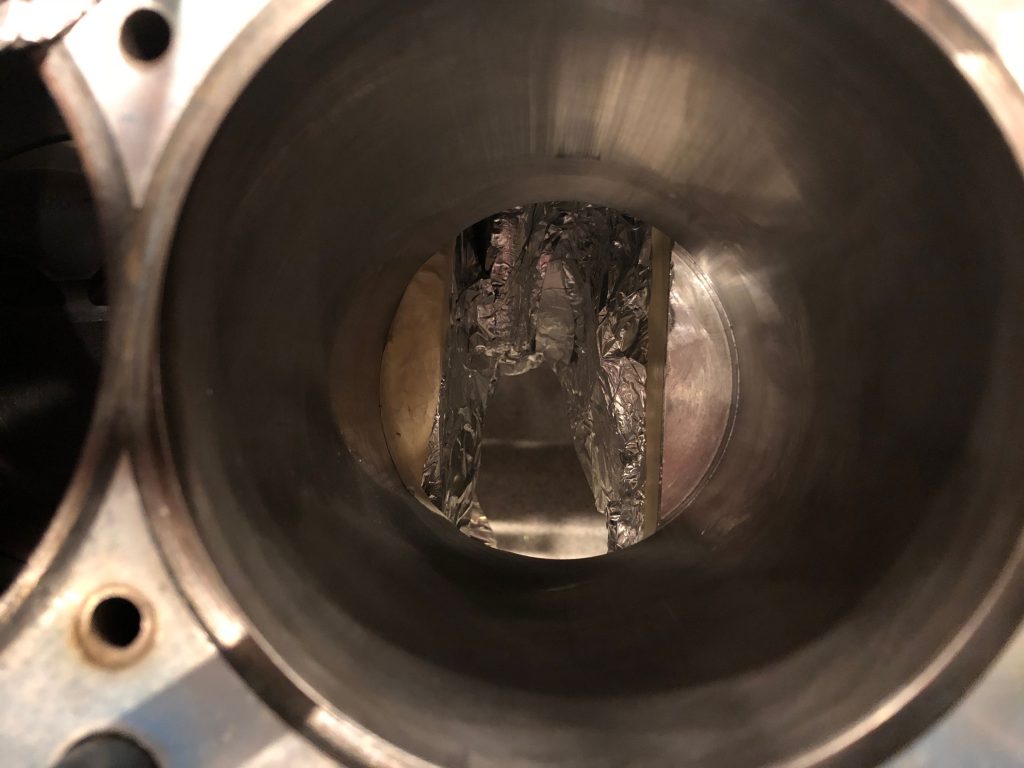
We dropped by Dino’s shop to have him examine the piston and connecting rod. He showed us how to remove the piston and checked the connecting rod for damage. He suggested we use some 400-600 grit sandpapaer to add the crosshatching pattern back to the cylinder wall. I protected the lower end of the engine as well as I could with aluminum foil and masking tape, then used some 400 grit sandpaper soaked in solvent to add the crosshatch pattern back. I made some good progress on the lower side, but I can still feel the polishing area slightly.

