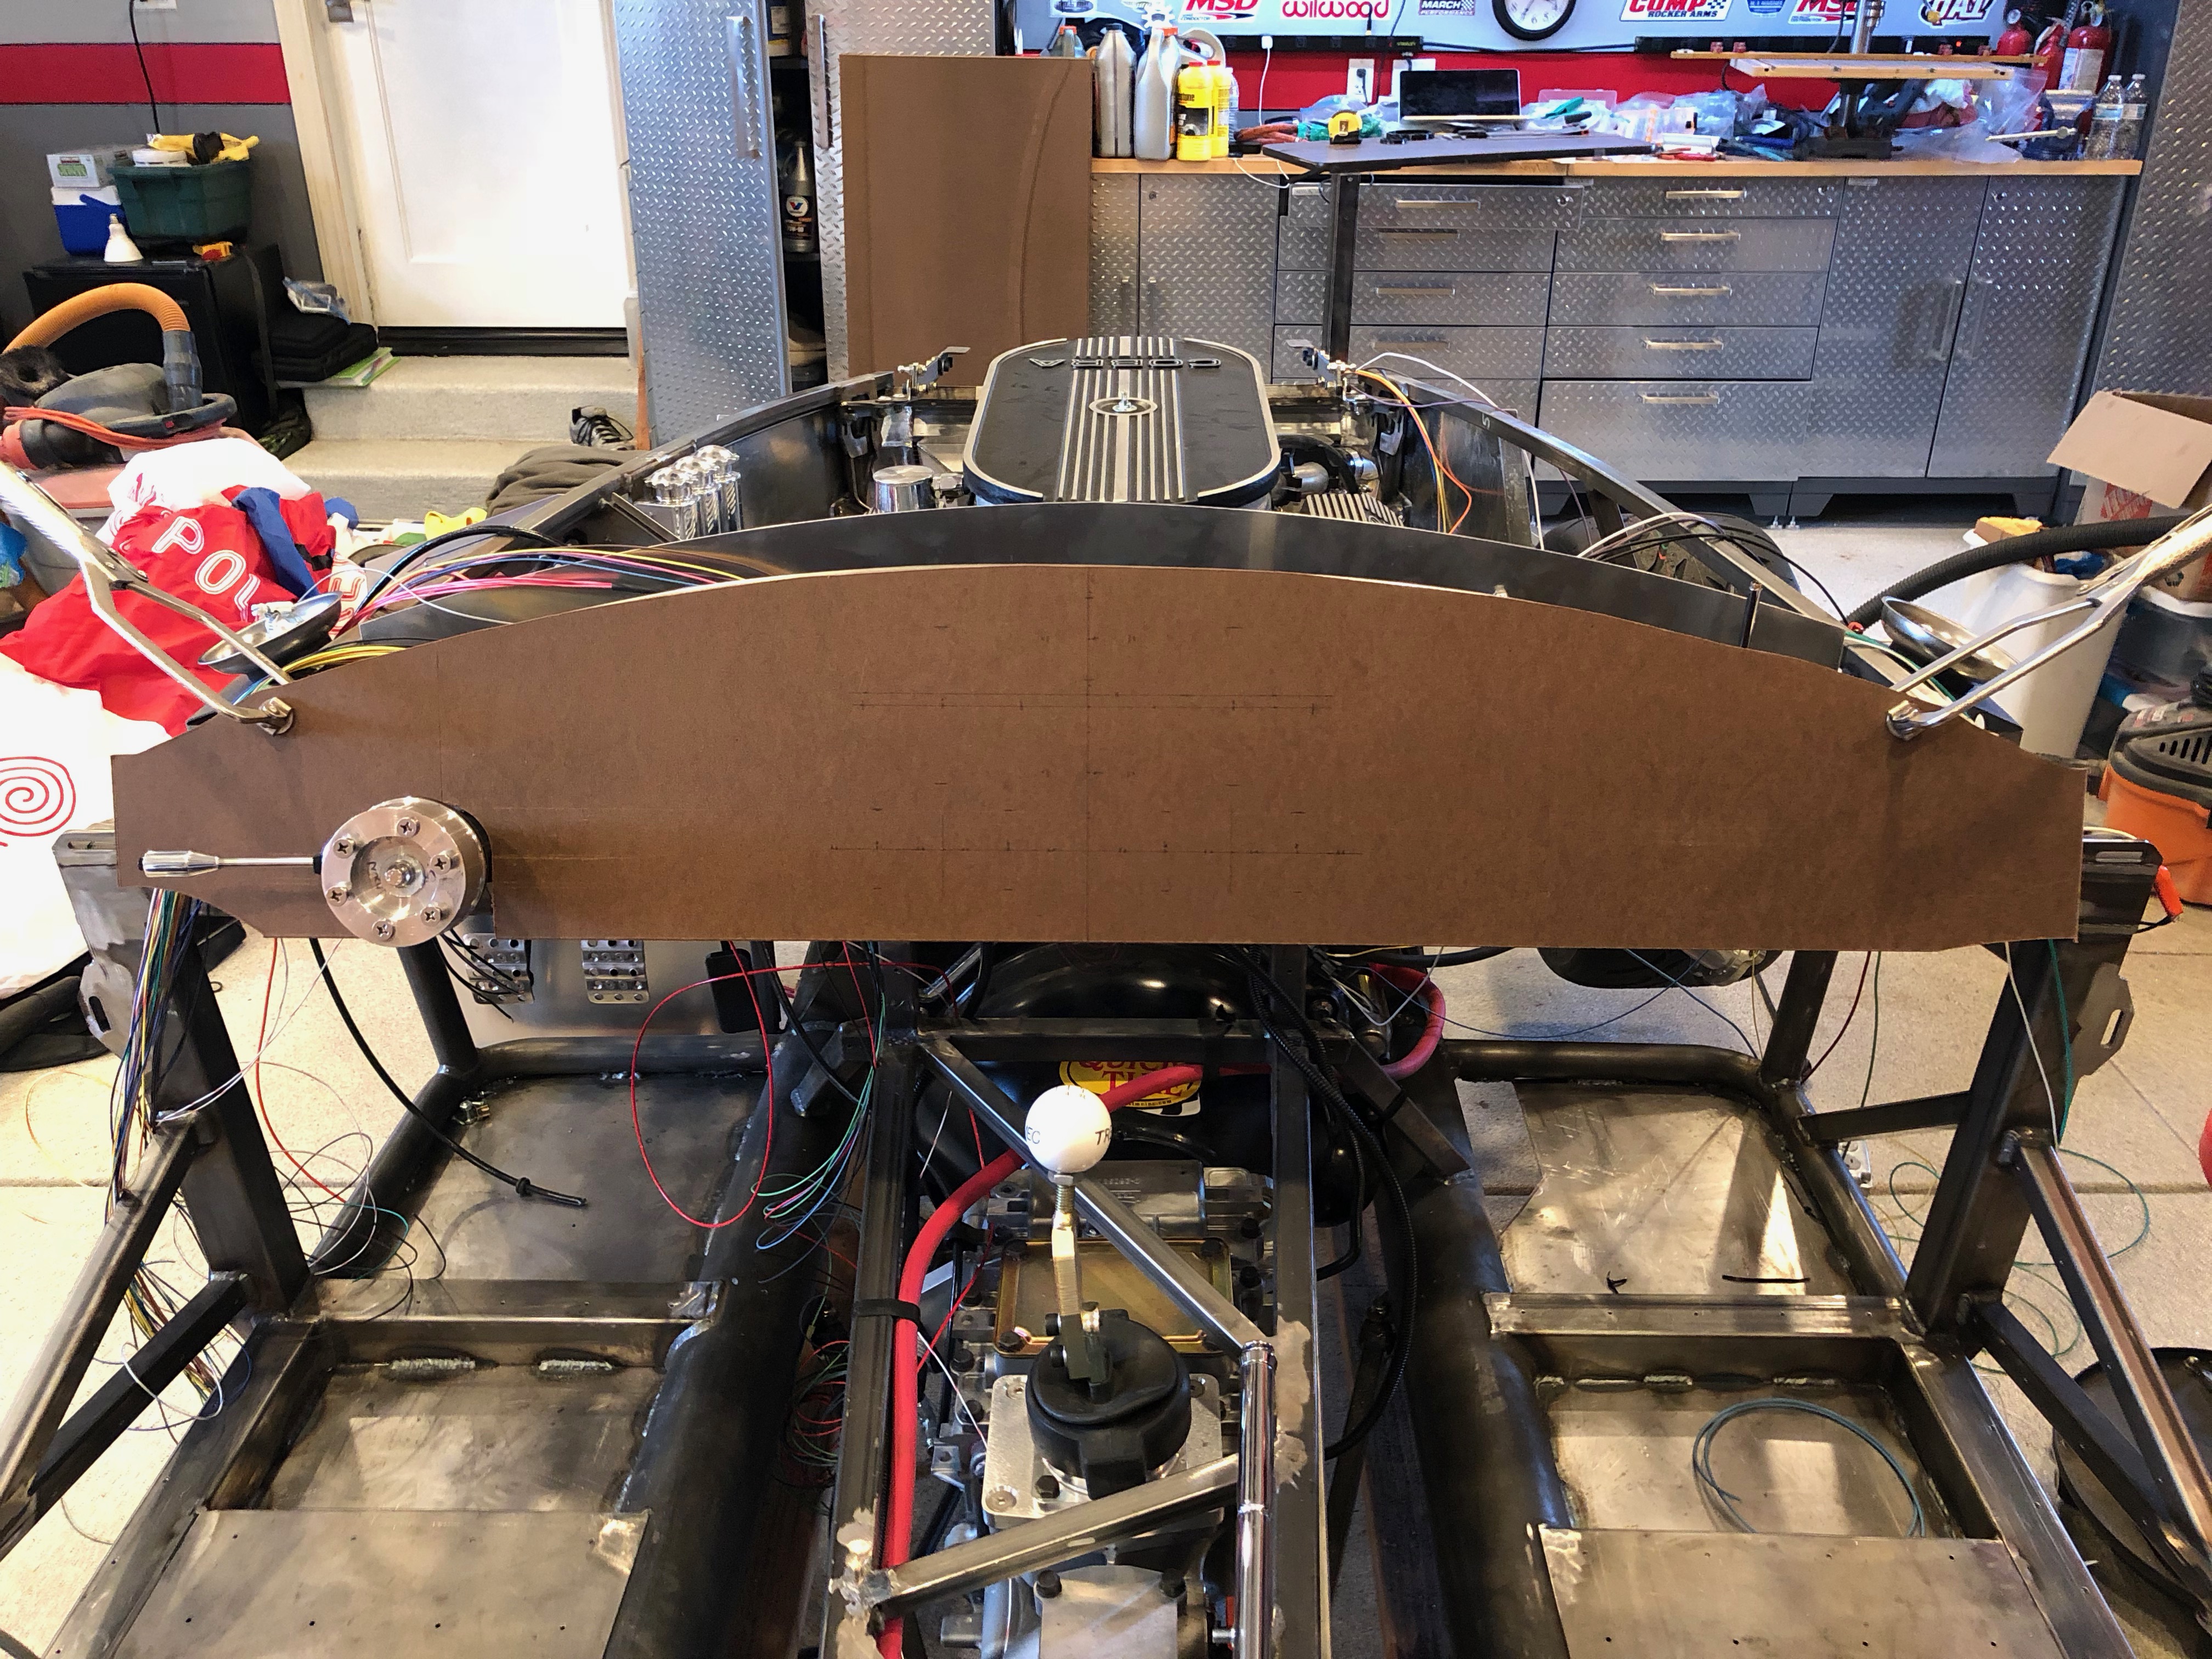
We’re still working on our final dash shape and layout, but we need to move forward with wiring. I used a piece of hardboard to make a prototype dash that we can use to do the preliminary wiring and evaluate our initial layout. A single piece of 4×8 hardboard costs about $12 and includes enough material to make about 8 prototype dashes.
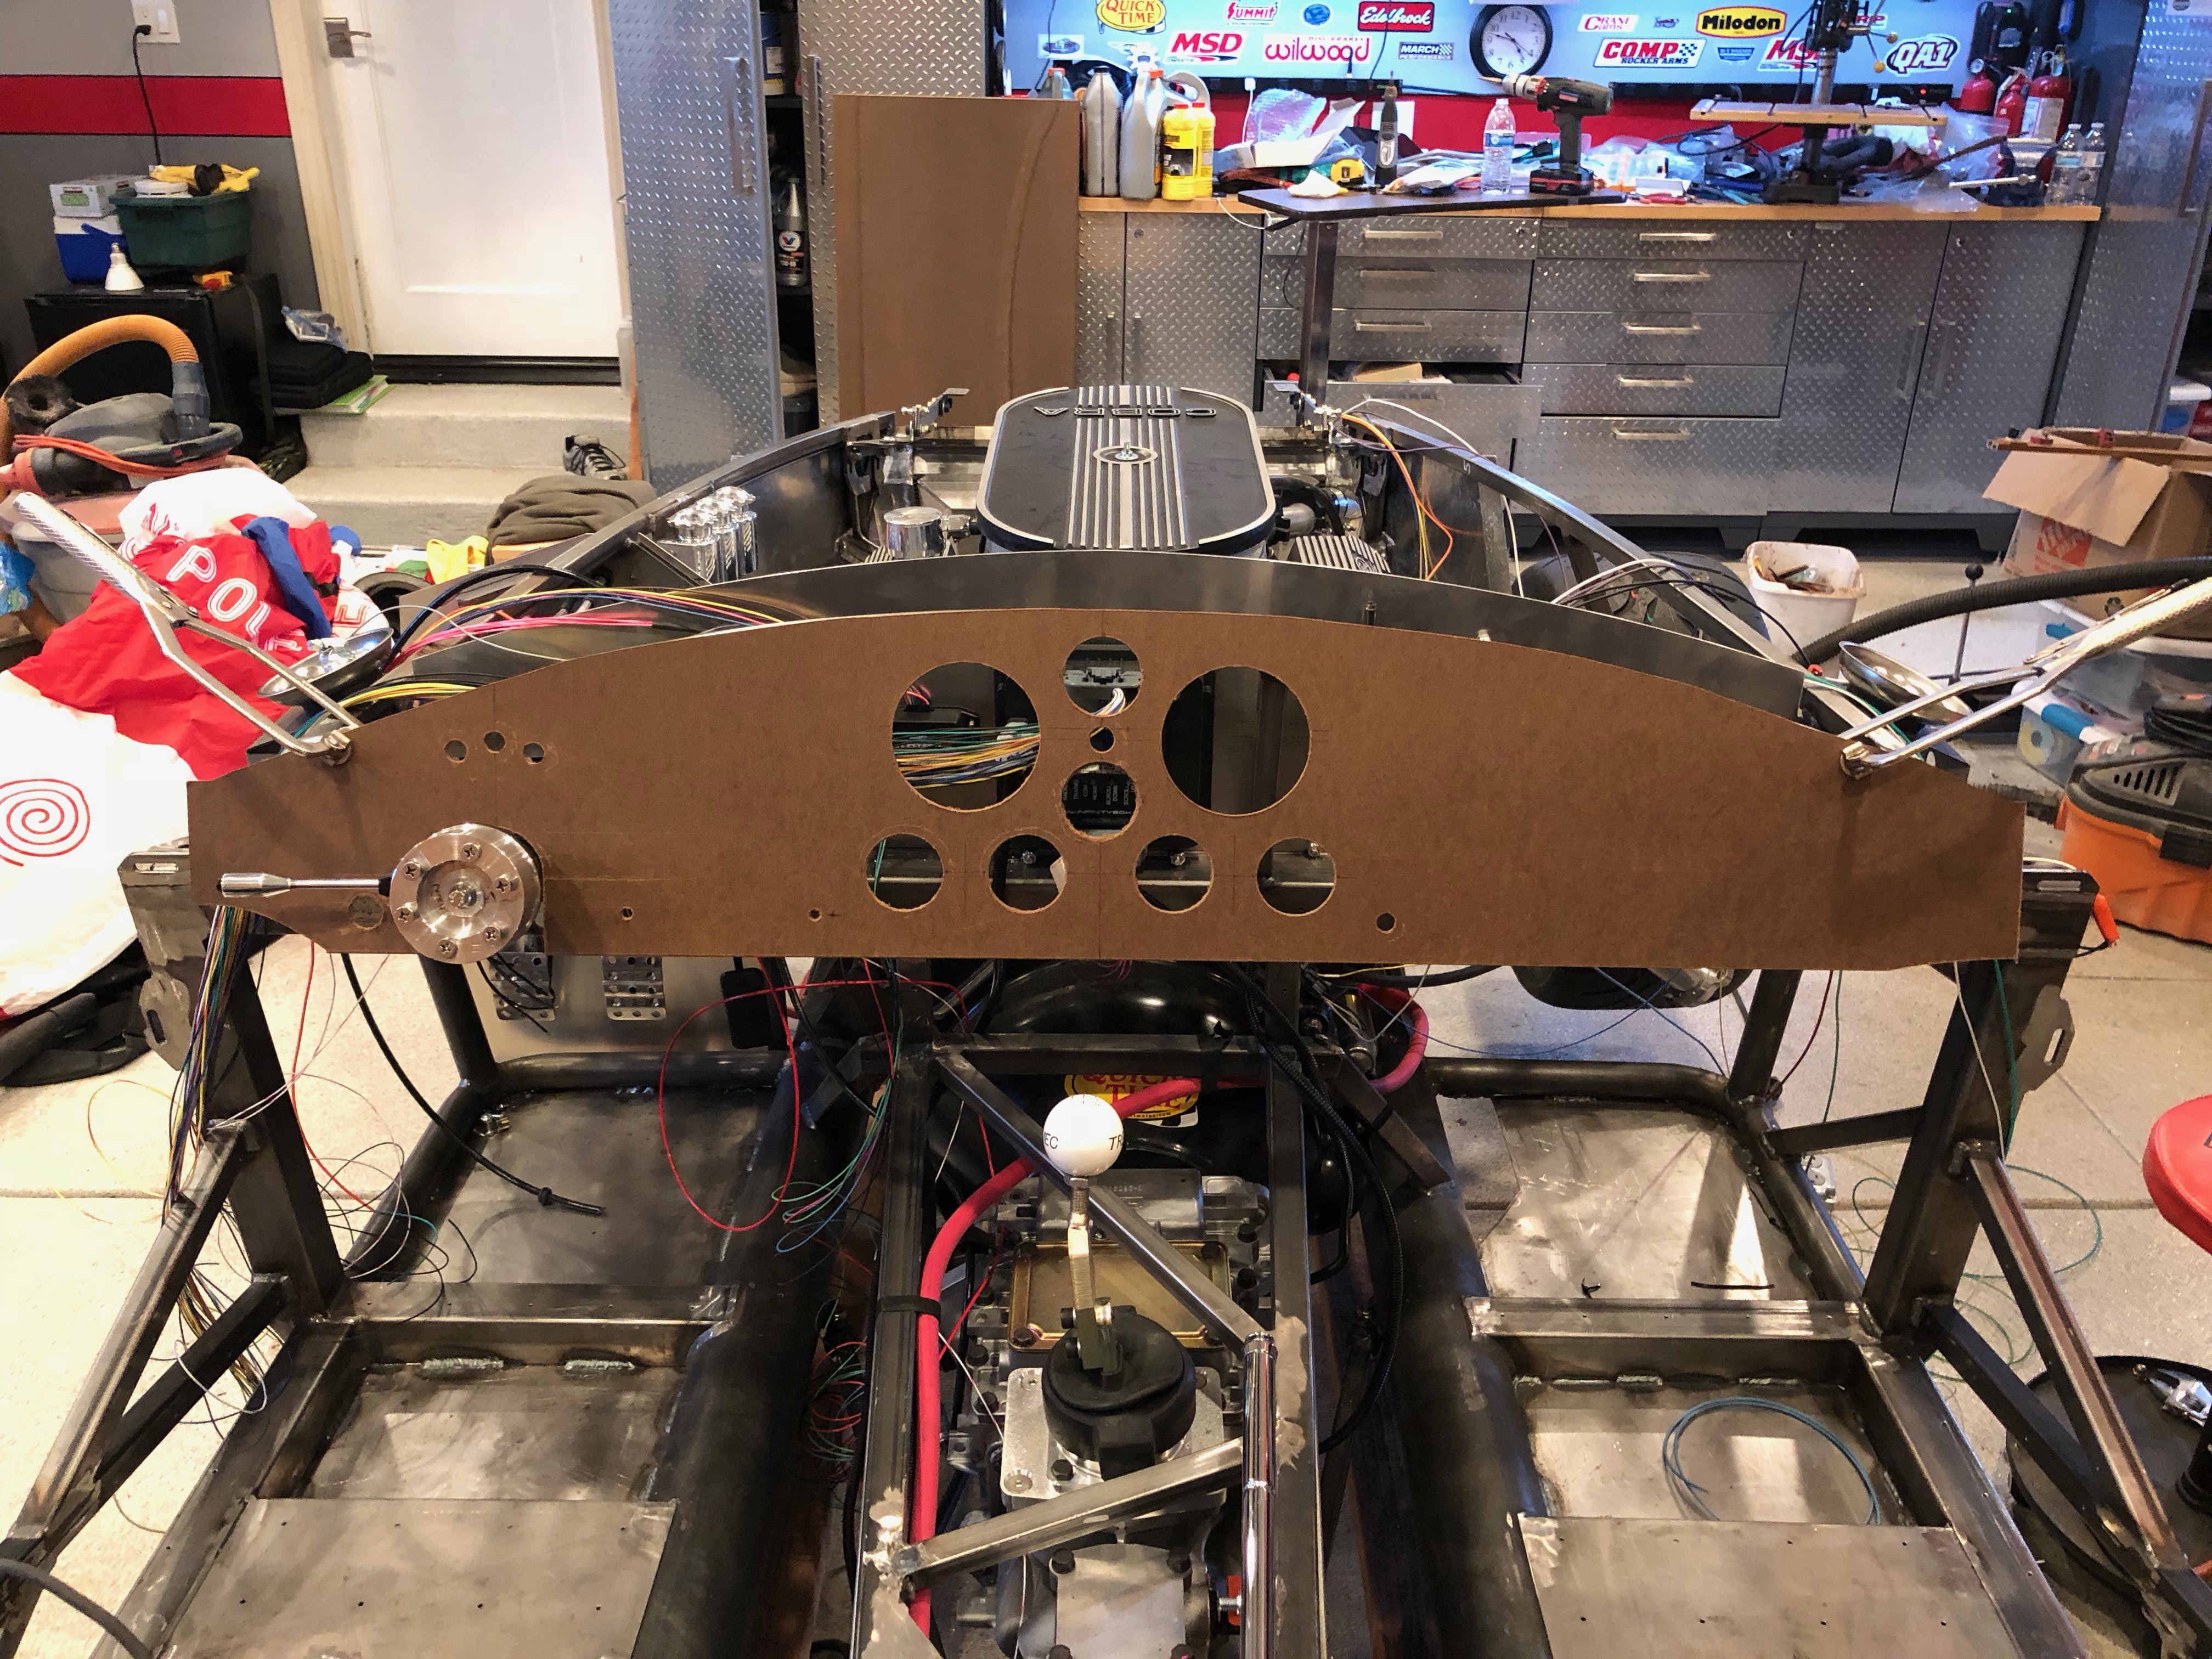
I laid out and cut the holes in the dash. We haven’t decided where to put the ignition switch yet and I’m sure some of the other items will move, but this is a good starting point. One issue I noticed right off the bat is that the top center hole is too high. There is a 3/4″ square tubing along the top of the dash and the top of the hole just lines up with the bottom of the tubing. The gauge fits in fine, but there’s not enough room to thread on the ring that secures the gauge in place.
I pulled the dash and then installed most of the components.
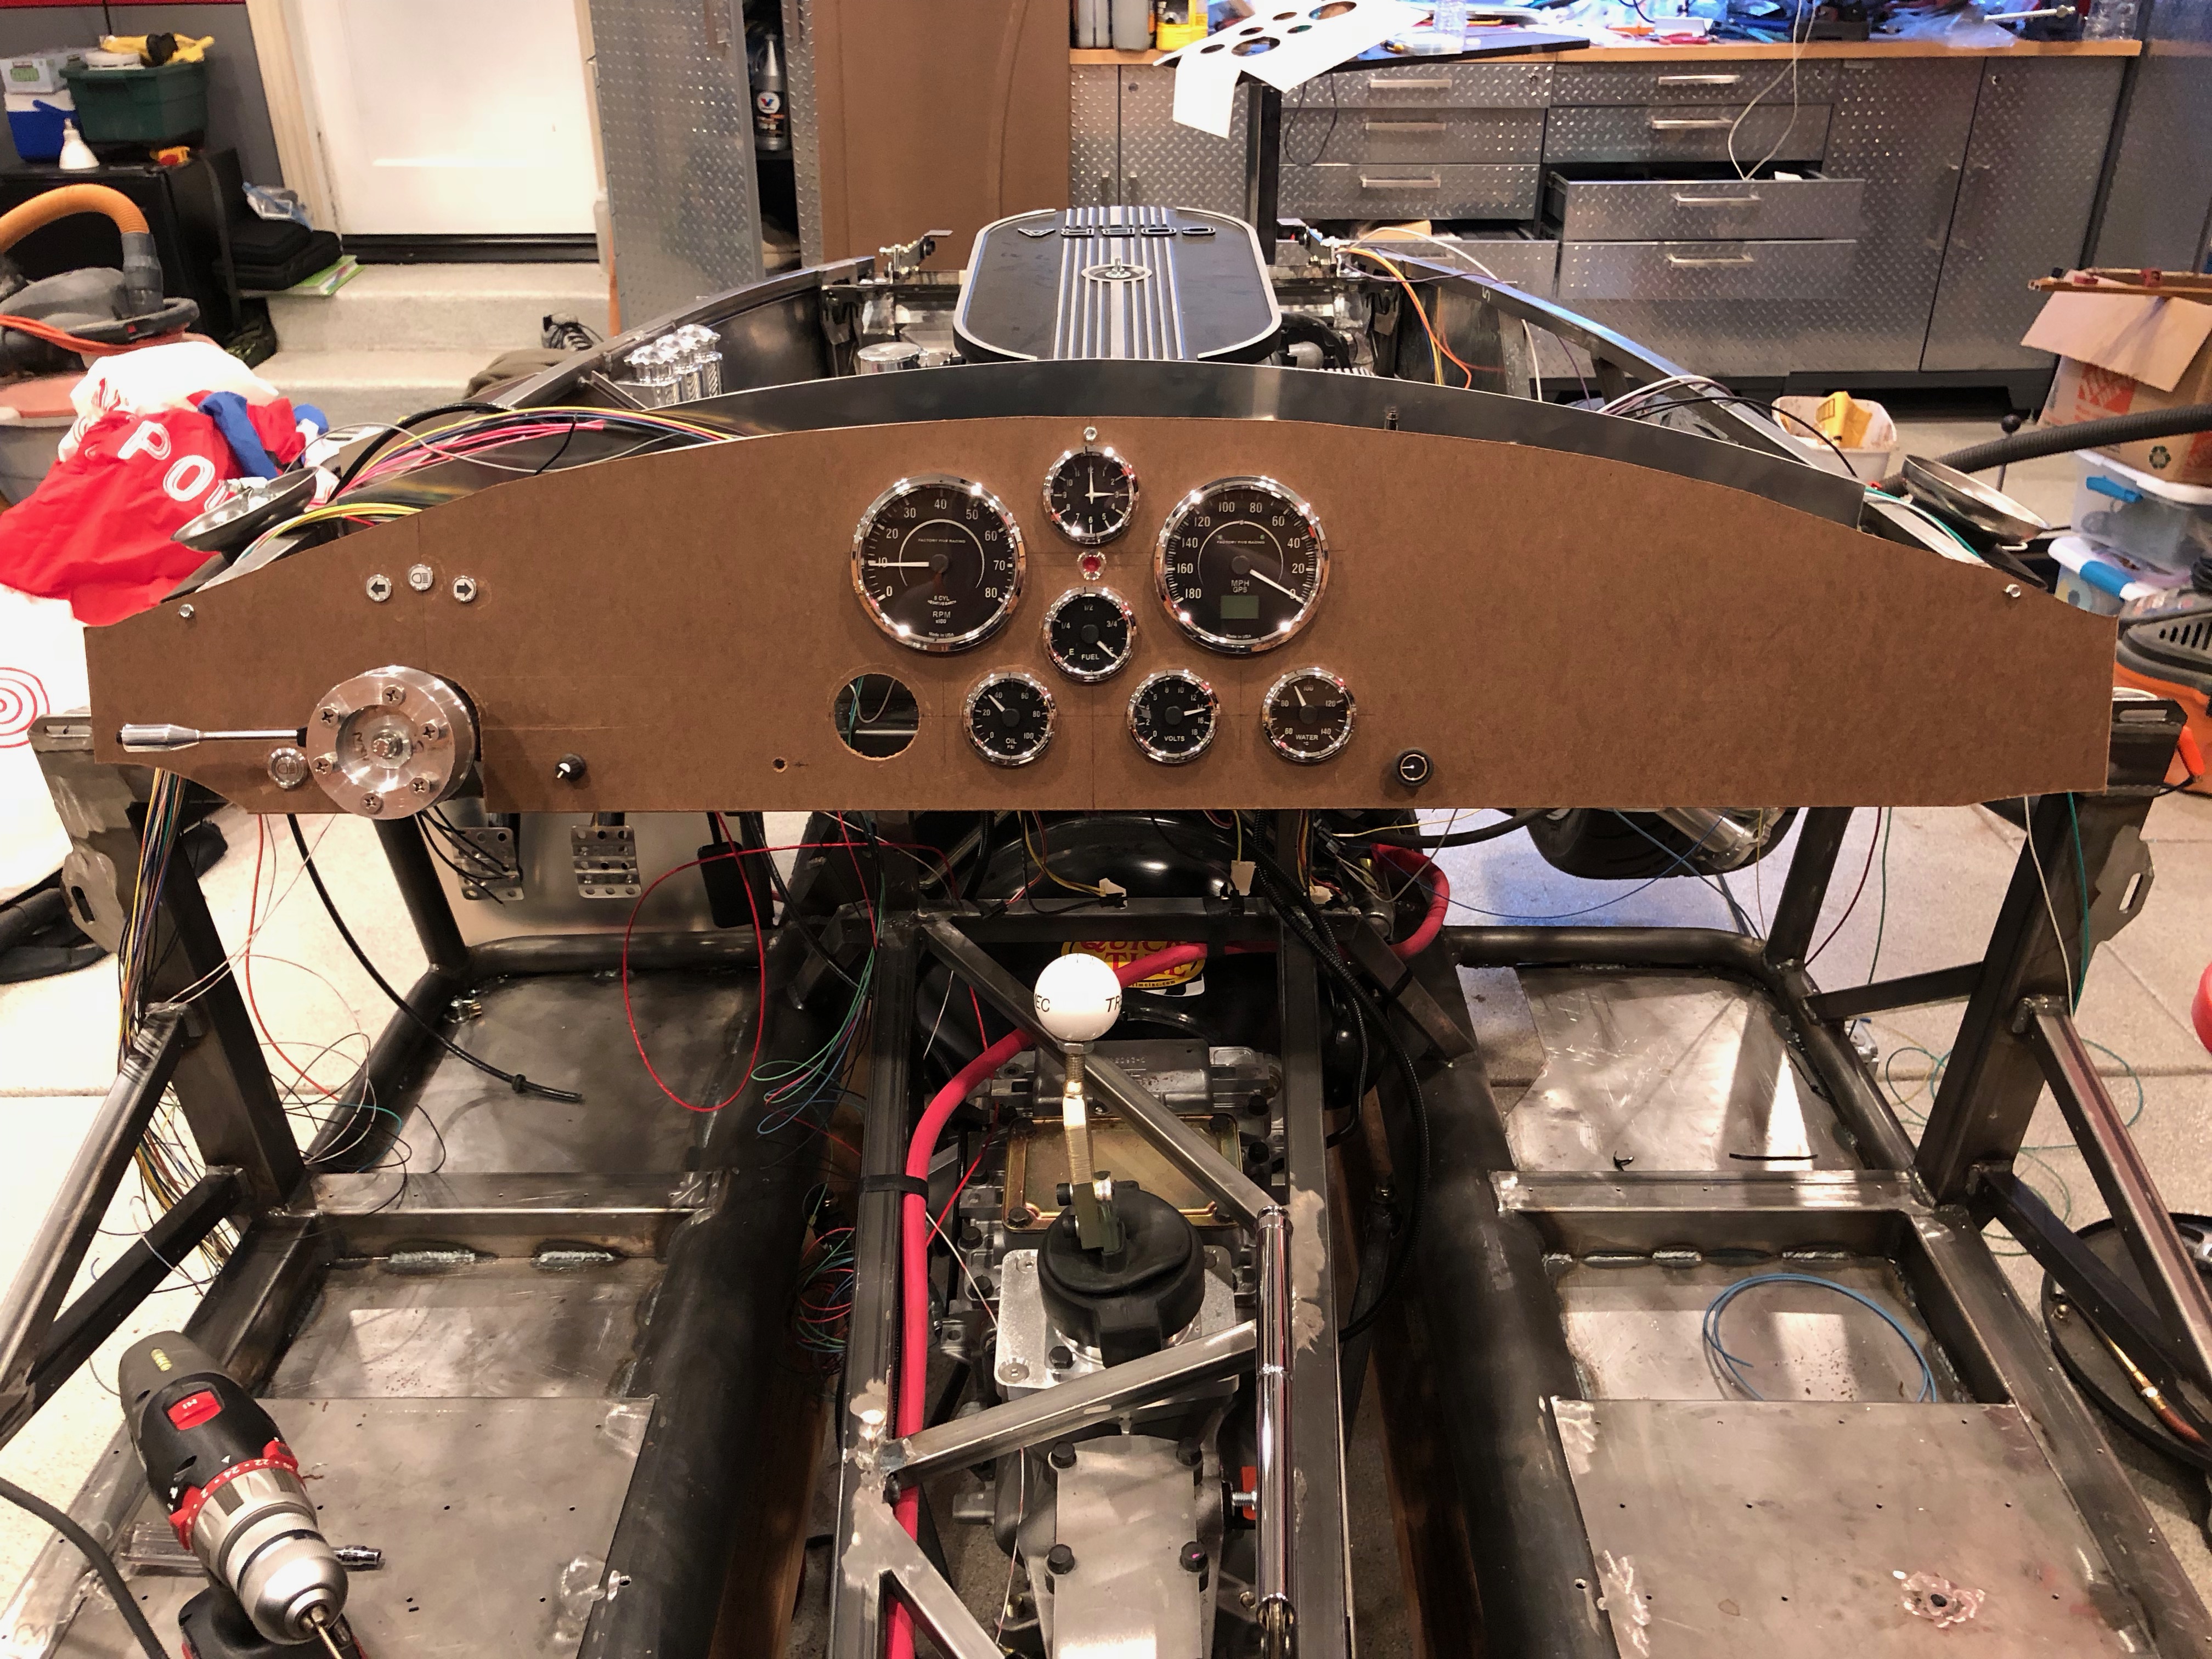
Here’s a closeup of the gauge cluster. The empty hole at the lower left of the cluster will be for an oil temperature gauge. This doesn’t come with the gauge set from FFR, but we’ll either buy one to match or will be buying a whole new gauge set to match our interior.
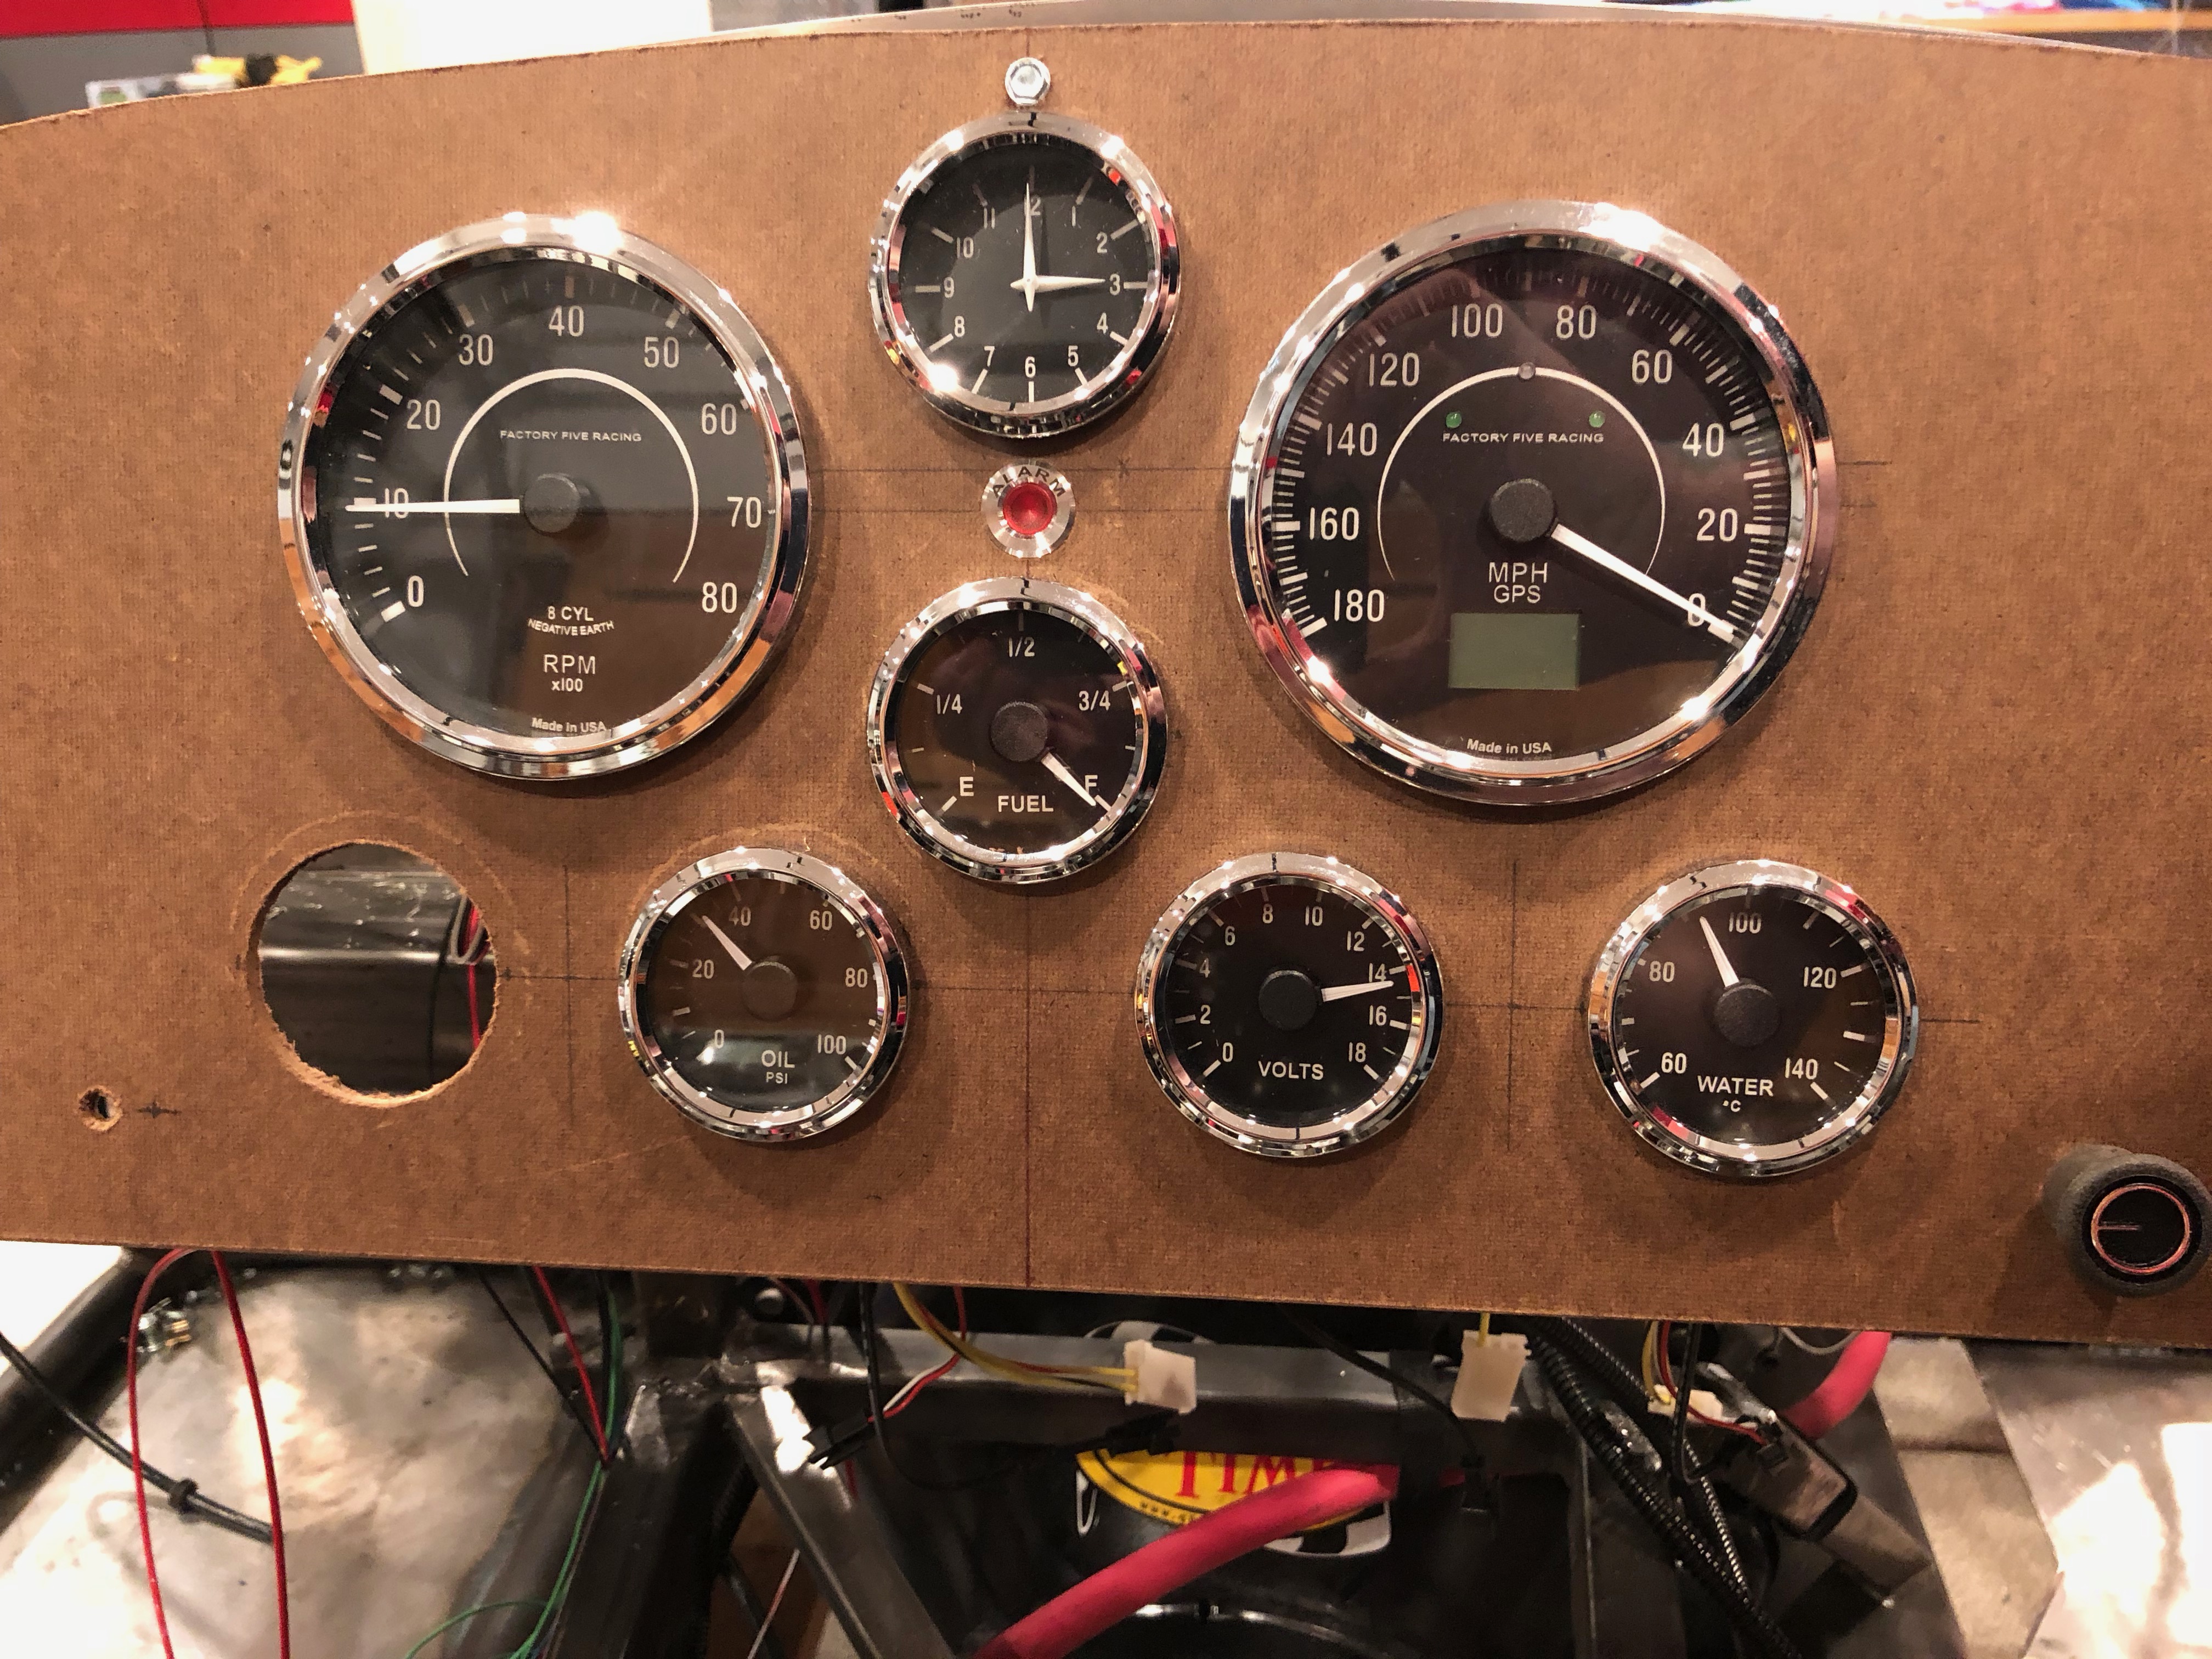
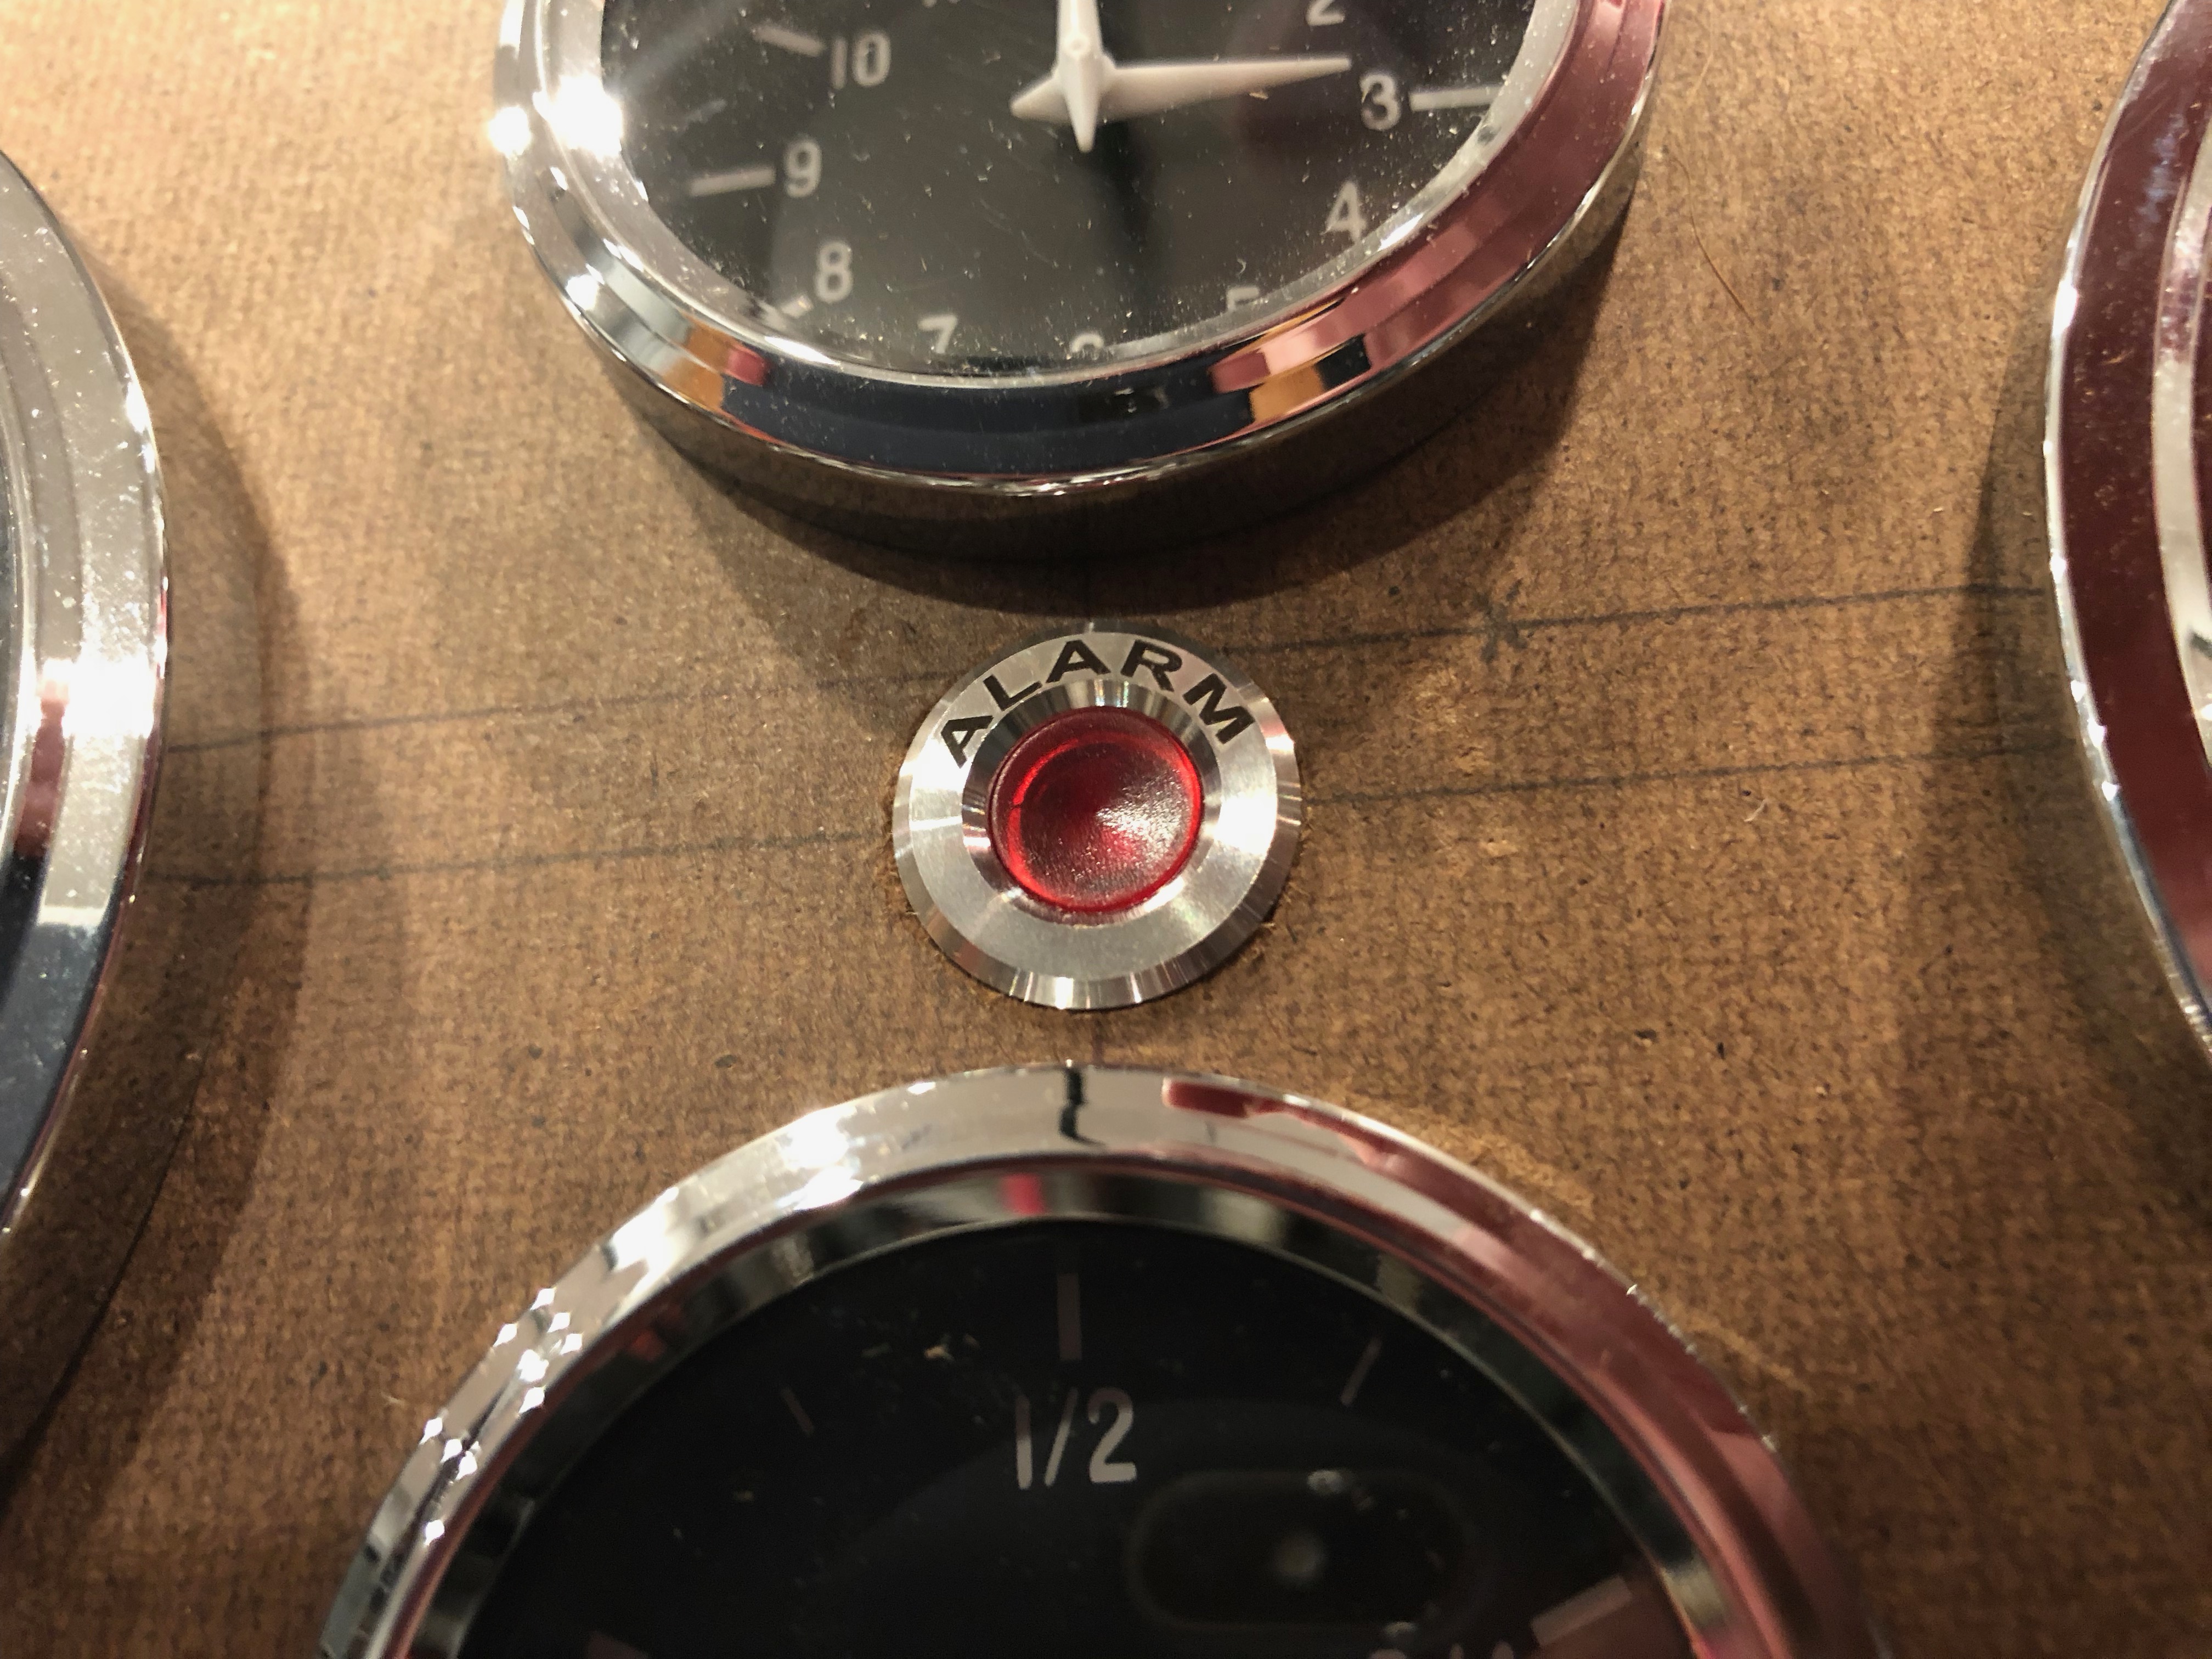
We installed the alarm light in the middle of the gauge cluster. I’m not sure I like it here, but we’ll sit with it for now and see how we feel about it.
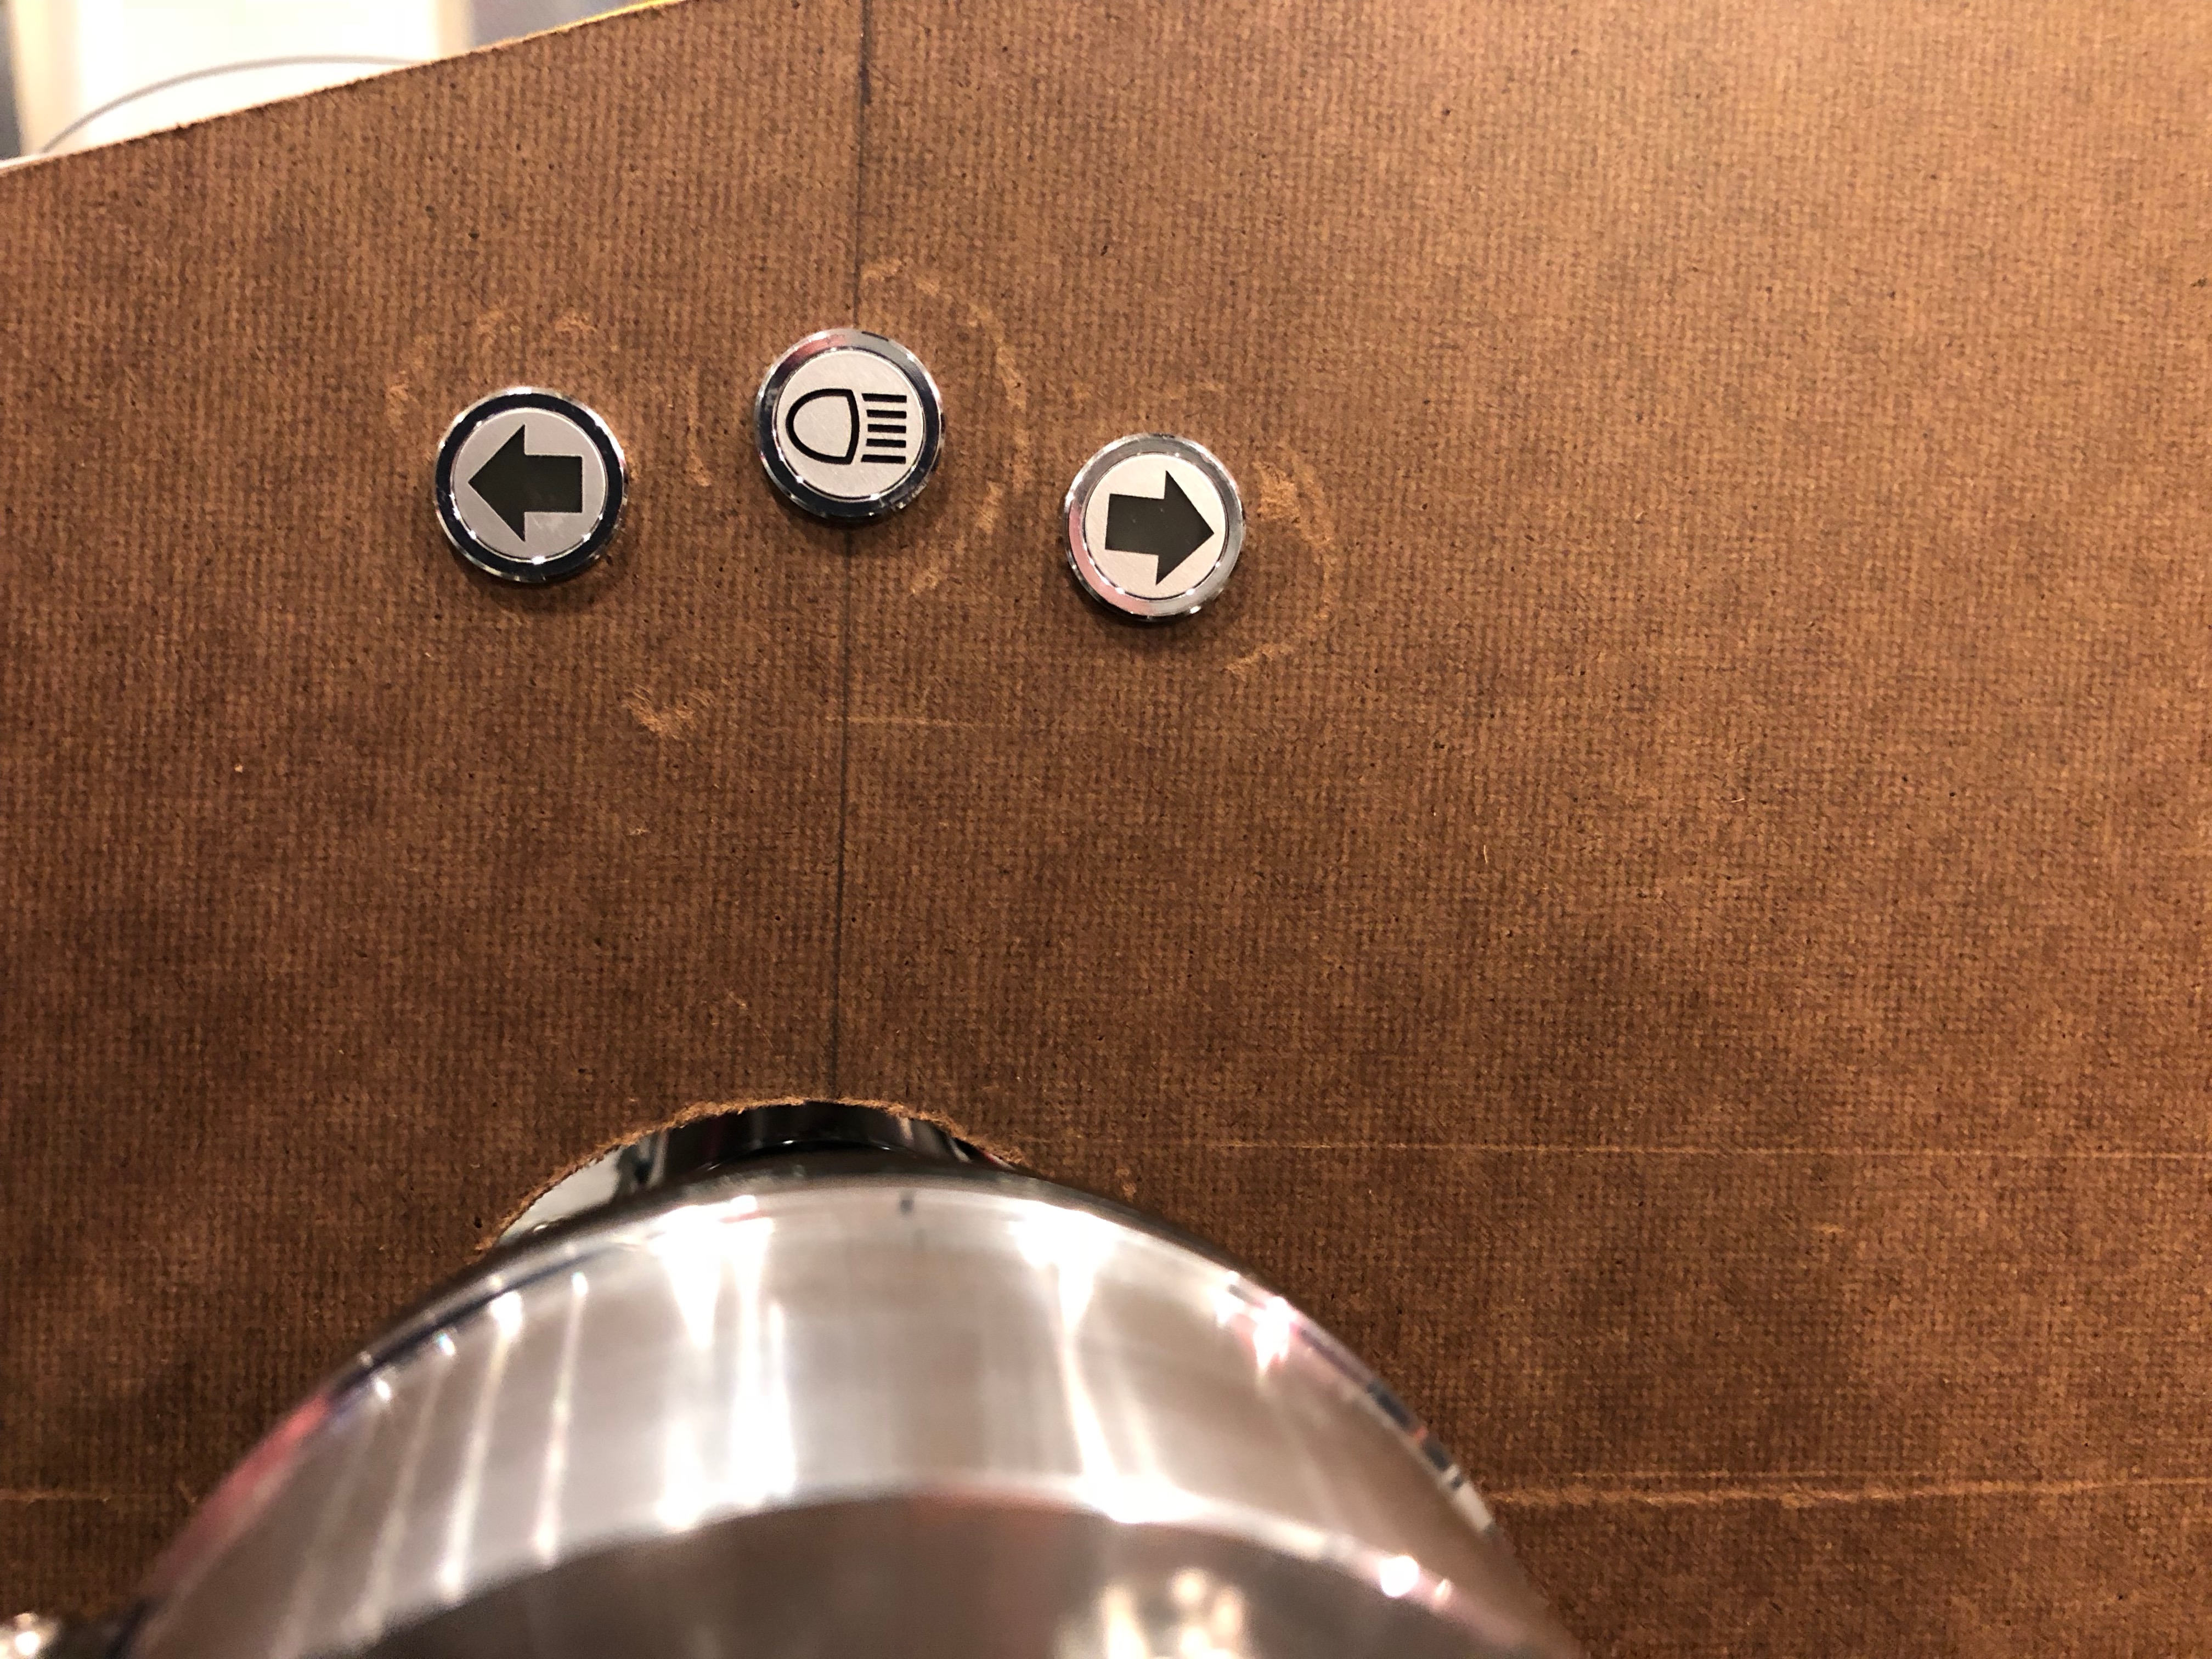
Just over the steering wheel are the indicators for the high beams and turn signals.
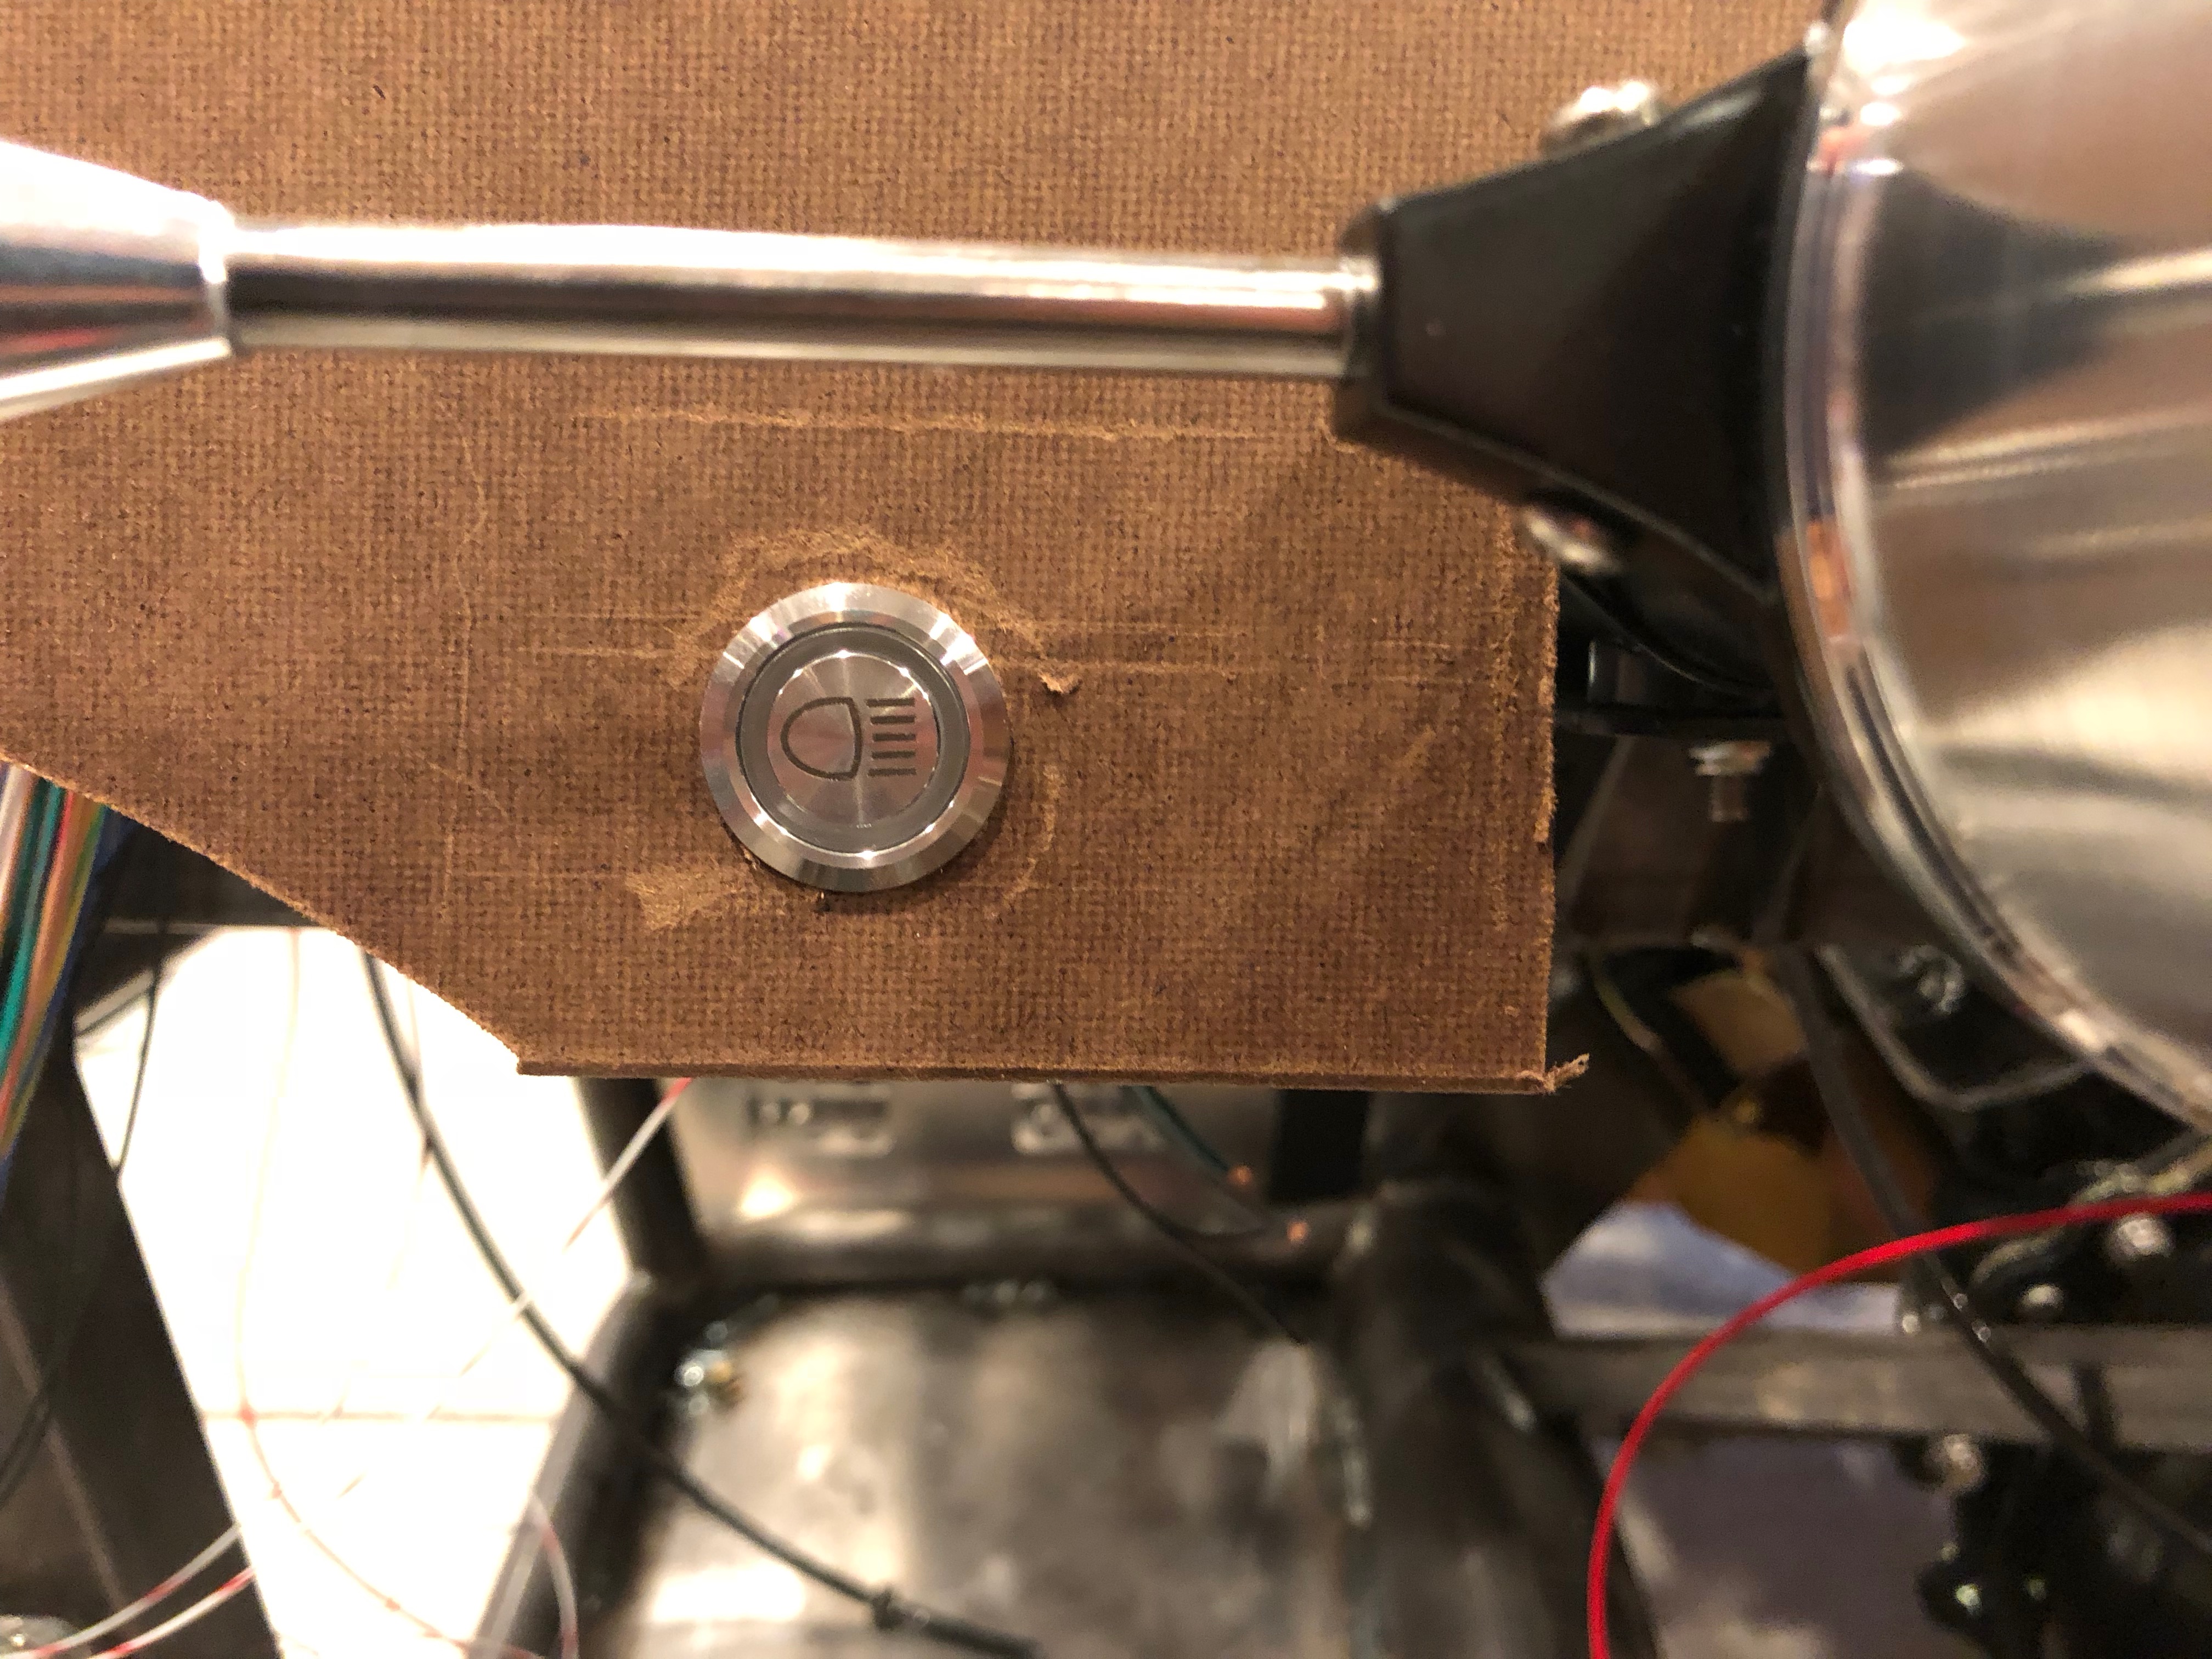
Just to the left of the steering wheel is the high beam toggle. When the headlights are off, this will function as a flash-to-pass button where the headlights will be on while the button is held down. When the headlights are on, this will toggle between the low and high beams.
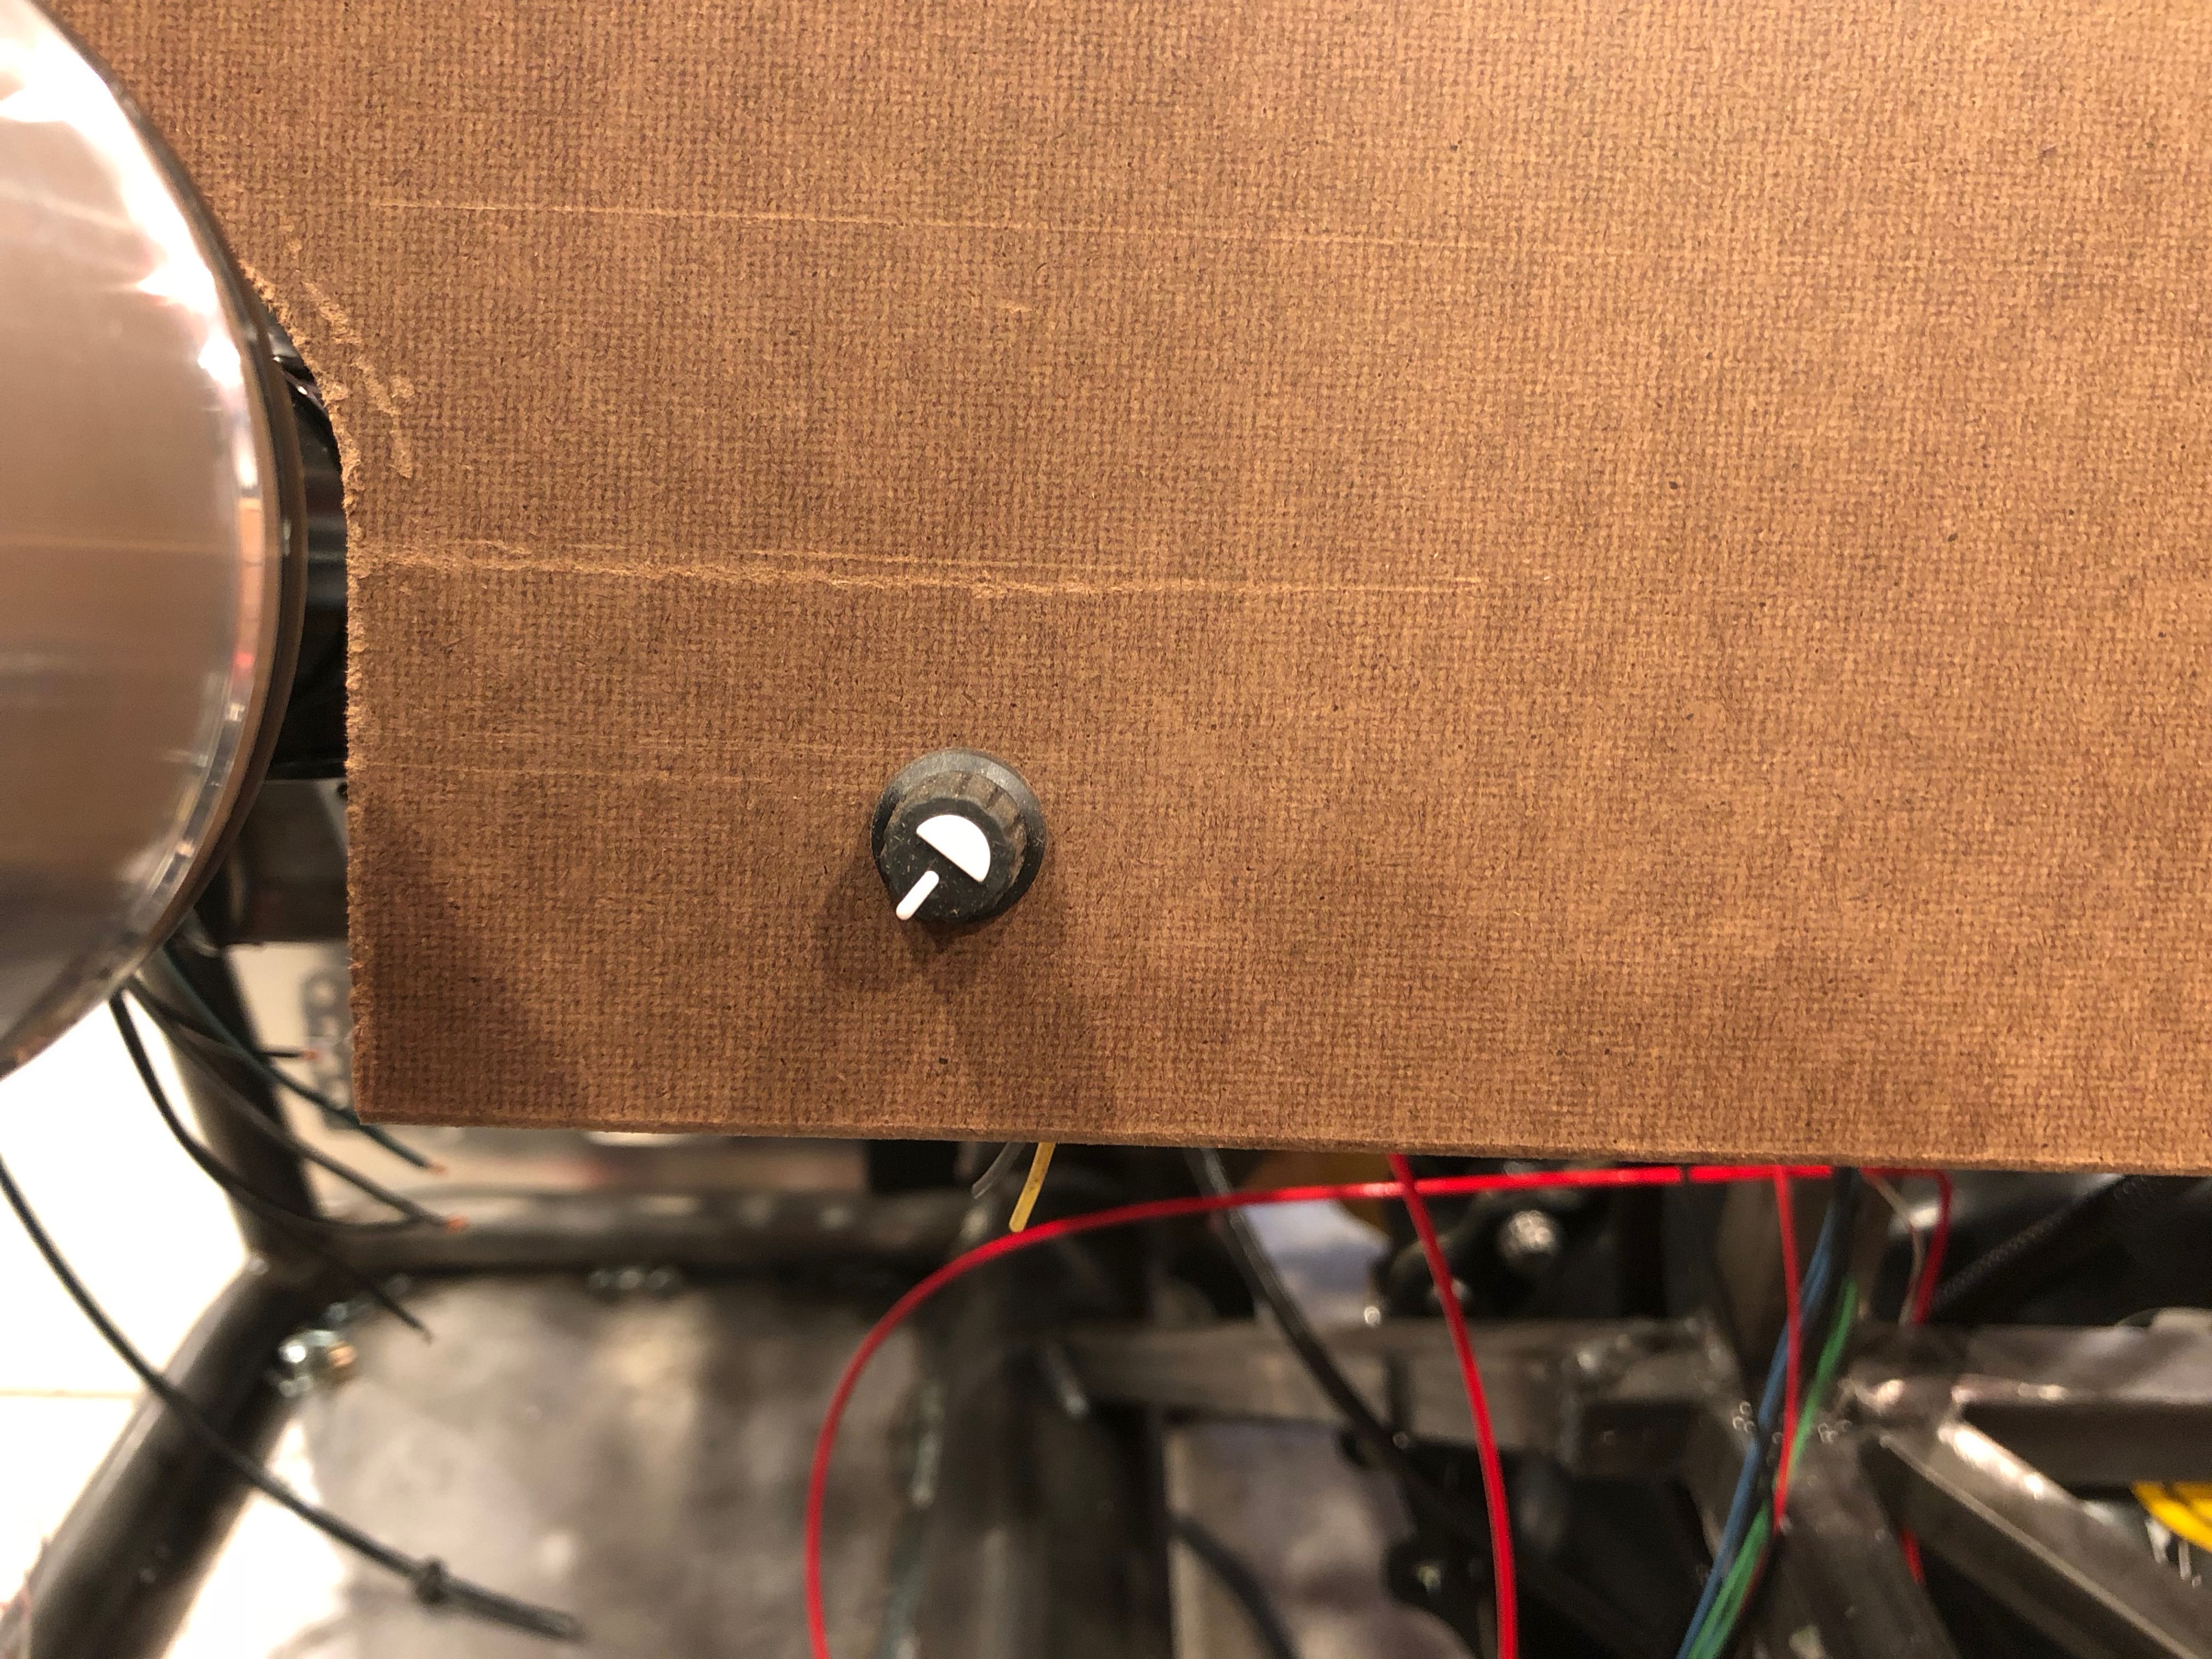
To the right of the steering where is the power steering adjustment knob. This will let us adjust the power steering from completely off to maximum assistance.