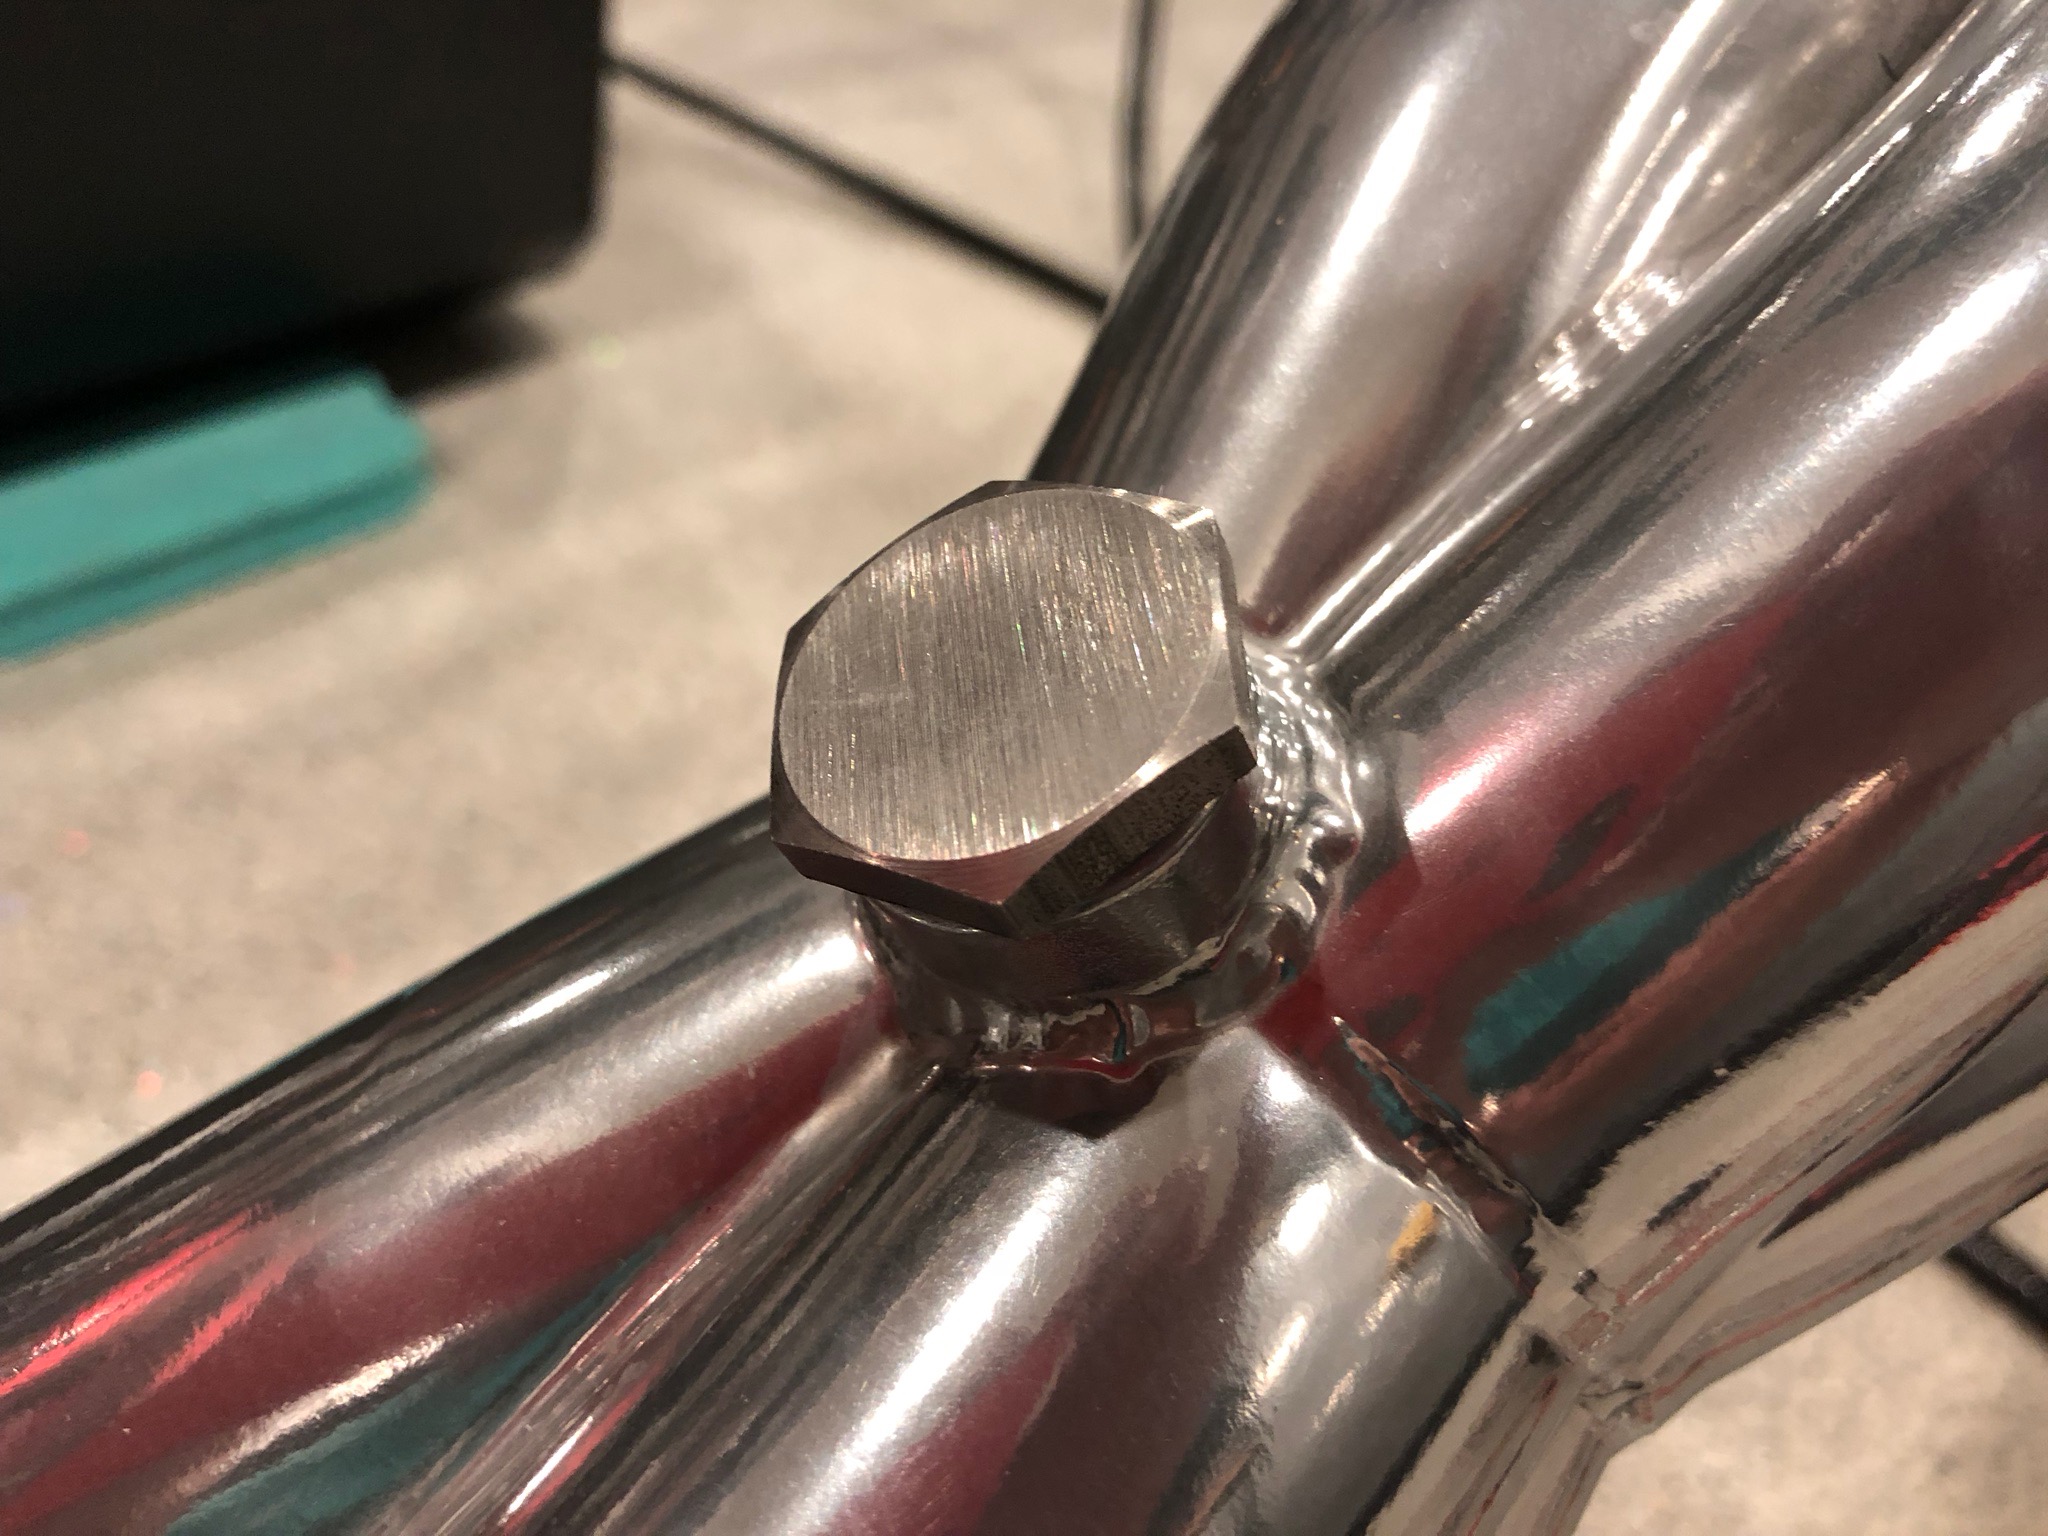
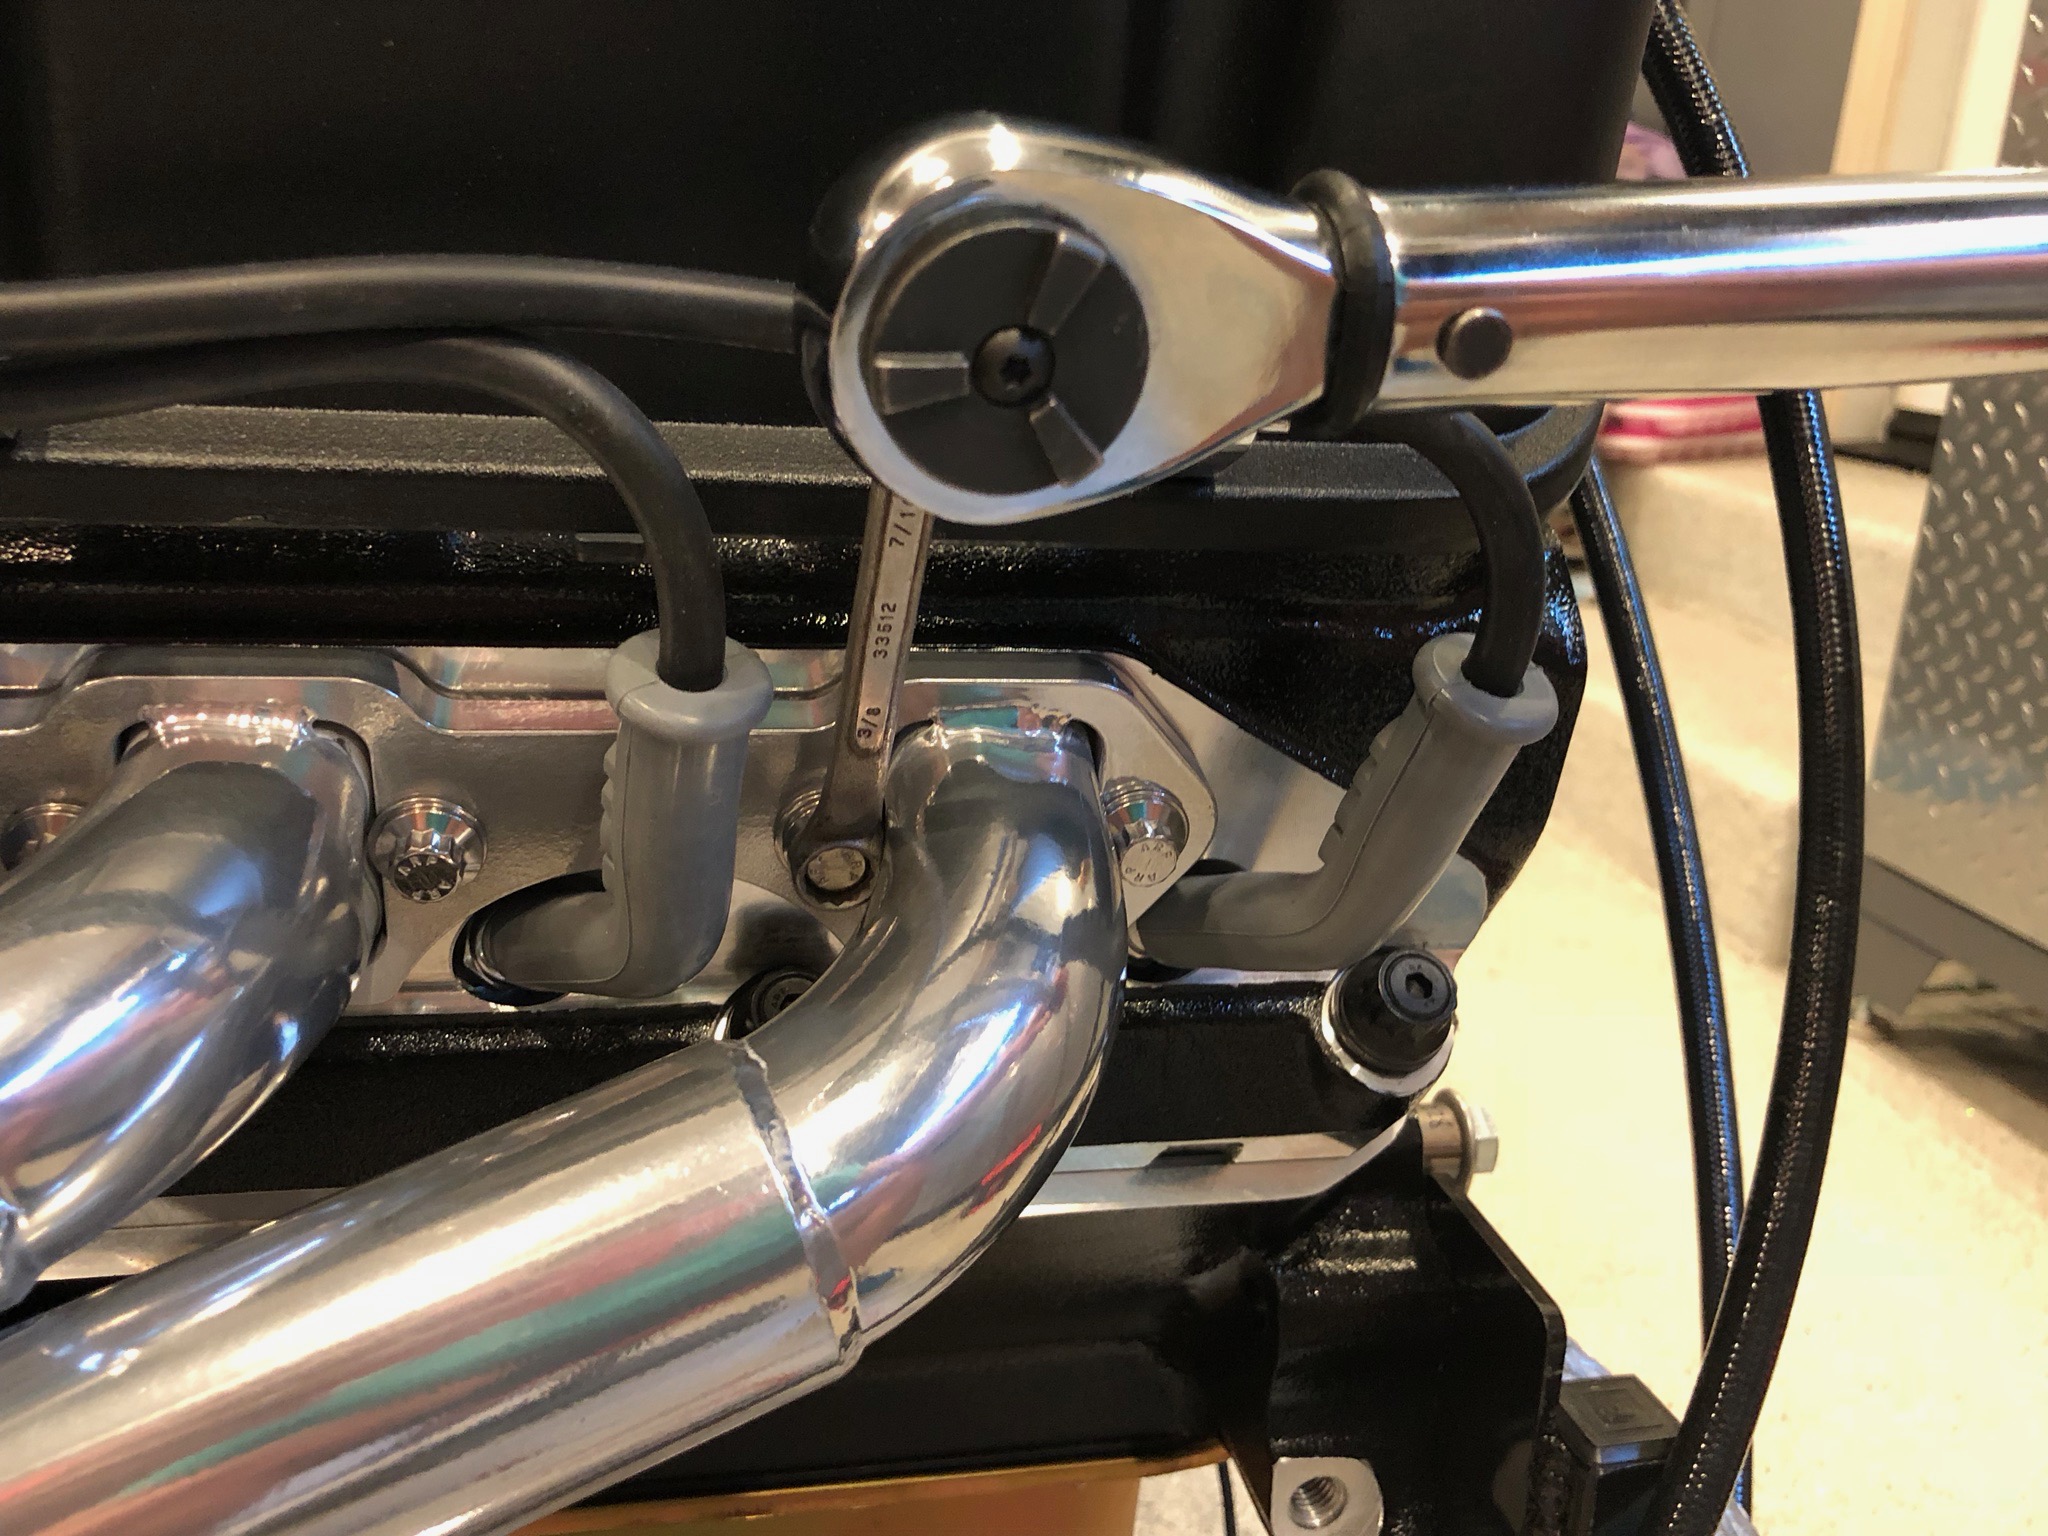
I mentioned in an earlier post that I needed to use longer screws to attach the exhaust headers. Because we stepped up to 1.75″ tubing and the pipes start curving as soon as they leave the flange, some of the longer screws can’t even be inserted through the mounting holes.
I used a carbide burr to slightly relieve the inside of the hole, just enough to allow the bolts to slip in.
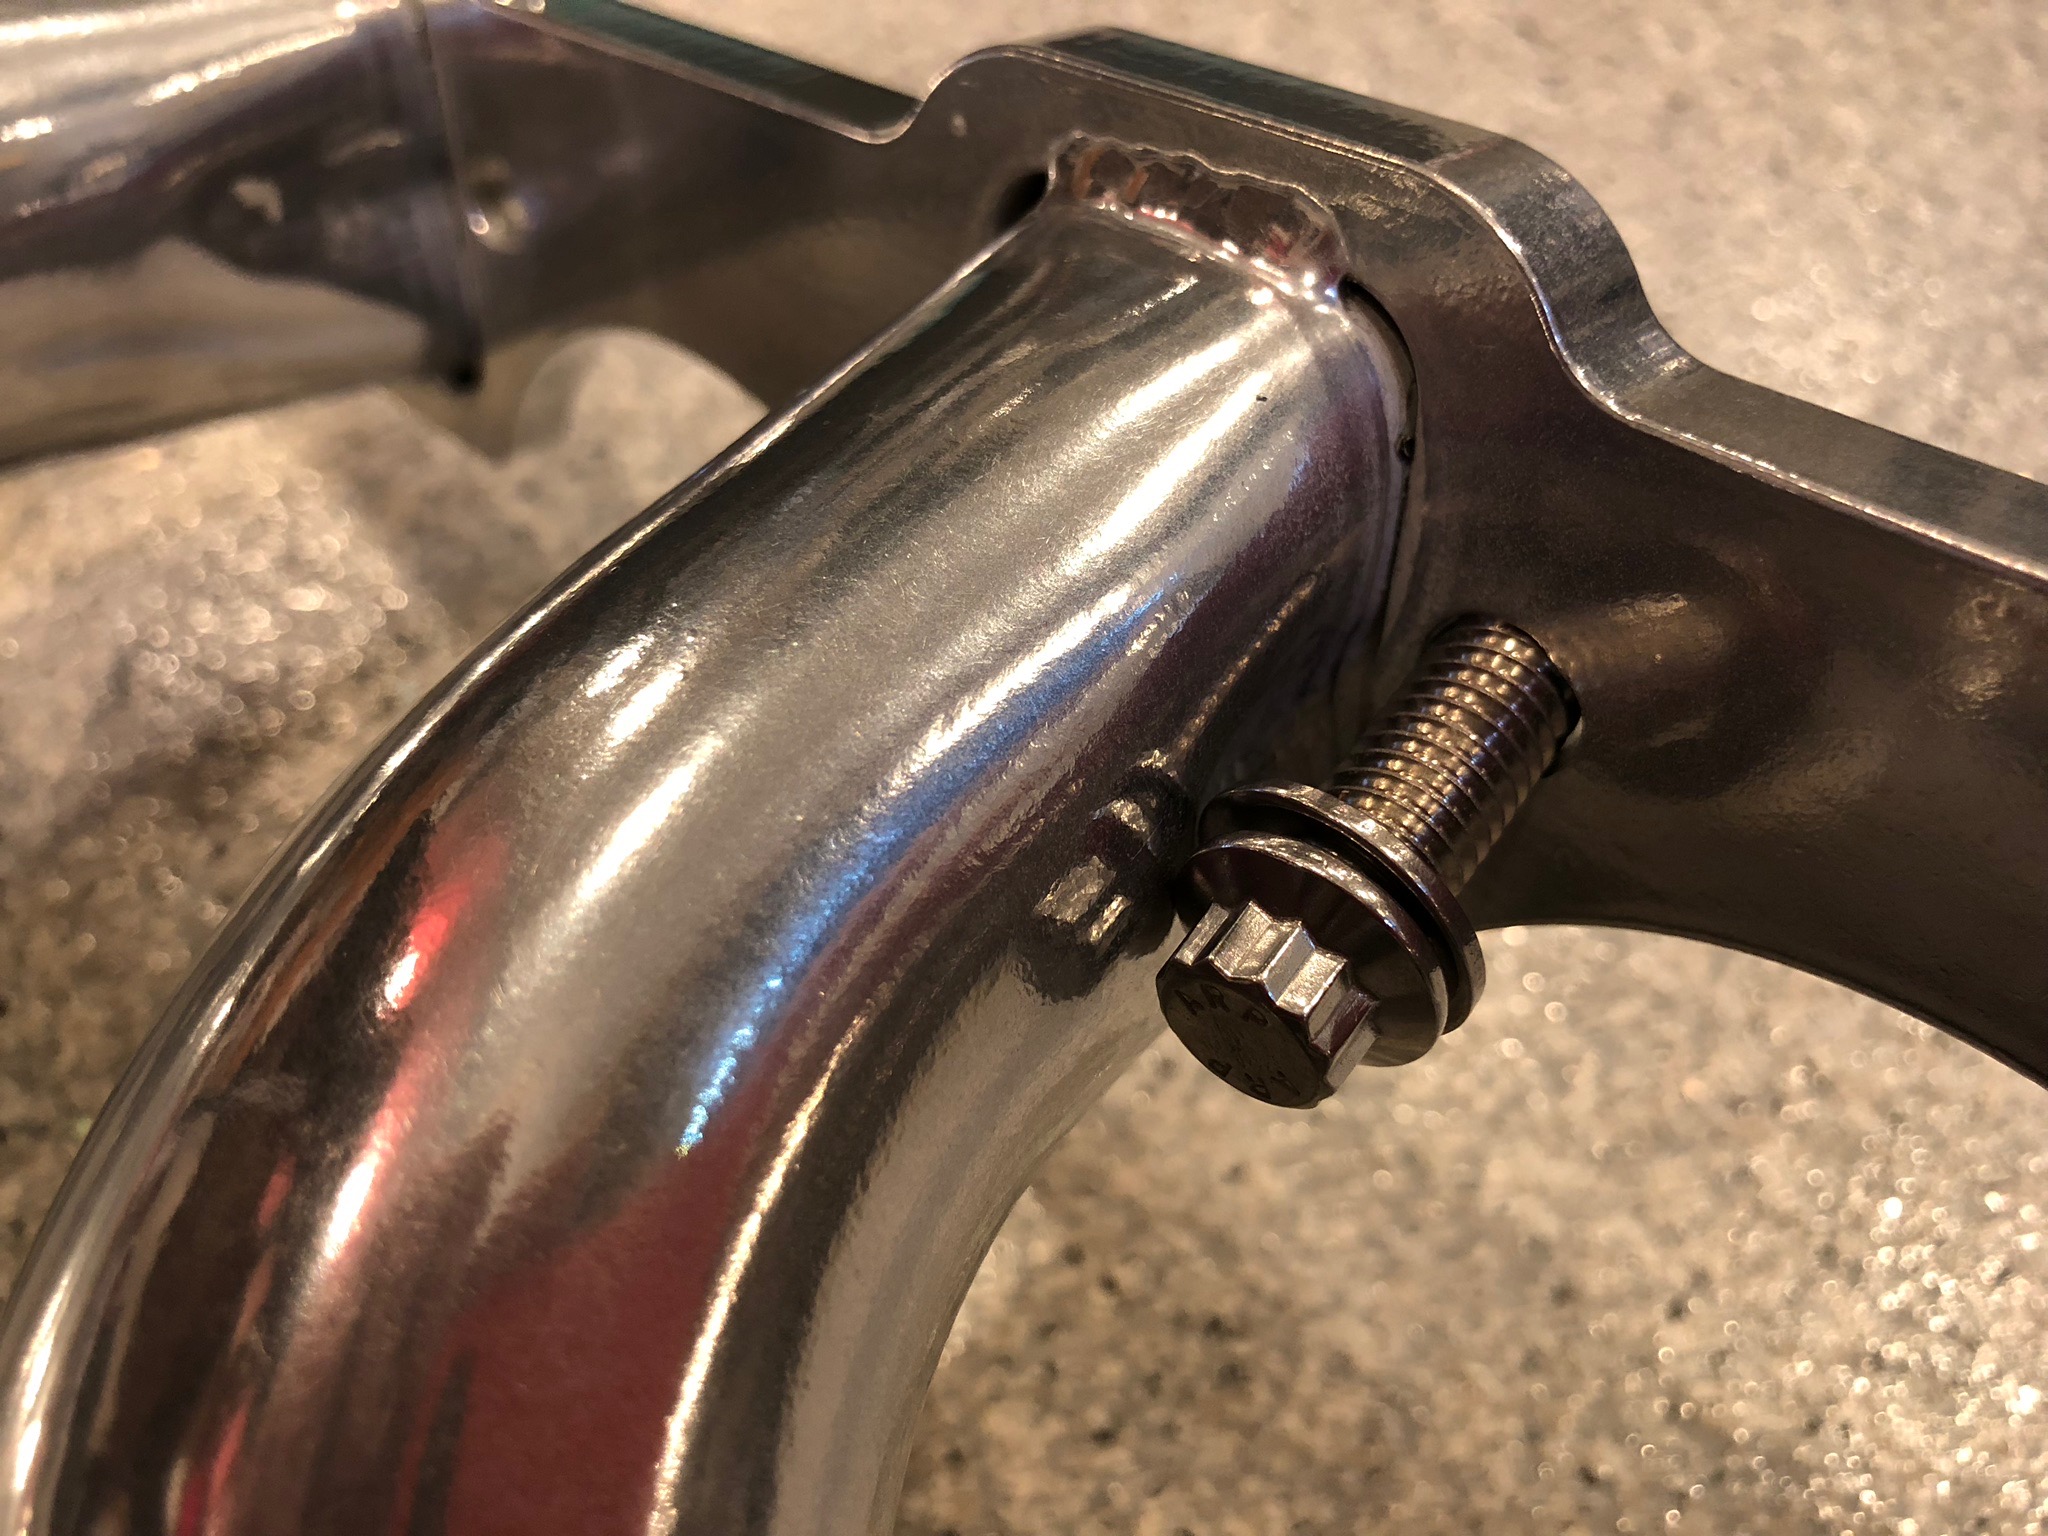
The tubing also prevents using a socket to tighten the bolts, so I wasn’t sure how I was going to torque these. In fact, the only wrench I had that would fit over the bolts without contacting the tubing was this old S-K box end wrench I got from somewhere. I thought I was just going to have to guess at how much to tighten these. Fortunately, the other end of the wrench fit perfectly over the 3/8″ square drive on my torque wrench.
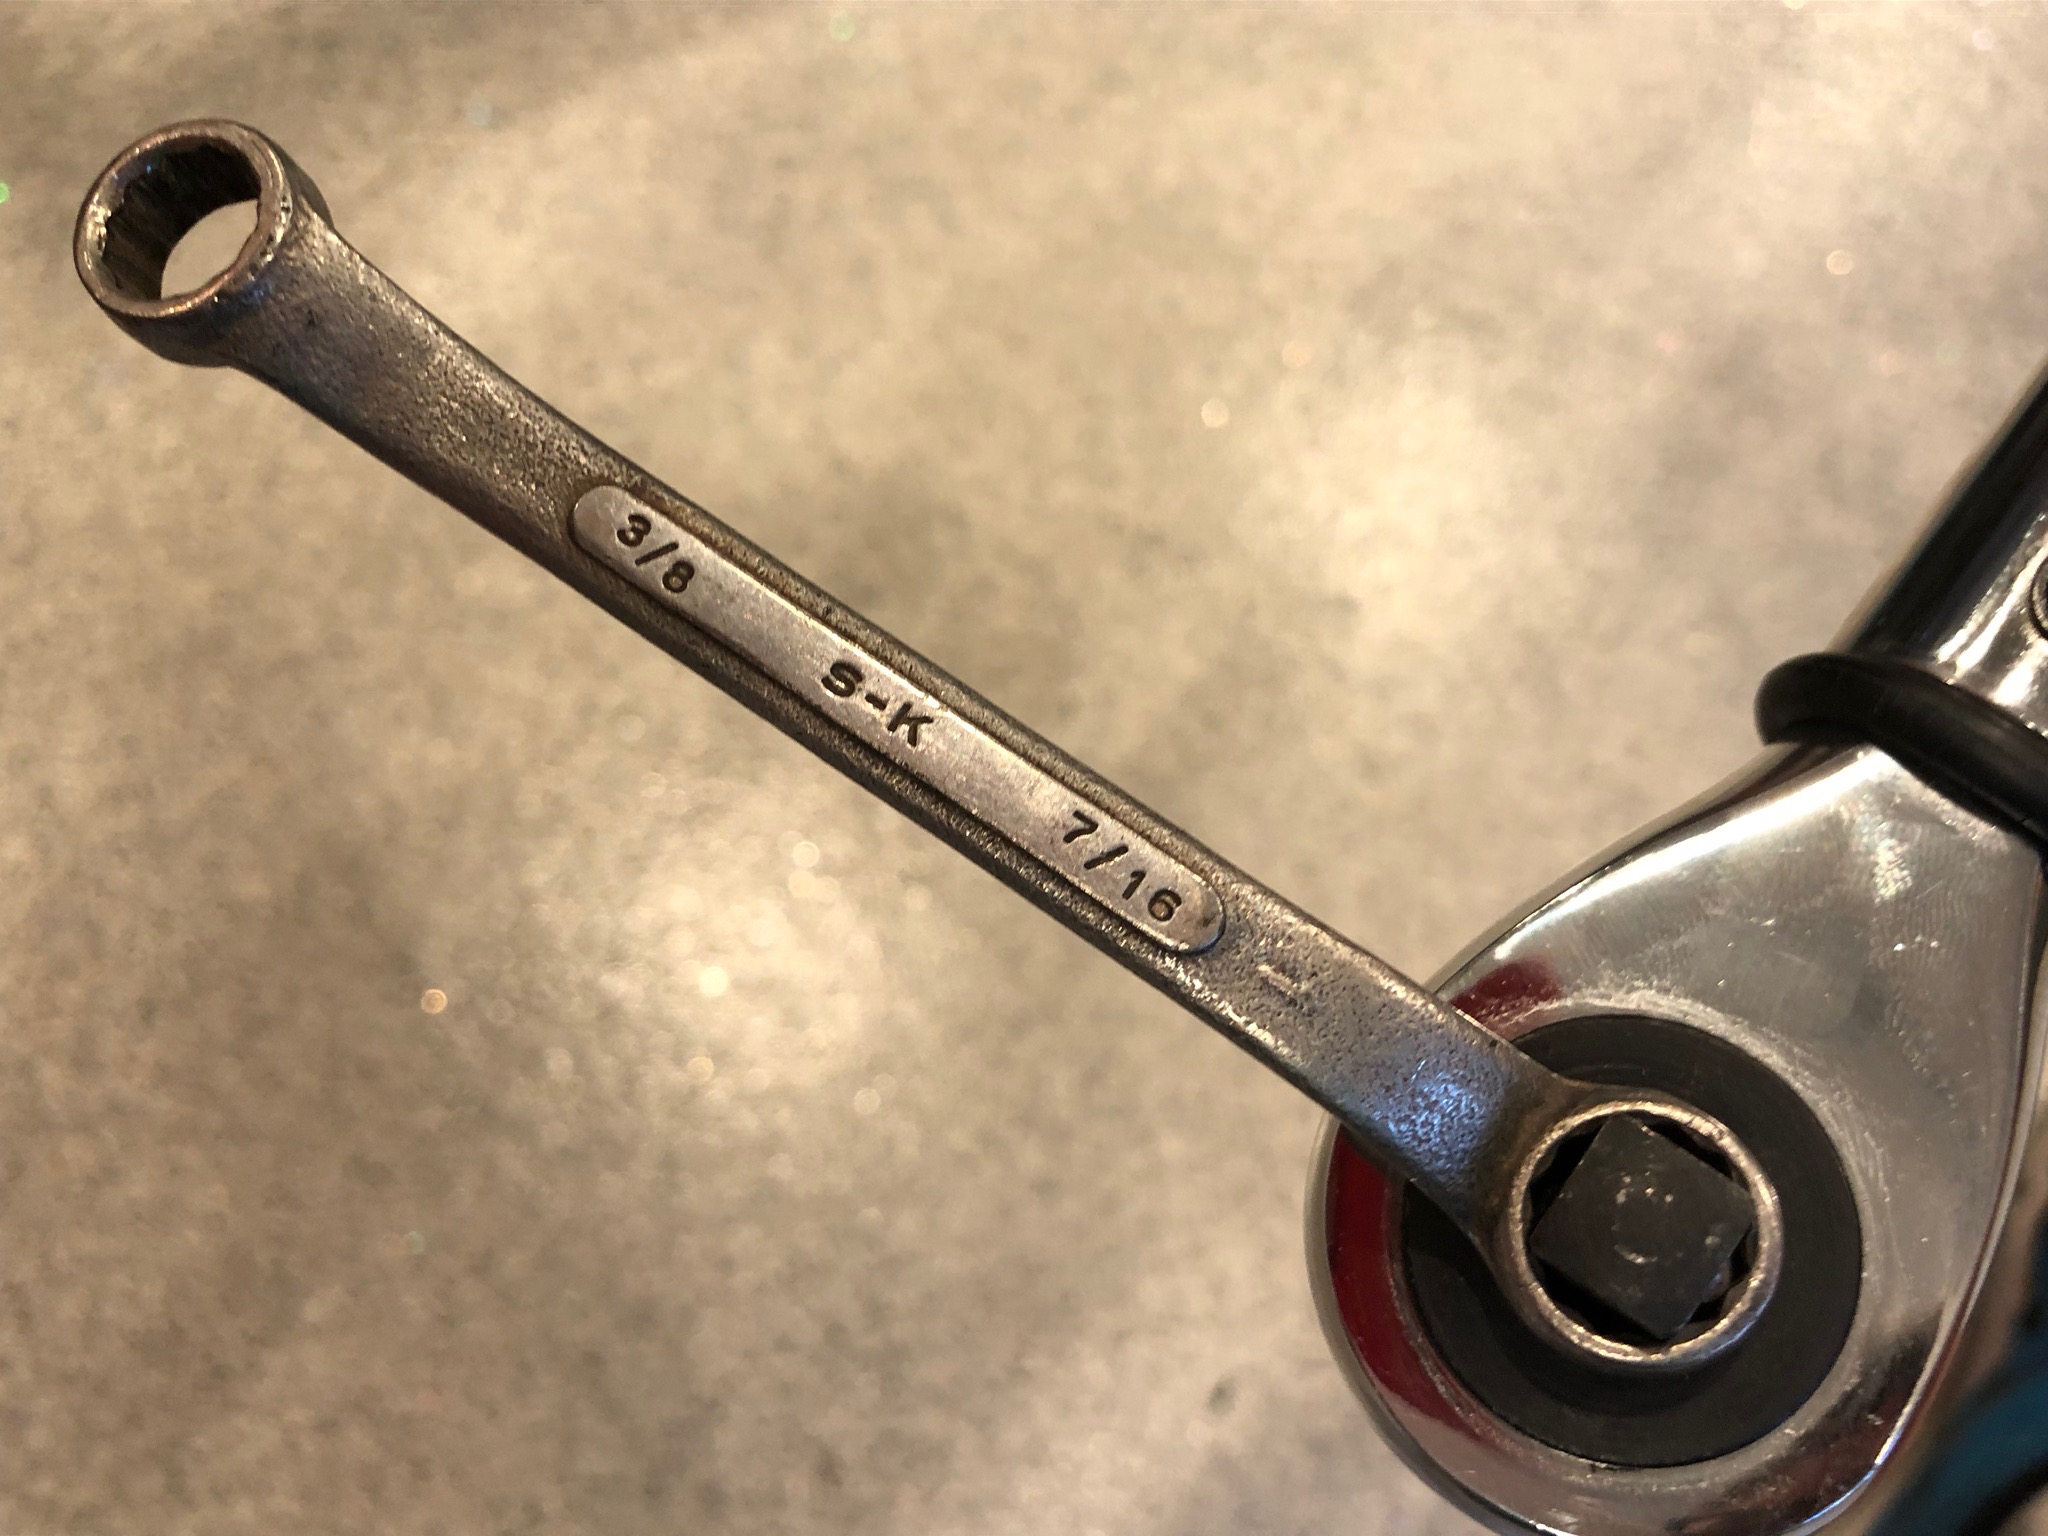
One of the tricks with torque wrenches is that if you use an extension mounted at 90º to the handle, you don’t need to adjust the torque setting to compensate for the extension. You can see here that the wrench made it easy to access the bolts.
After figuring out the how to torque the bolts, it was pretty straightforward to get all 16 bolts in both headers installed and tightened down.
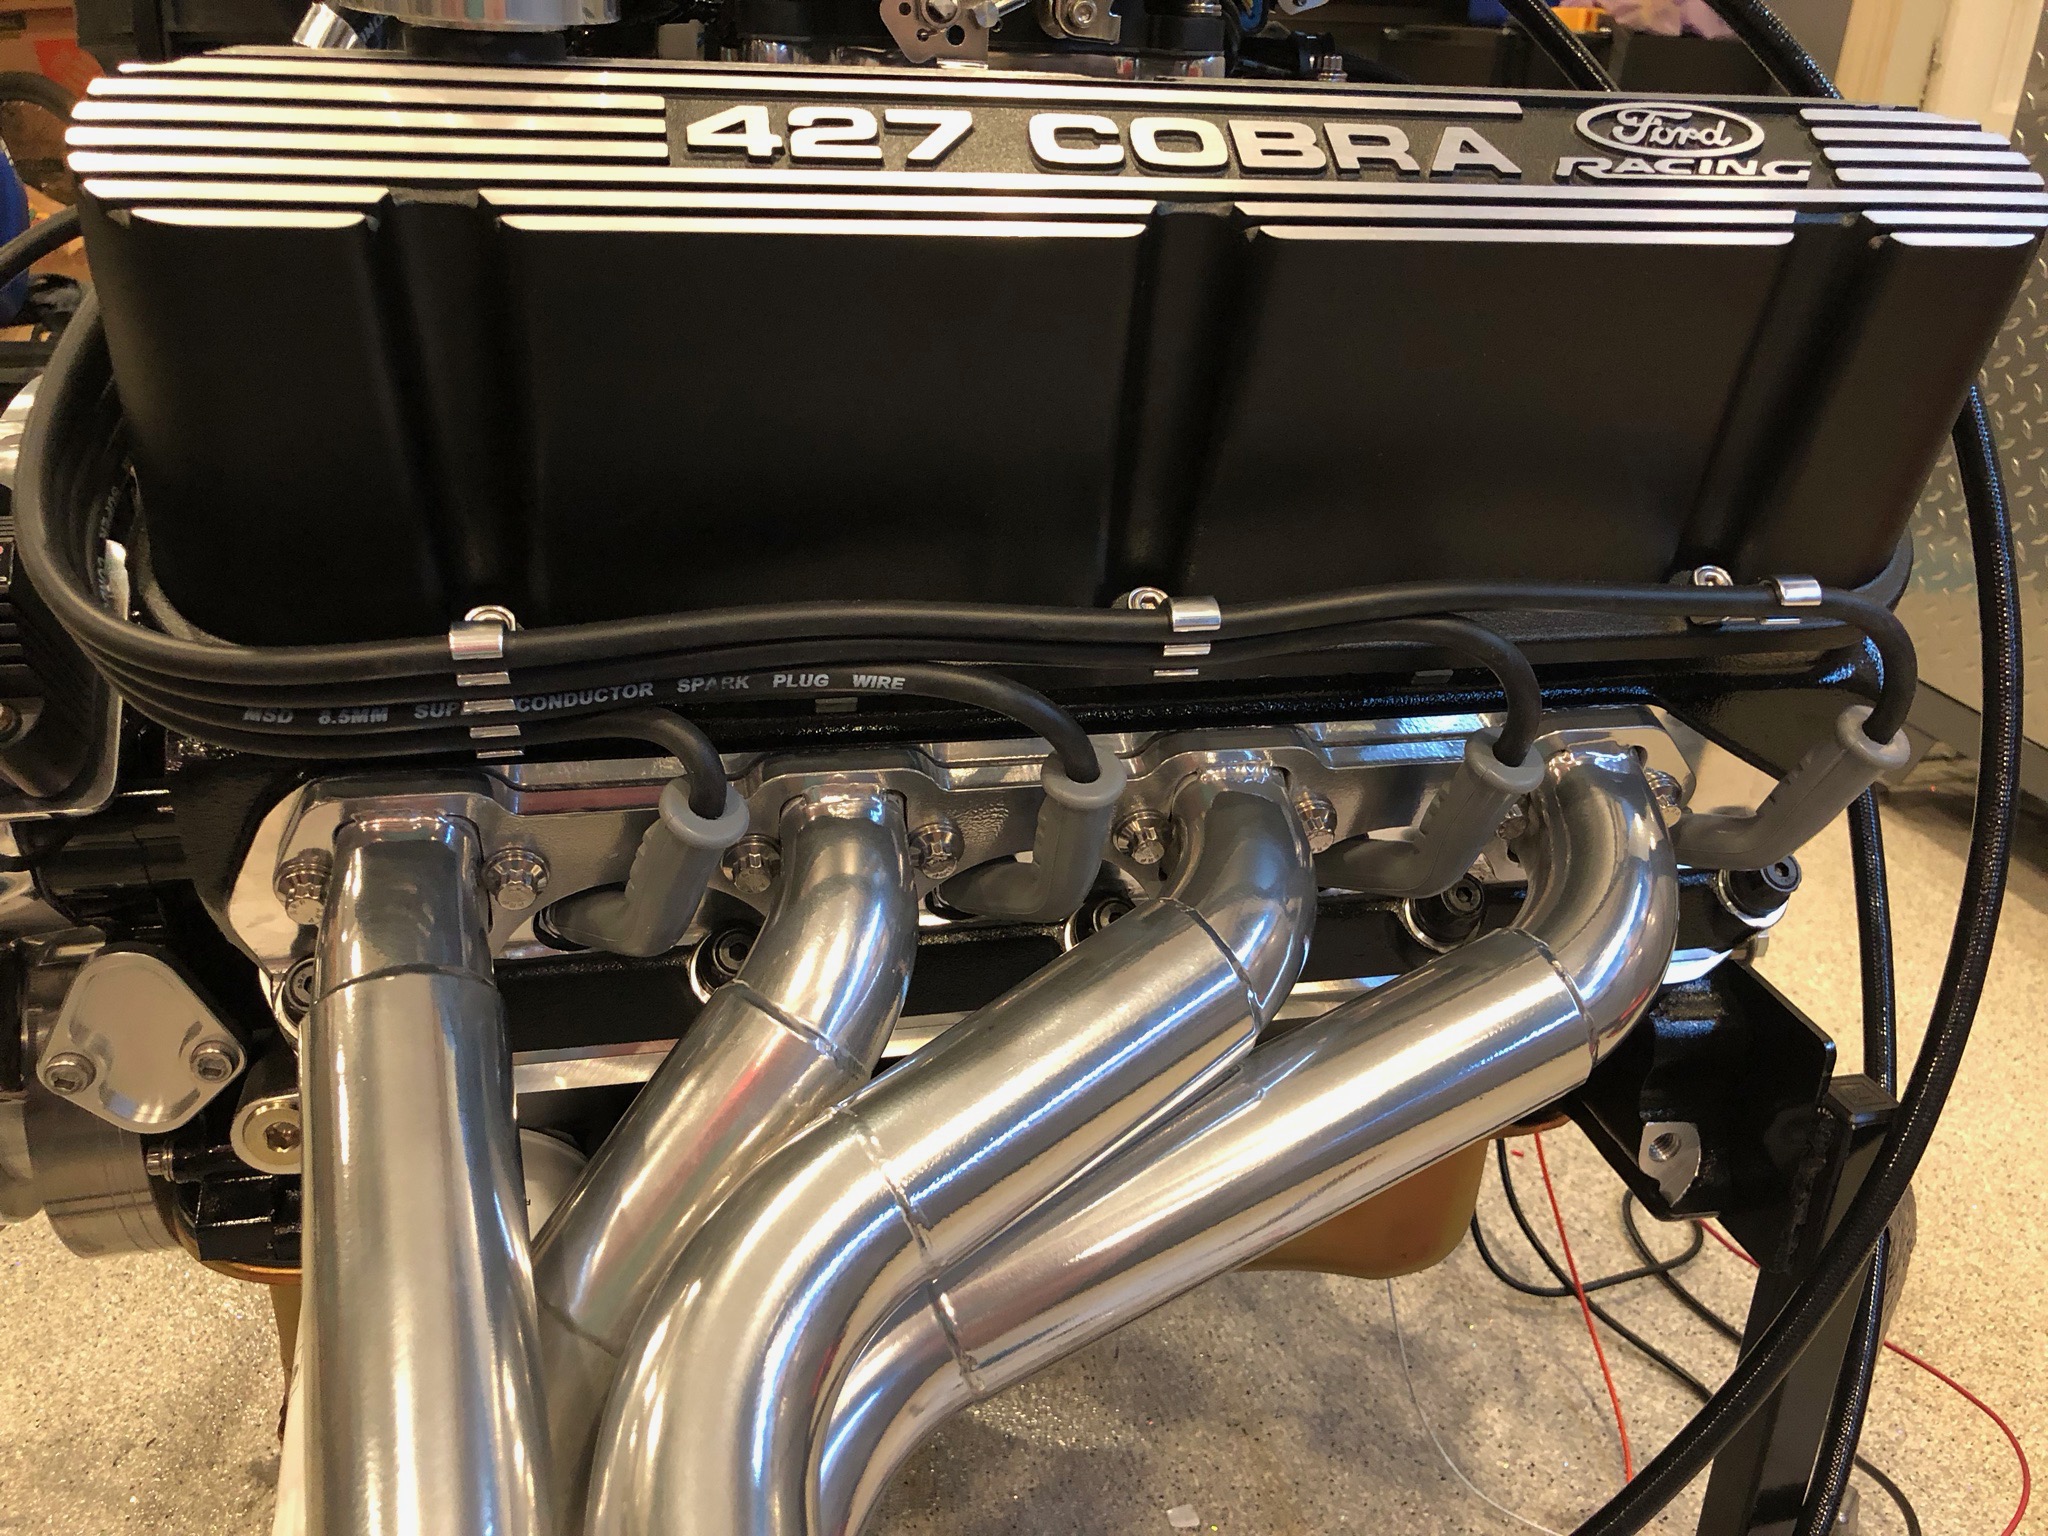
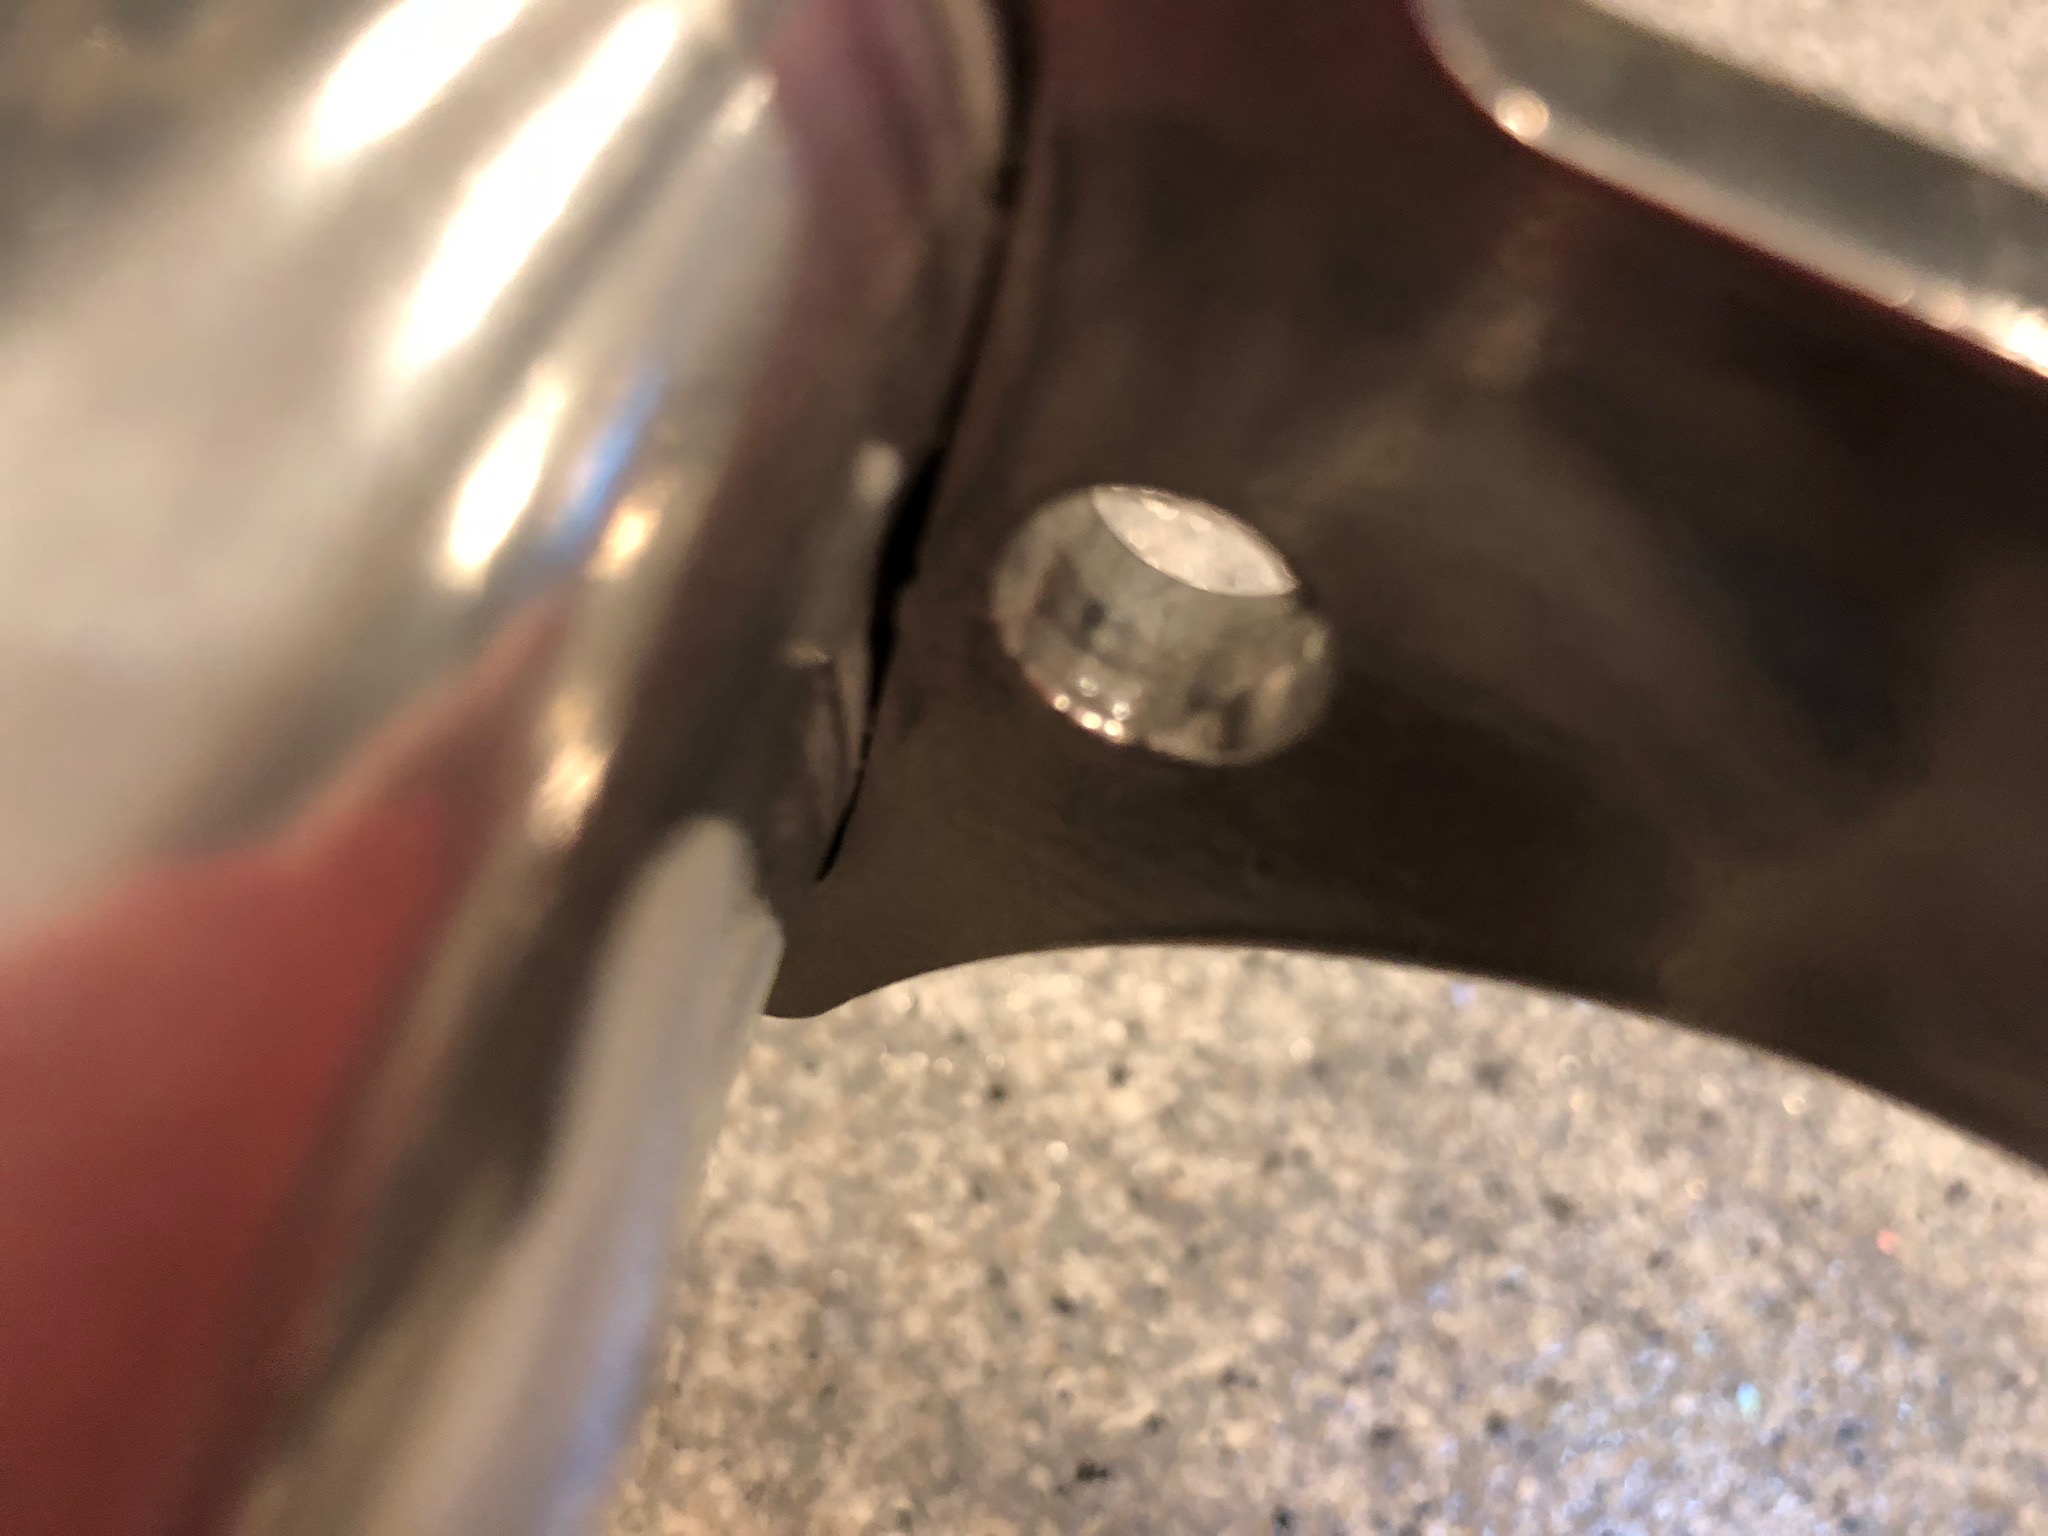
After installing the headers, I installed a stainless steel plug in the left side O2 bung.