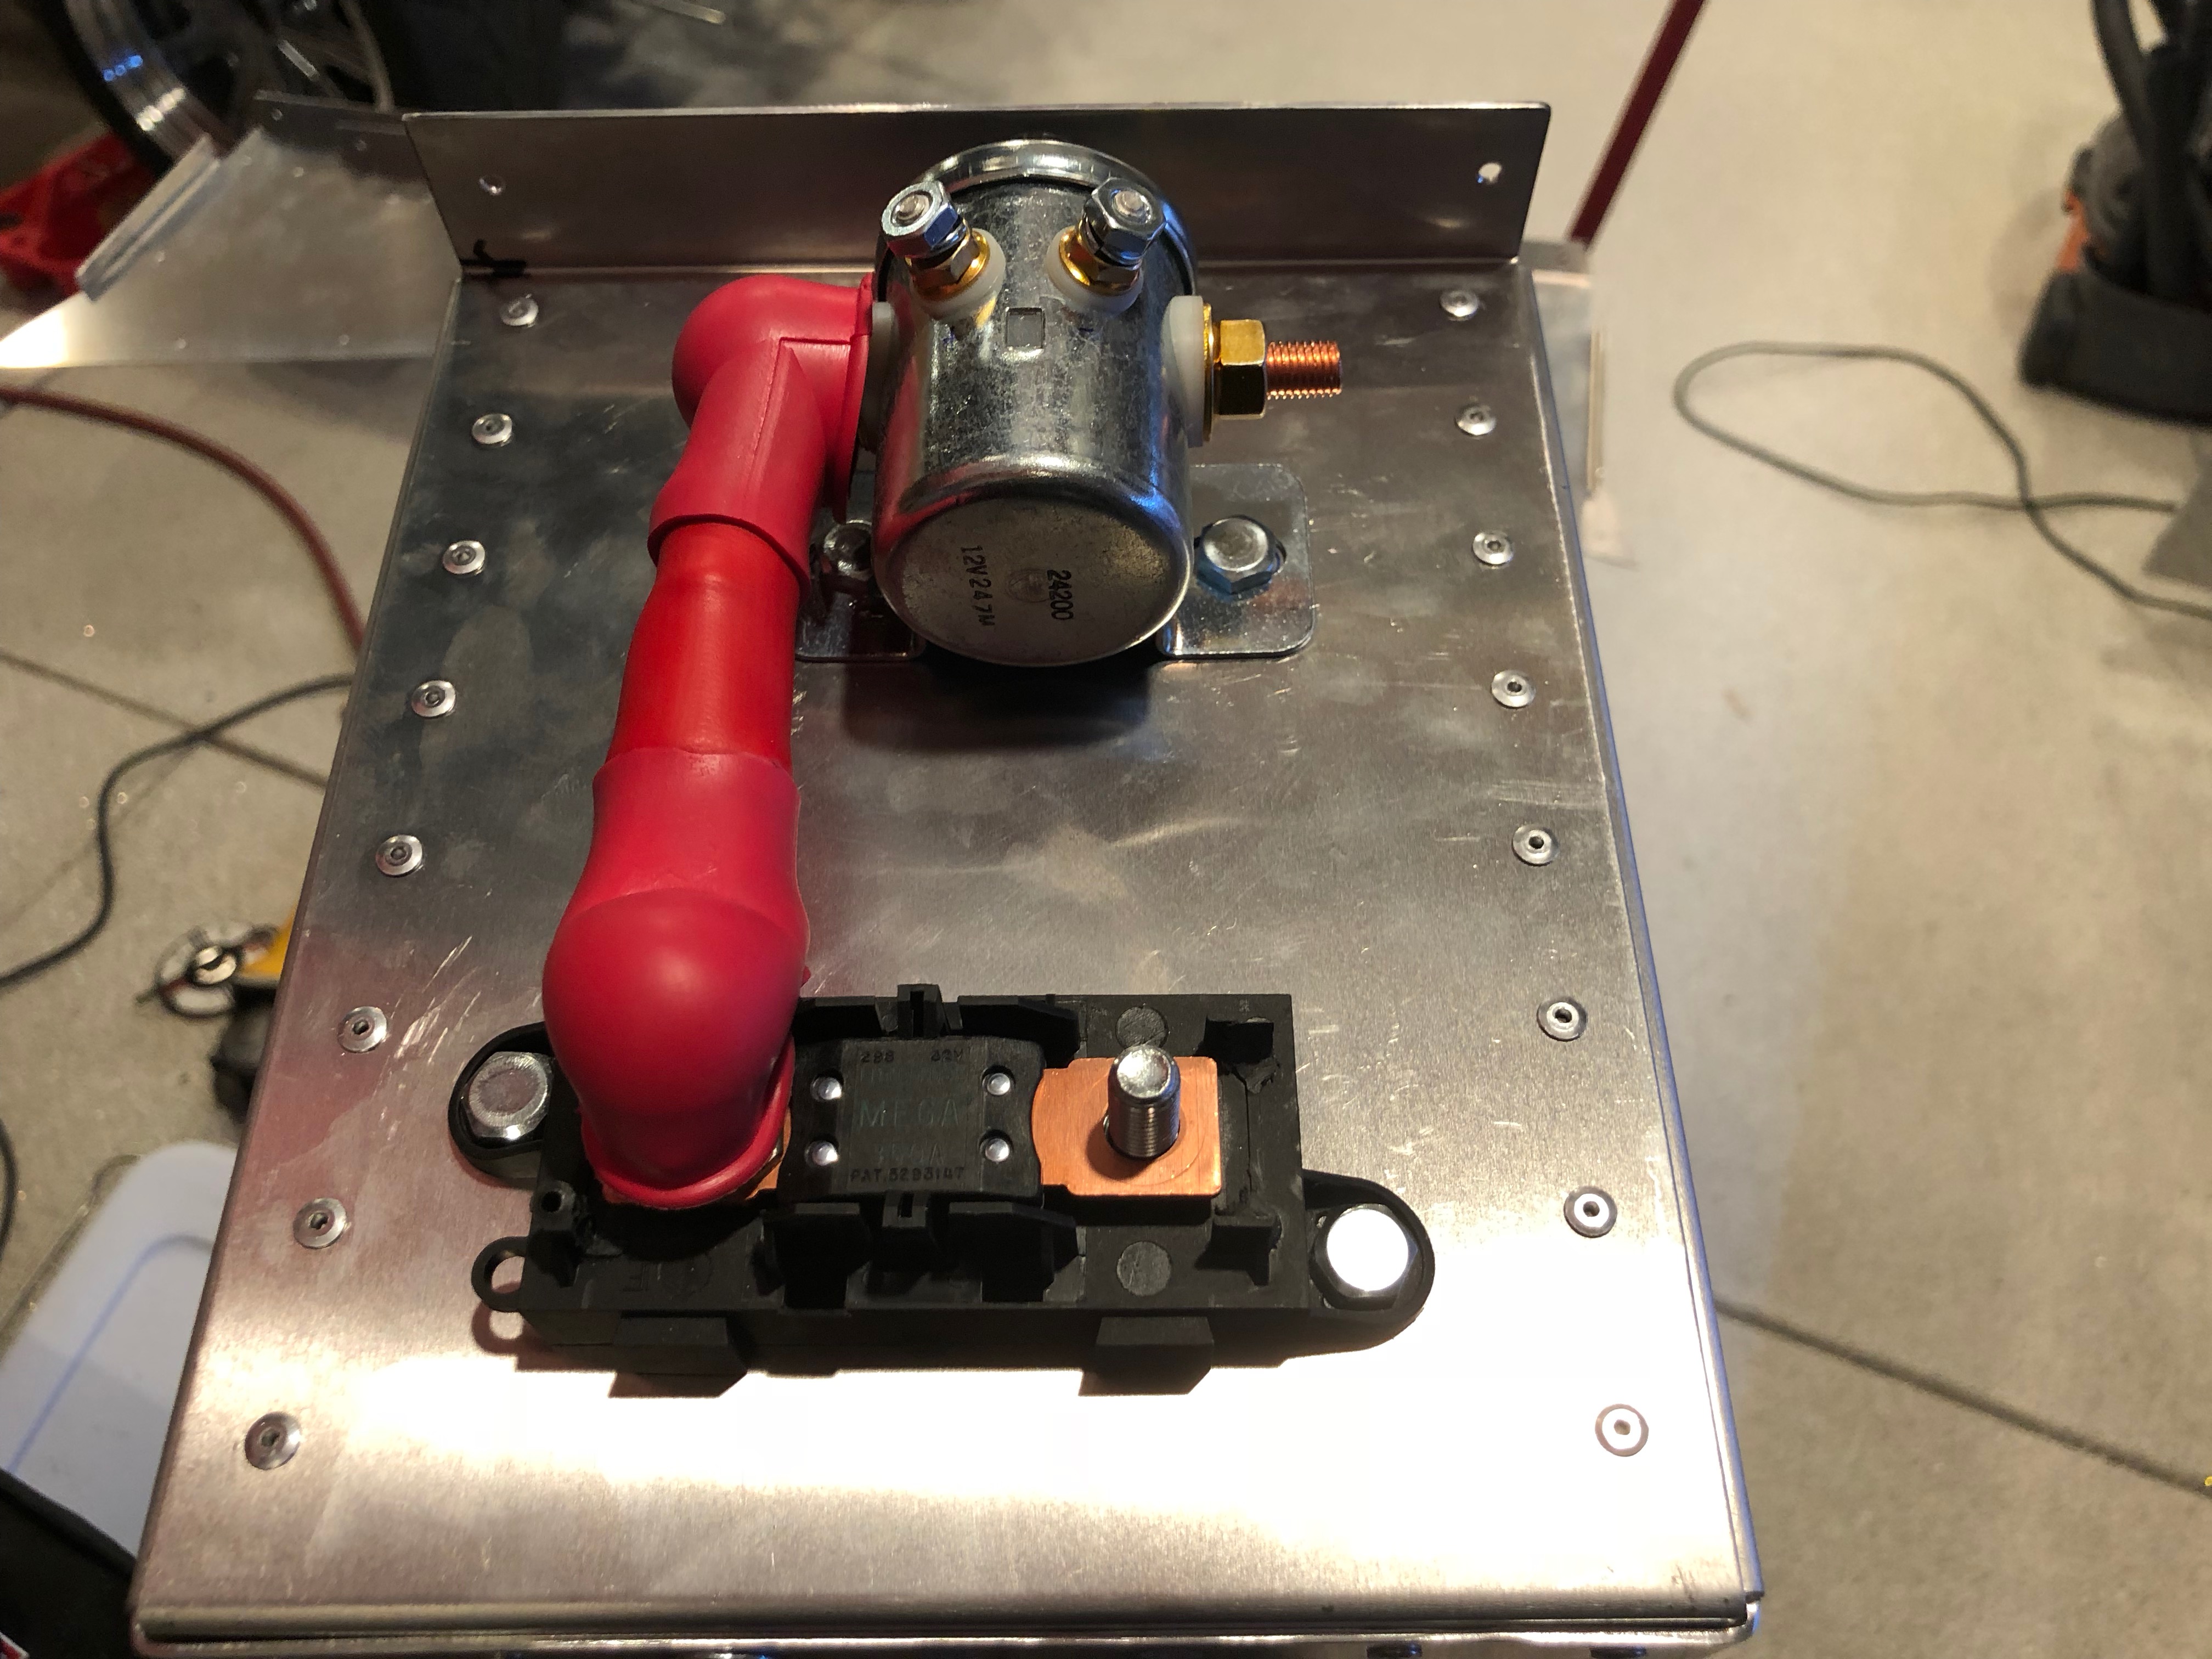
I’ve been contemplating where to mount the InfinityBox inRESERVE components and finally settled on the right side of the battery box. This will provide a short run from the battery positive terminal to the 350A mega fuse (since that is an unprotected wire).
I decided to put the fuse below the latching solenoid to avoid a super-tight bend in the cable from the battery to the fuse. There is a jumper from the other side of the fuse to the side of the latching solenoid.
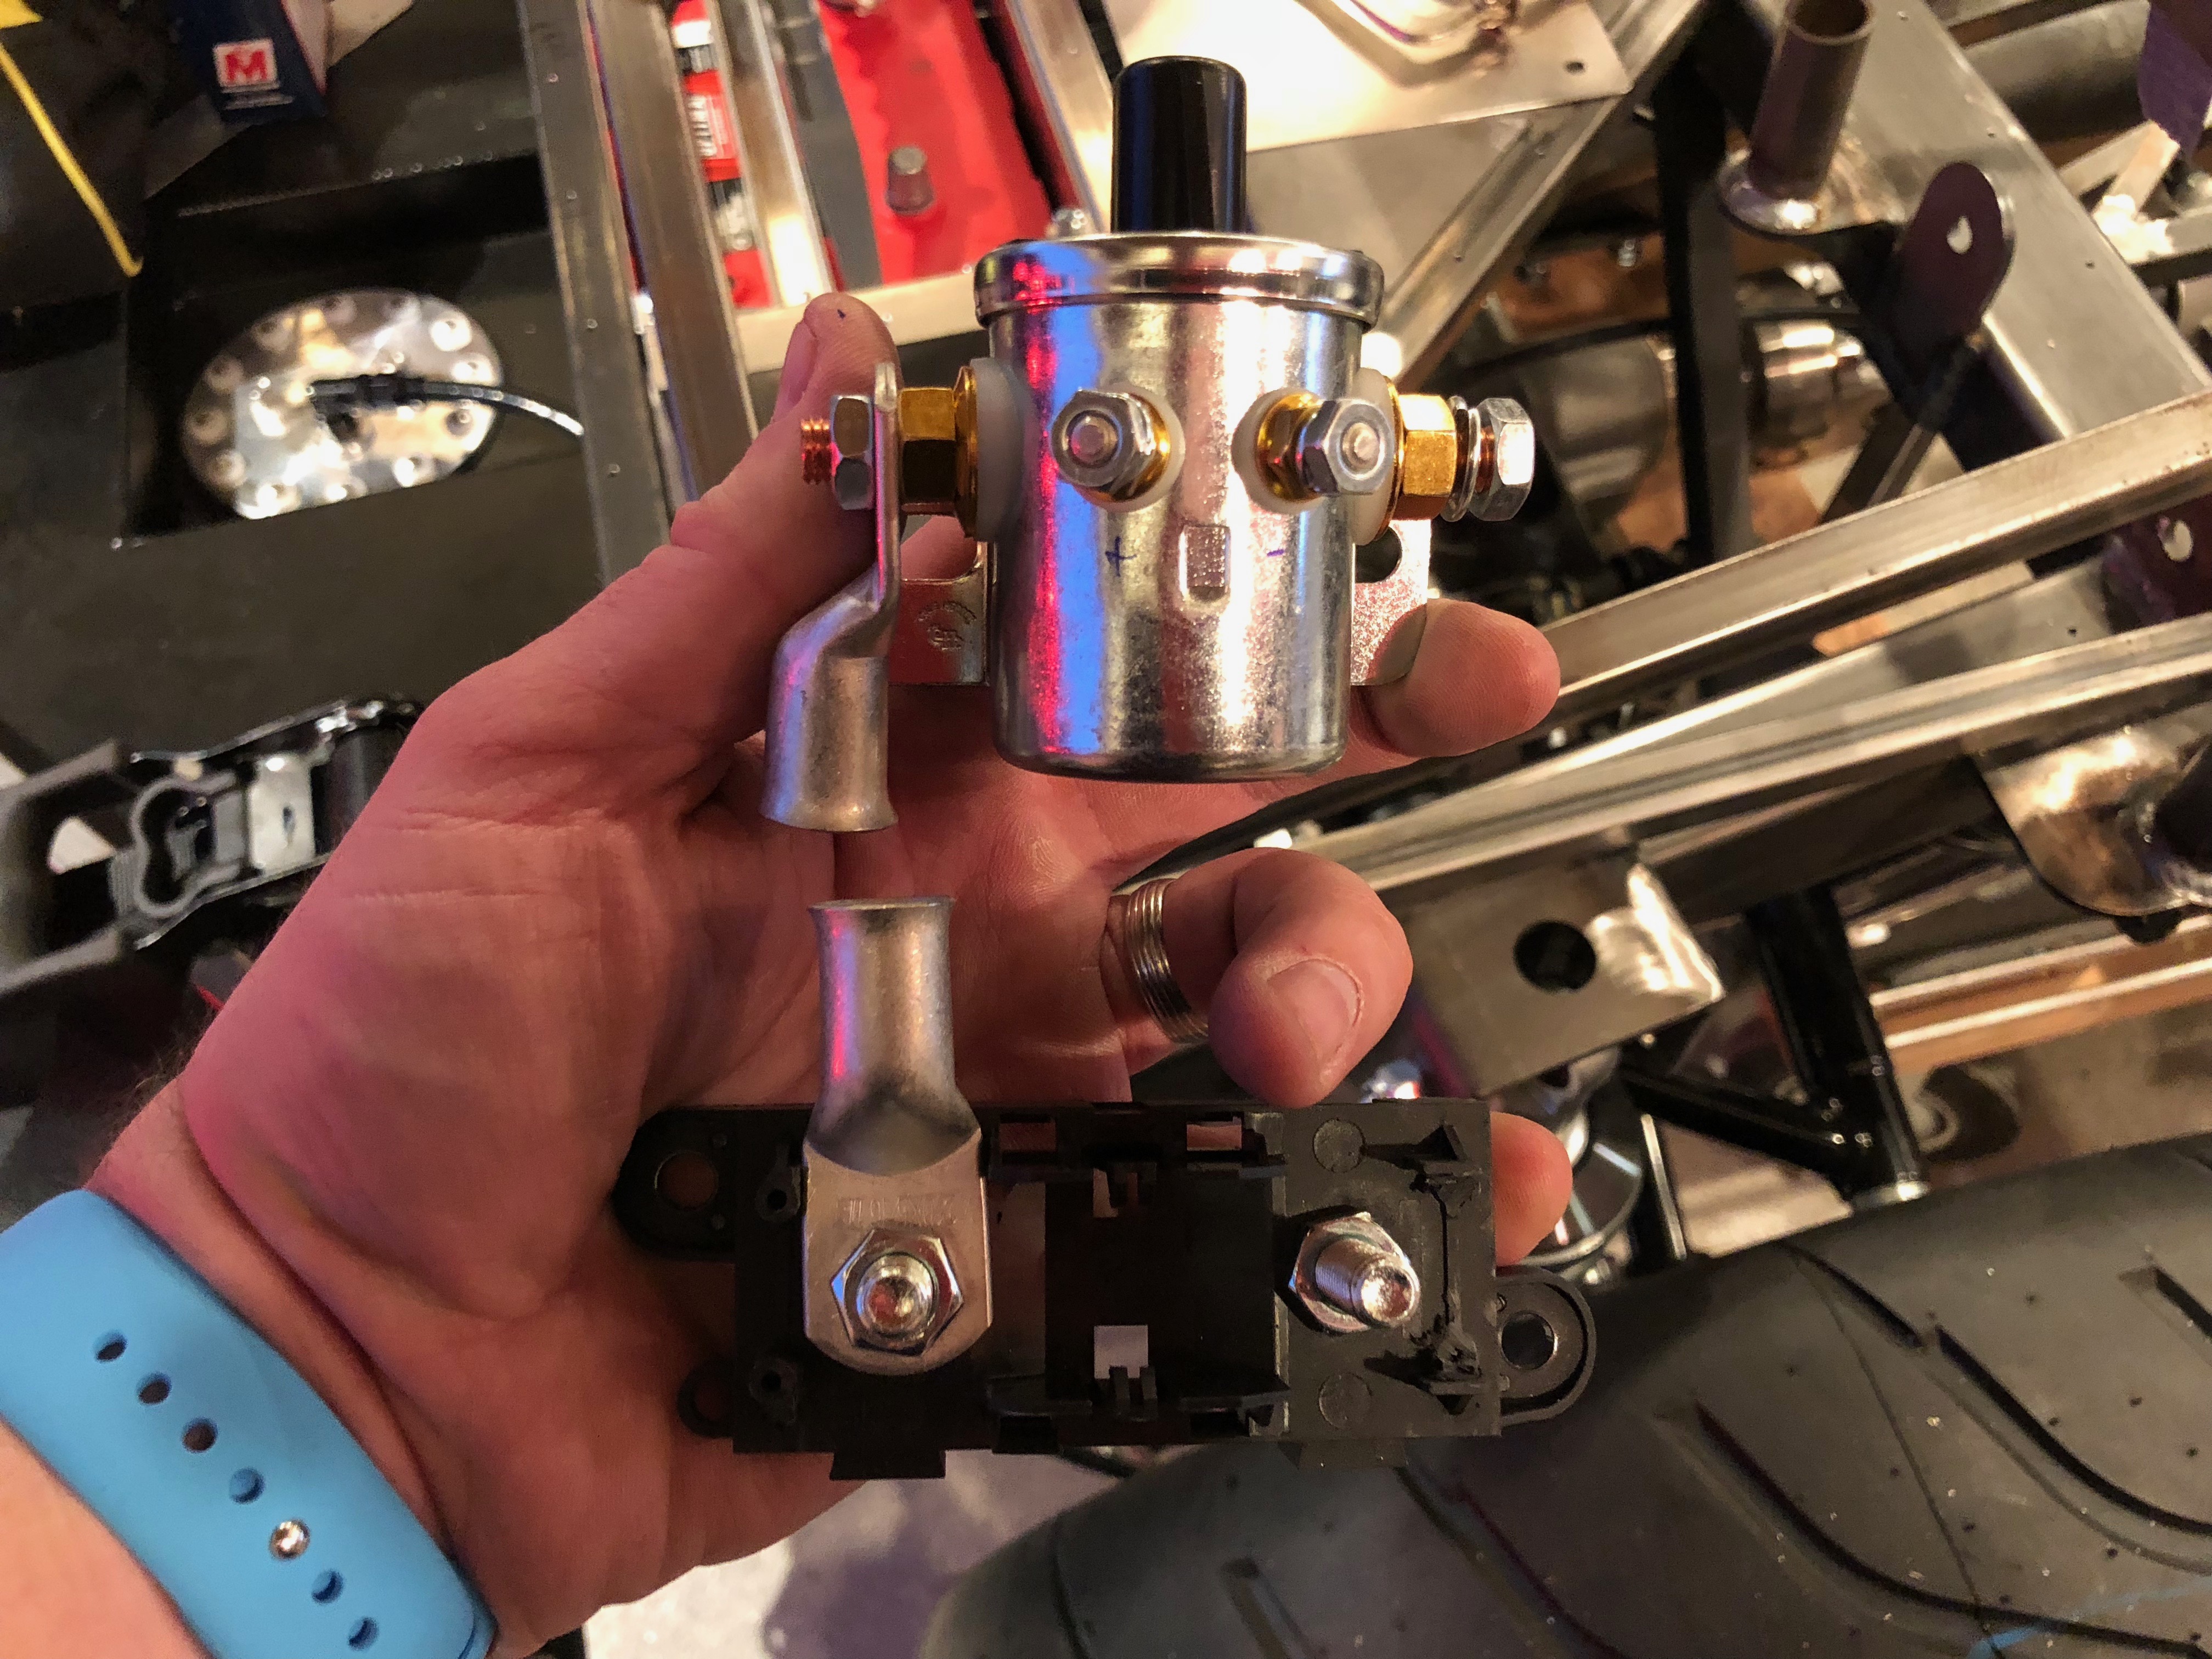
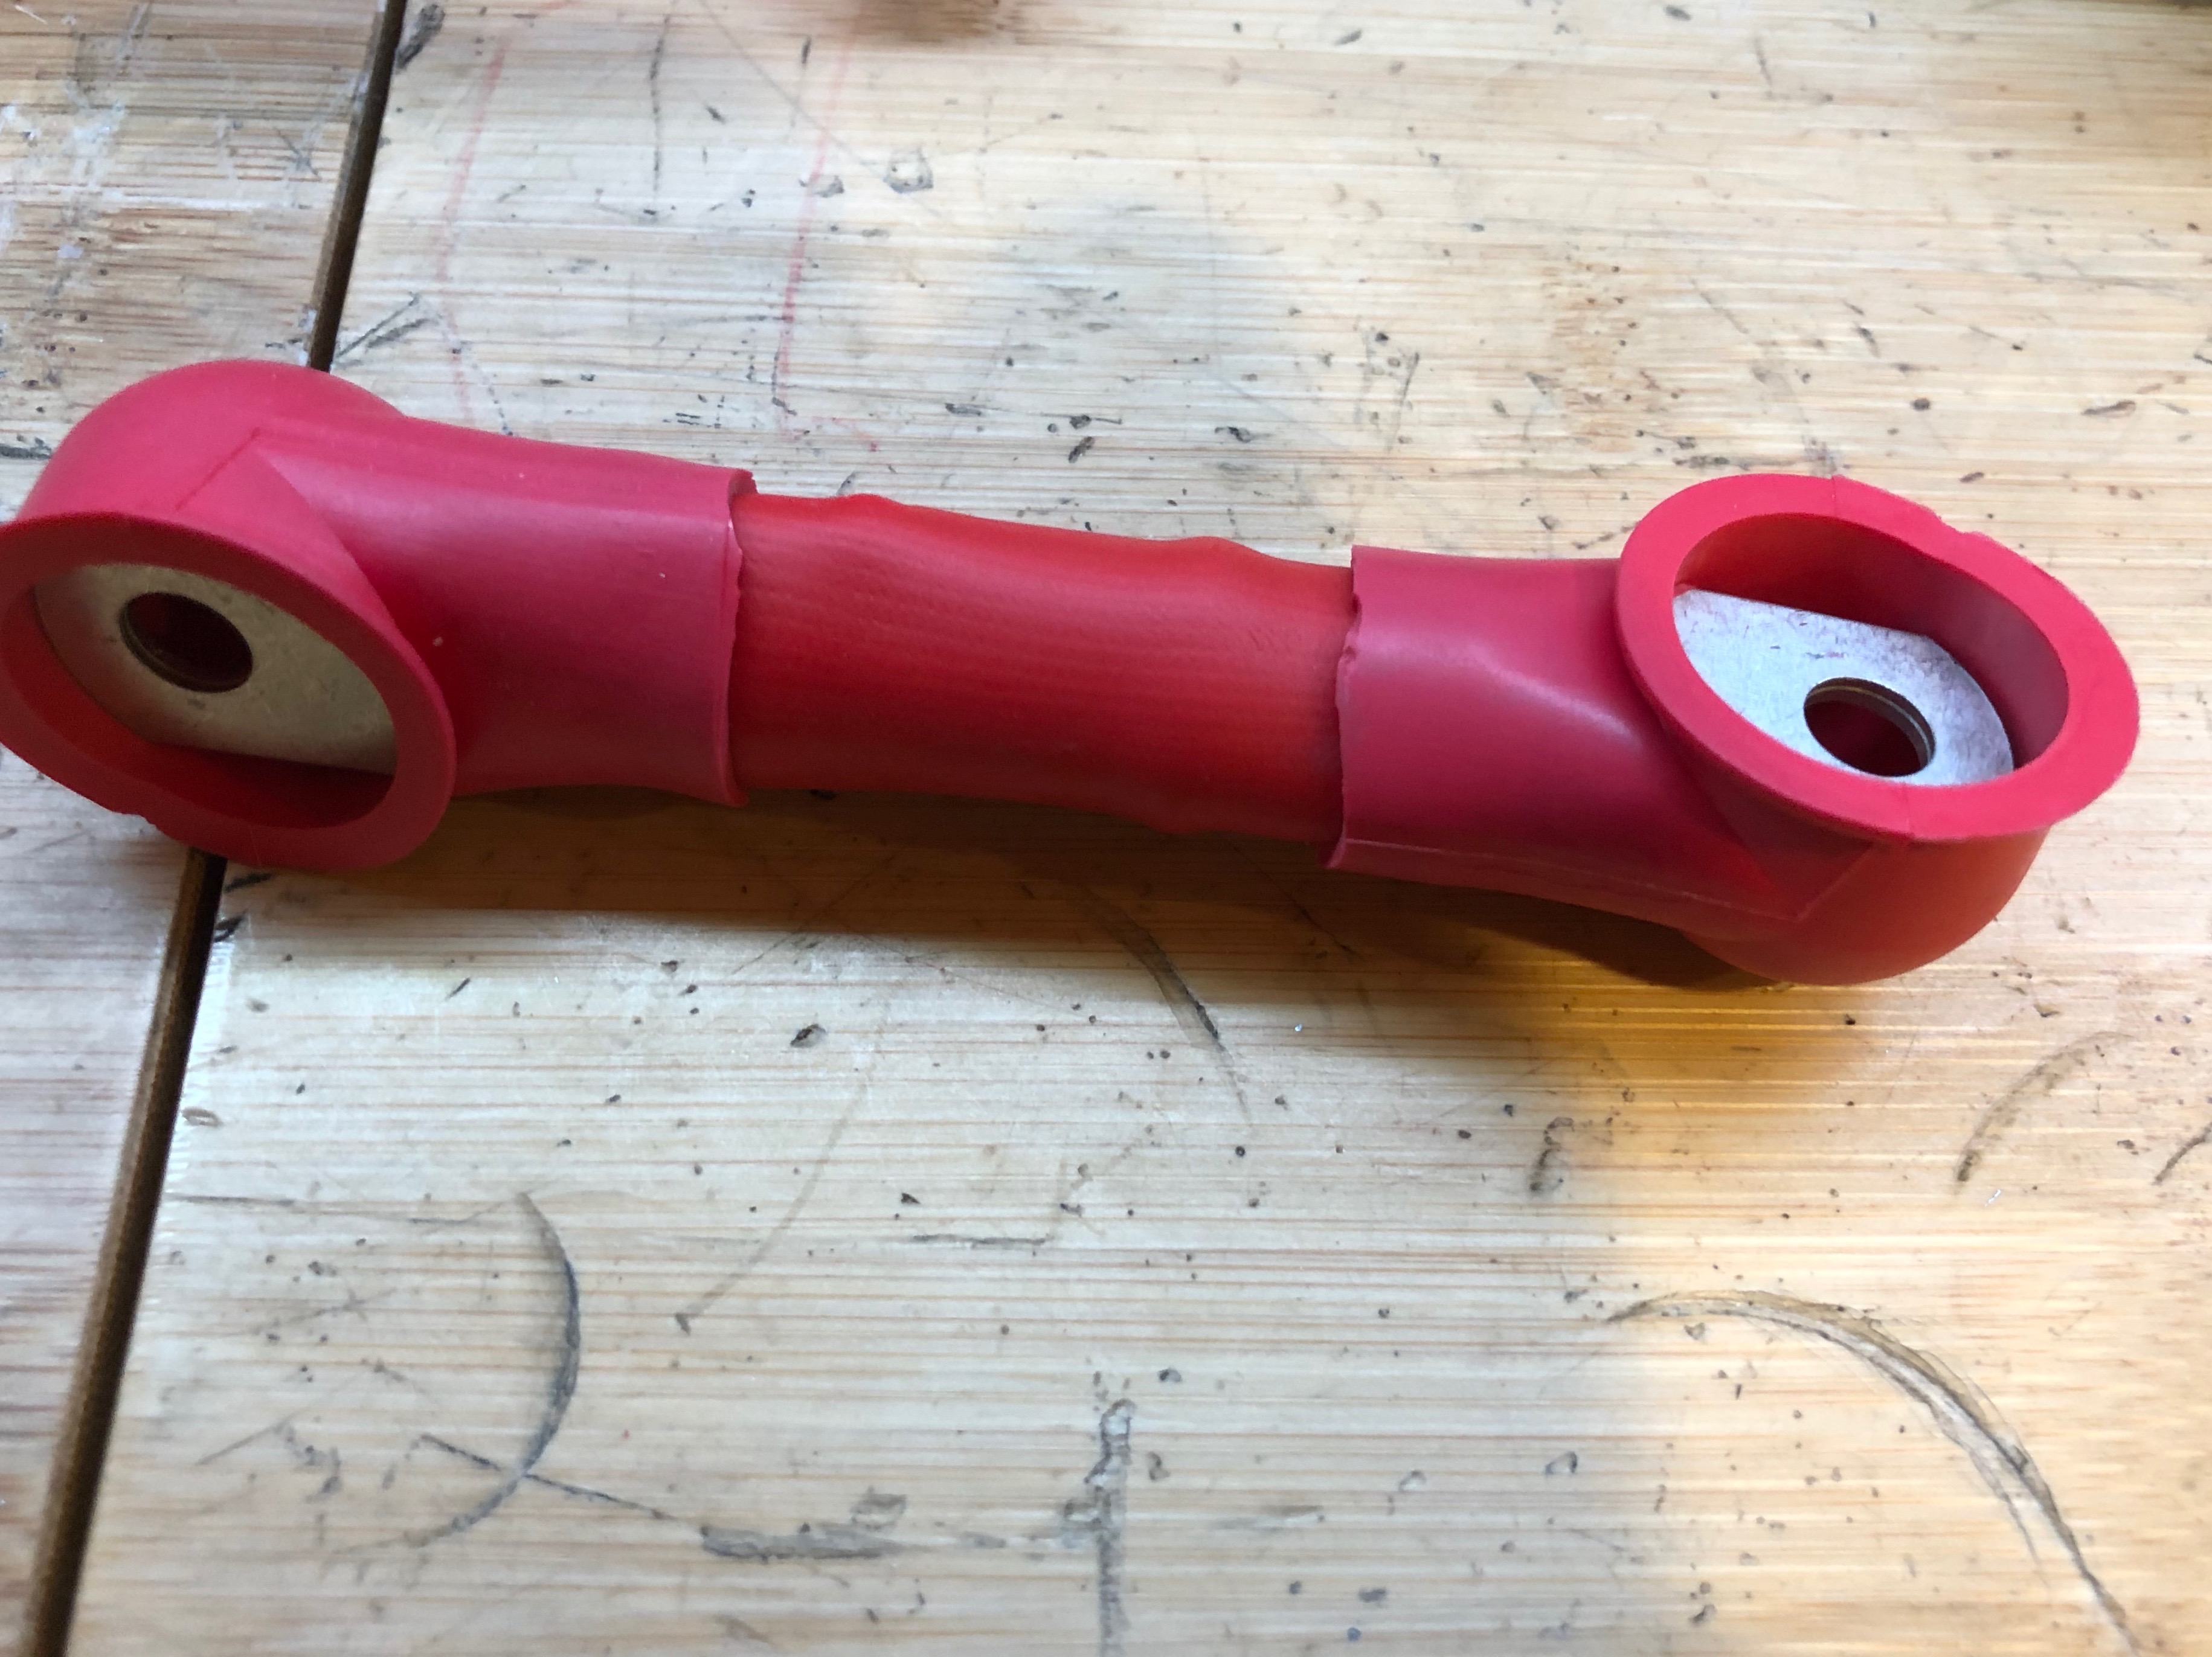
I cut a 2.25″ long piece of the 2/0 wire and crimped terminals on the ends with the appropriate clocking to mate to the terminals.
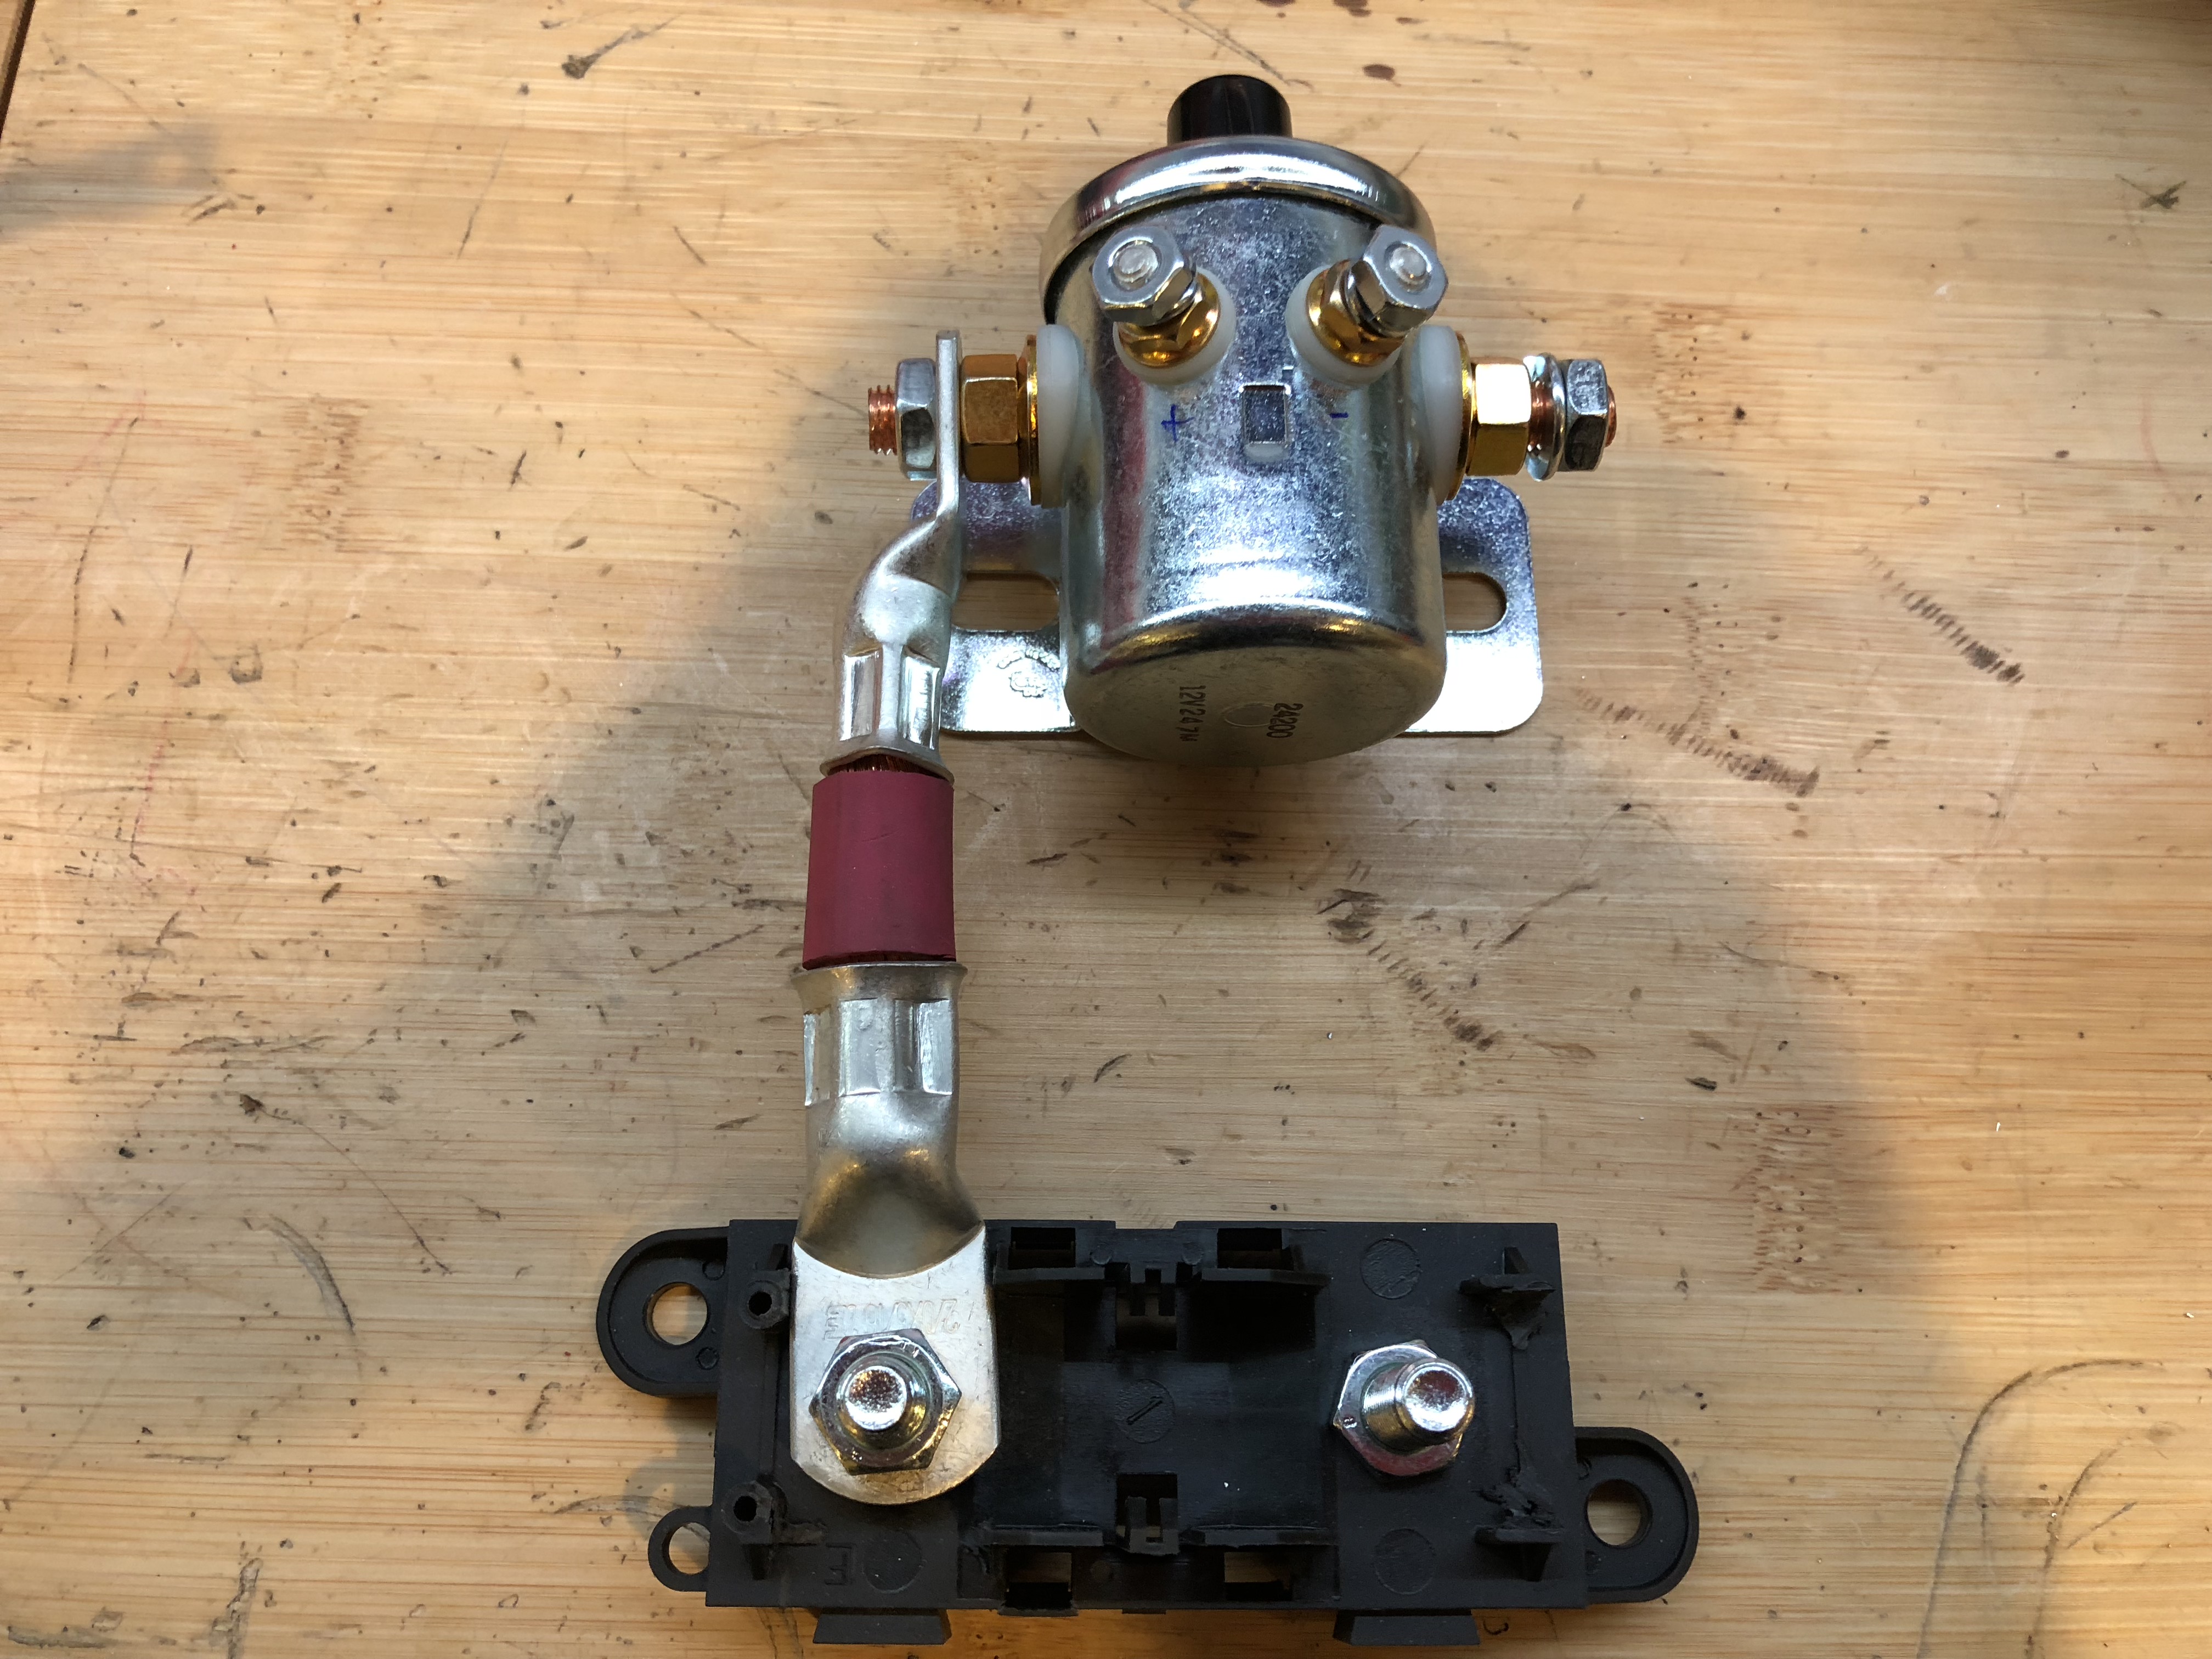
I then installed a piece of the heavy-duty heat shrink tubing over the whole assembly. This is essentially rigid now.
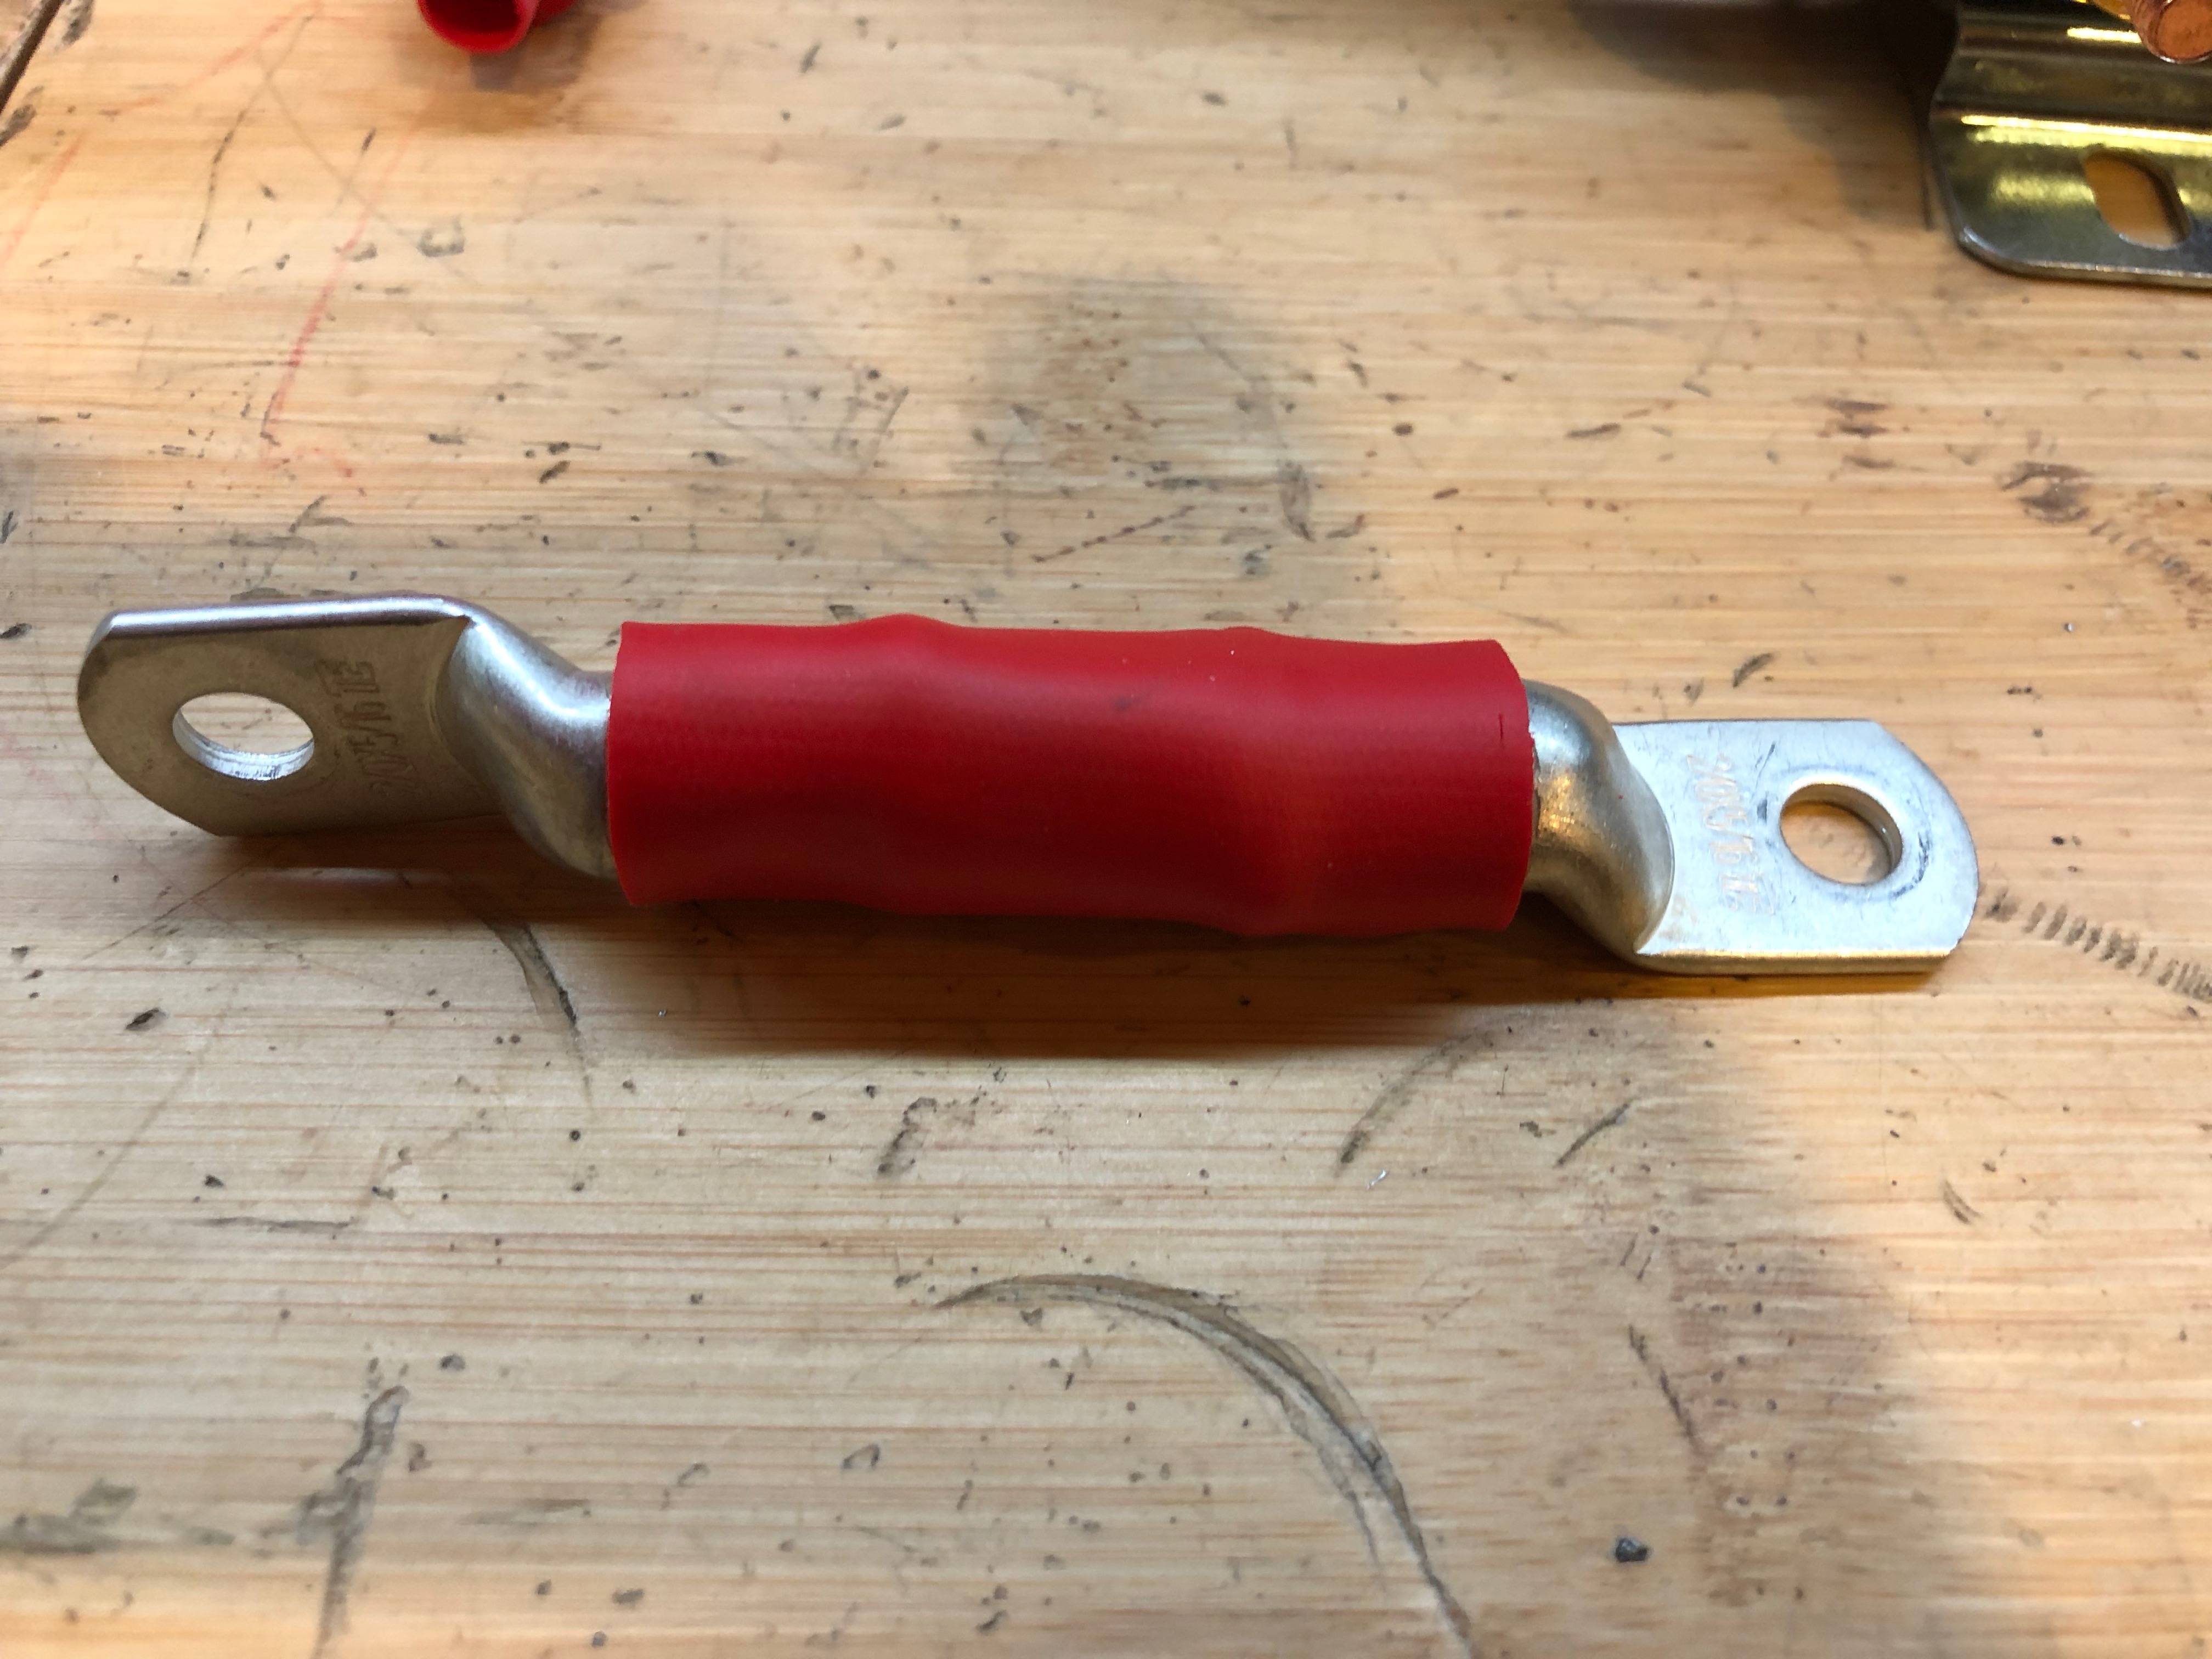
Finally, I slipped a couple of boots over the terminals.
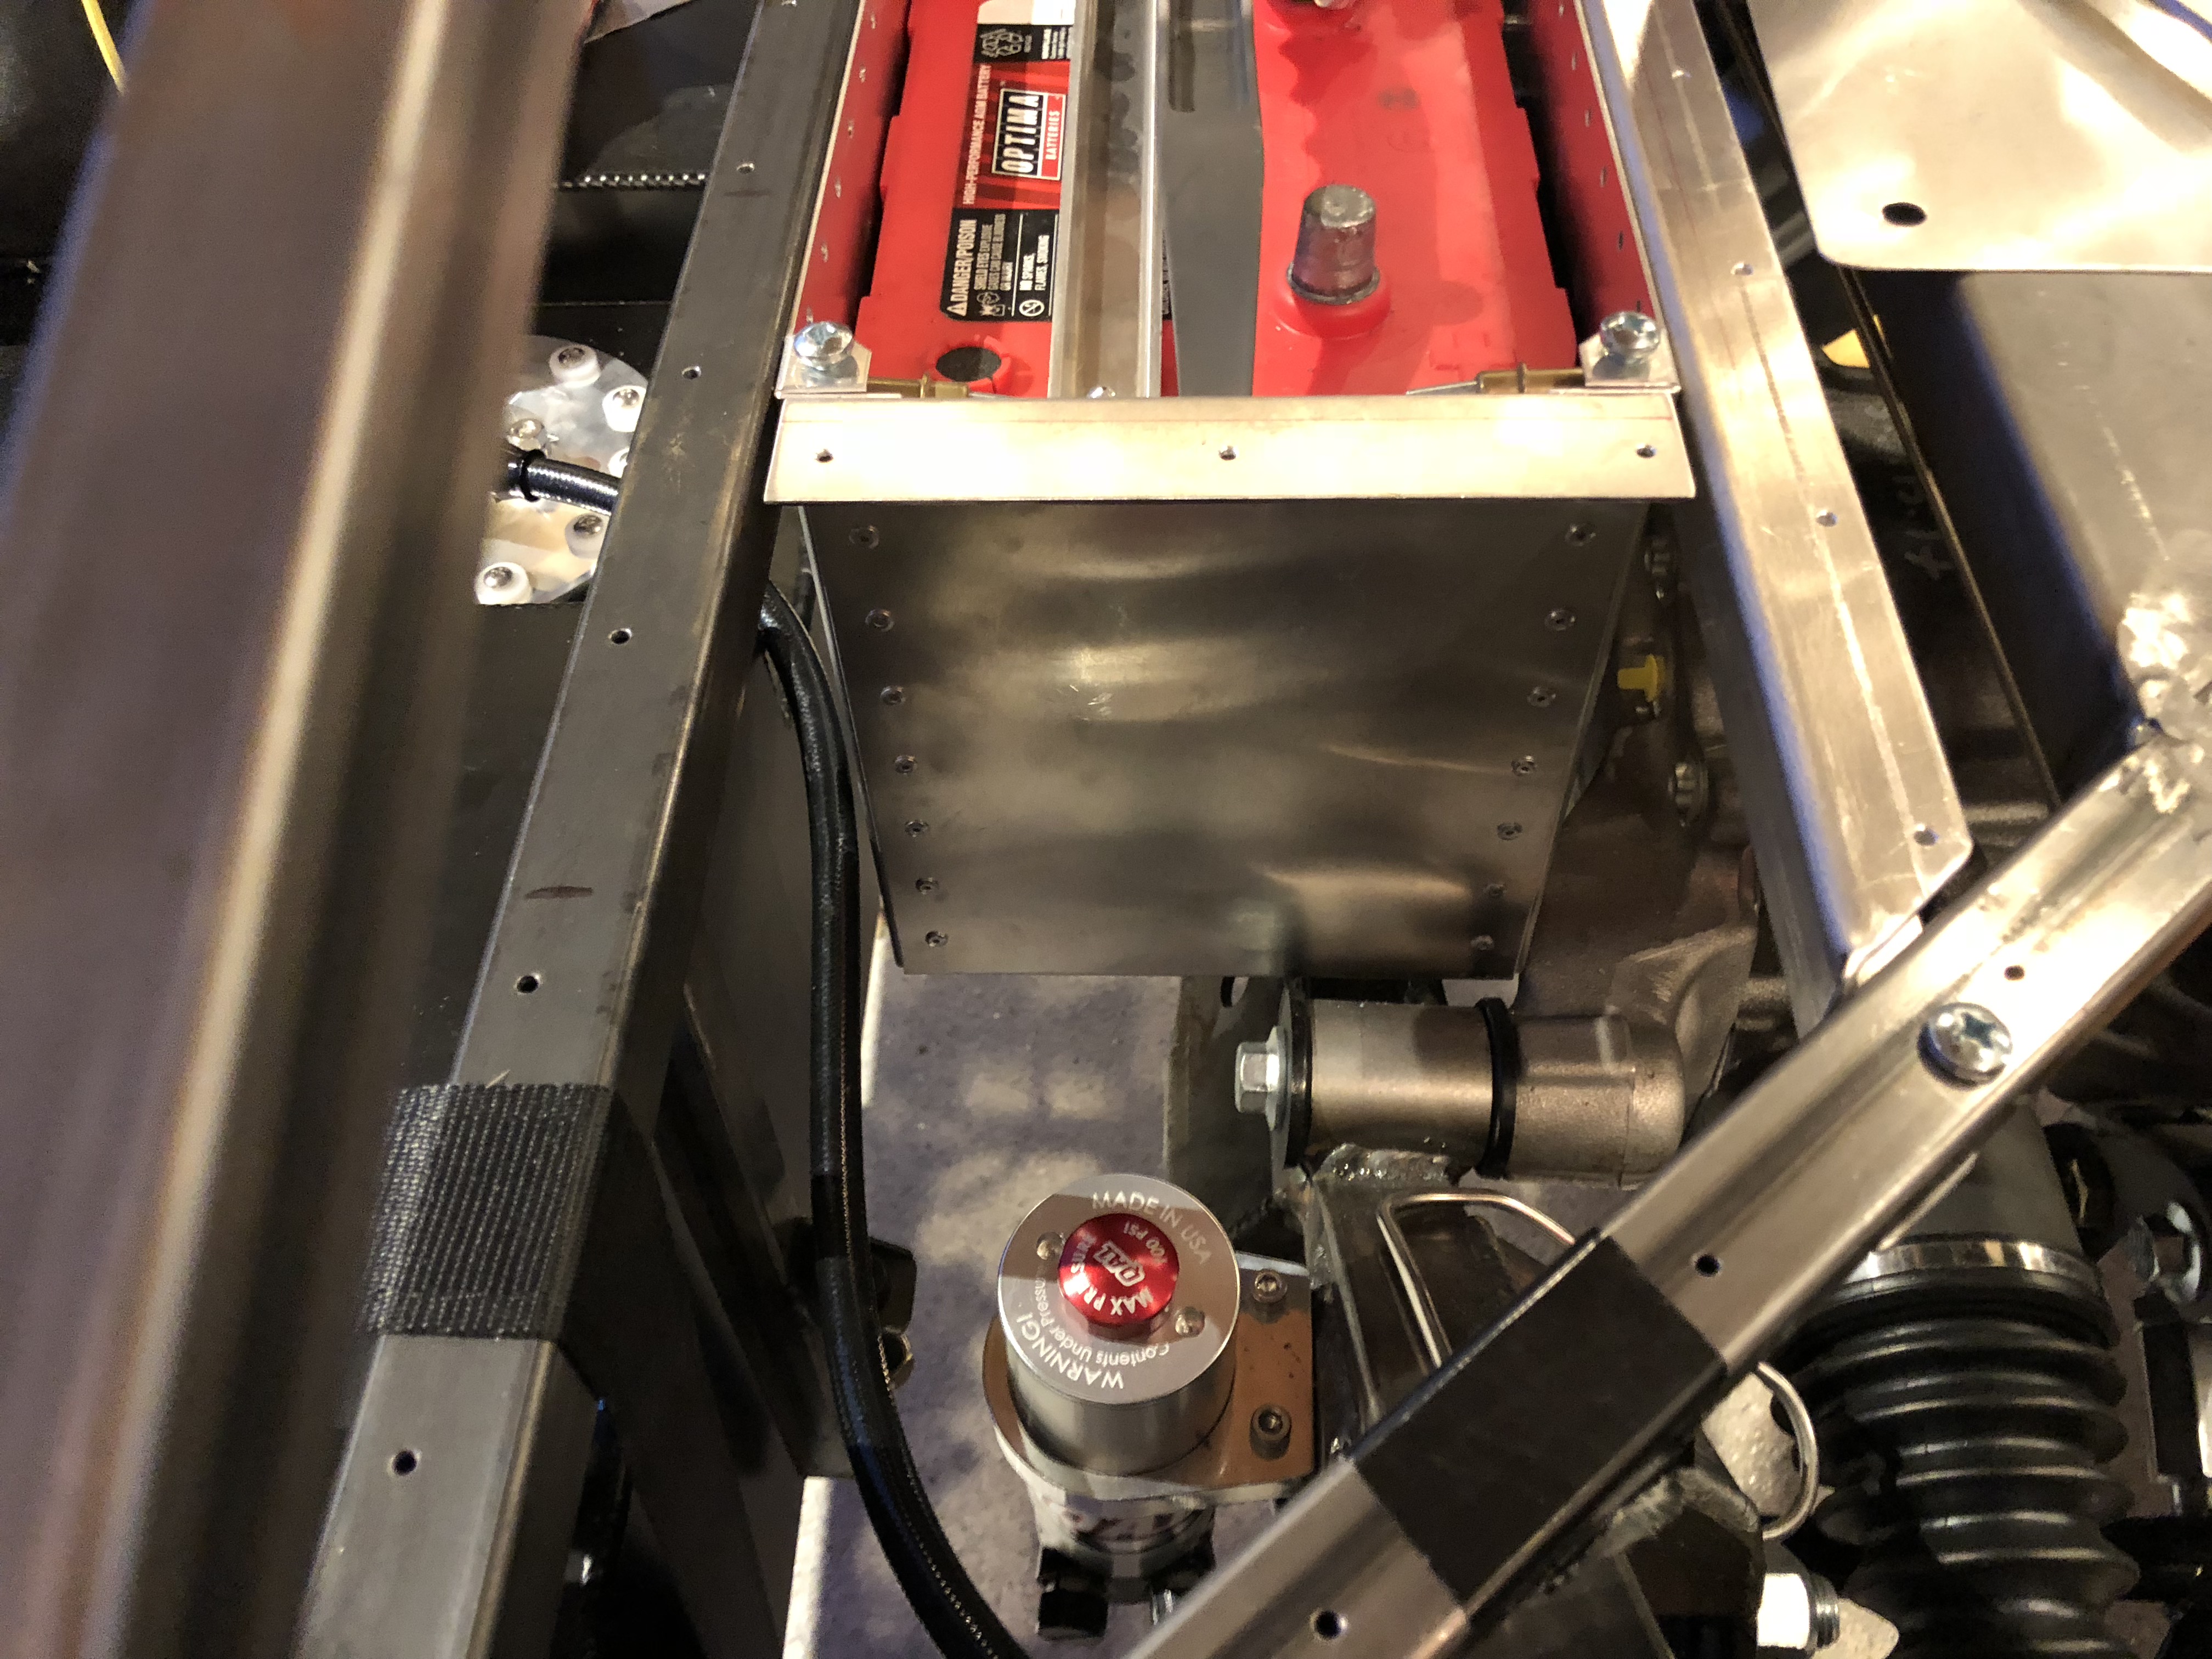
After reinstalling the jumper, I drilled and bolted the components to the side of the battery box with some short 1/4-20″ bolts.
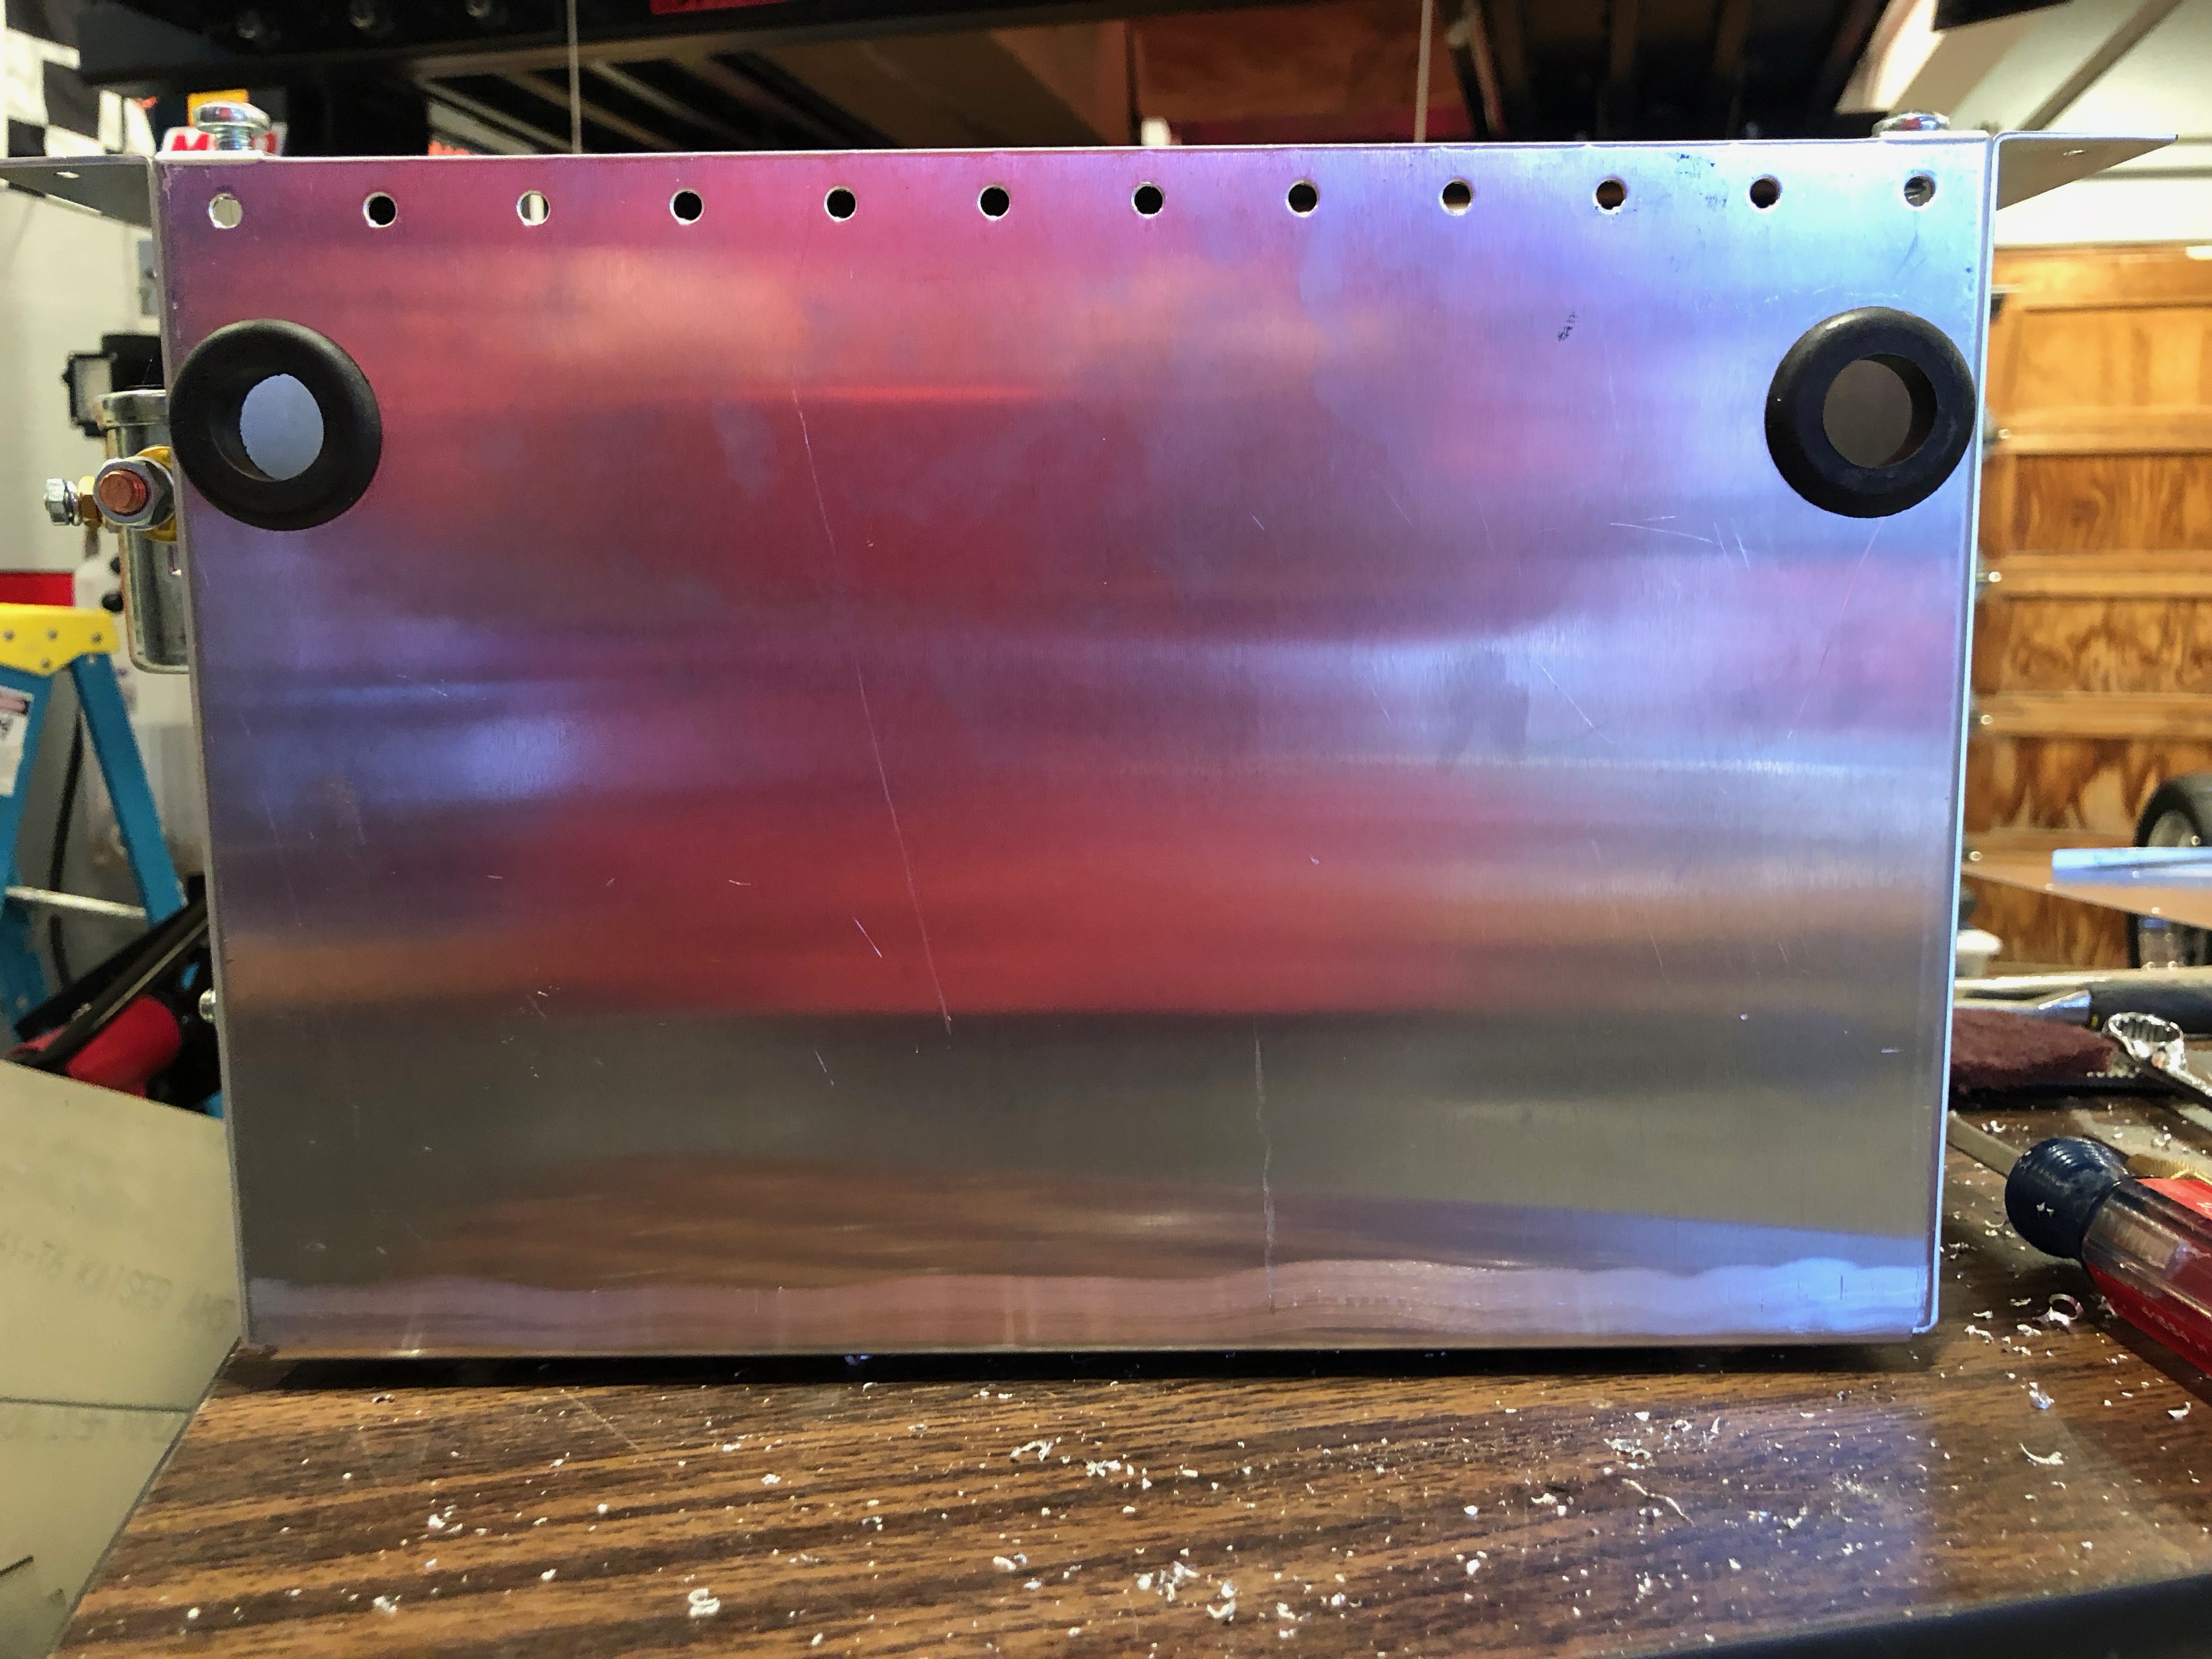
While I had the battery box out, I drilled out the holes that pass the battery cables and installed larger rubber grommets. Now the wires can be installed without removing the grommets.
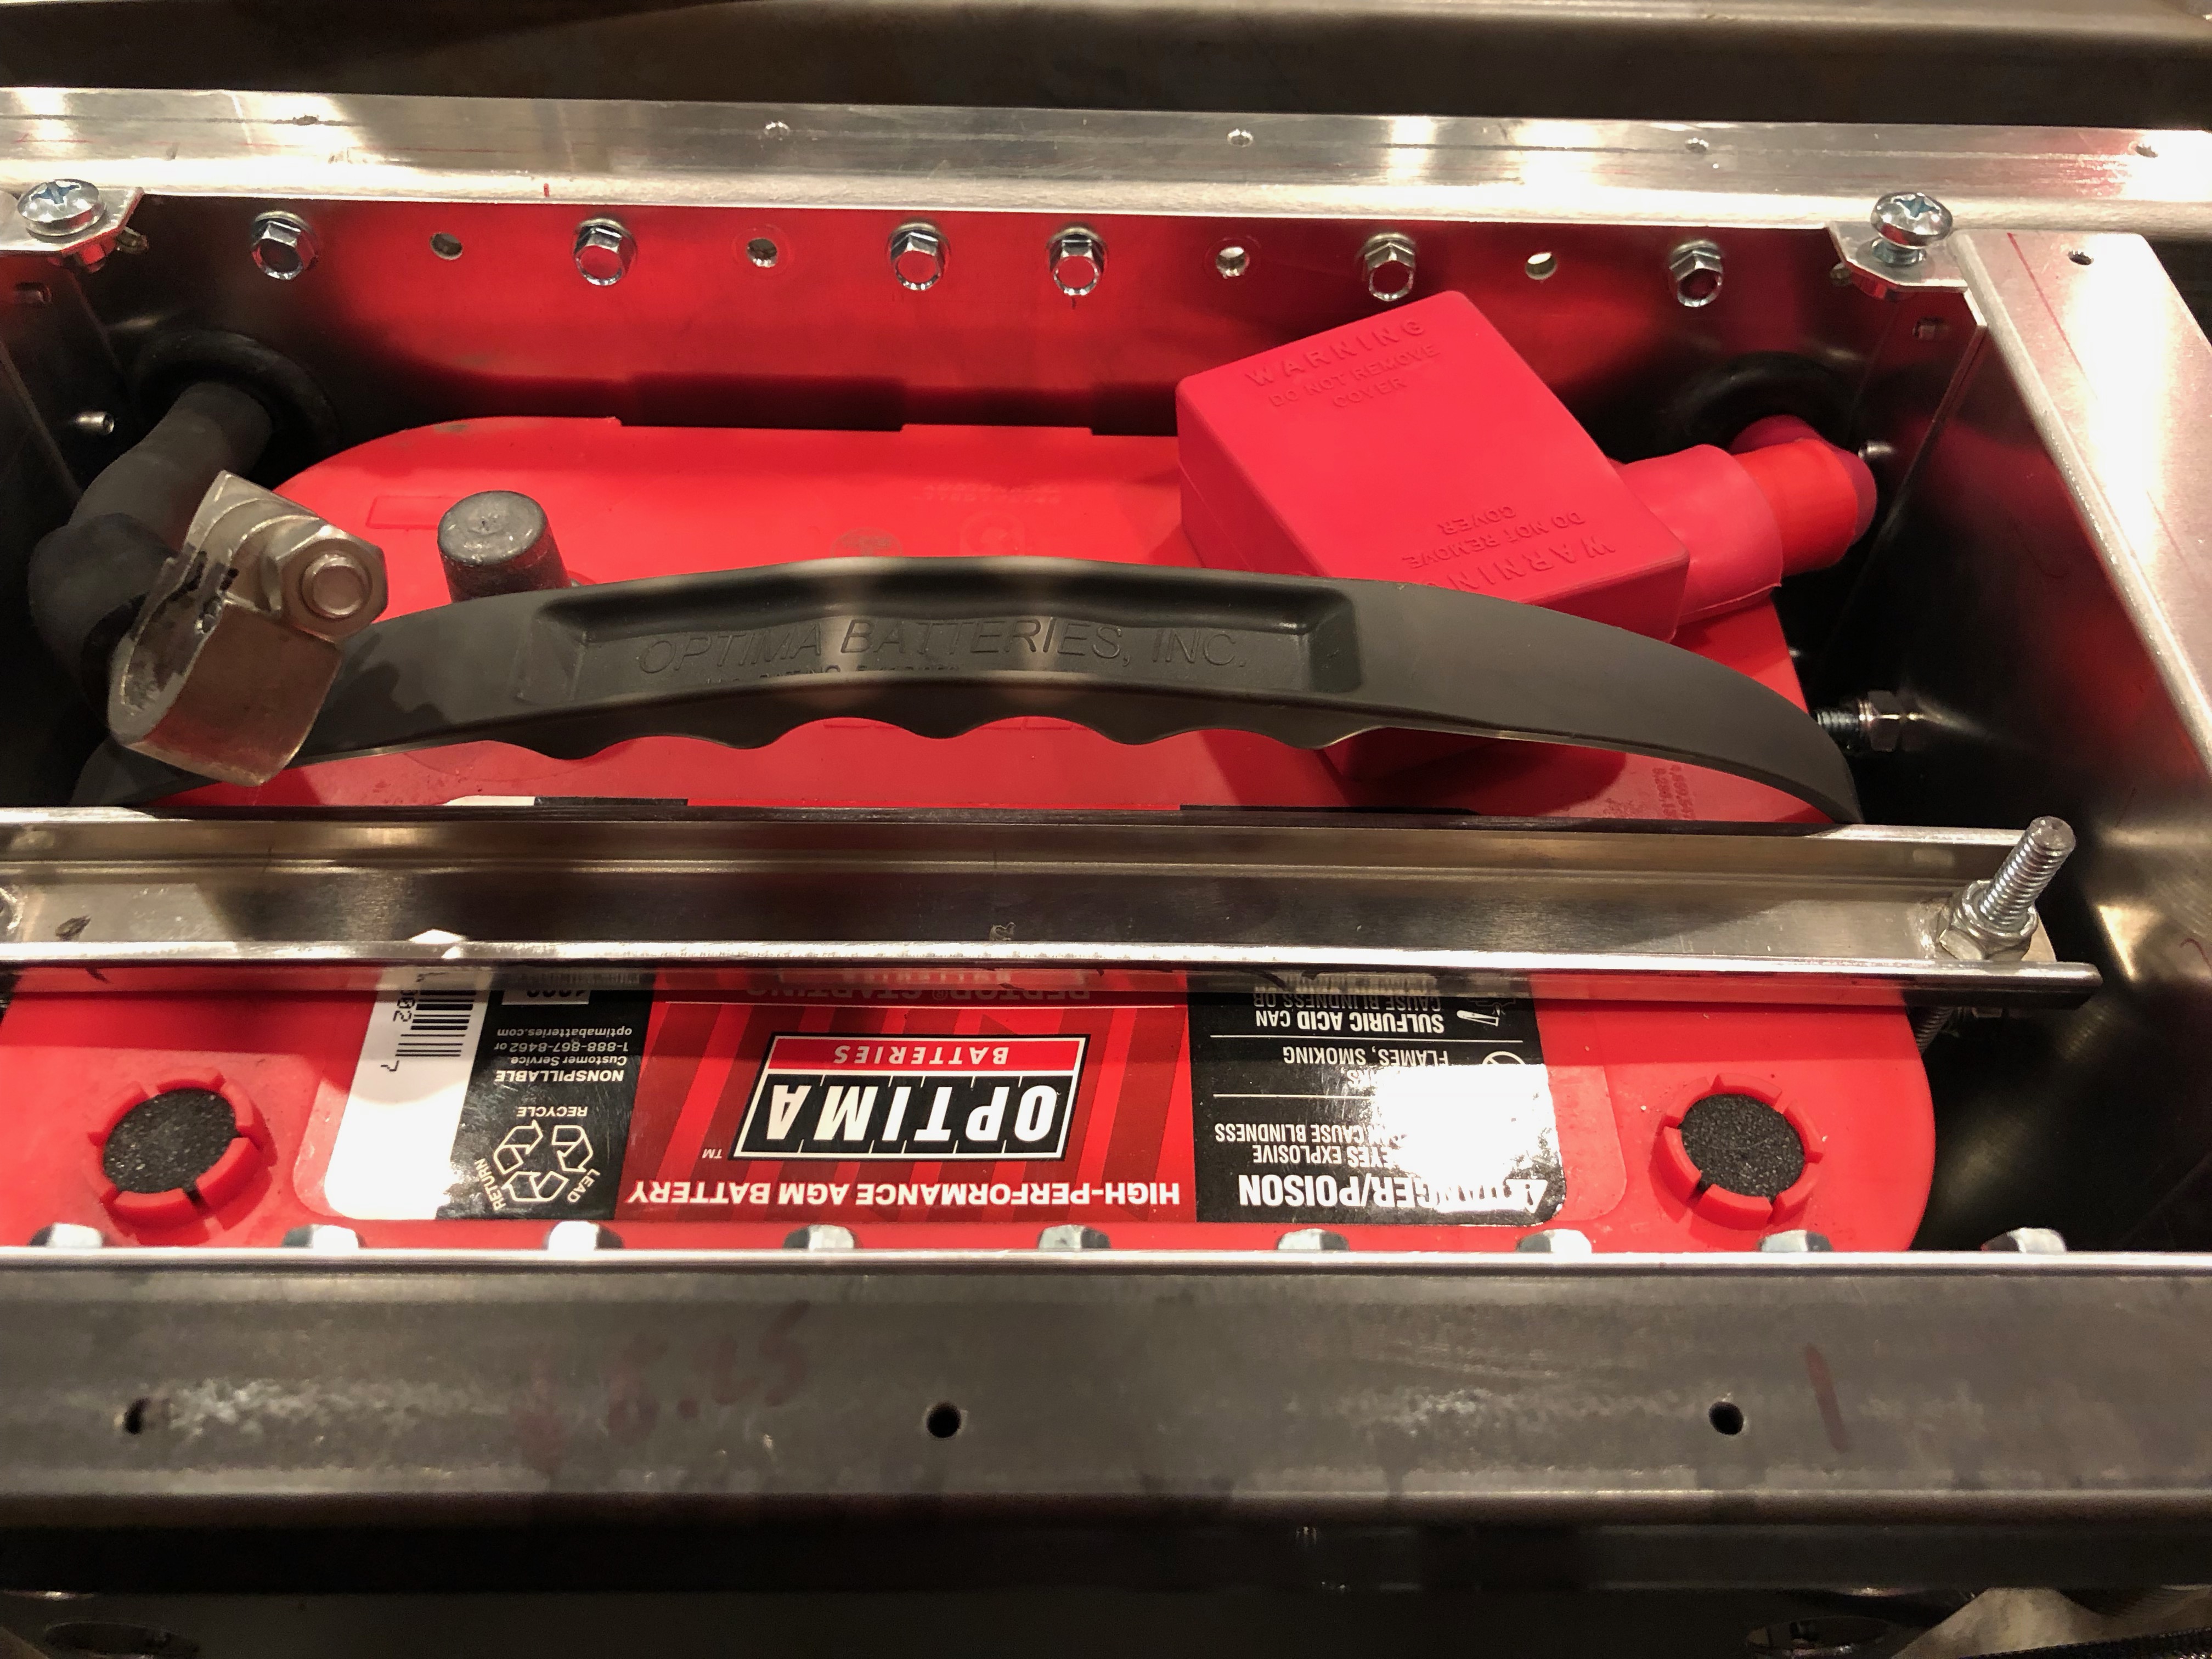
I reinstalled the battery box (hopefully for the last time before final reassembly) and then fabricated and installed the positive battery cable. As you can see, there is a nice, gentle bend from where the cable comes out of the forward side of the battery box to the right side of the mega fuse and there is no way for this cable to contact any other structure in the car.
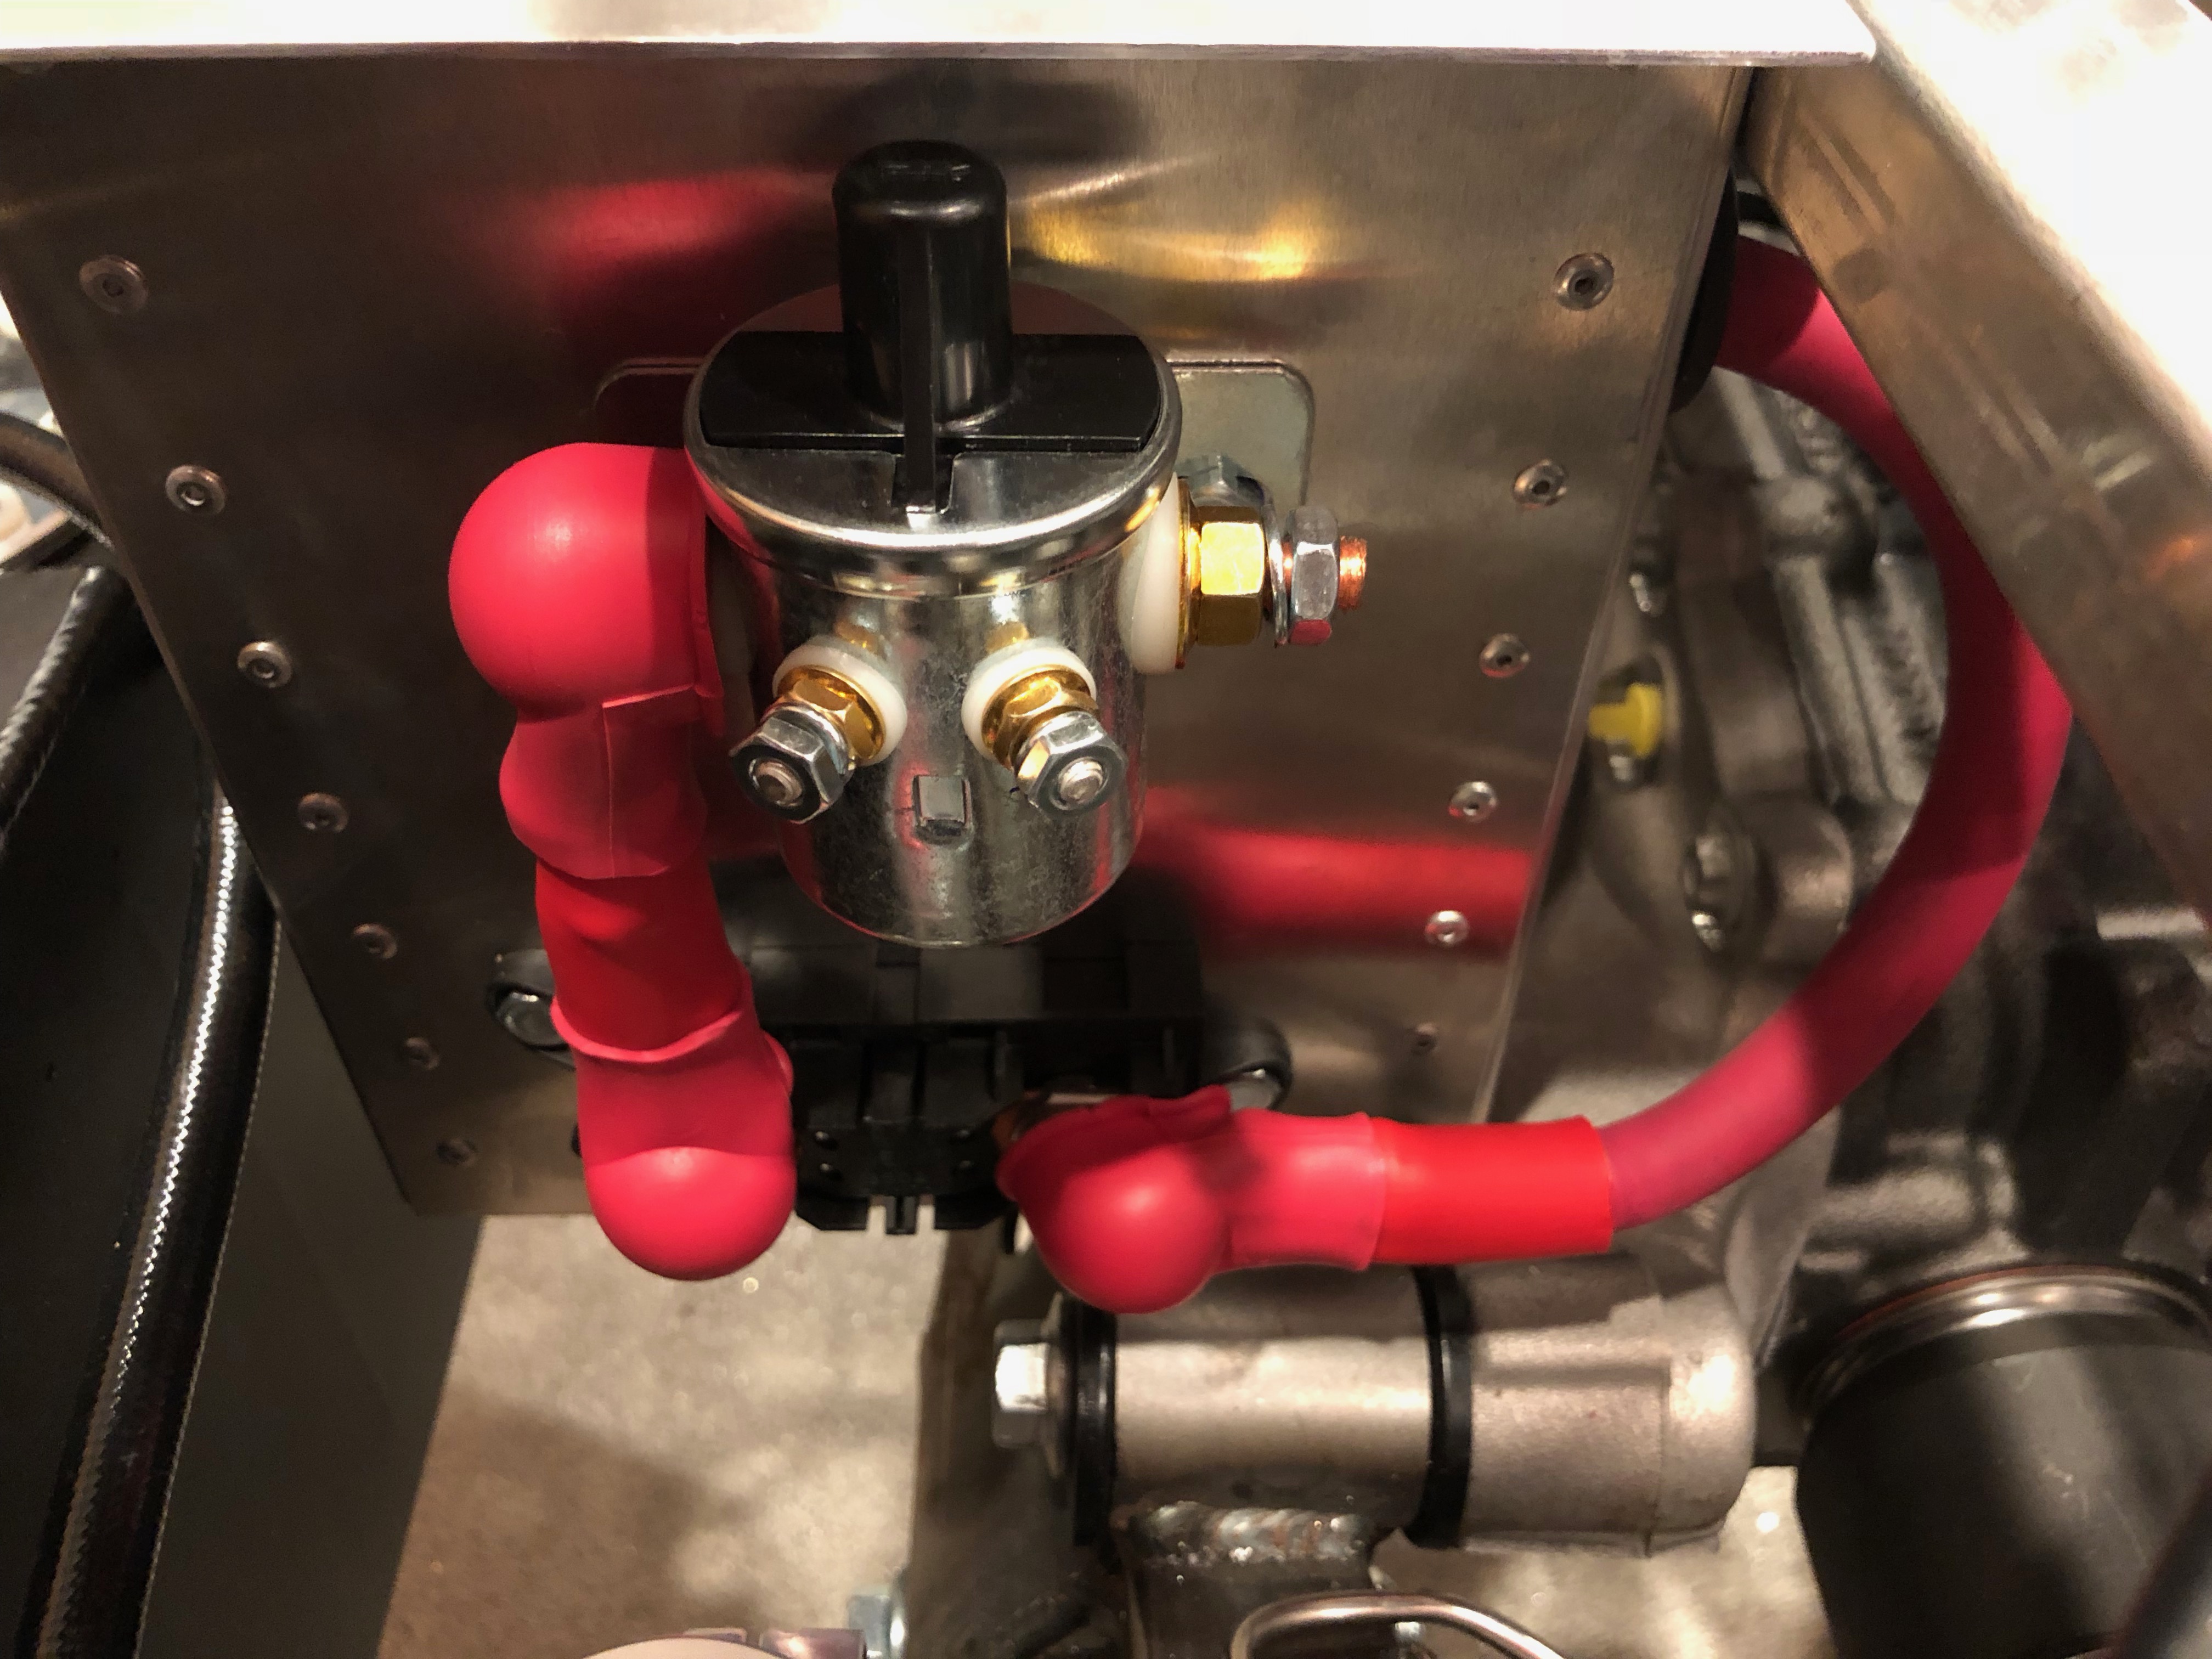
Inside the battery box, the battery positive cable makes a fairly sharp bend to turn toward the positive terminal. Just like the negative terminal, there is a right-angle terminal on the positive wire, but there is also a right angle protective boot to prevent any contact with the cover plate. I reinstalled the negative cable but will leave it disconnected for now.
You can also see in this picture that I’m temporarily using screws to attach the battery box to the chassis. The heads of these screws are too tall to allow the battery to be installed with all of them in place, so I only installed the aft screw (at the bottom of the picture) and then put in a handful of screws on the forward side of the box for now. After final reassembly, I’ll rivet the box in place and the rivet heads should not interfere with battery installation and removal.