Installed Battery Box

I decided to install the battery box. I disassembled it so that I could debur all of the edges and then riveted it back together. The forward cross bar needed a little trimming to fit between the angled square tubes. I then positioned everything in place and clecoed the box to the cross bar.

After verifying that the box clears the diff mounting ears, I clamped some straight edges to the flanges of the battery box to make sure it was flush with the aft square tube. I then drilled the box to the aft square tube and drilled the cross bar to the angled square tubes.

After positioning the floor in place, I drilled a couple of holes at the forward corners to lock in the position, then marked and drilled the holes that clear the bolt heads holding the cross bar in place.

The bolt heads still stick up above the floor slightly, but all of this will be covered by carpet.

I reached up through the bottom of the battery box and marked the edges for trimming. After cutting out the hole, I test fit the floor in place.

The hole will be covered by a plate that is also held down with button head screws. I briefly considered making these use flush head screws, but I don’t think the extra effort is worth it.

Prepped Engine to Run

We have a Halloween Party at our house every year, and it’s coming up in less than two weeks. I decided it would be fun to be able to fire up the engine at the party because I’m sure many people will be interested in the party. To that end, I’m going to hook everything back up as it was at the dyno shop along with the necessary additional bits to run the engine in the car (cooling system, starter, oil pressure and coolant temperature gauges, tachometer, etc.).

The dyno shop removed my oil pressure sender and hooked up their own hose to this extension. I reinstalled the sender and then hooked up a temporary pair of wires to drive the oil pressure gauge.

The dyno shop also installed their own coolant temperature sender, so I reinstalled my sender and hooked up the wires.

I also hooked up the engine ground strap from the right front engine mount bolts to the hole already provided in the mounting bracket.

To be able to start the car, I used some scrap aluminum to temporarily hold the ignition switch. I still need to wire this, but there are only a few connections to make.

I don’t want to start the car unless I can monitor oil pressure at a minimum, but it’s minimal extra work to also hook up the coolant temperature gauge and tachometer. I had considered fabricating a larger aluminum plate to temporarily mount the gauges, but the cardboard box they came in will work just fine.

I also set the fuel tank on top of the rear part of the chassis and hooked up the fuel lines. This has 4-5 gallons of fuel in it right now, so it’s fairly heavy. I’ll probably end up burning off a good chunk of this doing some demo and tuning runs. I need to get this lighter before I start messing with mounting this in the rear of the chassis.

Installed Distributor

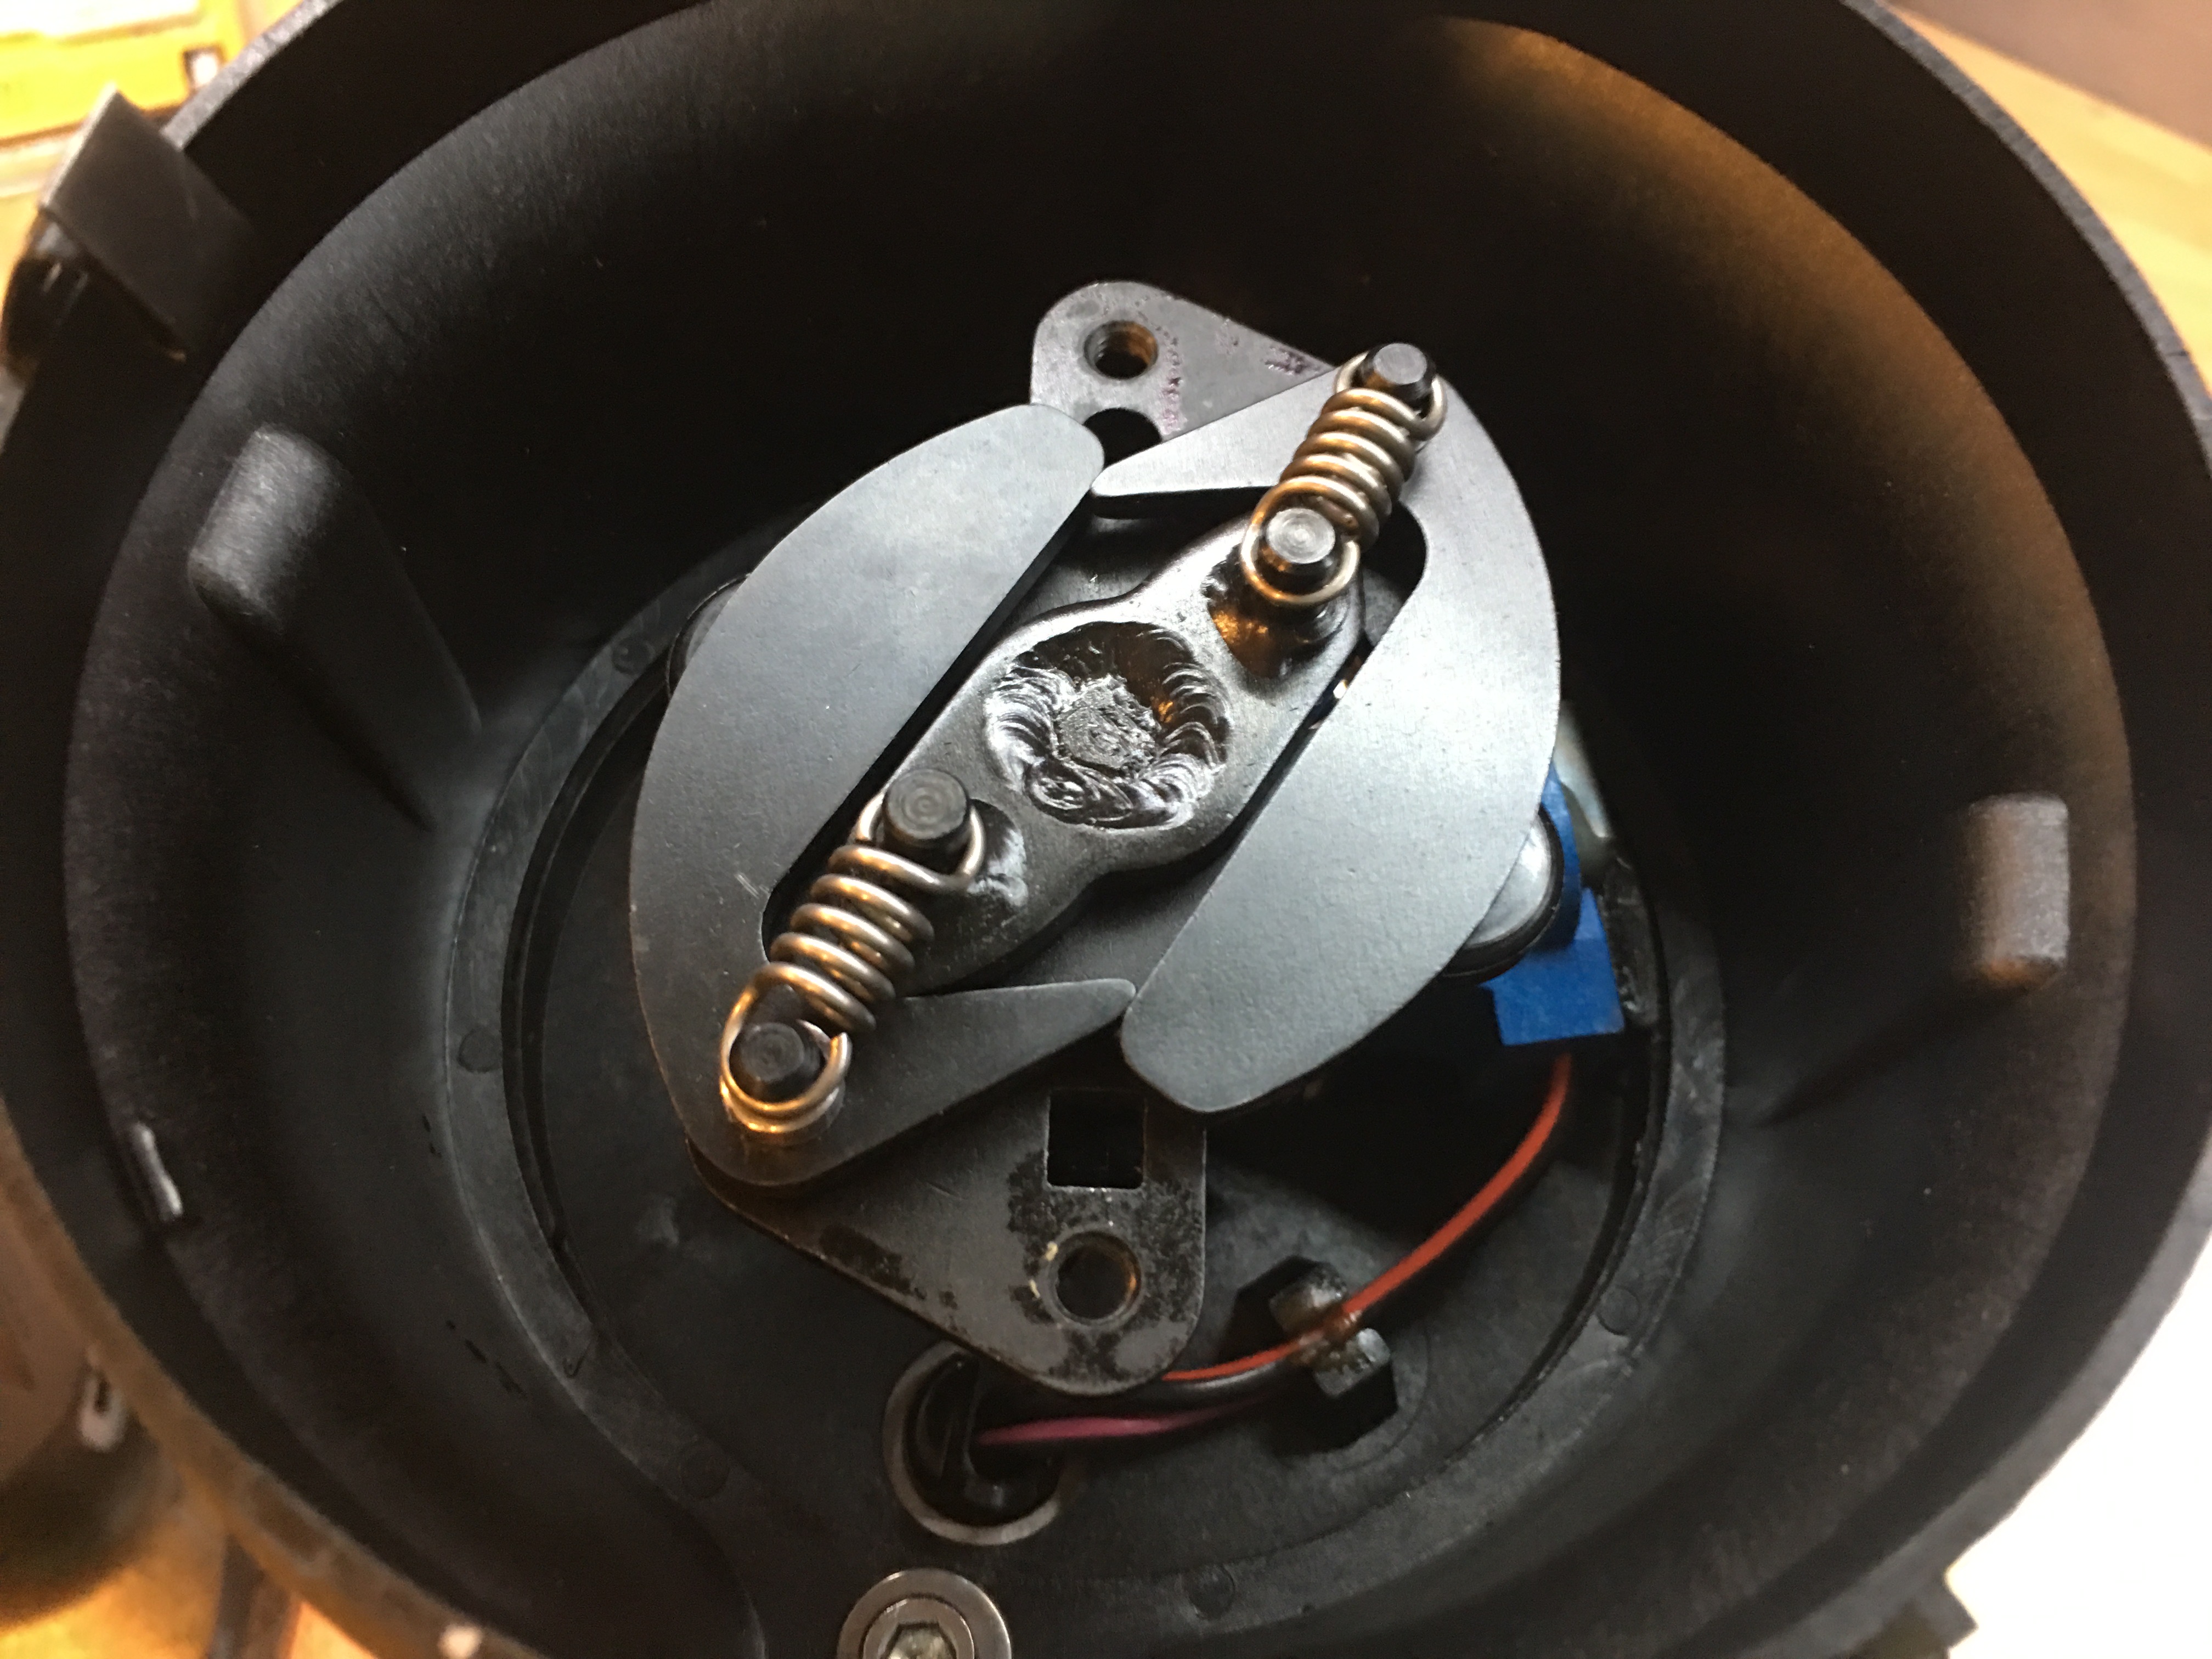
The FiTech EFI system controls the ignition advance, so the mechanical advance has to be locked out. I started by removing the springs and weights.

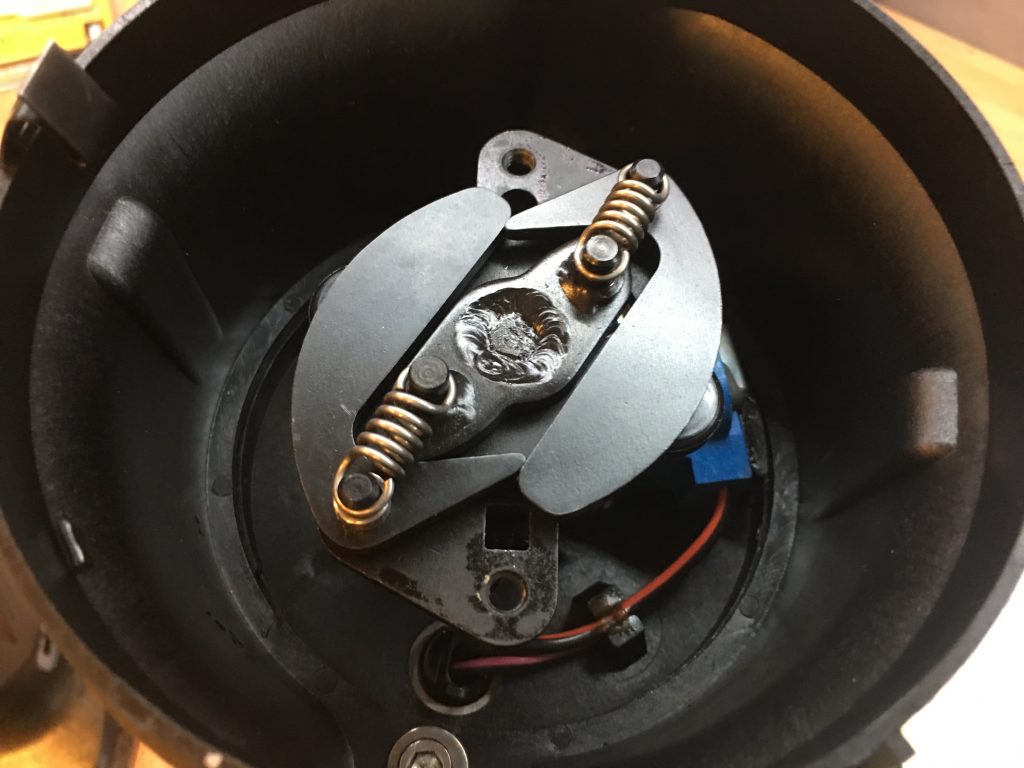
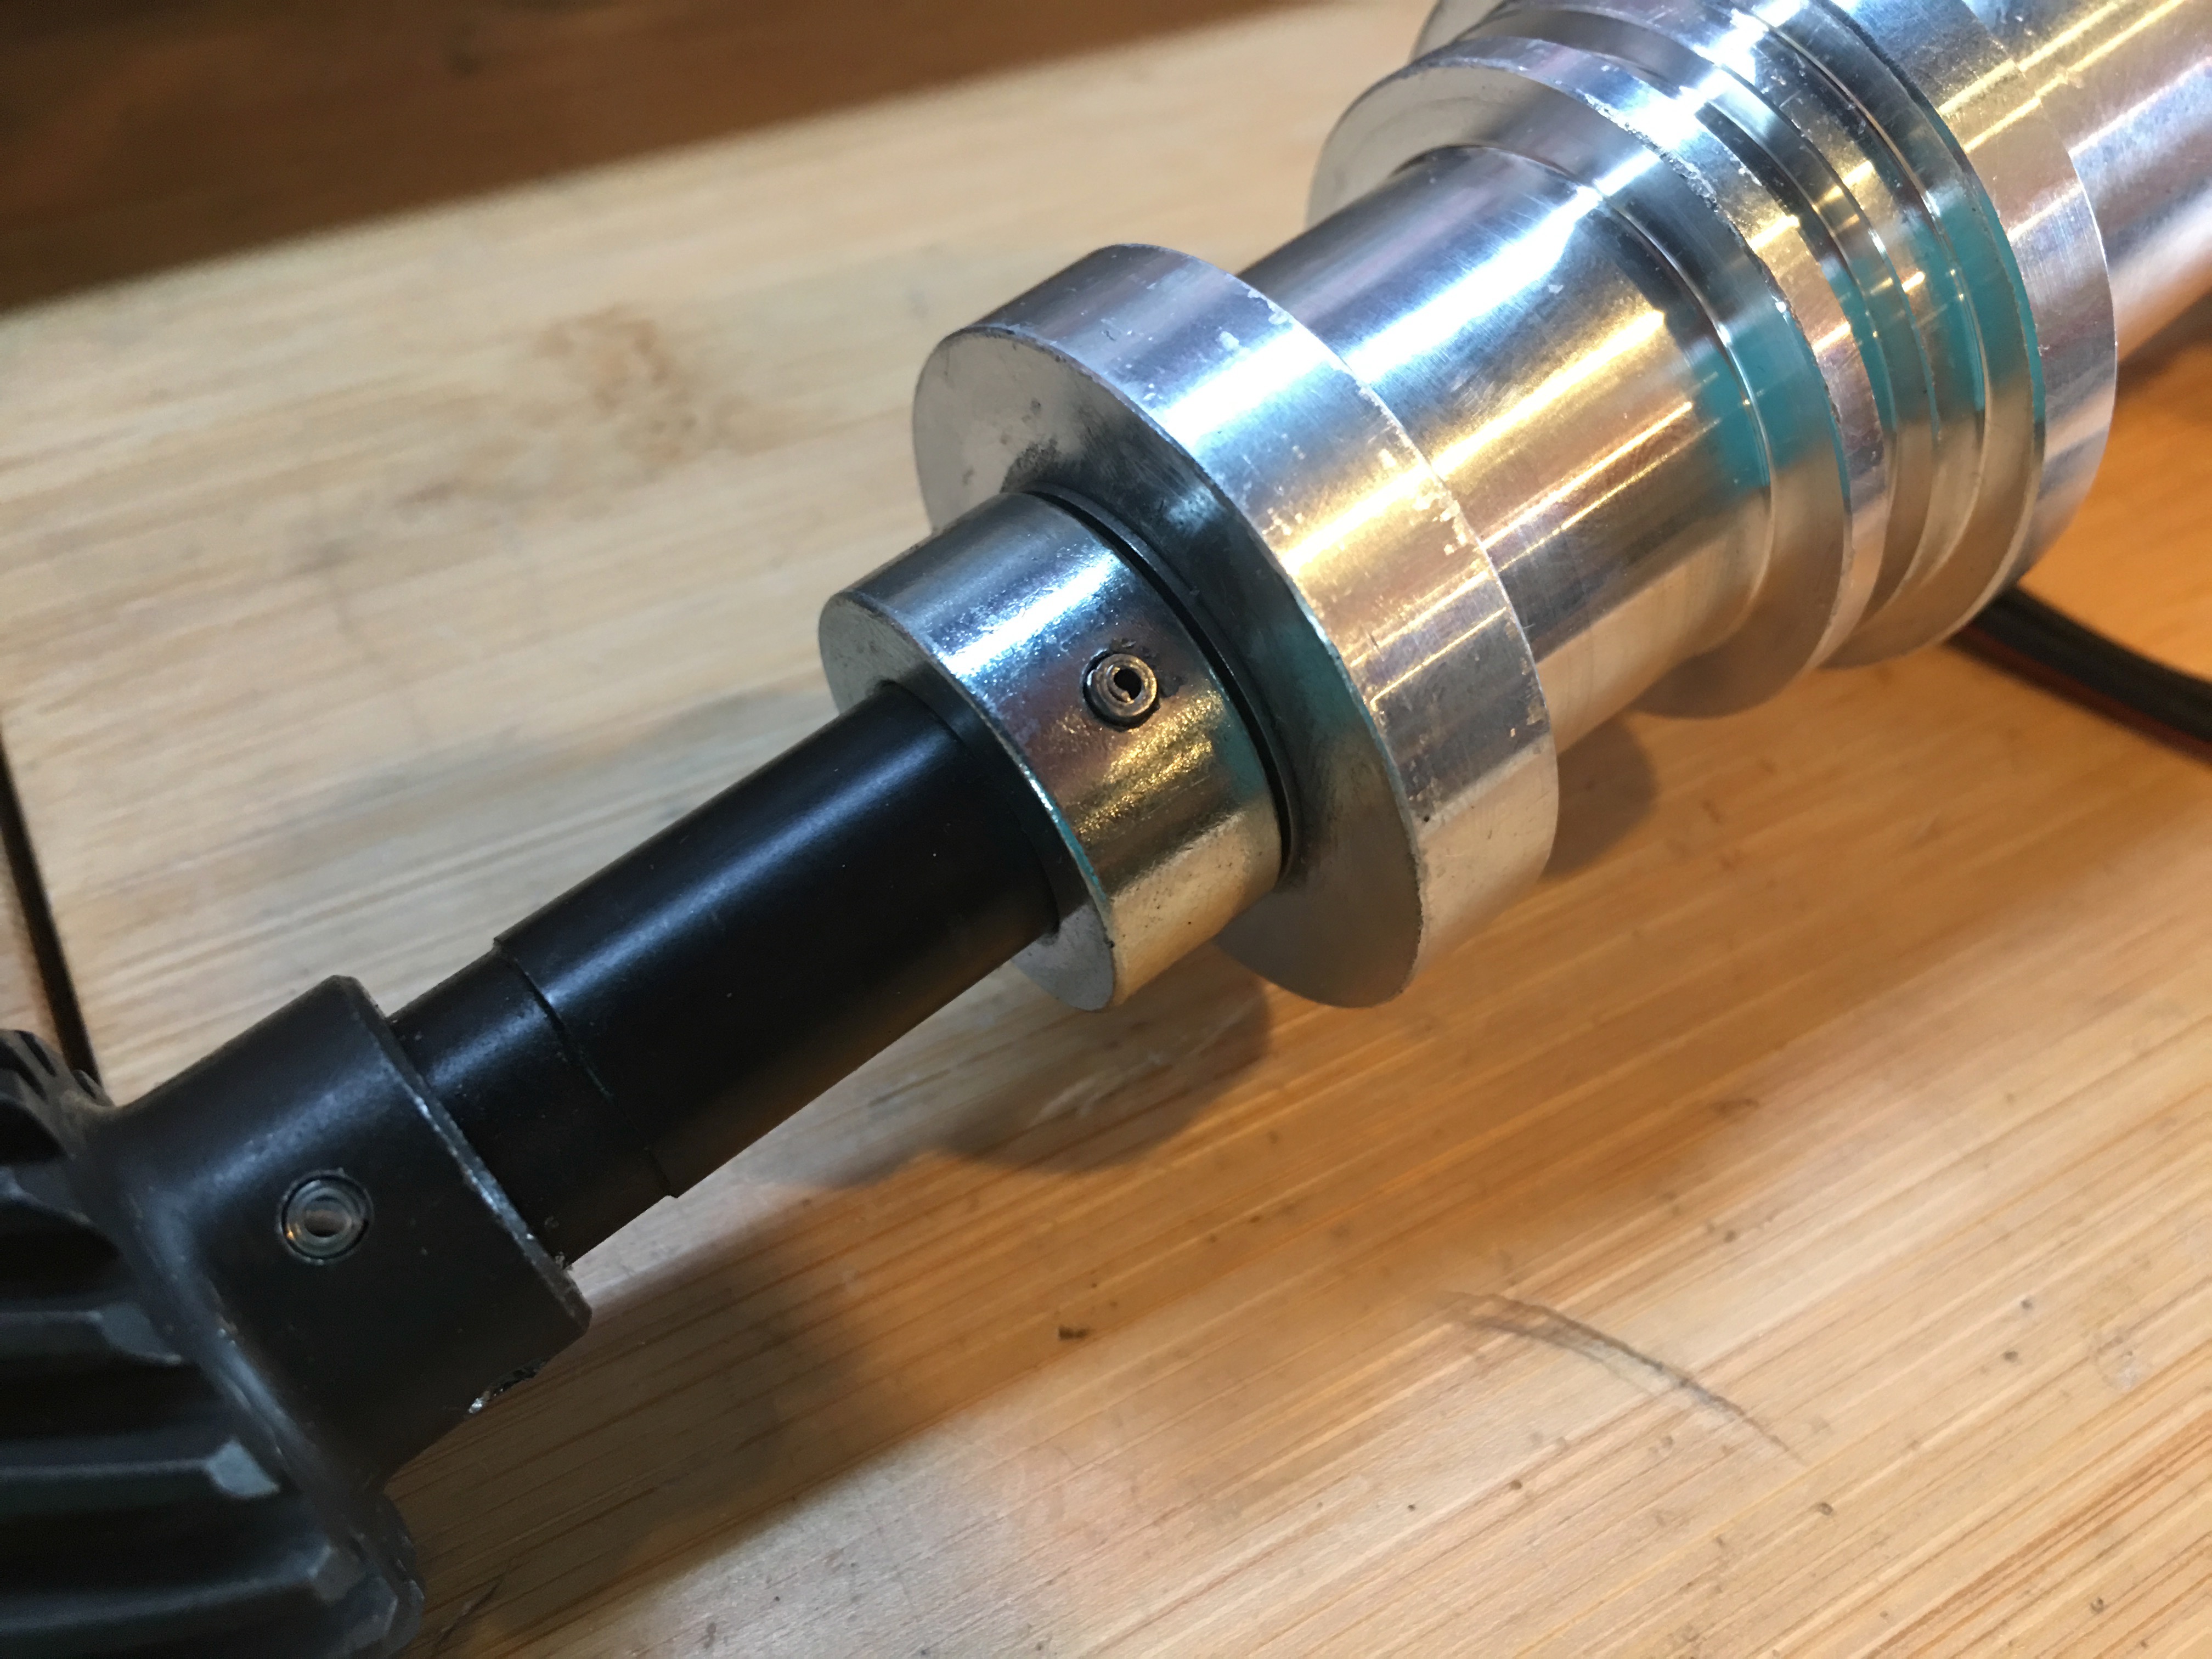
The roll pin on the retaining sleeve has to be driven out so that the shaft can be pushed up in the distributor.

With the shaft pushed up, it can be rotated 180º so that the advance stop bushing pin can be dropped into a hole in the advance plate which locks the two pieces together. Afterward, the retaining sleeve can be slid back in place and the roll pin reinstalled. Now there are no moving parts in the distributor (other than the shaft and rotor).

In order to install the distributor in the engine, I needed to reset the engine to 12º BTDC on the compression stroke of the #1 engine. I installed the air fitting in the #1 cylinder so that I could tell when it was on the compression stroke.

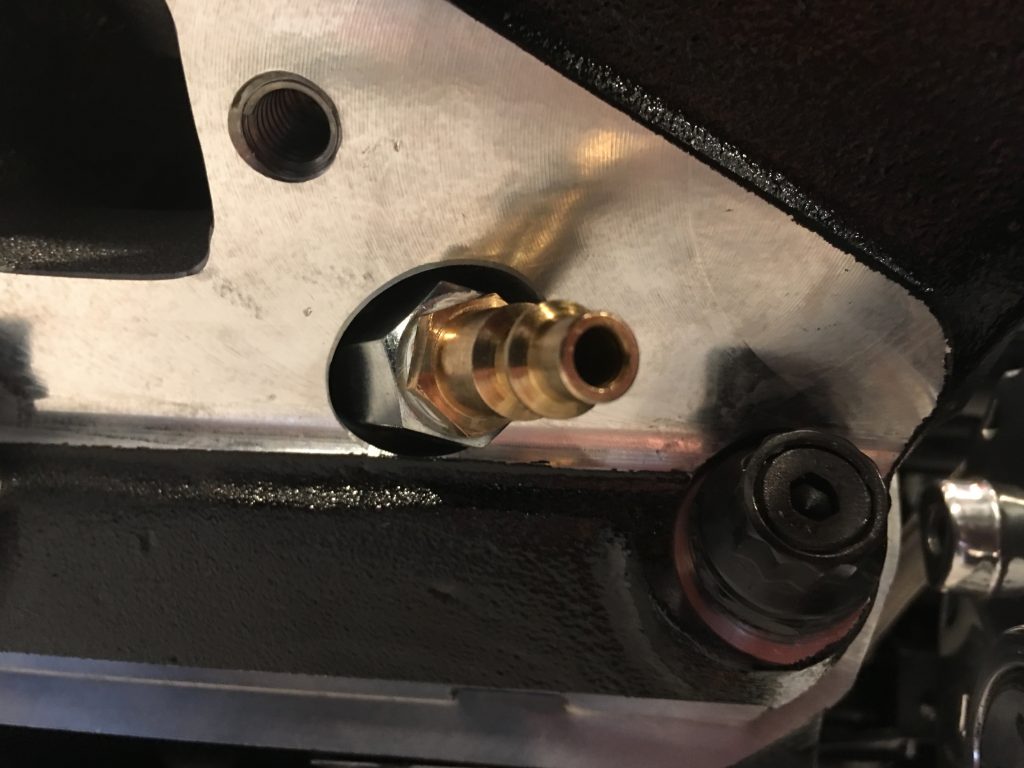
I rotated the engine until it was 12º BTDC.

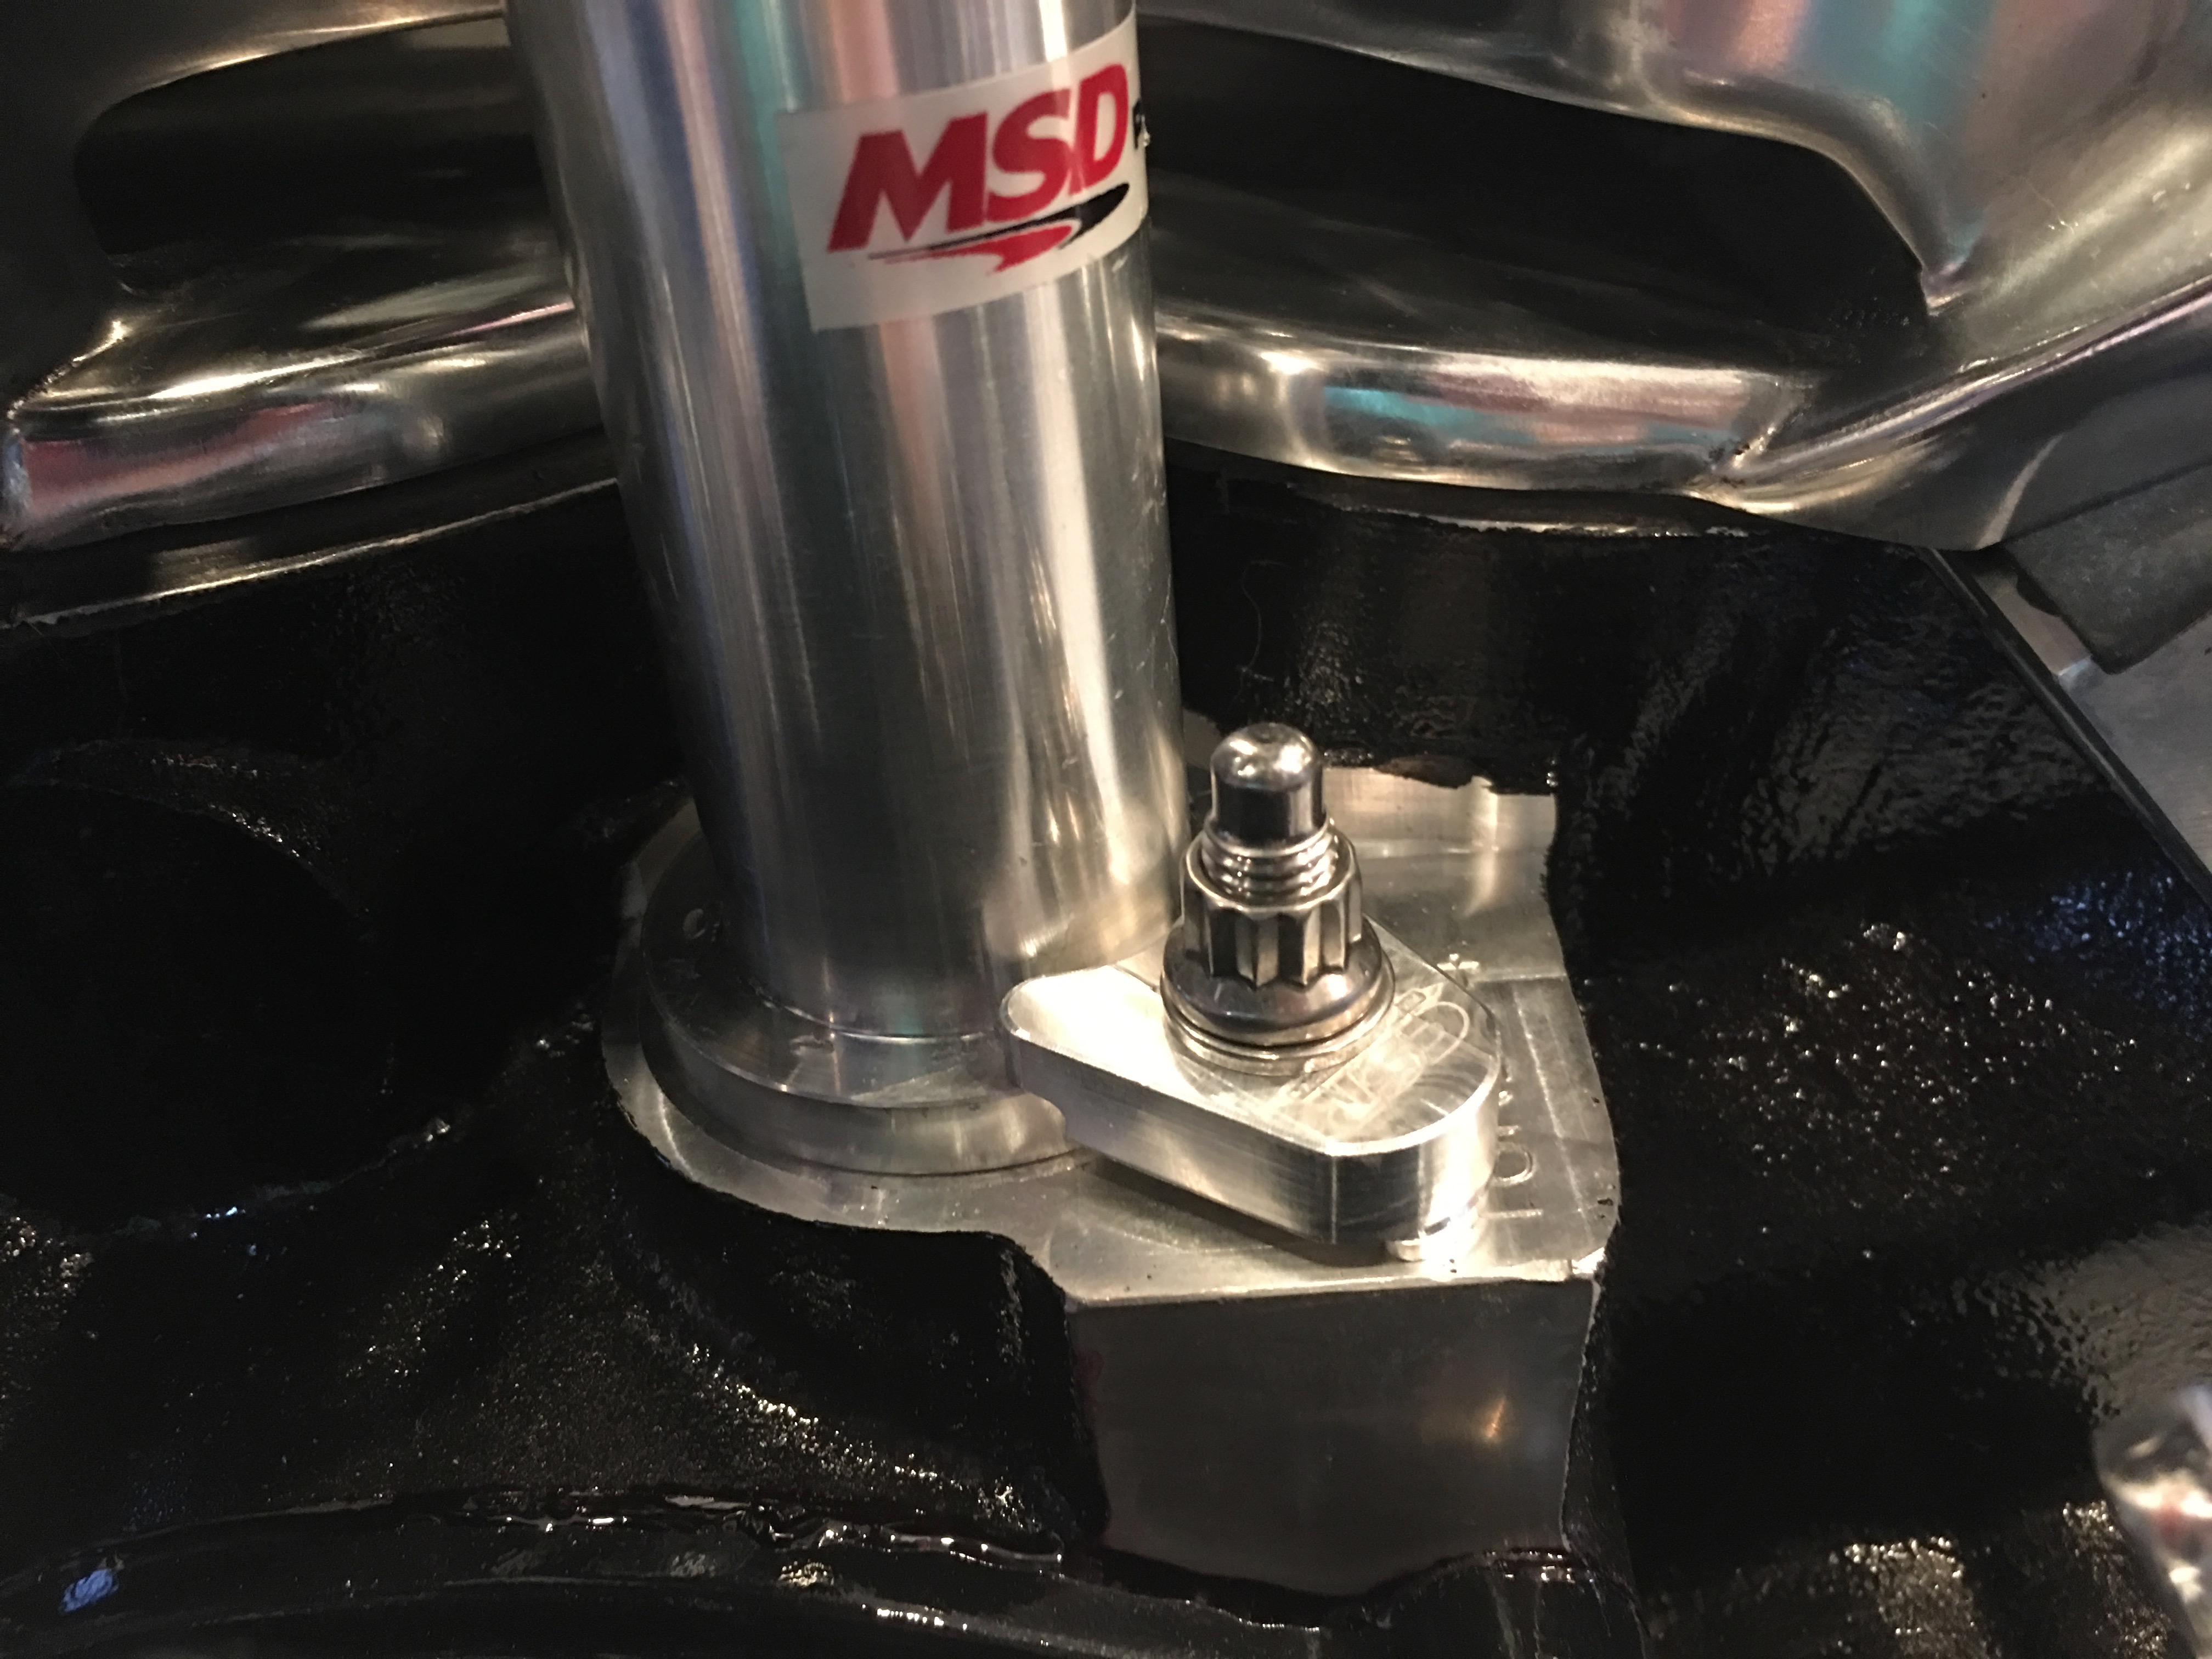
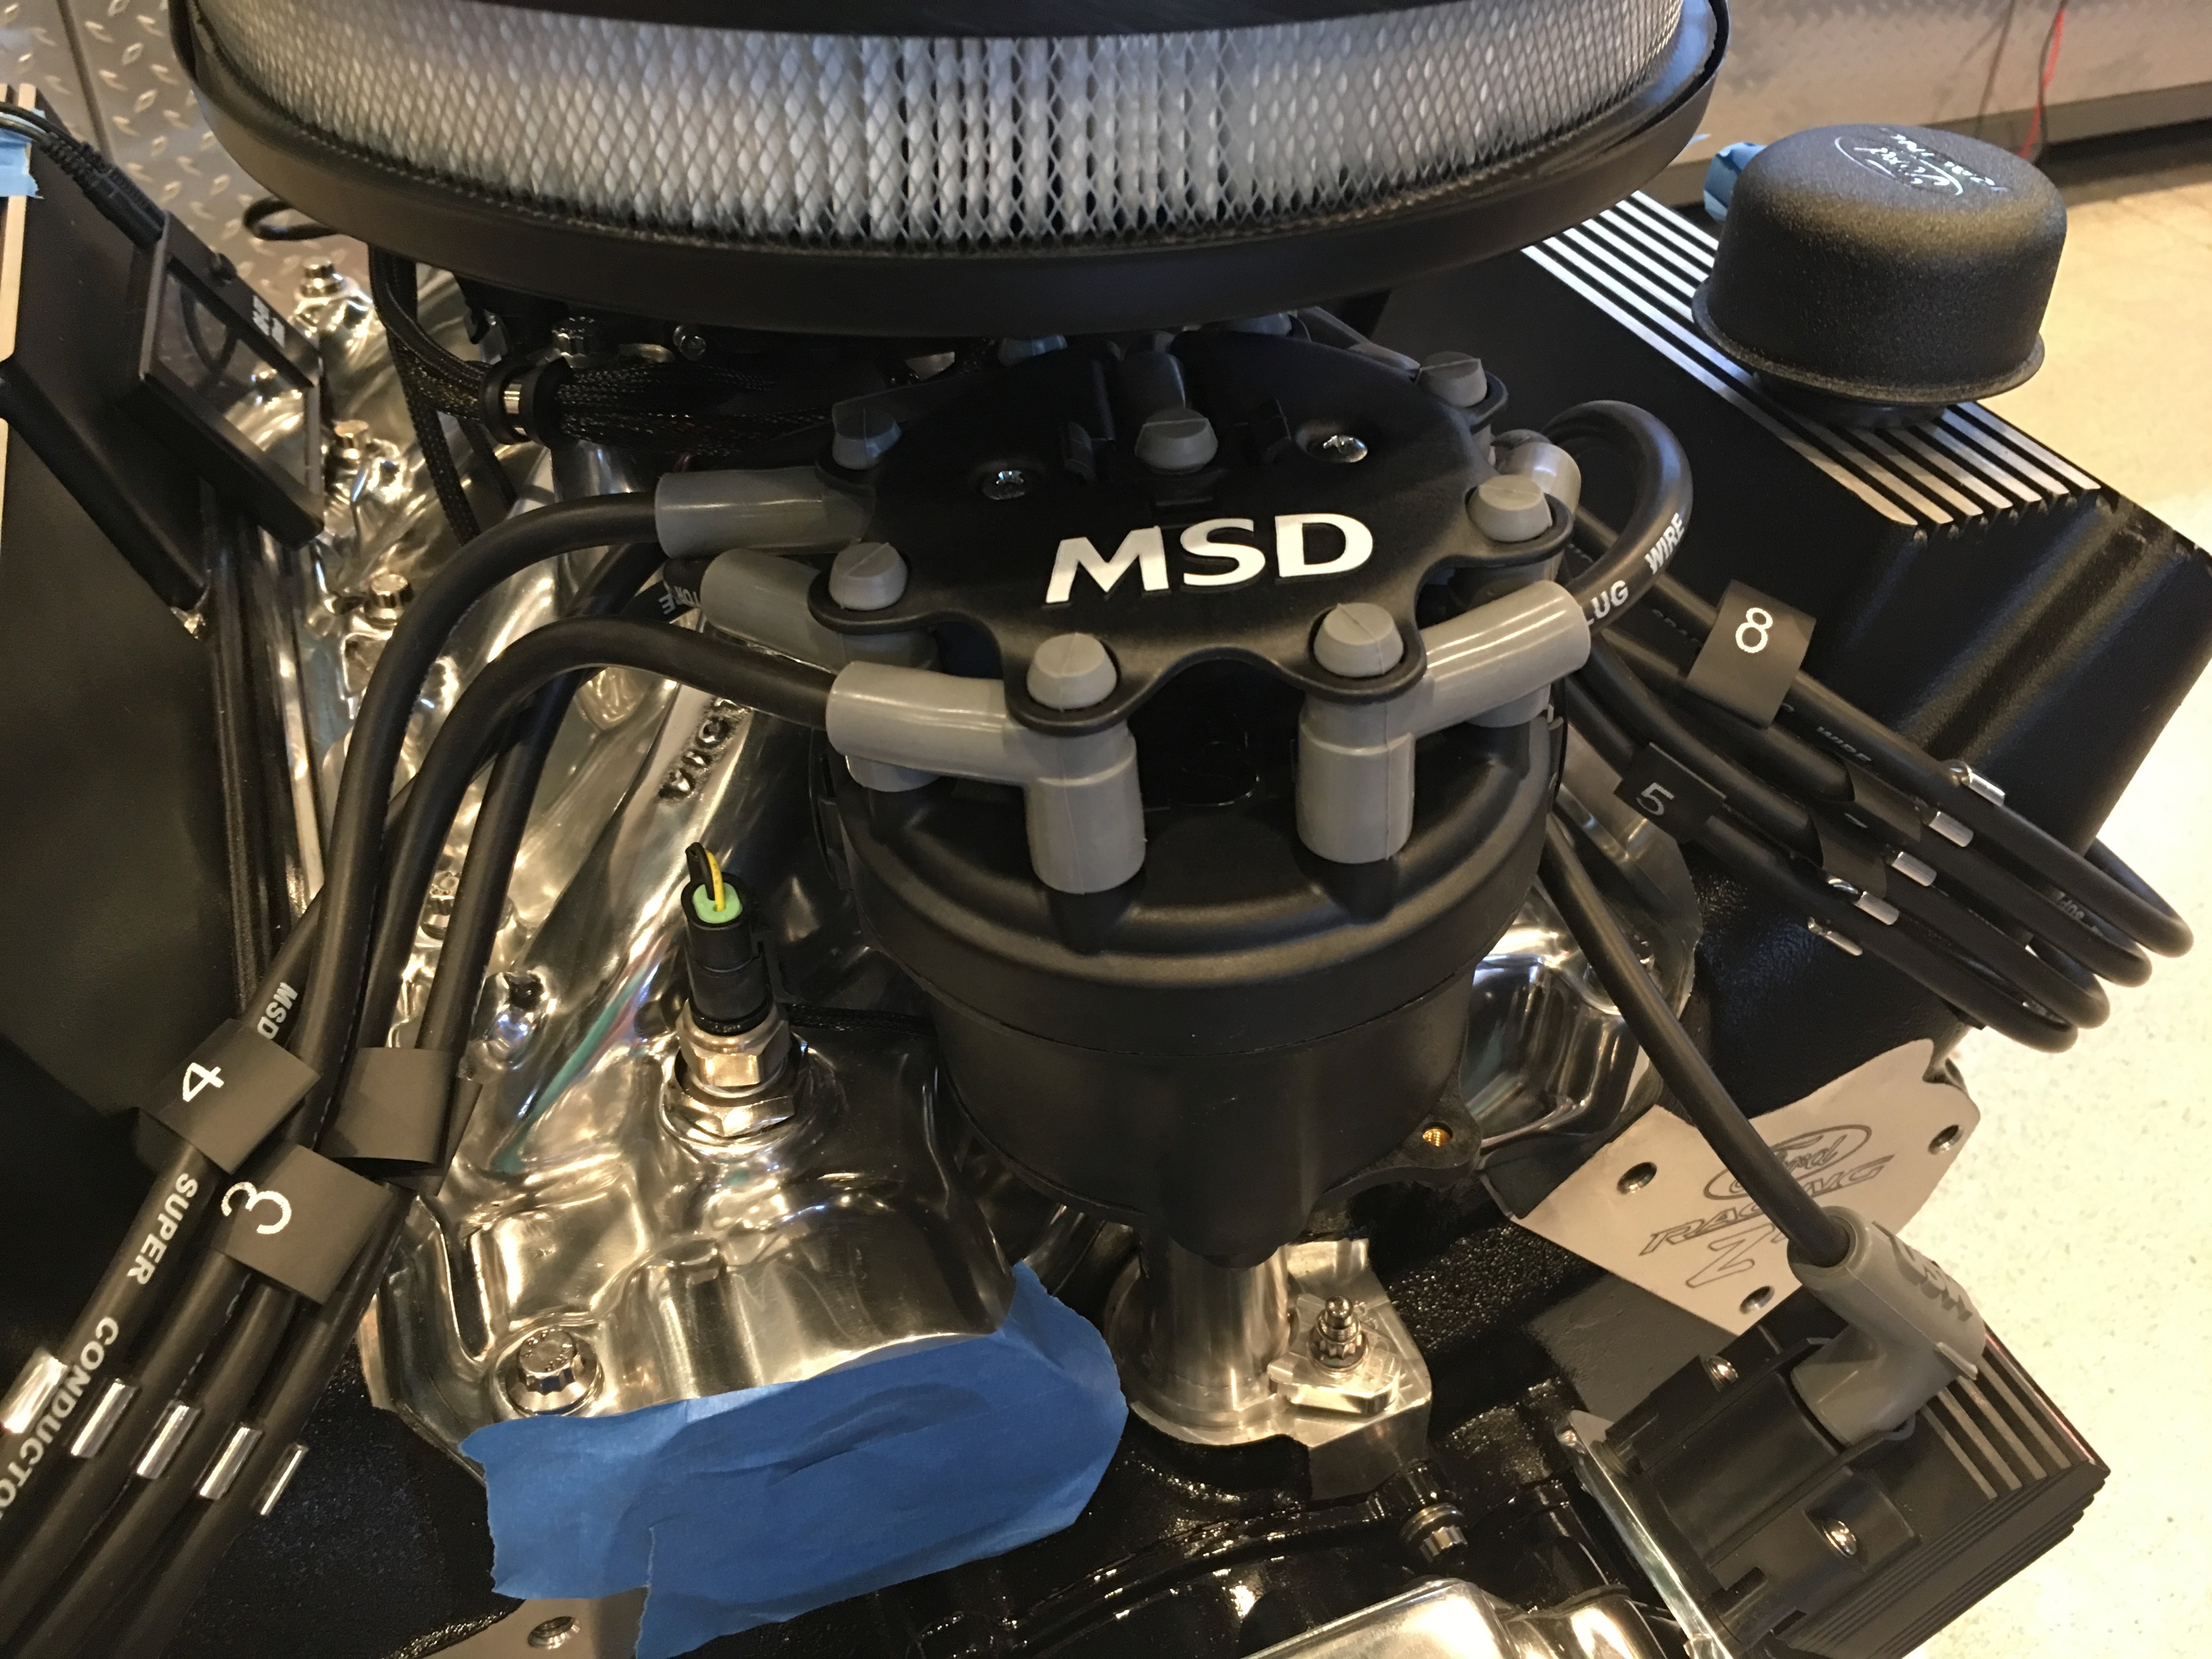
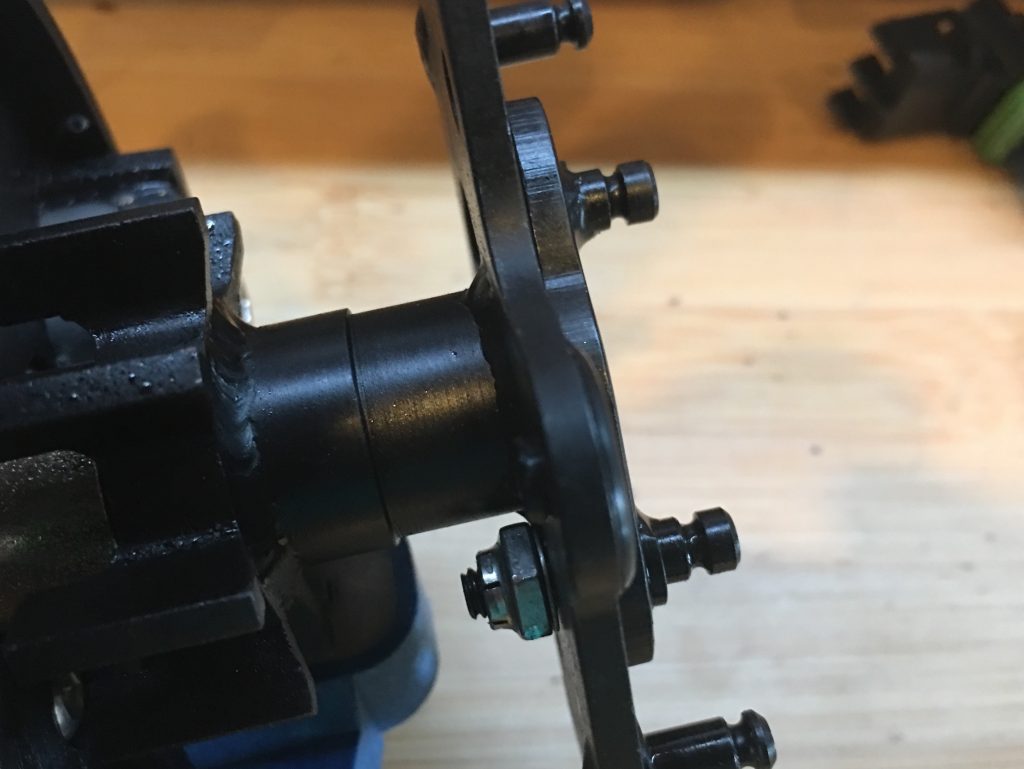
I then stabbed the distributor into the block. I needed to adjust the oil pump driveshaft a couple of times until the distributor dropped into place.

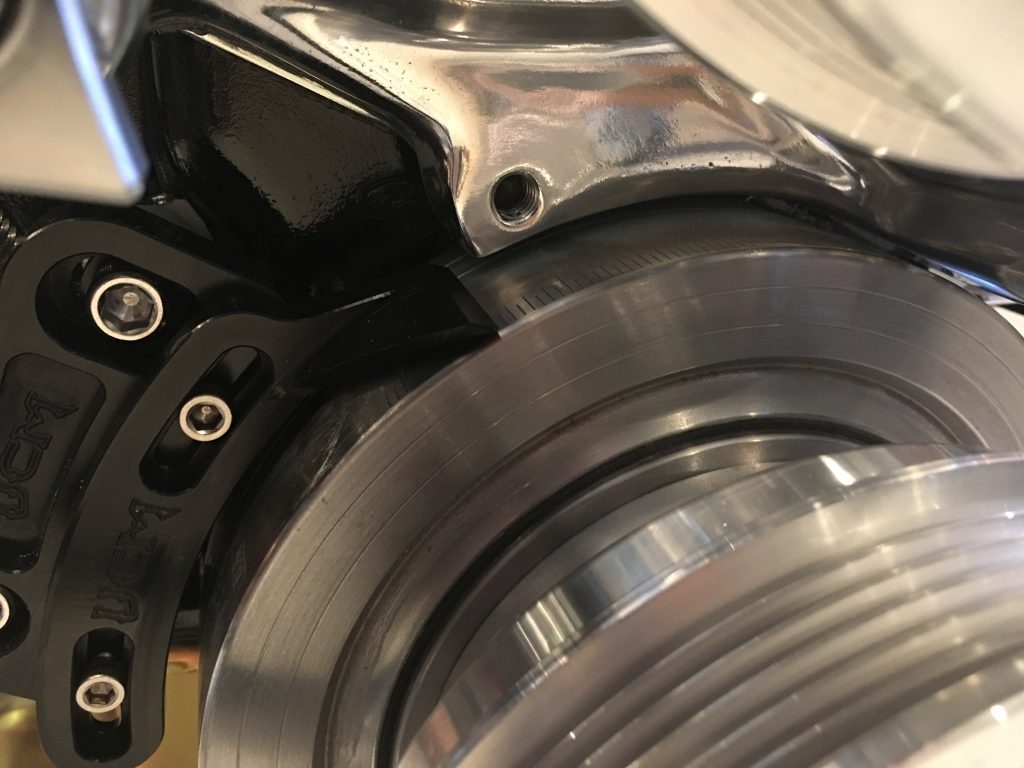
I then installed the distributor hold down clamp to lock the distributor in place.

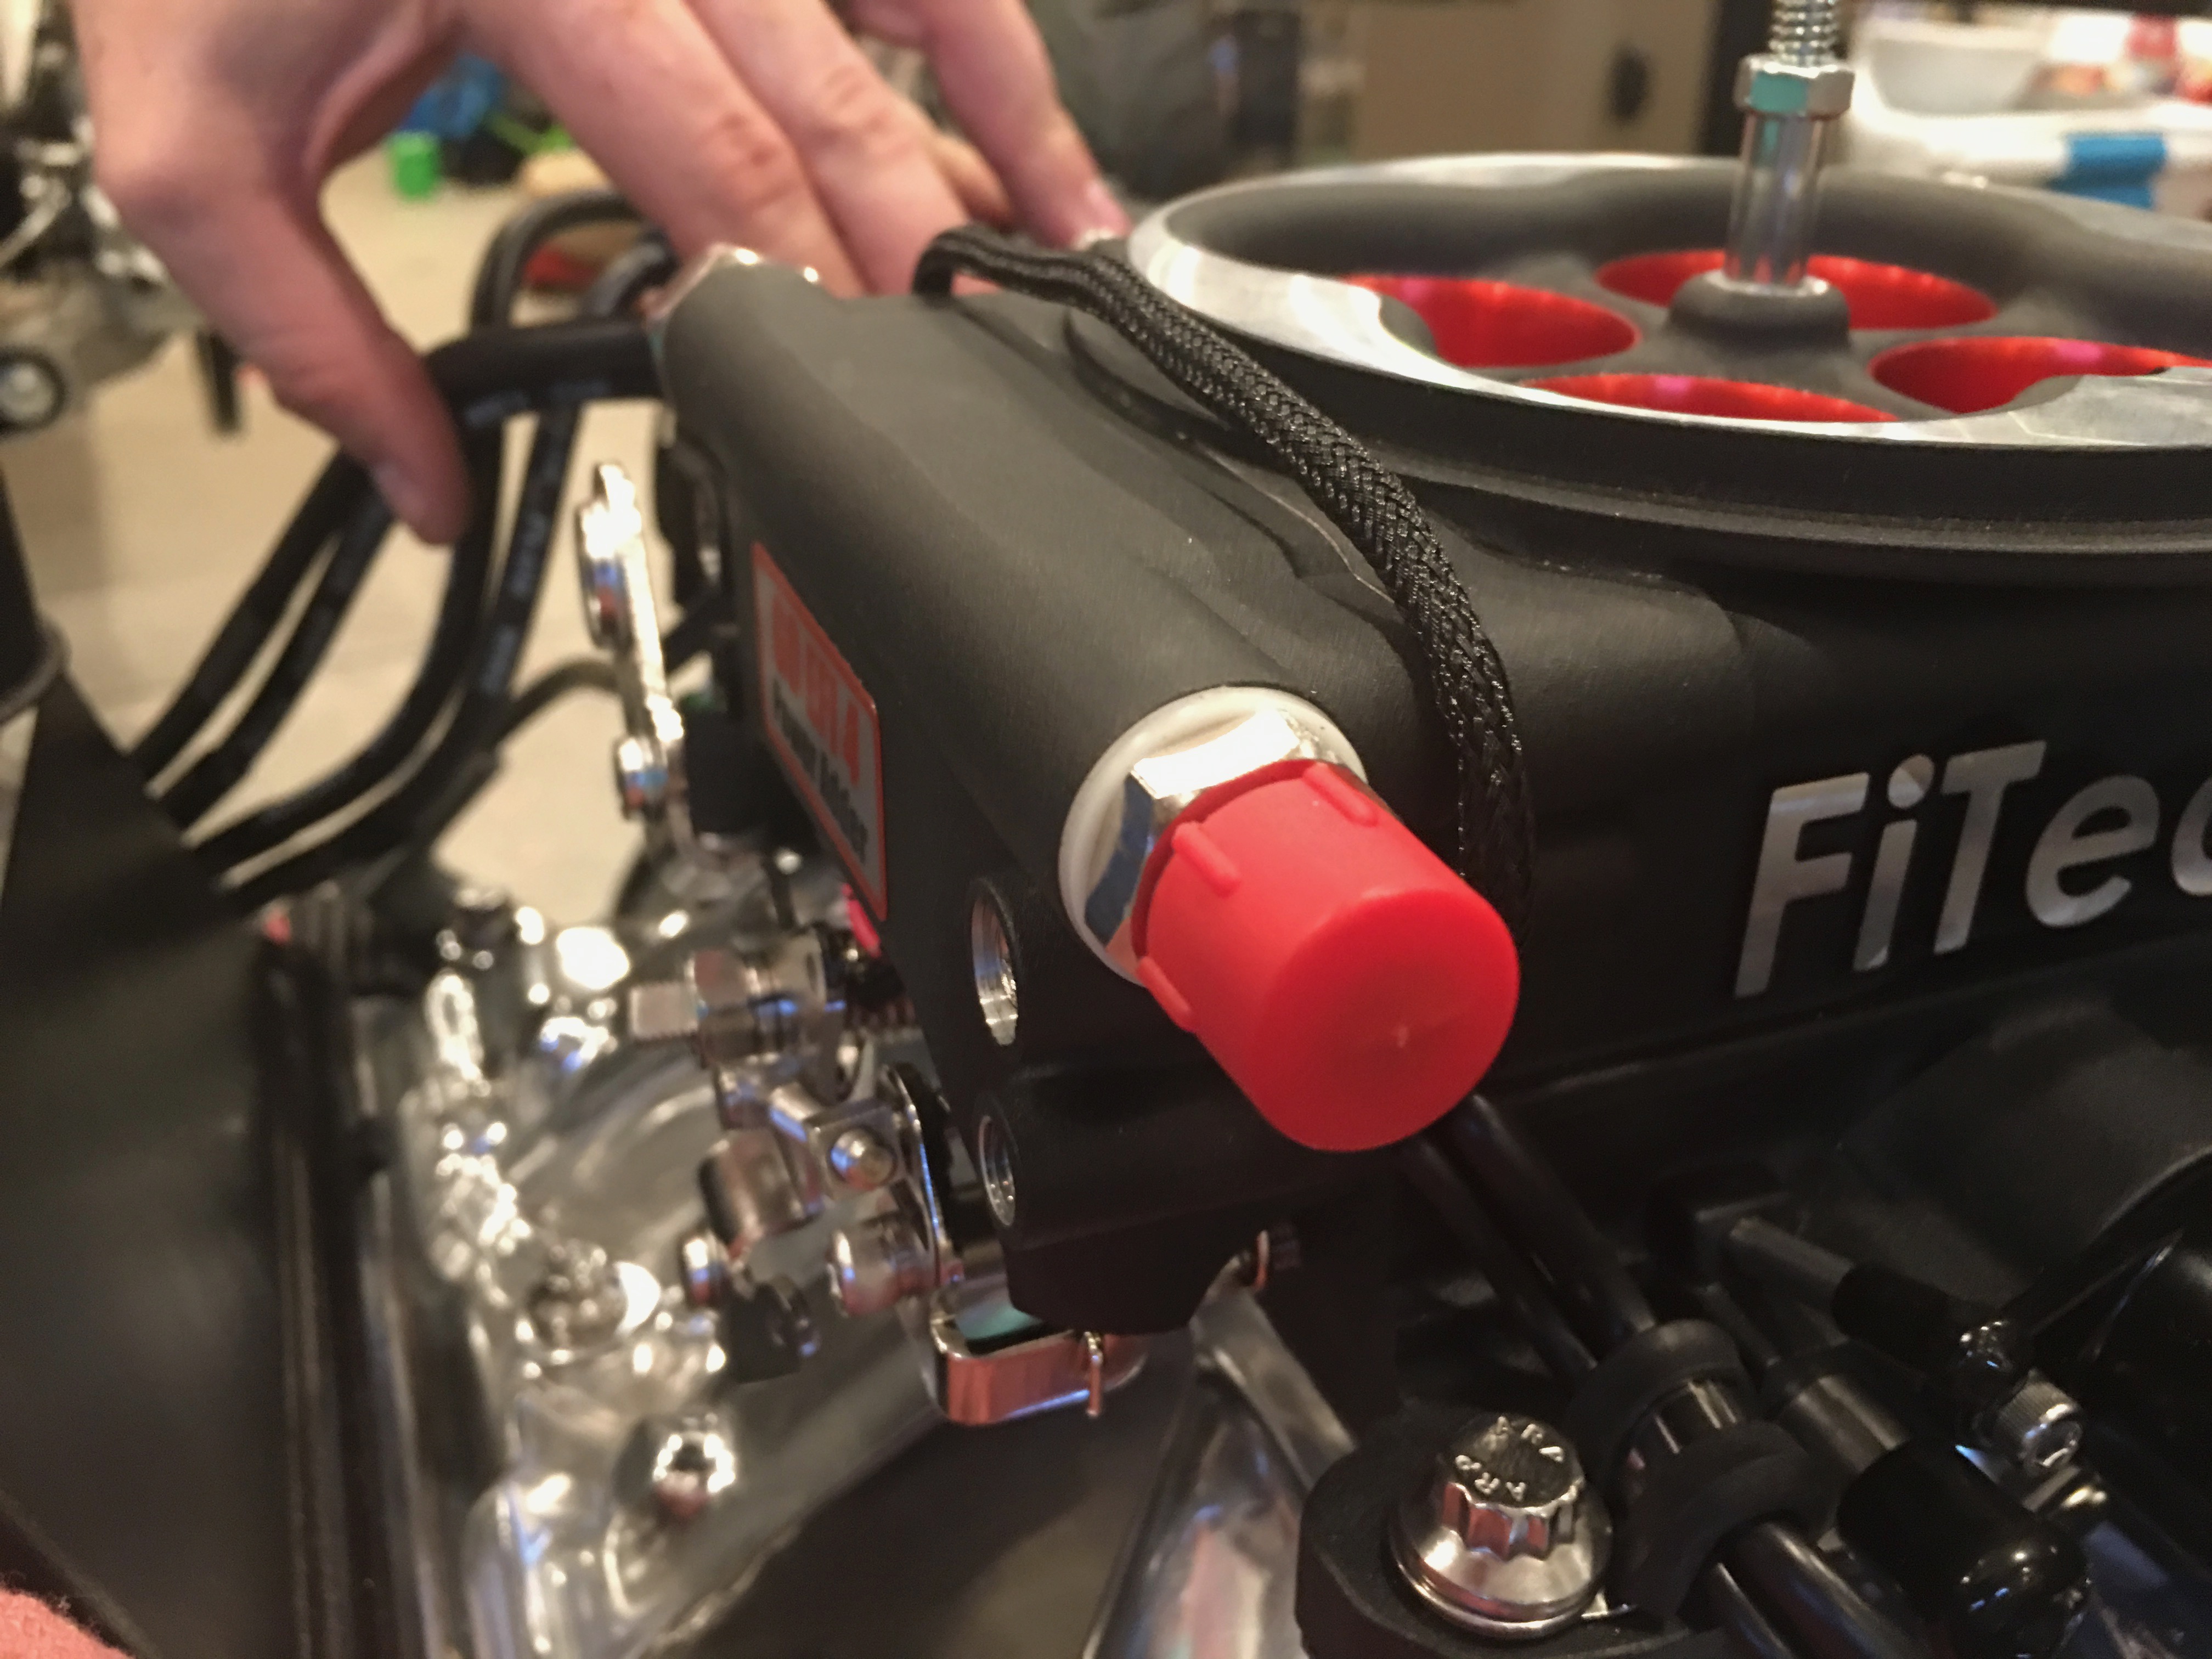
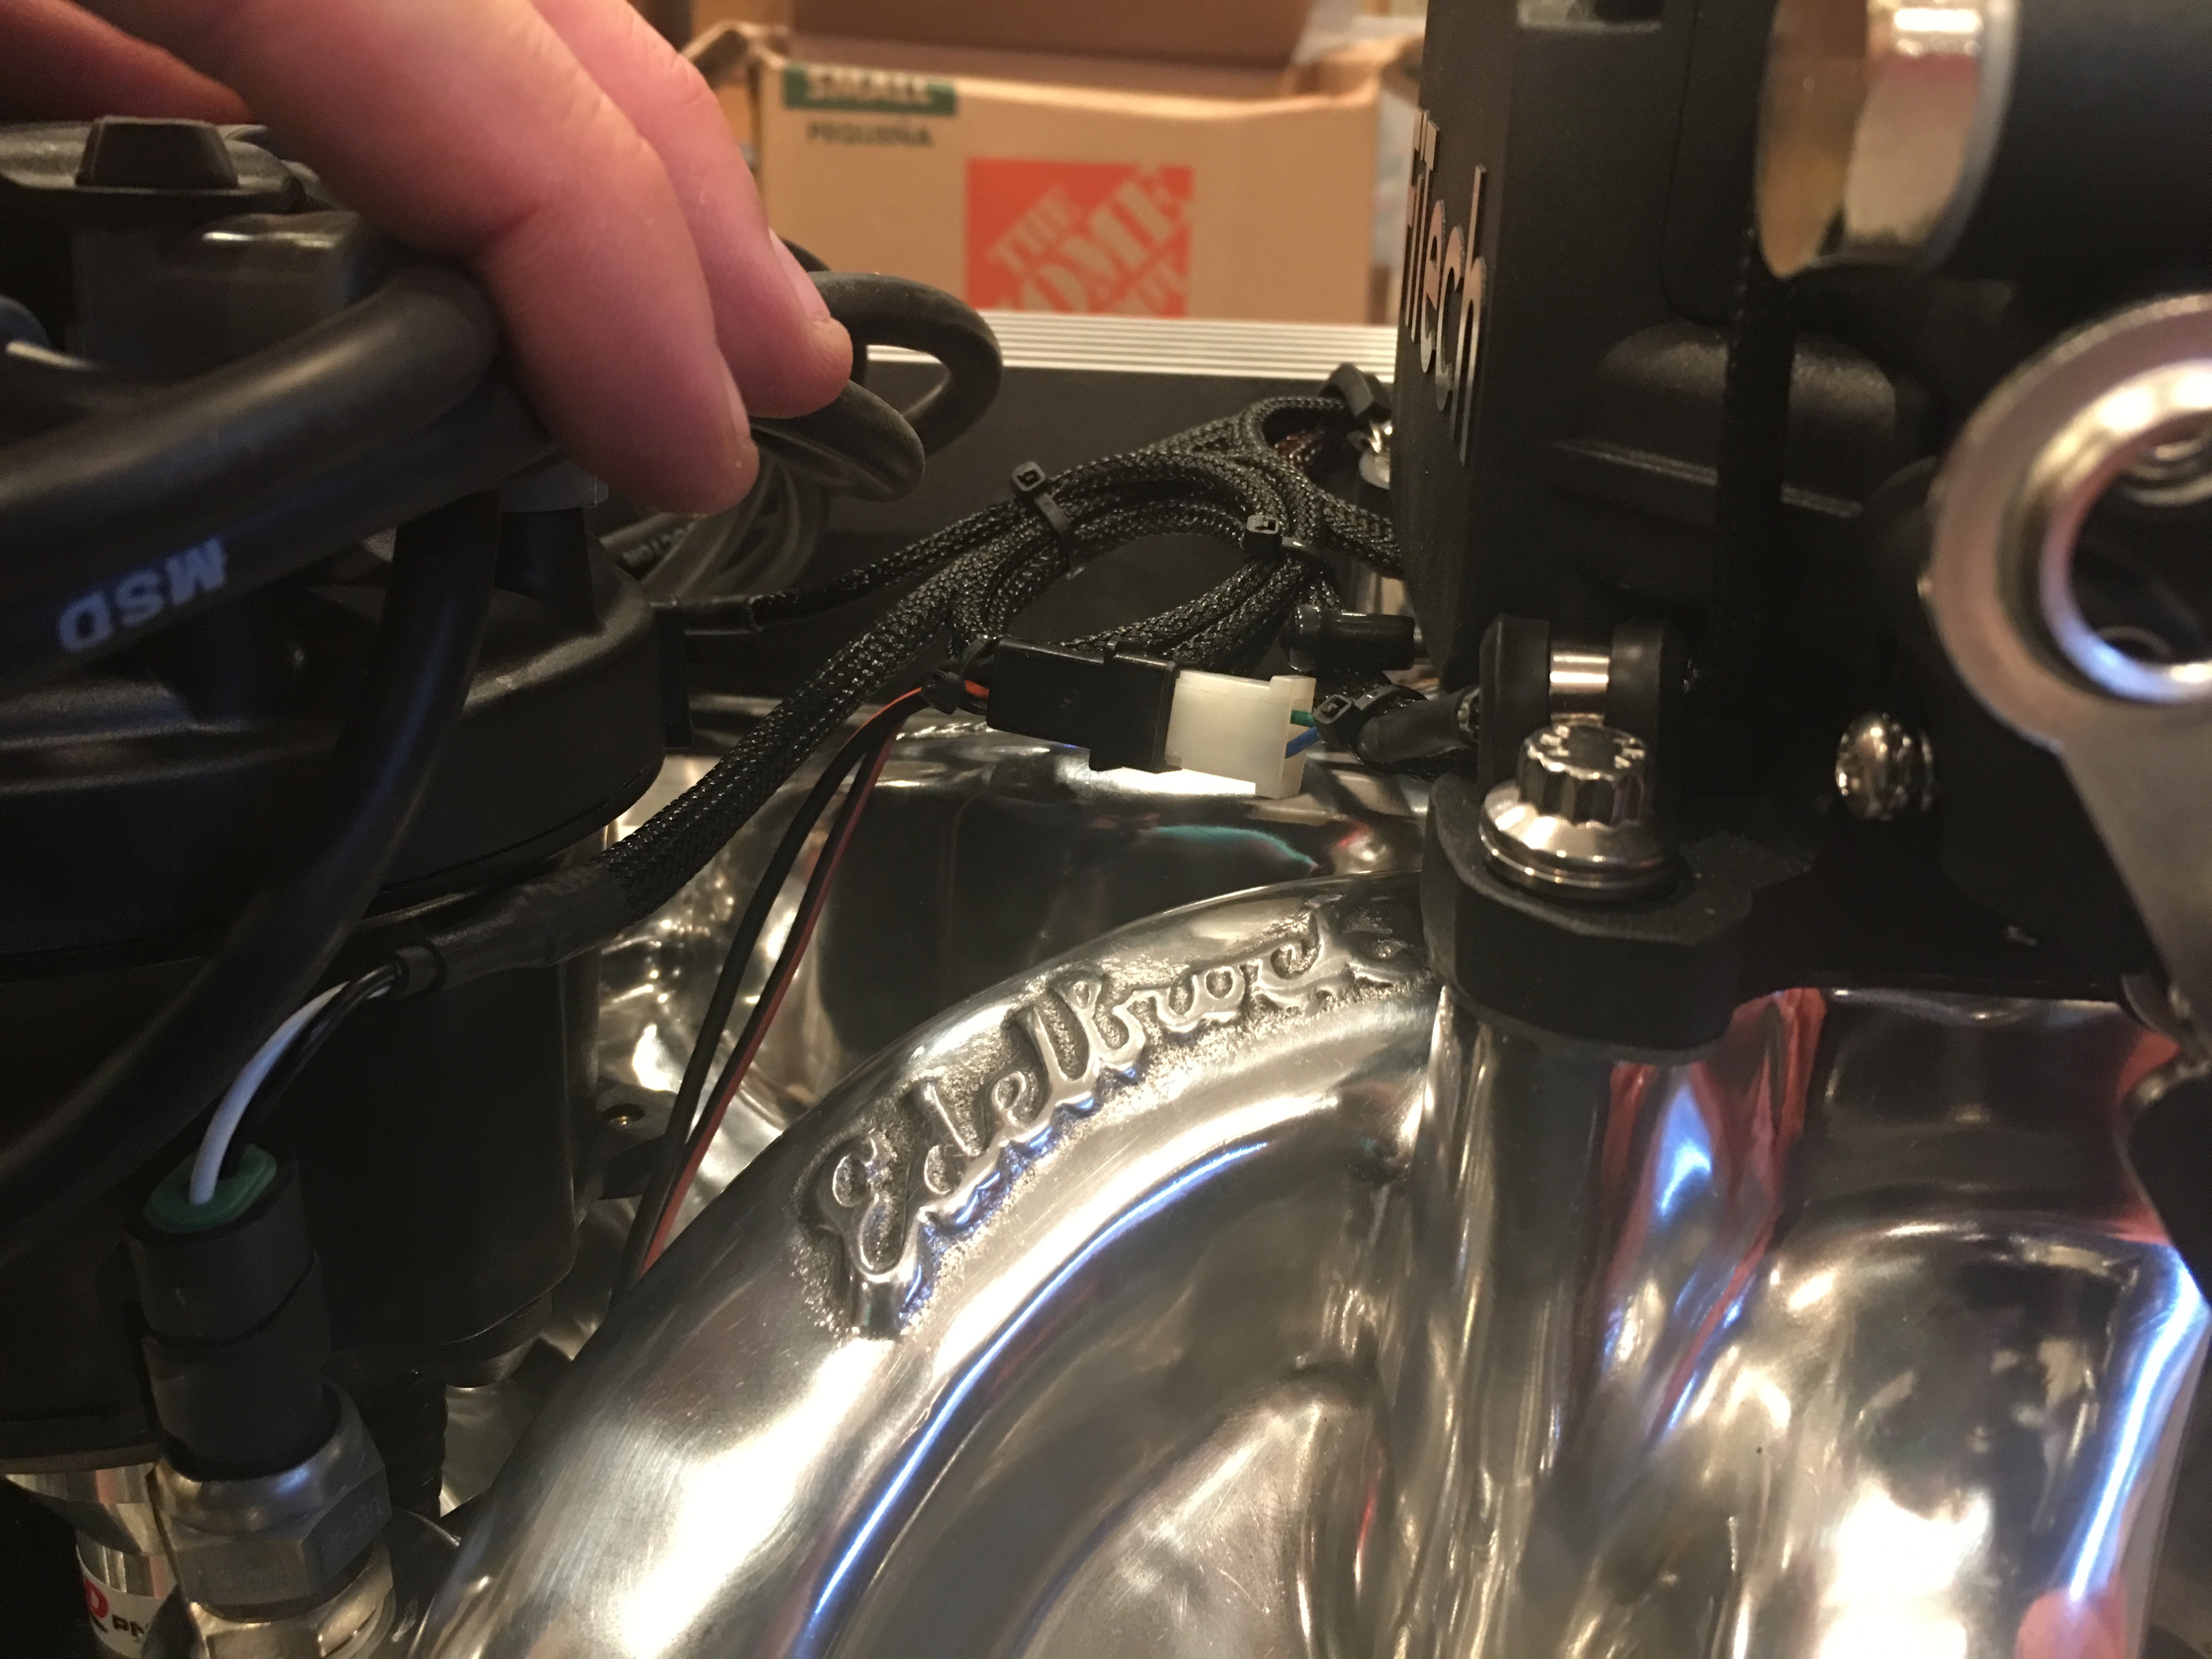
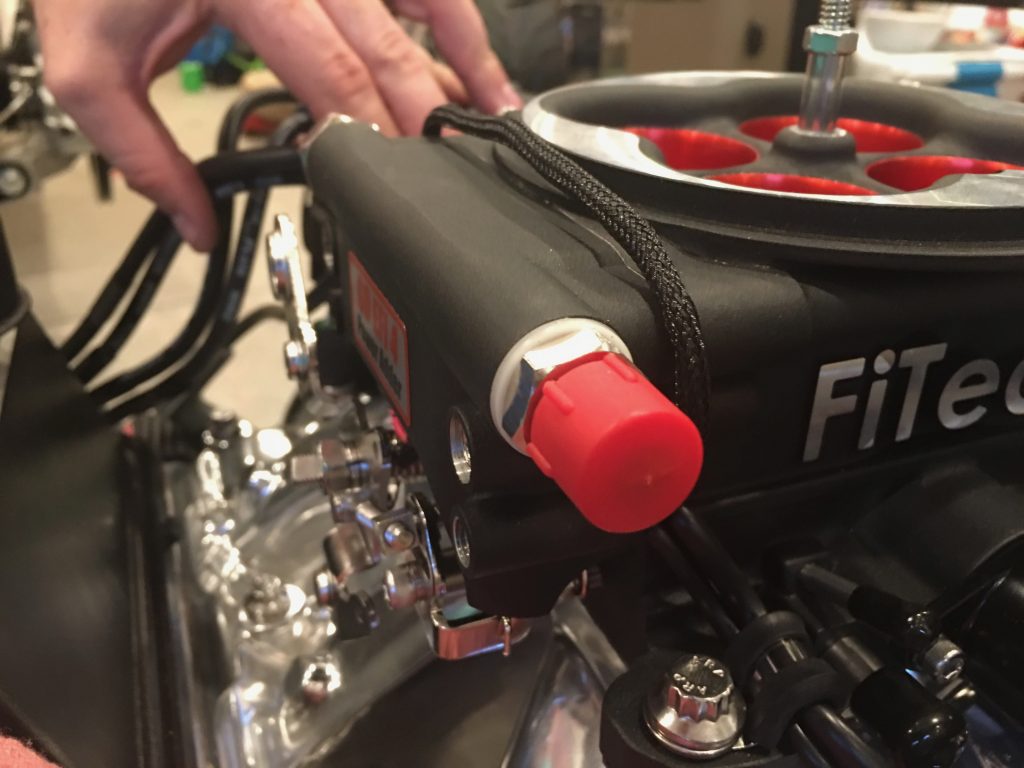
The cable from the FiTech unit leaves a bit to be desired. The cable is surprisingly short and for some reason comes out of the back of the unit. Without extended the wires, it really can only run around the left side of the throttle body or over the top. There is no way to run around the side without interfering with the throttle linkage, so I run the cable over the top. I really don’t know why FiTech doesn’t have this cable coming out of the front of the unit to avoid this problem.

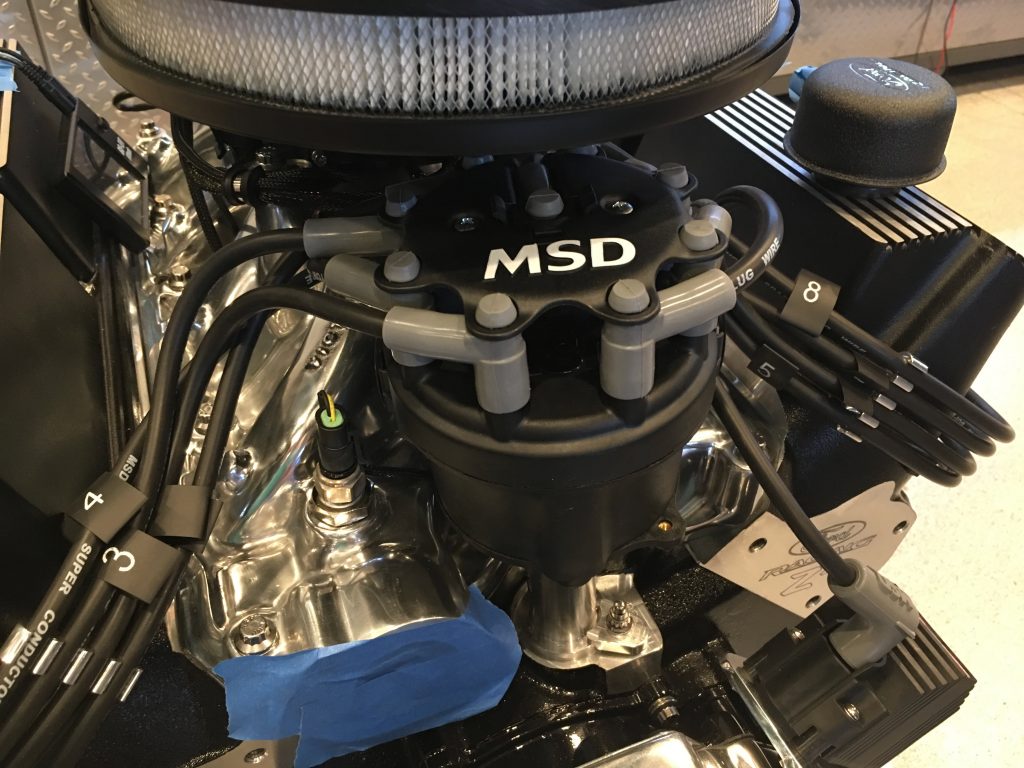
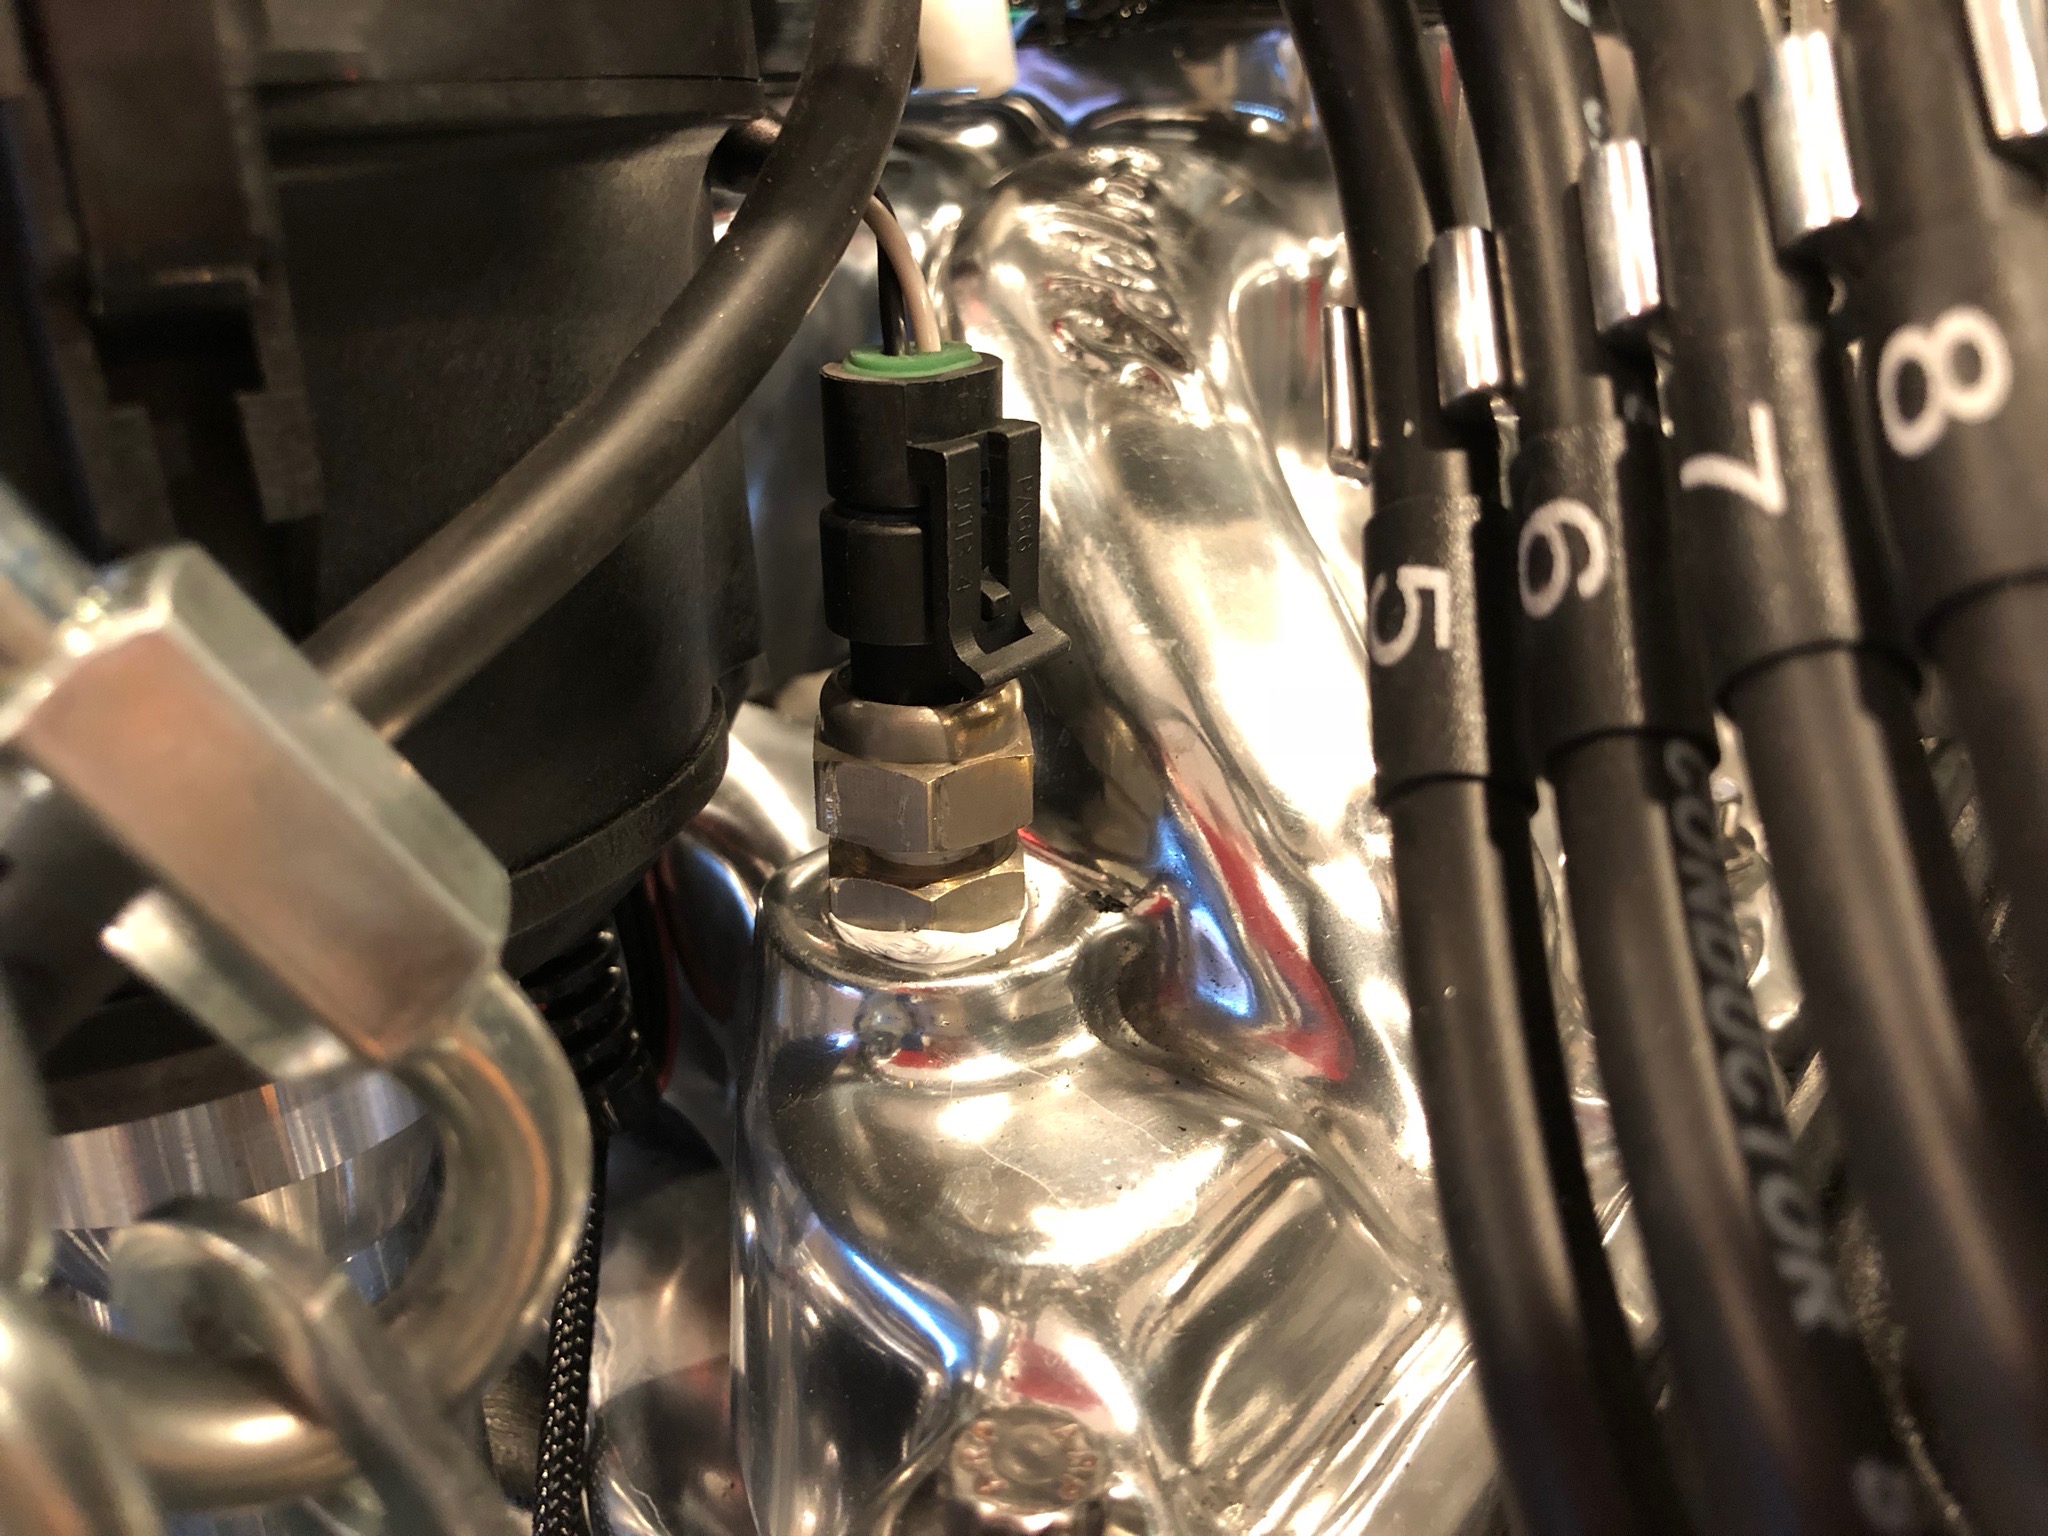
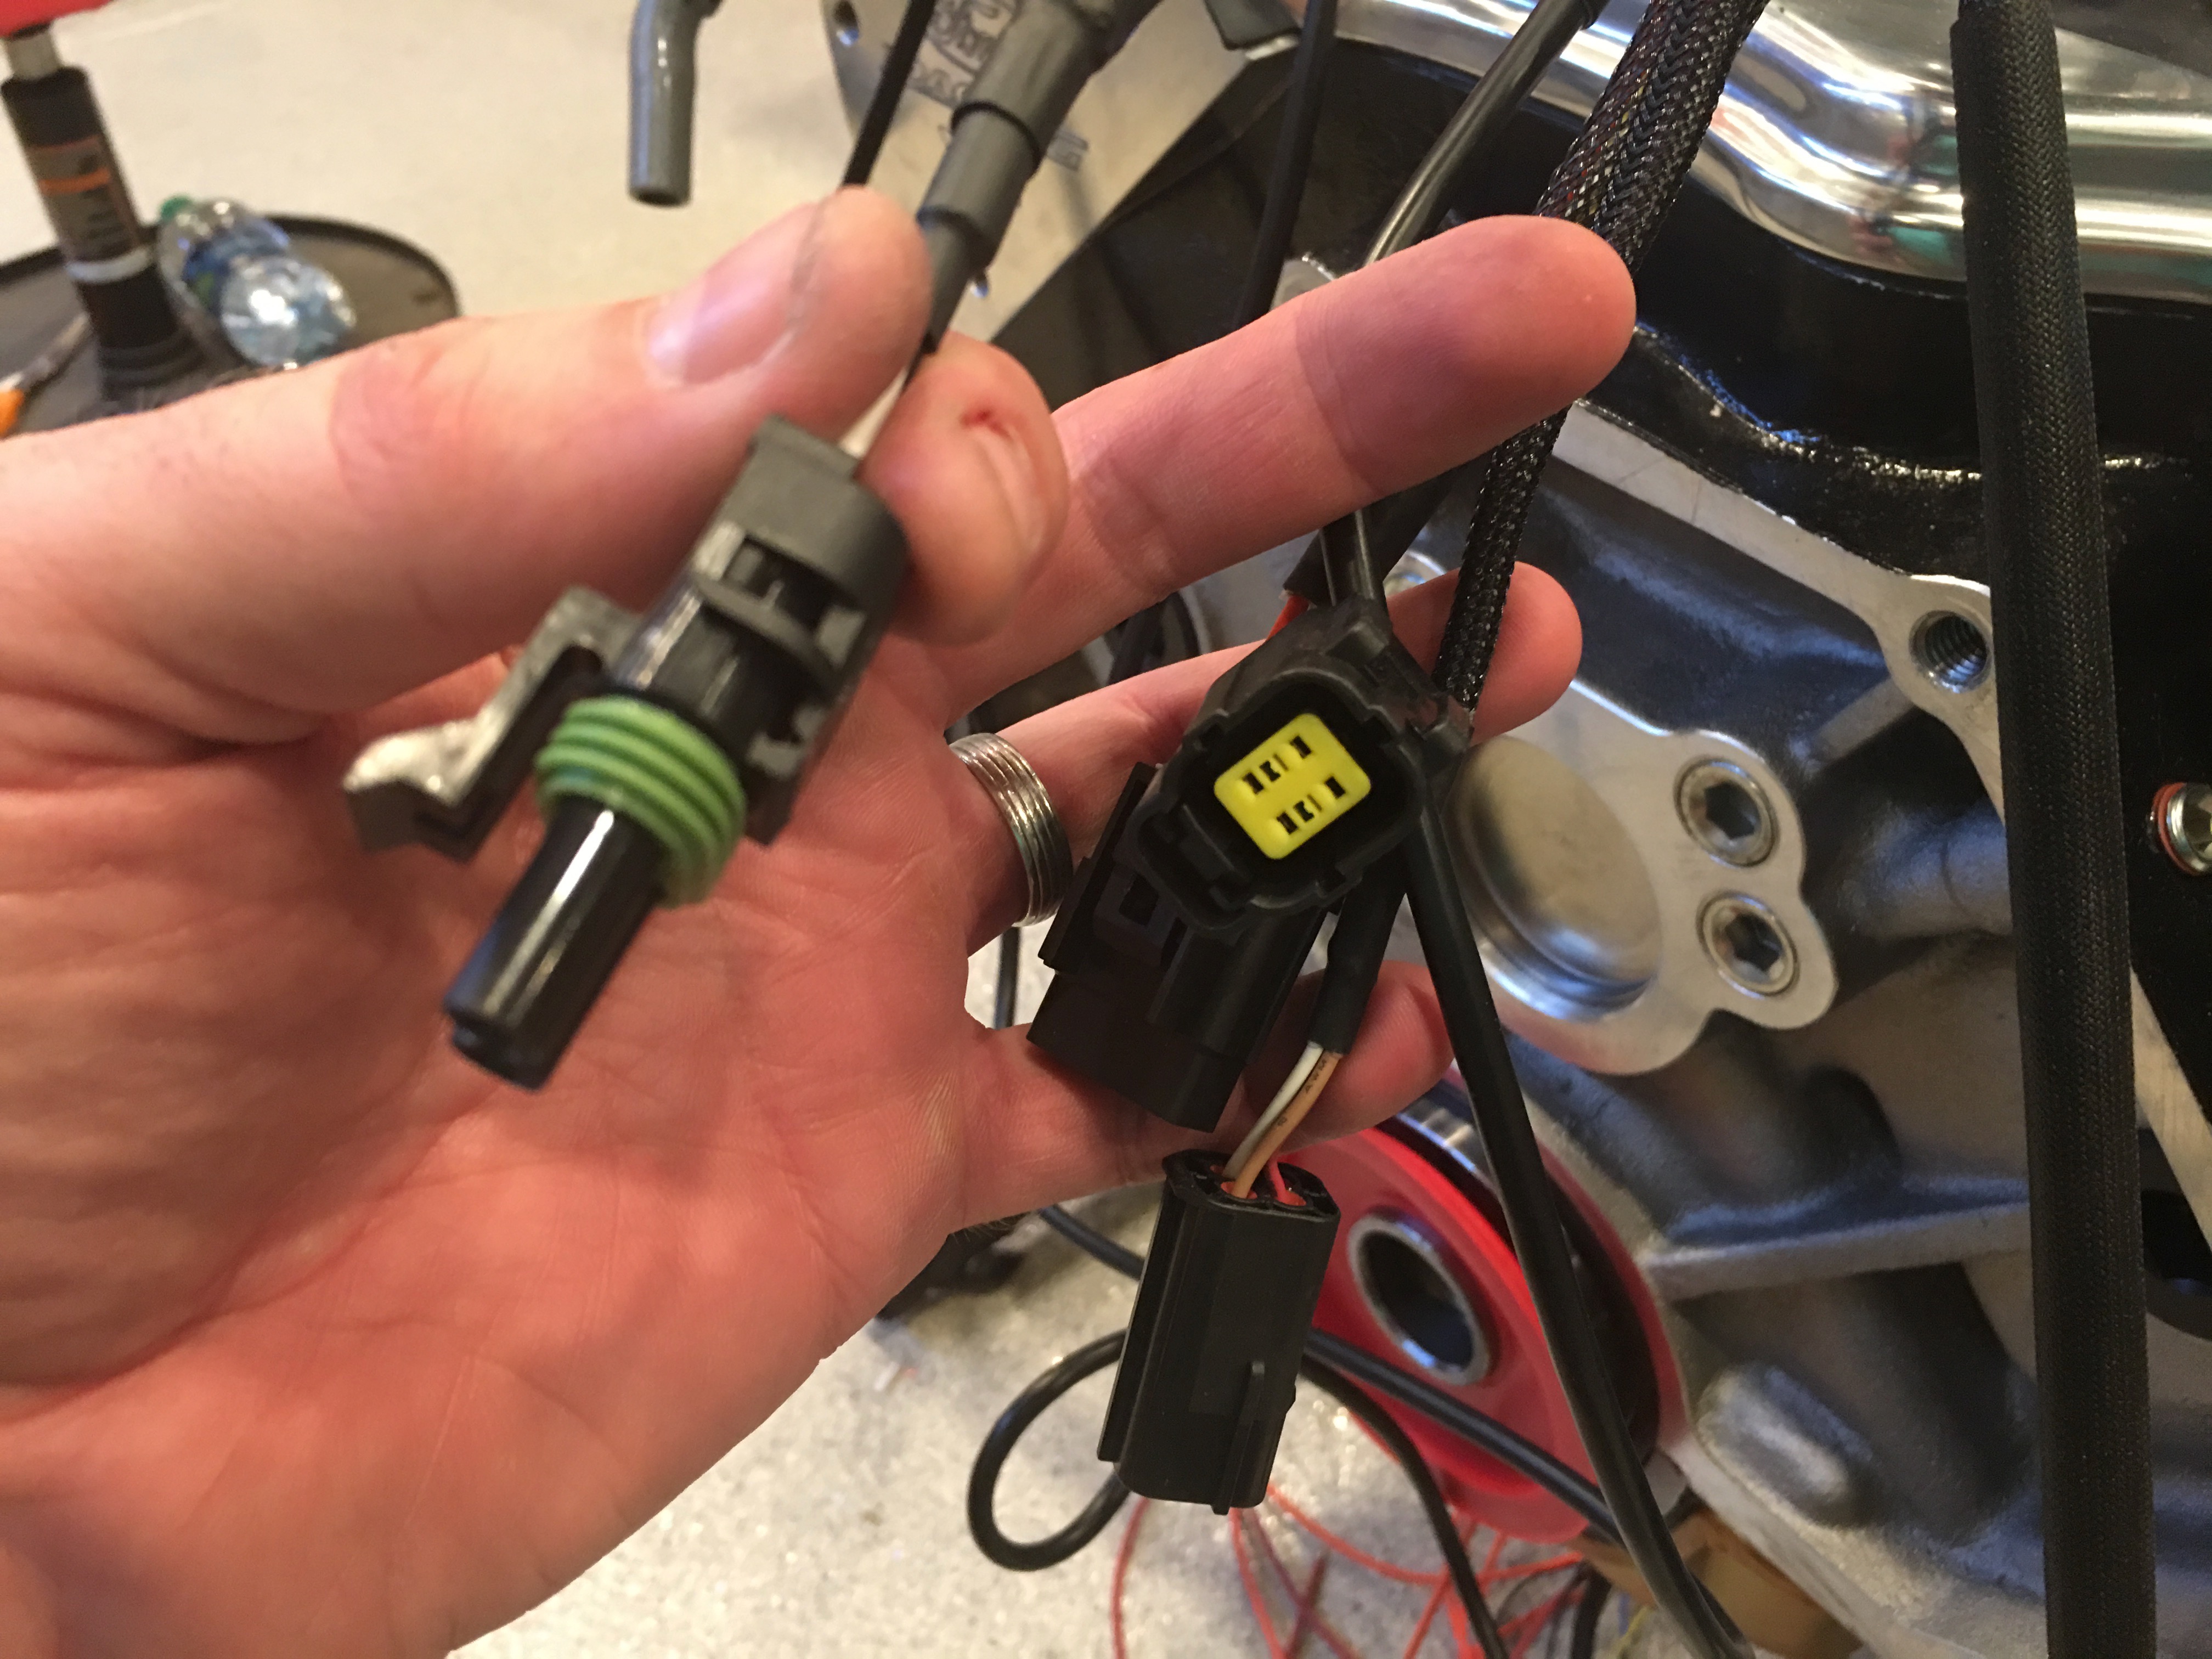
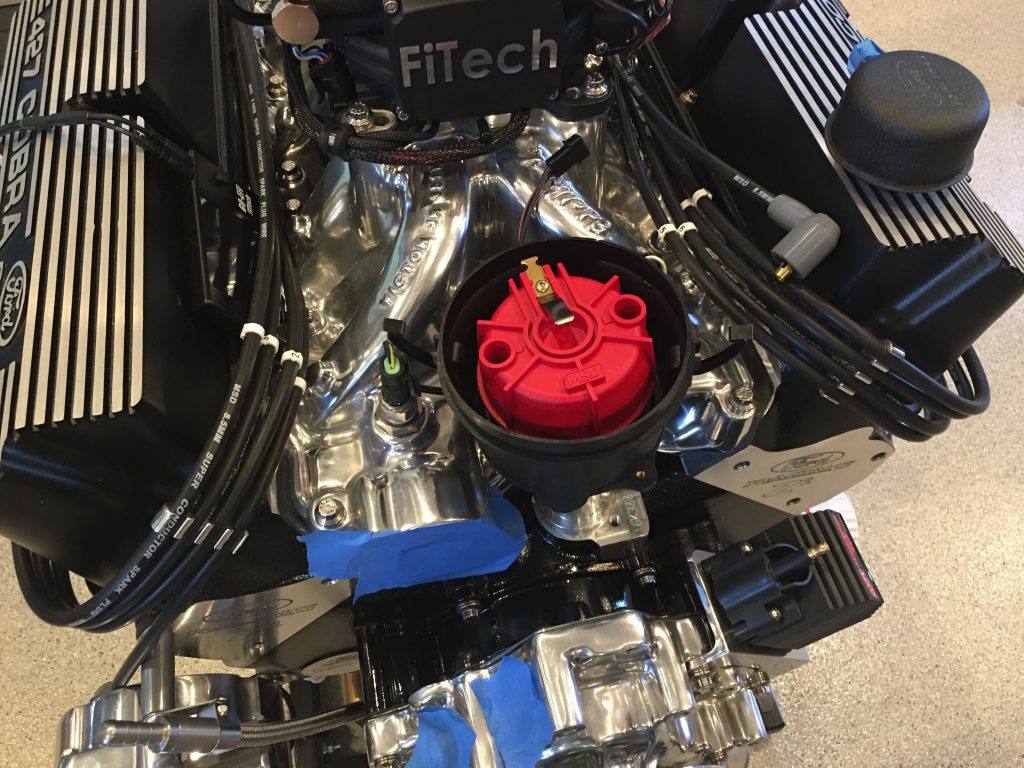
On the right, you can see the distributor control cable coming down from the top of the unit and secured with an Adel clamp to prevent it from moving. I pulled the coolant temperature cable out from underneath the intake runners and coiled up the extra on the front of the throttle body. I also installed the secondary coolant temperature cable that connects to the dash gauge. Since we’re installing a fairly long air cleaner, virtually all of this wiring will be somewhat hidden.

I also cut the cable going to the coolant temperature gauge and installed a weatherpak connector at roughly the same position as the other connectors. I want to easily be able to disconnect the engine from the car without having to pull wires through the chassis.

I cut all of the ignition wires to length and crimped terminals on them. I still need to order a couple of wire separators to neaten the wires up a bit and then I can shrink the wire labels onto the wires.

Alternator Ground

Work is going to slow down on the car over the next week or so due to family commitments, but I did manage to get a little time on it today.

I moved the grounding tab on the alternator to the lower left bolt so that I could run a short grounding wire over to the block. The alternator came with a pretty long wire that I just cut and crimped a new connector on. This should be out of the way of everything.